
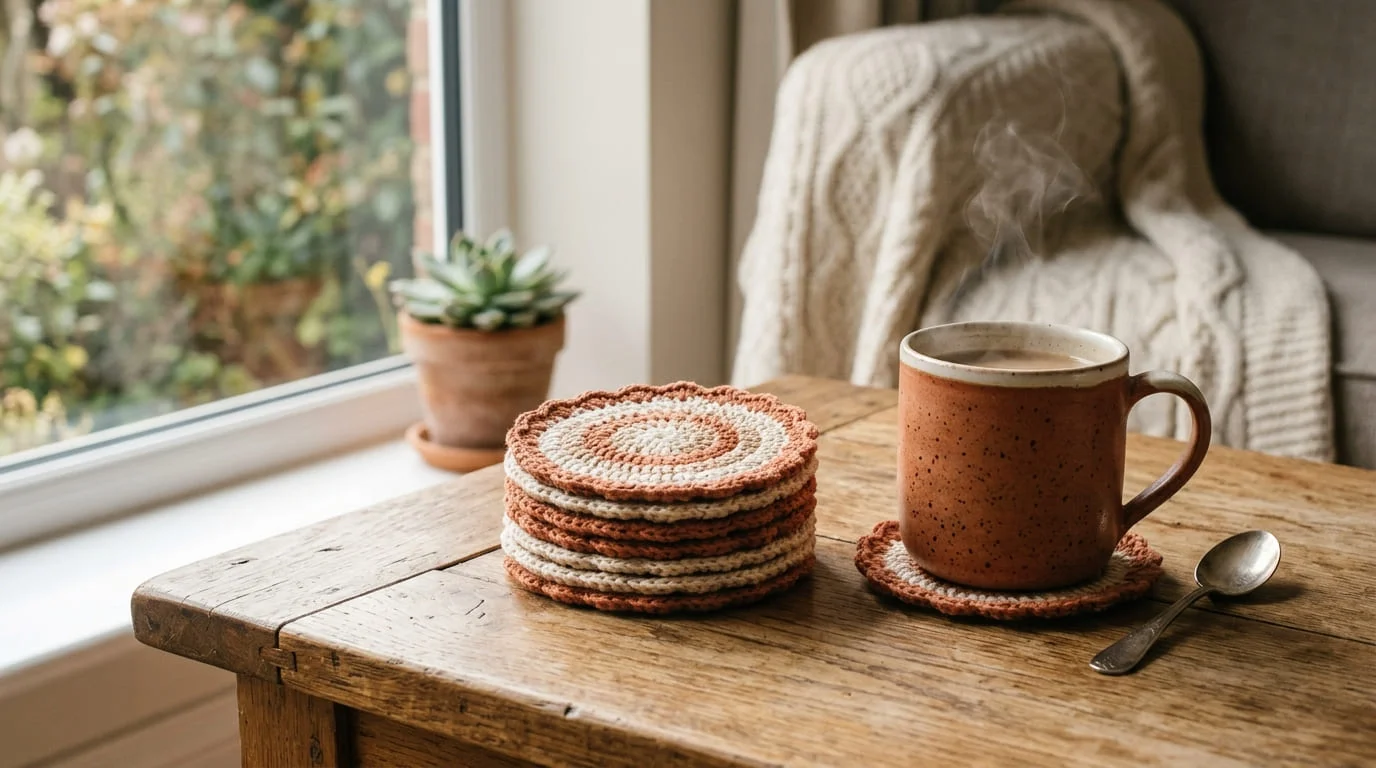
Few crochet projects give you as much payoff for as little effort as a coaster set. You can start after dinner and have a finished stack of four or six coasters before bed, and unlike a sweater or blanket, you don’t need to guess at sizing or worry about fit. It’s just circles (or squares) worked in yarn you probably already have.
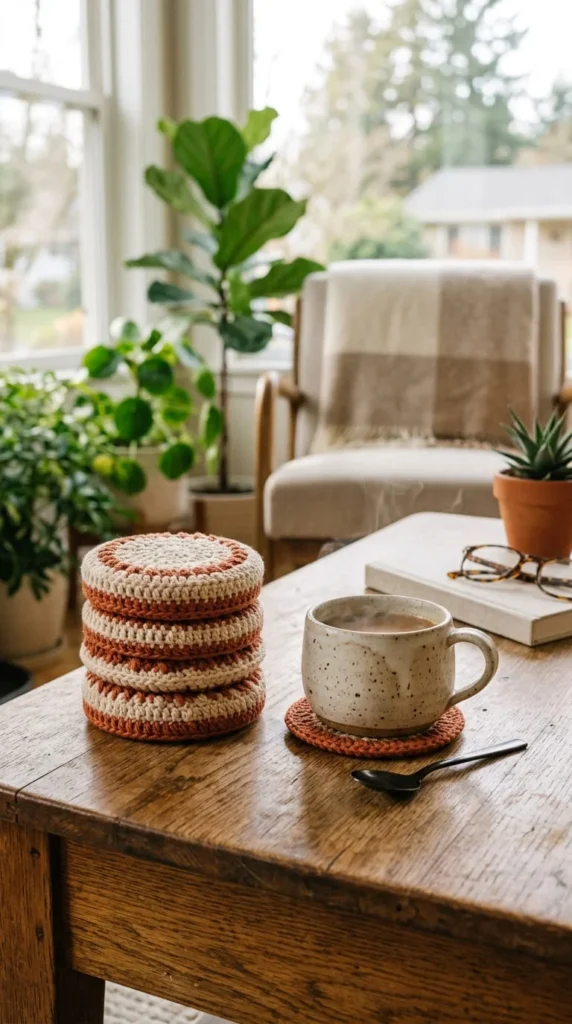
If you’ve never made a coaster before, this guide walks through everything from picking yarn to finishing edges, so you end up with a set that looks intentional instead of homemade in the wrong way.
Why Coasters Are a Great Starter Project
Coasters are small, so mistakes don’t cost you much time. If your tension is off on the first one, you’ll know within ten minutes, not ten hours. That makes them ideal for:
- Learning a new stitch without committing to a big project
- Using up leftover yarn from bigger blankets or garments
- Making quick, useful gifts that don’t feel like a last-minute craft
- Building confidence with the magic ring or basic granny square, since you’ll repeat the motion several times in one set
They’re also genuinely useful once finished, which isn’t true of every beginner crochet project.
Choosing the Right Yarn and Hook
Cotton yarn is the standard choice for coasters, and for good reason. It holds its shape, absorbs condensation instead of pilling under a wet glass, and washes easily if a coaster gets a coffee ring on it.
A worsted weight (category 4) cotton paired with a 4 to 5 mm hook is a reliable combination for most patterns, producing a coaster somewhere around 4.5 to 5 inches across — a comfortable size for mugs and most glasses.
A few practical notes:
- Avoid acrylic if you can, since it doesn’t handle heat or moisture as well over time
- Worsted weight is easiest to work with as a beginner; thinner yarns take longer and show tension mistakes more clearly
- Buy slightly more yarn than you think you need — one 100-gram ball of worsted cotton usually makes 5 to 7 coasters, depending on size

Starting Your First Coaster
Most round coasters begin with either a magic ring or a simple chain joined into a loop. If the magic ring feels intimidating, don’t let it stop you — chaining 4 stitches and joining with a slip stitch works almost as well and leaves only a slightly larger center hole, which barely shows once the coaster is finished.
From there, a basic coaster typically follows this shape:
- Start with 6 to 8 stitches in your first round
- Increase evenly each round to keep the circle flat
- Work 4 to 5 rounds total, depending on your yarn weight
- Finish with a single crochet border round for a clean, defined edge
If your coaster starts to cup or ruffle instead of lying flat, you’re either increasing too much or too little — cupping means too many increases, ruffling means too few.
Adding Texture and Personality
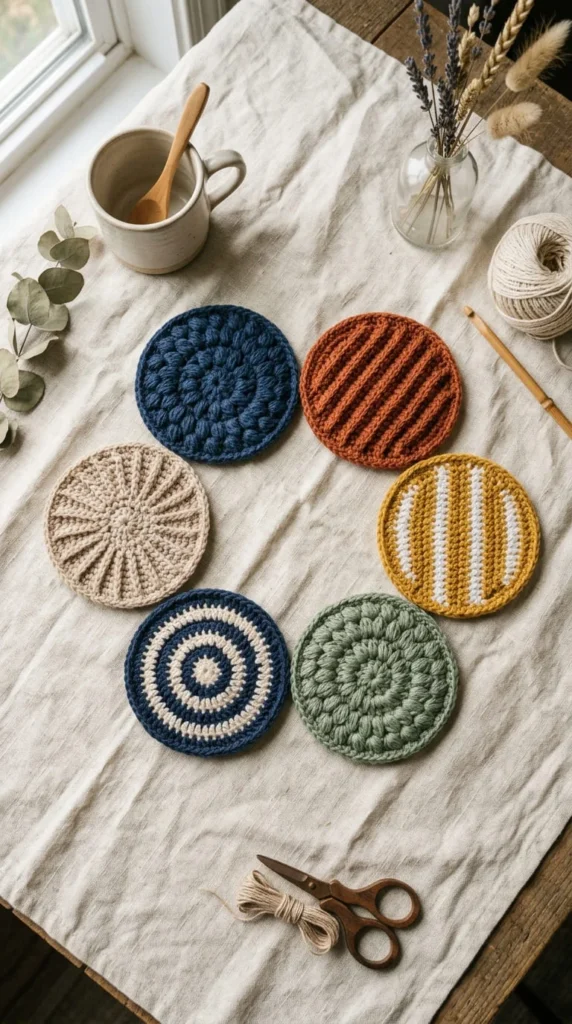
Once you’re comfortable with a plain round coaster, texture stitches are the easiest way to make your set feel more designed. A few beginner-friendly options:
- Puff stitches worked in a spiral or scattered pattern for a raised, tactile surface
- Front-post and back-post double crochet for a ribbed look
- Simple color-blocking, switching yarn color every round or two for a striped effect
You don’t need to learn a complicated stitch to make a coaster look finished — even a single contrasting border round on an otherwise plain coaster makes a noticeable difference.
Finishing Touches That Make a Real Difference
The last few steps are easy to rush, but they’re what separate a set that looks handmade-on-purpose from one that looks unfinished.
- Weave in every yarn tail securely so nothing unravels with use
- Block your coasters by lightly dampening them and pinning them flat to dry, especially if any edges are curling
- Measure each coaster against the others in the set so they match in size
- Let them dry completely before stacking or photographing, since damp cotton can distort under pressure
A well-blocked coaster set looks noticeably more polished in photos and holds its shape better with daily use.
Turning One Coaster Into a Full Set
Once you’ve got your first coaster down, making the rest of the set is mostly repetition — but a few small choices make the set feel cohesive rather than like four random pieces:
- Keep the same stitch count and hook size throughout so every coaster matches in size
- Pick a shared color palette even if each piece uses a different accent color
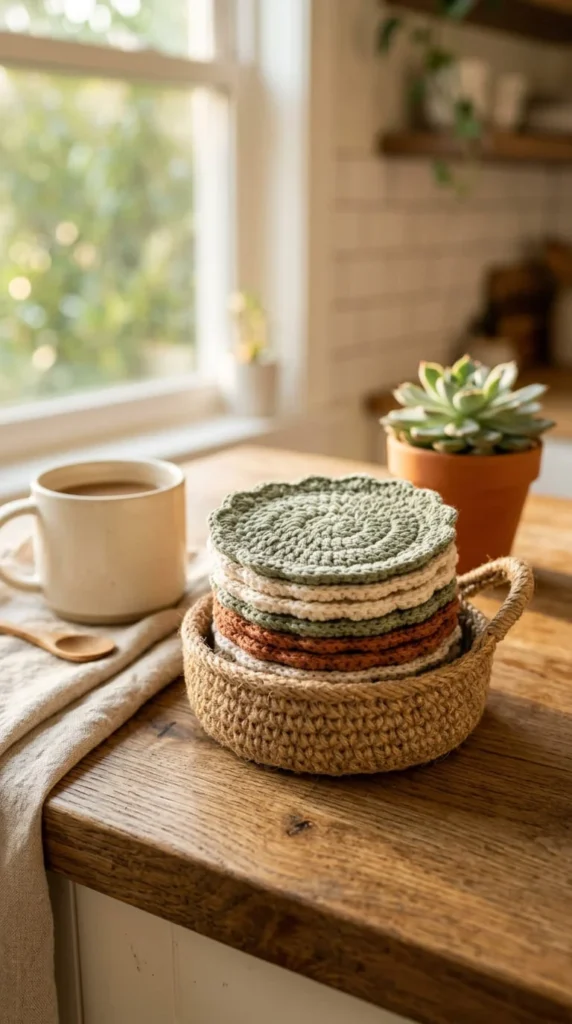
- Consider adding a matching holder or basket for storage, which turns a simple coaster set into a more complete gift
Final Thoughts
A crochet coaster set is one of those projects that teaches you real skills — tension, shaping, finishing — without demanding hours of your time. Once you’ve made one set, you’ll have a template you can repeat endlessly in new colors and textures for gifts, your own home, or even to sell.
Save this guide for later and try these ideas when you’re ready!