
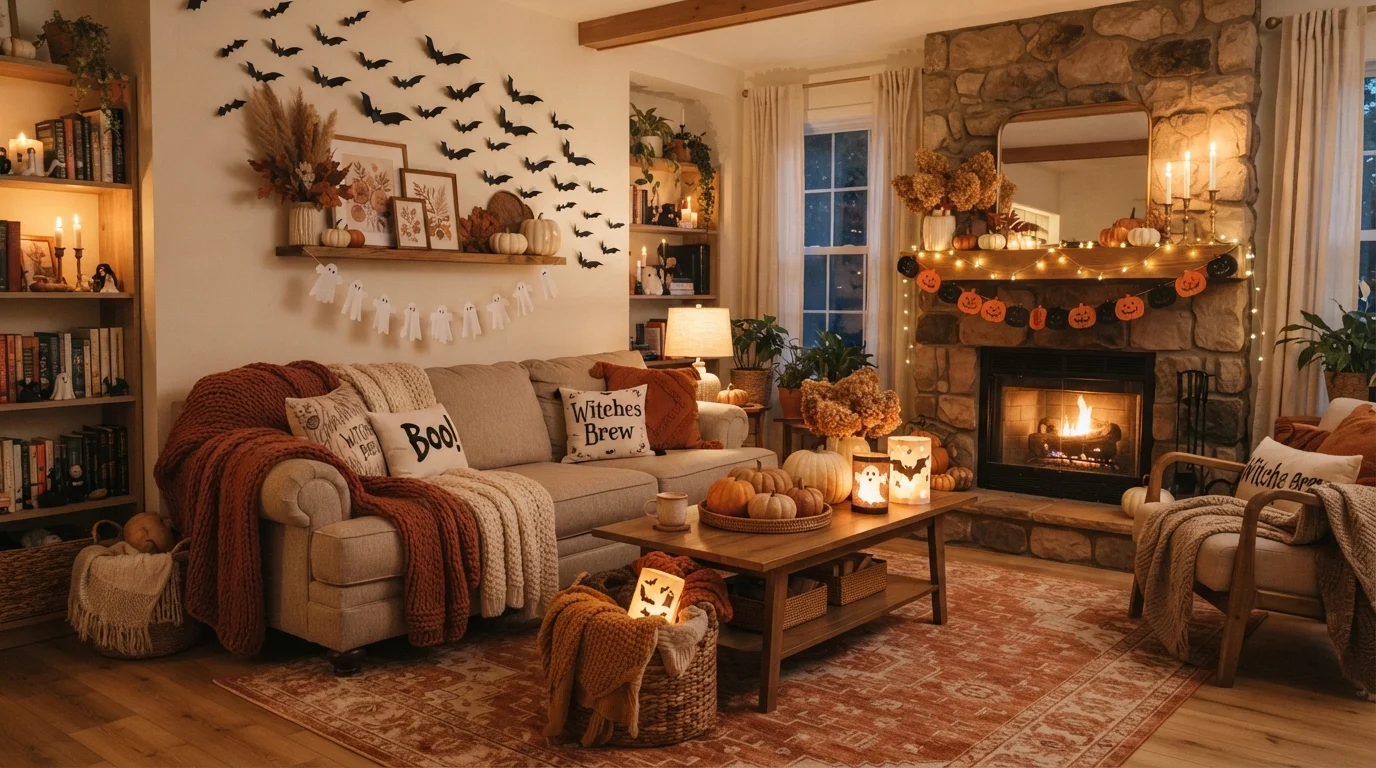
Halloween decorations can make your home feel festive without spending a lot of money on store-bought items. With a few sheets of colorful paper, scissors, glue, and some creativity, you can make everything from spooky paper bats to glowing lanterns and charming pumpkin garlands. DIY Halloween paper decorations are also a fun way to spend time with family while creating something personal for your home.
Whether you prefer cute Halloween crafts or a slightly spooky atmosphere, simple paper projects can transform ordinary walls, windows, shelves, and doorways. The best part is that many of these decorations use affordable materials you may already have at home.
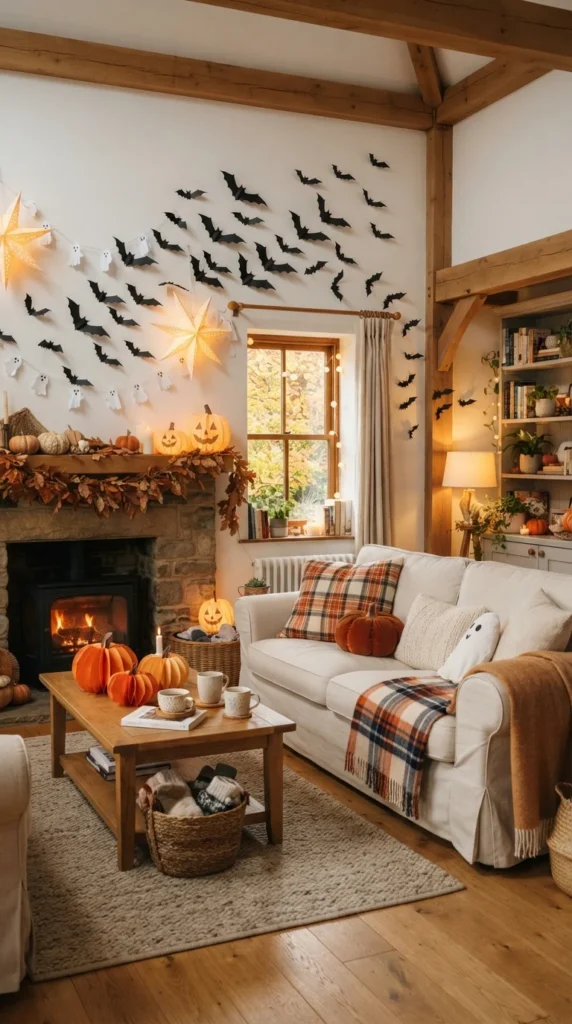
Gather Your Paper Craft Supplies
Before starting, collect a few basic supplies to make the decorating process easier. You do not need expensive equipment or advanced crafting skills to create attractive Halloween decorations.
Materials to prepare:
- Orange, black, white, purple, and green construction paper
- Cardstock for sturdy 3D decorations
- Scissors and a craft knife for adult use
- Glue sticks or double-sided tape
- Pencil, ruler, and black markers
- String, ribbon, or twine for hanging decorations
- Recycled cardboard and empty paper tubes
Choose cardstock for decorations that need to stand upright or hold a three-dimensional shape. Lightweight paper works well for garlands, folded designs, and window silhouettes.
You can also reuse cereal boxes and leftover wrapping paper to reduce waste. Keeping your supplies in one place makes it easier to complete several projects in one crafting session.
Make 3D Paper Pumpkins for Shelves
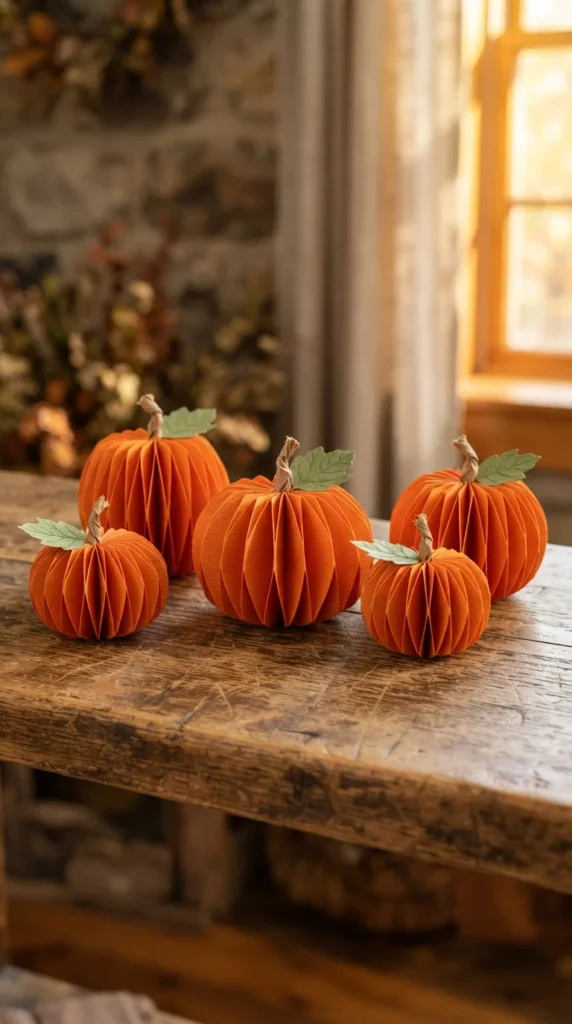
Paper pumpkins are a simple way to add a seasonal touch to your mantel, bookshelf, or dining table. Their rounded shape looks attractive, even when made from inexpensive construction paper.
Start by cutting several identical strips or circles from orange cardstock. For an accordion-style pumpkin, fold two or more rectangular sheets back and forth into even pleats. Join the ends to create a circular shape, then gently spread the folds into a pumpkin-like form.
Add a small brown paper stem and a green leaf at the top. You can also cut a black face from paper to create a playful jack-o’-lantern.
Make pumpkins in different sizes and arrange them together for a small indoor pumpkin patch. Using a mixture of orange, cream, and dark green can give the display a more modern appearance.
Create a Spooky Halloween Paper Garland
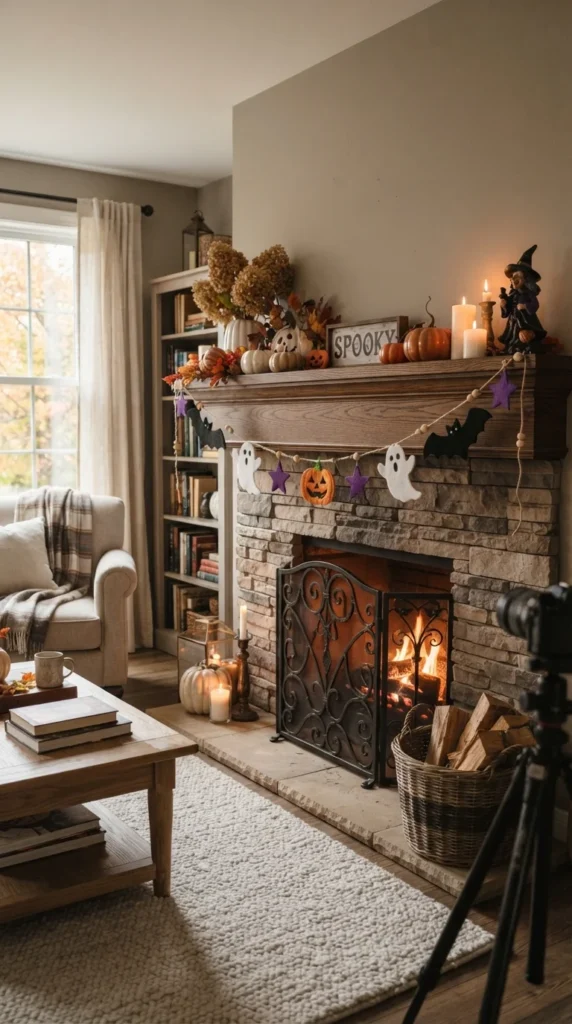
Paper garlands are ideal for decorating empty walls, windows, fireplaces, and party tables. They are lightweight, easy to customize, and can be made in different lengths to suit your space.
Cut simple shapes such as bats, ghosts, cats, pumpkins, and crescent moons from colored cardstock. Use a pencil to draw your designs first, or create a reusable cardboard template to keep the shapes consistent.
Punch a small hole near the top of each cutout and thread the pieces onto twine or ribbon. Leave a little space between each shape so the designs remain visible.
For a different look, make a traditional paper chain using alternating orange, black, and white strips. You can also combine paper chains with individual Halloween cutouts.
Hang the finished garland above a doorway or across a mantel. Removable adhesive hooks can help keep it in place without damaging the wall.
Design Paper Lanterns With a Spooky Glow
Paper lanterns can create a warm Halloween atmosphere, especially when placed on shelves or used as party table decorations. Pairing translucent paper with battery-powered lights gives them a gentle glow.
Cut orange, white, or purple paper into rectangles. Fold each rectangle in half lengthwise and make evenly spaced cuts along the folded edge, stopping before the opposite side. Open the paper, curve it into a cylinder, and secure the ends with glue or tape.
Add black paper shapes, such as bats, cats, or pumpkin faces, to the outside. Place a battery-operated LED tea light nearby or inside a suitable lantern structure.
For a ghost lantern, use white translucent paper with simple dark facial features. Several lanterns grouped together can create a lovely Halloween display.
Safety tip: Never use real candles or open flames with paper decorations. Keep paper away from hot bulbs and use cool-running battery-powered lights.
Decorate Your Windows With Paper Silhouettes
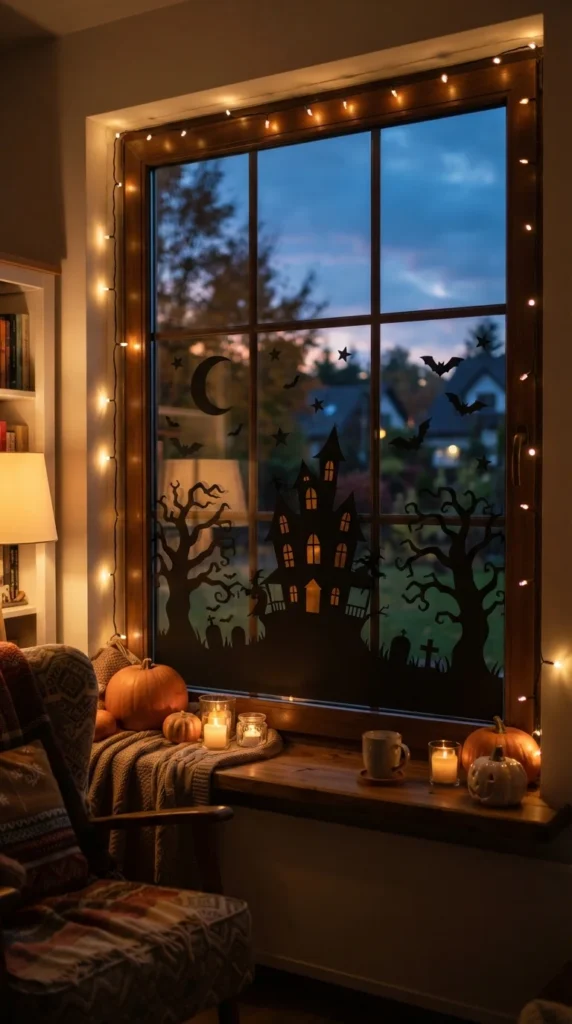
Window silhouettes are an easy way to make your Halloween decorations visible both inside and outside your home. They also require very few materials.
Use black cardstock to cut out haunted houses, bats, cats, witches’ hats, or spooky trees. For a simple haunted-house scene, create several buildings with pointed roofs and uneven windows.
Arrange the shapes on the window before attaching them. Start with the largest pieces and fill the empty spaces with smaller bats or stars. Use removable tape to secure the cutouts to the glass.
You can create a dramatic effect by placing a large paper moon behind a group of flying bats. Alternatively, use white paper ghosts against a dark window for a playful design.
For children, prepare simple templates that are easy to trace and cut. An adult should handle any detailed cutting that requires a craft knife.
Turn Recycled Paper Into Halloween Characters
Recycled materials can become charming decorations with a little imagination. Empty cardboard tubes, old paper bags, and leftover cardstock are particularly useful for Halloween projects.
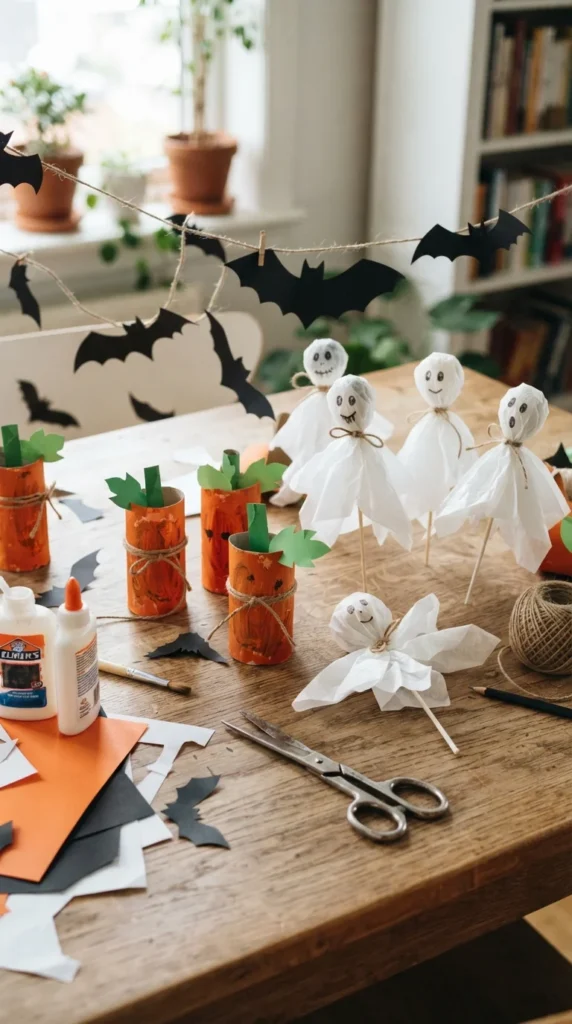
Cover cardboard tubes with orange paper to make pumpkins, white paper to create ghosts, or black paper for bats. Add paper ears, wings, stems, and facial features to give each character a different appearance.
You can also turn white paper lunch bags into ghost puppets. Draw expressive faces on the bags and attach narrow strips of tissue paper along the bottom to create a floating effect.
Arrange the finished characters on a shelf, windowsill, or party table. A small group of handmade figures can create a miniature Halloween scene without taking up much space.
Reusing household materials also helps keep craft costs low. Make sure recycled containers are clean, dry, and free from sharp edges before using them.
Add Finishing Touches to Your Halloween Display
Once your paper decorations are ready, arrange them in a way that makes each project stand out. Rather than placing every decoration in one area, spread them throughout your home.
- Living room: Hang bat garlands above the mantel and arrange paper pumpkins on shelves.
- Windows: Use black silhouettes and small paper moons to create a spooky scene.
- Dining table: Display folded pumpkins, paper place cards, and small lanterns.
- Doorways: Hang ghost garlands or paper chains to welcome guests.
- Children’s rooms: Choose friendly ghosts, colorful paper fans, and cute pumpkin characters.
Try to keep a consistent color palette throughout your display. Traditional orange, black, and white create a classic Halloween look, while purple, cream, and muted green can give your decorations a softer style.
If you plan to use paper decorations outdoors, place them under a covered porch and protect them from rain, wind, and moisture. Ordinary cardstock is not waterproof and can become damaged in damp conditions.
Conclusion
Making Halloween paper decorations is an affordable and enjoyable way to give your home a festive seasonal look. From dimensional pumpkins and handmade garlands to glowing lanterns and window silhouettes, simple paper can become a wide range of creative decorations.
Start with one or two projects that match your available time and materials. You can make additional pieces as you go and combine them into a coordinated Halloween display. Save this guide for later, gather your favorite craft supplies, and create handmade decorations that make your home feel ready for Halloween!