
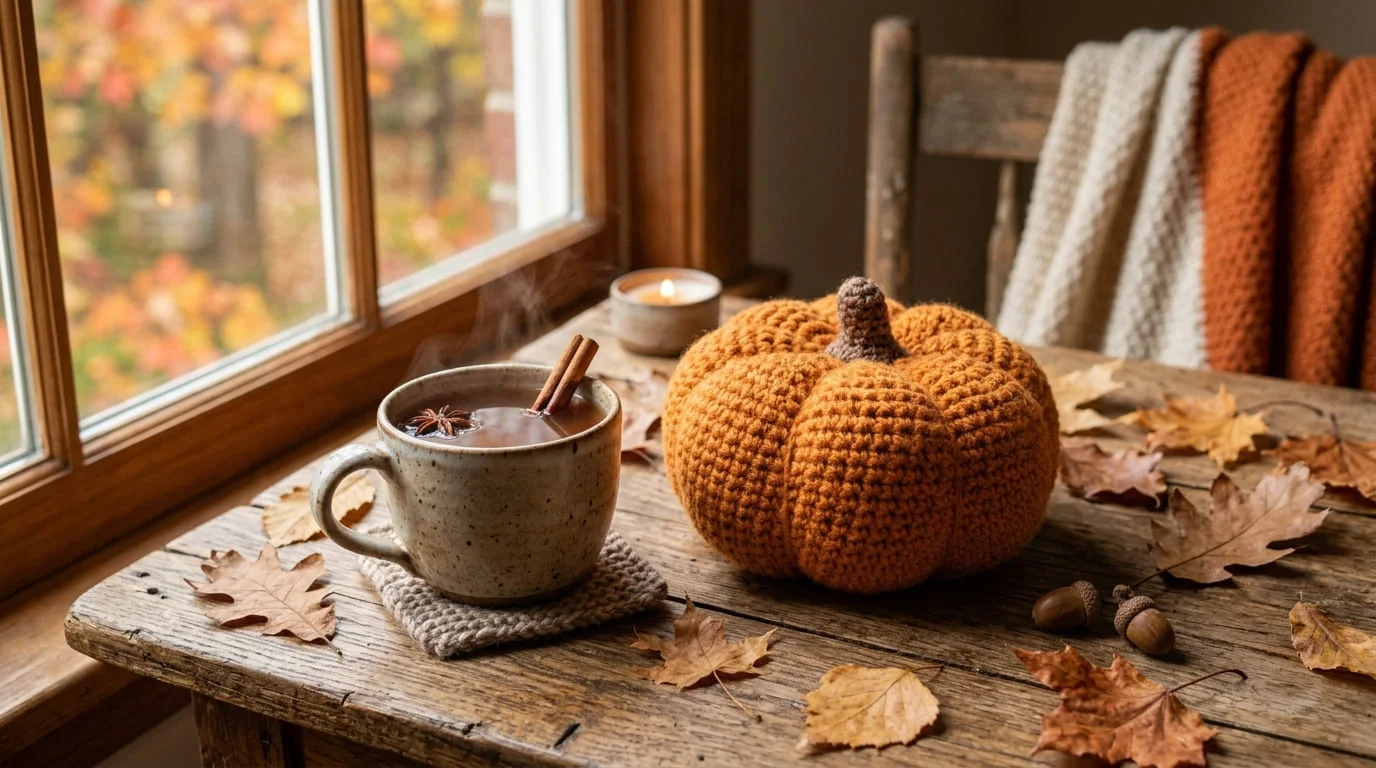
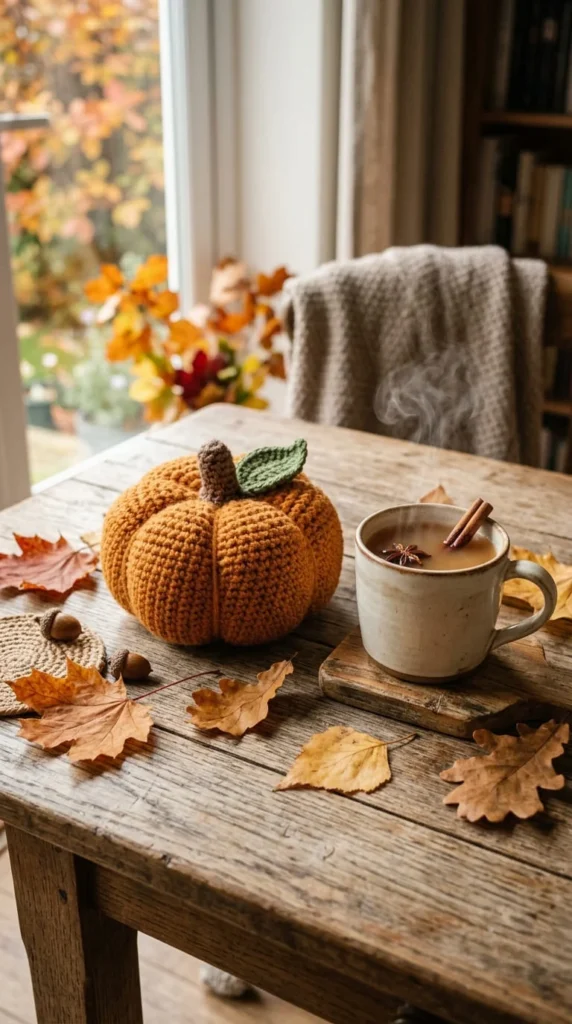
There’s something satisfying about pulling a finished pumpkin off your hook and watching it hold its shape for the first time. A crochet Halloween pumpkin is one of those projects that looks far more complicated than it actually is, and once you understand the basic shaping logic, you can make an entire patch of them in an afternoon. This guide walks through the two most common construction methods, how to get those signature ridges, and how to finish your pumpkin with a stem that actually stays put.
Two Ways to Build a Crochet Pumpkin
Before you pick up your hook, it helps to know there are two main routes to a finished pumpkin.
The first is the amigurumi method, where you crochet in continuous rounds starting from a magic ring, increasing the stitch count as you go to form a rounded body, then decreasing to close it. This route gives you a smooth, rounded shape and is the most common approach in written patterns.
The second is the ribbed rectangle method. Here you crochet a flat rectangle using back-loop-only stitches, which naturally creates vertical ridges. You then seam the short ends together, gather the top and bottom, stuff it, and close it up. This method is often easier for beginners because there’s no stitch-count math to track — you just work straight rows.
Both methods produce a great-looking pumpkin. If you’re newer to crochet, start with the rectangle version.
Starting the Amigurumi Body
If you’re going the rounds route, start with a magic ring (also called a magic circle) and work 6 single crochets into it. From there, most patterns follow a predictable increase pattern:
- Round 1: 6 stitches
- Round 2: increase to 12
- Round 3: increase to 18
- Round 4: increase to 24
- Round 5: increase to 30
Not comfortable with a magic ring yet? You can substitute a simple chain-2 start instead — it’s slightly less neat at the center but works just as well for a stuffed decoration nobody will inspect that closely.
Once you hit your target stitch count, work several rounds even (no increasing) to build the body’s width, then reverse the sequence with decreases to shape the top and prepare for closing.
Building the Ribbed Rectangle Instead
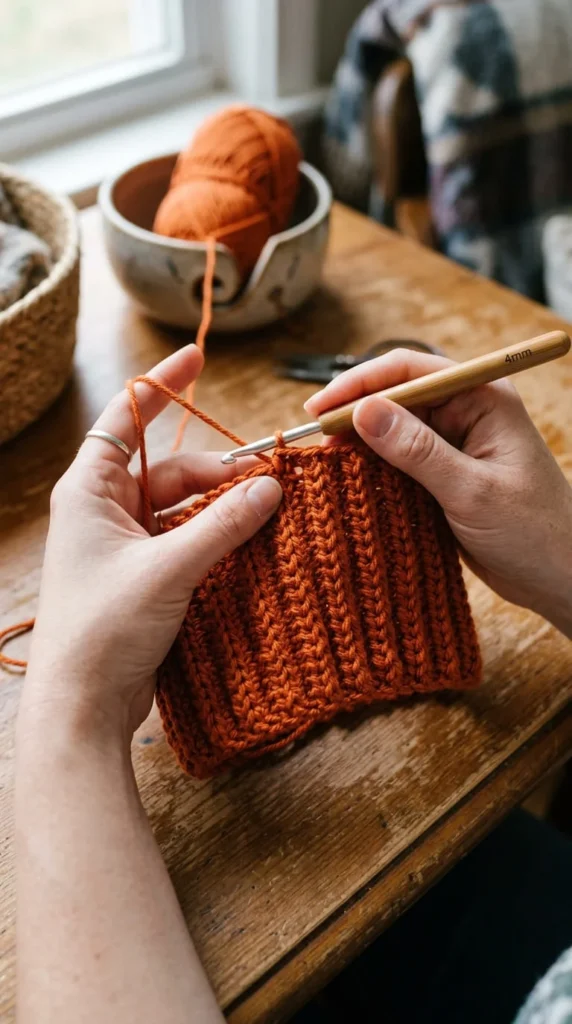
For the rectangle method, chain a length based on your desired pumpkin height, then work rows of single crochet, half double crochet, or slip stitch into the back loop only of each stitch. This is the detail that creates the ribbing — skip it, and your rectangle will look flat once assembled.
A helpful sizing rule: make your rectangle roughly twice as long as it is wide for a nicely proportioned pumpkin. Keep working rows until the rectangle reaches your target length, then fasten off.
Seaming, Stuffing, and Shaping
However you built your pumpkin body, this stage is where it actually starts to look like one.
For the rectangle method, sew the two short edges together to form a tube. Thread a length of yarn through the stitches at one end, pull it tight to gather and close that opening, then repeat on the other end after stuffing.
For the amigurumi method, stuff as you go, adding fiberfill gradually rather than all at once. This keeps the shape even and avoids lumps. Aim for firm but squeezable — firm enough to hold its shape on a shelf, soft enough that it doesn’t feel overstuffed or hard.
Before closing the final opening completely, check the overall shape. A slightly under-stuffed pumpkin is easy to fix; an overstuffed one that’s already sewn shut is not.
Sculpting the Signature Ridges
This step is what turns a plain stuffed ball into something that unmistakably reads as a pumpkin.
Thread a long length of yarn onto a tapestry needle, then pass it from the top of the pumpkin down through the center to the bottom, back up on the outside, and pull gently to create an indentation. Repeat this around the pumpkin at evenly spaced points.
Most patterns use six ridges, which is the classic pumpkin look. To keep spacing even, mark six points around the top of the pumpkin with pins or scrap yarn before you start sculpting, rather than eyeballing it as you go.
Choosing and Attaching a Stem
The stem finishes the whole piece off, and you’ve got a few solid options:
- Crocheted tube or i-cord — matches the handmade aesthetic and is easy to customize in color.
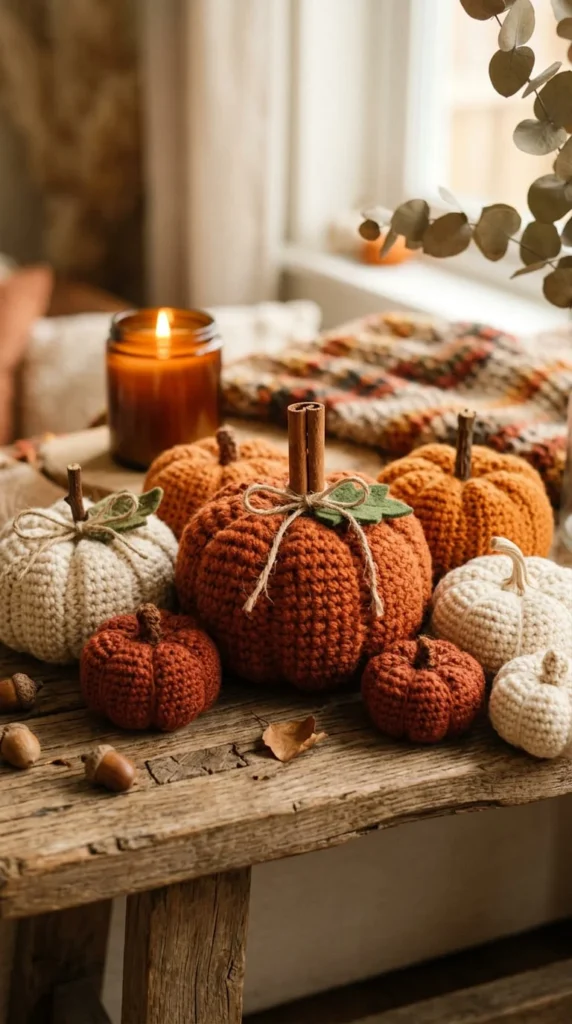
- Twig or cinnamon stick — gives a rustic, farmhouse look and adds a subtle scent if you use cinnamon.
- Fabric or felt stem — a quick no-sew-adjacent option if you have scraps on hand.
Whichever you choose, attach it securely through the top opening where you gathered the fabric, since this spot already has extra yarn to stitch through. A wobbly stem is one of the most common finishing complaints, so take an extra minute to anchor it well.
A Few Practical Tips Before You Start
- Yarn choice matters less than tension. Worsted weight is the most common choice, but chunky yarn makes a bigger, faster pumpkin, and velvet yarn gives a soft, plush finish — just use a larger hook and go slowly, since stitches are harder to see in velvet.
- Make more than one size. A small pumpkin uses very little yarn and pairs nicely with a medium or large one for a layered display.
- Keep your ridges from sagging by stuffing firmly near the top and bottom before sculpting, since a loosely stuffed pumpkin won’t hold the ridge indentations well.
Wrapping Up
Once you’ve made your first crochet pumpkin, the rest come together much faster — the shaping and stuffing logic stays the same no matter how many you make. Try one in your favorite fall palette, experiment with a rustic stem, and build yourself a little pumpkin patch for the mantel. Save this guide for later and try these ideas when you’re ready!