
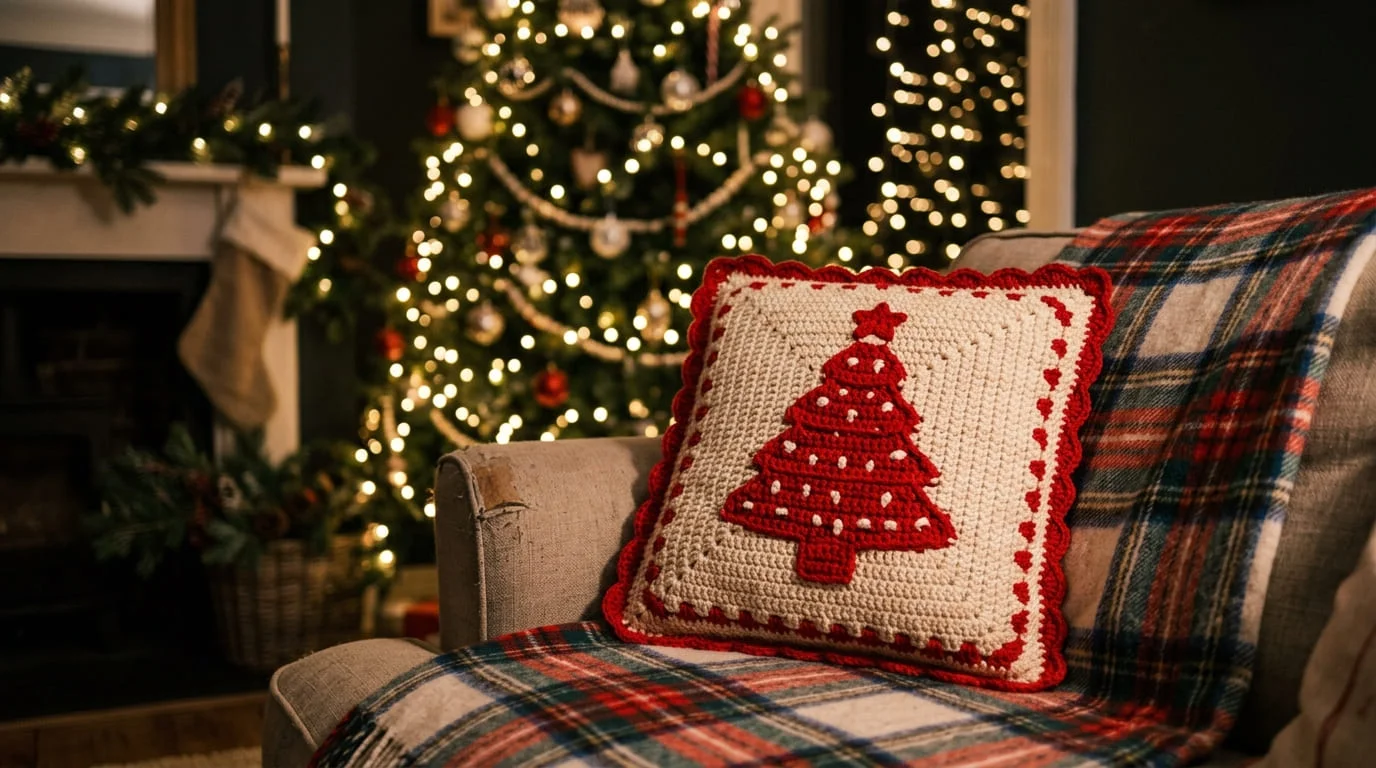
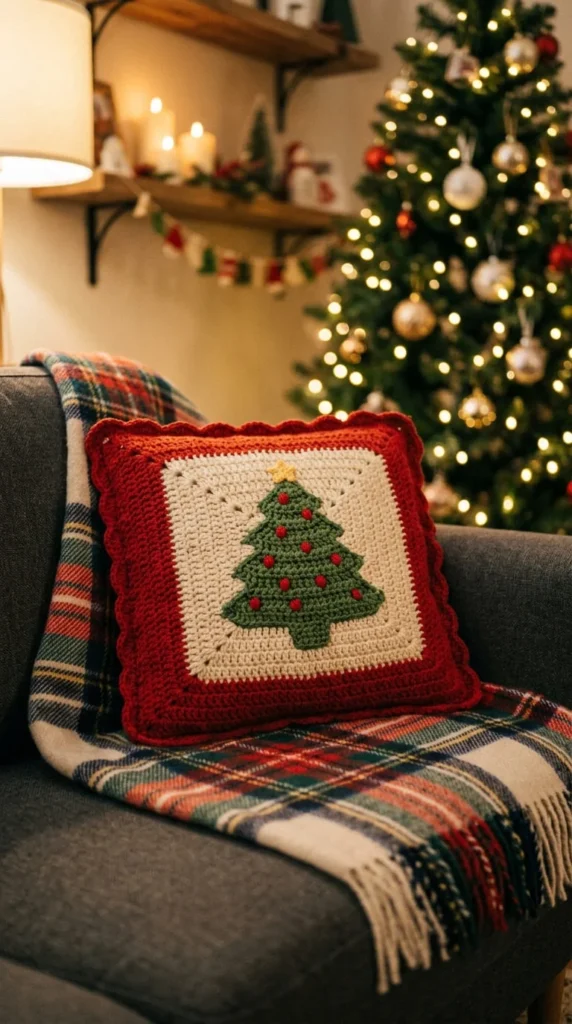
A handmade pillow does more for a living room’s holiday feel than almost any other decoration you can make. It sits right at eye level on the couch, it’s practical enough to actually use, and unlike a garland or a wreath, nobody questions why it’s still out in January if you pick a slightly more neutral design. If you’ve been wanting to try crochet Christmas pillows but weren’t sure where to start, this guide walks through the construction basics, the most popular motifs, and the finishing choices that make the biggest difference in how professional your final pillow looks.
Understanding the Basic Construction
Most crochet Christmas pillows come together the same general way: you make two panels — a front and a back — then join them around a pillow form or fill them with stuffing.
The front panel is usually where the design happens, whether that’s a solid color, a textured stitch, or a full holiday motif. The back panel is often simpler, sometimes worked in a single plain color to save time and yarn.
Once both panels are the right size, you join them around three sides, insert your pillow form, then close the fourth side. This basic front-and-back approach is the foundation for nearly every pillow pattern you’ll come across, so it’s worth getting comfortable with before moving into colorwork or shaping.
Choosing Between a Pillow Cover and a Stuffed Pillow
Before you start, decide whether you want a removable cover or a fully stuffed pillow.
- Removable covers slide over a standard pillow form, which makes them washable and easy to swap out once the season ends. This is the better choice for square or rectangular pillows you’ll keep using year after year.
- Stuffed pillows are filled directly with fiberfill and closed permanently. This works well for shaped designs like stars, trees, or Santa figures, where a standard pillow form wouldn’t fit the silhouette anyway.
If you’re making your first Christmas pillow, a removable cover around a 16-inch square pillow form is the most forgiving starting point, since it’s the most common size in patterns and easiest to find at craft stores.
Picking Your Motif and Colorwork Method
This is where your pillow starts to feel like a genuine holiday piece rather than a plain cushion.
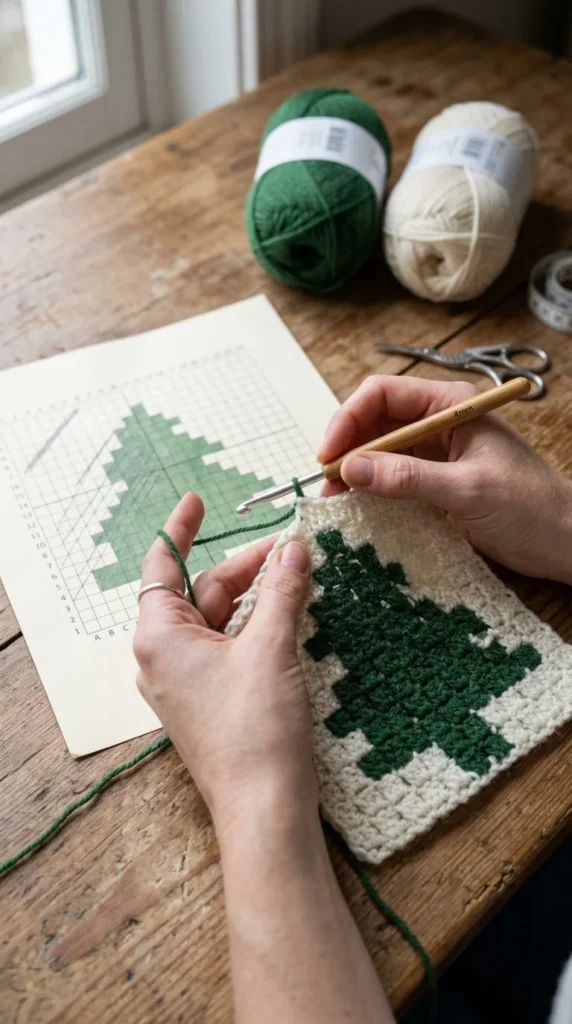
For a picture-style design — a tree, a snowflake, a reindeer — you’ll typically use one of two colorwork techniques:
- Corner-to-corner (C2C) builds the design diagonally, working outward from one corner. It’s popular because the charts are widely available and the diagonal structure is fairly intuitive once you’ve done a row or two.
- Tapestry crochet works the motif row by row instead, carrying your unused color along the back of the work. It gives a slightly denser, flatter fabric than C2C.
If colorwork charts feel intimidating for a first project, you’re not out of options. A textured stitch pillow using bobbles, moss stitch, or simple ribbing in a single rich color — deep red, forest green, or cream — still reads as festive without any chart-reading involved.
Popular Christmas Pillow Motifs to Try
If you want a starting point, these designs come up again and again for good reason — they’re recognizable, adaptable, and work at pillow scale:
- Christmas trees — square or triangular, plain green or decorated with tiny ornaments.
- Stars — either as a flat colorwork motif or a fully shaped, stuffed star pillow.
- Candy canes and peppermint stripes — simple red-and-white striping that needs no chart at all.
- Buffalo plaid — a rustic, farmhouse-friendly pattern that works up quickly in bulky yarn.
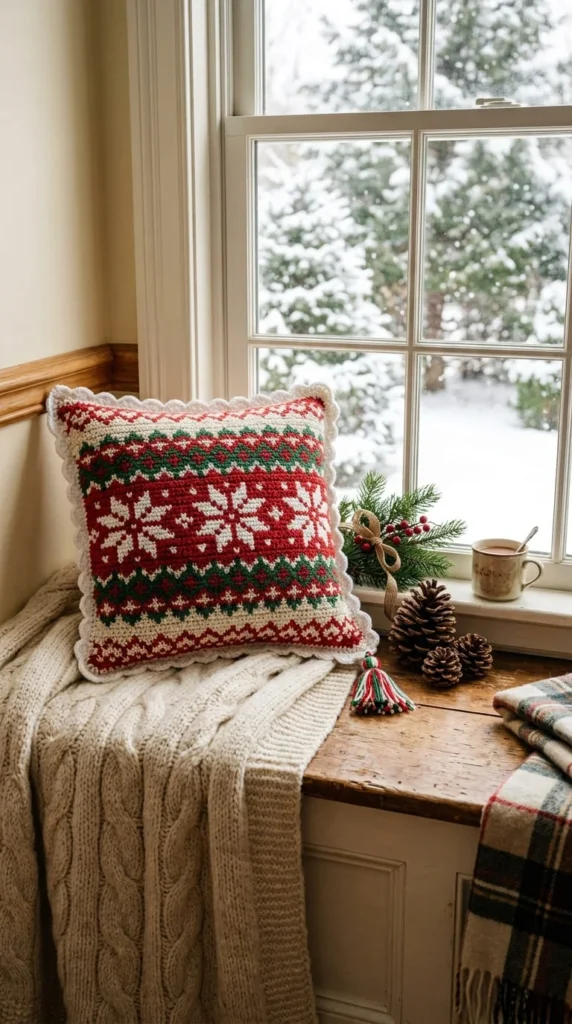
- Snowflakes — well suited to bobble stitch or tapestry crochet for a raised, textured look.
Mixing two or three of these across a set of pillows gives your couch a coordinated look without every pillow being identical.
Finishing: Closures, Edges, and Embellishments
How you close and finish your pillow affects both how it looks and how practical it is long-term.
For closures, you have three main options:
- Open seam with single crochet — you leave one side open, insert the form, and single crochet it shut. Simple, but not easily reopened for washing.
- Envelope back — the back panel overlaps in the middle, creating a flap-style opening with no zipper or extra hardware needed. This is the best balance of easy construction and washability.
- Zipper closure — the most polished, reusable option, but it does require basic sewing to attach.
For beginners, the envelope back is worth trying first — it gives you a removable cover without asking you to sew in a zipper.
Once your panels are joined, a single-crochet border around the whole pillow cleans up any uneven edges and gives it a more finished, boutique look. This is also where you can add pom-poms, tassels, or a ribbon bow if you want a bit of extra detail.
A Few Practical Tips
- Block your panels before joining them. Pinning them flat and lightly steaming removes curling edges and makes the front and back match up more evenly.
- Measure both panels before seaming. Even a small size mismatch will show up as a puckered or uneven pillow once it’s stuffed.
- Weave in ends as you go rather than saving them all for the end — colorwork projects especially can leave you with a lot of loose tails to manage.
- Use bulky yarn for a faster finish. A chunky yarn and a larger hook can turn a weekend project into an evening one, especially for solid-color or textured designs.
Wrapping Up
Crochet Christmas pillows are a genuinely satisfying project — they’re practical, they look handmade in the best way, and they give you a reason to actually use that holiday-colored yarn sitting in your stash. Start with a simple textured or striped design if you’re new to pillow-making, then work your way up to a full colorwork tree or star once you’re comfortable with the basic construction. Save this guide for later and try these ideas when you’re ready!