
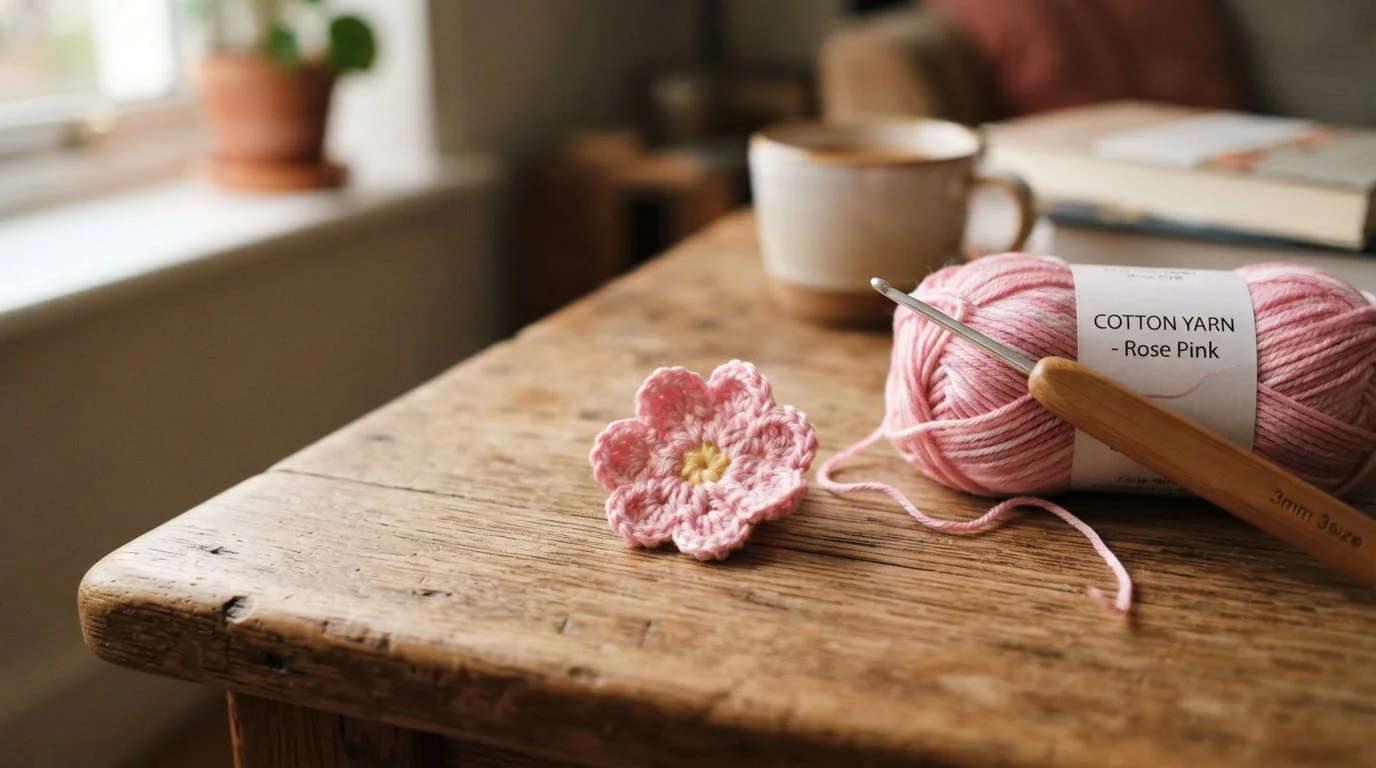
Ever seen a tiny crochet flower pinned to a bag or sewn onto a hat and thought, “I wish I could make that”? Good news: you can, and it takes less time than brewing a pot of coffee. This is one of the fastest, most forgiving projects in all of crochet, which makes it the perfect place to start if you’re brand new to the hook.
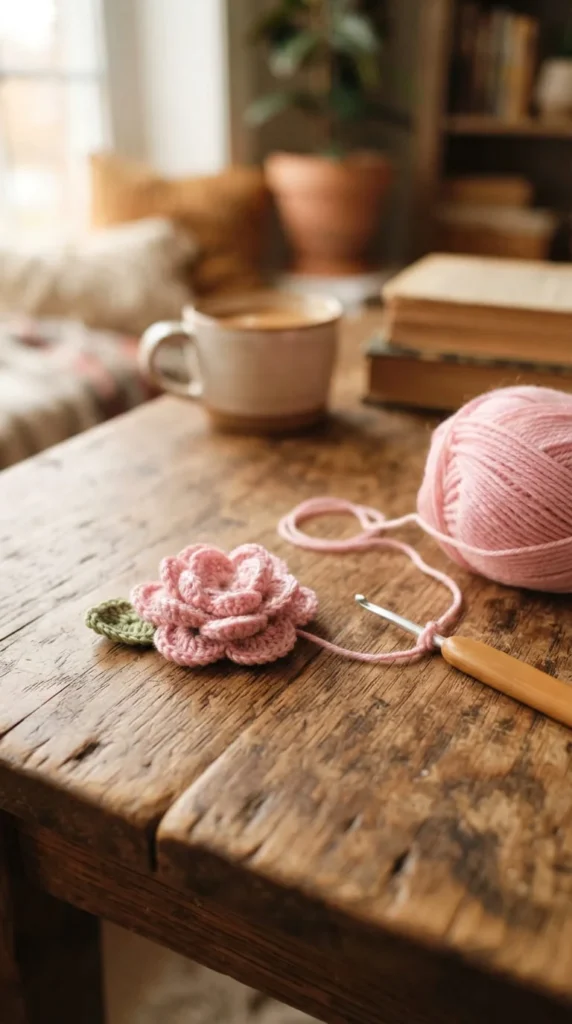
By the end of this tutorial, you’ll have made a real, five-petal flower from scratch, and you’ll understand the two most useful skills in beginner crochet: building a tiny center ring and repeating a simple petal stitch around it.
What You’ll Need
Amigurumi and flower patterns share the same short supply list:
- A small ball of worsted-weight yarn (any color)
- A 4mm crochet hook
- Scissors
- A tapestry needle (optional, for weaving in ends)
Tip: this is a perfect scrap-yarn project. You only need a few yards, so raid your leftovers instead of buying anything new.
Step 1: Start Your Center Ring
Every flower starts with a small ring at the center. You have two easy options here, so pick whichever feels more natural.
Option A: The Magic Ring
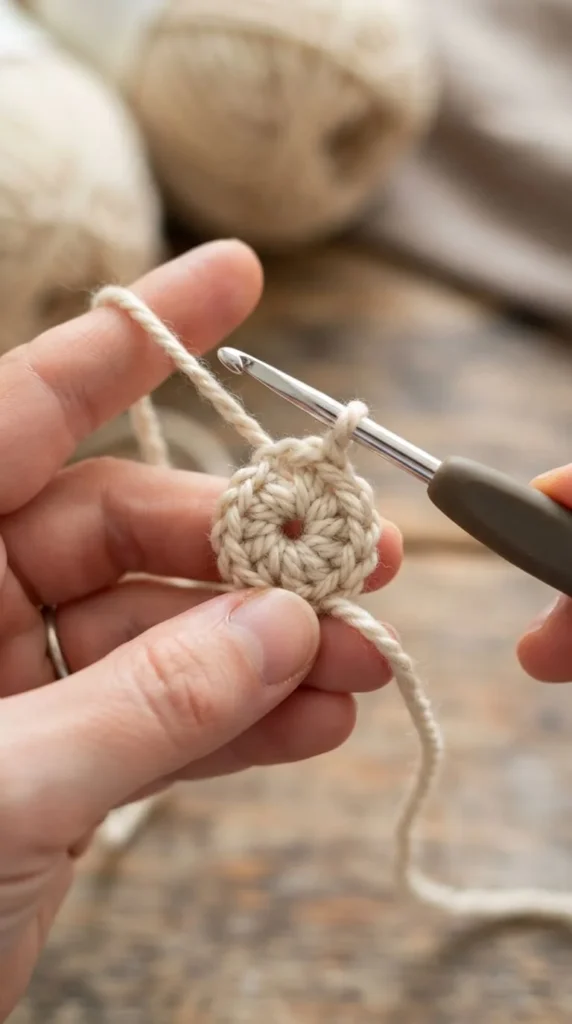
- Wrap yarn around two fingers to form a loop
- Pull a bit of yarn through with your hook
- Chain one to lock it, then crochet your first stitches into the ring
- Pull the tail to close it tight once your first round is done
Option B: The Chain Ring (no magic ring needed)
- Chain 4
- Slip stitch into the first chain to form a small circle
- Crochet your first round directly into that circle
Neither method is “better.” The magic ring gives a slightly tighter, hole-free center, while the chain ring is often easier for total beginners. Try both and see which one clicks.
Step 2: Build the Flower Center
Once your ring is ready, work your first round directly into it:
- Round 1: 5 single crochet into the ring, then pull the tail to close
- Round 2: 2 single crochet into each stitch (this gives you 10 stitches total)
That’s it — your center is done. This little disc is what every petal will attach to.
Beginner tip: if your ring feels too loose after closing it, give the tail one more gentle tug before moving on. If it’s already tight, don’t overdo it, or the center will cup instead of lying flat.
Step 3: Crochet the Petals
This is the fun part, and it goes fast. With 10 stitches around your center, you’ll make five petals, using two stitches per petal.
For each petal, repeat this in each stitch pair:
- Chain 2
- Double crochet into the same stitch
- Chain 2
- Slip stitch into the next stitch to close the petal and move to the next one
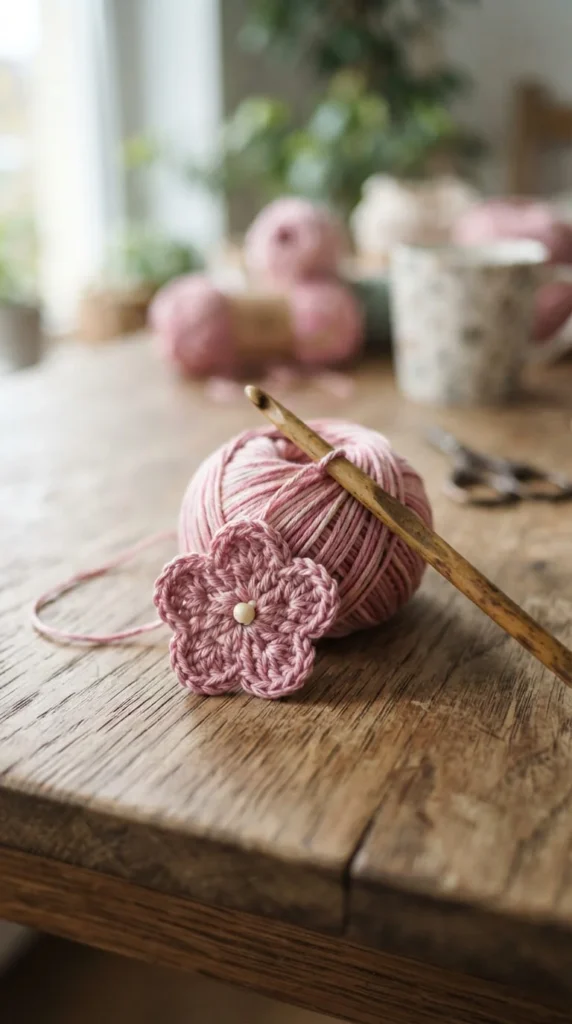
Repeat that sequence five times all the way around, and you’ll have a full flower with five rounded petals.
If your petals come out too skinny: add one more double crochet into each chain space. If they feel too tight or curled: go up half a hook size just for the petal round.
Step 4: Try a Color Change (Optional)
Want your flower to look extra polished? Switch colors between the center and the petals.
- Finish your last stitch of the center round
- Before pulling through the final loop, switch to your new color
- Continue the petal round in the new shade
A contrasting color, like a yellow center with pink petals, instantly makes a simple flower look more intentional.
Step 5: Finish and Secure
You’re almost done. To finish cleanly:
- Cut your yarn, leaving a 6-inch tail
- Pull it through the last stitch to fasten off
- Thread the tail onto a tapestry needle and weave it through a few stitches on the back
- Trim any extra yarn
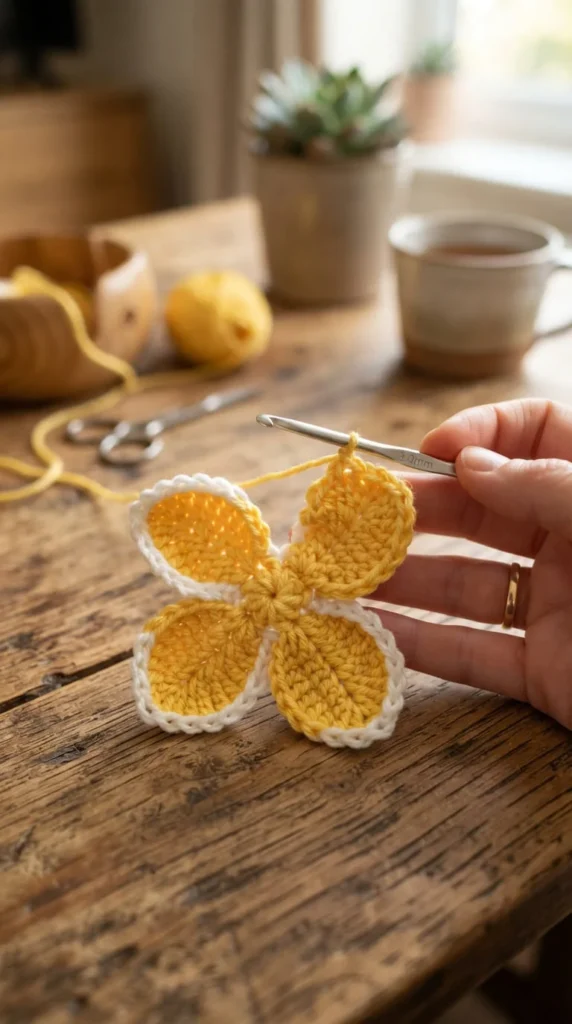
Give your flower a gentle shape with your fingers if any petal is sitting a little crooked. It should lie mostly flat once it’s relaxed.
What to Do With Your Flower
Now that you’ve got the hang of it, here’s where a single flower motif can go:
- Sew it onto a hat, bag, or plain sweater
- Glue it to a hair clip or pin back for a wearable brooch
- Attach it to a ribbon for a quick handmade bookmark
- String several together on yarn for a simple garland
- Make five or six in coordinating colors for a mini desk bouquet
Once you’re comfortable with this basic version, try changing your center stitch count. Six stitches instead of five gives you six petals instead of five. It’s the same technique, just a different number to repeat.
You’ve Got This
That’s genuinely it. One small ring, one repeated petal stitch, and a few minutes of your time is all it takes to make something that looks far more complicated than it actually was. Make one today while you’ve still got the steps fresh, and don’t be surprised if you end up making five more before the afternoon is over.
Save this tutorial for later, and come back to it any time you want a fast, satisfying project to work on.