
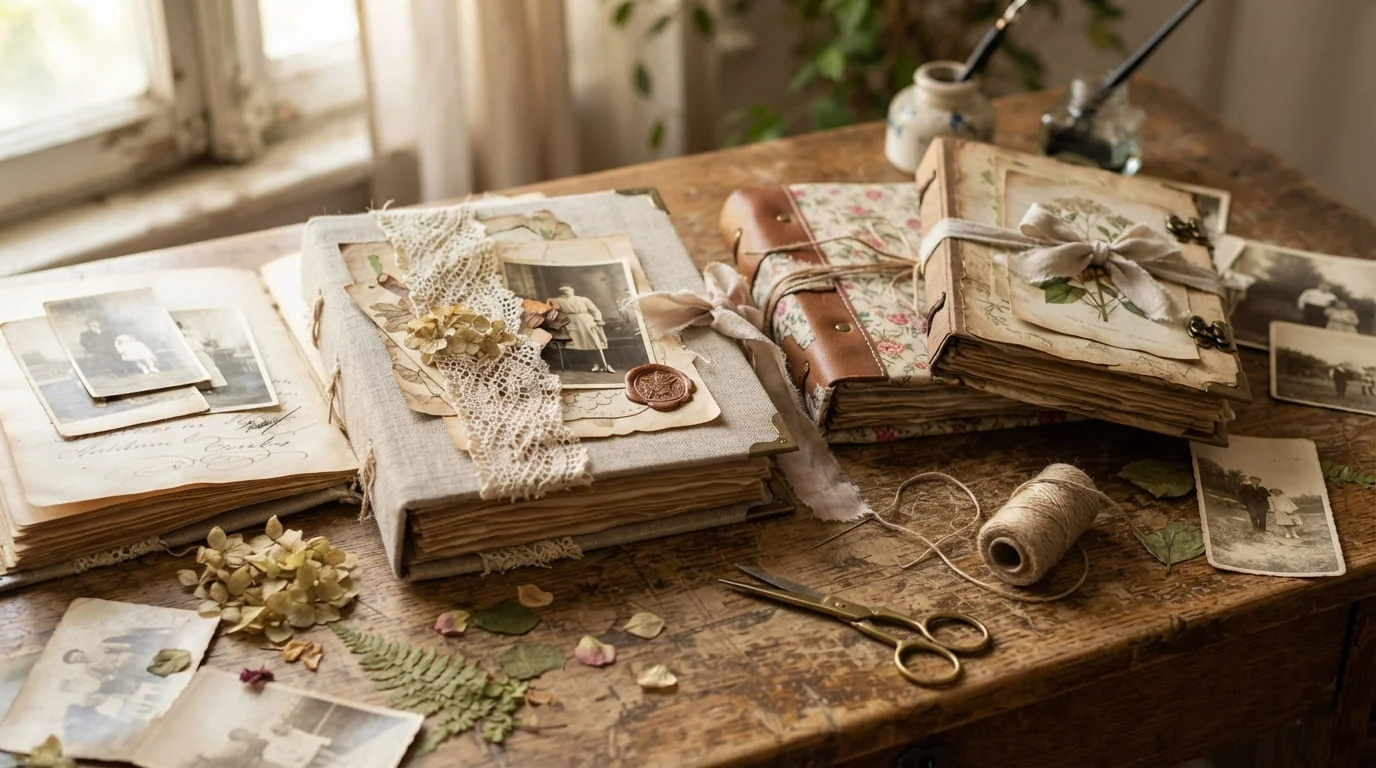
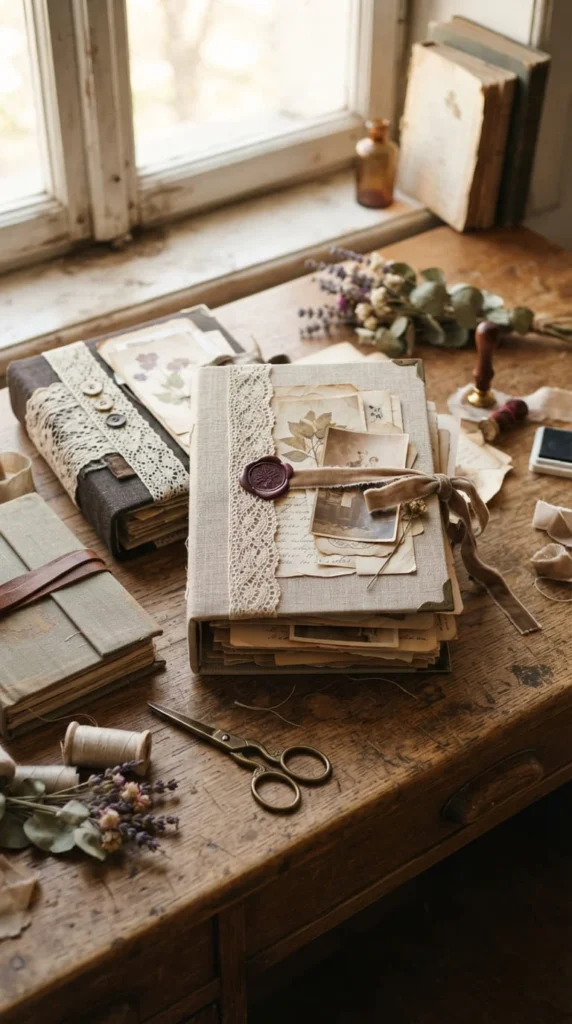
Vintage scrapbook cover ideas can turn a plain memory album into an object that already feels meaningful before the first page is opened. The strongest designs usually rely on aged-looking paper, worn textiles, muted colors, old photographs, lace, maps, metal details, and carefully layered ephemera rather than piles of bulky decoration. You can create a romantic Victorian cover, a dark-academia album, a travel journal, or a simple kraft-paper design using affordable craft supplies and repurposed materials. The ideas below focus on covers that feel timeless while remaining practical enough to handle, store, and revisit. You will also find ways to reinforce edges, protect delicate surfaces, control thickness, and choose materials that suit long-term memory keeping.
1. Turn an Old Hardback Book Into a Heritage-Style Cover
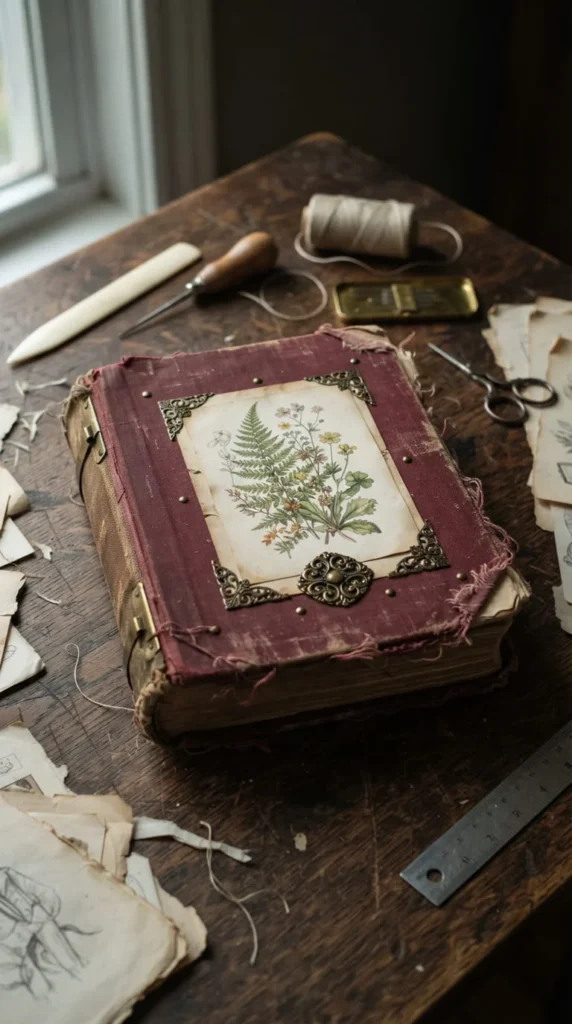
An unwanted hardback book can provide one of the most convincing foundations for a vintage scrapbook because the wear is already real.
Look for a cover with sturdy boards, an intact spine, and attractive cloth or paper wrapping. Faded burgundy, forest green, navy, brown, and muted cream often suit old-fashioned designs particularly well.
Remove or replace the interior only if you are comfortable with basic bookbinding. If you simply want the appearance, you can also attach the existing cover to a new scrapbook structure.
Keep part of the original surface visible. Scratches, softened corners, and slight color variation add character that artificial distressing may struggle to copy.
For decoration, add only one or two focal elements:
- A botanical illustration
- A small antique-style frame
- A lace strip
- A brass corner
- A faded photograph
Place the focal feature away from the outer edges so repeated handling does not catch it.
If the spine feels weak, reinforce the inside with a strong strip of book cloth or tightly woven cotton before adding pages.
This approach works especially well for ancestry albums, family history scrapbooks, reading journals, and collections of old photographs. The worn base immediately gives the finished album a sense of age without requiring heavy decoration.
2. Wrap the Cover in Linen for Quiet Old-World Texture
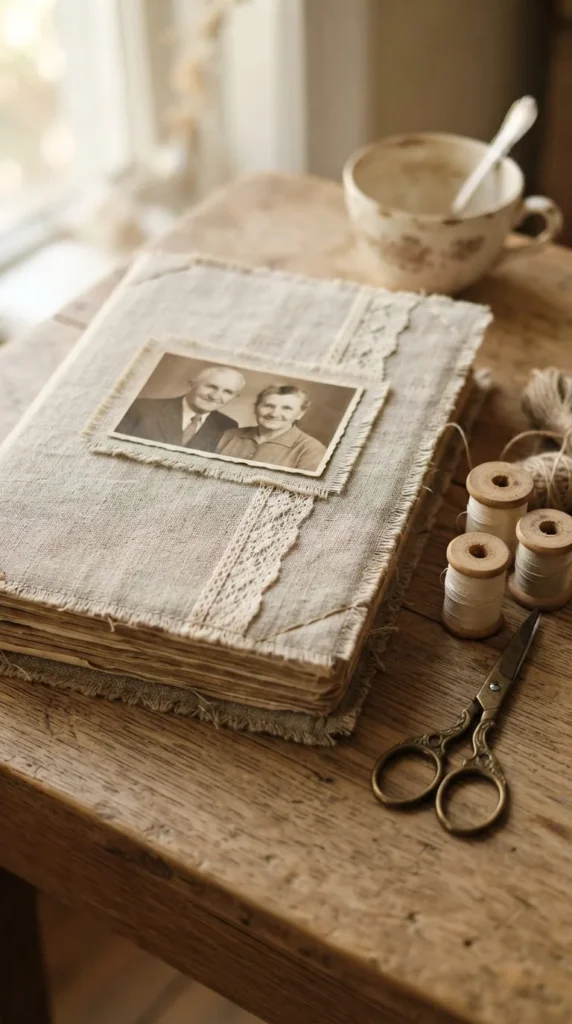
Linen creates a calm vintage look that works well when you prefer texture over heavy decoration.
Start with a firm scrapbook board or plain hard cover. Cut the fabric several centimeters larger than the front, back, and spine so you have enough material to wrap around the edges.
Iron the linen before attaching it. Wrinkles that appear charming on a tablecloth can make a scrapbook cover look poorly assembled.
Apply adhesive in a thin, even layer. Too much moisture can cause the board to curve. Smooth the fabric from the center outward and fold the corners carefully.
Natural flax, oatmeal, faded rose, dusty blue, moss, and warm cream all work well.
Once the fabric is secure, keep the embellishment restrained. A linen cover pairs beautifully with:
- Narrow antique lace
- Small mother-of-pearl buttons
- Sepia photographs
- Embroidery
- Tiny metal corners
- Pressed botanical motifs
You can stitch around a fabric label area before attaching the linen if you want subtle handmade detail.
A linen-wrapped album also feels pleasant to hold. Unlike heavily decorated covers, it can slide onto a shelf without catching surrounding books.
For an heirloom-style finish, repeat the fabric on the spine or inside cover panels so the outside and interior feel connected.
3. Pair Kraft Paper With Twine for Rustic Simplicity
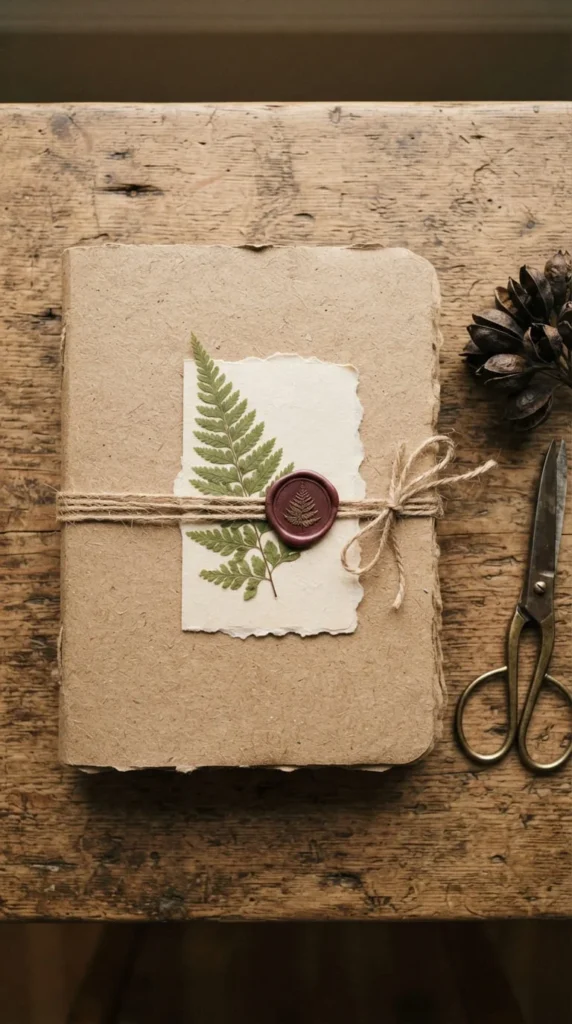
Kraft paper is one of the easiest materials to use when you want a vintage scrapbook cover without spending much money.
Its brown tone already gives the album an aged, earthy character. It also works with nearly every common vintage embellishment, from lace to botanical images.
Use heavy kraft cardstock or wrap a firm album board with recycled kraft paper.
Then add natural twine as a closure or decorative feature. A single wrap around the album often looks cleaner than several layers.
The strength of this style comes from restraint. Try combining kraft with only two or three details, such as:
- A pressed leaf
- Torn cream paper
- A small wax seal
- A faded photograph
- One piece of lace
Rough paper edges can add character, but keep the actual outer cover edges neat. Uneven corners usually wear faster.
If the paper feels thin, mount it onto cardstock before attaching it to the cover.
You can lightly darken selected edges with brown ink to create depth without making the album look artificially dirty.
This cover style works particularly well for nature journals, farmhouse albums, family recipe scrapbooks, travel memories, and handmade gifts.
It is also easy to repair. If the outer paper becomes damaged later, a new kraft layer can often be added without rebuilding the entire album.
4. Build the Design Around a Vintage Postcard
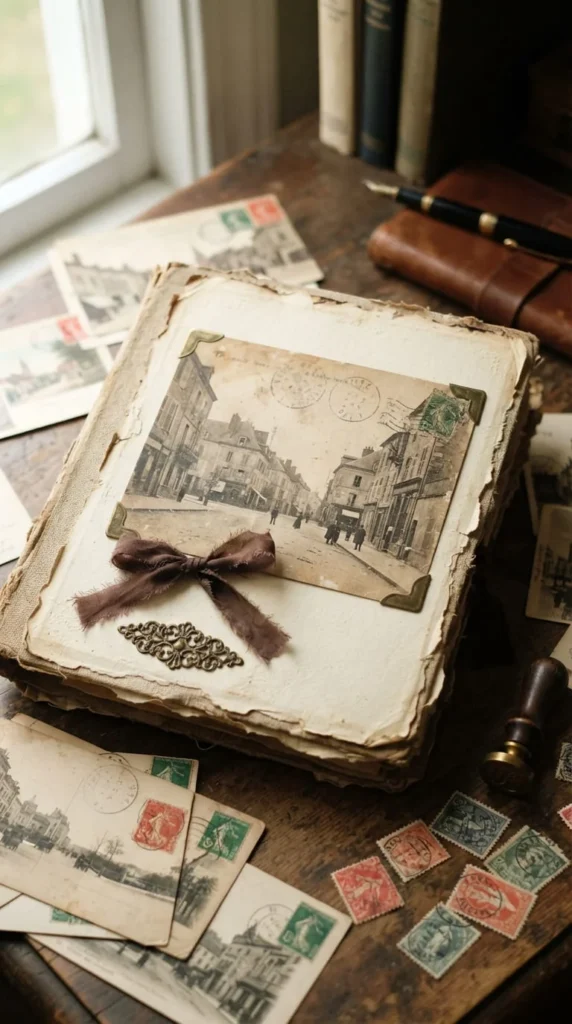
A single vintage postcard can give your cover a strong focal point without requiring complicated layering.
Choose a postcard whose colors suit the album theme. Coastal scenes work beautifully for travel memories, floral cards suit wedding or family albums, and old city images can give a history scrapbook a strong sense of place.
Original postcards can be fragile, so consider using a high-quality copy if the item has sentimental or collectible value.
Mount the image onto firm cardstock before attaching it to the album. Leave a narrow border around it to frame the artwork.
You can layer one torn piece of neutral paper behind the postcard to create depth without making the surface too thick.
Add small accents rather than surrounding it with many objects. Narrow ribbon, tiny metal corners, a paper doily fragment, or a wax seal can be enough.
Avoid placing the postcard too close to the album edge. The center area receives less rubbing when the scrapbook is handled or stored.
A matte protective finish can help shield printed reproductions from fingerprints.
This method is especially effective when the cover relates directly to the album’s contents. A postcard from Paris, for example, can introduce a scrapbook filled with European travel photographs.
The image becomes both decoration and a clue to the story inside.
5. Layer Lace Over Fabric for a Romantic Vintage Cover
Lace can make a scrapbook feel romantic very quickly, but the key is using it in controlled amounts.
Start with a fabric-covered base such as cotton, linen, or muted velvet. Then place lace across one section rather than covering the entire album.
A vertical strip near the spine can look refined. A narrow band across the lower third can create a softer shabby-style effect.
Choose lace with a flat construction. Thick ruffles may crush when the album is stored beneath other books.
Ivory, tea-colored beige, dusty rose, and soft taupe are easier to pair with vintage paper than bright white.
You can add one small button cluster or a short ribbon tail, but keep raised decoration close to the center where it is less likely to catch.
If the lace seems too bright, you can tone certain natural-fiber pieces with diluted tea. Test a scrap before treating the final material because fibers react differently.
Use adhesive sparingly. Fine lace can show dark patches if glue soaks through.
For a polished finish, tuck the lace edges beneath the fabric wrap when possible instead of cutting them flush at the cover edge.
This idea works beautifully for wedding albums, grandmother memory books, anniversary scrapbooks, and romantic photo collections.
6. Create a Dark Academia Cover With Maps and Library Details
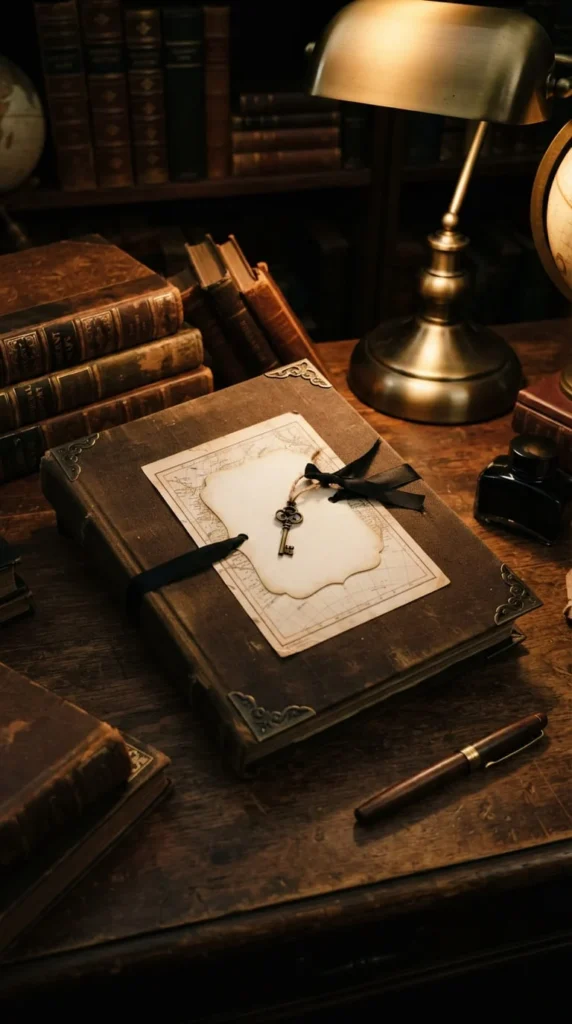
Dark academia works naturally with vintage scrapbook design because it draws from old libraries, worn books, handwritten documents, and scholarly objects.
Begin with a dark base such as brown, burgundy, black, olive, or deep navy.
Then introduce paper layers inspired by archives. You might use an old map reproduction, ledger paper, a library-card shape, or a fragment of faux handwritten correspondence.
Keep the colors muted. Cream, tan, charcoal, oxblood, and antique gold usually work better than bright modern shades.
Metal accents suit this style particularly well. Brass corners, a small key charm, or a thin metal frame can add depth without turning the album into costume decor.
Use ribbon sparingly. A flat black or brown ribbon closure feels more appropriate than a large bow.
Try arranging the composition asymmetrically. Place the main image slightly off center and balance it with a small accent on the opposite side.
For durability, keep charms short and close to the surface.
This cover concept is a good match for university memories, reading journals, poetry collections, historic travel albums, museum scrapbooks, and personal writing projects.
The final result should feel like an object discovered on a library shelf rather than a newly decorated craft album.
7. Use Tea-Stained Paper for Natural-Looking Age
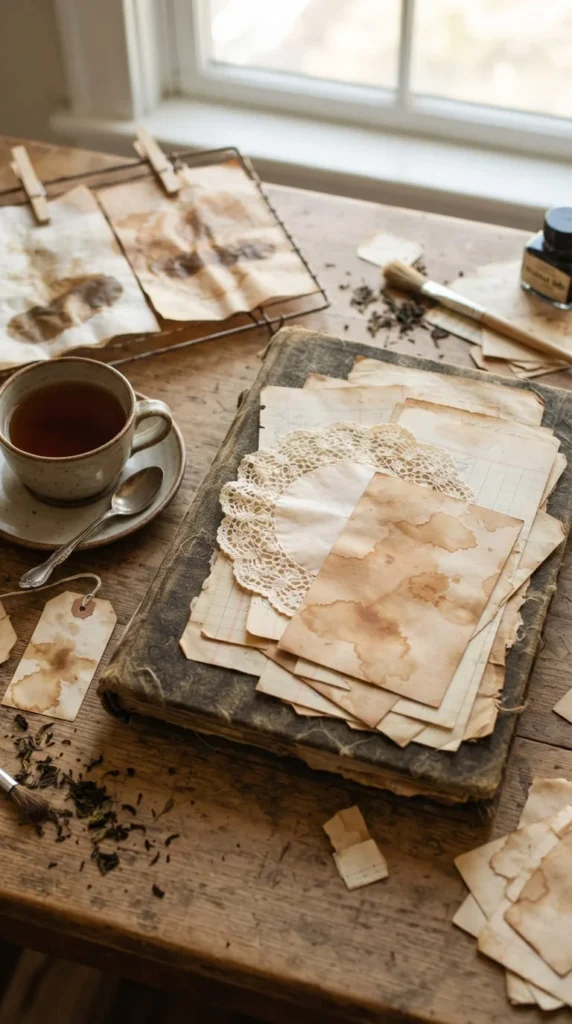
Tea staining is useful when new paper looks too clean beside vintage-style materials.
Brew strong black tea, allow it to cool, then test the liquid on scrap paper before treating anything important.
You can brush the tea onto cardstock for controlled color or dip suitable paper briefly for more irregular staining.
Let pieces dry completely before attaching them to the album. Damp paper can warp both itself and the cover beneath it.
For more natural variation, darken selected corners rather than making every sheet equally brown.
Tea-aged materials can include:
- Paper doilies
- Plain cardstock
- Cotton tags
- Torn book-paper copies
- Handmade paper
- Light cotton ribbon
Avoid staining original photographs, valuable documents, or irreplaceable memorabilia. Use copies whenever aging treatment could cause permanent damage.
Once dry, layer the paper over a strong cover base. Torn edges work particularly well beneath photographs or botanical illustrations.
Do not add too many stained pieces in the same shade. Mix light cream, medium tan, and deeper brown so the surface has visual separation.
Tea staining works best when it supports the design rather than becoming the whole design.
A few naturally uneven pieces can make a scrapbook appear older and softer while still keeping the cover tidy enough for regular handling.
8. Feature Antique Botanical Illustrations
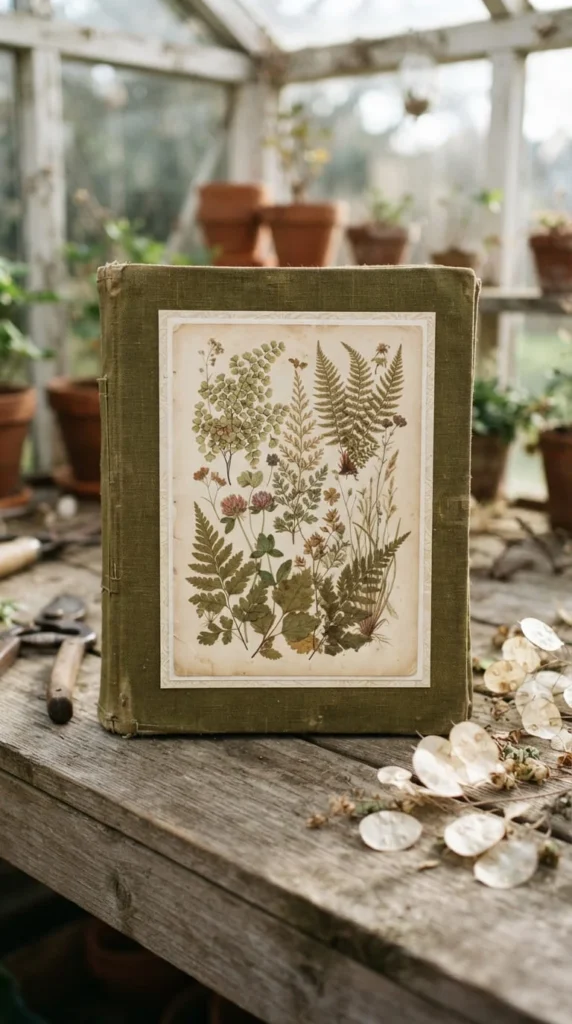
Botanical artwork brings color to a vintage cover without making it feel overly decorative.
Look for public-domain botanical illustrations, antique-style floral prints, fern drawings, mushroom studies, or vintage garden imagery that suits the album’s theme.
Print the artwork on matte paper rather than glossy photo stock. A softer surface usually fits older materials more naturally.
Mount the illustration on neutral cardstock so it has a clean border. You can then place it over linen, kraft paper, aged paper, or a dark fabric base.
One large botanical image often works better than many tiny floral pieces.
If you want extra depth, add a real pressed leaf beside the printed image. Keep the leaf beneath a protective layer or choose a flat paper reproduction if the album will be handled often.
Green does not have to dominate the palette. Rust, muted yellow, brown, dusty pink, and faded blue can all appear in antique botanical art.
This concept suits garden journals, nature scrapbooks, cottage-inspired albums, family recipe books, and seasonal memory collections.
For a more formal look, add thin brass corners or a simple frame around the illustration.
The result feels connected to traditional natural-history books while remaining easy to personalize with your own photographs and memories inside.
9. Use Faux Leather for an Heirloom Appearance
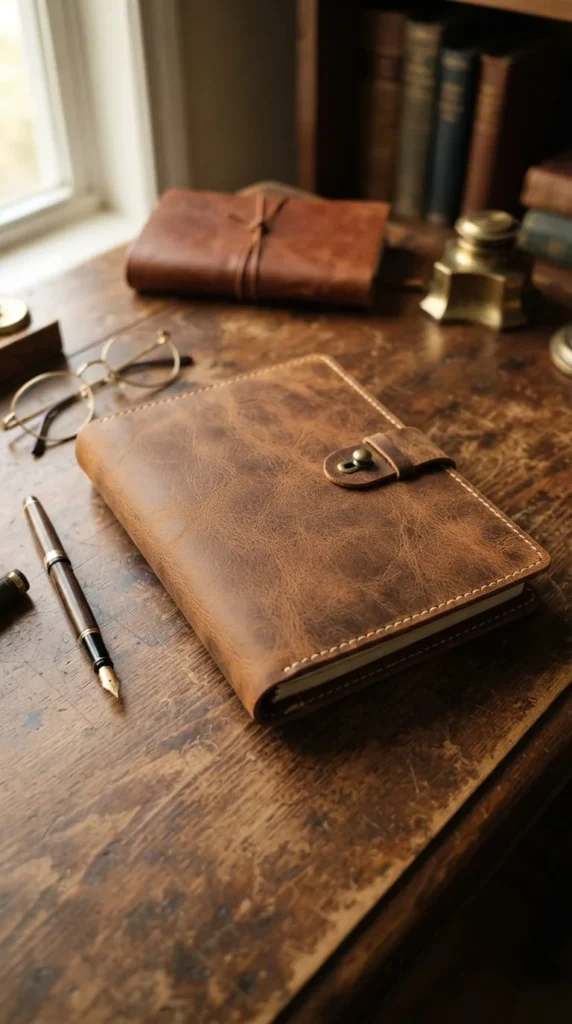
Faux leather can give a scrapbook the appearance of an old travel journal while remaining easier to cut and work with than thick traditional leather.
Choose a material with a matte or lightly distressed surface. Highly glossy finishes often look more modern.
Warm brown, cognac, oxblood, dark green, and black are classic choices.
Wrap the material over firm book board, or create a removable outer jacket if you want the album underneath to stay unchanged.
Stitched edges add convincing detail. If sewing through the material is difficult, punch holes at even intervals before stitching by hand.
A simple strap closure suits this style well. Keep it flat so the album remains easy to store.
You can also add:
- Small brass corners
- A metal stud
- A narrow embossed-style panel
- A flat medallion
- Dark cotton stitching
Avoid covering the entire surface with charms. Leather-style material already has enough visual weight.
This design works especially well for travel scrapbooks, men’s memory albums, graduation books, ancestry projects, and anniversary gifts.
If you are using older photographs inside, pair the outer cover with archival-safe page materials.
A strong outer cover protects the album physically, while the restrained decoration allows the material itself to provide most of the vintage character.
10. Cover the Album With an Old Map or Atlas Page
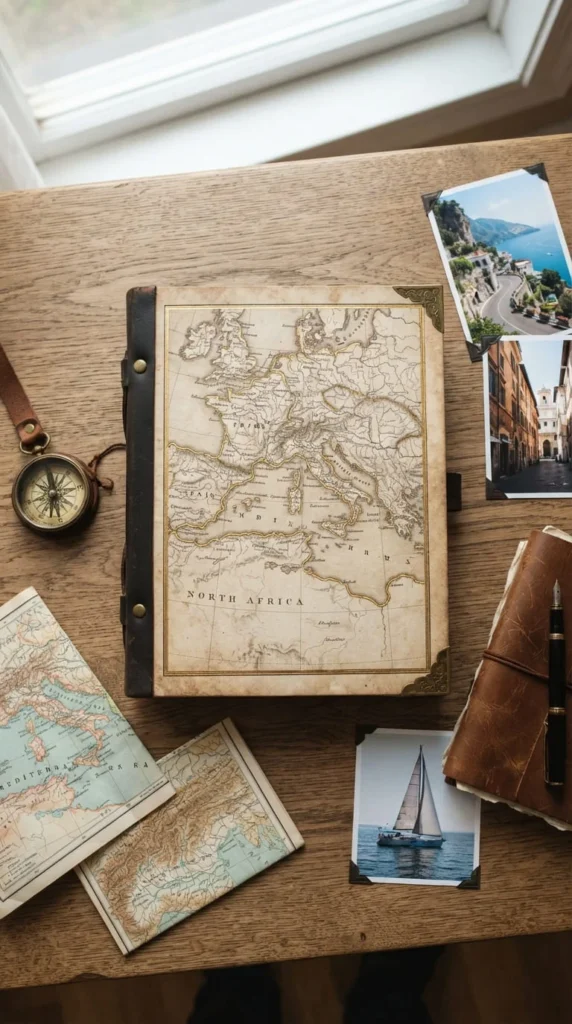
A map-covered scrapbook is an excellent choice when the album documents travel, family roots, relocation, or a meaningful place.
Use a reproduction if the original atlas page is valuable or brittle.
Choose a map with enough open space that the design remains readable from a distance. Extremely dense maps can become visually busy once other decoration is added.
Mount the paper to sturdy board using an adhesive that will not soak through.
Wrap the paper cleanly around the edges rather than trimming it exactly to the front face. Wrapped corners usually hold up better.
For extra detail, add a narrow metallic accent along selected lines or around a small central frame. Use metallic touches lightly.
You might mark a meaningful location with a tiny brass brad or stitched thread point, but avoid writing directly on antique material unless you are comfortable altering it permanently.
A leather-style spine pairs particularly well with an atlas front.
You can also use one map for the front and a coordinating plain material for the back.
This design becomes even more personal when the mapped region relates to the scrapbook contents.
A family migration album could feature an ancestral region, while a honeymoon scrapbook might use a map of the destination.
The cover begins telling the story before the pages are opened.
11. Paint an Art Nouveau Border Around the Cover
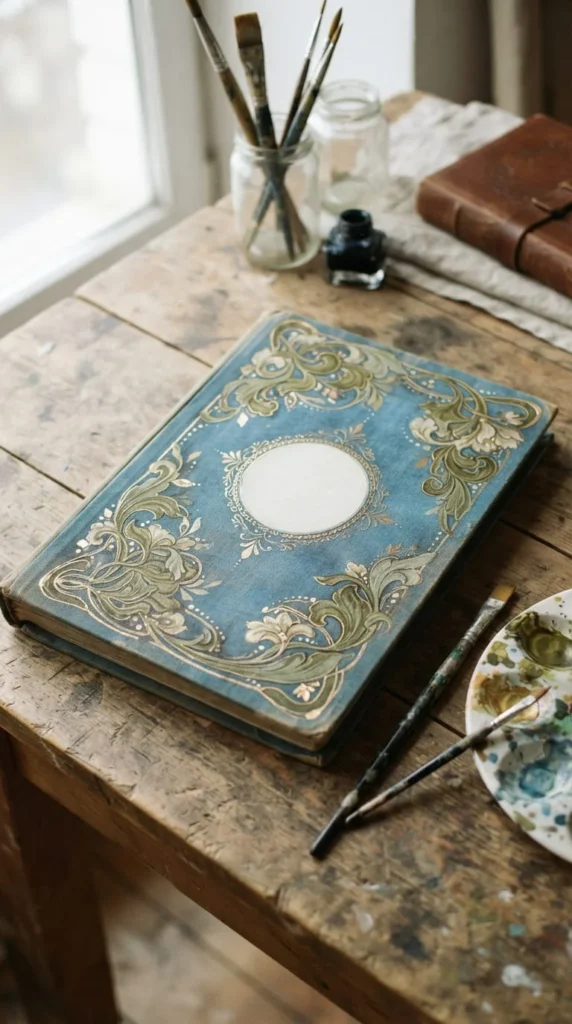
An Art Nouveau-inspired border can make a scrapbook feel decorative without relying on glued-on embellishments.
Begin with a plain fabric, painted board, or heavy paper cover.
Sketch a simple border in pencil before painting. Look for flowing stems, elongated leaves, curved flowers, and symmetrical corner shapes rather than copying complicated historic artwork.
Muted olive, dusty blue, deep burgundy, cream, and antique gold suit the style well.
Keep the center relatively open. A decorative border already carries a lot of detail, so a crowded middle can make the cover harder to read visually.
A metallic paint pen can add narrow gold accents after the main colors are dry.
Test every pen or paint on a scrap of the same cover material. Some surfaces absorb color unevenly.
If you are not comfortable drawing freehand, create a simple reusable stencil from cardstock.
Once finished, allow the paint to dry fully before handling the album.
This type of cover works well for wedding albums, poetry scrapbooks, theater memories, art journals, and romantic family collections.
The advantage is durability. Painted decoration remains fairly flat, so there are fewer pieces to snag or crush during storage.
You still get an ornate vintage appearance, but the surface stays practical for a book that may be handled regularly.
12. Create a Flat Ephemera Collage Instead of Bulky Layers
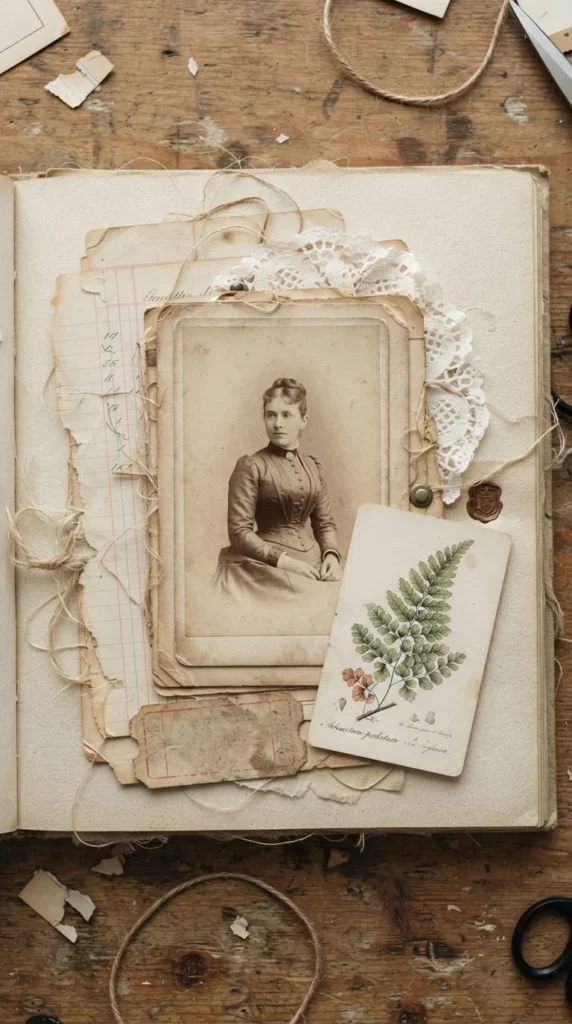
Vintage ephemera is perfect for scrapbook covers, but too many raised pieces can make an album difficult to store.
A flatter collage gives you the same collected appearance without excessive thickness.
Choose five to seven paper elements with different shapes and sizes. Suitable pieces include ledger copies, ticket shapes, botanical cards, old photograph reproductions, envelope fragments, music paper, and doily pieces.
Arrange everything before gluing.
Start with the largest background pieces, then place the focal image near the center or slightly off center.
Allow parts of each layer to remain visible. If one piece is almost completely hidden, it probably does not belong in the composition.
Use a narrow color range so the collage does not become chaotic. Sepia, cream, faded green, muted burgundy, and charcoal work well together.
Keep outer corners relatively clear. Those areas receive the most wear.
Thin double-sided adhesive can help prevent liquid glue from seeping through delicate paper.
Once finished, press the cover flat while the adhesive settles.
You can add one metal piece or stitched detail afterward, but the paper itself should remain the main feature.
This idea works particularly well for junk journals, travel albums, heritage books, and eclectic memory collections where many different stories come together inside.
13. Protect Pressed Flowers Beneath a Clear Layer
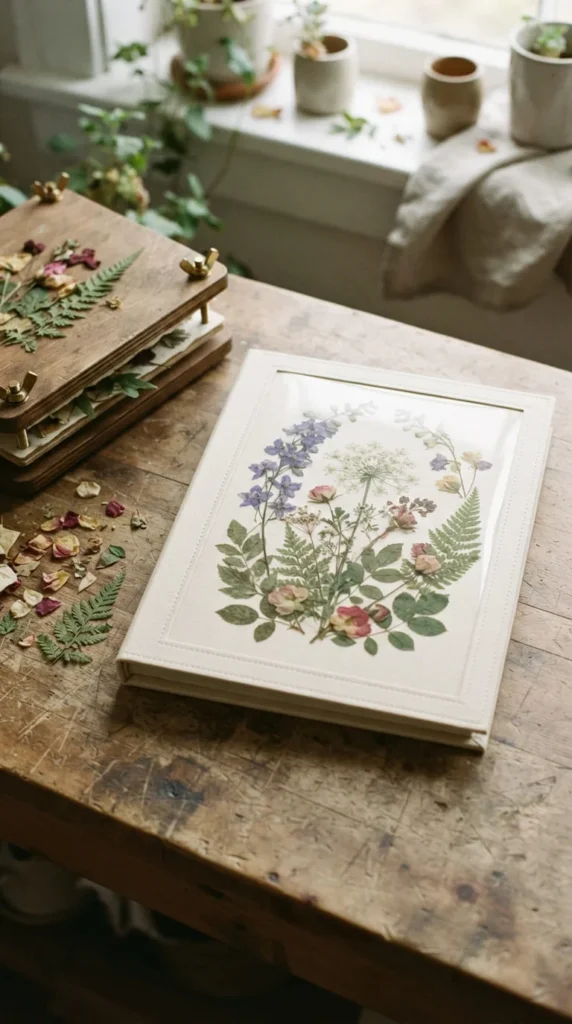
Pressed flowers can create a beautiful vintage cover, but exposed petals are easily damaged.
A protective overlay allows you to use real botanical material while keeping the surface flatter.
Choose fully dried flowers with thin petals and stems. Thick flower heads may remain too bulky for a book cover.
Arrange the pieces over cardstock or fabric before attaching them.
Keep the design simple. A few stems placed diagonally or a small corner cluster often looks more graceful than filling the entire cover.
Once the flowers are secure, protect them with a suitable transparent layer. Clear archival sleeves, certain book-cover films, or a carefully attached transparent panel can work depending on your album structure.
Test materials first to check clarity and adhesion.
Avoid placing valuable original photographs directly beside plant material unless both are separated appropriately.
Pressed flowers pair nicely with cream, pale green, faded blue, or soft brown backgrounds.
They suit wedding scrapbooks, garden journals, memorial albums, seasonal books, and nature collections.
If you do not want to work with real flowers, use scanned pressed-flower images printed on matte paper. You will keep the visual style with less fragility.
The finished cover can feel delicate while still surviving ordinary handling when the botanical elements are properly protected.
14. Design the Cover Around a Specific Decade
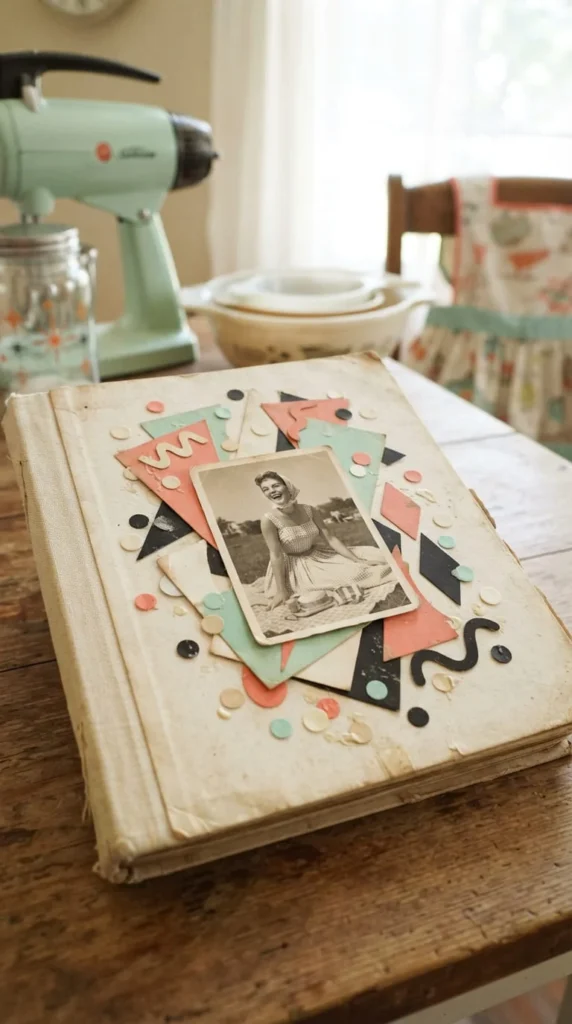
A vintage scrapbook becomes more convincing when the cover reflects one clear era rather than mixing every old-fashioned style together.
Choose the decade first.
For a 1950s-inspired album, consider mint, coral, black, cream, rounded shapes, and diner-style imagery.
A 1960s cover might use mustard, orange, olive, curved florals, and bold circles.
For a 1970s family album, try brown, rust, avocado green, woven texture, and geometric forms.
An 1980s or 1990s scrapbook can still feel vintage when you use faded photographs, period-appropriate color, and materials that reference the time.
Study household objects, clothing, packaging, interiors, and printed material from the chosen decade for visual direction.
Do not rely only on typography. Color and shape often communicate an era more effectively.
Use reproduction images unless original memorabilia is sturdy enough for the cover.
You can also carry the decade theme into the first few interior pages so the album feels connected.
This approach is ideal for milestone birthdays, childhood memory books, family history albums, music scrapbooks, and reunion gifts.
By narrowing the visual language to one period, you avoid a random assortment of vintage objects and create a cover with a clearer identity.
15. Make the Spine Part of the Design
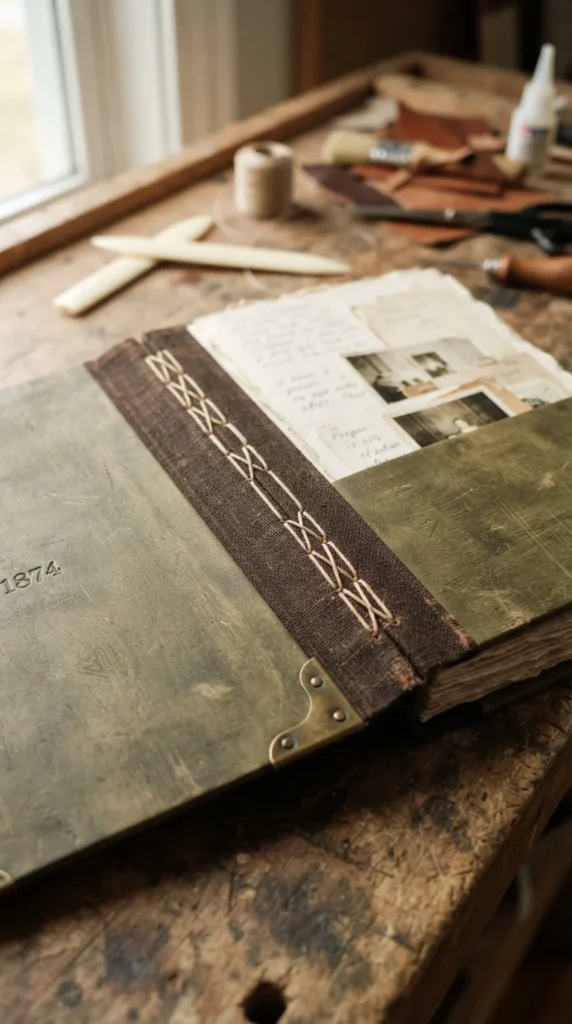
The front cover gets most of the attention, but the spine plays a major role in both appearance and durability.
A weak spine can make a beautiful scrapbook feel unstable, particularly when you have repurposed an old book shell.
Use book cloth, tightly woven cotton, faux leather, or another strong flexible material to reinforce the spine area.
You can create contrast by choosing a darker spine than the front and back covers. Brown book cloth with cream boards, for example, gives an old-library appearance.
Visible stitching can become decorative if the binding method allows it.
Keep the spine free of bulky objects. This area bends, rubs against shelves, and carries much of the album’s movement.
If you are adding a ribbon bookmark or closure, attach it so the anchor point does not weaken the spine.
Check the album while partially open before finishing the cover. The boards should move without pulling hard against the covering material.
A reinforced spine is especially useful for thick memory albums, junk journals, recipe books, and travel scrapbooks where pages may expand as memorabilia is added.
Treating the spine as a design element gives the whole scrapbook a more finished appearance while helping the structure cope with repeated use.
16. Add Brass Corners for a Refined Antique Detail
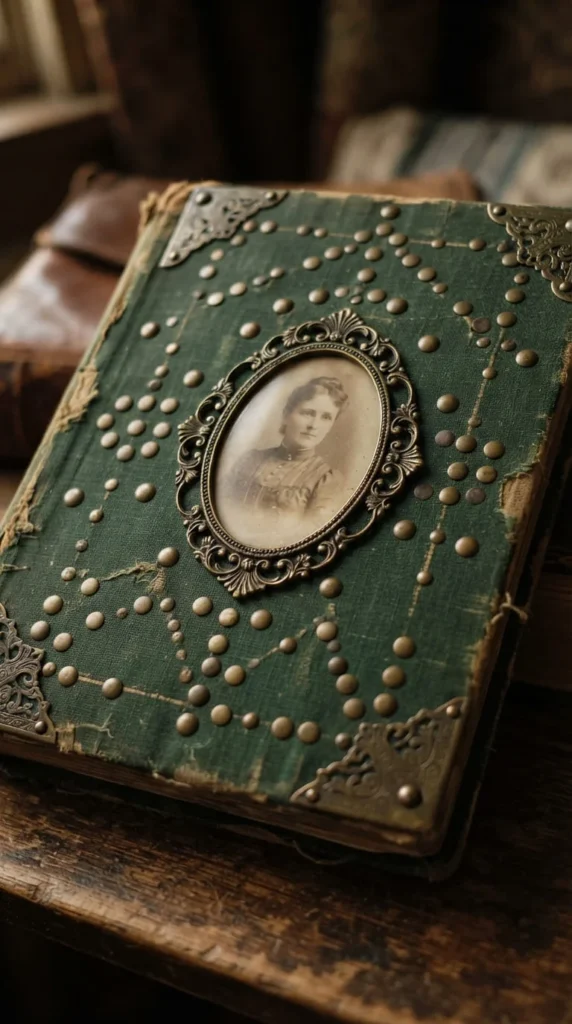
Small metal corners can make a plain scrapbook feel more finished while also protecting the areas most likely to wear.
Antique brass, dark bronze, and aged silver work particularly well with vintage designs.
Choose corner pieces that fit the thickness of your cover boards. Oversized metal hardware can look heavy on a small album.
Install all four corners for a formal appearance, or use only the front two if you prefer something quieter.
Metal corners pair well with linen, faux leather, dark book cloth, kraft paper, and map-covered boards.
You can repeat the metal tone elsewhere with one small element, such as a flat frame or tiny stud.
Avoid mixing several different metal finishes unless the scrapbook is intentionally eclectic.
Before attaching permanent hardware, close the album and check that nothing interfereswith page movement.
If your corner pieces require crimping, protect the metal with a scrap of fabric while pressing so tools do not leave visible marks.
This approach suits heritage albums, wedding books, travel scrapbooks, genealogy projects, and dark-academia designs.
Metal corners are particularly useful on frequently handled albums because they give vulnerable edges a little extra protection.
The decoration remains low-profile, which means the scrapbook can still sit comfortably on a shelf beside other books.
17. Make One Family Photograph the Main Feature
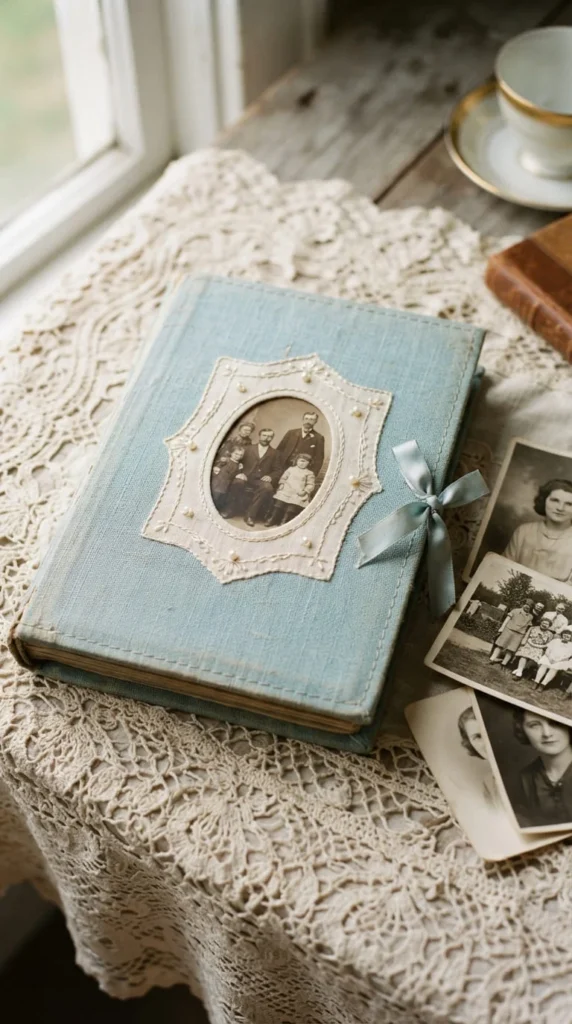
A vintage scrapbook cover does not require many embellishments when one meaningful photograph can carry the emotional weight.
Choose an image that represents the album clearly. It could be a wedding portrait, grandparent photograph, childhood picture, ancestral home, or family gathering.
Use a copy rather than an irreplaceable original on the outside of the album.
Convert the image to sepia or black and white if modern colors clash with your materials.
Mount it on sturdy paper and give it a narrow frame made from cardstock, fabric, or flat lace.
Oval and rectangular frames both suit vintage styles.
Keep decorative elements away from faces. A few stitched lines, tiny buttons, or one botanical piece can frame the image without competing with it.
Place the photograph far enough from the cover edges to reduce rubbing.
If the scrapbook may be handled often, add a clear protective layer over the image.
This idea is especially suited to genealogy albums, anniversary gifts, memorial books, and childhood collections.
The cover immediately communicates why the album matters.
Because the photograph already carries personal meaning, the rest of the design can stay calm. That often produces a more timeless result than a surface filled with unrelated vintage embellishments.
18. Reuse Upholstery Scraps for a Rich Textile Cover
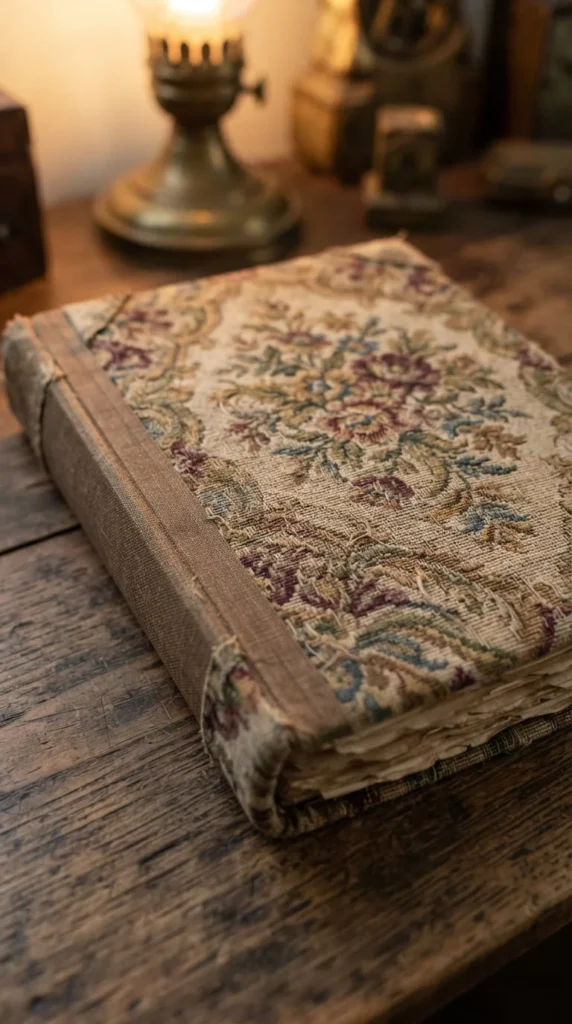
Small pieces of upholstery fabric can make beautiful scrapbook covers because the material often has strong texture and traditional patterns.
Look for remnants with floral, damask, stripe, or tapestry-inspired motifs.
Thrift stores, fabric shops, curtain offcuts, and old cushion covers can provide enough material for one album.
Choose fabric that is flexible enough to fold around the cover edges. Very thick upholstery may create bulky corners.
Cut the fabric with enough allowance to wrap behind the boards, then trim excess material carefully around the corners.
If the pattern is large, decide where the main motif should sit before cutting. Centering one flower or decorative shape can make the cover appear much more intentional.
Pair patterned fabric with a plain spine so the design does not become visually heavy.
You may not require any additional decoration. The woven surface can carry the entire cover.
If you add something, keep it small: one metal corner set, a narrow closure, or a flat photograph frame.
This idea works well for family heirloom albums, wedding scrapbooks, home-history books, and collections with a romantic or European feel.
Using remnants also keeps the project affordable while giving the album a material quality that printed paper cannot fully imitate.
19. Add a Hidden Cover Pocket for Loose Keepsakes
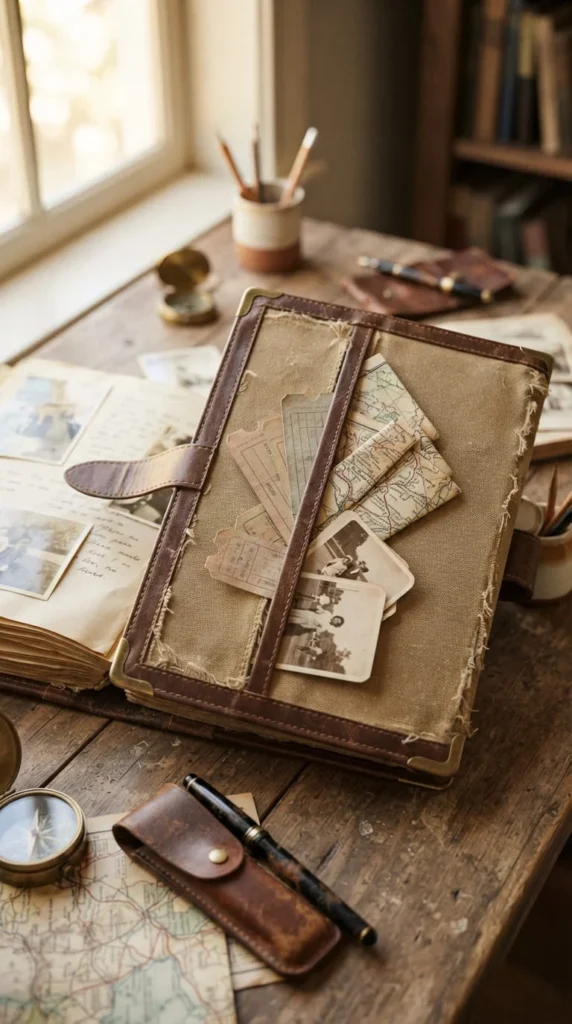
A cover can do more than decorate the album.
A hidden pocket on the inside front or back cover gives you a place for loose items that do not yet have a permanent page.
The pocket can hold ticket stubs, duplicate photographs, small maps, handwritten notes, receipts, or temporary memorabilia.
Use strong cardstock, fabric, or thin faux leather.
A simple diagonal pocket is easy to make. Attach only the lower and side edges so items can slide in from the top.
Keep the pocket fairly flat. If it becomes stuffed, the cover may stop closing properly.
For a vintage appearance, line the pocket with map paper, kraft cardstock, muted fabric, or an old-envelope reproduction.
You can also place the pocket behind a decorative panel so it is barely visible when empty.
This idea is particularly useful for travel scrapbooks because loose items often accumulate during a trip.
It also works well in family history albums where documents may be scanned, copied, or rearranged later.
The pocket should support the scrapbook’s use rather than becoming another decorative feature.
By building storage into the cover, you give small keepsakes a safe temporary home and make the album more practical without changing its outward vintage appearance.
20. Build a Recycled Kraft Cover With Natural Materials
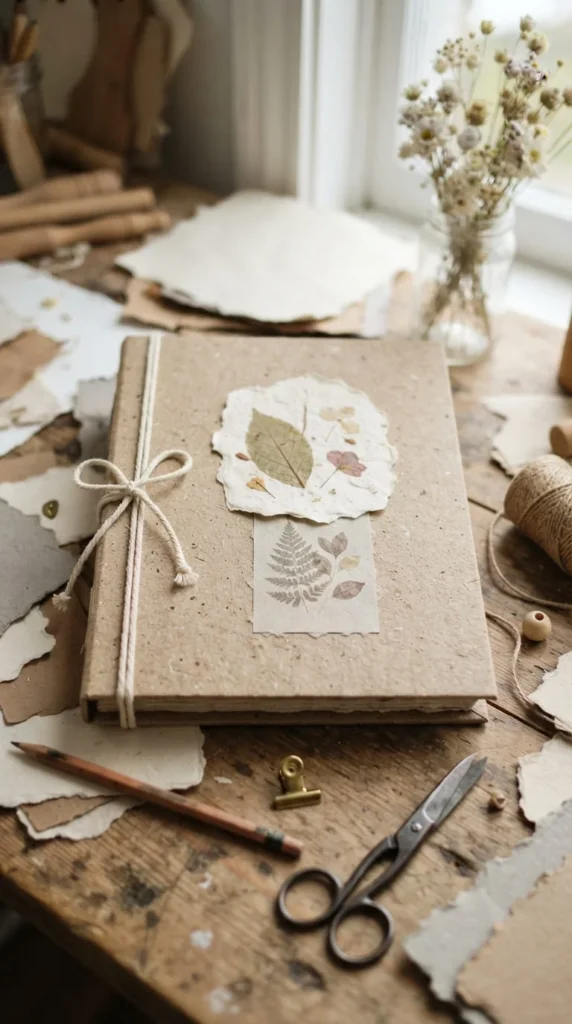
A recycled kraft cover works well when you want an earthy vintage appearance with very little decorative excess.
Start with thick recycled board or cover an existing album using heavy kraft paper.
Let the fiber texture remain visible rather than hiding it beneath paint.
Pair the cover with natural materials such as cotton cord, linen scraps, pressed leaves, or handmade paper.
Keep the palette close to the materials themselves: brown, cream, muted green, clay, and charcoal.
A botanical print can add a focal point without disturbing the simple look.
If you want a closure, use cotton tape, linen ribbon, or a thin cord rather than shiny synthetic ribbon.
Pay attention to the strength of the board. Recycled material can vary greatly in stiffness, so reinforce weak covers before attaching pages.
Seal exposed paper only if the finish you choose is compatible with the look and materials.
This style suits gardening journals, family recipe books, nature scrapbooks, farmhouse albums, and everyday memory books.
It is also a good choice when you want the cover to feel handmade without appearing overly decorated.
The small imperfections in recycled paper—tiny fibers, color variation, and subtle surface marks—become part of the design instead of flaws that have to be hidden.
21. Make Interchangeable Decorative Panels
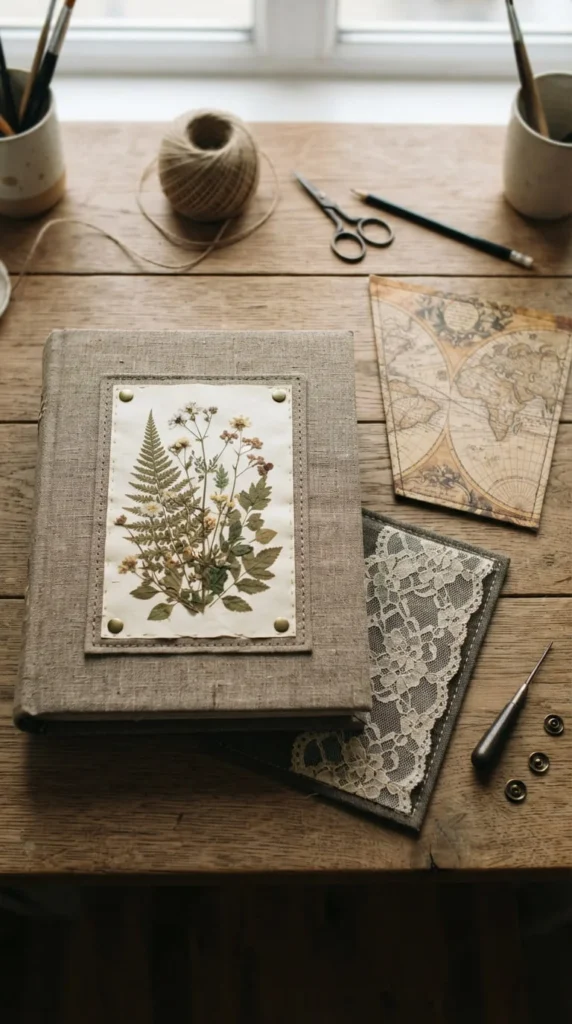
If you enjoy changing themes, create a neutral scrapbook cover with removable front panels.
Start with a durable base in brown, cream, olive, charcoal, or another color that works with several styles.
Then make separate decorative panels from sturdy cardstock, fabric-covered board, or thin craft board.
Each panel can carry a different theme. One might feature botanical paper, another an old map, and another lace over linen.
Attach the panels with discreet reusable fasteners, corner slots, hidden magnets designed for craft use, or another low-profile method suitable for your cover structure.
Keep the attachment points secure and away from the album edges.
This concept works particularly well for albums that change purpose over time.
A seasonal scrapbook could use different covers during the year. A travel journal might receive a new map panel for each destination.
You can also remove delicate decorations before storing the album tightly on a shelf.
Make the panels thin enough that swapping them does not alter how the book opens.
A neutral base keeps the project from becoming visually confusing.
This approach gives you room to experiment with vintage scrapbook cover ideas without committing permanently to one composition.
It can also reduce waste because the same album structure can support several decorative looks.
22. Keep Embellishments Low-Profile for Better Durability
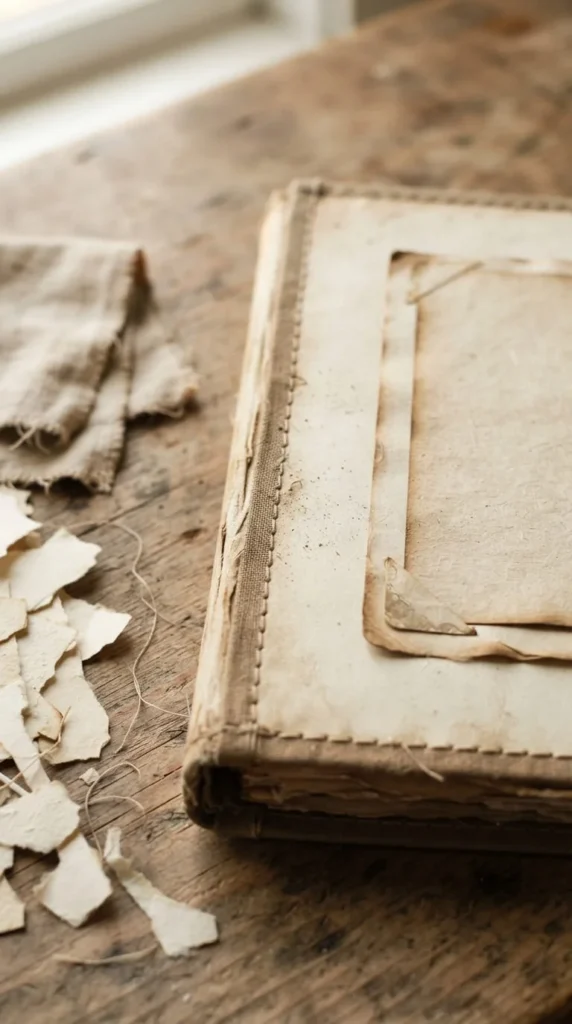
Vintage covers often tempt crafters to add flowers, bows, charms, buttons, lace, frames, and paper layers all at once.
That can look beautiful in a display photograph but become frustrating during regular use.
Raised decoration may crush beneath other albums, catch on shelves, or loosen when the scrapbook is carried.
For a more durable cover, build visual depth with flat layers.
Use torn paper, printed ephemera, stitched fabric strips, inked edges, flat lace, thin metal corners, and mounted photographs.
If you want one raised element, place it near the center rather than at an outer corner.
Keep ribbon ends short.
Avoid large paper flowers on albums that will be stacked.
You can also protect pale paper with a suitable matte finishing product after testing it on a sample first. Some finishes change paper color, so experimentation matters.
Pay particular attention to the bottom corners and fore edge. These areas receive repeated contact when the scrapbook is removed from a shelf.
Durability does not mean the cover has to look plain.
Layering different paper tones, fabric textures, and subtle stitching can create plenty of visual interest without adding height.
This approach is especially useful for family albums that will be opened often rather than stored only for display.
23. Create a Personalized Vintage Cover for Gifting
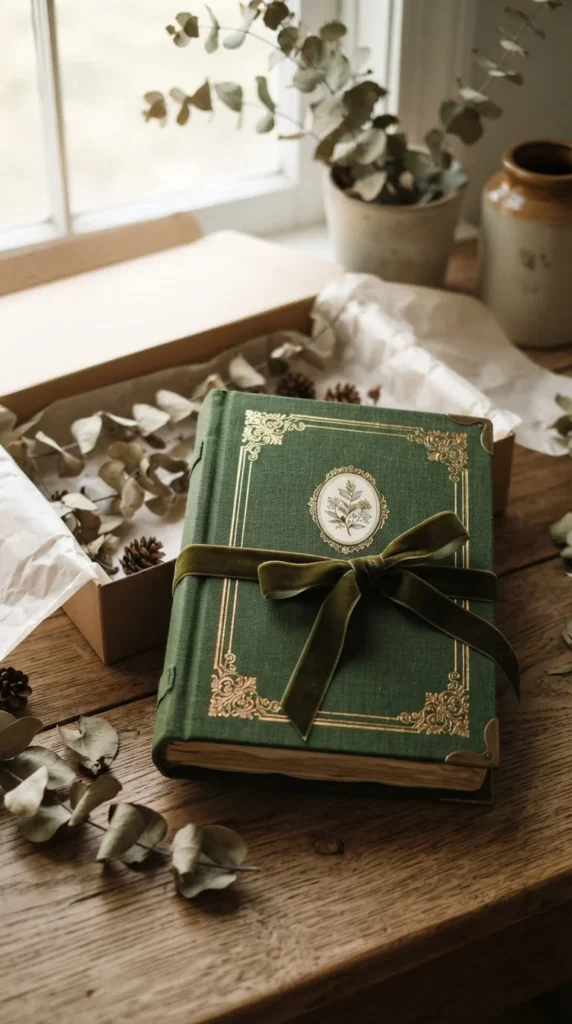
A handmade scrapbook becomes much more meaningful as a gift when the cover reflects the person or event inside.
Start by choosing a theme connected to the recipient rather than decorating with random vintage materials.
For a wedding album, use cream linen, soft lace, and muted metallic accents.
For a travel gift, try maps, faux leather, and a small compass-style motif.
For a family history book, darker cloth, sepia photographs, and brass corners can feel appropriate.
You can personalize the cover through imagery, color, symbolic objects, or a removable insert without relying on large lettering.
If you plan to add a name or date later, keep that area away from the outer edges where rubbing is strongest.
A narrow metallic border can make the album feel gift-worthy without overwhelming the handmade surface.
Finish the inside covers as carefully as the outside. Coordinating paper or fabric hides wrapped edges and gives the project a clean final appearance.
Before wrapping the scrapbook, open and close it several times. Check the spine, closure, corners, and attached decoration.
A personalized cover works because it gives the album a clear identity before the recipient reaches the first photograph.
Choose one idea from their story, build the cover around it, and let the memories inside carry the rest.
Conclusion
The best vintage scrapbook cover ideas usually combine one strong theme, durable materials, restrained decoration, and personal meaning. You can start with something as simple as kraft paper and twine or build a richer album from linen, maps, faux leather, lace, botanical prints, and antique-style metal details.
Think about how the scrapbook will be used before decorating it. Albums that will be handled often benefit from flatter layers, protected photographs, reinforced corners, and a strong spine. Display albums give you a little more freedom with delicate materials.
Choose one cover idea that suits the memories you plan to keep, gather a small group of coordinating materials, and test the arrangement before attaching anything permanently. A thoughtful cover does not have to be crowded. Often, one meaningful photograph, a beautiful textile, or a carefully chosen piece of ephemera is enough to give the entire scrapbook lasting character.