
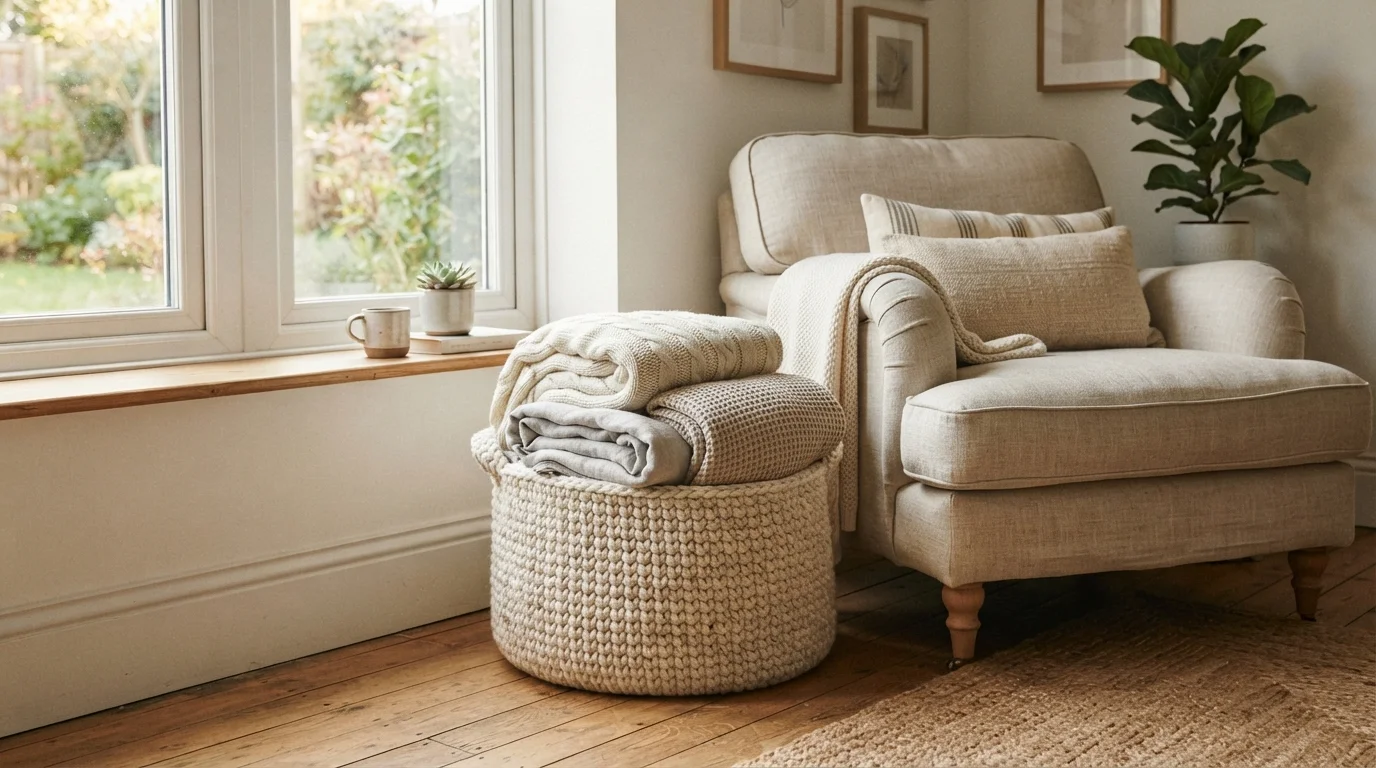
A handmade storage basket is one of those crochet projects that looks impressive but can be surprisingly approachable. With a few basic stitches, thick yarn, and a simple construction method, you can create a practical basket for yarn, toys, bathroom essentials, craft supplies, or everyday clutter.
Most beginner-friendly crochet storage baskets follow the same basic structure: make a flat base, build the sides upward, add handles if desired, and finish the edges neatly. Dense stitches such as single crochet are especially useful because they help the basket hold its shape.
Whether this is your first project worked in the round or you simply want a useful weekend crochet project, this guide walks you through the process and shows you how to make your basket sturdier and easier to customize.
Choose the Right Yarn for a Sturdy Basket
Your yarn choice makes a noticeable difference in how the finished basket behaves.
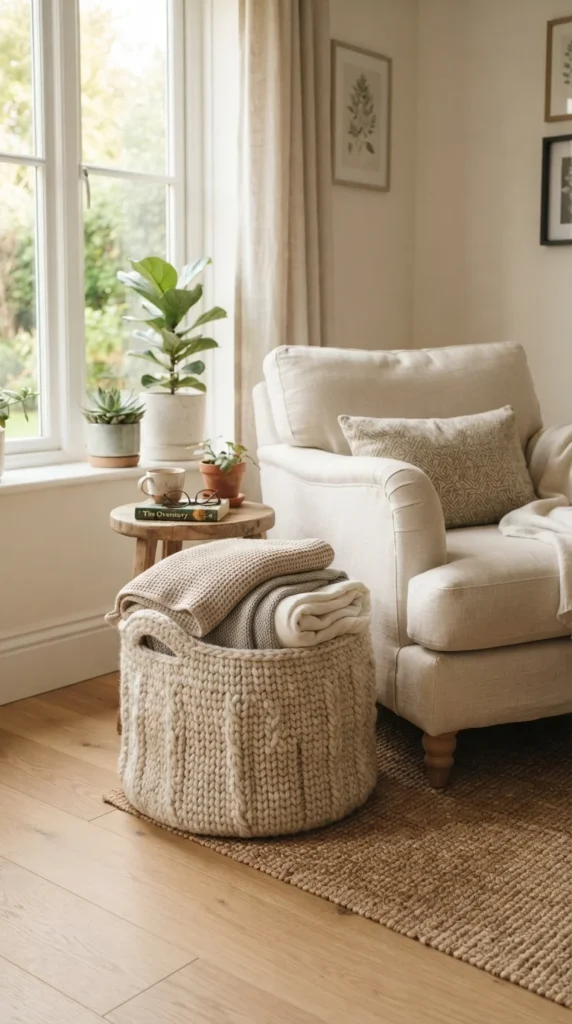
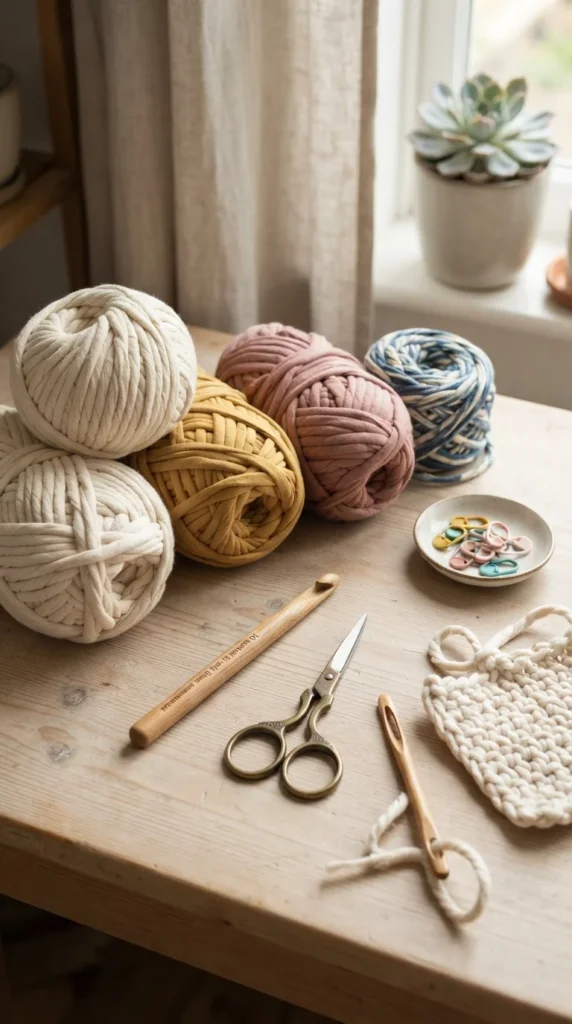
For storage baskets, thicker and firmer materials generally work better than soft, lightweight yarn. Common options include bulky or super-bulky yarn, cotton, recycled T-shirt yarn, macramé cord, and even multiple strands of regular yarn held together.
For beginners, consider:
- Bulky yarn: Fast to crochet and easy to see while working.
- Cotton yarn: Creates dense stitches and a clean, structured finish.
- T-shirt yarn: Thick, modern, and excellent for substantial baskets.
- Two strands held together: A useful option when you already have medium-weight yarn at home.
Use a hook that gives you a fairly firm fabric. If your stitches are extremely loose, the basket may collapse or sag.
Start With a Flat Crochet Base
Most round baskets begin with either a magic ring or a simple chain-start center. The magic ring creates a tightly closed center, while some beginners find a chain start easier to manage. Both methods can work.
After creating the center, work single crochet stitches around it and gradually increase your stitch count.
The important part is keeping the base flat.
If the base begins forming a bowl too early, you may not be increasing enough. If it becomes excessively wavy or ruffled, you may be adding increases too quickly.
Continue expanding the circle until the base reaches the diameter you want. This is also the easiest way to customize the basket: a wider base produces a wider basket, while additional side rounds create more height.
Use a stitch marker to identify the beginning of each round, particularly if you are crocheting in a continuous spiral.
Turn the Flat Base Into Basket Walls
Once your base reaches the desired size, stop increasing.
From this point forward, crochet the same number of stitches around each round. Instead of continuing to spread outward, the fabric will gradually rise and form the basket walls.
For a more defined corner between the base and sides, try working one transition round through the back loops only. This technique can create a visible ridge and encourage the sides to turn upward rather than flare outward.
Add Useful Crochet Basket Handles
Handles are optional, but they can make a storage basket much more practical.
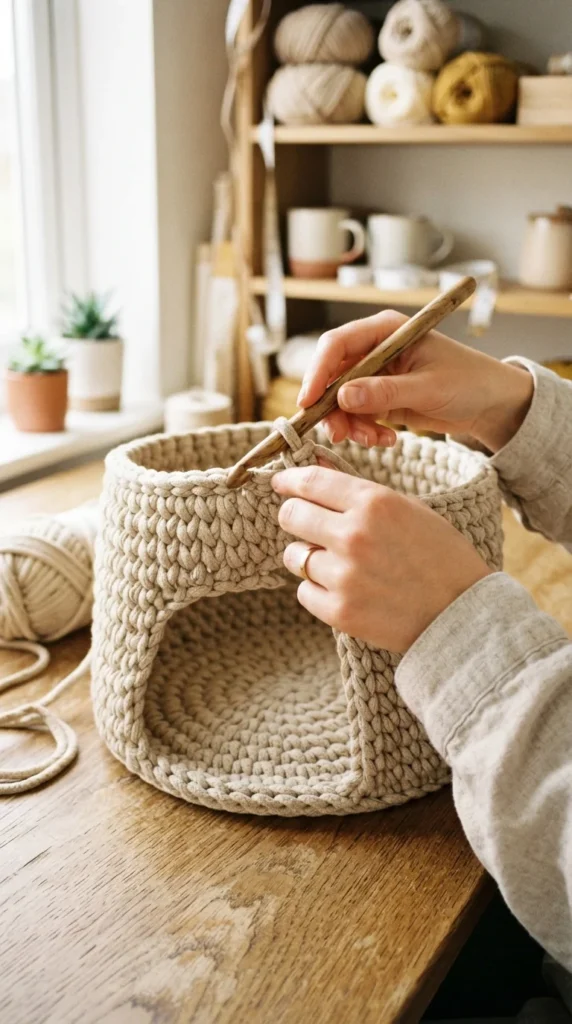
An easy method is to crochet to the position where you want the first handle, create a short chain opening, skip several stitches, and continue crocheting. Repeat on the opposite side.
On the following round, work stitches around or into the chain spaces to strengthen the openings.
Other options include:
- Small cutout handles for shelf baskets
- Rolled or reinforced handles for heavier items
- One hanging loop for vertical wall storage
- Tote-style handles for carrying yarn or craft projects
Handles are an area worth reinforcing because they receive more pulling and stretching than the rest of the basket.
How to Keep Your Crochet Basket From Flopping
A beautiful basket is much more useful when it can stand upright.
If your basket feels too soft, check these common causes:
- Your hook may be too large for the yarn.
- Your crochet tension may be too loose.
- The yarn may be too soft or lightweight.
- Your stitch pattern may create too much open space.
- Heavy contents may be stretching the bottom or handles.
Dense single crochet combined with thick yarn and firm tension is one of the simplest approaches to improving structure. For extra reinforcement, you can also experiment with a fabric lining or removable base insert.

Finish Your Basket Neatly
When your basket reaches the height you want, fasten off securely and weave the yarn ends into several nearby stitches using a tapestry needle.
Take a moment to inspect the handles and final edge. Reinforcing these areas can improve durability, especially if the basket will regularly be carried or filled with heavier objects. Finishing details such as secure ends and strong handles are easy to overlook, but they directly affect how well the basket holds up over time.
Make Your Crochet Basket Your Own
Once you understand the basic base → sides → handles → finishing construction, you can create dozens of variations.
Try changing the height, using two colors, combining leftover yarns of similar thickness, making a square version for shelving, or adding a hanging loop for small spaces. Crochet baskets can work as practical organizers while also adding handmade texture to your home.
Start with a simple single-crochet basket and focus on keeping your base flat and your stitches firm. Once you master those two skills, customizing the shape and style becomes much easier.
Save this guide for later and try making your own crochet storage basket when you’re ready!