
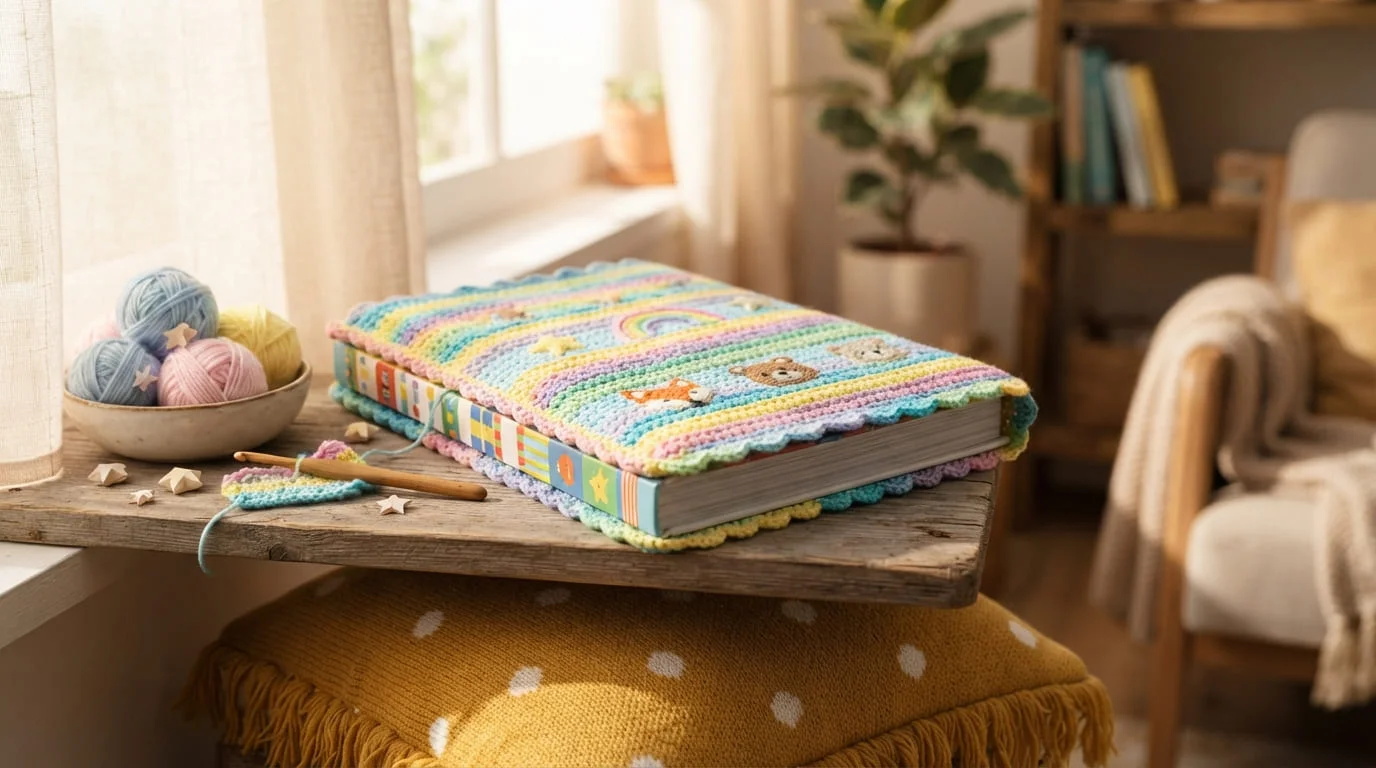
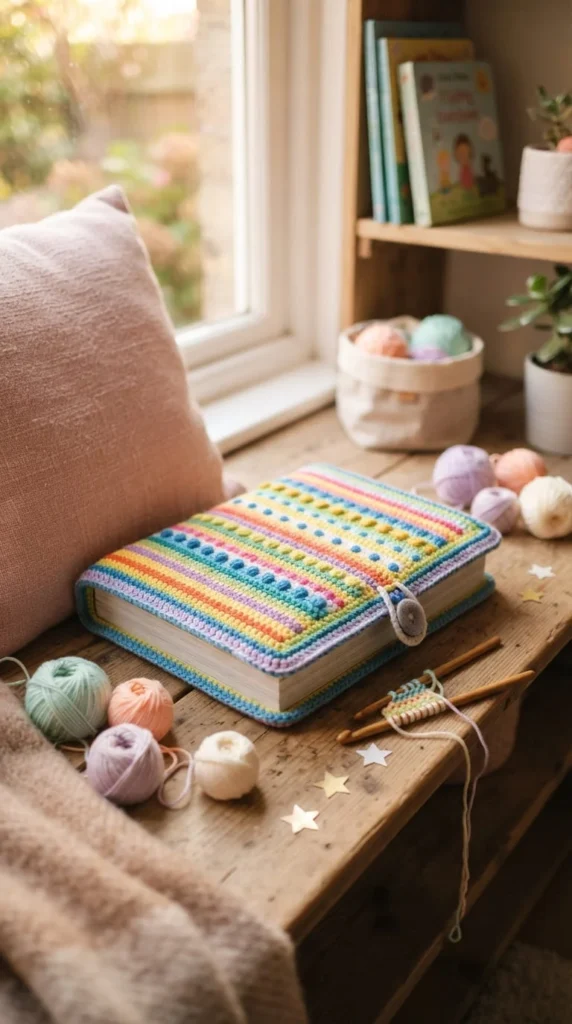
A DIY crochet book cover for kids can turn an ordinary storybook into a colorful handmade treasure. Instead of buying a plain sleeve, you can choose the yarn, stitch pattern, colors, decorations, and closure around the child’s personality. The result can protect a favorite book while making reading time feel more personal.
These ideas cover many crochet styles, from simple beginner sleeves and cheerful stripes to animal faces, fantasy themes, pockets, textured stitches, and removable decorations. Some designs focus on easy construction, while others offer more room for creative crochet details.
Before starting, measure the closed book and note its height, width, and spine thickness. A small crochet swatch can also help you check the fabric and fit. Once the basic dimensions are right, you can turn a simple rectangle into a playful reading accessory that a child will enjoy carrying, opening, and using.
1. Rainbow Stripe Sleeve With a Cheerful Color Rhythm
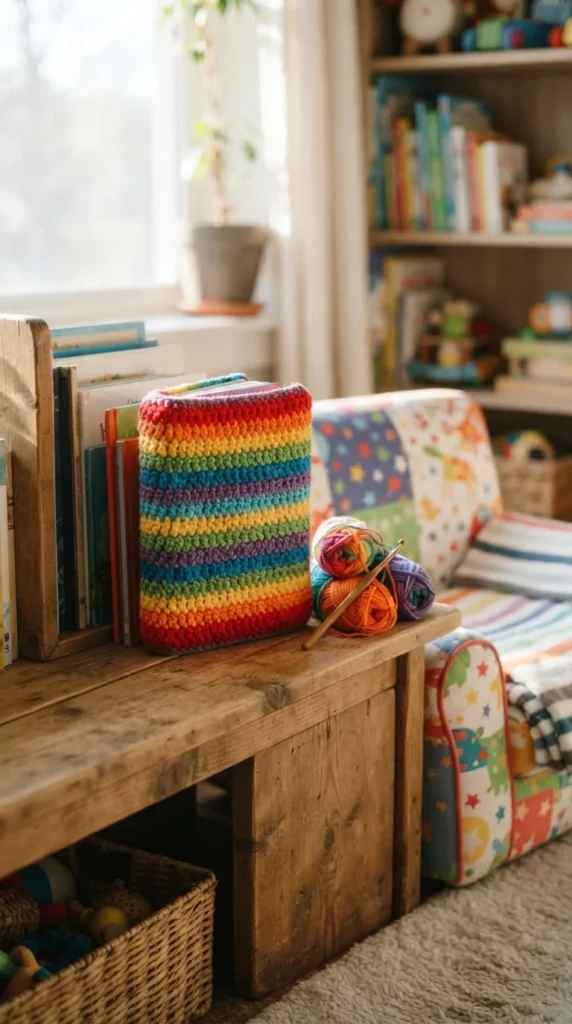
Rainbow stripes are an easy way to give a plain crochet book cover a lively personality. The basic shape can remain simple while the color changes create the visual interest.
Choose five or six shades that work together. A classic rainbow can use red, orange, yellow, green, blue, and purple. For a softer look, try peach, lemon, mint, sky blue, lavender, and pink.
Single crochet makes a firm fabric that works nicely for an everyday book sleeve. Half double crochet can be another choice when you want rows to grow a little faster.
You can make every stripe the same width or vary the number of rows. Equal stripes create a neat appearance, while uneven bands feel more playful.
A child can help decide the color sequence before you begin. Place yarn balls beside the book and let them choose the order.
For a useful finishing touch, crochet a narrow loop along one side and make a matching yarn bookmark. Keep the bookmark flat enough to sit comfortably inside the book.
This design can fit picture books, early readers, journals, or chapter books. Simply adjust the measurements around the actual book rather than relying on a fixed size.
2. Woodland Fox Cover With Crochet Ears
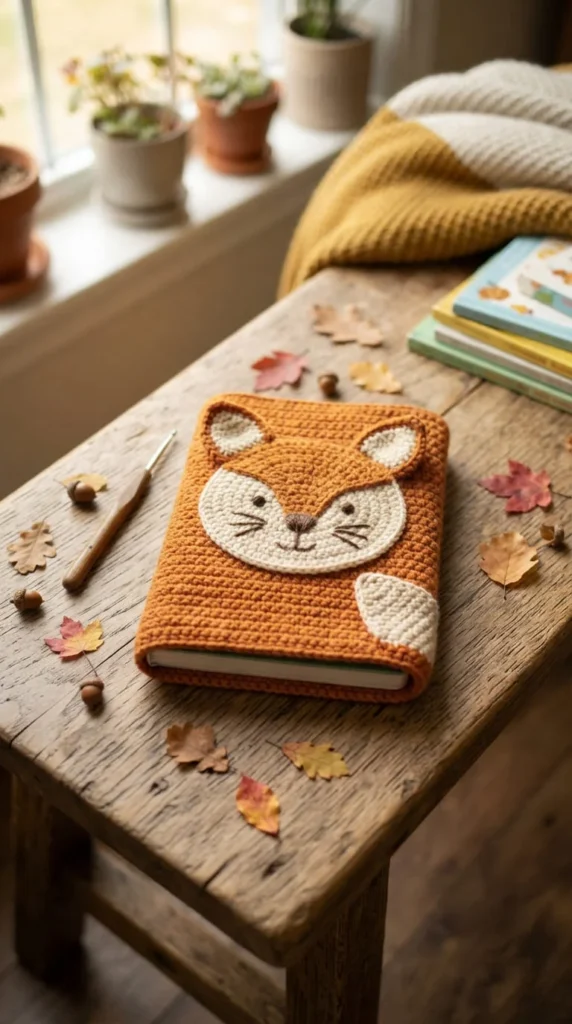
A fox-inspired cover gives a child a cute woodland companion for reading time. The main sleeve can stay rectangular while the decorative details turn it into an animal character.
Start with rust-orange, cream, or warm brown yarn. Crochet two triangular ears and attach them near the upper edge. A cream muzzle and small embroidered eyes can complete the face.
Keep the ears relatively flat. Large three-dimensional pieces may catch on backpack straps or other belongings.
For the front, place the facial details slightly above the center. This leaves enough space around the book’s lower area for a border or decorative stripe.
A dark brown or charcoal border can frame the design. You could also add small leaf appliqués near the bottom for a woodland touch.
A matching bookmark shaped like a leaf or fox tail can sit inside the book. This creates a coordinated set without requiring another large crochet project.
When sizing the sleeve, measure the book while it is closed. Add enough room for the spine and check the fit before attaching the face pieces.
This idea works especially well for nature stories, animal books, fairy tales, and woodland adventures. The same construction can also be adapted into a bear, rabbit, or cat by changing the ears and facial details.
3. Little Astronaut Space Book Cover
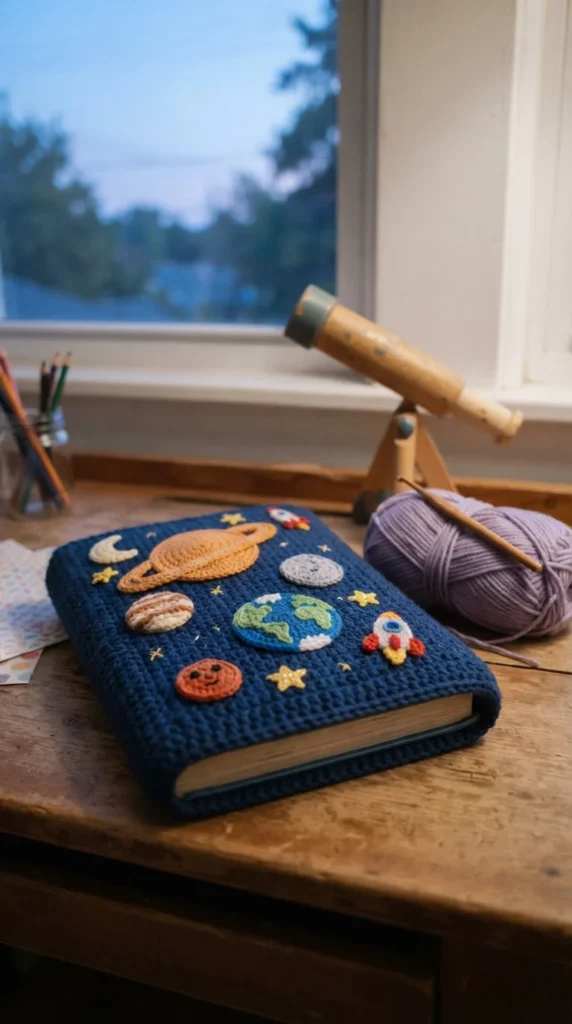
A space-themed crochet cover can make a favorite science or adventure book feel like part of a miniature galaxy. Use navy, charcoal, dark purple, or midnight blue for the main sleeve.
Add flat circles in different colors to represent planets. One planet can have a contrasting ring, while tiny stars can fill the surrounding space.
You do not have to create a realistic solar system. The goal is a playful handmade design that sparks curiosity.
For a younger child, use bright yellow, turquoise, pink, and orange planets. For an older reader, try deeper shades with silver or pale gray accents.
A small crocheted rocket can become the main front motif. Place it at an angle so the design feels active rather than static.
Keep the spine plain. The book bends at this area repeatedly, so a smooth crochet surface can make the cover easier to open.
A simple tie closure can resemble a rocket trail. Crochet a narrow cord and attach it securely to the side of the sleeve.
You can also create a matching bookmark with a star or planet at the end. This makes the project feel like a complete reading kit while keeping the construction manageable.
4. Ocean Whale Sleeve With Layered Waves
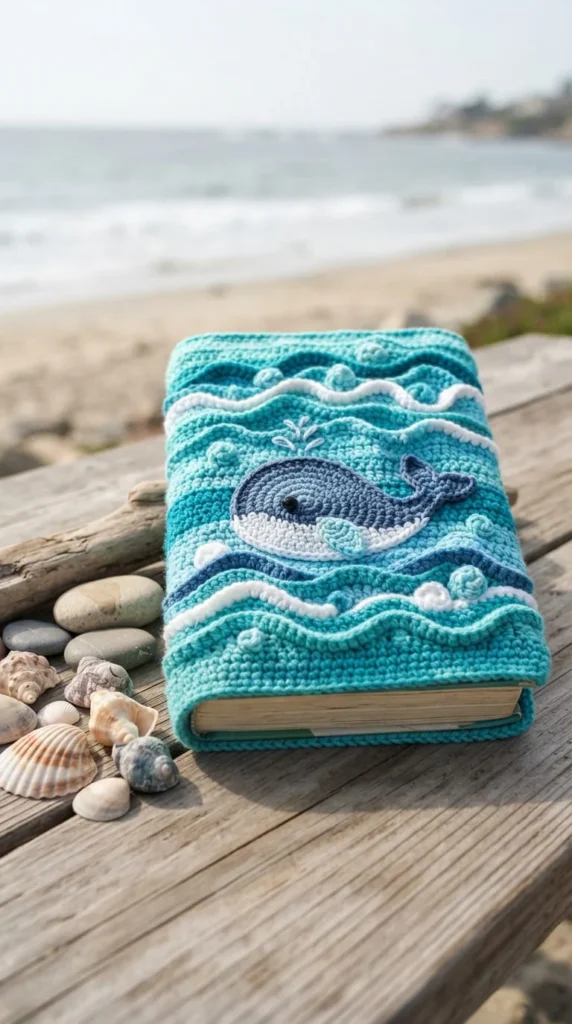
An ocean-themed sleeve brings cool blues and playful sea creatures to a child’s reading collection. A simple whale motif can become the main decoration while layered wave shapes fill the lower section.
Choose two or three shades of blue for the waves. A pale blue border can frame the cover without making it too busy.
The whale can be crocheted separately as a flat appliqué. Add a small embroidered eye and a curved tail for a friendly appearance.
For more detail, place tiny fish around the whale. Keep these motifs small and firmly attached so the cover remains comfortable inside a backpack.
The main sleeve can use a dense stitch pattern such as single crochet. This creates a sturdy base for the decorative pieces.
A wave-shaped bookmark makes a natural companion. A simple chain with a small crocheted wave at one end can work well.
This design suits children who enjoy ocean stories, marine animals, beach adventures, or nature books. It can also make a thoughtful handmade birthday gift.
Before finishing, slide the actual book into the sleeve. Check that the decorative wave border does not interfere with the corners and that the whale remains centered when the book is closed.
5. Friendly Dinosaur Cover for Young Adventurers
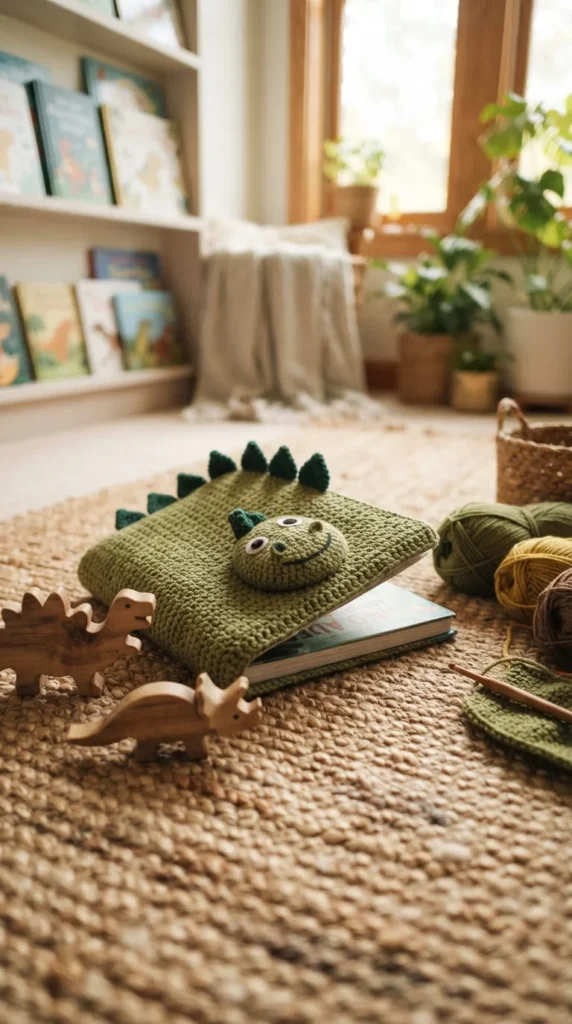
A dinosaur crochet cover can turn reading time into a small prehistoric adventure. Green yarn is an easy starting point, but brown, blue, purple, and orange can also work.
Create a simple dinosaur face on the front. Two embroidered eyes, a rounded snout, and a few small teeth can give the character personality.
For a recognizable silhouette, add small triangular spikes along the upper edge. Crochet them separately or work them into the design, depending on your preferred technique.
Keep the spikes fairly flat. A child may carry the book in a backpack, so decorations that sit close to the fabric can be more practical.
A contrasting belly panel can add another layer of color. Cream or pale yellow works nicely against green.
For an extra reading accessory, make a dinosaur-footprint bookmark. A flat motif attached to a long yarn chain can mark the page without adding much weight.
If this is a first crochet project, use a basic rectangular sleeve and focus your creative work on the dinosaur face. This keeps the construction manageable while still producing a distinctive result.
Check the cover around the actual book before completing the final seam. The sleeve should hold the book comfortably without making the corners difficult to insert.
6. Tiny Flower Garden Reading Sleeve
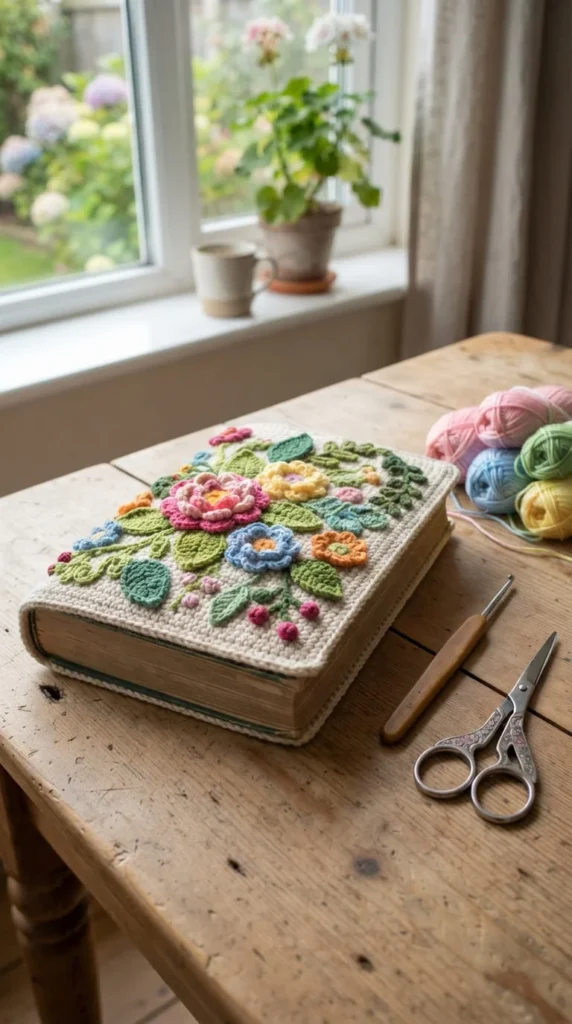
A flower garden cover gives you plenty of room to play with color. Keep the base simple, then create small flowers and leaves that can be attached across the front.
Try a cream, pale green, or sky-blue sleeve with flowers in pink, yellow, lavender, and coral. The varied colors make the project feel cheerful without requiring a complicated stitch pattern.
Arrange the flowers before attaching them. Put larger blooms near the lower edge and smaller ones toward the top for a natural garden effect.
A few green leaves can fill empty spaces. Avoid covering the entire surface, since some open background helps each motif stand out.
For a tactile detail, use a small bobble stitch in the center of selected flowers. This gives the cover a little texture while keeping the design comfortable.
A matching floral bookmark can be made from one small flower attached to a crocheted chain.
This idea works for picture books, fairy tales, garden stories, or spring reading gifts. It also gives children an easy way to participate by selecting flower colors and helping arrange the motifs.
Use secure stitching for every appliqué and trim loose yarn ends neatly inside the cover.
7. Playful Granny Square Patchwork Cover
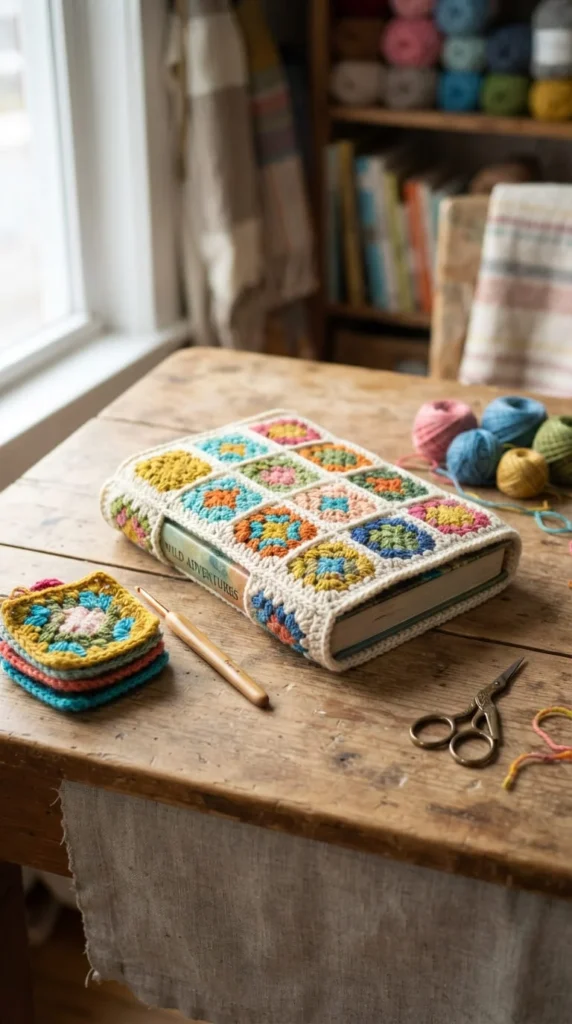
Granny squares can give a child’s book cover a colorful patchwork appearance. Instead of working one large piece, create several small squares and join them into a front and back panel.
Choose three to five colors that repeat across the squares. This creates visual connection even when each square has a different center.
A child can help plan the arrangement. Lay the finished squares on a table and move them around until the color distribution feels balanced.
If you want a cleaner appearance, use one neutral color for every outer round. Cream, gray, or soft brown can frame the brighter centers.
After joining the squares, add a border around the completed panel. This can hide uneven joins and give the cover a finished edge.
Measure the book before deciding how many squares to make. Square size can vary depending on yarn, hook size, and personal tension.
A granny square sleeve is also useful for using leftover yarn. Small quantities from previous projects can become colorful centers rather than sitting unused.
For younger children, choose bright colors. For older readers, try muted tones or a two-color square arrangement.
8. Cozy Bear Face for Bedtime Stories
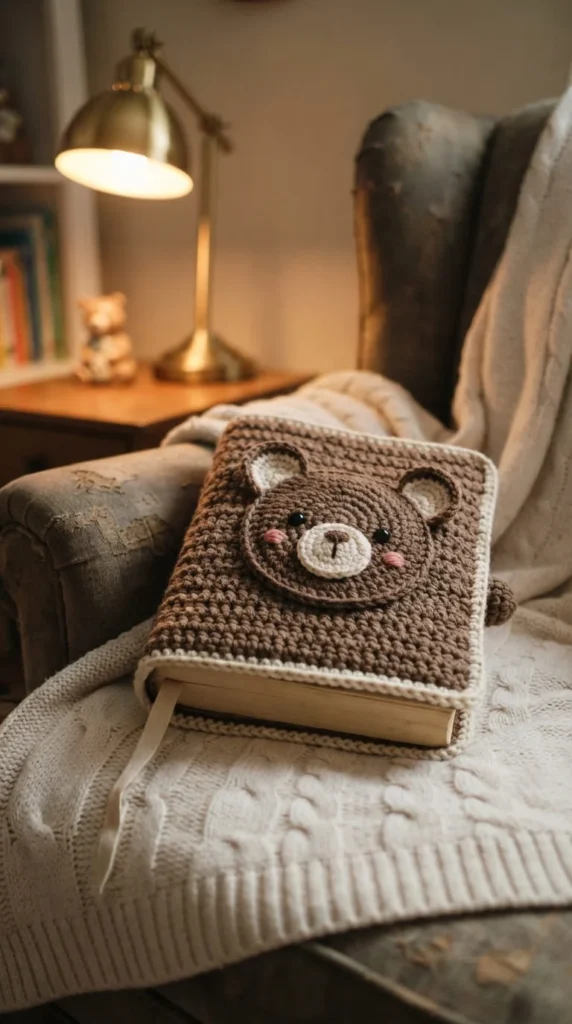
A bear cover can bring a cozy woodland feeling to bedtime reading. Use brown, beige, cream, gray, or honey-colored yarn for the main sleeve.
Crochet two rounded ears and attach them near the top edge. A lighter muzzle can sit in the center of the front panel.
For the face, simple embroidered features are enough. Two small eyes and a dark oval nose can create a friendly expression.
A darker border around the sleeve gives the design a framed appearance. You could also add tiny paw motifs near the lower corners.
Keep the decorations secure and relatively flat. A child may place the book under a pillow, inside a backpack, or beside other books.
A bear-paw bookmark makes an easy matching accessory. Crochet a small paw shape and attach it to a narrow chain or flat strip.
This project is suitable for younger readers who enjoy animal stories and bedtime books. It can also be adapted for older children by using neutral colors and reducing the number of facial details.
Before finishing the cover, check the book fit while the face is positioned on the front. This helps prevent the motif from sitting too close to a corner or the spine.
9. Strawberry Picnic Book Jacket
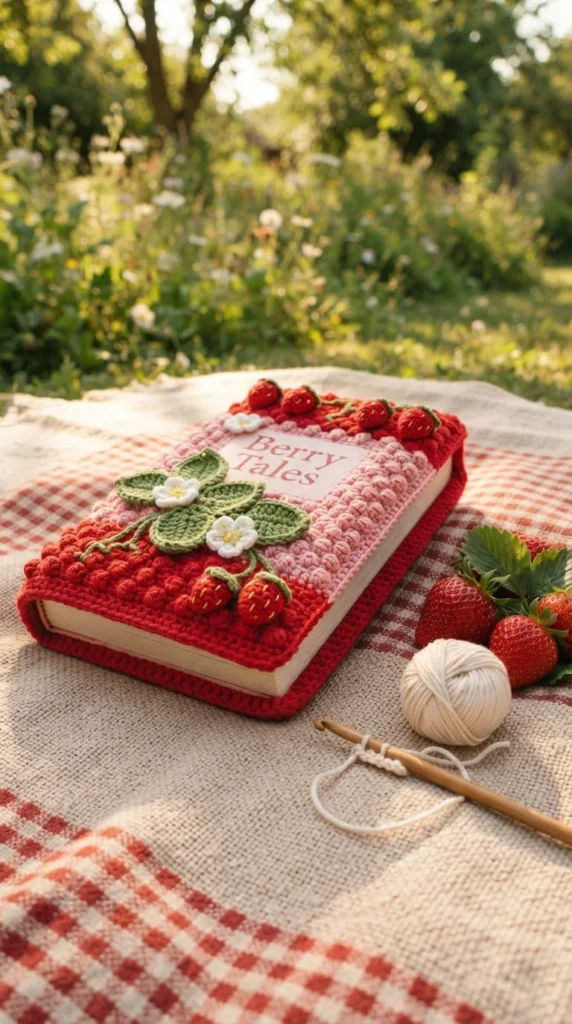
A strawberry-themed cover can bring a sweet summer feeling to a child’s reading collection. Start with red or pink yarn and add tiny cream or white seed stitches.
A green leafy section near the top can suggest the strawberry crown. Keep the leaves flat so the cover remains easy to use.
You can create the main sleeve in one color and decorate it afterward. This approach lets you focus on getting the measurements right before working on the details.
For a picnic-inspired look, add a cream-and-pink checkerboard border. Another option is a simple green edge that frames the red center.
A small strawberry bookmark can complete the set. Make one tiny strawberry and attach it to a yarn chain that can rest inside the book.
This design is especially cute for younger readers, summer reading gifts, or children who enjoy food and garden themes.
If the cover will receive regular handling, choose a yarn that can be cared for according to the manufacturer’s washing instructions. A practical yarn choice can make maintenance easier.
Before attaching the leaves or seeds, test how the sleeve sits around the book. Flat decorations are usually easier to manage than large raised pieces.
10. Mermaid Scales in Aqua and Lavender
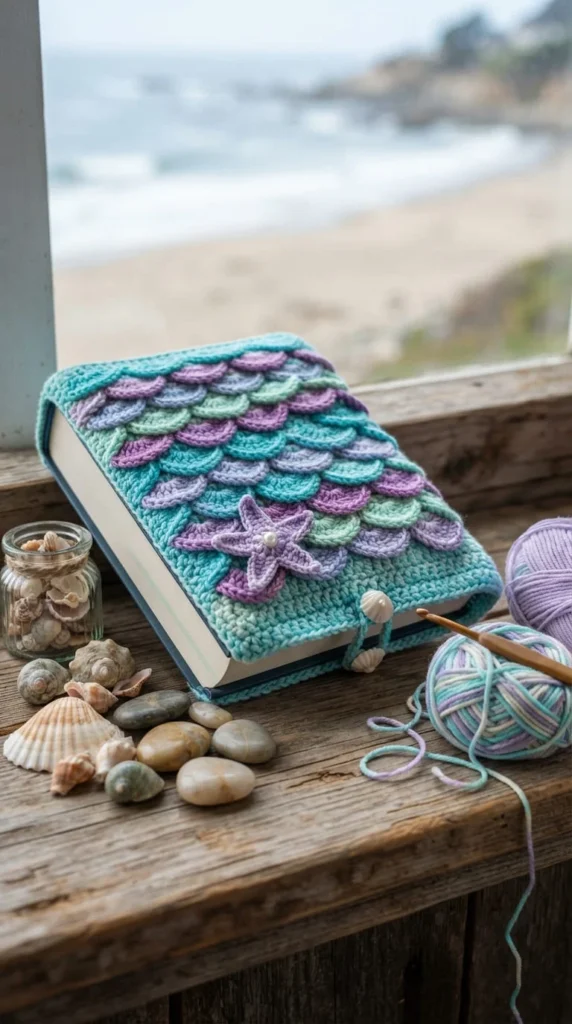
A mermaid-inspired sleeve can use ocean colors without requiring a complicated character illustration. Aqua, seafoam, lavender, coral, and pale pink create a dreamy palette.
For a scale effect, use overlapping stitch shapes or a scalloped pattern across selected rows. Keep the texture relatively flat so the cover remains practical.
A shell appliqué can become the main front decoration. Place it near the upper center and surround it with a few small starfish or wave motifs.
If you want a simpler project, use a plain sleeve and add only a scalloped lower border. This gives the design an underwater feeling with less decorative work.
A matching bookmark can use a small shell attached to a narrow crocheted strip.
This cover suits children who enjoy fantasy stories, ocean adventures, and imaginative characters. You can make the palette bright and playful or soft and pastel depending on the child’s preference.
For school use, keep the decorations securely stitched and avoid large dangling pieces. A flat design will fit more comfortably among other items.
Measure the book before choosing the number of scale rows. This lets you position the main decorative section without forcing it around the spine.
11. Woodland Mushroom Storybook Sleeve
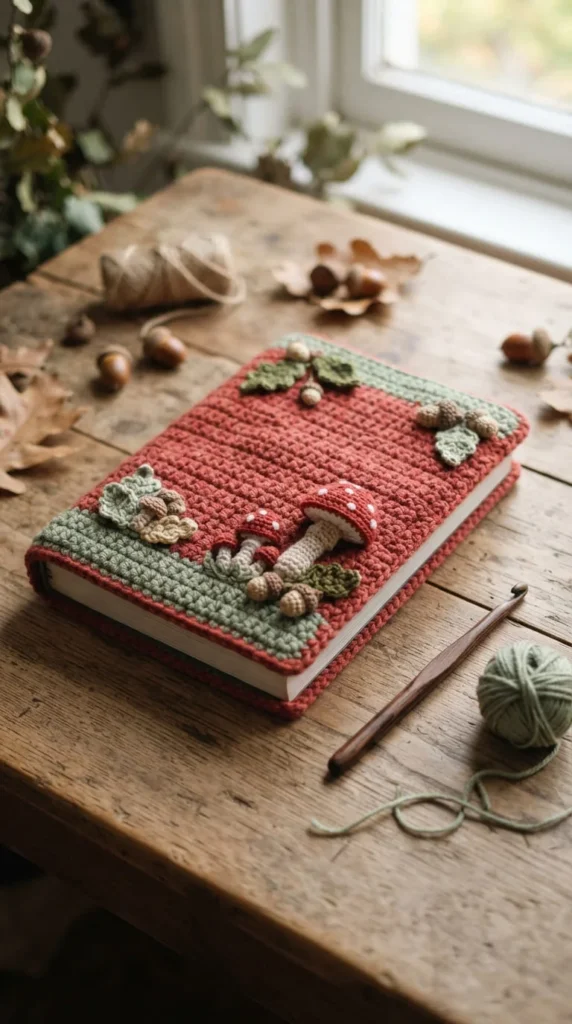
A mushroom-themed cover can create a gentle woodland atmosphere with earthy colors. Use cream, sage, brown, rust, and muted red for a cozy palette.
Make several flat mushroom motifs in different sizes. Place the largest near the lower corner and scatter smaller mushrooms around it.
Add simple leaves or tiny flowers to connect the motifs. You do not have to fill every area of the front panel.
A cream sleeve with red mushrooms creates a strong contrast. For a quieter look, try sage with brown and beige mushrooms.
The main construction can remain a basic rectangle. This makes the project approachable even if you are more interested in the decoration than complex crochet techniques.
A mushroom bookmark can be made from one small cap attached to a long crocheted strip.
This idea works nicely with fairy tales, forest stories, nature books, or imaginative chapter books.
For a polished result, block the main sleeve if your yarn and stitch pattern allow it. This can help the finished rectangle lie flatter before you attach the decorations.
Keep all small pieces firmly stitched. Check the finished cover before giving it to a child, especially when the book will be used frequently.
12. Modern Color-Block Cover for Older Kids
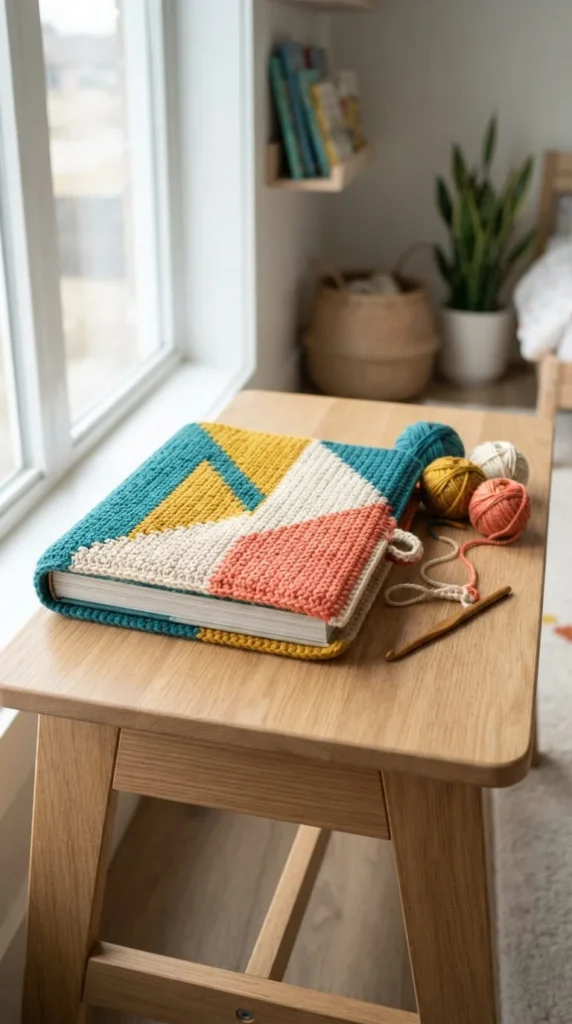
Not every child wants a character or animal on a book cover. A modern color-block design can feel playful while still looking suitable for older readers.
Choose two or three strong colors and divide the sleeve into large sections. You can work the blocks horizontally, vertically, or diagonally.
For a clean look, use a simple stitch such as half double crochet. Let the color arrangement provide the visual structure.
A dark base with mustard and cream accents can look sophisticated. Teal, coral, and white create a brighter option.
Add one narrow contrasting border around the entire sleeve. This gives the large blocks a defined frame.
The same design can work for a reading journal, notebook, paperback, or chapter book. Just adjust the measurements for the item.
A color-block sleeve is also useful when you have partial skeins left from previous projects. Use larger quantities for the main sections and small amounts for narrow borders.
This idea gives children room to express their style without relying on a specific character. They can choose the palette and decide which color appears on the front, back, and flap.
13. Butterfly Garden With Floating Blooms
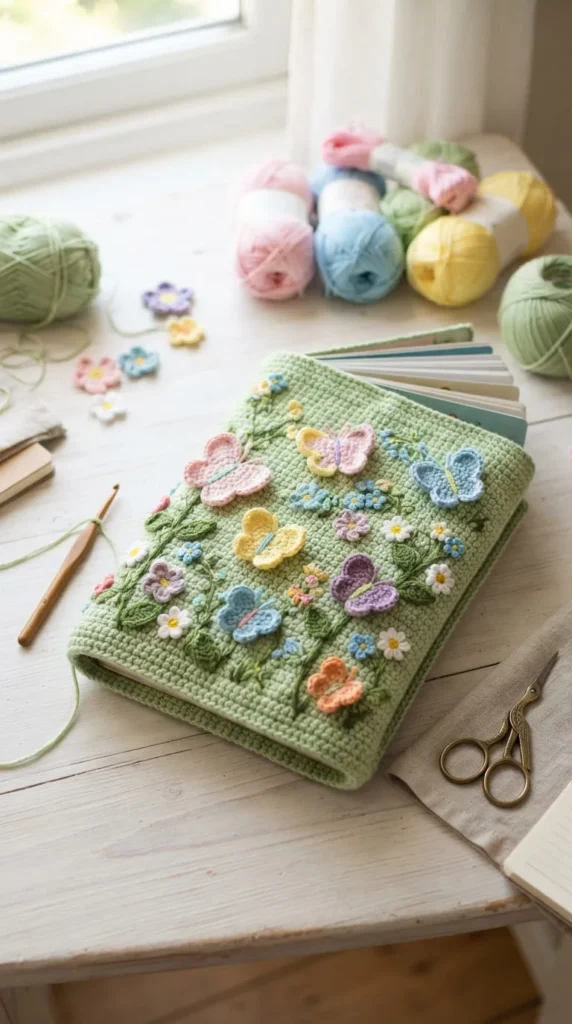
A butterfly cover can turn a plain sleeve into a tiny garden scene. Use a pale green, cream, lavender, or sky-blue base and add butterflies in contrasting colors.
Make butterflies in different sizes. A larger butterfly can sit near the center, while smaller ones appear around it.
Small flowers can fill selected spaces. Keep the arrangement open rather than covering the entire front.
For texture, use a raised stitch in the flower centers. This gives the child something interesting to touch without making the whole cover bulky.
Let the child arrange the butterflies before you sew them down. This creates a simple creative activity and gives the final design a personal touch.
A long floral bookmark can sit inside the book. Use one flower at the end rather than adding several heavy decorations.
This style suits garden stories, spring books, fairy tales, and nature-themed reading.
If the book will be carried to school, check every appliqué after finishing. Loose ends should be woven in securely, and decorative pieces should not interfere with the book’s corners.
The main sleeve can remain easy even when the decoration looks detailed.
14. Tiny Dragon Cover for Fantasy Readers
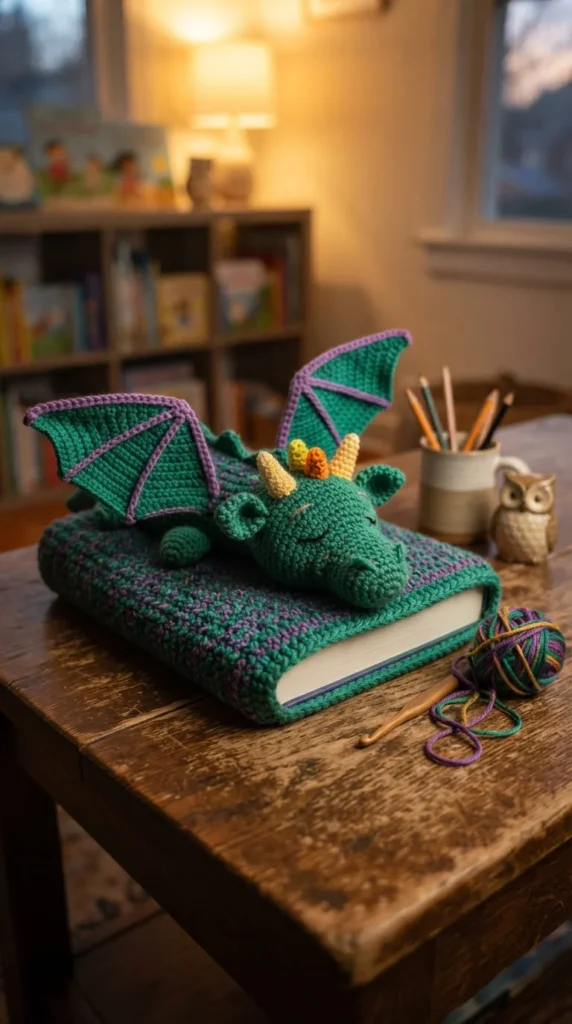
A dragon sleeve can make a child’s favorite fantasy book feel like a handmade adventure object. Emerald green, violet, deep blue, or burgundy yarn can create a dramatic base.
Add small crocheted wings near the upper section. Flat wings are easier to manage than heavily stuffed pieces.
A pair of tiny horns can sit above a simple embroidered face. You can also add small scale-like stitches across the lower front.
For younger children, use bright green and purple. Older readers may prefer forest green, charcoal, or dark red.
A crocheted tail can become part of the closure. Make a narrow cord with a pointed end and secure it to the side of the sleeve.
Keep the spine smooth. The book will bend there whenever it opens, so a plain area can help the cover move naturally.
A dragon bookmark can be as simple as a small wing attached to a long strip.
This project works well for fantasy novels, fairy tales, mythology books, and adventure stories.
If you are still learning crochet, keep the sleeve itself basic and spend more time on one strong dragon motif. That gives you a recognizable theme without making every part of the project complicated.
15. Secret Bookmark Pocket on the Inside
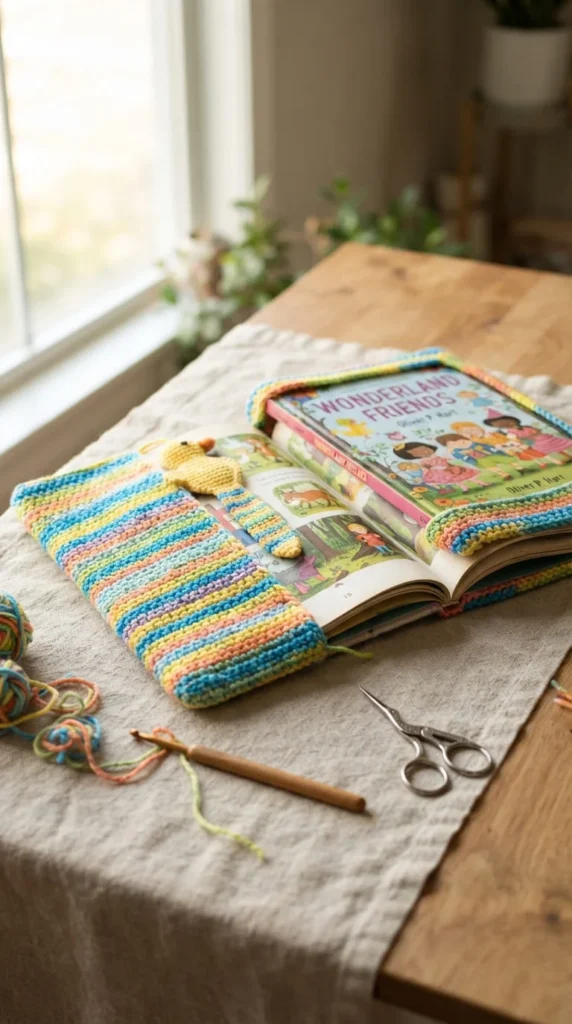
A hidden bookmark pocket can make a crochet cover more useful without changing its outer appearance. Add a small flat pocket to the inside front or back panel.
The pocket can use the same yarn as the sleeve or a contrasting shade. Keep its depth modest so the cover remains comfortable when the book is closed.
A bookmark, reading card, or small paper note can sit inside the pocket. For a child who often misplaces bookmarks, having one attached to the cover gives it a regular home.
You can decorate the pocket with a simple border. A scalloped edge or contrasting row is enough.
The outside of the cover can remain plain, striped, or decorated with an animal motif. This makes the pocket useful across many different designs.
When attaching the pocket, check the placement with the book inserted. Leave enough space around the spine so the pocket does not create a thick ridge where the book bends.
A matching bookmark can be crocheted from leftover yarn. A narrow strip with a small flower, star, leaf, or heart at the end is easy to store.
This feature works especially well for school reading books, library books, and personal reading journals.
16. Back-to-School Cover With Pencil Pocket
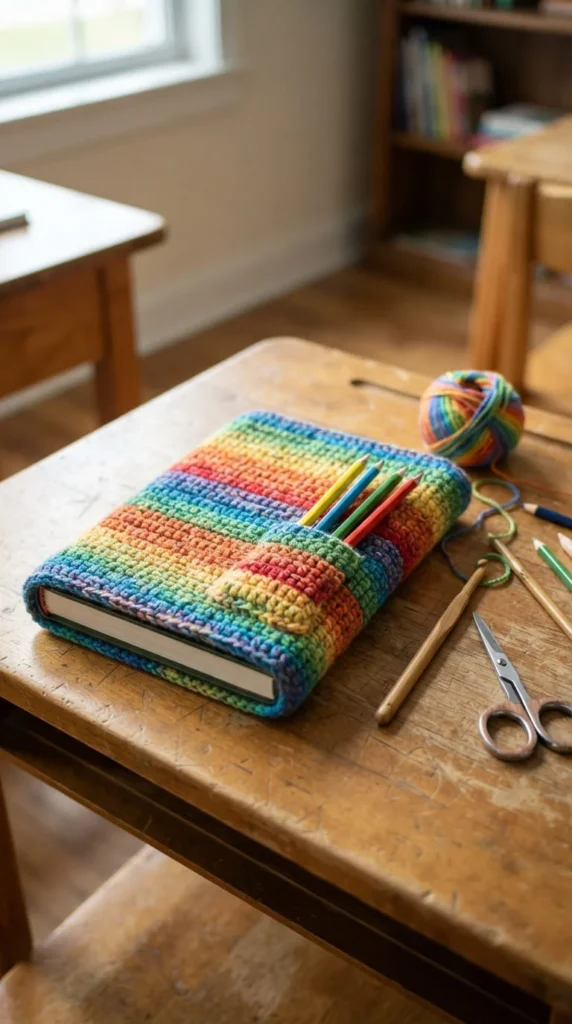
A book cover with a slim pencil pocket can combine crochet craft with a practical school accessory. Crochet the main sleeve in two school-inspired colors, then add a narrow pocket to the back.
The pocket can hold a short pencil, eraser, or bookmark. Keep it flat so the cover does not become bulky inside a backpack.
For younger children, try yellow, blue, red, and green. Older kids may prefer navy and cream or teal and gray.
A contrasting border around the pocket can make it easier to find. You can also add a small crocheted pencil appliqué to the front.
Use a dense stitch for the sleeve so the pocket has a stable base. Single crochet is one simple option.
Measure the book and the pocket item separately. The pocket should be long enough for the chosen accessory but not so deep that the item disappears inside.
A school cover can also work around a reading journal or composition notebook. This makes the project useful beyond storybooks.
Avoid loose charms or dangling decorations if the cover will spend time in a crowded backpack. Flat motifs and secure closures are easier to manage during everyday school use.
17. Bobble-Stitch Sensory Cover
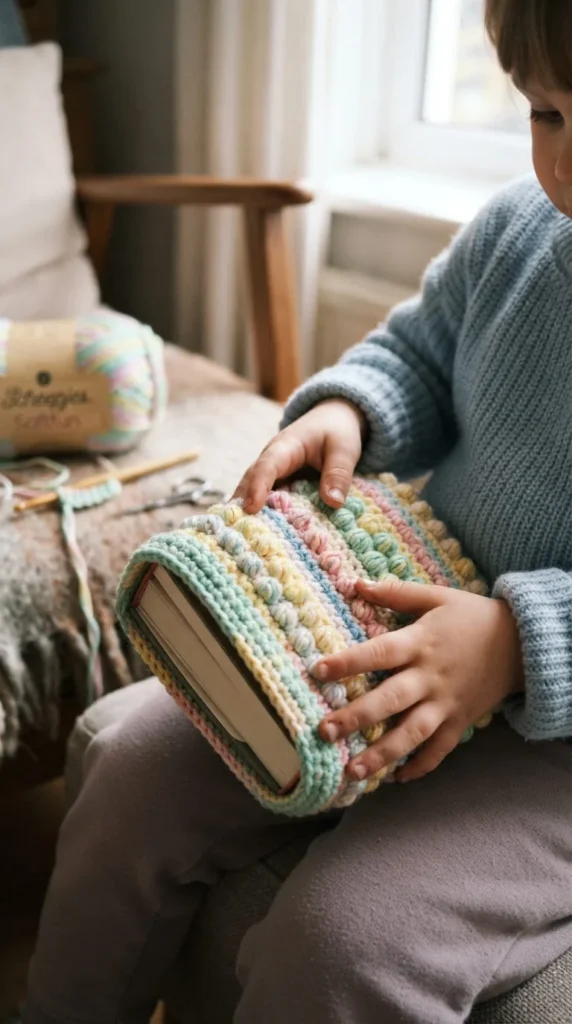
A textured crochet cover can give children a different tactile experience while keeping the design visually simple. Bobble stitches are one way to create raised details.
Rather than covering the entire sleeve with texture, use bobbles in a controlled pattern. A row near the bottom or a small central panel can be enough.
For example, make a plain cream sleeve with three rows of colorful bobbles. Another option is to use one large textured heart or star on the front.
Keep the raised sections moderate. A very bulky surface may make the book harder to slide into a backpack.
Use a stable stitch for the main body and place the textured design only where you want extra visual interest.
A child can help choose the bobble colors. Bright dots against a neutral background can create a playful appearance.
This project is also useful for practicing a new stitch. Make a small sample first and check how the fabric behaves when folded around a book.
After finishing, inspect the inside of the cover for loose yarn ends and bulky joins. The inner surface should remain comfortable against the book.
18. Large Floral Motif on a Neutral Base
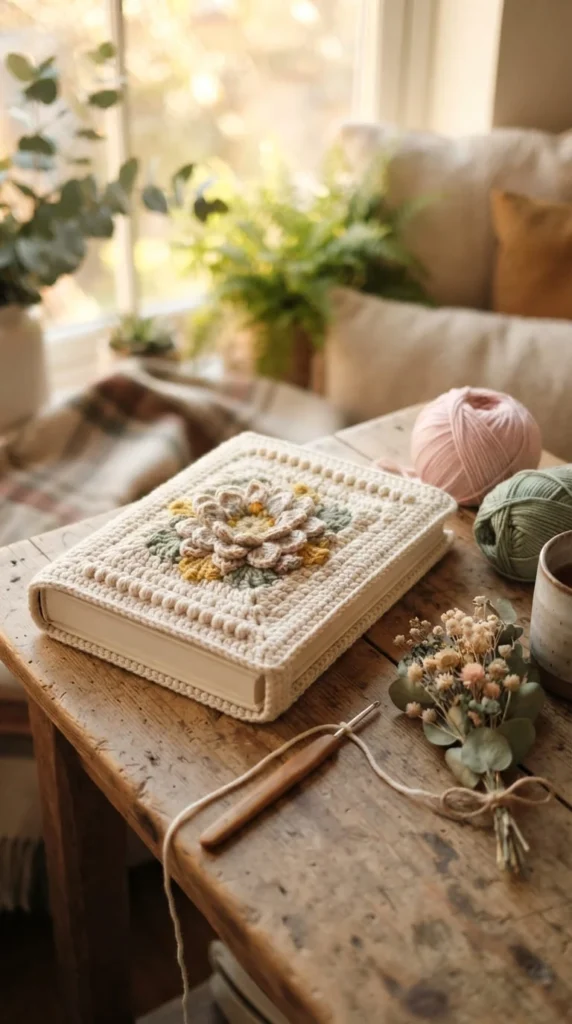
A single large flower can make a strong decorative statement without requiring dozens of appliqués. Start with a cream, beige, pale gray, or soft green sleeve.
Crochet one large flower in a brighter color and attach it near the front center. Add two or three leaves around it.
A large motif gives you room to experiment with layered petals. Use one color for the outer petals and another for the center.
For a simpler version, create a flat five-petal flower. For a more detailed project, stack two flower shapes to create additional dimension.
Keep the spine and opening plain so the cover remains easy to handle.
This design can work for many ages. Soft pastel colors suit younger children, while deeper colors such as burgundy, navy, mustard, or forest green can appeal to older readers.
A flower bookmark can repeat the same colors without copying the entire motif.
Because the main decoration is concentrated in one area, the rest of the sleeve can use a straightforward stitch pattern. That keeps the project focused and prevents the design from feeling crowded.
19. Little Farm Animal Collection
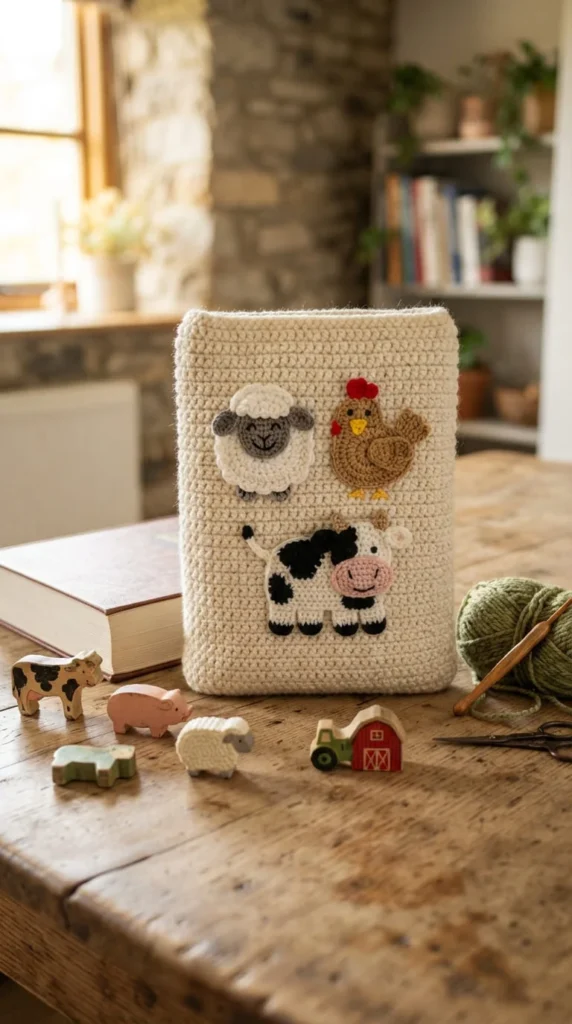
A farm-themed sleeve can feature several small animal motifs across one cover. Sheep, chickens, cows, pigs, and horses can all become simple flat appliqués.
Choose one animal as the main character and use two or three smaller animals around it. This creates a clear focal point without overcrowding the design.
A cream or pale green sleeve works nicely with barn-red and brown accents. For a brighter children’s design, add yellow and sky blue.
Small grass shapes can decorate the lower edge. A red barn motif can also become a simple central feature.
A farm-animal bookmark is easy to make from a single tiny chicken or sheep attached to a narrow crocheted strip.
This cover can suit animal stories, farm-themed picture books, or early readers.
If the project is for a younger child, keep facial details simple and stitch them securely. Avoid tiny detachable accessories that could separate from the cover.
The main sleeve can use a basic stitch, allowing most of the creative effort to go into choosing and arranging the animal motifs.
20. Cloud-and-Rainbow Dream Cover
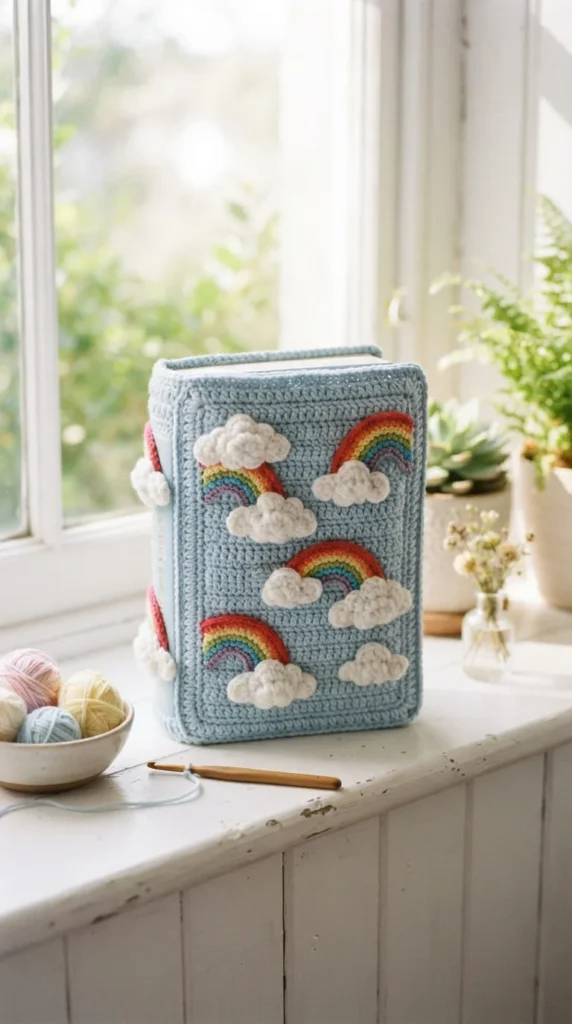
A cloud-and-rainbow cover can create a gentle look for bedtime stories and imaginative books. Use pale blue as the main color and add white clouds with small rainbow arcs.
The rainbow can be made from several narrow curved strips or simplified into stacked colored rows. Keep the shape flat against the sleeve.
Place one larger rainbow near the center and a few small clouds around it. This gives the front a clear focal point.
For a softer palette, use peach, butter yellow, mint, lavender, and pale pink. A brighter version can use red, orange, yellow, green, blue, and purple.
A cloud-shaped bookmark can match the cover. Add a small yarn tassel if you want a little extra movement.
This design works for younger children, especially those who enjoy bedtime stories, fairy tales, or imaginative picture books.
A plain stitch pattern keeps the sleeve easy to make. The decorative pieces provide most of the visual character.
Check the rainbow’s placement while the book is inside the cover. This helps you position the motif so it remains centered when the sleeve is stretched slightly around the book.
21. Checkerboard Cover With Two-Tone Squares
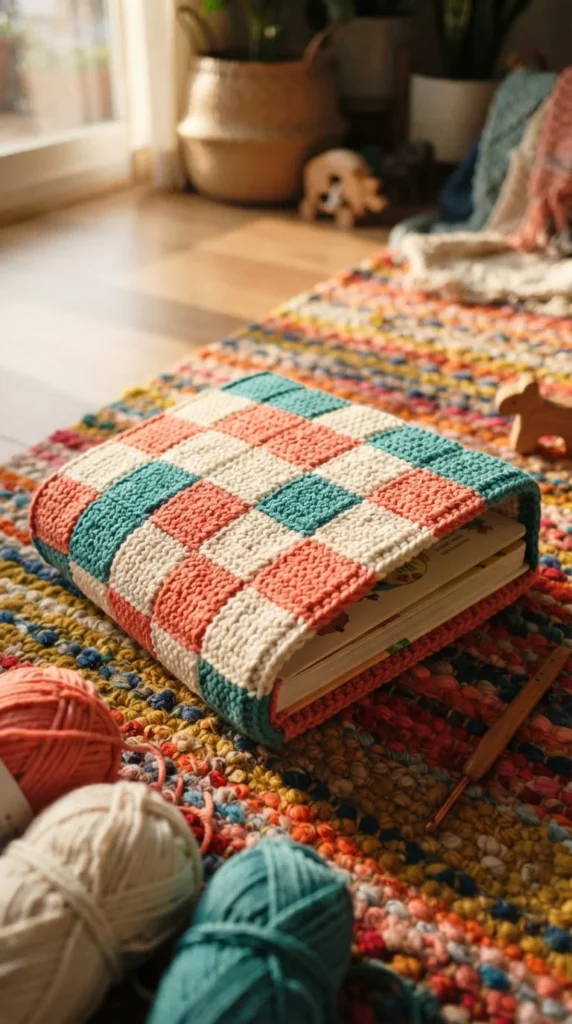
A checkerboard pattern can give a handmade cover a bold graphic appearance. Choose two colors and repeat them across the front and back.
Coral and cream create a warm combination. Teal and mustard feel playful. Lavender and white can give the sleeve a softer look.
The pattern can be crocheted directly in rows or assembled from individual squares. A row-based method may be easier if you want the entire sleeve to remain one piece.
Use a consistent stitch size so the squares stay even. A small swatch can help you check the proportions before starting.
A solid border around the checkerboard gives the pattern a clear frame. Use one of the two main colors or introduce a neutral shade.
This design works well for children who have outgrown character-themed accessories but still enjoy bright handmade items.
You can also use the same pattern on a reading journal, notebook, or library tote for a coordinated craft set.
When fitting the sleeve, check the spine area separately. If the pattern pulls when the book opens, leave that section plain or reduce the stitch density.
22. Oversized Cover for a Favorite Picture Book
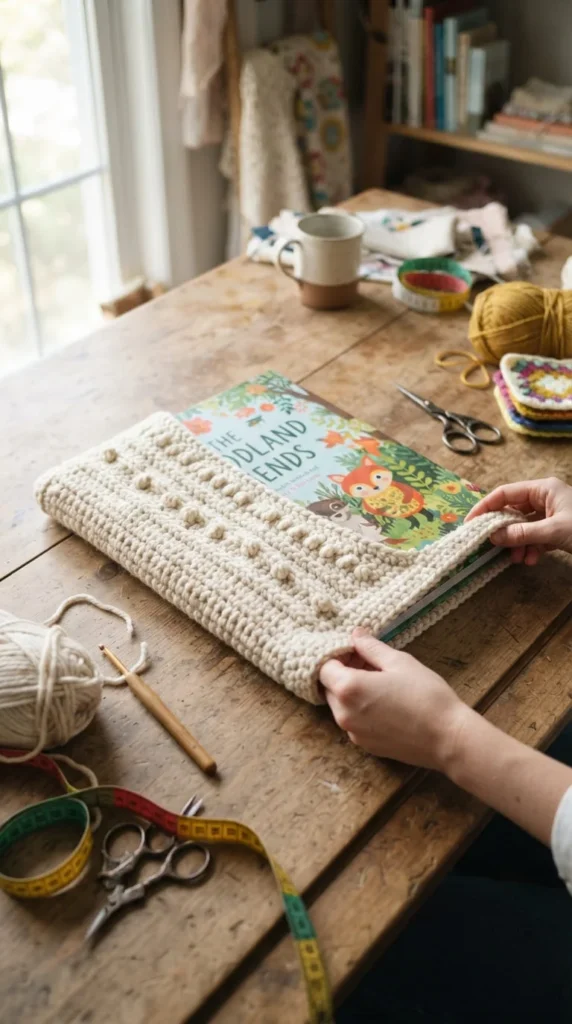
Large-format picture books can require different proportions from standard paperbacks. A custom DIY sleeve lets you build the dimensions around one favorite book.
Measure the closed book from top to bottom and side to side. Also measure the spine thickness. These measurements give you a practical starting point for the crochet panel.
For a large book, avoid adding excessive bulk. A medium-weight yarn and a relatively simple stitch can keep the finished cover easier to carry.
A large central motif works better than many tiny decorations. Consider a rainbow, sun, whale, flower, or animal face.
A flap across the opening can add extra security. A crocheted tie or button loop can hold the flap in place.
If the book is used mainly at home, an open-top sleeve may be enough. For library trips or school bags, a closed flap can be more useful.
Make a small sample before committing to the full width. Yarn tension can change the final dimensions, even when you follow a written stitch count.
This project is particularly suitable for a treasured picture book that has a special place in a child’s reading routine.
23. Removable Charm-and-Bookmark Cover
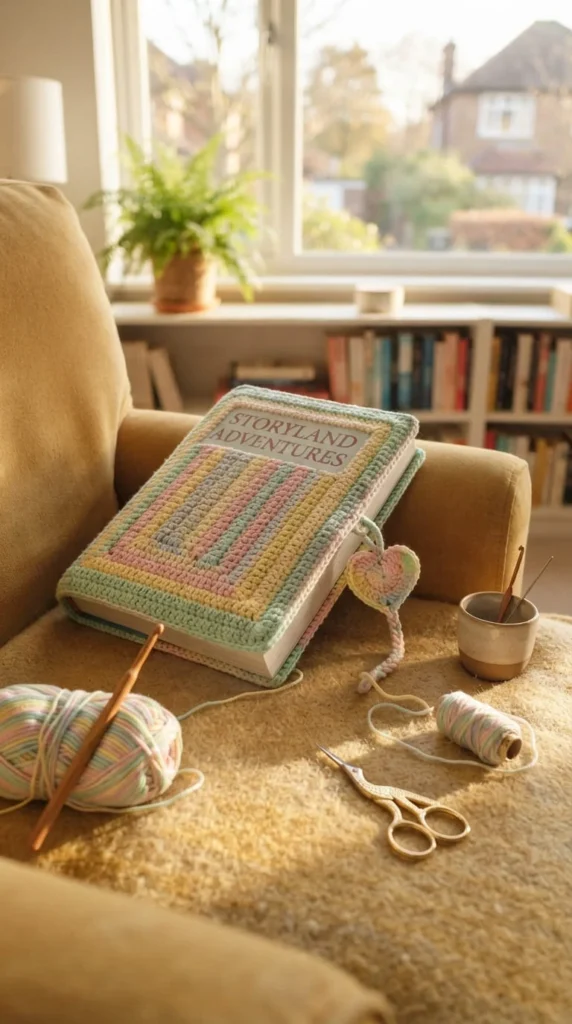
A removable decoration system lets a child change the appearance of the same crochet cover. Instead of sewing every motif permanently to the sleeve, create small pieces that attach through secure loops.
Make several flat motifs such as hearts, stars, flowers, leaves, or animals. A crocheted loop on the cover can hold one decoration at a time.
The same loop can also secure a matching bookmark. This creates a flexible reading accessory without making multiple full sleeves.
For safety and durability, keep the attachment system simple and check it regularly. The decorative pieces should not have loose threads or fragile components.
A plain cover works best for this concept. Use one neutral base color so the removable motifs stand out.
Children can choose which charm matches their current book. A flower can accompany a garden story, while a star can suit a space adventure.
This idea also reduces the amount of permanent decoration on the sleeve, making the main cover easier to wash according to the yarn’s care instructions.
The project is a good choice for creative children who like changing colors and themes.
24. Parent-and-Child Custom Color Cover
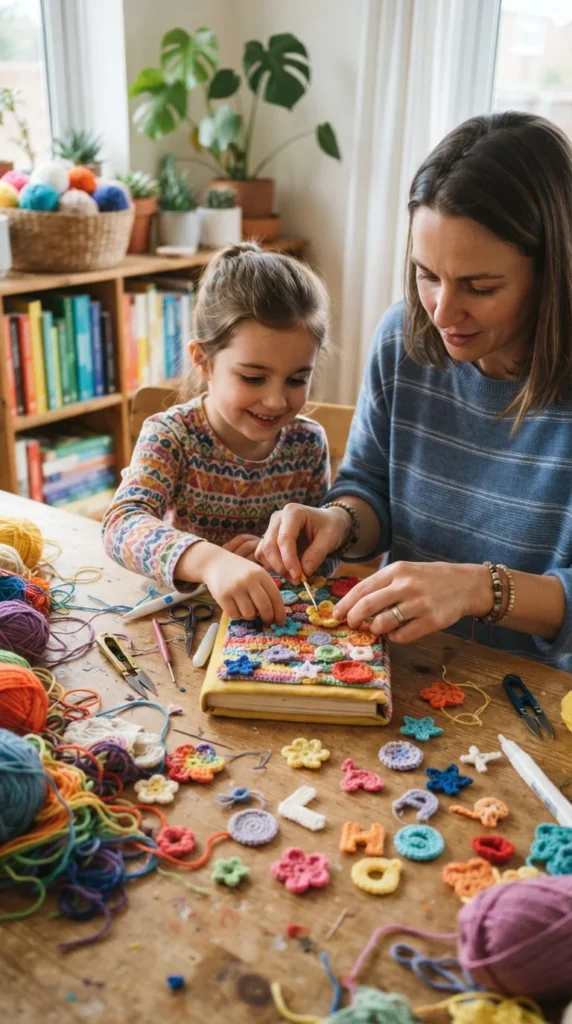
A custom color cover can become a shared craft project where the child helps decide every visual detail. The adult can handle measuring, difficult stitches, and finishing while the child chooses colors and motifs.
Start with a simple sleeve shape. Place several yarn colors beside the child’s favorite book and let them select a main shade and two accent colors.
Next, choose one decorative theme. It might be a favorite animal, flower, sport-inspired shape, star, heart, or simple geometric pattern.
Let the child arrange flat motifs before they are attached. This gives them creative control over the finished appearance.
Older children may also enjoy learning basic crochet techniques under supervision. They can practice making chains, simple rows, or small motifs.
For younger children, safe tasks can include sorting yarn, choosing color combinations, or placing completed pieces on the cover.
Keep the final design practical. A cover that looks wonderful but cannot fit the book comfortably will not be enjoyable to use.
Measure the finished sleeve against the actual book before completing the final seam. Check that the opening, spine, and corners all move comfortably.
The result becomes more than a handmade accessory. It becomes a small craft project shaped around the child’s own reading habits and creative choices.
Conclusion
A DIY crochet book cover for kids gives you a simple way to combine crochet, creativity, and reading into one handmade project. A plain sleeve can become a rainbow, woodland animal, dinosaur adventure, flower garden, space scene, ocean story, or personalized color design.
Start with accurate measurements and a manageable stitch pattern. Then choose the details that fit the child’s age, favorite colors, and reading style. Flat appliqués, pockets, bookmarks, flaps, textured rows, and removable decorations can add personality without making every project complicated.
You can also turn the process into a shared activity by letting a child select colors or arrange motifs. Pick one idea from this list, gather a few suitable yarn colors, measure the favorite book, and begin creating a cover made especially for its young reader.