
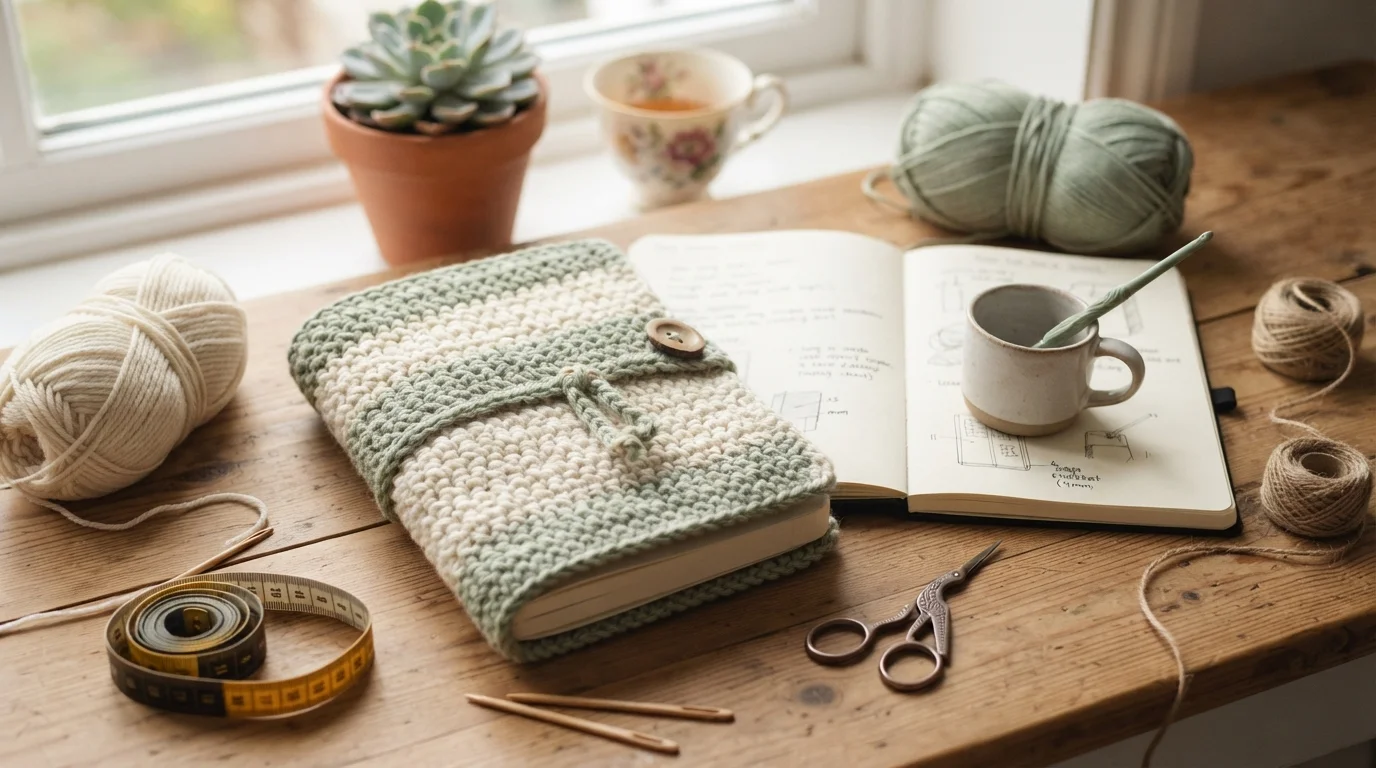
A plain journal becomes much more personal when it has a handmade crochet cover wrapped around it. The best part is that you can make the cover to match the exact size of your journal instead of relying on a standard pattern.
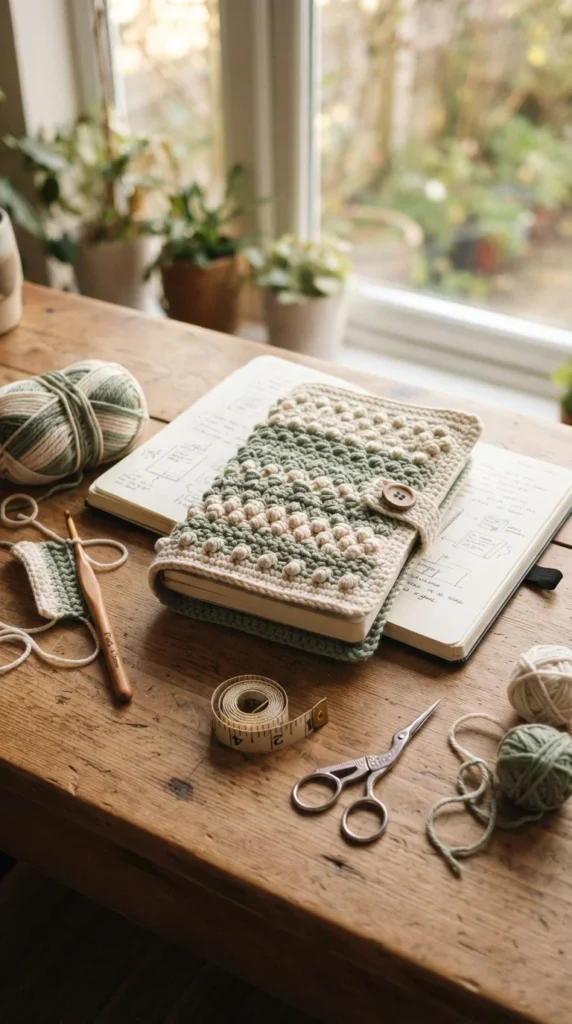
This DIY crochet journal cover is suitable for beginners because the main body can be worked with simple stitches such as single crochet. You can also add pockets, a pen loop, buttons, stripes, granny squares, or decorative borders once the basic cover is finished. The key is getting your measurements right before you begin.
Gather Your Crochet Journal Cover Supplies
You do not need a large collection of tools for this project. A medium-weight worsted yarn is a practical choice because it creates a sturdy fabric without making the cover excessively bulky. Cotton or a cotton-blend yarn can also work well, especially for a journal that will be handled often.
You will also need:
- A crochet hook suited to your yarn
- The journal you want to cover
- Measuring tape or a ruler
- Scissors
- Tapestry needle
- Stitch markers
- Optional button, snap, or elastic for closure
Choose colors based on the journal owner’s style. A single neutral shade gives a simple handmade look, while stripes, granny squares, or contrasting borders can make the cover more decorative.
Measure the Journal Before You Crochet
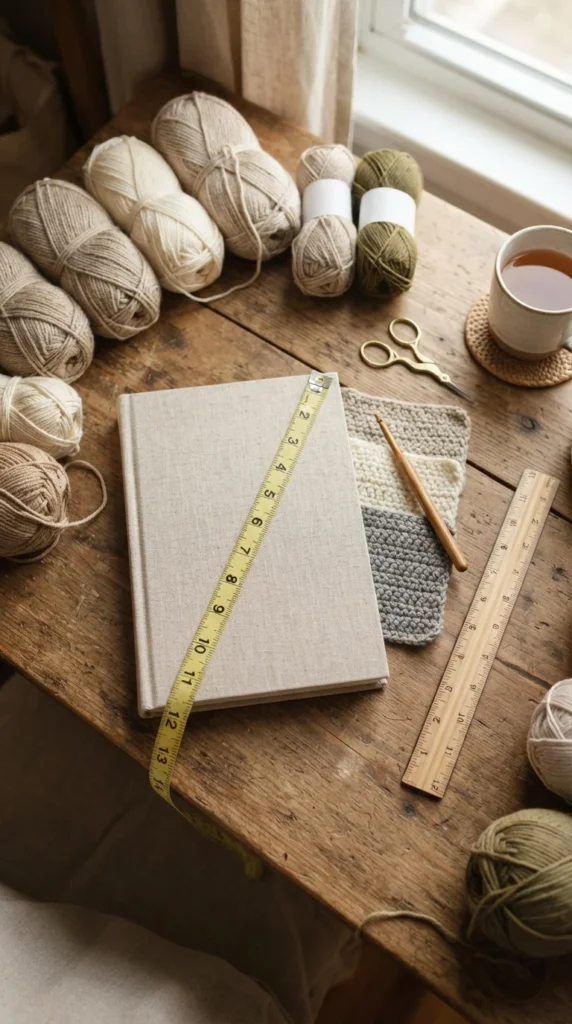
Custom sizing starts with accurate measurements. Place the journal closed on a flat surface and measure its height, front cover width, back cover width, and spine thickness.
A simple way to estimate the total width of the crochet piece is:
Front cover + spine + back cover + both flap sections
Add a small amount of ease so the finished cover can slide onto the journal without stretching excessively.
The cover should feel secure but should not force the journal to stay open or closed. Remember that crochet fabric can stretch slightly, so making the piece exactly equal to the journal’s measurements may result in a looser fit after use.
For an A5 journal, composition notebook, planner, or handmade notebook, take measurements instead of assuming the size is standard. Different brands can vary.
Make a Small Gauge Swatch First
Before crocheting the full cover, make a small swatch using the yarn and hook you plan to use. This gives you a better idea of how many stitches fit across a certain width and how much the fabric stretches.
Single crochet is a useful option for a first journal cover because it creates a fairly firm fabric. If your stitches are very loose, try a smaller hook. If the fabric feels stiff and difficult to work, try a slightly larger hook.
Your gauge does not have to match a pattern because this is a custom-fit project. What matters is knowing how your chosen yarn behaves before you start the main piece.
Wash and dry the swatch if you plan to wash the finished cover later. Some yarns change size or texture after washing.
Crochet the Main Cover Panel
Start with a foundation chain based on the height of your journal. Work rows of single crochet until the panel reaches the width required to wrap around the front, spine, and back.
Keep your stitch count consistent from row to row. A stitch marker can help you spot the first or last stitch, especially if you are still getting comfortable with single crochet.
As you work, place the crochet panel around the journal occasionally. This simple check can catch sizing problems before you finish the entire piece.
For a more decorative result, you can add:
- Horizontal color stripes
- A contrasting border
- Granny square panels
- Shell or textured stitches
- Surface crochet details
Create the Inner Flaps
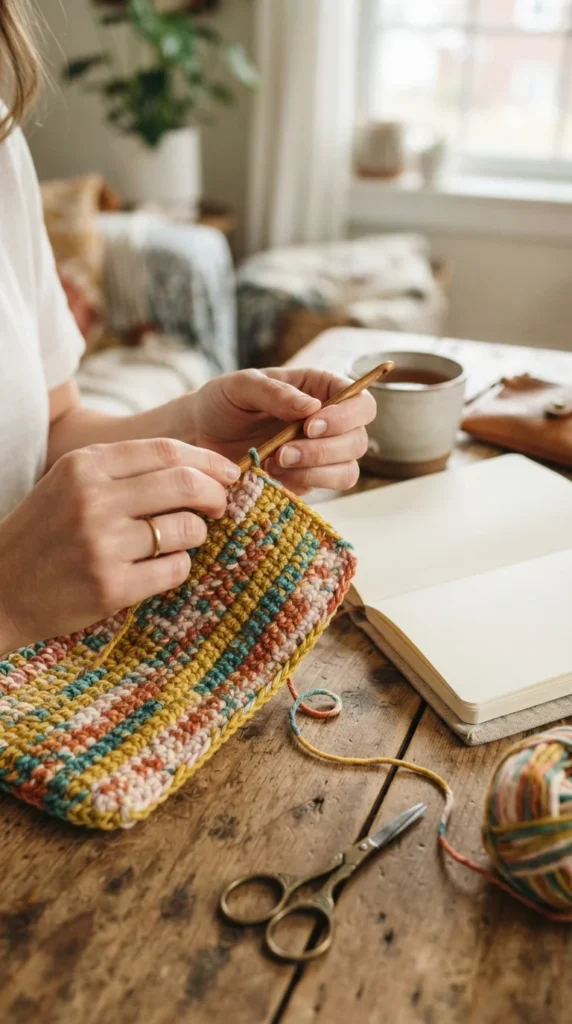
The inner flaps hold the journal inside the crochet sleeve. Fold the two ends of the main panel inward and mark where the flaps should sit.
Back loop only rows can create useful fold lines and add subtle texture to the fabric. Crochet each flap to the desired depth, then secure the side edges with a whip stitch.
Do not make the flaps so deep that they cover too much of the journal’s inside cover. A moderate flap gives support while still allowing the journal to open comfortably.
Try the cover on the journal before sewing everything permanently. This is the easiest stage for making small adjustments.
Add a Pocket or Pen Loop
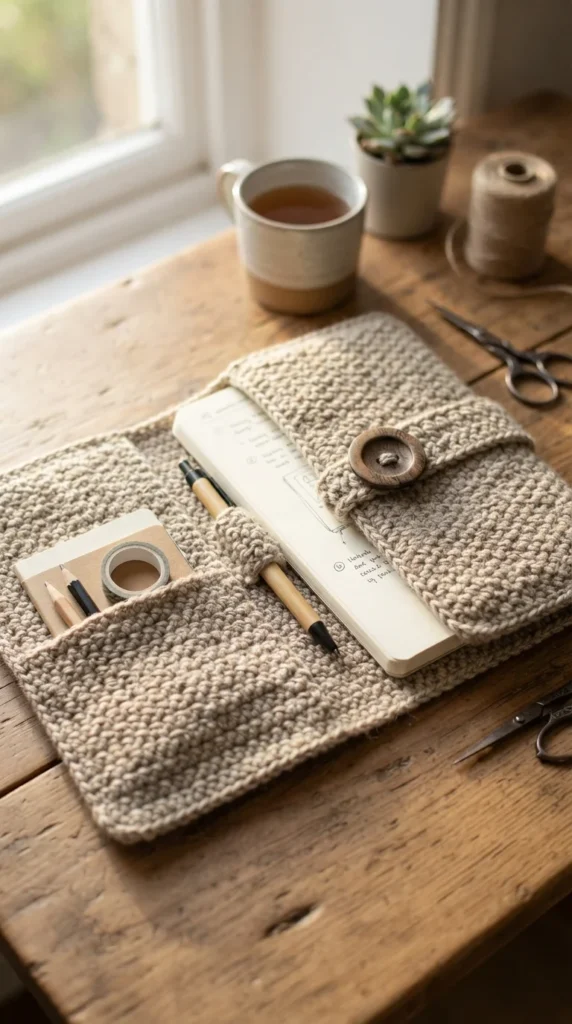
A journal cover can become much more useful with one small storage feature. Crochet a rectangular pocket separately and stitch it onto the inside of the cover. It can hold loose notes, stickers, cards, or other flat items.
A narrow crochet loop also makes a convenient pen holder. Position it near the edge of the cover and test it with the pen you normally use.
For a student journal, a pocket can hold small study cards. For a planner, it can store sticky notes or appointment cards.
Avoid making pockets overly thick because extra bulk can make the journal uncomfortable to carry.
Choose a Secure Closure
A closure keeps the cover from sliding off when the journal is carried in a bag. Buttons, snaps, and elastic loops are common options.
A button with a crocheted loop gives the project a traditional handmade appearance. Elastic is quick to attach and works well when you want the cover to accommodate different amounts of journal content.
If the journal will be opened and closed frequently, sew the closure firmly through several crochet stitches rather than attaching it to a single stitch.
Finish and Test the Custom Fit
Before calling the project finished, weave in every loose yarn end with a tapestry needle. Check the seams, corners, flap edges, and closure for secure attachment.
Slide the journal into the cover and open it several times. Make sure:
- The journal sits flat inside the sleeve.
- The cover does not pull tightly around the spine.
- The flaps hold the journal securely.
- The closure lines up correctly.
- The cover does not interfere with writing.
If the crochet fabric feels slightly loose, blocking may help even out the shape. Avoid relying on blocking to fix major sizing mistakes; accurate measurements and regular fitting checks are much more reliable.
Personalize Your Crochet Journal Cover
Once you understand the basic construction, you can turn the same method into many different designs. Try a favorite color combination, add a small flower, crochet initials, or use leftover yarn for a striped effect.
For a gift, match the colors to the recipient’s preferences and choose a journal with a similar style. A handmade cover can work for a diary, sketchbook, planner, bullet journal, or notebook.
The real advantage of a DIY crochet journal cover is the custom fit. Instead of adjusting a finished pattern to an unfamiliar notebook, you build the measurements around the journal you already have.
Conclusion
Making a custom crochet journal cover is a practical beginner project that combines simple crochet techniques with plenty of room for creativity. Measure carefully, test your gauge, check the fit as you work, and add only the features that make the cover useful for you.
Once you have the basic construction down, try different colors, textures, pockets, closures, and decorative details to create a cover that feels completely personal.
Save this guide for later and try your own DIY crochet journal cover when you’re ready!