
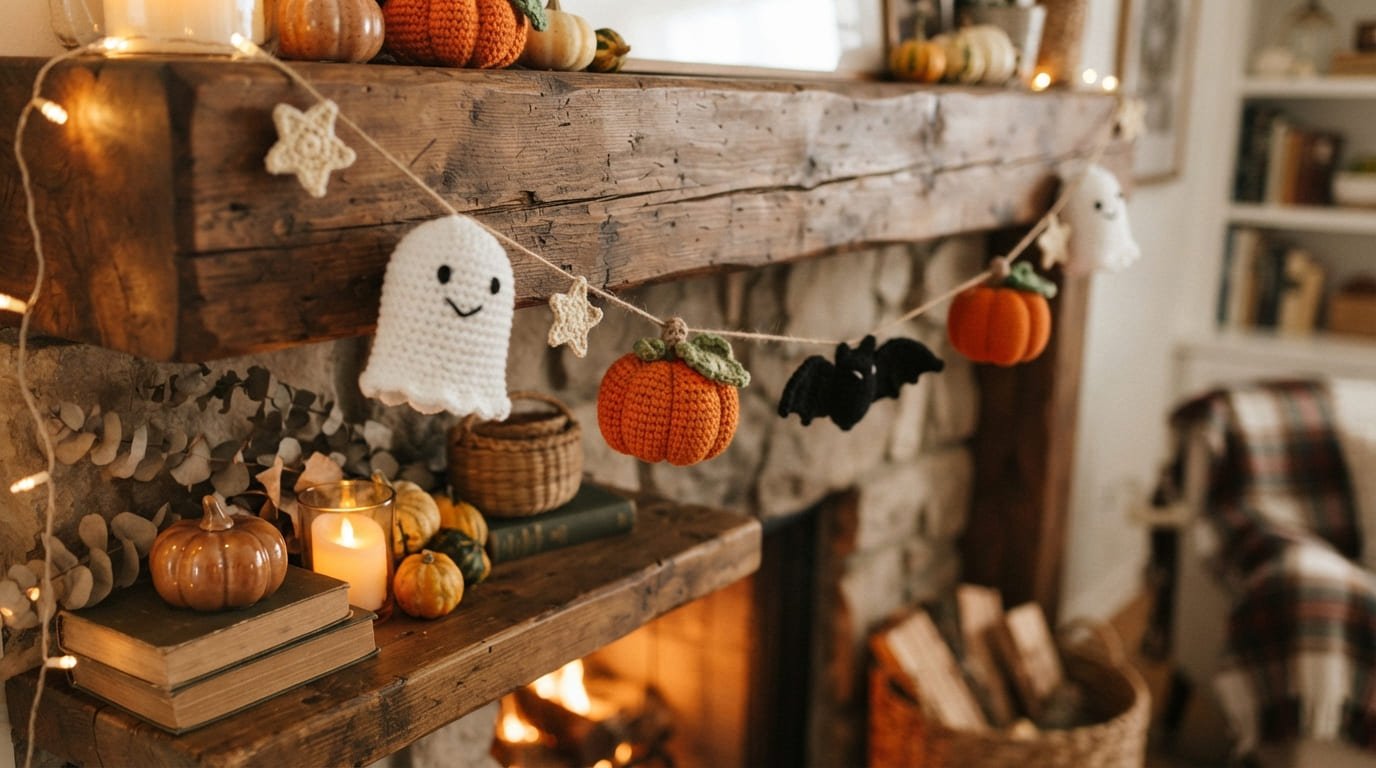
Halloween decorating does not have to mean buying a pile of plastic decorations. A handmade crochet garland can bring color, texture, and personality to a mantel, party table, doorway, or wall. Even better, you can make it with small amounts of yarn and simple stitches.
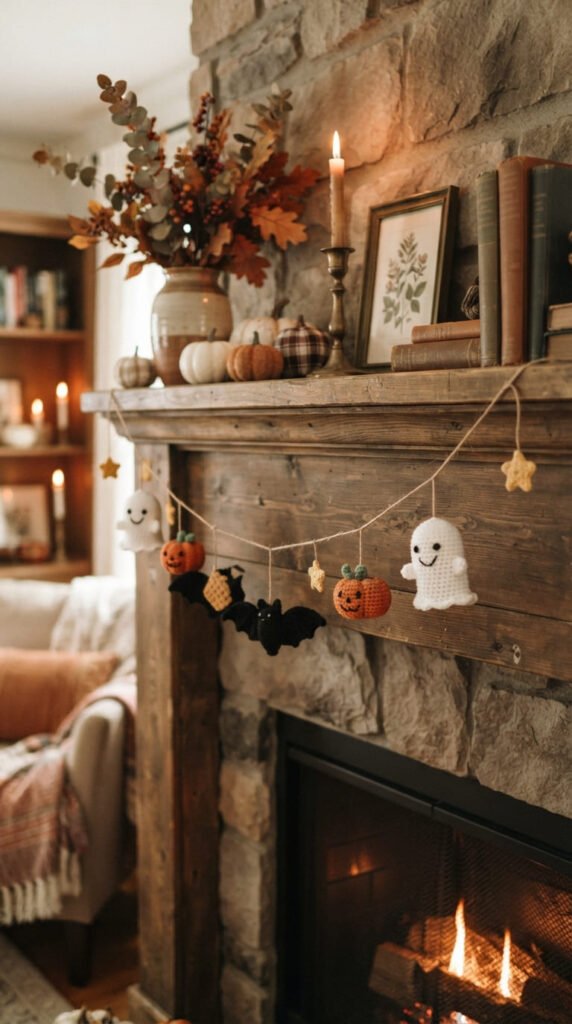
This guide explains how to crochet a Halloween garland from start to finish, including yarn choices, easy motifs, joining methods, spacing tips, and ideas for making your finished decoration match your party style.
Choose Your Yarn, Hook, and Garland Style
For a beginner-friendly garland, medium-weight or DK yarn is a practical choice. Acrylic yarn works well because it comes in many Halloween colors and is generally easy to handle.
A 3–4 mm crochet hook can work well with DK or lighter yarn, while a slightly larger hook may suit medium-weight yarn. Check the yarn label for its recommended hook range.
Classic colors include:
- Black
- Orange
- White or cream
- Purple
- Lime or dark green
You do not have to use every color. A black, cream, and rust palette can create a more grown-up display, while purple, orange, and green give the garland a playful party feel.
For the structure, you can choose between a crochet chain, ribbon, or twine. A crochet chain gives the whole project a coordinated handmade appearance, while twine creates a rustic look.
Start With Simple Halloween Motifs
The easiest way to make a decorative garland is to create several small motifs separately and attach them to a hanging strand.
Pumpkins, ghosts, bats, cats, stars, and spiders are all suitable choices. If you are new to crochet, begin with flat shapes rather than stuffed figures.
A simple pumpkin can be made from an oval or rounded rectangle, then decorated with a few surface stitches to suggest ridges. A ghost can use a rounded top with a wavy lower edge. Bats can be made as flat silhouettes with pointed wings.
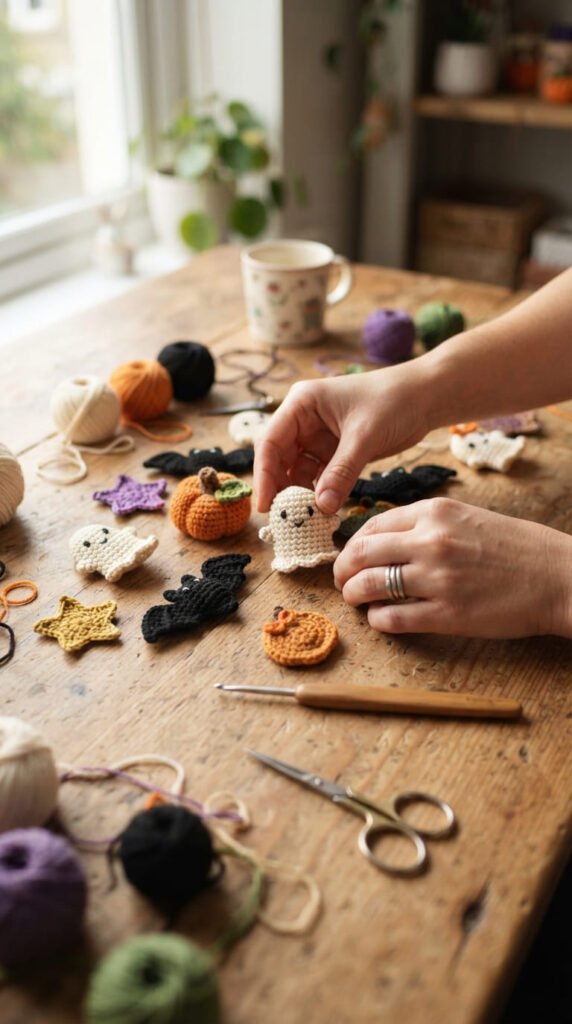
Keep the shapes slightly different in size. Small variations make a handmade garland feel more natural.
Crochet the Hanging Chain
Once your motifs are ready, make the strand that will hold them.
Create a long crochet chain according to the space you want to decorate. For a mantel or shelf, make it shorter. For a wall or doorway, add more chain stitches.
You can also make small loops along the chain where each motif will hang. This makes spacing easier and allows you to replace individual decorations later.
Another option is to crochet a simple narrow base strip instead of a chain. This gives the garland a sturdier appearance and works particularly well for heavier motifs.
Before fastening off, hold the chain against your intended display area. This simple check can prevent making a strand that is too short or excessively long.
Arrange the Motifs Before Attaching Them
Do not immediately sew every piece onto the garland. Lay all your motifs on a table first and experiment with different arrangements.
A repeating pattern can look neat:
Ghost → Pumpkin → Bat → Pumpkin → Ghost
A more relaxed arrangement can mix the motifs randomly.
For a balanced display, place larger pieces farther apart and use smaller stars or leaves to fill the gaps.
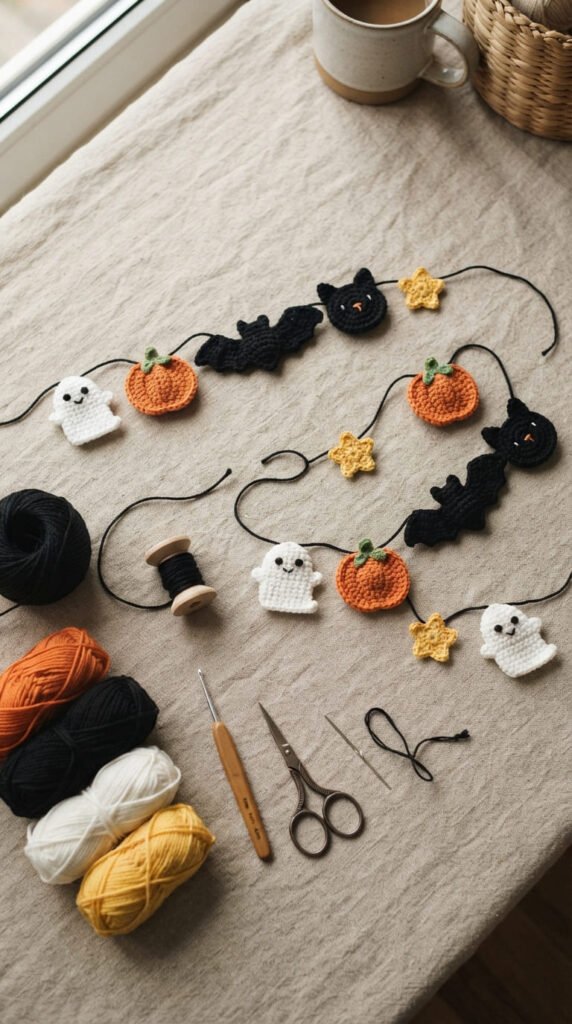
This is also the right stage to experiment with color. If one section looks too dark, add a cream ghost or orange pumpkin nearby.
Attach Everything Securely
There are several ways to connect the motifs.
Sewing: Use a yarn needle and matching yarn to stitch each motif onto the chain. This gives a secure finish and works well for decorations that will be handled often.
Crochet loops: Add a small loop to each motif and thread it onto the chain. This makes individual pieces easier to remove or rearrange.
Twine: Make the motifs with small hanging loops and thread them onto jute or cotton twine. This creates a casual farmhouse-style decoration.
For a party garland that will be packed away after Halloween, removable loops are particularly useful. You can store the motifs separately and reuse the same base next year.
Add Details Without Making It Too Busy
Small finishing touches can change the personality of your garland.
Try adding:
- Embroidered eyes and smiles
- Tiny crocheted leaves
- Curled yarn vines
- Small bows
- Simple stars
- Mini spider webs
- Contrasting borders
Embroidery is a useful alternative to safety eyes when you want a flat, lightweight decoration. It also lets you give every ghost or pumpkin a different expression.
If the garland will be used around young children, avoid loose small components that could detach easily. Secure stitched details are a better choice for a frequently handled decoration.
Make the Garland Fit Your Party
One advantage of making your own Halloween garland is that you can match it to the room.
For a cute party, use smiling ghosts, pastel pumpkins, and colorful stars.
For a classic Halloween setup, choose black, orange, cream, and purple.
For a modern display, use only black, ivory, and one muted accent color.
For a rustic fall party, combine rust, cream, brown, olive, and natural twine.
You can also make the garland longer by adding more motifs rather than changing the basic construction. This makes the project easy to scale for a dining room, classroom, mantel, or party backdrop.
Care and Storage Tips
Crochet decorations can last for many Halloween seasons when stored properly.
Before putting the garland away, check the stitches and attachment points. Repair loose ends before storage rather than waiting until the following year.
Keep the garland clean and completely dry. Store it in a breathable fabric bag or a clean storage container away from damp areas.
If the motifs become wrinkled, gently reshape them by hand. Avoid crushing stuffed pieces under heavy decorations.
For outdoor use, remember that ordinary yarn is not automatically weatherproof. A covered porch is safer than leaving a handmade garland exposed to rain and prolonged moisture.
Conclusion
Learning how to crochet a Halloween garland is a fun way to create personalized party decor without needing a complicated pattern. Start with a few simple motifs, choose a color palette you love, arrange everything before attaching it, and use a sturdy hanging method.
The best part is that you can change the length, motifs, colors, and spacing to suit almost any room. Save this guide for later and try these ideas when you’re ready to make your own handmade Halloween decoration!