
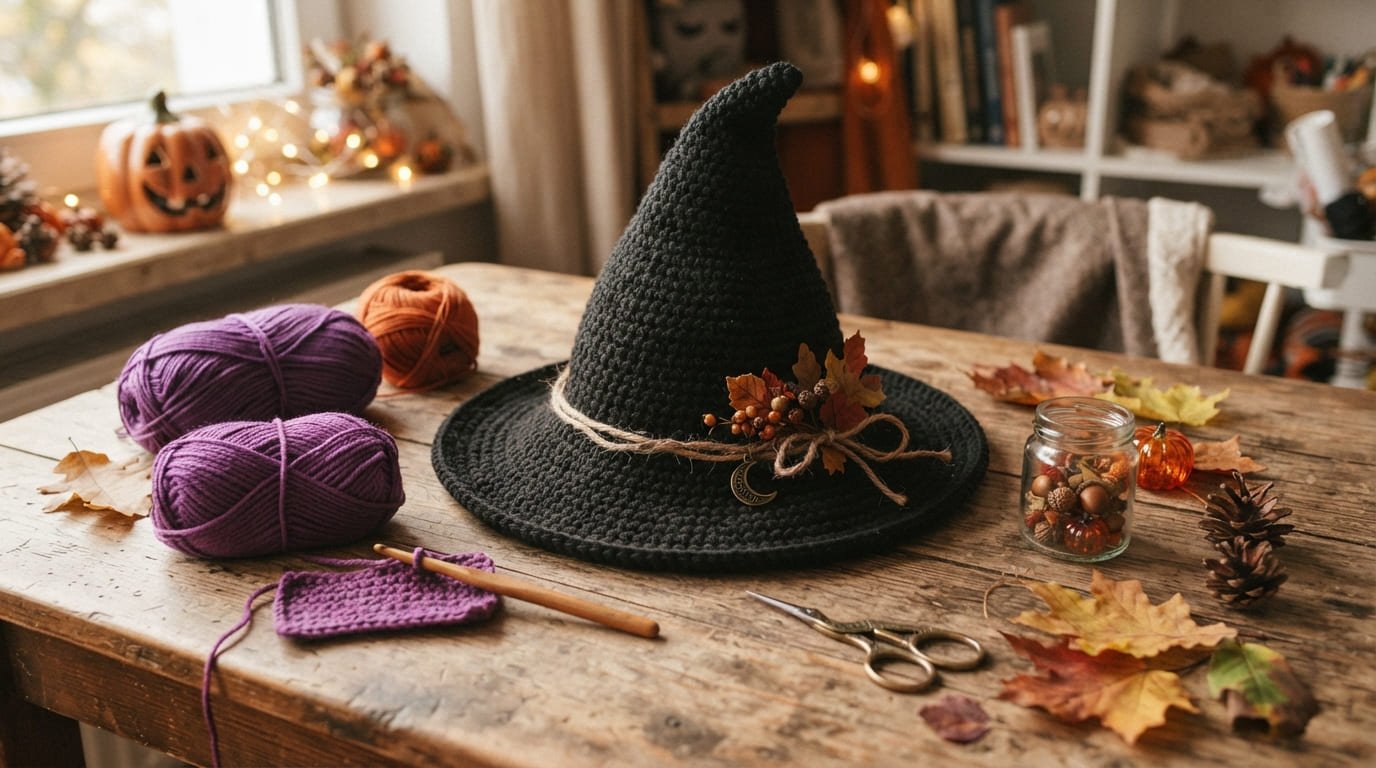
A handmade crochet witch hat is a fun way to add a spooky touch to Halloween without relying on expensive store-bought decorations. Whether you want a wearable costume accessory, a small hat for an amigurumi ghost, or a festive decoration, the basic construction is surprisingly approachable. Most crochet witch hat designs use simple stitches such as single crochet or half-double crochet, while a magic ring is commonly used to begin the tapered crown.
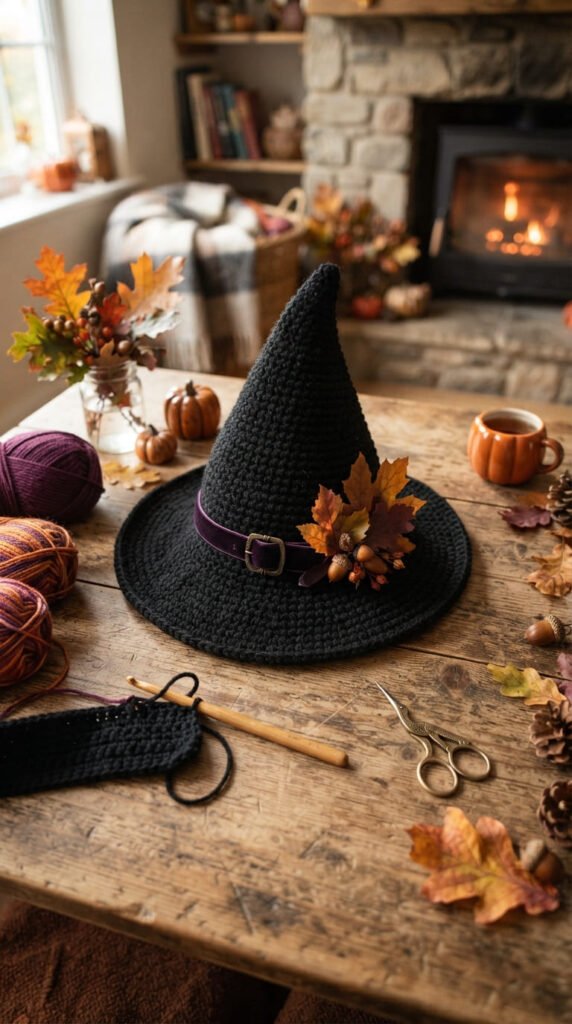
This beginner-friendly guide explains how to crochet a Halloween witch hat from the crown to the brim, along with practical tips for sizing, shaping, decorating, and giving your finished hat a polished look.
What You’ll Need to Crochet a Witch Hat
Before starting, gather your supplies so you can work without interruptions. You do not need a large collection of materials for a simple design.
Basic supplies
- Black worsted-weight yarn
- Small amount of purple, orange, or green yarn for decoration
- Crochet hook suitable for your yarn
- Yarn needle
- Scissors
- Stitch marker
- Measuring tape
- Optional: craft or floral wire for a structured brim
- Optional: ribbon or twill tape for an inner hat band
A firm yarn and a reasonably tight tension help the hat maintain its shape. If you are making a wearable version, check your gauge before crocheting the entire piece because even small differences in tension can change the final circumference.
For a decorative mini witch hat, leftover yarn is an excellent choice. Small Halloween projects are also a useful way to use up scraps from previous crochet projects.
Step 1: Start the Witch Hat Crown
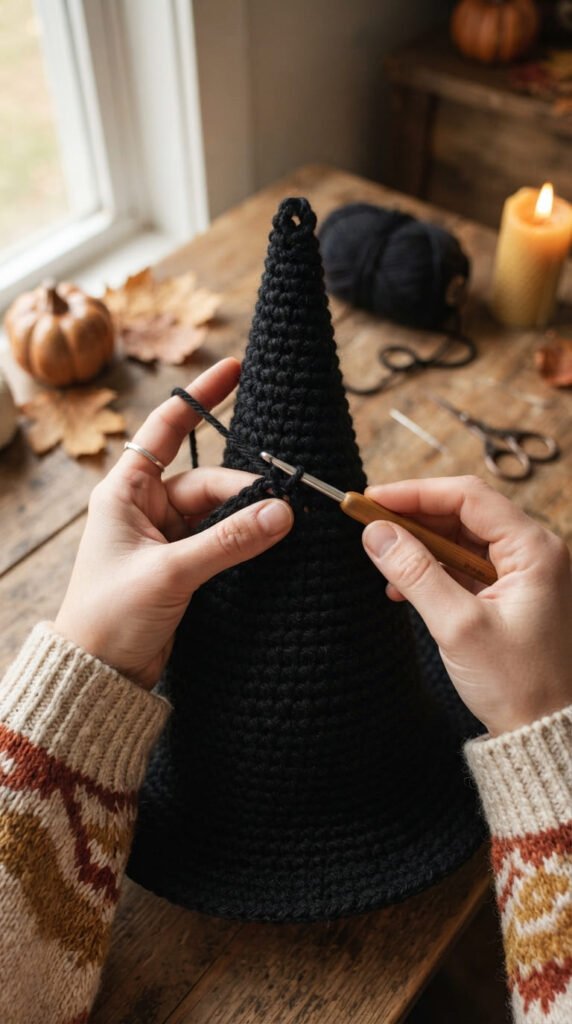
The pointed crown is the most recognizable part of a witch hat. Start with a magic ring and work single crochet stitches into the center.
Pull the ring closed and continue crocheting in rounds. The exact number of stitches and increases will depend on the size you want, but the basic idea is simple: gradually increase the width near the bottom while keeping the upper portion narrow.
As the crown grows, try it against the intended wearer or compare it with a size reference. Avoid making the increases too quickly, or the crown may become wide and floppy instead of tall and pointed.
Step 2: Shape the Pointed Crown
Continue working rounds while adjusting your increases to create the classic crooked witch-hat shape.
For a more traditional silhouette, keep the crown relatively narrow and allow it to become slightly uneven or curved near the top. You can gently bend the finished crochet fabric after stuffing or shaping it to create a whimsical point.
If you prefer a neat modern style, keep your increases consistent and maintain even tension. A minimalist black hat can look just as striking as an elaborate Halloween design.
For a slouchier style, allow the upper section to relax naturally instead of forcing the point to stand completely straight.
Step 3: Crochet the Hat Brim
Once the crown reaches the desired height, begin expanding the bottom edge to create the brim.
Work increase rounds around the opening until the brim reaches the width you want. Keep checking that it lies reasonably flat. If it starts curling upward, you may need additional increases; if it becomes wavy, the increases may be too frequent.
For a wearable hat, accurate head measurement is especially important. Many adult crochet witch hat patterns fall around a 19–24.5-inch circumference, although the correct measurement depends on the individual and the amount of ease desired.
Step 4: Give the Brim More Structure
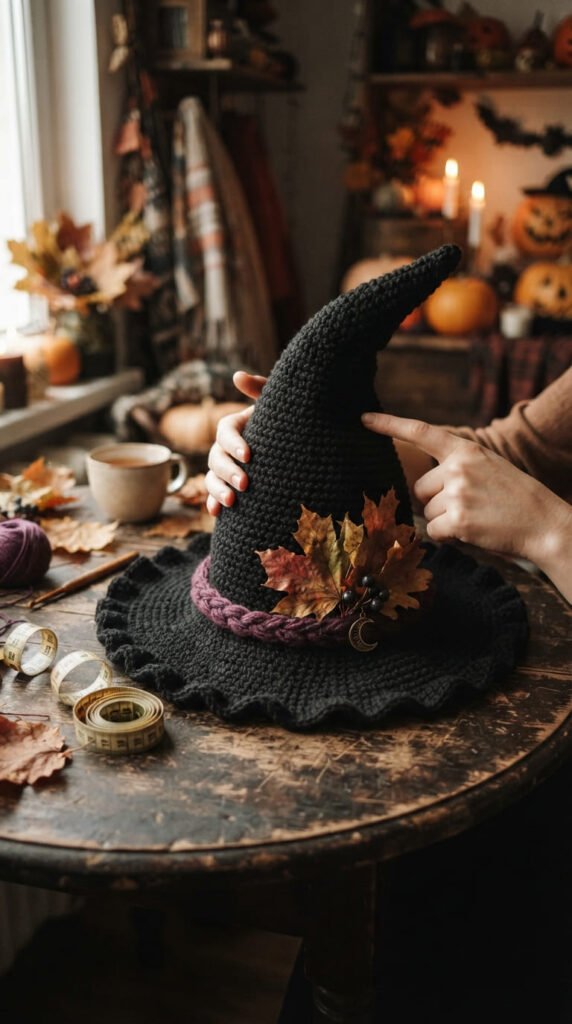
A soft crochet brim can look charming, but a structured brim gives a wearable witch hat a more defined silhouette.
One option is to carefully incorporate craft or floral wire around the outer edge. Research on existing crochet witch hat patterns commonly identifies approximately 18–22 gauge wire for supporting structured brims.
If you use wire, make sure its ends are securely covered and cannot poke through the crochet fabric. For children’s projects, consider skipping wire altogether and using a soft, flexible brim instead.
Another option is to reinforce the inside with ribbon or twill tape. This can add comfort and help the hat maintain its shape without making the outer surface look bulky.
Step 5: Add a Classic Witch Hat Band
A contrasting band instantly makes a simple crochet witch hat look more finished.
Wrap purple, orange, green, or even metallic yarn around the base of the crown. You can crochet a narrow strip separately and sew it in place, or use surface slip stitches to create a decorative stripe.
For an extra Halloween touch, add a crocheted buckle or make a simple buckle shape from contrasting yarn. Keep embellishments securely attached, especially if the hat will be worn by a child.
Easy Ways to Customize Your Hat
The best part of making a crochet witch hat yourself is that you can change the design to match your project.
Try these ideas:
- Classic: Black yarn with a purple band.
- Spooky: Black with orange stripes and a crooked crown.
- Cute: Make a miniature version for an amigurumi ghost or pumpkin.
- Boho: Use earthy yarn colors and a relaxed, slouchy shape.
- Sparkly: Add a subtle metallic strand to the band.
- Family set: Crochet matching hats in different sizes.
Mini crochet witch hats are especially useful for Halloween ornaments, dolls, ghosts, keychains, and other amigurumi accessories. Existing patterns commonly use very small versions for these purposes.
Tips for a Better Crochet Witch Hat
A few simple adjustments can make the finished project much easier to wear and shape.
First, keep your tension consistent throughout the crown. Uneven tension can make the point twist or the brim sit irregularly.
Second, measure before finishing the brim. It is much easier to correct the size while crocheting than after the hat is completely finished.
Finally, block or gently shape the finished piece if the yarn allows it. Avoid excessive heat or moisture unless the yarn manufacturer’s care instructions specifically allow it.
Finish Your Halloween Witch Hat
After completing the final round, fasten off and weave in all loose ends securely. Shape the crown and brim with your hands, then attach your decorative band or buckle.
A handmade crochet witch hat does not have to be complicated to look impressive. With basic stitches, thoughtful shaping, and a few Halloween-inspired details, you can create a unique accessory or decoration that fits your style.
Whether you’re making a full-size costume hat or a tiny amigurumi version, start with the simple structure and customize it as you go. Save this guide for later and try these ideas when you’re ready!