
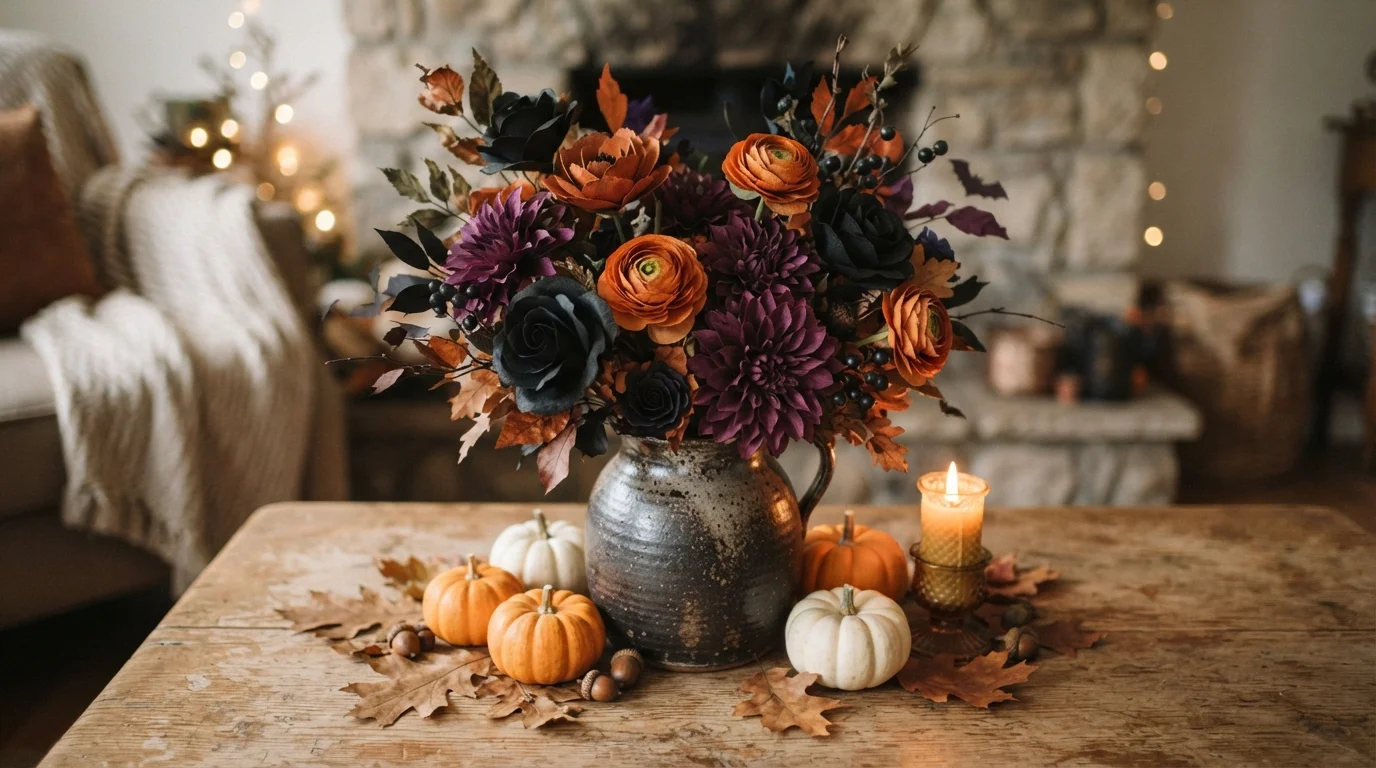
Halloween decorations do not have to be expensive or complicated to make your home feel festive. Halloween paper flowers are an easy DIY project that can turn simple tissue or crepe paper into colorful blooms for wreaths, tables, walls, and party displays. Traditional Halloween shades such as black, orange, and purple work especially well, while burgundy and deep metallic tones can create a more elegant fall look.
The best part is that you can change the size, colors, and flower shape to match your decorating style. This guide walks you through a simple method and shares practical ideas for making your paper flowers look fuller and more polished.
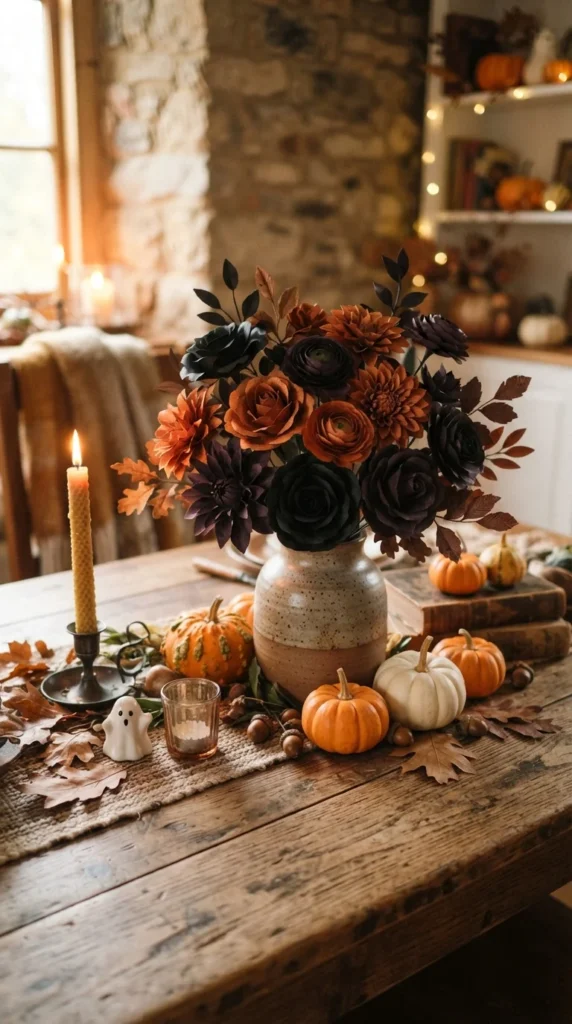
What You Need to Make Halloween Paper Flowers
You only need a few basic craft supplies to get started. Crepe paper and tissue paper are especially useful because they are lightweight and easy to shape.
Gather:
- Black, orange, purple, or burgundy tissue or crepe paper
- Scissors
- Floral wire or a wooden skewer for a stem
- Craft glue or a hot glue gun
- Green paper or floral tape for the stem
- Pencil or paper curler for shaping petals
- Optional ribbon, leaves, spider webs, or small Halloween decorations
If you are making flowers with children, regular craft glue may be easier to manage. If using a hot glue gun, an adult should handle the glue because the tip and melted glue can cause burns.
Step 1: Choose Your Flower Style and Colors
Before cutting your paper, decide what kind of flower you want to create. A layered dahlia gives you a dramatic Halloween look, while a rolled rose feels softer and more decorative.
For a classic spooky arrangement, try:
- Black petals with an orange center
- Purple petals with black accents
- Orange flowers with dark green leaves
- Burgundy blooms with black centers
You can also mix two shades of the same color for a more natural-looking flower. A combination of burgundy, purple, and black can work particularly well for sophisticated fall decorations.
Step 2: Cut and Prepare the Petals
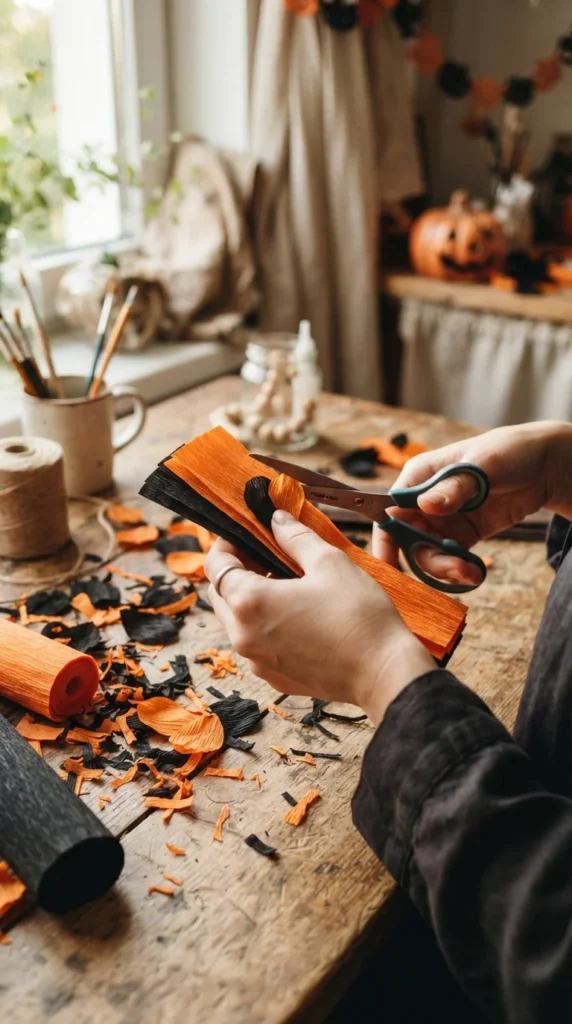
Cut your paper into strips or individual petal shapes depending on the flower design.
For a simple layered flower, start with several petal shapes that gradually become smaller. The larger pieces form the outside of the bloom, while the smaller petals create the center.
Try not to make every petal perfectly identical. Slight differences can actually make handmade flowers look more realistic.
For a rolled rose, cut a long strip of crepe paper and create a slightly curved or scalloped upper edge. Keep the bottom edge relatively straight so it is easier to roll.
Step 3: Shape the Petals
This is the step that gives your paper flowers their personality.
Gently curl the edges of each petal with your fingers or use a pencil to create a soft curve. A paper curler can also help create more controlled shapes.
Do not press too hard. Crepe paper can stretch or tear if you pull it aggressively.
For a fuller flower, slightly cup the middle of each petal before attaching it. For a flatter decorative bloom, keep the petals more open.
Step 4: Layer and Secure the Flower
Start with the largest petals and work toward the center. Attach each piece around the previous layer, slightly overlapping the petals as you go.
A hot glue gun is commonly used for paper flower assembly because it allows petals to be attached quickly.
Take your time while building the center. If the middle looks too empty, add several smaller petals or tightly rolled paper strips.
For a more dramatic Halloween effect, place a small black paper circle in the center or add a simple spider-web-inspired paper detail.
Easy Ways to Display Your Finished Flowers
Once your flowers are finished, you can use them in much more than a traditional bouquet.
Make a Halloween Wreath
Attach several paper flowers to a grapevine or cardboard wreath base. Combine large black dahlias with smaller orange and purple blooms for contrast. Paper flower wreaths and wall displays are common ways to use these handmade decorations.
Create a Table Centerpiece
Arrange flowers in a vase, basket, or decorative jar. Add dried leaves, miniature pumpkins, or battery-operated lights around the base for a warm fall centerpiece.
Decorate a Wall or Mantel
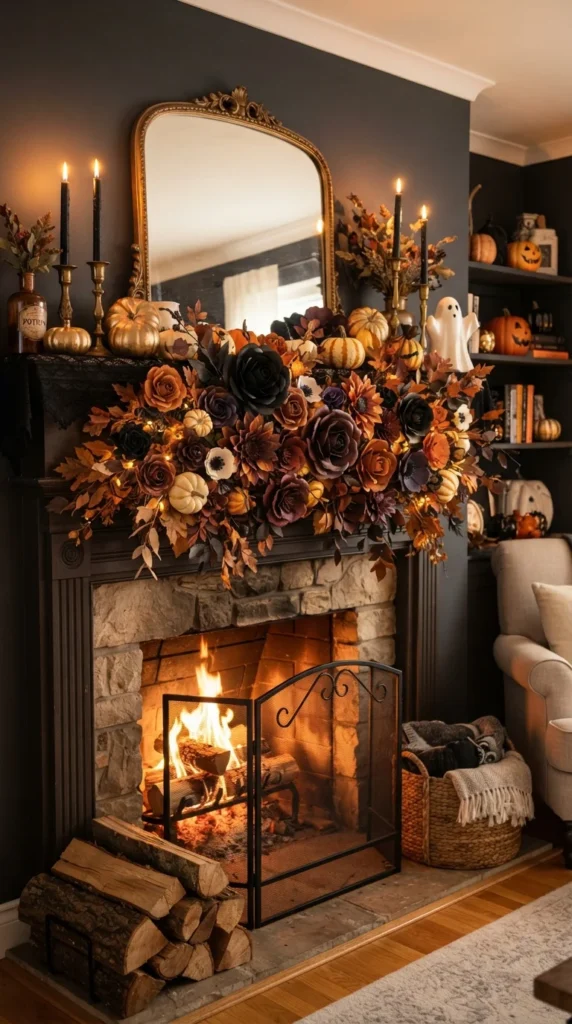
Use removable adhesive hooks or lightweight floral arrangements to create a flower cluster above a mantel, entryway table, or party backdrop.
Tips for Fuller and More Realistic Flowers
Small adjustments can make a big difference in the final result.
- Mix flower sizes: Combine large statement blooms with small flowers.
- Vary the petals: Slightly different shapes make the arrangement feel handmade.
- Layer generously: More layers create a fuller center.
- Use contrasting colors: Dark petals look striking beside orange or burgundy.
- Shape before gluing: It is easier to curl petals before assembling the flower.
- Avoid overcrowding: Leave some open space when arranging several flowers together.
Most paper flower projects can be completed relatively quickly, with many tutorials falling around the 30–60 minute range depending on the flower style and complexity.
Give Your Halloween Flowers a Fall Twist
Your flowers do not have to disappear once Halloween is over. Choose burgundy, cream, rust, dark purple, and muted orange to create decorations that can transition naturally into November.
For example, replace spooky black accents with warm leaves and neutral paper flowers. A wreath that begins as Halloween decor can then become a simple fall arrangement for the weeks that follow.
Final Thoughts
Making Halloween paper flowers is a simple way to create personalized decorations without spending much on ready-made decor. With inexpensive paper, scissors, glue, and a little patience, you can make flowers for wreaths, centerpieces, walls, mantels, or party displays.
Experiment with different petal shapes and color combinations until you find a style that feels like yours. Save this guide for later and try these Halloween paper flower ideas when you’re ready to decorate!