
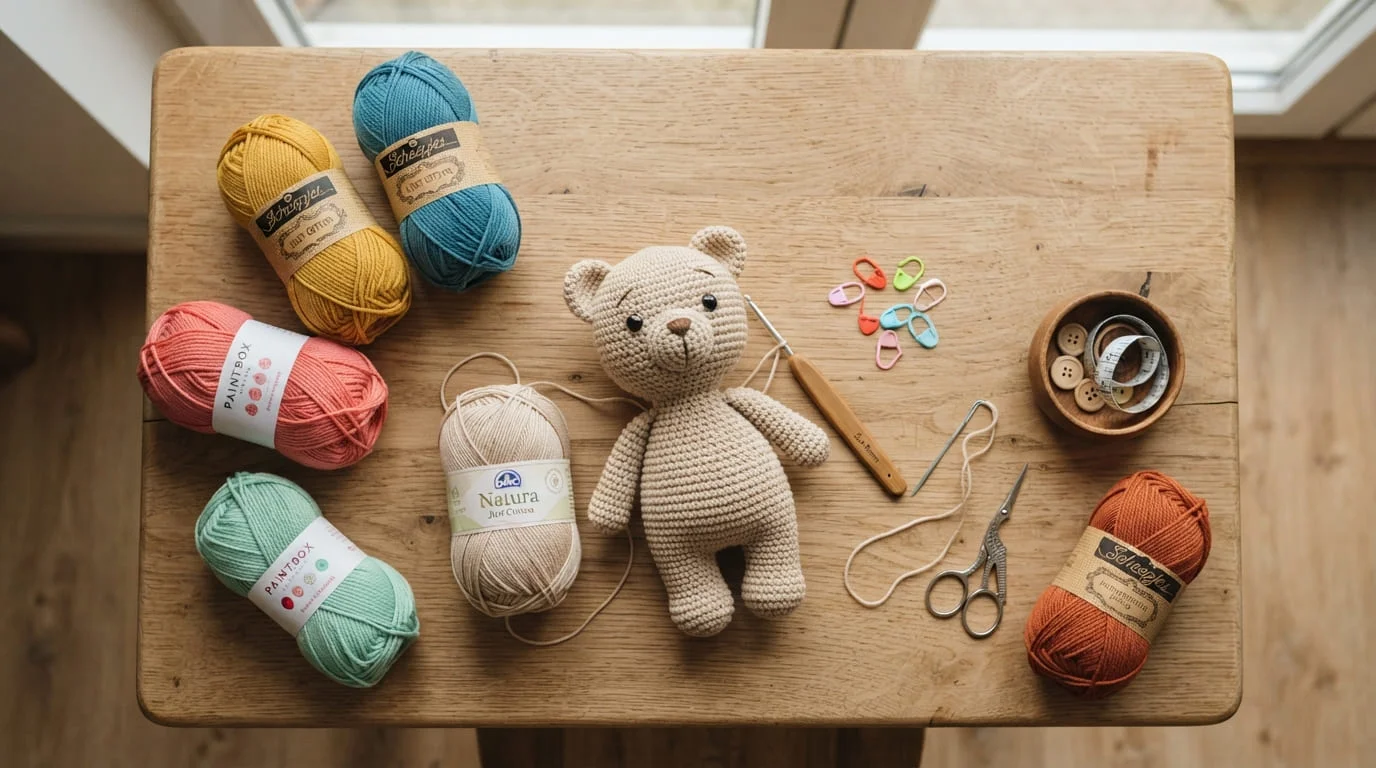
Ever looked at those impossibly cute crochet animals on Pinterest and thought, “I could never make that”? Good news: you absolutely can. Amigurumi — the Japanese art of crocheting small, stuffed creatures — looks intricate, but almost every single one starts with the exact same simple building blocks. Once you learn them, you can make a pig, a bear, a bunny, or basically any animal your heart desires, all from one adaptable little body.
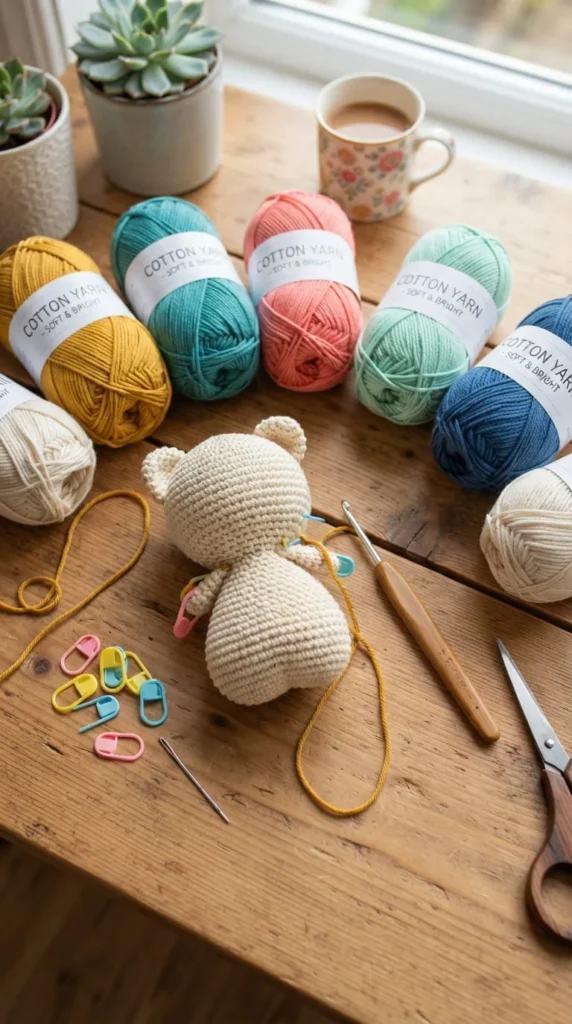
Grab your hook and a skein of yarn — let’s turn a few loops into something adorable.
What You’ll Need
Before diving in, gather these beginner-friendly supplies:
- Worsted weight yarn (cotton or acrylic works great)
- A crochet hook 1–2 sizes smaller than the yarn label suggests (this makes a tighter fabric so stuffing won’t peek through)
- Polyester fiberfill stuffing
- A stitch marker (a scrap of yarn or a paperclip works fine)
- A tapestry/yarn needle for sewing
- Safety eyes or embroidery thread for the face
- Small amounts of contrasting yarn for ears, tails, and details
That’s it — no fancy tools required.
Step 1: Master the Magic Ring
Nearly every amigurumi pattern begins the same way: the magic ring (also called a magic circle). This lets you start with a tight, adjustable loop instead of a hole in the middle of your first round.
- Make a loop with your yarn, leaving a tail.
- Chain 1 (this doesn’t count as a stitch).
- Work 6 single crochets into the loop.
- Pull the tail to cinch it closed.
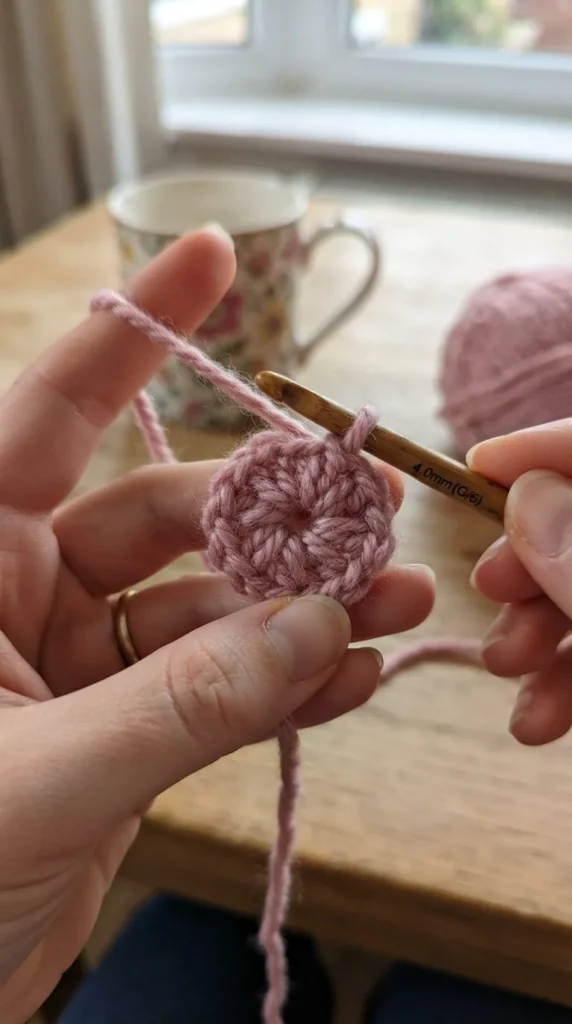
Six single crochets into a magic ring is your launchpad for almost every amigurumi shape.
Step 2: Learn the Core Formula (This Is the Secret!)
Here’s the trick nobody tells beginners: amigurumi bodies aren’t complicated patterns — they’re variations on one simple formula:
- Increase — work 2 stitches into 1 stitch to widen the shape (6 → 12 → 18 → 24)
- Work even rounds — single crochet around without increasing, to build height
- Decrease — combine 2 stitches into 1 to narrow the shape back down
- Stuff — add fiberfill before the opening gets too small
- Close — cinch the last few stitches shut and weave in the tail
That’s a sphere, an oval, or a capsule — the base for a pig, cat, bear, or bunny. Change the ears, snout, tail, and colors, and you’ve got a completely different animal from the same skeleton pattern.
Step 3: Crochet in Continuous Spiral Rounds
Unlike a blanket or hat, amigurumi is worked in a continuous spiral — you don’t join or chain at the end of each round. This keeps the surface seamless.
- Slip your stitch marker into the first stitch of each round so you don’t lose track.
- Move the marker up every time you complete a round.
- Count your stitches often — if your round should have 18 and you count 17 or 19, stop and check before continuing.
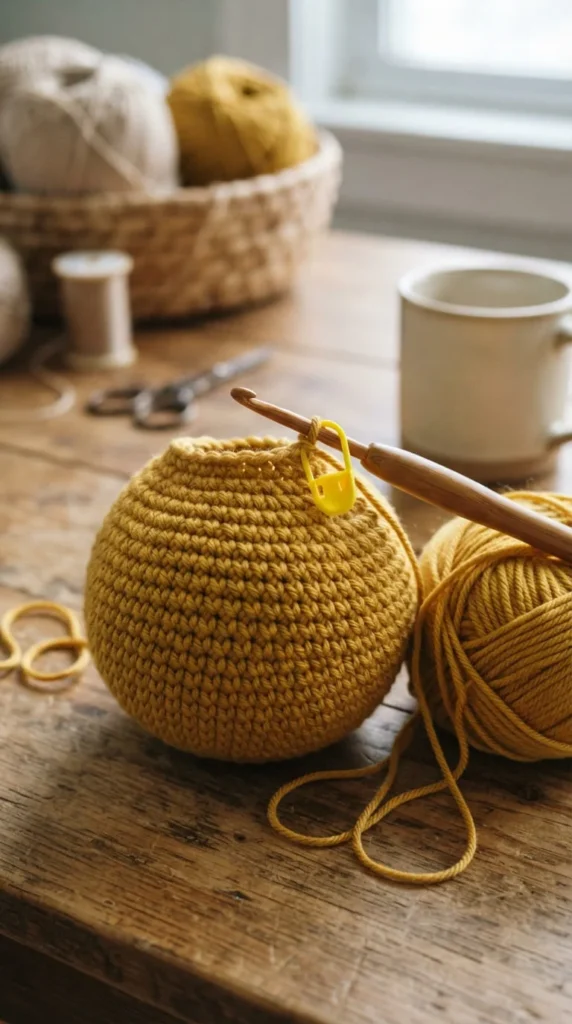
This one habit — checking your stitch count every round — prevents 90% of lumpy, lopsided amigurumi.
Step 4: Shape It Up with Invisible Decreases
Regular decreases can leave little bumps or gaps. The fix is the invisible decrease:
- Insert your hook into the front loop of the next two stitches (instead of both full loops).
- Yarn over and pull through both front loops.
- Yarn over again and pull through to complete the single crochet.
The result is a smoother, more professional-looking finish — especially noticeable around the face and head.
Step 5: Stuff, Sew, and Assemble
Assembly is where your pieces become an actual animal, so take your time here.
- Stuff firmly for the head, more lightly for limbs and body.
- Add stuffing gradually and check the shape as you go — overstuffing distorts the form.
- Pin ears, arms, legs, and tail in place before sewing so everything lines up symmetrically.
- Use a whip stitch or mattress stitch with your tapestry needle to attach pieces securely.
- Weave in all yarn ends so nothing unravels later.
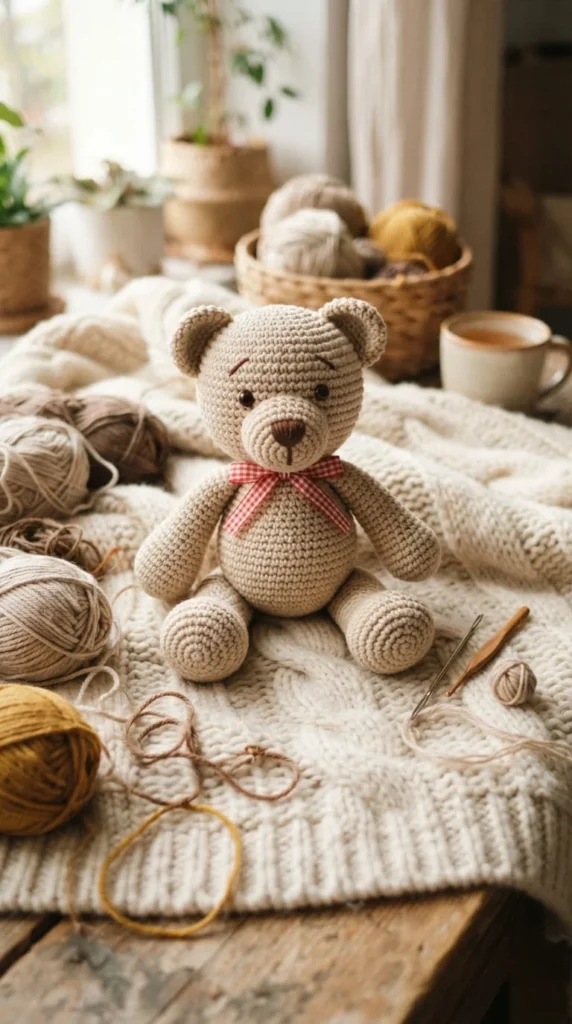
Step 6: Add the Face (Safely!)
This is where your creature really comes to life.
- Safety eyes give a polished, professional look — but they are not recommended for children under 3 due to choking risk.
- Embroidered eyes using black yarn or thread are a safer alternative for baby gifts or nursery toys.
- Add a nose, mouth, or blush with a few simple embroidery stitches or a contrasting yarn color change.
Step 7: Customize Your Animal
Once you’ve got the base body down, the fun really begins. Try mixing and matching:
- Ears: round for a bear, long for a bunny, pointed for a cat
- Tail: short pom-pom, curly pig tail, or fluffy bunny tail
- Snout: rounded muzzle for a bear, flat oval for a pig
- Colors: stripes, spots, or ombré sections using simple color changes
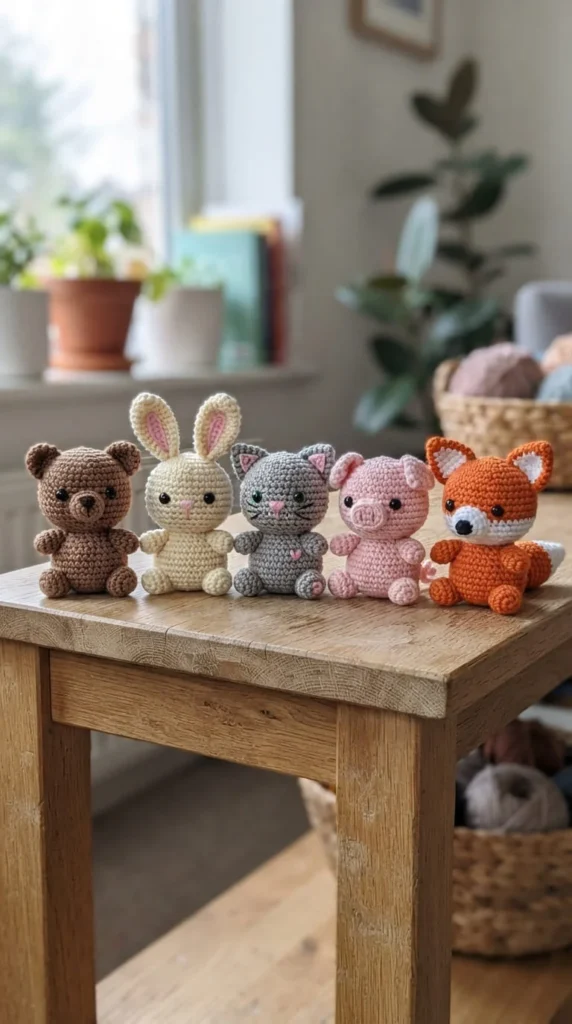
You’re Ready to Crochet Your First Amigurumi!
See? One magic ring, one shaping formula, and a little creativity is really all it takes to build an entire zoo of huggable, handmade friends. Start with a simple ball or basic animal to get comfortable, then branch out into your own custom creatures.
Save this tutorial for later so you always have the amigurumi basics on hand — and happy hooking!