
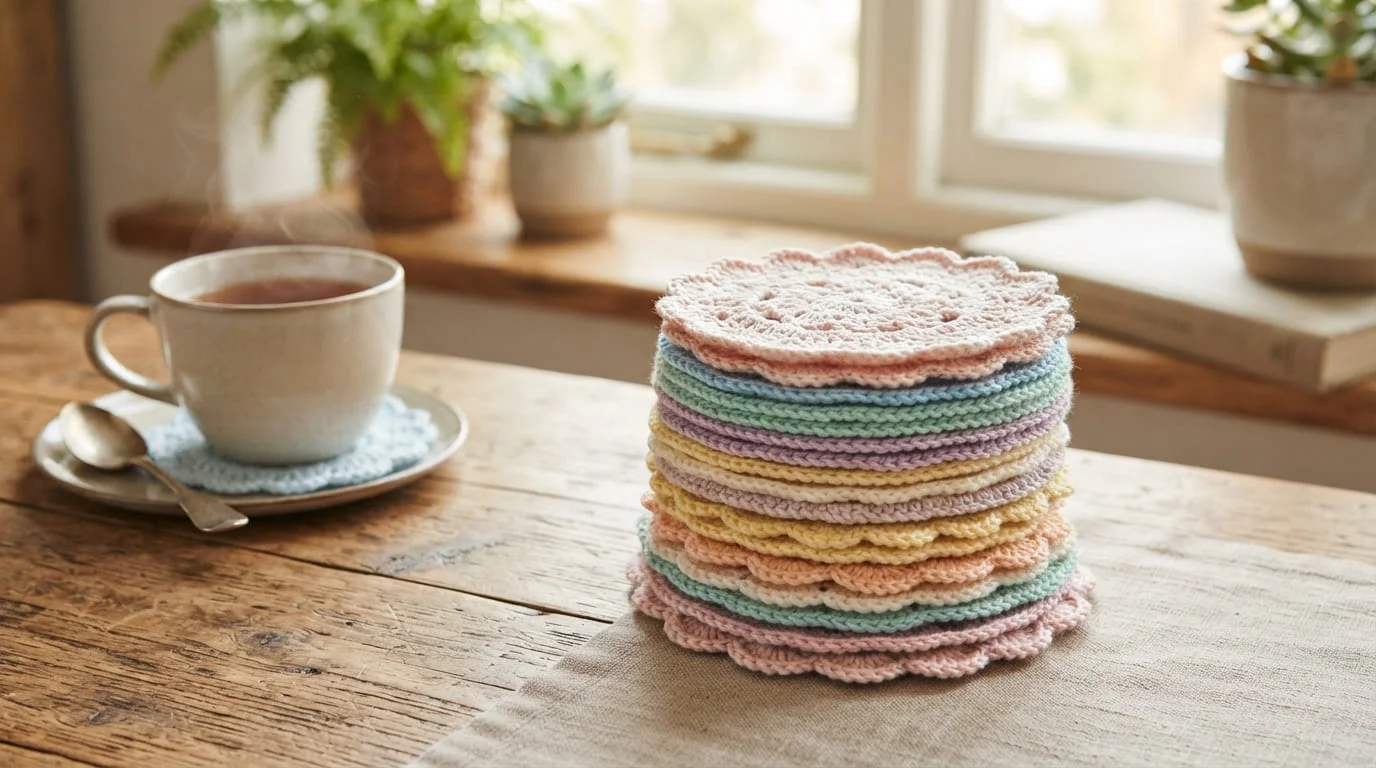
Round coasters might just be the most satisfying small project in crochet. They’re quick, they use almost no yarn, and within a few rounds you’ve got something you can actually use every day. If you’ve been wanting to try crochet but felt intimidated by bigger projects, this is where to start.
In this guide, you’ll learn how to build a coaster from a simple ring, how to increase without it curling or rippling, and a few ways to make your set look a little more polished once you’ve got the basics down.
What You’ll Need to Get Started
You don’t need a big supply list for this project. Here’s what to gather before you start:
- A crochet hook (size depends on your yarn weight)
- Cotton yarn — ideal for absorbency and durability
- A yarn or tapestry needle
- Scissors
- Stitch markers, if you like keeping track of round starts
Cotton is worth calling out specifically. It handles moisture well, doesn’t stretch out of shape, and can go through the wash without losing form — all things you want in something that lives under a coffee mug. Worsted-weight cotton is a solid, beginner-friendly choice, though DK-weight works nicely too if you want a slightly finer fabric.
Starting the Center: Magic Ring vs. Chain Ring
Every round coaster starts the same way — with a small circle that your first stitches wrap around.
The magic ring (sometimes called a magic circle or sliding loop) is the most common method. You wrap the yarn around your fingers, crochet into the loop, then pull the tail to close the center tightly. It gives a clean, gap-free finish, but it does take some practice to get comfortable with.
If the magic ring isn’t clicking for you yet, try the chain ring instead. Chain 3 or 4 stitches, then join them into a loop with a slip stitch. It’s more visual and easier to control, though you may need to tug the tail a bit tighter afterward to close any small gap in the middle.
Both methods are completely valid — pick whichever one feels manageable right now.
The Basic Stitch Pattern
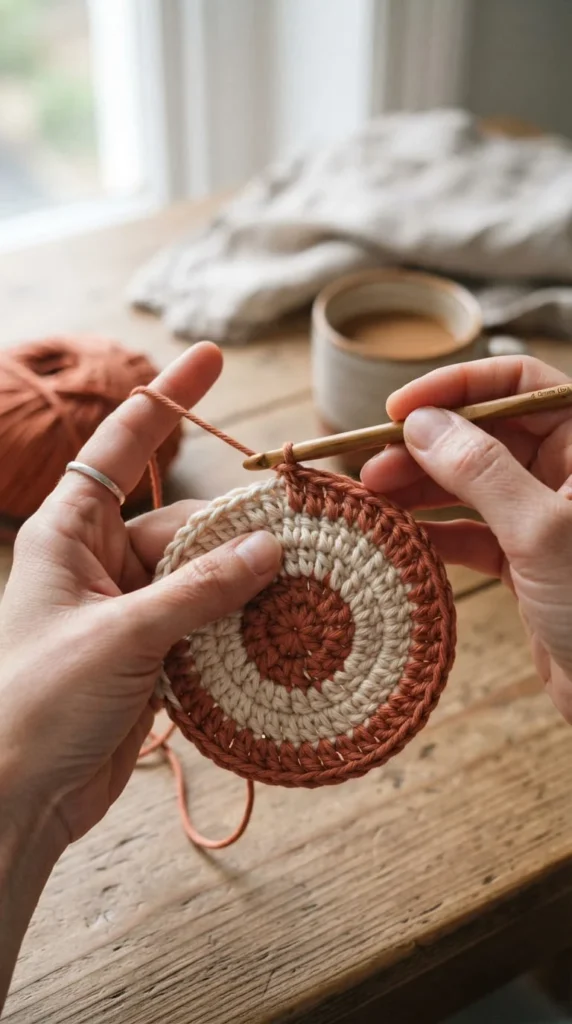
Once your ring is ready, you’ll build outward in rounds, increasing stitches as you go to keep the circle flat. Here’s a common five-round structure using half double crochet, a stitch that’s dense and beginner-friendly:
- Round 1: 6 half double crochet into the ring. Join with a slip stitch. (6 stitches)
- Round 2: 2 hdc in each stitch around. (12 stitches)
- Round 3: 1 hdc, 2 hdc in next stitch repeated around. (24 stitches)
- Round 4: 1 hdc, 1 hdc, 2 hdc in next stitch repeated around. (36 stitches)
- Round 5: Work a single crochet in each stitch for a tighter, cleaner border.
If you’d rather work with double crochet, the stitch counts tend to move a little faster — a common progression is 12, 24, 36, then 48 stitches across four rounds. Double crochet grows the circle quicker but produces a slightly looser fabric, so it’s worth switching to single crochet for the final round to firm up the edge.
Checking your stitch count at the end of every round is the single best habit you can build early on. It catches small mistakes before they turn into a lopsided coaster.
Fixing Curling, Cupping, or Rippling
If your circle isn’t lying flat, it usually comes down to one of these:
- Cupping like a bowl — you’re not increasing enough stitches per round.
- Rippling or ruffling at the edges — you’re increasing too many stitches.
- General curling — your tension might be too tight overall.
Try adjusting your increase spacing first. If that doesn’t fully solve it, blocking will usually finish the job — dampen the coaster slightly, lay it flat, shape it into a circle, then let it dry under something flat and weighted overnight.
Adding Color and Texture
Once you’ve made a plain coaster or two, adding color is a natural next step. A simple color change — introduced on round four, for example — can turn a basic coaster into something that looks intentional and stylish. Just be sure to switch yarns on your last yarn-over of the previous stitch so the new color starts cleanly.
For a more textured look, herringbone and bobble stitches are popular choices. Herringbone gives a modern, directional pattern, while bobble stitch creates a raised, tactile surface that pairs nicely with a boho-style fringe edge.
Finishing Up
Don’t rush the last step. After your final round:
- Fasten off and leave a long enough tail to weave in securely.
- Use a yarn needle to hide the tail inside the stitches, not just along the surface.
- Give the coaster a final look for any uneven stitches you can gently reshape.
A well-finished coaster looks intentional, not just “done.”
Making a Full Set
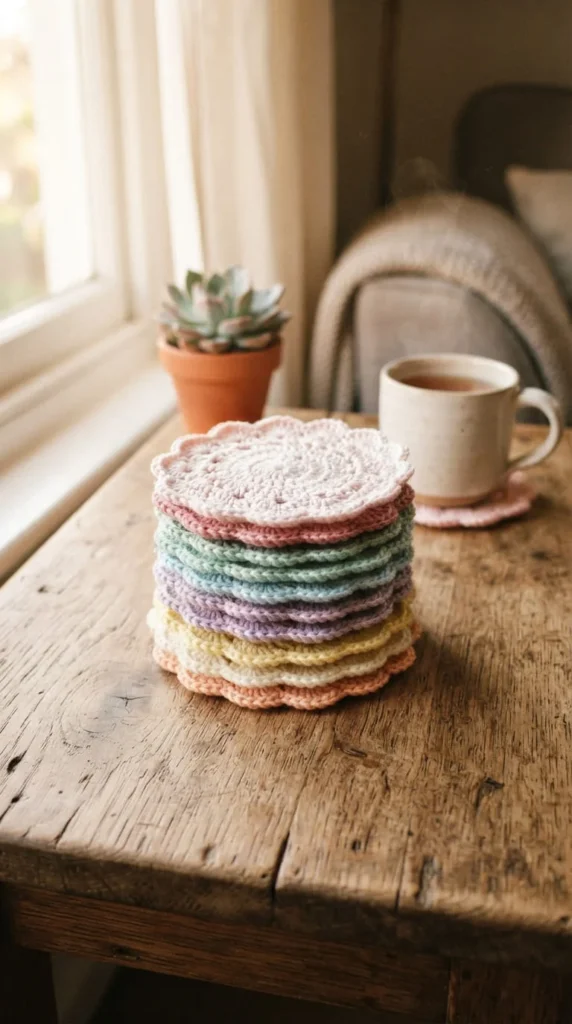
One skein of cotton yarn can often stretch across several coasters, making this a great stash-busting project. Most people make sets of four or six to match a coffee table or give as a gift. If you’re coordinating colors, keep one consistent stitch pattern across the set and vary only the yarn shade — it reads as a cohesive, thoughtful set rather than a mismatched pile.
Final Thoughts
Round coasters are proof that small projects can still teach real skills — tension, increases, joining, and finishing all come together in something you’ll actually use. Once you’ve got the basic round down, color changes and texture stitches are an easy way to level up.
Save this guide for later and try these ideas when you’re ready to pick up your hook!