
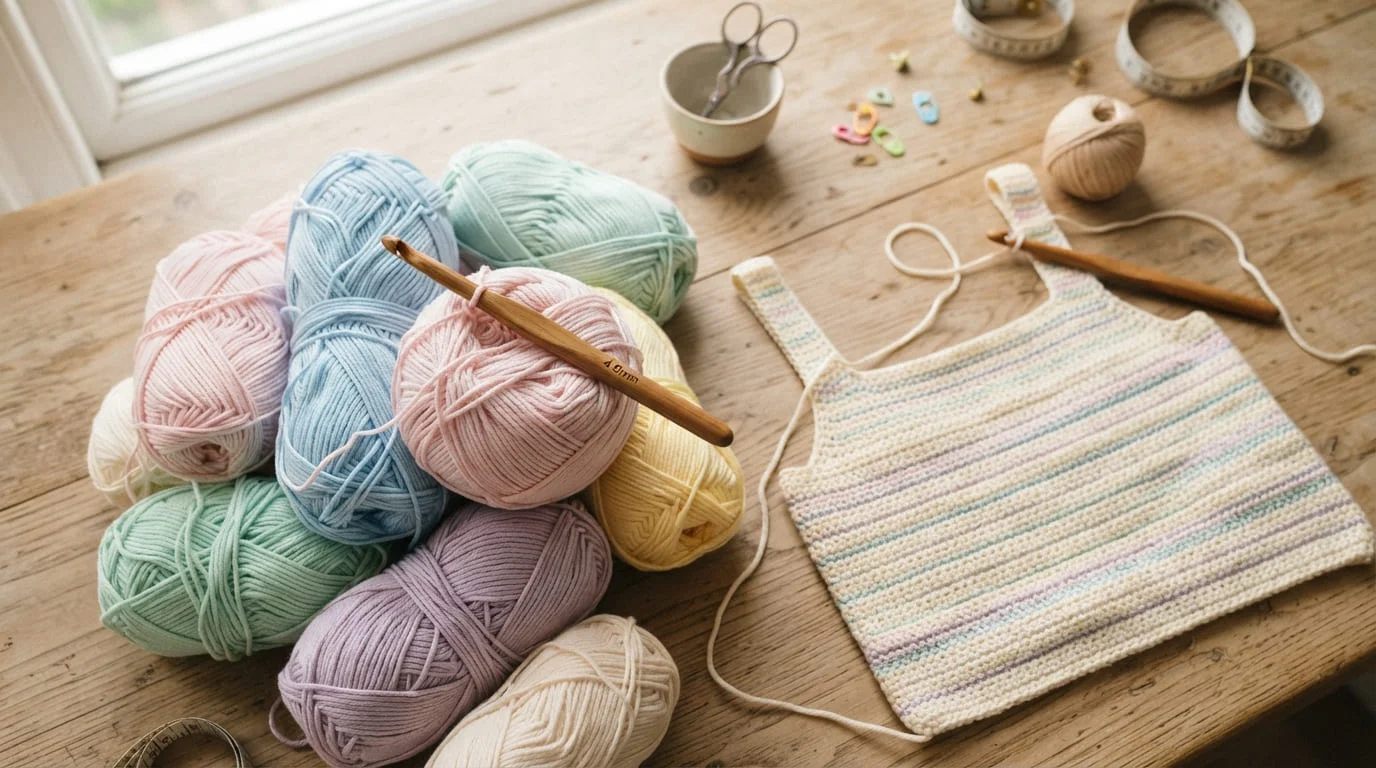
Making your own clothes sounds like something only advanced crocheters can pull off, but a simple top is actually one of the friendliest garments to start with. No sleeves to shape, no complicated collar, just a few basic stitches and a plan for putting the pieces together. If you’ve been sticking to scarves and blankets and want to try something wearable, this guide walks you through exactly how to get there.
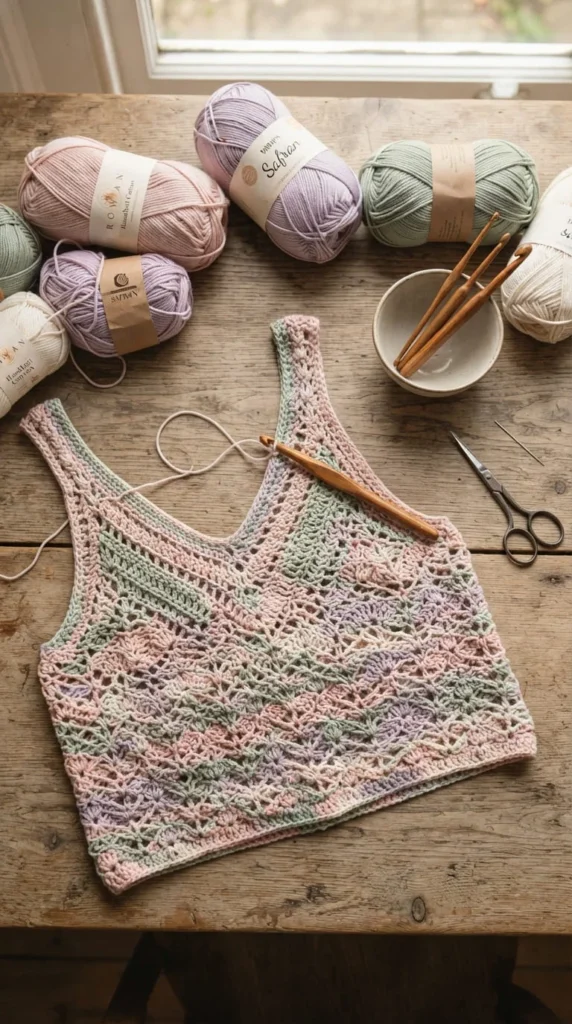
By the time you finish reading, you’ll know which yarn and hook to reach for, how to figure out your size without guessing, and how to avoid the small mistakes that trip up most first-time top makers.
Why a Top Is a Great First Garment
Sweaters and cardigans involve sleeves, shaping, and a lot of measuring. A basic top skips most of that.
Most beginner top patterns use just two flat pieces — a front and a back — joined at the shoulders and sides. There’s no armhole curve to calculate and no collar to shape. You’re mostly just working straight rows until the piece is the right length, then seaming it together.
That simplicity means:
- Fewer chances for a mistake to throw off the whole project
- A project you can realistically finish in a week or two
- A great way to practice reading a pattern before tackling something bigger
Step 1: Pick the Right Yarn and Hook
Cotton or a cotton blend is the go-to choice for tops, and for good reason. It holds its shape at the neckline and armholes, breathes well in warm weather, and shows your stitches clearly, which matters a lot while you’re still learning to count rows.
A DK or lightweight yarn paired with a 3.5mm to 4mm hook is a solid starting point for most patterns. If you want a piece with more drape and a bit of shine, a bamboo rayon blend in DK weight is worth trying once you’re comfortable with the basics.
Stick to a light or medium color for your first top. Dark yarn hides your stitches, which makes it harder to spot mistakes early, when they’re still easy to fix.
Step 2: Measure Yourself Before You Start
This step gets skipped more than any other, and it’s usually why a finished top doesn’t fit the way you hoped.
Grab a soft measuring tape and note down:
- Your chest measurement, at the fullest point
- The length you want, from shoulder to hem
- Your upper arm measurement, if the pattern includes any sleeve detail
Once you have those numbers, decide how fitted you want the top to be. This is called ease. Cotton doesn’t stretch much, so most patterns suggest around 1 inch of negative ease — meaning the finished top measures about an inch smaller than your body — to keep it from feeling loose or shapeless.
Step 3: Swatch and Check Your Gauge
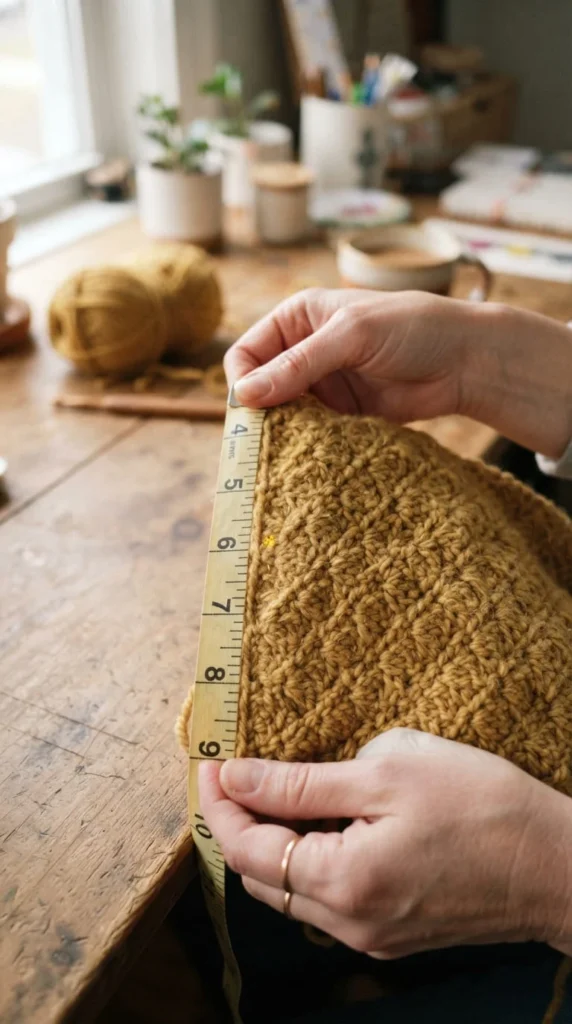
A gauge swatch is a small test square, usually about 4×4 inches, that shows you how your tension compares to the pattern’s. Skipping this step is one of the most common reasons a top comes out too big or too small.
Crochet your swatch using the same stitch and hook the pattern calls for, then measure it. If you have more stitches per inch than the pattern expects, your tension is tighter than average, and you may need a slightly bigger hook. Fewer stitches per inch means the opposite.
A quick fit tip: going down half a hook size gives you a tighter, more structured fabric, which works well for a fitted tank. Going up half a size adds drape, which suits a looser, flowier top.
Step 4: Work the Foundation Chain
Your foundation chain sets the width of your top, so getting this number right matters more than almost any other step.
Most patterns calculate length by measuring from your armpit down to where you want the hem to sit, then converting that into rows once you know your row gauge. If you’re adapting a pattern rather than following one written for your exact size, this is the number to adjust first.
Keep your tension consistent across the entire foundation chain. A chain that starts tight and loosens up partway through will cause uneven edges once you start working rows into it.
Step 5: Watch Your Tension As You Go
Tension naturally drifts a little as you get more comfortable with a project, and that’s usually fine. What causes problems is a tension shift big enough to change your fabric’s width partway through.
A few habits help:
- Hold your hook and yarn the same way every session
- Check your row width against your gauge swatch every so often
- Use a stitch marker at the start of each row so you don’t lose count
If your edges start looking wavy or uneven, it’s almost always a turning chain or tension issue, not a sign you’re doing something fundamentally wrong.
Step 6: Seam the Pieces and Add Straps
Once your front and back panels are the right length, pin them together at the shoulders before seaming, so you can double-check they’re even.
A simple whipstitch works well for joining side seams and attaching straps. Try the top on before you seam it completely closed, especially around the straps, so you can adjust placement if one side feels off compared to the other.
A Few Things to Keep in Mind
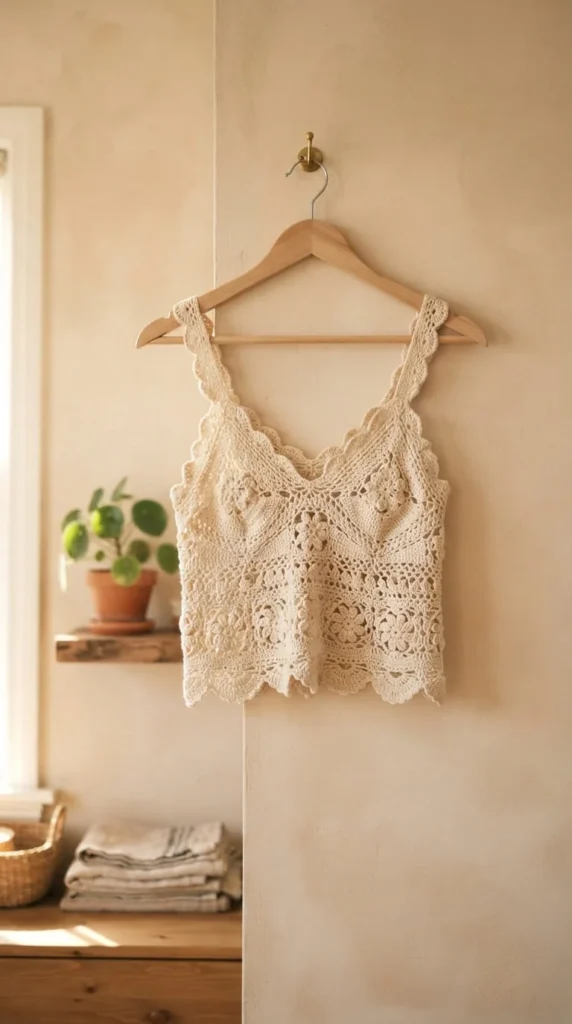
- If you’re using an open or lacy stitch, wear a cami or fitted tank underneath if coverage is a concern.
- Block your finished top before wearing it — a light wash and flat dry helps the stitches settle and improves the drape.
- Keep notes on your hook size, yarn, and any adjustments you made, so your next top comes together even faster.
Your first crochet top won’t be perfect, and that’s completely normal. What matters is that you’ll come away from it with real skills — reading a pattern, checking gauge, fixing tension — that make every project after this one easier. Save this guide for later and try these steps when you’re ready to pick up your hook.