
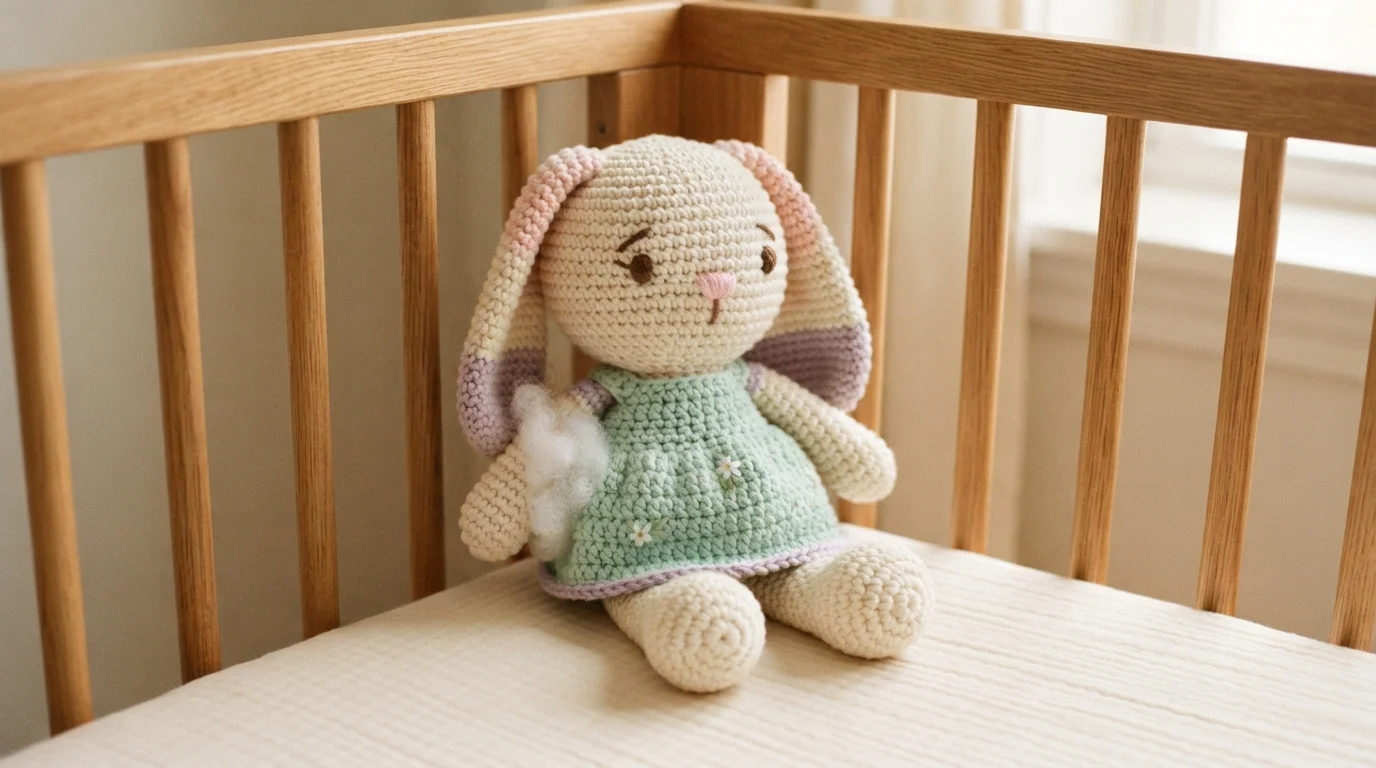
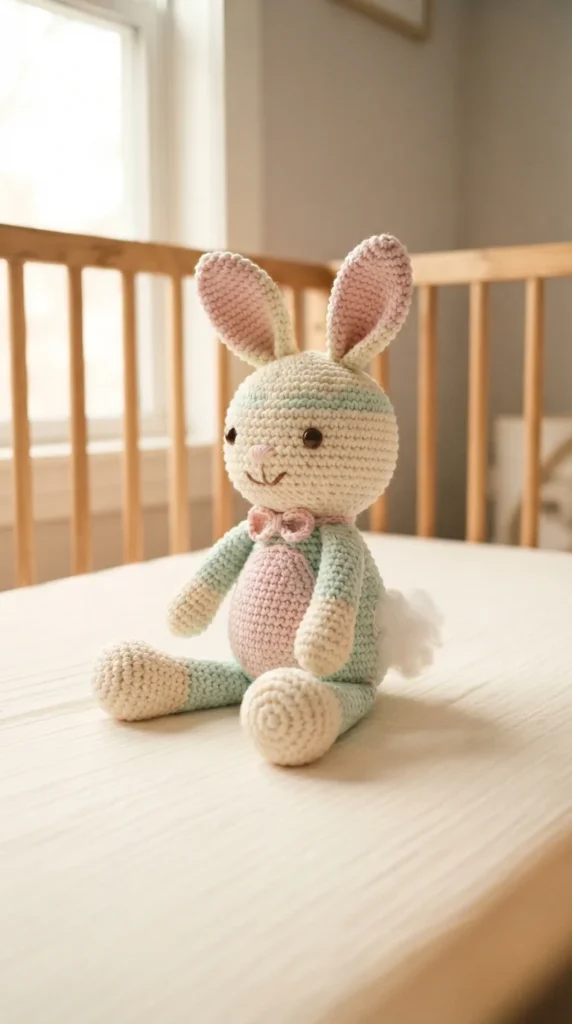
Making crochet amigurumi for kids is a little different from stitching toys for yourself or for display, because every design choice now has a second job: keeping a small child safe while still looking charming. Between choosing embroidered eyes over plastic safety eyes, picking washable yarn, and reinforcing seams that get pulled and chewed, there’s a whole layer of practical knowledge that most general amigurumi tutorials skip. This list walks through 20 kid-focused project ideas, organized by age range and use case, along with the specific safety and construction choices that make each one hold up to real play.
1. Embroidered-Eye Bunny for Babies Under Three
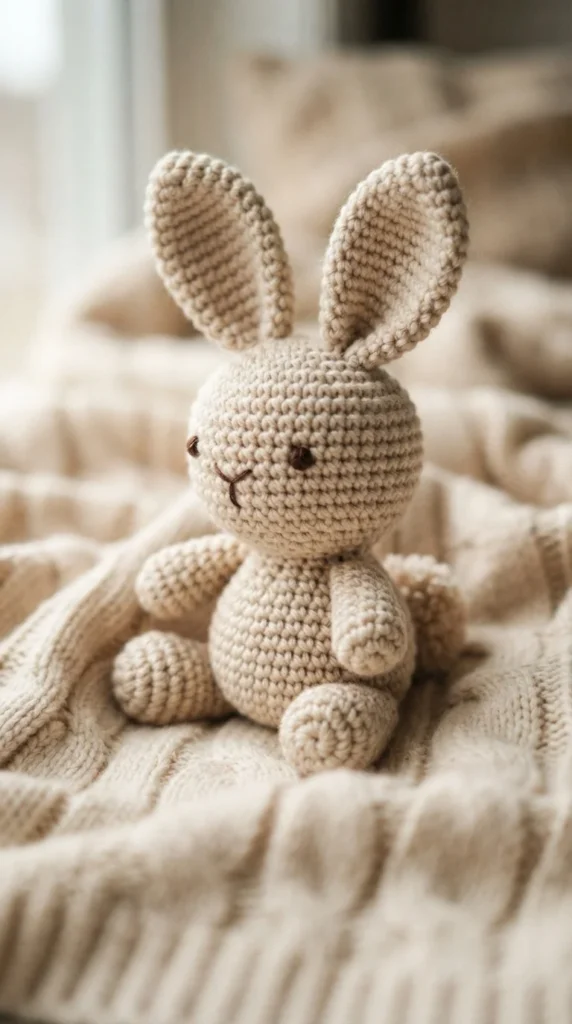
A bunny is one of the friendliest shapes to start with when you’re making a toy for an infant, and it’s also the easiest place to practice the single rule that matters most for this age group: no plastic safety eyes.
Instead of the usual snap-in eyes, work small satin-stitch circles in dark brown or black thread directly onto the face, securing the thread ends deep inside the head before closing it up.
- Keep the ears short and rounded rather than long and floppy, since shorter shapes are less tempting to chew on for extended periods
- Use a firm, tightly worked stitch tension so there’s no gap for little fingers to catch on
- Skip any bow, button, or bead accessories — a plain face is safer than a decorated one for this age range
This project is a good template to keep on hand, since the same embroidered-face technique applies to almost every other infant-safe toy on this list. Once you’ve made one bunny this way, swapping the ear shape and body color gets you a bear, a lamb, or a mouse using the exact same safety approach.
2. Dress-Up Doll With a Swappable Outfit Set
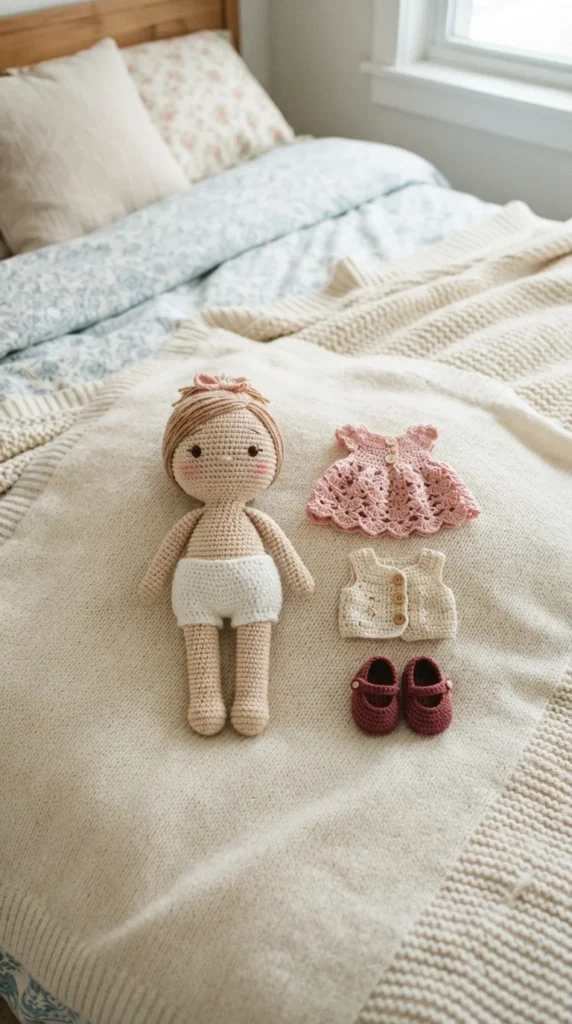
Older kids tend to gravitate toward dolls they can style themselves, and a doll with a separate wardrobe holds a child’s interest far longer than one sewn in a single fixed outfit.
Crochet the doll’s body in a neutral skin-tone yarn, then build two or three outfits separately — a simple dress, a vest-and-pants combo, tiny shoes — using slip-stitch seams so they slide on and off the doll’s body without buttons or snaps.
- Make the outfits slightly loose-fitting so small hands can dress and undress the doll without frustration
- Avoid hook-and-loop closures on outfit pieces, since the rough texture can snag on other toys and clothing
- Store the wardrobe pieces in a small drawstring bag made from matching scrap yarn
This project takes longer than a single-outfit doll, but it turns one toy into an ongoing creative activity rather than a static object. It’s also a natural gift-growth project — you can crochet a new seasonal outfit every few months and hand it over separately.
3. School Bus Charm for Backpacks
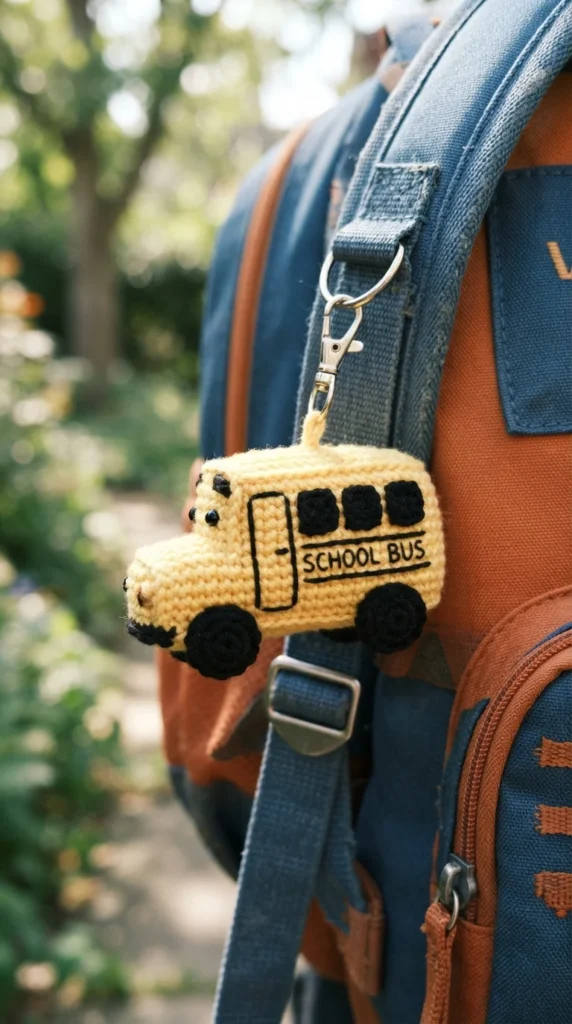
A school bus charm is a small, quick project that gives a child something personal to spot on a crowded coat hook or backpack rack, which matters more to a five-year-old than it might seem.
Crochet the bus body as a simple rounded rectangle, add two small black wheel circles on the bottom edge, and finish with a strip of black yarn across the middle to suggest windows.
- Keep the whole charm under two inches so it doesn’t add bulk to a backpack strap
- Use a secure metal clip rather than a jump ring alone, since clips are less likely to work loose during a school day
- Add the child’s favorite color as an accent stripe instead of sticking strictly to yellow
Because the shape is so simple, this is a project you can realistically finish in one sitting, which makes it a good one to make in a matching set if you’re crafting for a whole classroom or a group of siblings. It also introduces kids to amigurumi as something practical, not just decorative.
4. First-Grader Doll With a Tiny Backpack
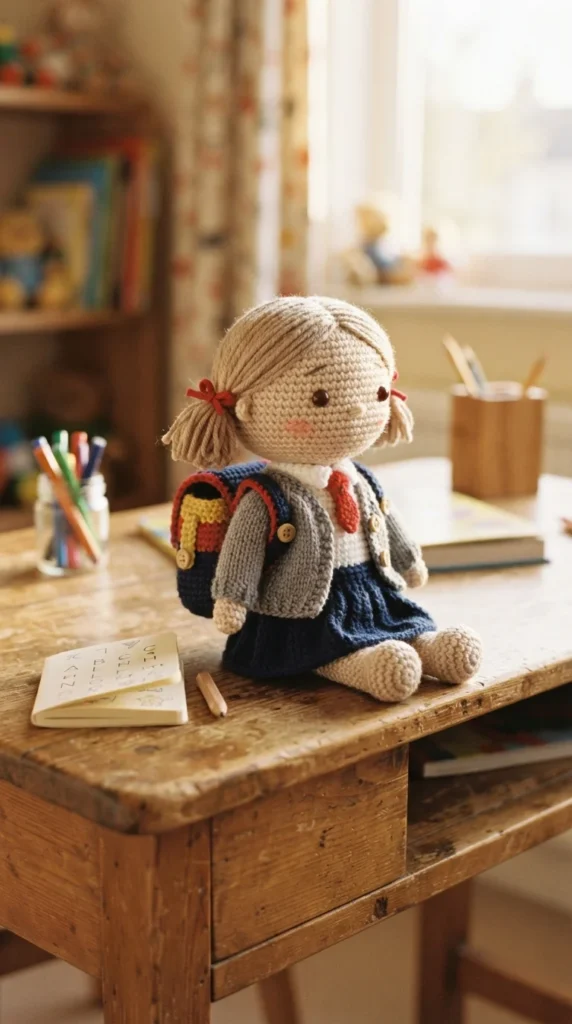
A doll dressed for the first day of school taps into something a lot of young kids are genuinely excited or nervous about, and having a small handmade version of “going to school” can be a comforting object during that transition.
Build the doll with a simple round head, a rounded body, and short stubby limbs, then crochet a miniature backpack as a small flat pouch with two thin straps looped over the doll’s shoulders.
- Personalize the doll’s hair color and outfit to loosely match the child receiving it
- Keep the backpack straps stitched securely at both ends so they can’t be pulled loose and become a strangulation risk
- Add a tiny embroidered book or lunch box shape stitched directly onto the backpack front instead of a separate loose piece
This project works well as a keepsake gift timed around the start of a school year, and it’s specific enough that it doesn’t feel like a generic doll pattern. Because the backpack is the standout detail, you can reuse the same basic doll body for other themed versions later.
5. Chunky Rattle Ball for Infants
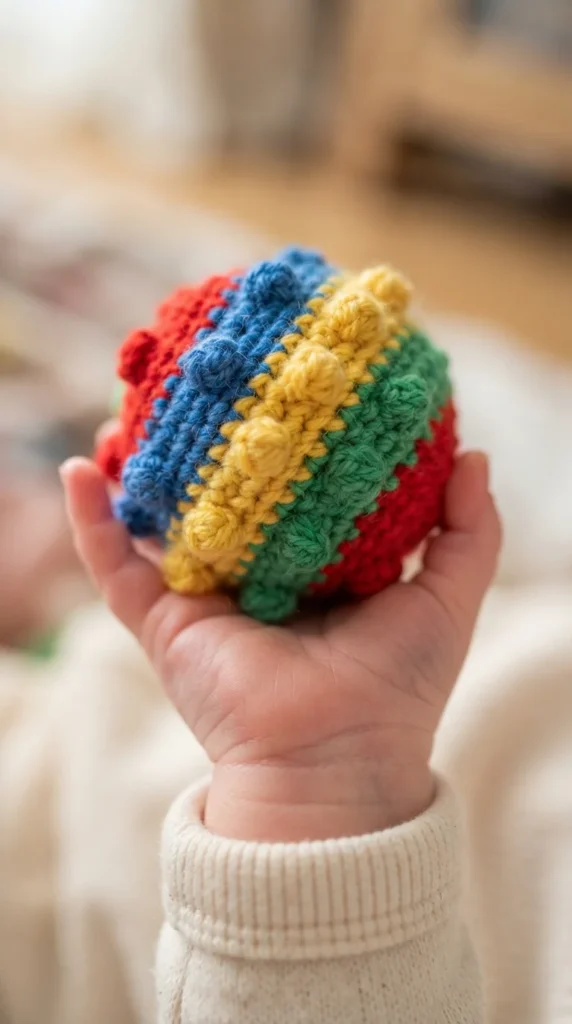
A rattle toy needs to satisfy two things at once — it has to be genuinely interesting for a baby to grip and shake, and it has to pass a stricter safety standard than almost anything else on this list, since it’s designed for the mouthiest age group of all.
Crochet the ball in one continuous piece with no separate parts to attach, and insert a store-bought plastic rattle insert (sold specifically for craft use, sealed and BPA-free) before closing the final round completely.
- Choose a yarn labeled safe for infant products, ideally OEKO-TEX or GOTS certified
- Work every round tightly with a smaller hook than usual, since a rattle gets far more mouth contact than a typical plush toy
- Skip any raised texture pieces sewn on separately — build texture into the stitch pattern itself using bobbles worked directly into the body
Because this toy will likely end up in a baby’s mouth regularly, it’s worth being more conservative here than with any other project on this list. When in doubt, leave a detail out rather than risk a small part coming loose.
6. Dinosaur Buddy With Soft Spikes
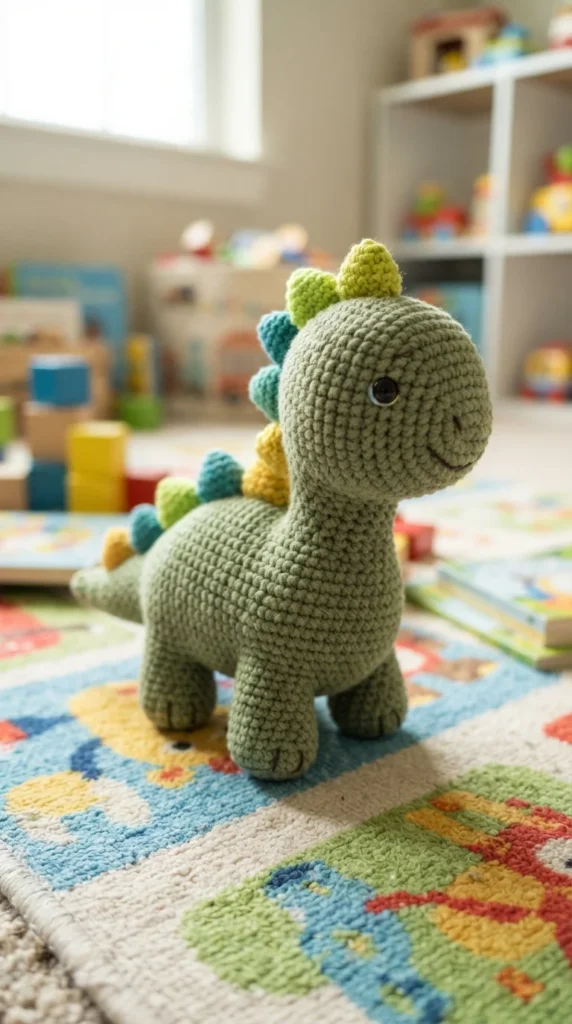
Dinosaurs are consistently one of the most requested designs for kids, and the spiky back that makes them recognizable is also a great opportunity to practice a texture technique that’s still completely safe for younger hands.
Rather than crocheting sharp pointed spikes, work each spike as a small rounded triangle stuffed lightly, then sew the row down the dinosaur’s back so the shapes stay soft and slightly squishable instead of rigid.
- Use a contrasting color for the spikes so they stand out without needing separate detail work
- Keep the tail short and thick rather than long and thin, since a long thin tail is more likely to get caught or chewed
- Add a simple embroidered smile rather than teeth, keeping the face friendly rather than intense for younger kids
This project is a good one to offer in a few size variations — a large huggable version for a toddler’s bed and a smaller keychain-sized version for backpacks or car rides. Both use the exact same spike technique, just scaled differently.
7. Unicorn With a Yarn Mane Kids Can Braid
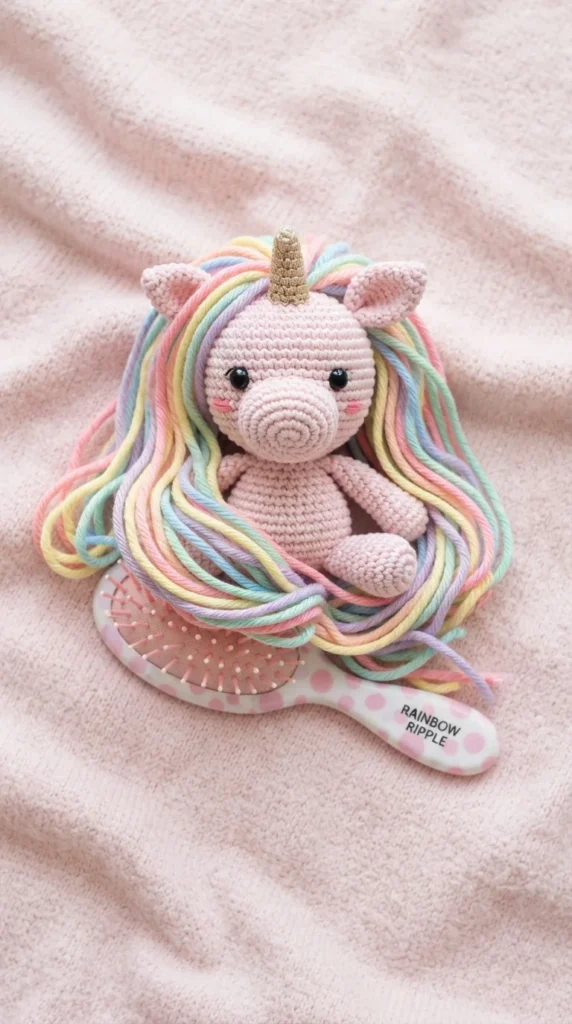
A unicorn’s mane gives kids an interactive element that most amigurumi don’t offer — something they can actually style, braid, or brush, which extends how long the toy holds a child’s attention well past the first day.
Crochet the body and head as usual, then attach the mane using a fringe technique: cut individual strands of several pastel colors, fold them in half, and pull them through stitches along the back of the neck with a crochet hook, securing each one with a firm knot.
- Trim the mane to a manageable length so it doesn’t tangle into knots that are hard to undo
- Use a slightly thicker yarn for the mane than the body, since thin strands tend to fray and split with repeated brushing
- Add a small horn using a tightly stuffed cone shape sewn on securely, avoiding a sharp point
Because the mane is the star feature here, you can reuse a very simple pony or horse body pattern for this project and let the fringe technique do most of the visual work. It’s also a nice introduction to the fringe method for kids who might want to try it themselves later.
8. Sensory Textured Caterpillar
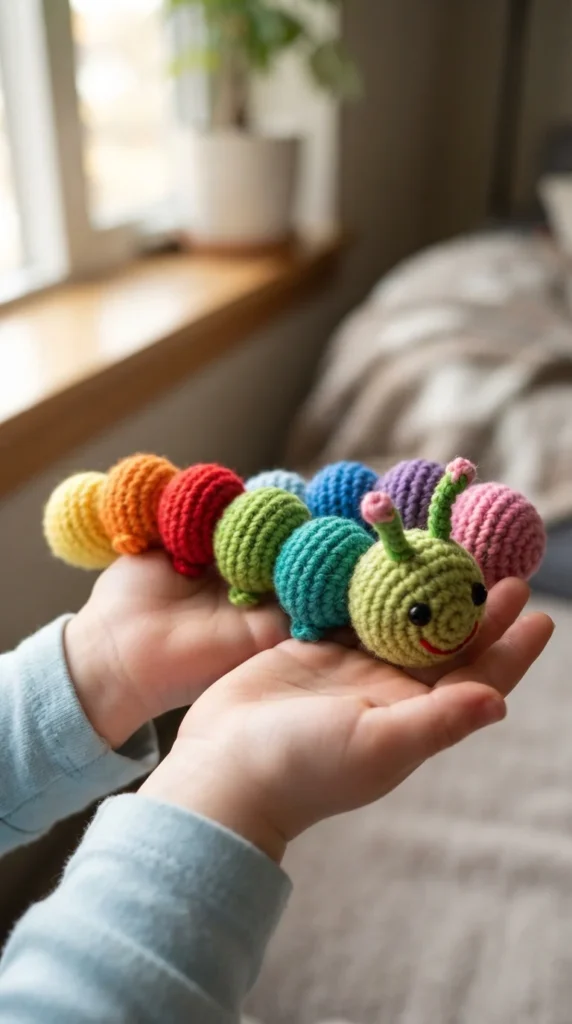
A textured caterpillar is a genuinely useful toy for kids who benefit from tactile input, since each segment can be worked in a different stitch pattern, giving little hands something new to feel with every section.
Crochet a series of small spheres and join them in a row, but vary the stitch used for each one — a bobble stitch for one segment, a smooth single crochet for the next, a looped fur stitch for another — so the caterpillar has a genuinely different feel from head to tail.
- Keep the segments joined with sturdy whip stitches on the inside so the caterpillar can be squeezed and bent without pulling apart
- Use bright, high-contrast colors between segments, which also benefits very young infants who respond strongly to visual contrast
- Add simple embroidered eyes and a small smile rather than pipe cleaner antennae, which can bend into a poking hazard
This project is worth the extra planning time compared to a single-texture toy, since the segmented build means you can adjust the total length easily — shorter for a newborn’s crib toy, longer for a toddler who likes to drag toys around the house.
9. Machine-Washable Puppy for Daily Play
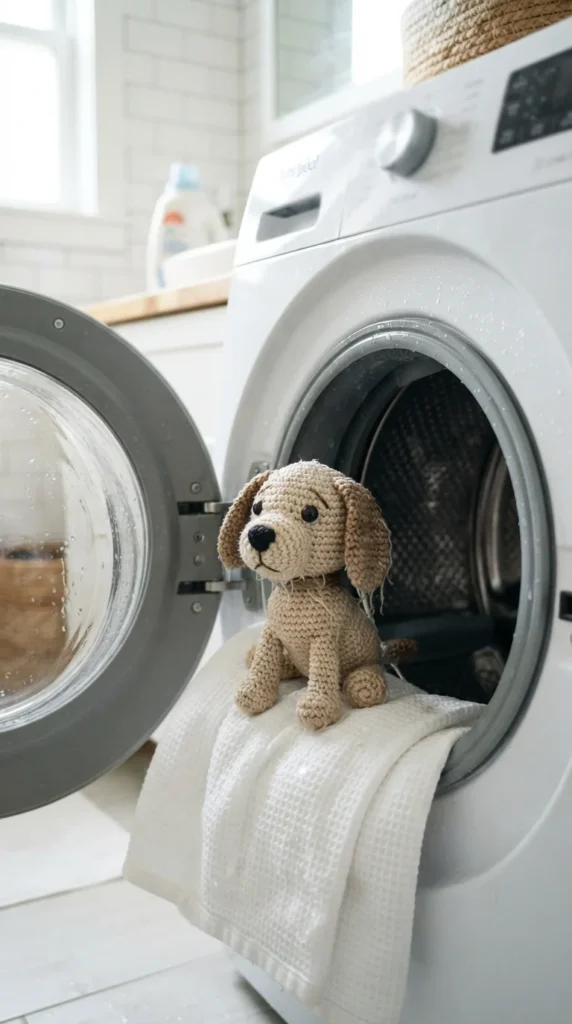
A toy that gets carried everywhere needs to survive an actual laundry cycle without losing its shape, and a puppy is a natural choice for the “everyday companion” role many kids assign to one favorite toy.
Stick to acrylic or a sturdy cotton-acrylic mix rather than delicate natural fibers, since these hold their shape and color far better through repeated washing and tumble drying on a low setting.
- Use polyester fiberfill rather than natural stuffing, since polyester dries faster and resists clumping after washing
- Place the puppy inside a mesh laundry bag before machine washing to protect the seams and any embroidered details
- Avoid glued-on elements entirely — anything not sewn on will likely come off in the wash within the first few cycles
Because this toy is built for frequent handling, reinforce the ear and tail attachment points with a few extra passes of thread beyond what you’d normally use. A little extra time spent on structural seams now saves you from a repair project a few months down the line.
10. Mini Keychain Fox for Kids Ages 8+
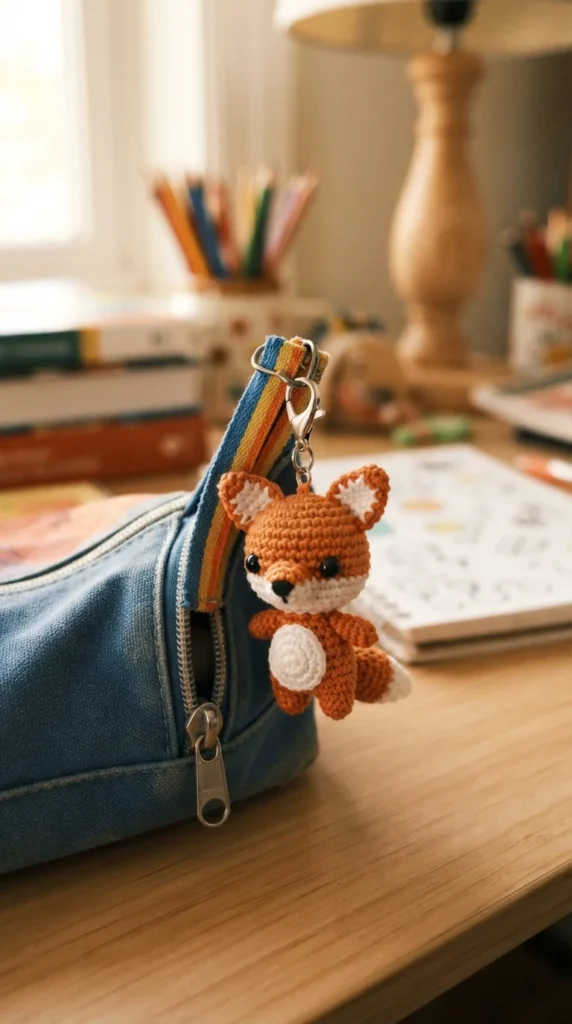
Once kids are a bit older and less likely to put small toys in their mouths, keychain-sized amigurumi open up as both a fun project for the child to help with and a quick gift they can carry on a pencil case or bag.
A fox works well at this scale because the pointed ears and white belly patch are recognizable even in a design under two inches tall, giving the toy personality without extra detail work.
- Use a thinner yarn weight than usual, like sport or DK, so the proportions stay neat at this small size
- Let the child pick the exact orange shade — rust, bright orange, or a paler fox-brown — as a simple way to make the project feel personal
- Attach a sturdy keyring loop rather than a thin cord, since keychains take more repeated tugging than a stationary plush
This is also a good project to teach an older kid the basics of amigurumi themselves, since the small size means fewer rounds to work through before they see a finished result. A finished fox in under an hour tends to keep a first-time young crocheter motivated to try a second one.
11. Teething-Friendly Ring Toy
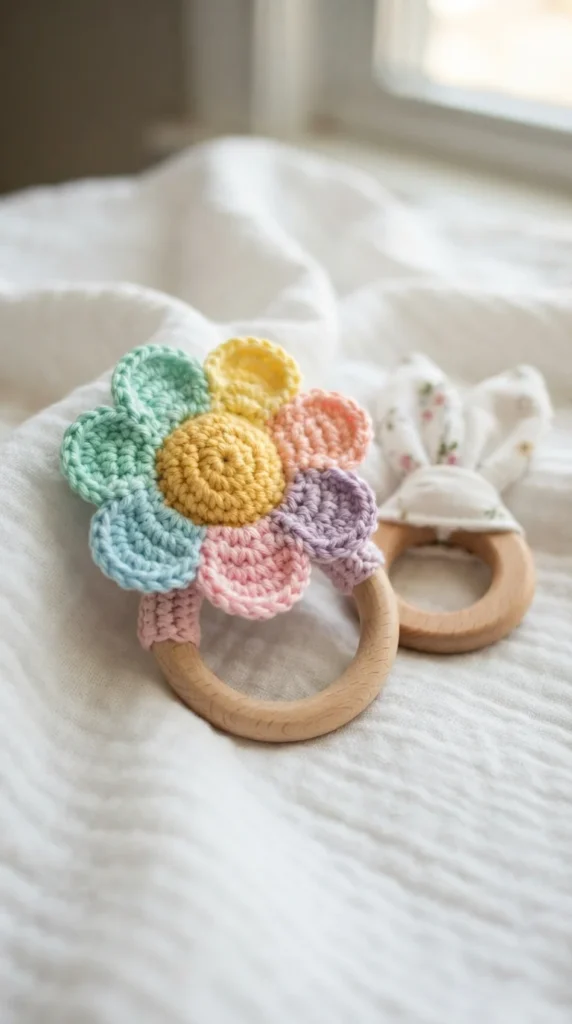
A dedicated teething ring gives a baby something specifically designed to be chewed, rather than hoping a regular plush toy holds up to that kind of repeated pressure.
Crochet a simple ring shape around a food-grade silicone or wooden teething ring insert, working the yarn cover tightly enough that there’s no loose fabric for tiny teeth to catch and pull.
- Choose a smooth cotton yarn rather than a textured or fuzzy one, since fuzzy fibers can shed and are more likely to end up in a baby’s mouth
- Avoid any dangling pieces, tassels, or petals that extend more than a short distance from the main ring
- Keep the whole piece small enough to be held easily in one small hand, without extra bulk that makes gripping difficult
Because this toy is built around a specific insert rather than stuffed loosely like most amigurumi, it needs a slightly different construction approach — work the crochet cover as a snug sleeve rather than a separate shape you stuff afterward. It’s a small project, but it’s one where the safety details matter more than almost anywhere else on this list.
12. Cultural Doll With Customizable Skin Tone and Hair
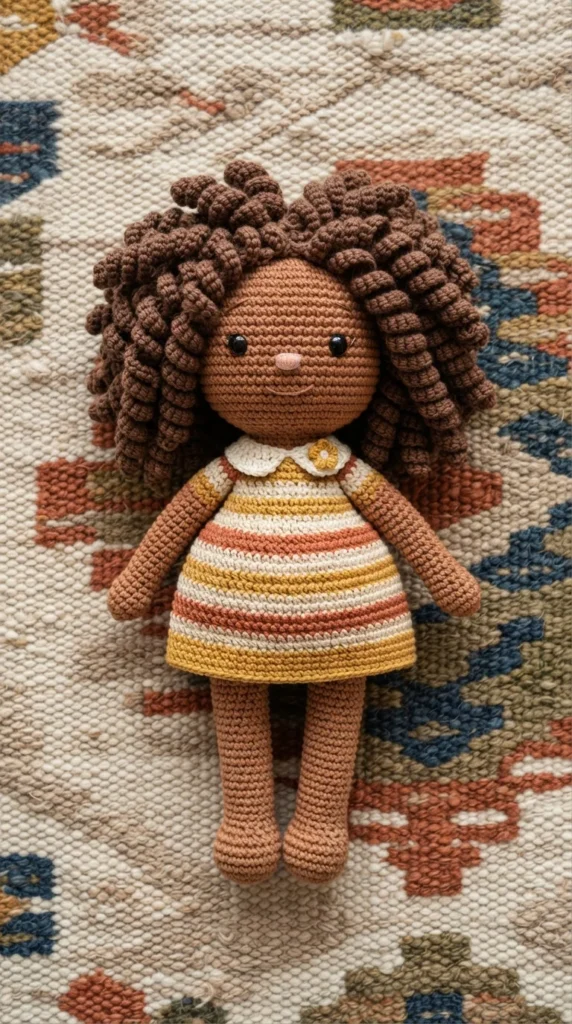
Dolls that reflect a specific child’s own features tend to become favorites fast, and building your own means you’re not limited to whatever skin tones or hair textures happen to be available in commercial toy aisles.
Crochet the head and body in a skin-tone yarn chosen to match the child, then vary the hair technique based on texture — loop stitches for tight coils, straight fringe for smooth hair, or a mix of both for wavy styles.
- Keep a small swatch card of different skin-tone yarns on hand so you can match tones more precisely across projects
- Use a simple wrap-style outfit that can be adapted with different fabric patterns for cultural or personal significance
- Add small details like a headwrap, braids, or a specific hairstyle the child already wears themselves
This project takes more planning than a generic doll pattern, since you’re making deliberate choices rather than defaulting to whatever yarn is already in your stash. It’s also one of the more meaningful gifts on this list, since the effort of matching a child’s own appearance tends to be noticed and appreciated.
13. Bedtime Buddy Owl for Sleep Routines
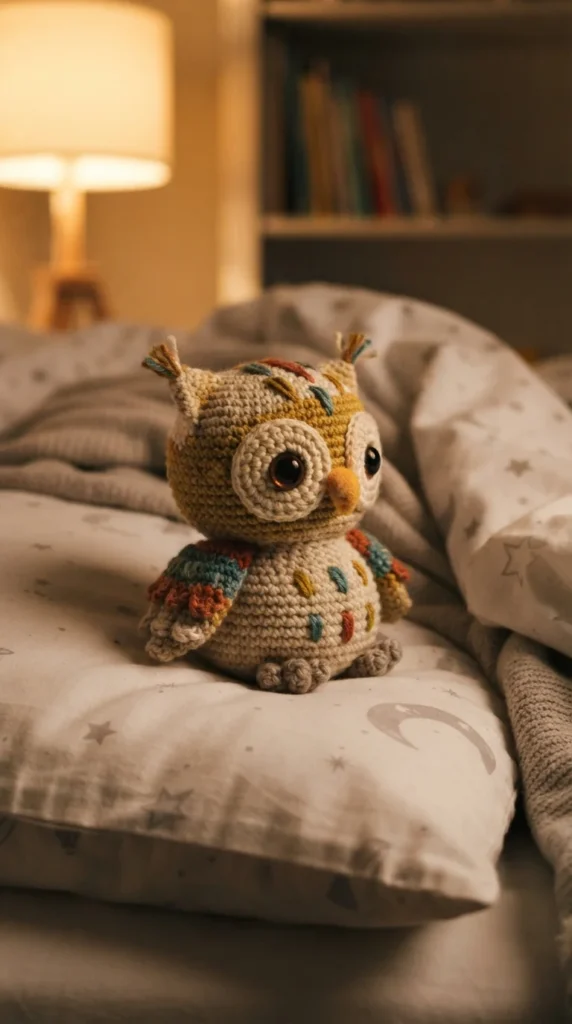
An owl’s naturally round, compact shape makes it an easy toy to tuck under an arm, and giving a specific toy a “bedtime job” can genuinely help some kids settle into a nightly routine.
Crochet the owl as a single rounded body with no separate limbs to worry about, just two small wing shapes sewn flat against the sides and a simple embroidered face.
- Use a slightly weighted fill, like adding a small fabric pouch of rice or plastic pellets sewn securely inside a heavier lining before stuffing around it, for a gentle, calming heaviness
- Keep the eyes closed or half-lidded in the embroidery design to visually suggest sleepiness
- Choose muted, soft colors like dusty blue or warm gray rather than bright primary tones for a calmer bedtime feel
If you do add a weighted element, keep the total added weight modest and always double-check current safety guidance for weighted toys with the child’s age in mind. A simple, unweighted version works just as well if you’d rather skip that step entirely.
14. Farm Animal Set for Story Time
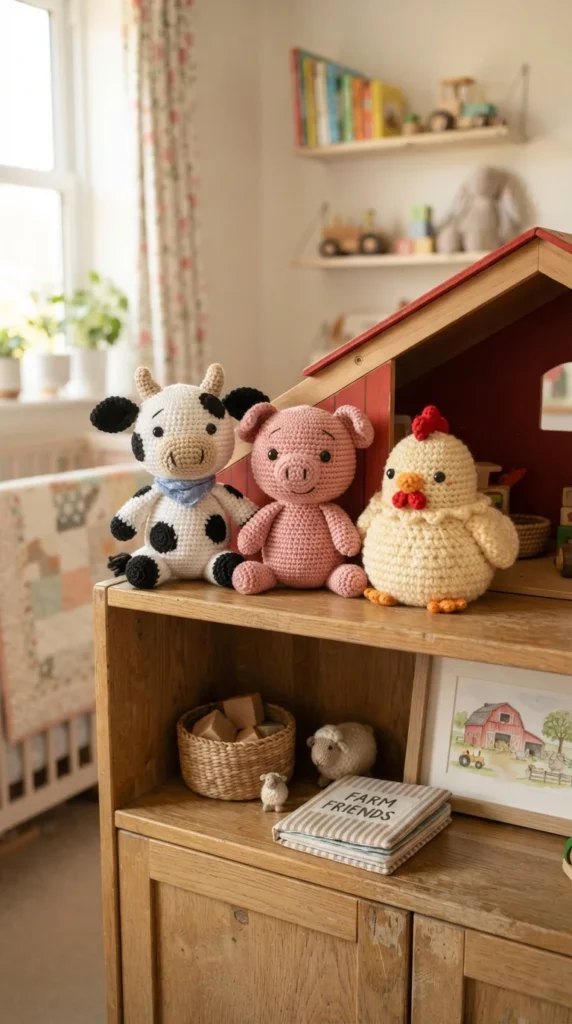
A small set of farm animals gives a child multiple characters to use for pretend play and story time, rather than a single standalone toy, which tends to get more consistent use over time.
Build each animal from the same basic rounded body shape, changing only the ear shape, color pattern, and a few small details — a pink snout for the pig, a red comb for the chicken, black-and-white patches for the cow — so you can batch-produce the set efficiently.
- Keep every animal roughly the same size so they look like a matching collection rather than mismatched individual toys
- Store the set in a small crocheted drawstring bag shaped like a barn or simple pouch
- Introduce one new animal every few weeks rather than gifting the whole set at once, which keeps the novelty going longer
Because the base body shape repeats across the whole set, this is an efficient project once you’ve worked out the pattern for the first animal. It’s also a nice one to make with a bit of scrap yarn, since each animal only needs small amounts of each color.
15. Mermaid Doll With a One-Piece Tail
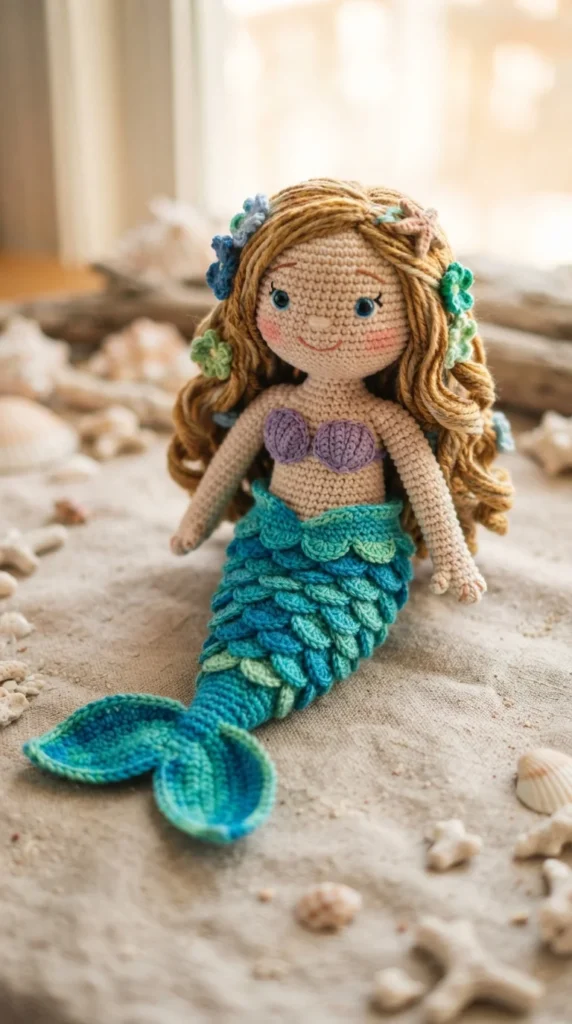
A mermaid’s tail can look complicated, but building it as one continuous piece rather than a separate attached fin actually makes the whole doll sturdier and easier for a child to handle roughly.
Crochet the tail as a tapered tube that flows directly out of the doll’s torso, using a simple scale texture made from small overlapping crochet stitches worked in rows rather than sewn-on individual scale pieces.
- Combine two or three shades of blue or green using a gradual color-change technique for an ombre effect without any complicated colorwork
- Keep the tail fin flat and rounded rather than pointed, since a rounded fin is less likely to catch on clothing or furniture
- Skip loose shell or bead decorations on the top, and instead embroider a simple shell pattern directly onto the bodice
Because the tail is worked as one piece with the body, there’s no separate seam where the two would normally join, which removes one of the weaker points you’d typically find in a doll with a detachable-style tail. It’s a sturdier design overall, and it holds up well to a child dragging the doll around by the tail, which happens more often than you’d expect.
16. Robot Buddy With No Small Buttons
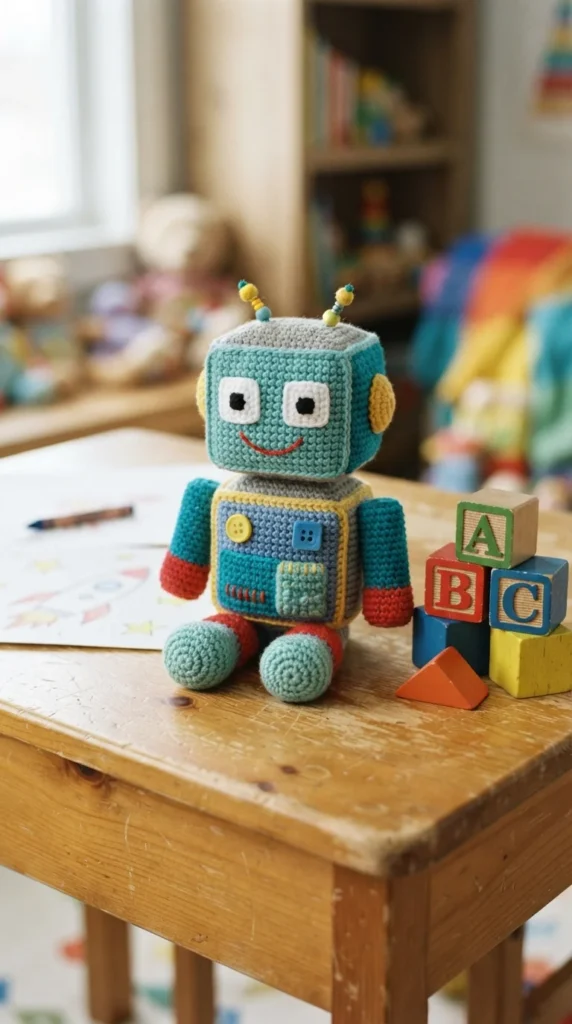
A robot design gives you an excuse to work with clean geometric shapes instead of the usual rounded animal body, and it’s a good opportunity to practice keeping a toy visually interesting without relying on small attached details.
Build the body from simple rectangles and cylinders worked in rows rather than continuous rounds, then use embroidery for all the “control panel” details — dials, buttons, a screen — instead of sewing on separate small pieces that could work loose over time.
- Use a contrasting yarn color for the embroidered panel details so they stand out clearly against the body color
- Keep the antenna, if you include one, short and soft rather than long and stiff
- Add simple geometric arms and legs as short, thick shapes rather than thin jointed limbs
This project is a nice change of pace if you’ve been making mostly rounded animals, and it introduces a slightly different construction method — flat panels sewn into a box shape — that’s useful to know for other angular designs. Kids who are into robots or building toys tend to respond well to this style over a softer, rounder plush.
17. Scrap-Yarn Rainbow Caterpillar
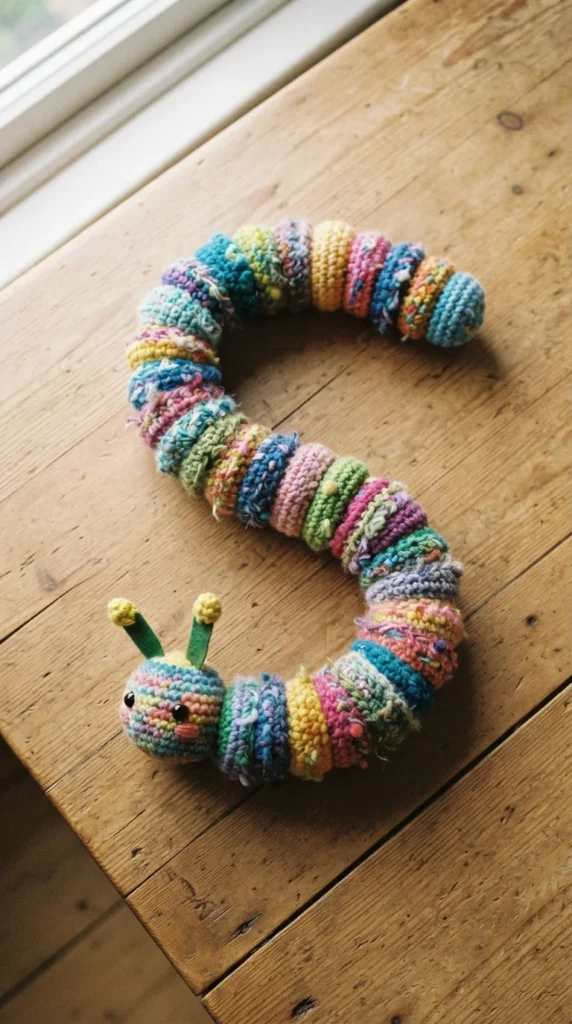
If you’ve got a basket of small leftover yarn balls from other projects, a caterpillar is one of the most efficient ways to use them up, since each segment only needs a small amount of any single color.
Crochet a series of small spheres, using a completely different scrap color for each one, and join them in a row without worrying about the colors matching a specific palette — the visual charm here comes from the mismatched rainbow effect rather than a coordinated design.
- Use whatever yarn weights you have on hand, keeping segments roughly similar in size by adjusting your stitch count slightly for thicker or thinner yarns
- Add a simple embroidered face on the front-most segment only, keeping the rest plain
- Let the segment count be flexible — use up exactly as much scrap yarn as you have available, whether that’s five segments or twelve
This is a genuinely low-cost project since it doesn’t require buying new yarn at all, and it’s a nice one to have kids help with by choosing which scrap color goes in which position. The finished result tends to look intentional rather than random, since the segmented shape holds everything together visually.
18. Classroom Craft Kit Bear for Group Projects
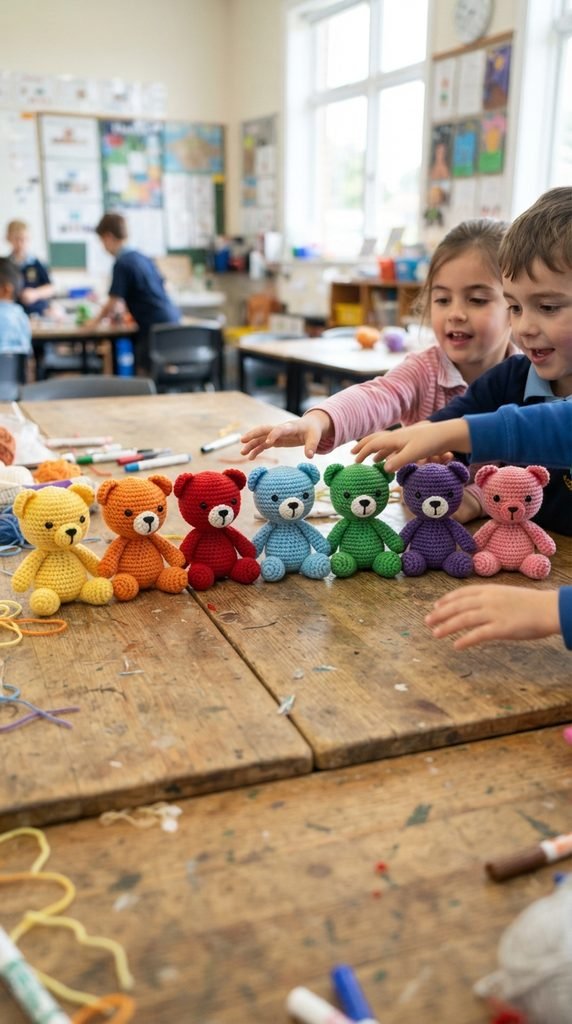
A simple bear pattern is a practical choice when you’re making multiples for a group setting, like a classroom, a birthday party favor set, or a scout troop activity, since the shape is familiar and forgiving of small stitch inconsistencies.
Keep the pattern deliberately basic — a round head, a round body, short limbs, simple embroidered face — so it’s quick to reproduce in bulk and easy for a helper or older kid to assist with parts of the assembly.
- Batch-prepare pre-stuffed body pieces ahead of time if you’re planning a group crafting session, so kids can focus on the embroidery and assembly steps
- Use a different solid color for each child’s bear so everyone easily identifies their own
- Keep all safety elements consistent across the whole batch — same embroidered eyes, same secure seam technique — rather than varying construction methods between pieces
This project scales well because the pattern doesn’t change regardless of how many you’re making, only the color does. It’s also a good one to prep as a partially-finished kit, with bodies pre-crocheted and just the finishing touches left for a group activity.
19. Left-Handed-Friendly Elephant Project
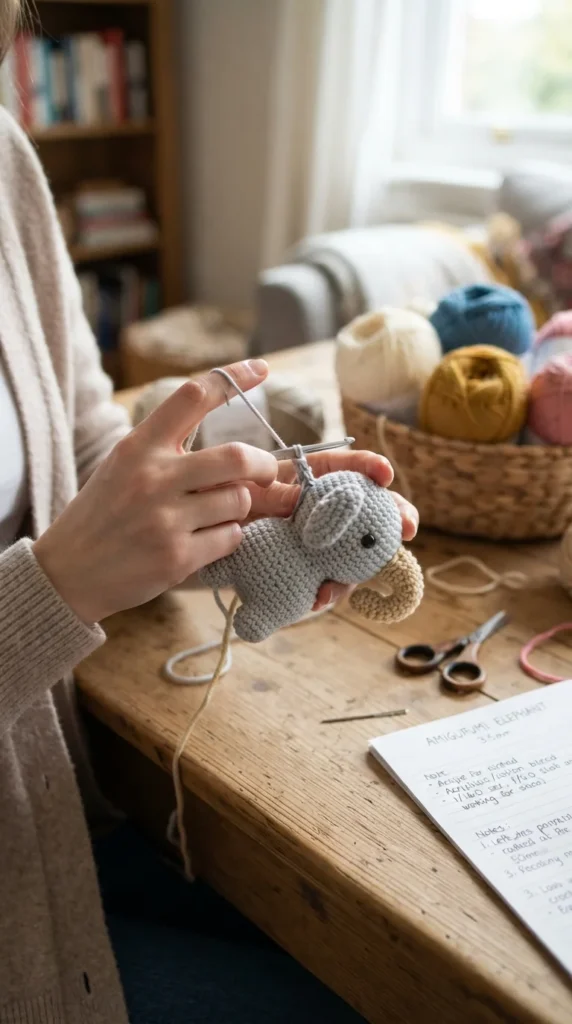
Left-handed beginners, whether kids or the adults making toys for them, often struggle with standard tutorials that only demonstrate right-handed technique, so choosing a pattern with a genuinely mirrored option removes an unnecessary barrier.
An elephant is a good project to pair with this approach because the trunk shaping and ear attachment give a left-handed beginner a bit more to practice than a plain ball shape would, without being overly complicated.
- Look specifically for tutorials that either mirror the video or clearly narrate stitch direction rather than just showing a flipped image
- Practice the magic ring separately first, since this is often the step left-handed beginners find most disorienting when following a right-handed demonstration
- Keep the ears large and slightly floppy, which is forgiving of minor tension differences that are common while a new crocheter is still adjusting
This project works well as a first “real” amigurumi for a left-handed kid who wants to learn the craft themselves, not just receive a finished toy. Completing one gives them a template they can adapt confidently for other animal shapes going forward.
20. Seam-Reinforced Backpack Buddy for Rough Play
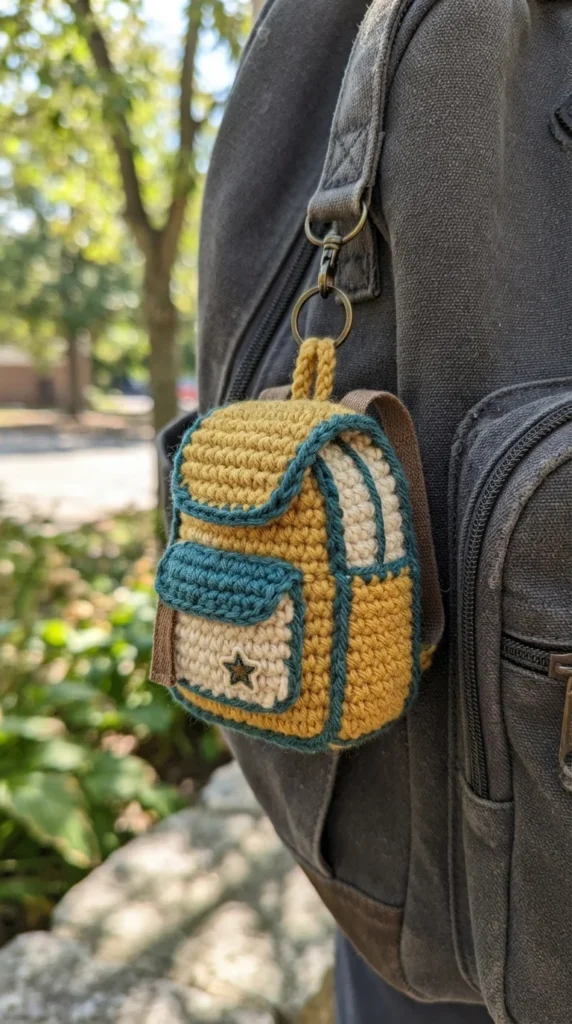
Some kids attach one toy to their backpack and drag it through an entire school year, which means that particular toy needs seams built to survive far more stress than a typical shelf plushie.
Work every attachment point — ears, limbs, any hanging loop — with a double pass of thread rather than the usual single pass, and use a whip stitch rather than a running stitch for anything that will bear regular tugging weight.
- Test every seam yourself before handing the toy over by firmly pulling each attached piece for several seconds
- Choose a sturdy acrylic yarn over a delicate natural fiber for anything that will face daily outdoor exposure
- Skip long dangling elements like tails or ribbons that could catch on a locker door or car seat buckle
This project is less about a specific animal shape and more about a construction mindset — treat every seam as if it will be pulled on repeatedly, because it probably will be. Applying this reinforced approach to any pattern on this list turns a delicate handmade toy into one that can genuinely keep up with an active kid’s daily routine.
Conclusion
Making crochet amigurumi for kids comes down to balancing charm with a handful of consistent safety habits — embroidered eyes over small plastic ones, secure double-stitched seams, washable yarn, and age-appropriate details that match how a specific child will actually use the toy. The 20 projects above give you a starting point across every age range, from a newborn’s first rattle to a backpack charm an eight-year-old picks out themselves. Pick a project that matches the child’s age and how much handling the toy will realistically face, run through the tug and seam checks before gifting it, and keep a small stash of scrap yarn on hand for the quicker projects. Start with whichever idea feels most useful for the child in your life right now, and build from there.