
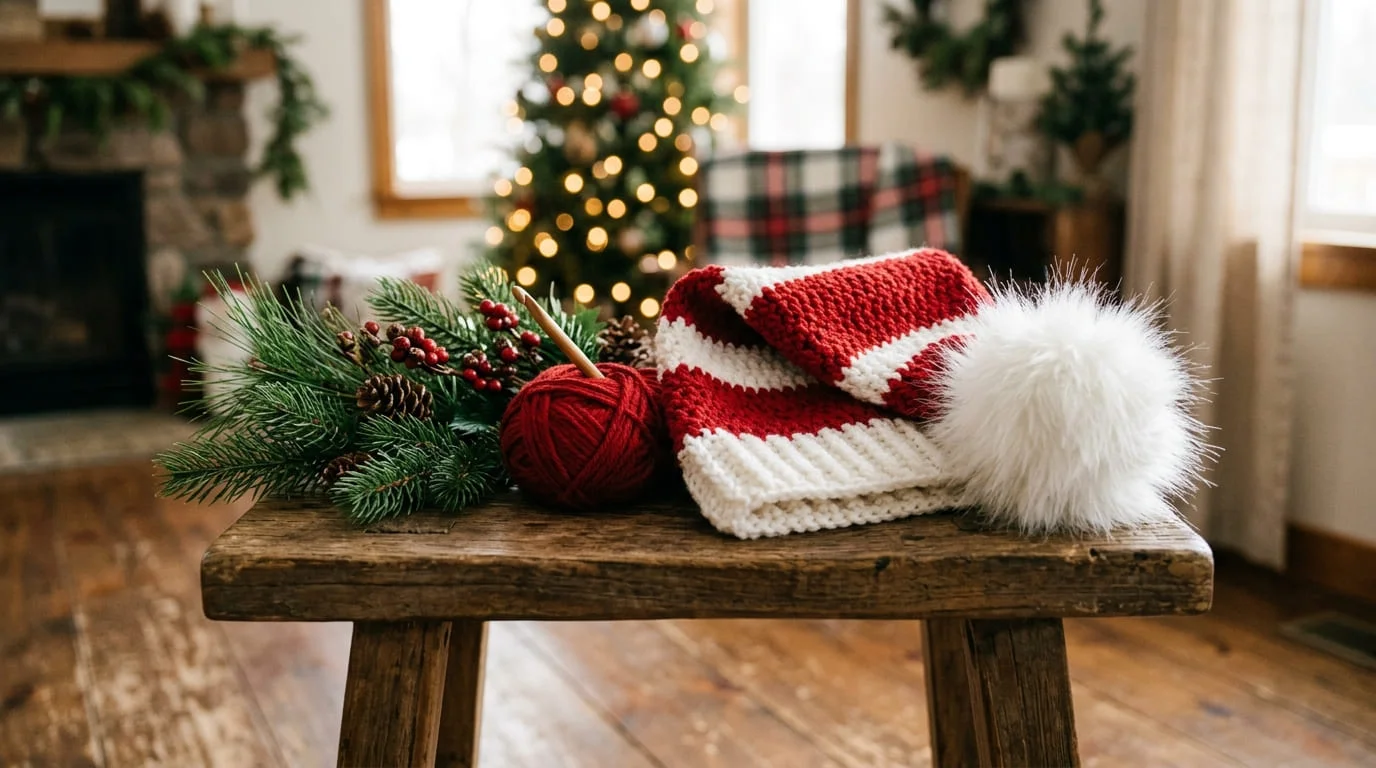
There’s a reason a handmade Santa hat gets more compliments than the store-bought version — it actually looks like someone made it with care. If you’ve been wanting to crochet a Christmas hat but weren’t sure where to start, you’re in the right place. This guide walks you through the whole process, from picking yarn to attaching a pom-pom that actually stays put, so you end up with a hat you’ll want to wear (or gift) every December.
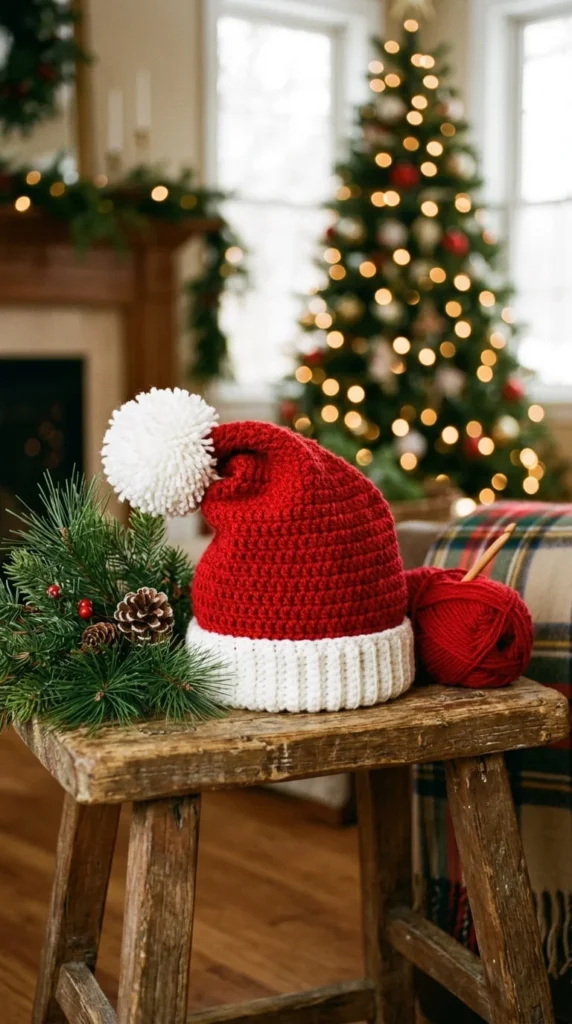
Why a Crochet Christmas Hat Is a Great Beginner Project
A Santa hat looks impressive, but the construction behind it is surprisingly simple. You’re working in the round, from the crown down to the brim, using basic stitches most beginners already know.
Here’s why it’s such a forgiving first holiday project:
- No complicated shaping. You’re mostly increasing at the top and working straight rows after that.
- Fast results. Most hats take one to three evenings, not weeks.
- Low yarn cost. A single hat uses far less yarn than a sweater or blanket.
- Endless variations. Once you know the base pattern, you can switch it up into an elf hat, a stocking cap, or a character design.
If you can single crochet, double crochet, and count stitches, you already have what you need.
What You’ll Need Before You Start
Most Christmas hat patterns call for a worsted weight acrylic yarn paired with a 5–6 mm hook. Acrylic is the standard choice here — it’s soft against skin, holds its shape, and comes in the bright reds and whites this project calls for without costing a fortune.
You’ll typically need:
- About 2 skeins of your main color (usually red)
- About 1–2 skeins of white for the brim and pom-pom
- A yarn needle for weaving in ends
- A tape measure for checking fit as you go
If you’re making this for a baby or toddler, you’ll use less yarn overall, but the same materials work across every size.
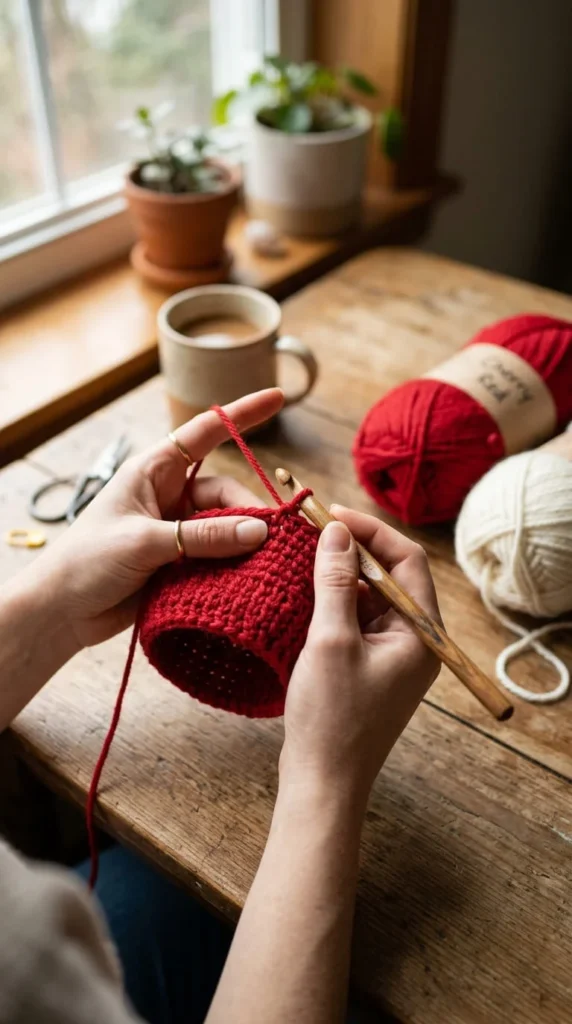
Step 1: Measure the Head Before You Chain
Sizing is the single most common place beginners go wrong on this project, and it’s an easy fix.
Wrap a tape measure around the head the hat is meant for, right above the eyebrows, and note the circumference. Most patterns list this measurement alongside a chart — newborn, toddler, child, and adult sizes each have their own stitch counts.
If you don’t have a size chart handy, a rough rule works too: your hat’s finished circumference should sit about an inch smaller than the head measurement, since crochet fabric stretches slightly once it’s worn.
Step 2: Start With a Magic Ring and Work the Crown
Almost every Christmas hat begins the same way — with a magic ring (or a small foundation chain joined into a circle) at the very top point of the hat.
From there, you’ll increase evenly around each round, adding stitches to make the circle grow wider. This is what shapes the pointed crown that eventually flops over into that classic Santa hat silhouette.
Once your crown reaches the right width for your head size, stop increasing and work even rounds — no more adding stitches — until the body of the hat reaches the length you want.
Step 3: Add the Brim for Structure and Warmth
The brim is where a lot of the hat’s personality comes from. A few common options:
- Ribbed brim — worked in front-post and back-post double crochet for a stretchy, classic knit look.
- Bobble or puff-stitch brim — small textured bumps that give the hat a plush, fuzzy edge.
- Fold-over brim — a plain wide band that folds up, giving a clean, simple finish.
Switch to white yarn for this section if you’re going for the traditional Santa look. Work a few rounds in your chosen brim stitch, then fasten off.
A quick tip: if your brim ends up curling instead of lying flat, add one or two more rounds. Curling is usually a sign the brim needs a bit more length to relax into place.
Step 4: Make a Pom-Pom That Actually Stays Fluffy
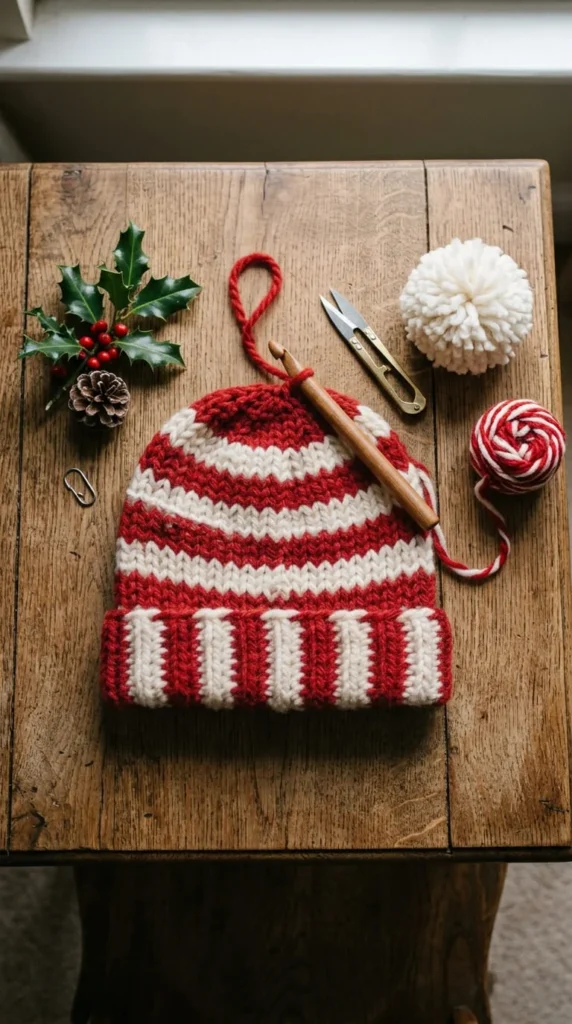
A flat, sad pom-pom can undercut an otherwise great hat. To avoid that, wrap your yarn around a pom-pom maker (or your fingers) far more times than feels necessary — a dense wrap is what gives you that full, rounded shape once it’s trimmed.
Tie the center tightly with a separate strand of yarn before cutting the loops open, then trim the pom-pom into a neat sphere.
Attach it to the top point of the hat using the tails from tying it off, and stitch through that spot a few extra times to make sure it doesn’t work loose with wear.
A Few Common Questions
Can I make this hat without following exact sizes? Yes — as long as you check the fit periodically against the head it’s meant for, you can adjust rounds as you go.
What if my crown looks pointy instead of round? This usually means your increases weren’t staggered evenly. Spacing them out more consistently in future rounds smooths this out.
Can I turn this into an elf hat instead? Absolutely — skip the fold-over brim and let the crown come to more of a long point instead, then add a small pom-pom or bell at the tip.
Time to Pick Up Your Hook
A crochet Christmas hat is one of those projects that looks far more impressive than the effort it actually takes. Measure carefully, don’t rush the pom-pom, and you’ll have a hat that holds up to years of holiday photos.
Save this guide for later and try these ideas when you’re ready!