
There’s something about a handmade ornament on the tree that a store-bought one just can’t match. If you’ve been searching for christmas crochet patterns that actually look good hanging next to your grandmother’s vintage baubles — not just cute on a screen — this list is built for you. We’re covering ornaments, stockings, amigurumi characters, garlands, and a handful of gift ideas that work whether you’ve got a full month to craft or just a free weekend before the holidays hit. Each idea below explains not just what to make, but why it works and how to make it your own.
1. Classic Lace Snowflake Ornaments
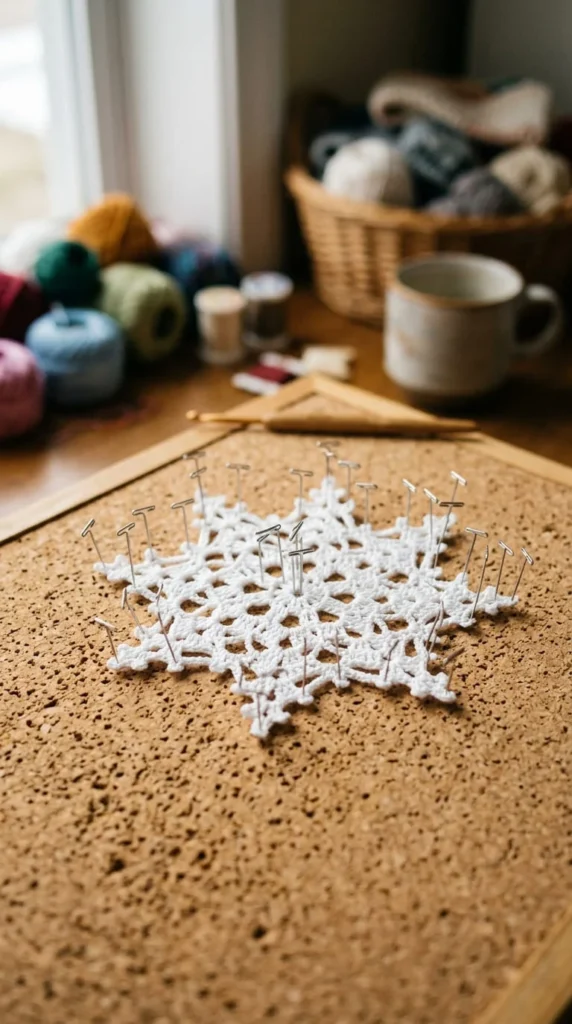
Snowflakes are the ornament every crocheter makes at least once, and for good reason — a single pattern gives you an entire set without repeating yourself.
The trick to making these look genuinely polished instead of floppy is stiffening them after you finish. A simple sugar-water starch (dissolve sugar into hot water at roughly a 2:1 ratio) and a light pinning session on a corkboard turns a soft lace circle into something crisp enough to hold its points permanently.
Use fine cotton thread rather than a standard worsted-weight yarn — the thinner fiber lets the lace pattern actually read as lacework instead of a solid blob once it’s hung on the tree.
A few practical notes:
- Pin the snowflake out while it’s still damp, not after it dries
- Let it sit at least 12 hours before removing the pins
- Add a loop of clear fishing line instead of yarn for hanging, so it disappears against the tree
Once you’ve got the process down, a batch of six to eight snowflakes takes far less time than making six to eight different ornament designs, and they still look varied thanks to slight pattern differences.
2. A No-Face Amigurumi Gnome for Easy Gifting
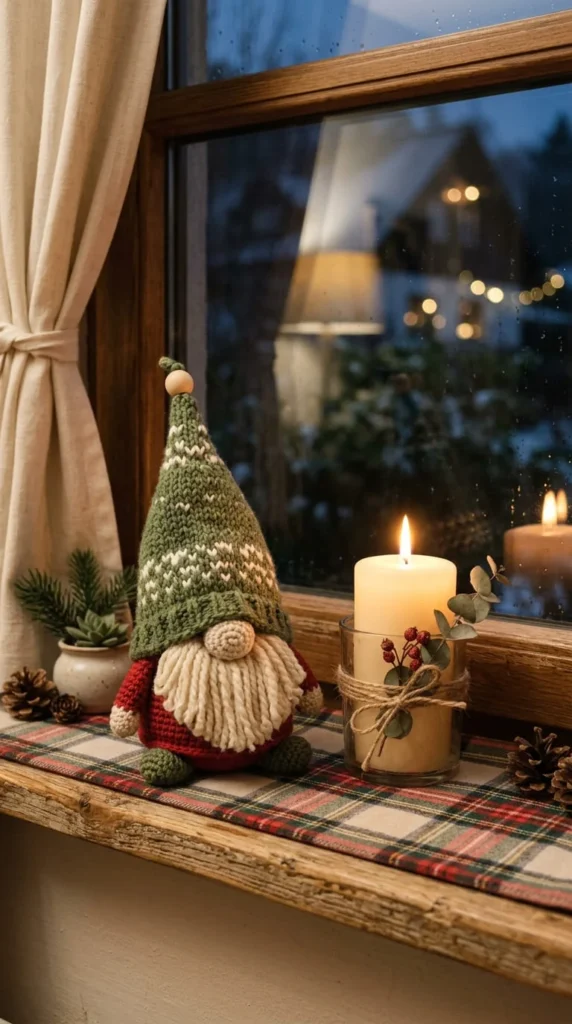
Gnomes solve a problem a lot of amigurumi patterns create: faces. Getting embroidered features to look right takes practice, and a lopsided smile can ruin an otherwise good project.
Classic Nordic-style gnomes skip this entirely — the face is hidden behind a long beard and an oversized pointed hat, so there’s no embroidery step to worry about getting wrong.
The body is usually just a simple cone or teardrop shape worked in single crochet, stuffed, and topped with the hat. The beard is the most time-consuming part, but it’s forgiving, since imperfect beard shaping actually reads as “texture” rather than a mistake.
This makes gnomes one of the more genuinely beginner-friendly amigurumi projects out there, despite looking detailed once finished.
A few color combinations worth trying beyond the standard red-and-white:
- Sage green hat with a cream beard for a Scandinavian look
- Plaid-inspired stripes using two contrasting yarns
- Deep burgundy with a small embroidered star on the hat brim
Because there’s no facial embroidery, these also make a good project to batch — six gnomes in an evening is realistic once you’ve made your first one.
3. Mini Stockings for Gift Cards and Small Treats

A full-size stocking is a commitment. A mini one — usually 4 to 6 inches tall — is a project you can finish during a single movie.
These work best as a gift-card holder or small candy stocking rather than something meant to hold real gifts, which means the construction stays simple: a basic stocking shape in single or half-double crochet, no shaping needed beyond the heel turn if you want one.
If turning a heel feels intimidating, skip it entirely. A straight tube shape folded and seamed at the bottom still reads clearly as a stocking once it’s finished, especially with a contrasting cuff color at the top.
Attach a small wooden clothespin or a loop of ribbon for hanging, and these become place-card holders for a holiday dinner table just as easily as tree ornaments.
Because they use so little yarn, mini stockings are one of the best projects for using up leftover skeins from bigger makes. A set of five or six in slightly different colorways looks intentional rather than mismatched, especially if you keep the cuff color consistent across all of them.
4. A Jumbo Statement Stocking for the Mantel
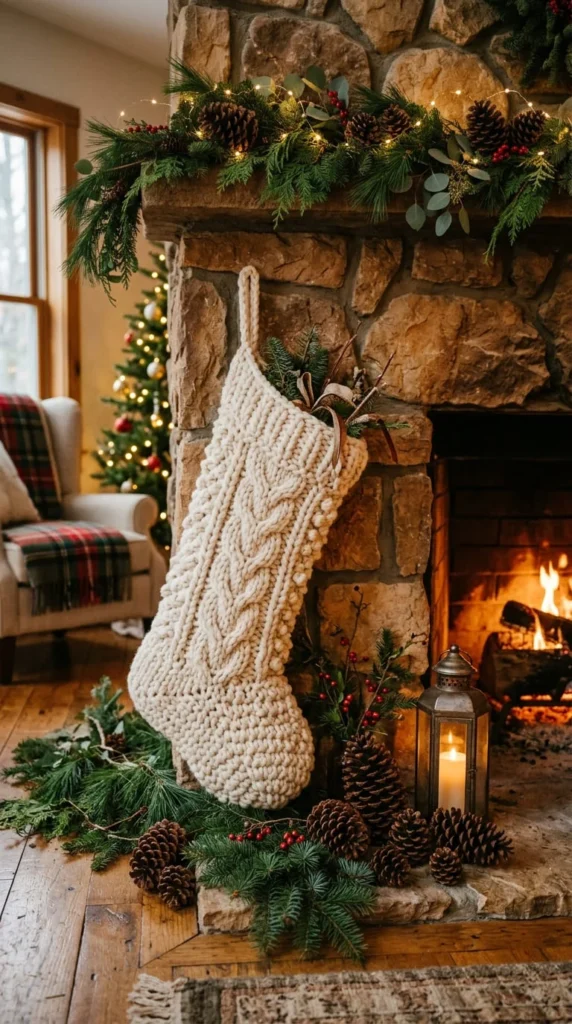
If mini stockings are the quick project, the jumbo version is the showpiece — the kind of stocking that becomes a permanent fixture on the mantel every year instead of something you make once and forget.
Working at this scale calls for a super bulky yarn and a large hook, both to keep the project from taking forever and to give the finished piece enough structure to hold its shape when it’s stuffed with actual gifts.
Because the stitch count is lower at this weight, mistakes are easier to spot and fix as you go, which oddly makes jumbo projects a decent option for someone who struggles with tension issues in finer yarns.
Plan the heel and toe shaping carefully before you start — at this size, small shaping errors are visually obvious in a way they wouldn’t be on a smaller stocking.
A cuff worked in a contrasting bulky yarn, folded over the top, adds a professional finish and hides the transition row where the leg meets the cuff.
Budget more yarn than you’d expect. A stocking at this scale can use three to four full skeins of super bulky, depending on your hook size and gauge.
5. A Simple Ball Garland for Instant Holiday Impact
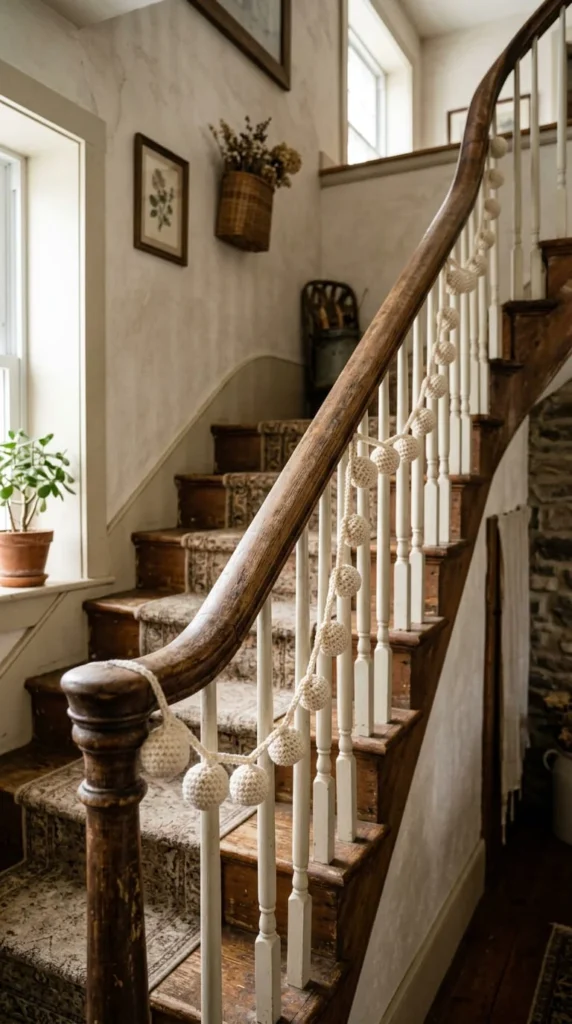
A garland is one of the highest-impact, lowest-difficulty projects on this list. You’re making the same small motif — usually a ball, a puff stitch cluster, or a tiny wreath shape — over and over, then stringing them together.
The repetition is actually the appeal here. Once you’ve made your first three or four motifs, your hands know the pattern well enough that you can crochet while watching television without checking a pattern.
Length depends entirely on where you’re hanging it. Measure your staircase railing, mantel, or doorway before you start, and aim for a finished garland roughly 20% longer than that measurement, since garlands drape and shorten slightly once they’re hung.
Alternate two or three colors in a repeating sequence rather than using a single color throughout — a plain garland reads as flat from a distance, while an alternating pattern holds visual interest along its full length.
String the finished motifs onto a length of jute twine or bakers twine rather than yarn, since twine holds its shape better and won’t stretch under the weight of a long garland.
6. A Round Tree Skirt for a Weekend Project With a Big Payoff
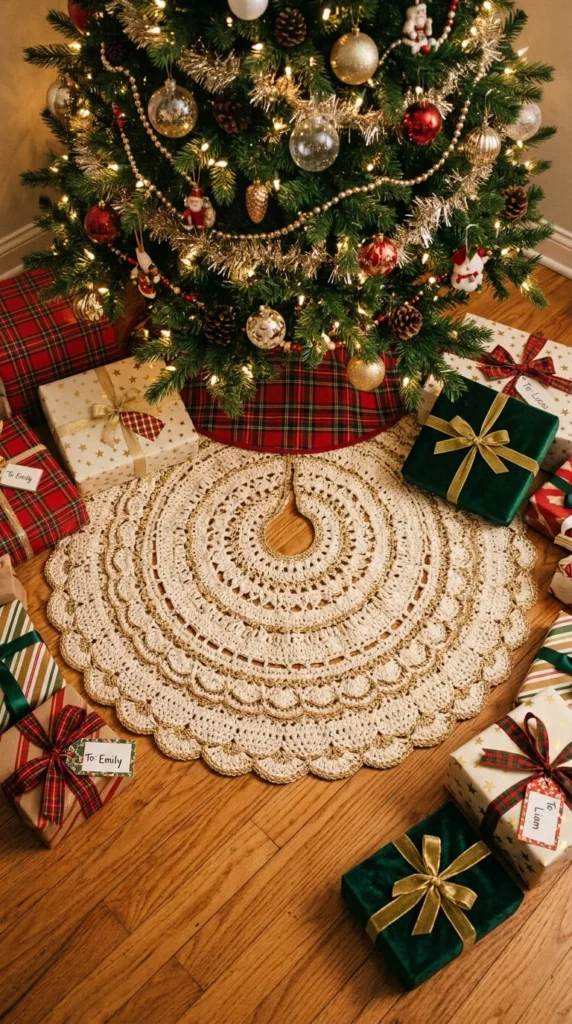
A tree skirt sits at the edge of “big project,” but it’s more approachable than it looks, because the construction is just a series of increasing rounds worked outward from a center point.
Most patterns use basic increase math — adding a consistent number of stitches each round to keep the piece lying flat instead of cupping or ruffling. If you’ve made a granny square or a circular coaster before, the underlying skill is the same, just scaled up.
Because the piece is large, yarn weight matters more here than technique. A worsted or DK weight in cotton or a cotton-acrylic blend keeps the finished skirt from becoming impossibly heavy, which pure wool at this size sometimes does.
Split the project into sessions by round count rather than time — working ten rounds a night, for example, turns an intimidating single project into a manageable week-long routine.
Leave a straight slit from the center to the outer edge with a tie or button closure, so the finished skirt can be wrapped around the tree stand rather than needing to be threaded underneath it.
7. A Reusable Advent Calendar Made From Tiny Pouches
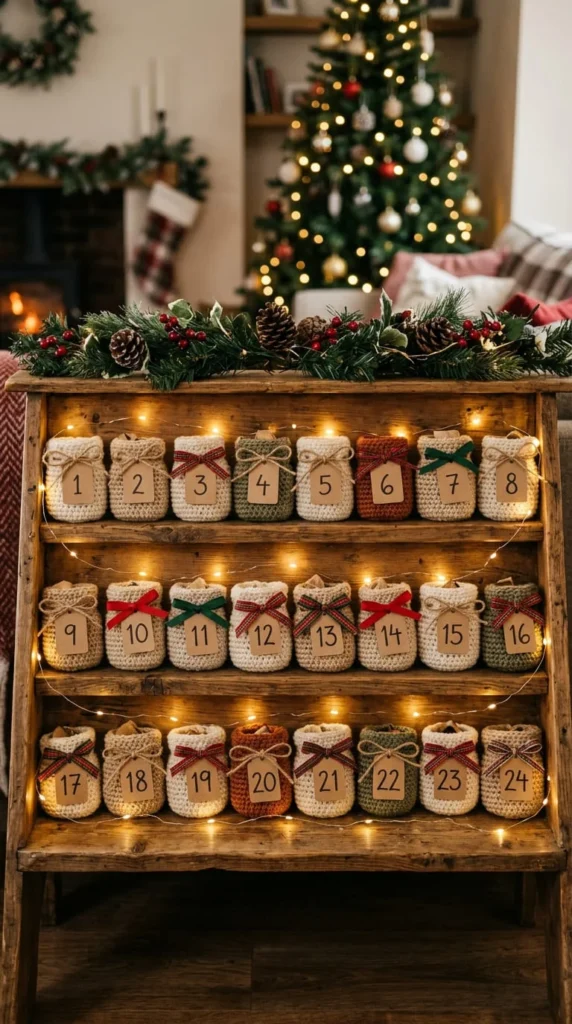
Most advent calendars get thrown away every January. A crochet version doesn’t have to.
The concept is straightforward: crochet 24 small drawstring pouches, roughly 3 inches wide, in a consistent stitch pattern but varying colors. Each pouch holds a small treat or note, and a ribbon tag marks the date.
Because you’re repeating one small pattern 24 times, this is a genuinely good project for using scrap yarn — mismatched colors actually work in this project’s favor, since the variation becomes part of the calendar’s charm rather than a flaw to hide.
Hang the finished pouches from a length of twine or a wooden dowel using small wooden clothespins, which makes refilling them for next year as simple as unclipping and swapping contents.
A practical tip: batch your pouches over several weeks leading up to the holiday season rather than attempting all 24 in one sitting. At roughly 15–20 minutes per pouch, spreading the work out keeps the project from feeling like a chore.
Once it’s built, this becomes a yearly tradition piece rather than a single-season craft — arguably the best return on crafting time of anything on this list.
8. Super Bulky Ornaments You Can Finish Before Dinner
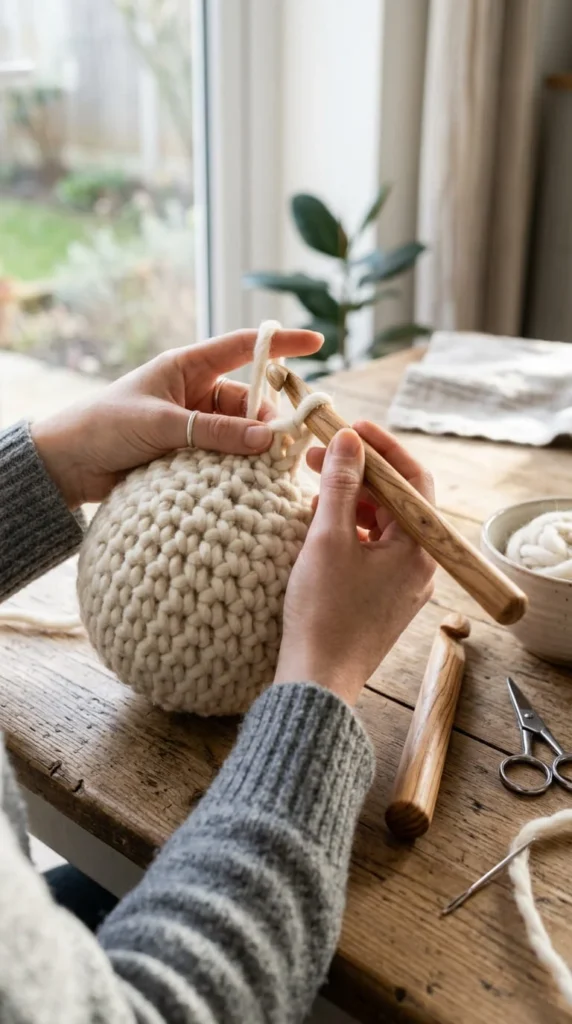
When time is the real constraint, super bulky yarn is the fastest route from skein to finished ornament. The larger stitches mean fewer repetitions to reach the same size, which translates directly into less time on the hook.
A basic ball ornament in super bulky, worked in the round with minimal shaping, typically finishes in 20 to 30 minutes once you know the pattern. That’s fast enough to make several in a single evening.
The trade-off is detail — you won’t get intricate texture or fine lace work at this weight. What you get instead is bold, tactile simplicity, which actually suits modern and minimalist tree styling better than delicate lacework would.
Stuff the finished ornament firmly with polyester fiberfill before closing it up, since super bulky stitches have larger gaps that can let stuffing peek through if it’s underfilled.
This is the category to reach for if you’re making ornaments for a craft fair or holiday market table, where speed and consistent output matter more than intricate detail, and a bold, chunky ornament photographs well from a booth display.
9. A Simple Amigurumi Reindeer Without the Fiddly Antlers
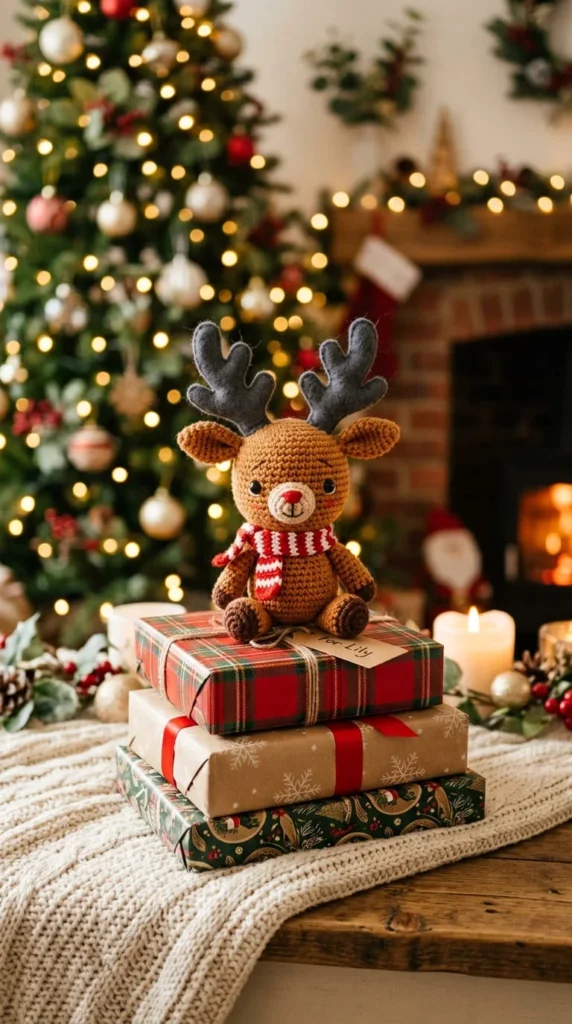
Reindeer amigurumi patterns often get complicated at the antlers — trying to crochet small, symmetrical branching shapes is genuinely one of the harder amigurumi techniques.
Skip that difficulty entirely by using store-bought mini felt or wire antlers instead of crocheting them. Sew or glue them onto a simple round-bodied reindeer, and the finished result looks just as intentional as a fully crocheted version, without the frustration.
The body itself follows standard amigurumi construction — a rounded body, a slightly smaller head, four short limbs, all worked in single crochet and stuffed firmly before assembly.
A small red pom-pom nose is the detail that sells the whole design, and it takes under a minute to make and attach.
Keep the proportions slightly exaggerated — a head that’s a touch too big for the body, legs a bit shorter than realistic — since amigurumi reads as more charming when it leans stylized rather than anatomically accurate.
This is a solid project for a first attempt at amigurumi if you haven’t made a stuffed toy before, since the shapes are all basic spheres and cylinders with no complex shaping required.
10. A Round Snowman That Skips the Three-Tier Shape Entirely
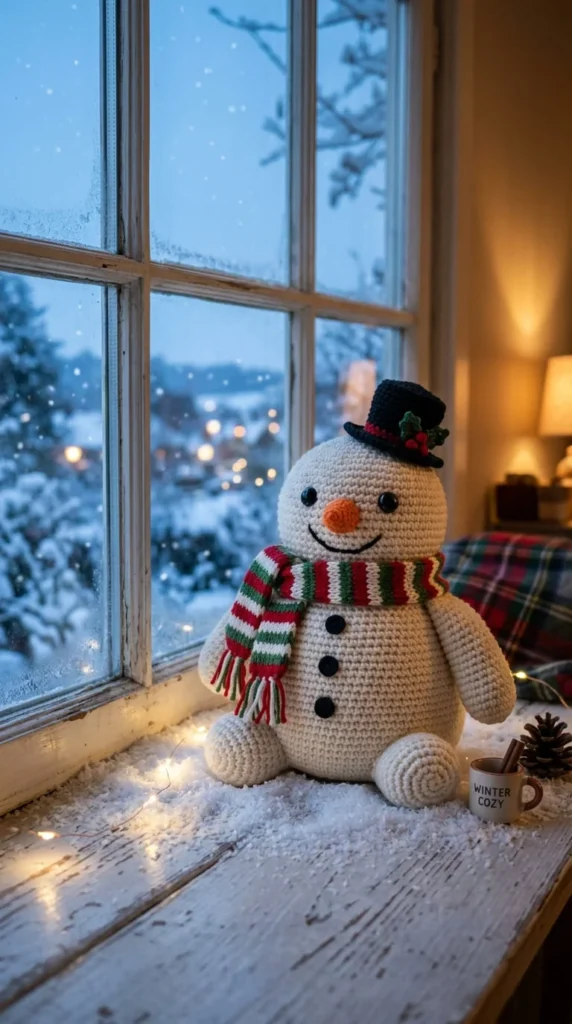
Traditional snowman patterns build three separate stacked balls, which means three separate pieces to stuff and seam together. A single round-bodied snowman skips that entirely and still reads clearly as a snowman thanks to its accessories.
Work one large round body, add a small scarf (a strip of single crochet with fringe at the ends), a top hat shape, and simple stick arms made from twisted brown pipe cleaners rather than crocheted limbs.
This shortcut cuts your assembly time roughly in half compared to a three-tier build, since you’re only seaming accessories onto one main piece instead of joining multiple body sections together.
Coal-button eyes and a carrot nose can be embroidered with a few simple straight stitches — no need for separate crocheted pieces here either.
For variation across a set, change the scarf color and pattern rather than the snowman itself. A striped scarf, a solid color, and a fringed plaid pattern each give an otherwise identical snowman a distinct personality without any extra construction work.
11. Stash-Busting Coasters That Double as Small Gifts
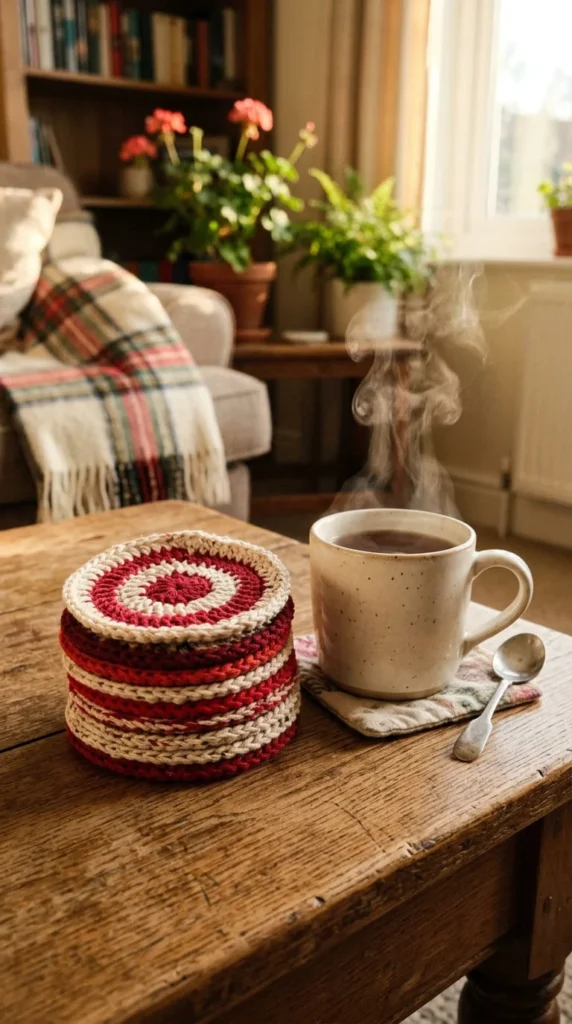
If you’ve got a basket of leftover yarn from bigger holiday projects, coasters are the cleanest way to use it up without buying anything new.
A basic coaster is just a flat circle or hexagon, worked in the round for four or five rounds depending on your yarn weight. Because each one uses such a small amount of yarn, this is where mismatched leftover skeins genuinely shine — a set of four coasters in four different (but color-coordinated) reds and creams looks like a deliberate design choice.
Set them in stacks of four tied with a ribbon, and you’ve got a complete, low-cost gift that took under an hour of total crafting time.
A practical tip for durability: work coasters in cotton yarn rather than acrylic. Cotton handles heat and moisture from mugs and glasses far better, and it won’t develop the slight sheen acrylic sometimes gets after repeated washing.
Add a single row of contrasting single crochet around the outer edge as a border — it’s a small addition, but it keeps the coaster from looking unfinished and gives mismatched yarn colors a unifying frame.
12. A Ribbed Mug Cozy for the Coffee Lover on Your List
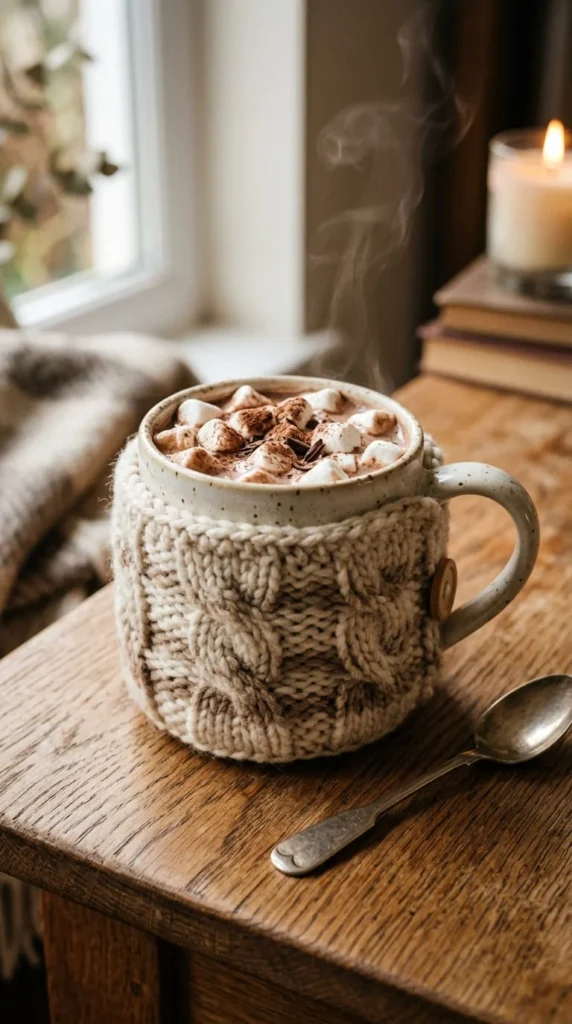
A mug cozy is one of the fastest gift-worthy projects on this list, and the ribbed texture makes it look more polished than the time investment suggests.
Work the cozy in front-post and back-post double crochet stitches alternated across the row to create a ribbed effect that stretches slightly to fit different mug sizes, rather than crocheting a fixed-width band that only fits one specific mug.
A single button closure at the side is the simplest way to finish it — work a small buttonhole into your last row, sew on a button that matches or contrasts with your yarn, and the cozy wraps around any standard mug.
This project uses under 50 yards of yarn in most cases, which makes it another strong candidate for leftover skeins rather than a dedicated purchase.
Personalize the gift further by matching the color to something you already know the recipient likes — a cozy in their favorite sports team colors or a shade that matches their kitchen reads as more thoughtful than a generic red-and-green option, even though the construction stays identical either way.
13. A Tasseled Bookmark for Readers on Your Gift List
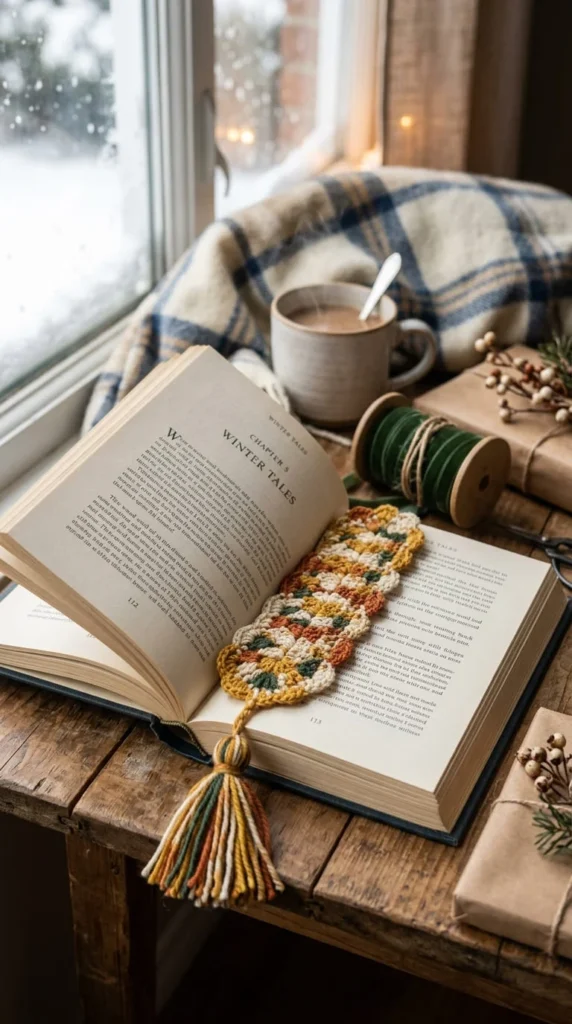
For anyone on your list who reads, a crochet bookmark is a genuinely useful gift rather than a decorative one that ends up in a drawer.
The construction is simple: a narrow strip of single or double crochet, about 6 to 8 inches long and an inch wide, finished with a tassel at one end made from a handful of yarn strands folded and tied.
Because it’s narrow, this is a good project for practicing a new stitch pattern in miniature before committing to it on something larger. A lace or shell stitch you’re unsure about looks low-risk worked into a 6-inch bookmark instead of a full-size scarf.
A few finishing touches that make these feel intentional rather than plain:
- Add a small wooden or metal charm to the tassel
- Work the strip in a subtly holiday-adjacent color rather than obvious red and green, like deep forest, cranberry, or gold
- Stiffen the top few rows slightly with fabric glue so the bookmark doesn’t curl inside the book
A batch of five or six bookmarks takes well under an hour combined, which makes this one of the best options if you’re gifting to a group — a book club, a classroom, or a handful of coworkers.
14. A Teacher Gift Set That Doesn’t Feel Like Everyone Else’s
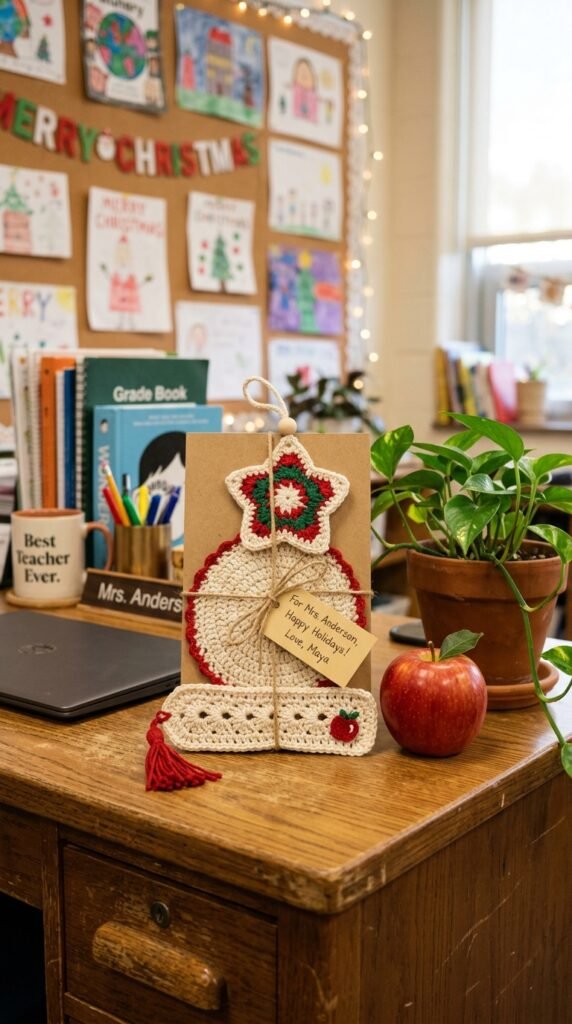
Teachers tend to receive the same candle or mug every December. A small crochet gift set stands out simply by being different from what’s already piling up in the staff room.
Combine three quick makes from this list — a coaster, a bookmark, and a small ornament, for example — into a single bundled gift tied together with twine or ribbon. None of the individual pieces takes long, but bundled together they read as a thoughtful, complete gift rather than a single small item.
Keep the color palette consistent across all three pieces. A matching set in the same two or three colors looks curated, while three random leftover colors thrown together looks like exactly that.
If you’re making sets for multiple teachers, batch the work by piece rather than by set — crochet all the coasters first, then all the bookmarks, then all the ornaments. Repeating the same pattern several times in a row is faster than switching between three different patterns repeatedly.
Attach a small handwritten tag rather than a printed one. It’s a small detail, but it reinforces that the whole set was made, not assembled from a template.
15. Neighbor Gifts That Don’t Require Knowing Their Taste
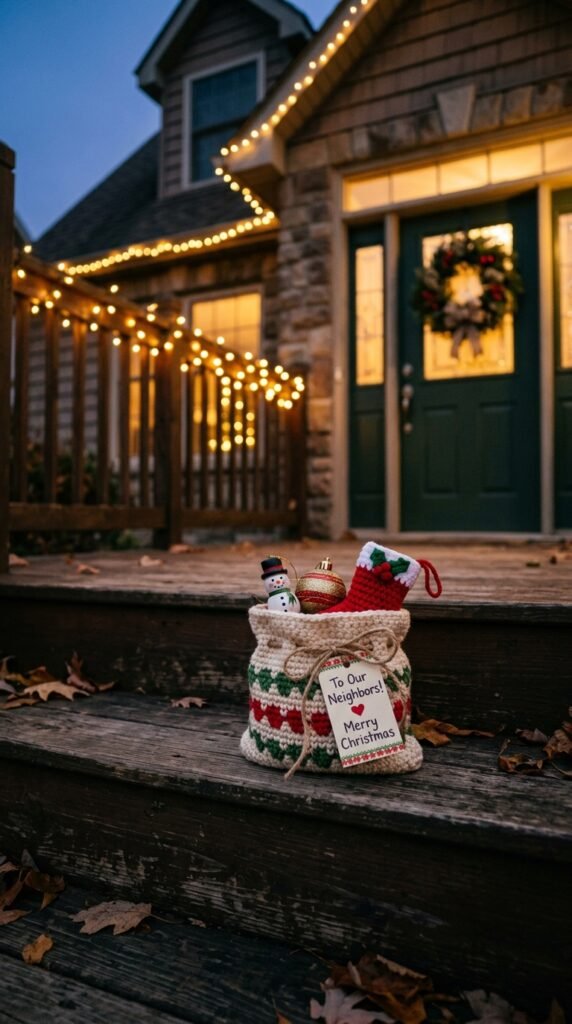
Gifting neighbors is tricky because you often don’t know their exact style, unlike a close friend or family member. The safest approach is picking projects that are broadly appealing rather than personalized.
A small drawstring bag holding two ornaments and a mini stocking works well here — it’s useful, decorative, and doesn’t assume anything about their taste in color or style since you can include a couple of neutral options.
Stick to classic, widely liked colorways for this category specifically — cream, deep red, and forest green read as safely festive to almost anyone, where a more unusual palette might not land the same way with someone you don’t know well.
Batch neighbor gifts well in advance of the holidays, since this category often involves the highest quantity of any gift type on your list. If you’ve got ten neighbors, spreading the crafting across several weeks beats trying to finish it all in one weekend.
A small printed or handwritten card explaining what’s inside the bag (in case ornaments aren’t immediately obvious) is a thoughtful addition that takes the guesswork out of receiving a handmade gift from someone you may not know well.
16. Scandinavian Cottagecore Ornaments in Muted Natural Tones
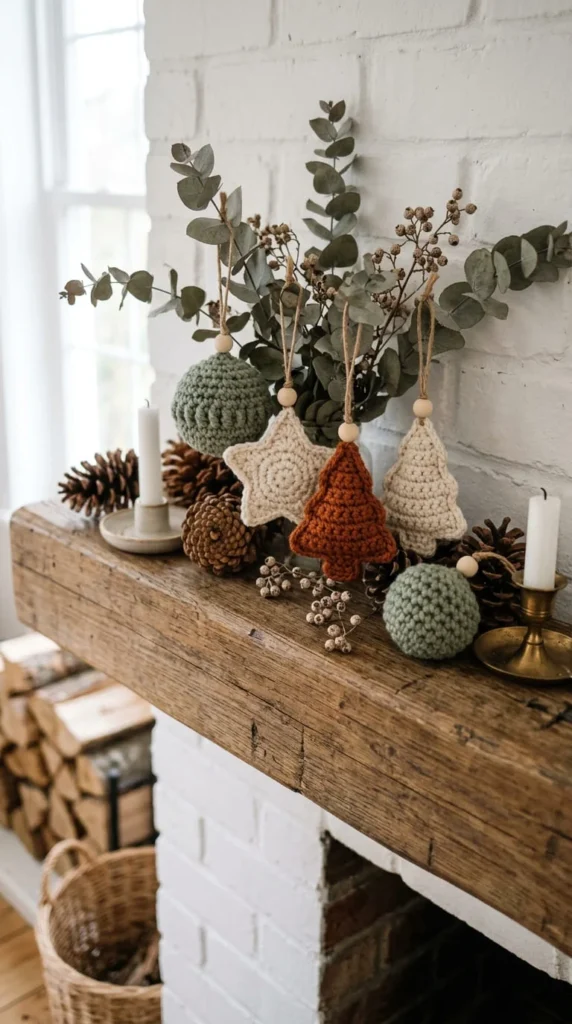
If bright red and green don’t match your home’s decor, a Scandinavian-inspired palette solves that without abandoning the holiday theme entirely.
Think sage green, cream, soft rust, and warm taupe instead of the traditional bright palette. The same ornament shapes — balls, stars, simple trees — look completely different in these muted tones, leaning cozy and understated rather than bold and traditional.
Pair the finished ornaments with natural materials rather than glittery embellishments. Dried eucalyptus sprigs, small pinecones, and raw linen ribbon suit this aesthetic far better than metallic thread or sequins would.
This palette also has a practical advantage: because the colors are more neutral, these ornaments work as year-round decor accents in a way that traditional red-and-green pieces don’t. A sage green crochet ball looks just as at home on a bookshelf in March as it does on a tree in December.
If you’re making a full set in this palette, vary the texture rather than the color to keep individual pieces distinct — a chunky garter-look stitch next to a smooth single crochet ball next to a lightly textured shell stitch keeps the set visually interesting despite the limited color range.
17. Granny Square Ornaments for a Grandma-Chic Look
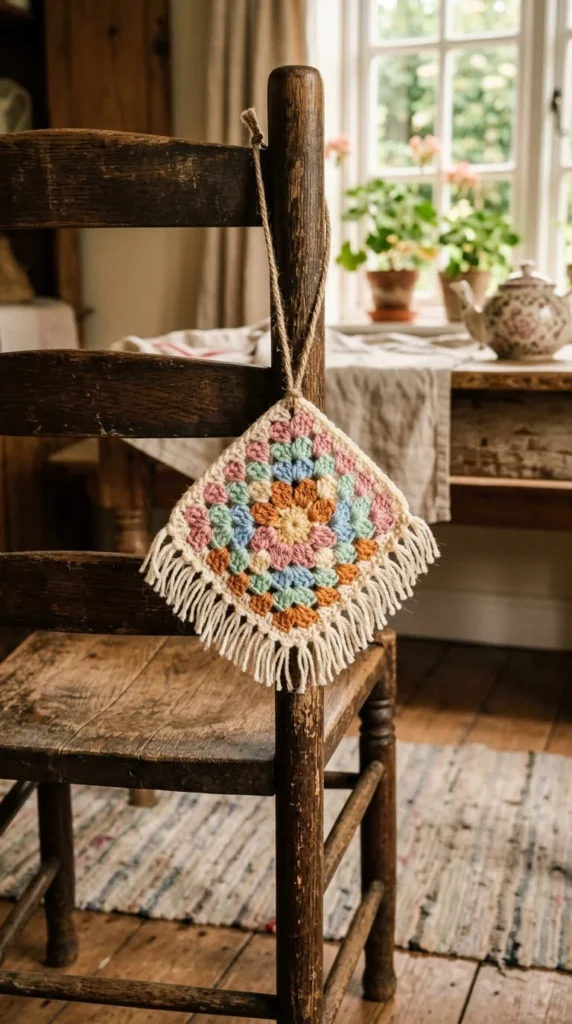
The granny square has been making a comeback well beyond blankets, and a mini version makes a genuinely charming ornament.
Work a standard granny square pattern down to a size of about 3 inches, then fold it into a triangle or leave it flat and add a hanging loop at one corner. The classic construction — worked in rounds with chain-3 corners — is exactly the same technique used for full-size squares, just stopped much earlier.
Lean into vintage pastel colors for this style specifically — dusty pink, butter yellow, sage, and faded blue read as nostalgic and homey in a way that bright, saturated colors don’t.
This is also a genuinely good project for using up granny square practice swatches. If you’ve been learning the technique and have a small stack of test squares sitting in a drawer, several of them likely already qualify as finished mini ornaments once you add a hanging loop.
A cluster of five or six granny square ornaments in coordinating pastels, hung together on one section of the tree rather than scattered throughout, creates a cohesive vintage moment without needing every ornament on the tree to match.
18. Woodland-Themed Decor for a Nature-Inspired Tree
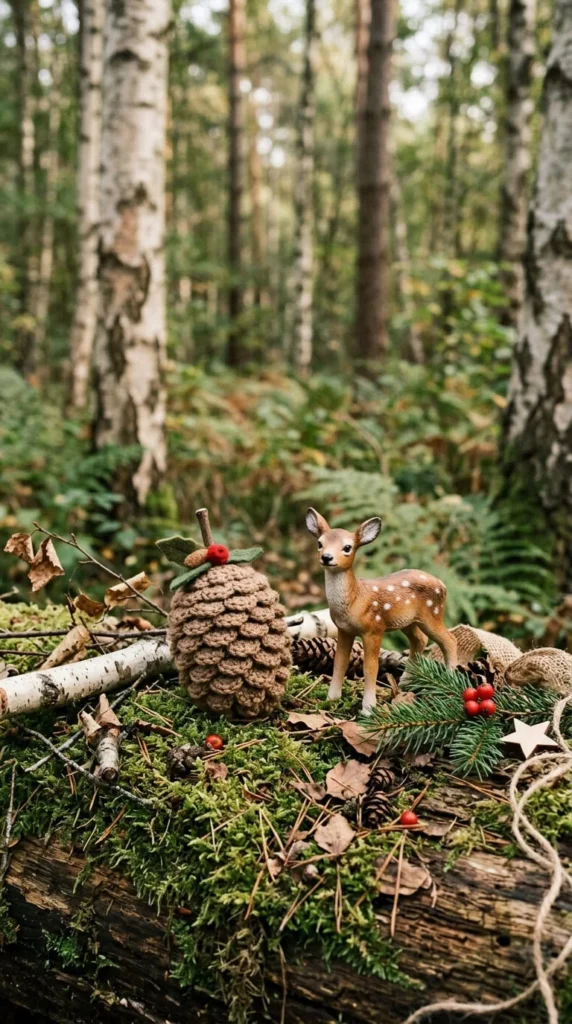
Not every holiday tree needs to look the same. A woodland theme swaps traditional ornaments for pieces inspired by forest textures and creatures.
Small crochet pinecones, tiny mushrooms, and simple deer silhouettes fit this theme well. Most of these shapes are achievable with basic increasing and decreasing techniques you’d already use for amigurumi — nothing about the woodland theme requires new skills beyond what other projects on this list already cover.
Brown, rust, deep green, and cream form the core palette here, occasionally accented with a small amount of burnt orange for the mushroom caps.
Pair the finished pieces with real or faux birch branches instead of a traditional garland for the base of your tree display, and add small amounts of dried moss around the tree skirt for a more immersive, cohesive look.
This theme works particularly well if you’re decorating a cabin, a rustic-style living room, or any space that already leans toward natural materials and muted tones. It reads as intentional and cohesive rather than like a standard tree with a few mismatched forest ornaments added on top.
19. A Jewel-Tone Plaid Ornament for a Richer Color Story
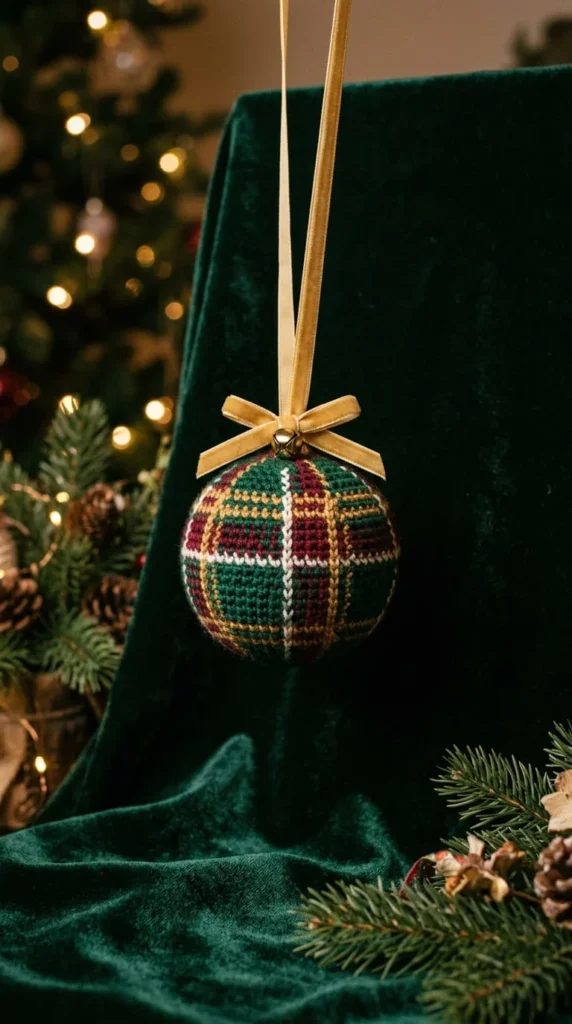
Plaid is having a real moment in holiday decor, and you can bring that pattern into crochet without needing to master intarsia or complex colorwork.
Work a simple ball or square ornament using a tapestry crochet technique with two or three colors, carrying the unused yarn along the back of your work as you switch colors every few stitches to build a basic checked or plaid-adjacent pattern.
If true tapestry crochet feels intimidating, a simpler shortcut works almost as well: crochet the ornament in a single deep jewel tone, then add a few straight-stitch embroidery lines across it in a contrasting color once it’s finished, mimicking a plaid overlay without any colorwork technique at all.
Emerald green, deep burgundy, and gold form the classic jewel-tone plaid combination, and all three read as rich and formal rather than playful, which suits a more elegant tree styling than bright primary colors would.
These ornaments pair especially well with velvet ribbon rather than yarn or twine for hanging, since the fabric echoes the same richness the color palette is going for.
20. Building a Craft Fair Table Around Fast Sellers
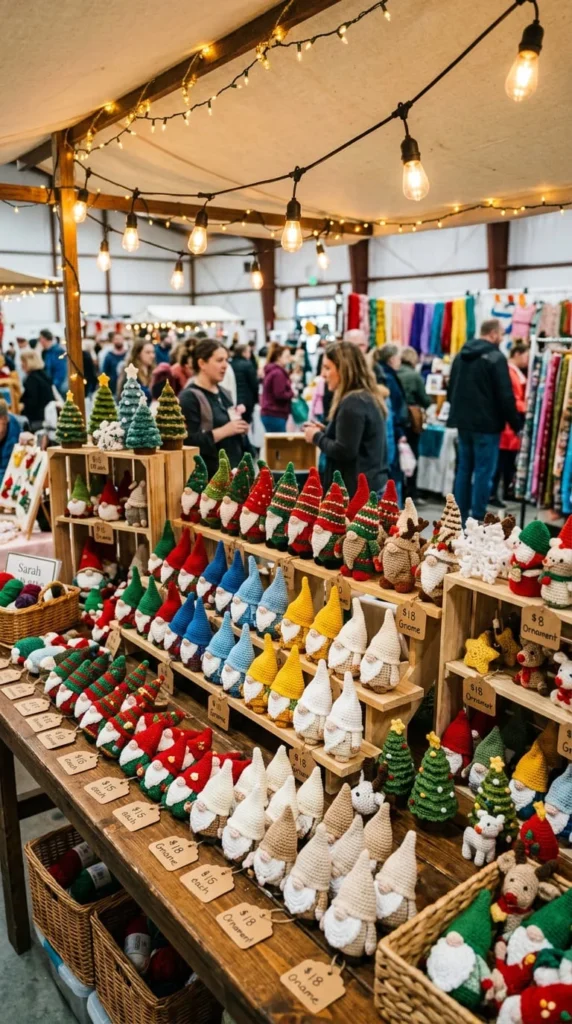
If you’re planning to sell at a holiday market, not every project on this list is equally suited to that goal. Speed and repeatability matter more than intricate detail once you’re producing inventory instead of individual gifts.
Ornaments, mini stockings, and coasters are the strongest sellers for this context, since customers can buy them as impulse purchases in the $5 to $15 range without much deliberation. Larger pieces like tree skirts sell less frequently but at a higher price point, so a table benefits from having both categories represented.
Batch production is essential here. Rather than making one of each design, commit to producing multiples of your two or three best sellers so your table doesn’t look sparse by midday.
Display matters as much as the crochet itself — arrange items by color rather than by type, since a color-coordinated table catches the eye from further away than items grouped by category.
Bring a visible price list rather than individual tags on every piece where possible; it speeds up transactions and reduces the awkward pause customers often have when hunting for a price.
21. Non-Traditional Colorways for a Modern Tree
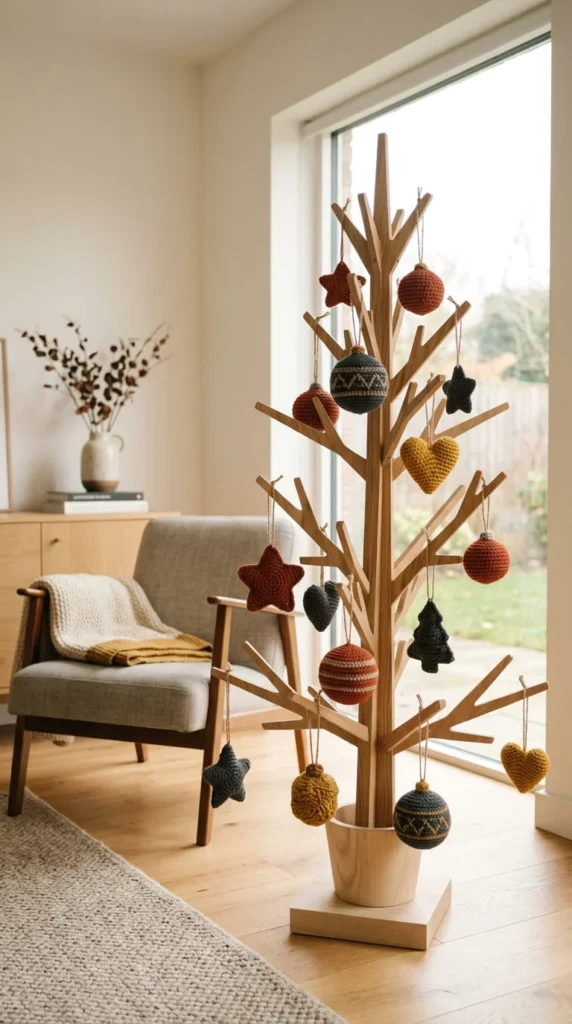
Red and green dominate holiday crochet for a reason, but they’re not a requirement. A tree decorated entirely in terracotta, charcoal, and mustard yellow still reads as festive while looking noticeably different from every other tree on your street.
The construction for any ornament shape on this list transfers directly — nothing about the stitch pattern needs to change, only the yarn colors you’re pulling from.
This approach works especially well if your home’s existing decor leans modern or minimalist, since traditional bright holiday colors can clash with a neutral, contemporary color scheme in a way that a more curated palette avoids.
A practical tip for committing to an unconventional palette: choose one unexpected “anchor” color, like mustard or deep rust, and build the rest of your ornaments around two or three supporting neutrals. This keeps the tree cohesive instead of looking like a random mix of leftover yarn colors.
If you’re hesitant to abandon tradition entirely, a hybrid approach works too — keep a few classic red pieces mixed into an otherwise non-traditional palette, which softens the transition for anyone in the household who isn’t ready to give up the classic look completely.
22. A Greener Approach Using Reclaimed and Undyed Yarn
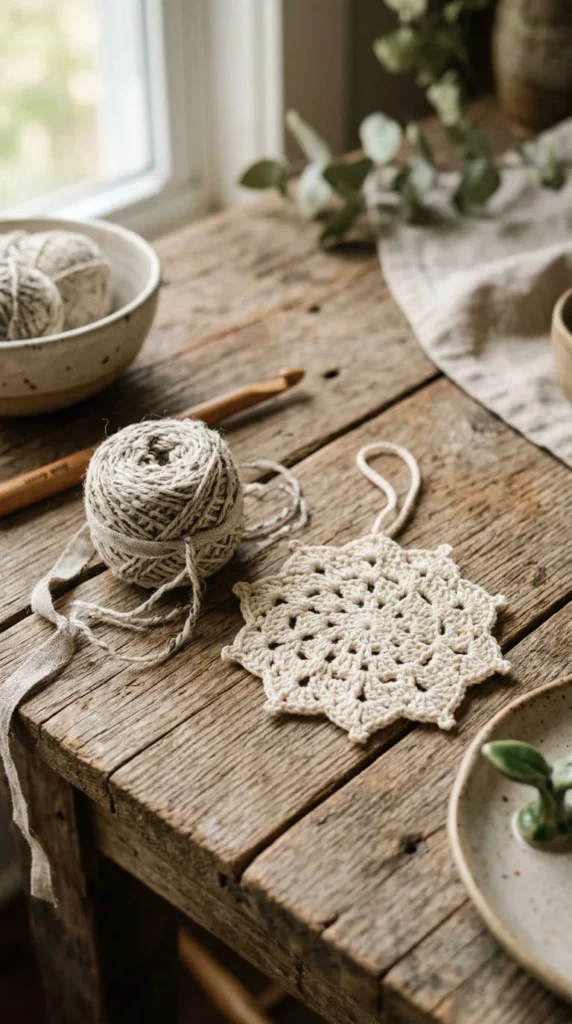
Holiday crafting generates a lot of yarn waste between leftover skeins and single-use projects, but it doesn’t have to.
Undyed or naturally dyed cotton yarn is a straightforward swap for any ornament pattern on this list, and it pairs particularly well with the woodland and Scandinavian palettes covered earlier, since natural, unbleached fiber already leans toward those muted, earthy tones.
Unraveling an old cotton sweater you no longer wear is another practical source of yarn for small projects like ornaments and coasters — the yardage requirement for most items on this list is low enough that a single unraveled sweater can realistically supply an entire set.
If you’re buying new yarn specifically, look for recycled cotton or reclaimed fiber blends, which are becoming more available from smaller yarn producers, rather than defaulting to standard acrylic.
This angle also pairs naturally with stash-busting projects already mentioned — coasters, bookmarks, and mini ornaments are small enough that “using what you already have” and “reducing new material purchases” end up being the same practical choice, rather than two separate goals competing for your attention.
Conclusion
The best holiday crochet plan isn’t picking one pattern and making it twenty times — it’s mixing a few quick wins, like coasters and bookmarks, with one or two bigger statement pieces, like a tree skirt or jumbo stocking, so your effort matches your actual timeline. Start with whichever project on this list solves a problem you already have, whether that’s a stash of leftover yarn, a teacher gift list, or a tree that needs a fresh color story this year. Pick up your hook, choose one idea, and get the first stitch started today.