
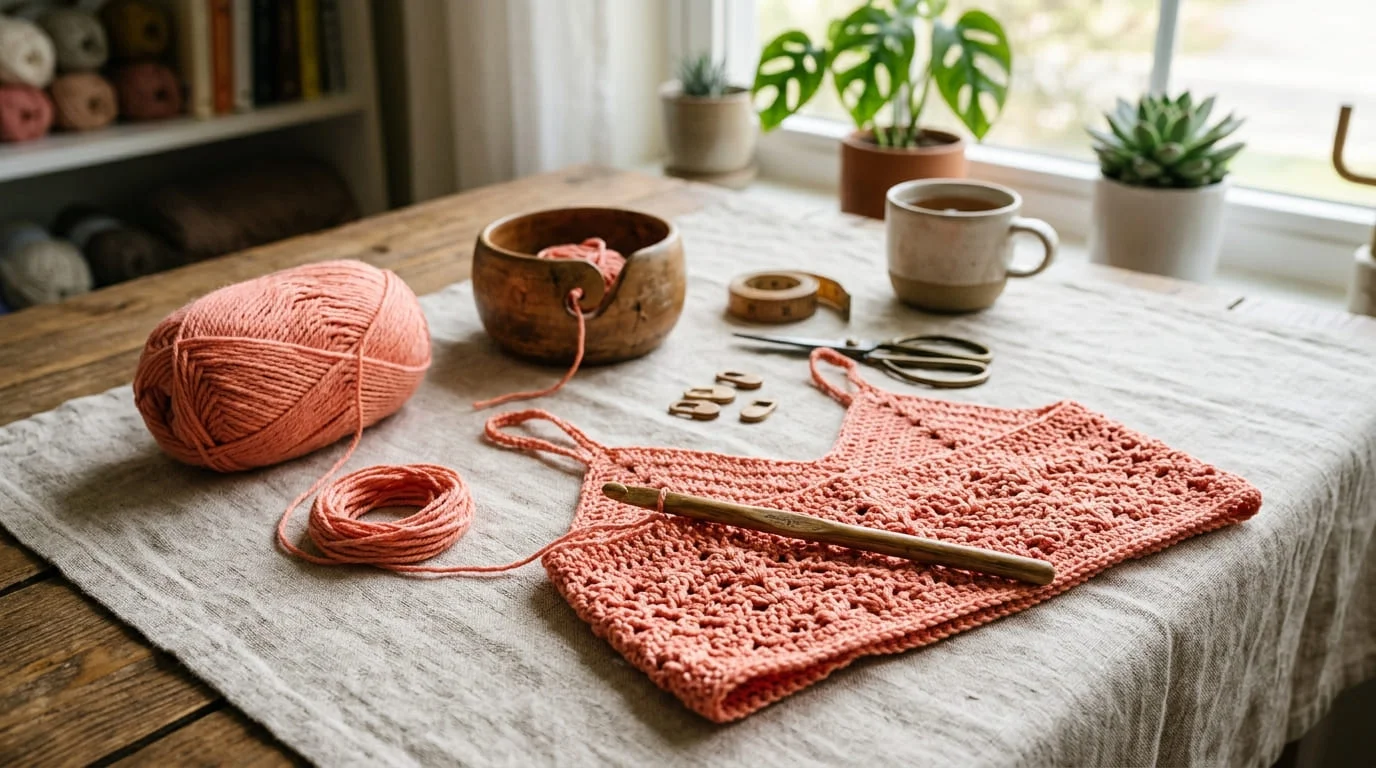
Learning to crochet a summer top sounds like something you’d need years of experience for. It isn’t. If you can chain, single crochet, and double crochet, you already have every skill this project needs.
Most beginners get stuck before they even pick up a hook — not because the stitches are hard, but because they don’t know where to start. Which yarn? What size? Rectangle or panels? This guide walks through the whole thing in plain language, so by the end you’ll have a clear, wearable plan instead of a browser full of open tabs.
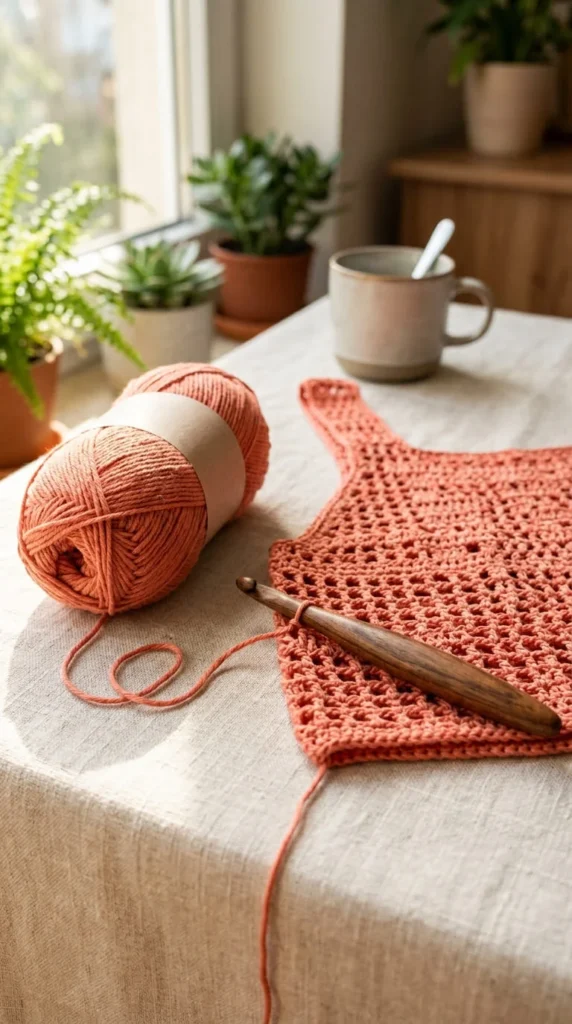
Why a Summer Top Is a Smart First Garment
Sweaters and cardigans ask a lot of a beginner — sleeves, shaping, buttonbands. A summer top skips most of that.
Here’s what makes it forgiving:
- Simple shapes. Most patterns are built from a rectangle or two flat panels, not curved pieces.
- Low yardage. A cami or tank uses far less yarn than a sweater, so mistakes cost less.
- Fast feedback. You’ll see real progress in a single evening, which keeps motivation high.
- Stitches you already know. Double crochet and simple mesh repeats carry most of these projects.
This makes it the kind of project where you actually finish something wearable instead of abandoning it halfway through.
Step 1: Pick the Right Yarn and Hook
For a summer top, skip the acrylic in your stash and reach for something breathable. Cotton, linen, or a cotton-linen blend in a DK or sport weight is the standard choice, and for good reason — it drapes softly and doesn’t trap heat against your skin the way heavier fibers do.
A 3.5–4.0 mm hook typically pairs well with DK weight cotton, but always check the yarn label, since brands vary slightly.
If you’re not sure which yarn to buy, ask a yarn shop employee for a “lightweight summer cotton” — it’s a common enough request that most shops will know exactly what to hand you.
Step 2: Measure Yourself Before You Chain Anything
This is the step beginners skip, and it’s the one that causes the most disappointment later.
Take your bust measurement at the fullest point, then decide on your ease — a small amount of extra room so the top isn’t skin-tight. Two inches of ease is a comfortable starting point for a relaxed fit.
Add that ease to your bust measurement, and that total becomes the width of your foundation chain (or the combined width of your front and back panels, if you’re working two pieces instead of one).
Before you commit to the full chain, do a quick stretch test. Chain a short length, stretch it gently, and check that it still holds its shape without gaping. A chain that’s too tight will pucker; one that’s too loose will sag.
Step 3: Crochet a Gauge Swatch First
It’s tempting to skip this and dive straight into the top. Don’t. A few extra minutes here saves you from unraveling an entire panel later.
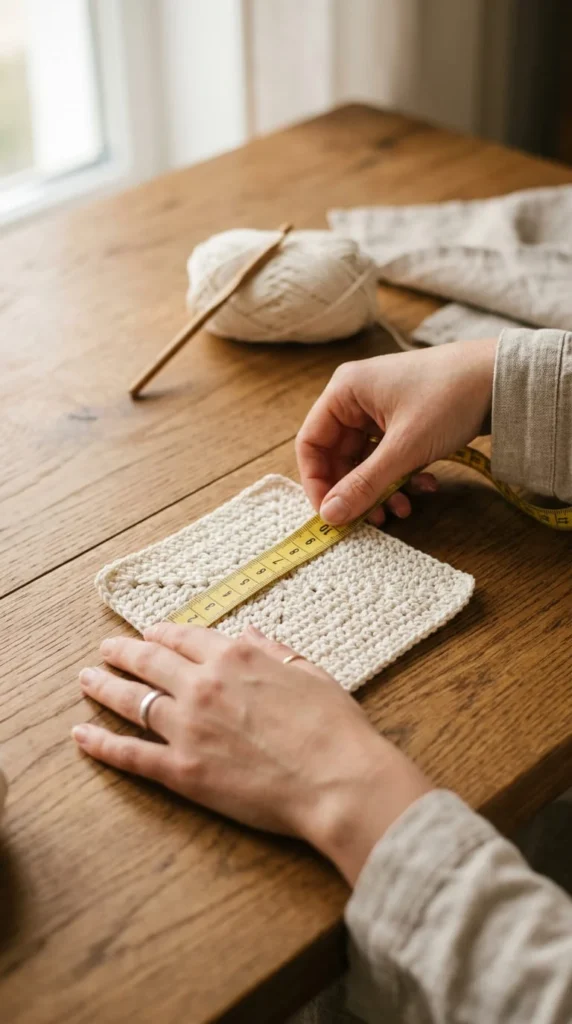
Crochet a swatch about 6 inches wide, then wash and block it the same way you’ll treat the finished top — cotton yarn especially tends to relax or shrink slightly once it’s wet, so a dry swatch can lie to you about your real gauge.
Once it’s dry, measure the center 4 inches and compare it to your pattern’s gauge. If your swatch has more stitches per inch than the pattern calls for, size up your hook. If it has fewer, size down.
Step 4: Choose Your Construction Method
Beginners usually pick one of two builds:
- Rectangle construction — one flat piece, folded and seamed at the sides, with gaps left for the arms. This is the simplest option and a great first project.
- Two-panel construction — a front panel and a back panel, crocheted separately, then joined at the sides and shoulders. It takes slightly longer but gives you more control over the fit.
Either way, work straight rows until your piece reaches your desired length, measured from underarm to hip (or wherever you want the hem to sit).
Step 5: Add Straps and Finish the Edges
Once your body is complete, it’s time for straps. Simple crochet chains work fine for a quick, breezy top, while tie straps give you an adjustable fit you can tighten or loosen depending on the day.
Finish the neckline, armholes, and hem with a row of single crochet. This small step matters more than it seems — it keeps the edges from curling and gives your top a clean, finished look instead of a raw one.
Step 6: Block Your Finished Top
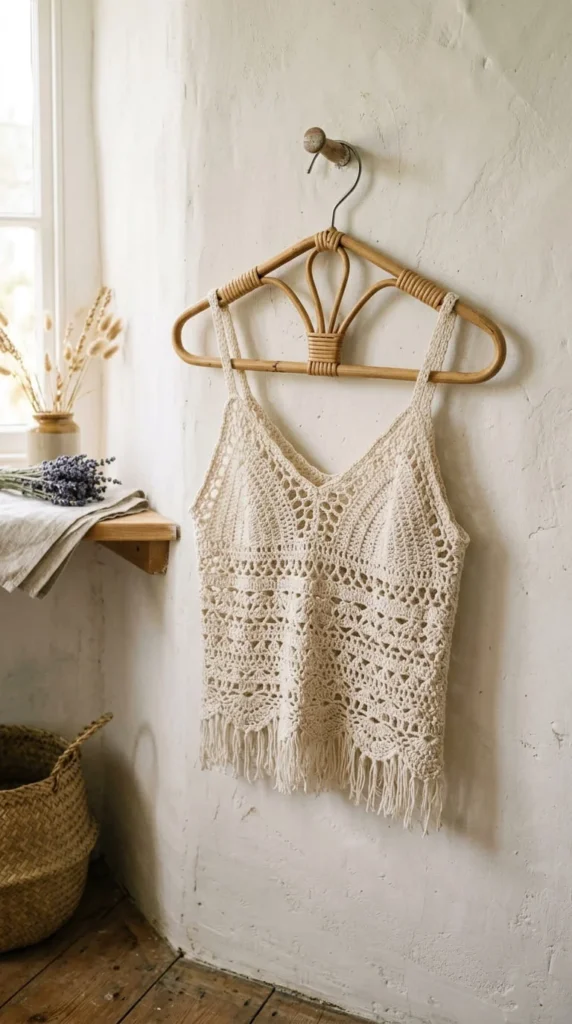
Blocking is the step that makes a handmade top look intentional instead of homemade. Soak the finished piece in cool water for 15 to 30 minutes, gently roll it in a towel to remove excess water, then pin it to shape on a flat surface and let it air dry.
This relaxes the stitches, evens out your tension, and gives the fabric the soft drape that makes it actually pleasant to wear.
A Few Common Beginner Questions
Can I make this without a pattern? Yes — a rectangle top really only needs your measurements and a stitch count.
What if my top comes out too big? Frog back a few rows before seaming, or take in the side seams slightly when you join the panels.
Is cotton hard to work with? It’s less stretchy than acrylic, which some beginners find easier to control, not harder.
Ready to Pick Up Your Hook?
A crochet summer top is one of the most rewarding first garments you can make — simple stitches, quick results, and a finished piece you’ll actually reach for all season. Measure carefully, swatch before you commit, and don’t rush the finishing steps.
Save this guide for later and try these ideas when you’re ready!