
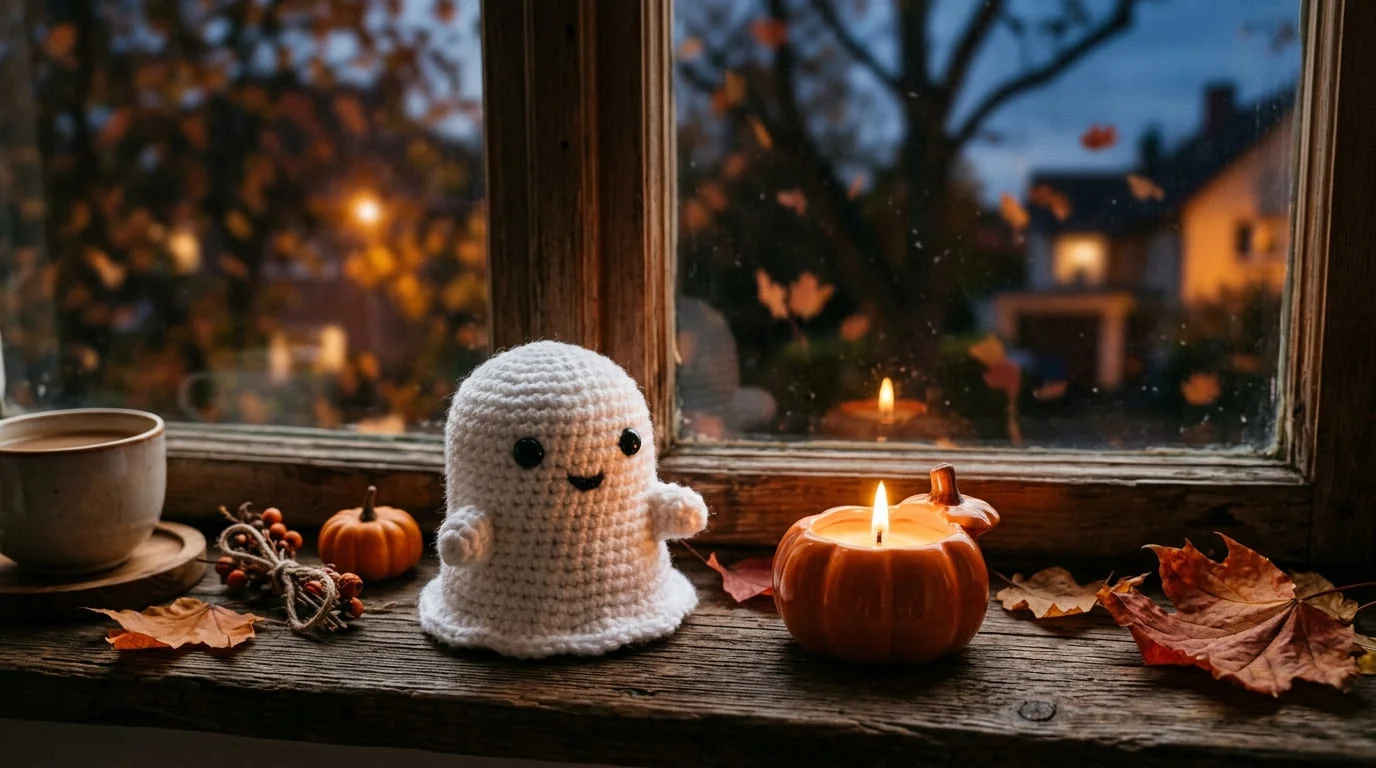
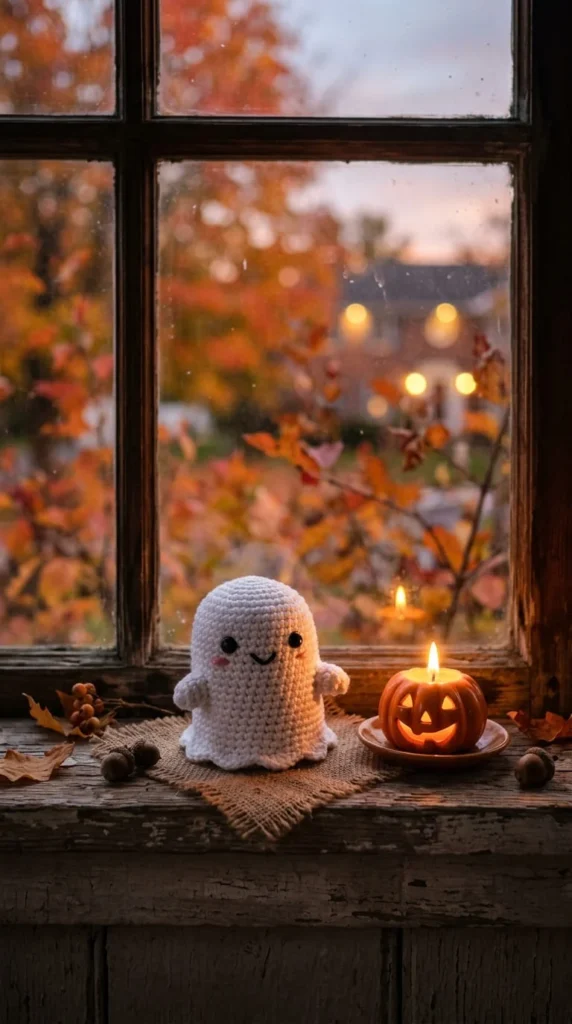
If you’ve ever wanted to try amigurumi but felt intimidated by fussy patterns and long stitch counts, a crochet Halloween ghost is the perfect place to start. It’s small, forgiving, and only asks for a handful of basic stitches. In under an hour, you can have a soft little ghost ready for your shelf, your bag, or a gift box.
This guide walks through the whole process — from picking materials to giving your ghost its face — using techniques that work whether you’re brand new to crochet or just new to amigurumi.
What You’ll Need Before You Start
Most ghost patterns use the same short supply list, which is part of why this project is so approachable:
- Yarn: White worsted-weight cotton or acrylic works well. Chenille gives a plusher look.
- Hook: A 3.5–4 mm hook pairs nicely with worsted-weight yarn.
- Stuffing: Polyester fiberfill, added gradually as you go.
- Safety eyes or black yarn/felt: For the face.
- Tapestry needle and scissors: For weaving in ends and finishing touches.
- Stitch marker: Helps track rounds, since amigurumi is usually worked continuously rather than joined.
Nothing specialized here — if you already crochet, most of this is probably already in your basket.
Getting Started: The Magic Ring Foundation
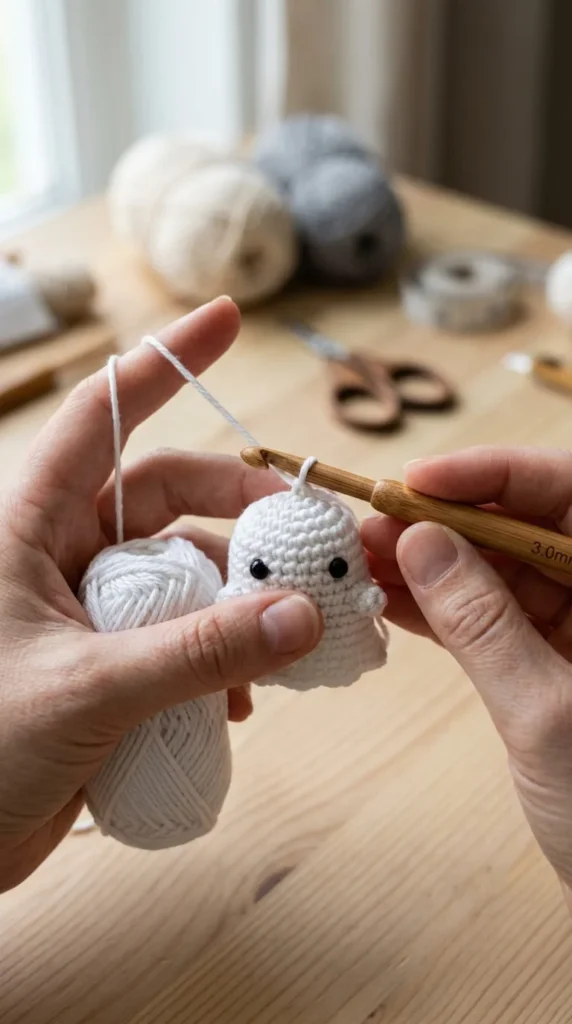
Nearly every amigurumi ghost begins with a magic ring. This adjustable loop lets you start with a tight, closed center instead of a visible hole — which matters on a small project like this one.
To make one, wrap your yarn around two fingers, then crochet your first round of single crochets directly into that loop before pulling the tail to close it. Most patterns start with 6 single crochets in the ring.
If the magic ring trips you up, a simple chain-4 joined into a circle works as a stand-in. It leaves a tiny hole at the center, but on a piece this small, nobody will notice once it’s stuffed.
Building the Body: Single Crochet Rounds
Once your foundation ring is set, the body is just single crochet, worked round after round with occasional increases to widen the shape.
A typical structure looks like this:
- Round 1: 6 single crochet into the magic ring
- Rounds 2–4: Increase evenly each round to widen the body
- Middle rounds: Work even (no increases) to build height
- Final rounds: Flare back out slightly before shaping the hem
By the time you reach the bottom, many patterns expand from around 6 stitches at the top to somewhere in the low thirties at the widest point. That steady increase gives the ghost its rounded, slightly top-heavy silhouette instead of a plain cylinder.
Creating That Signature Wavy Hem
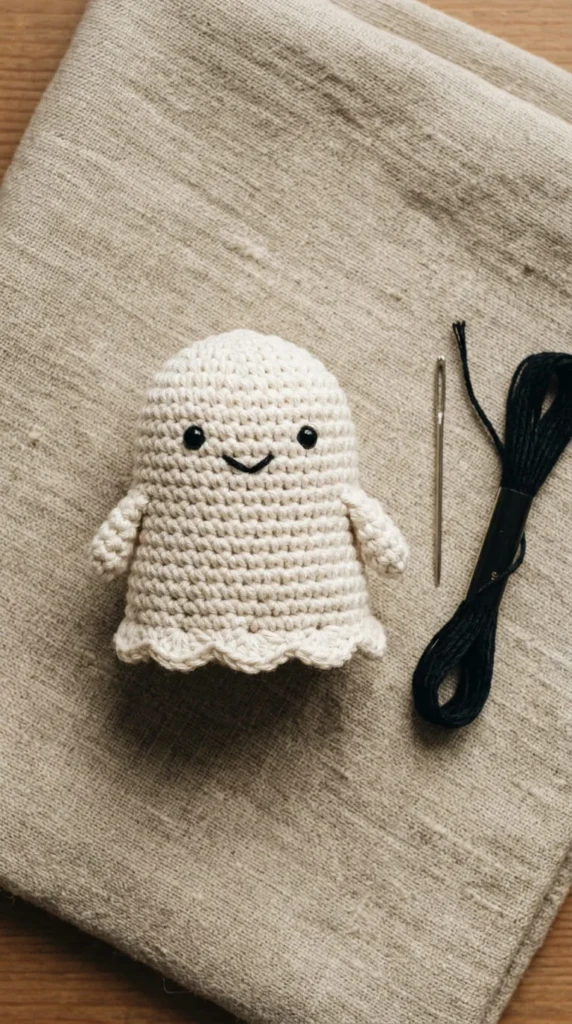
The wavy, scalloped bottom edge is what makes a crochet ghost instantly recognizable, and it’s easier to achieve than it looks.
Most patterns create this effect by working into the front loop only for the final round, then alternating between slip stitches, half-double crochets, and double crochets in a repeating sequence. The front-loop-only technique leaves the back loop free, creating a subtle ridge that lets the stitches fan out into soft peaks and dips.
If your first attempt looks a little uneven, that’s normal — and it adds character. Ghosts aren’t supposed to have perfectly straight edges anyway.
Giving Your Ghost a Face
This is where your ghost really comes to life, and it’s where you have the most room to make the pattern your own.
A few common options:
- Safety eyes: Quick and expressive, placed a few rounds up from the bottom, spaced evenly apart.
- Embroidered features: Stitched with black yarn or floss — safer for babies or toddlers, since nothing can work loose.
- Felt cutouts: Glued or stitched on for a soft, blended look.
Want it cuter? Add rosy cheeks with a light pink stitch or blush marker. Want it spookier? Skip the smile and use simple round eyes instead.
No-Sew vs. Sewn: Which Should You Choose?
Not every ghost pattern requires sewing, which matters if finishing work isn’t your favorite part of crochet.
No-sew versions are worked as one continuous piece, with the face embroidered directly onto the body and nothing separate to attach. These are the fastest option and ideal for making several at once.
Low-sew versions might add small arms or accessories, which means a bit more assembly — but also more personality and movement.
If this is your first amigurumi project, start no-sew. You can always add extras once you’re comfortable with the basic shape.
Fun Ways to Use Your Finished Ghost
Once it’s stuffed and finished, there are plenty of ways to use it:
- Clip it onto a keychain or bag zipper
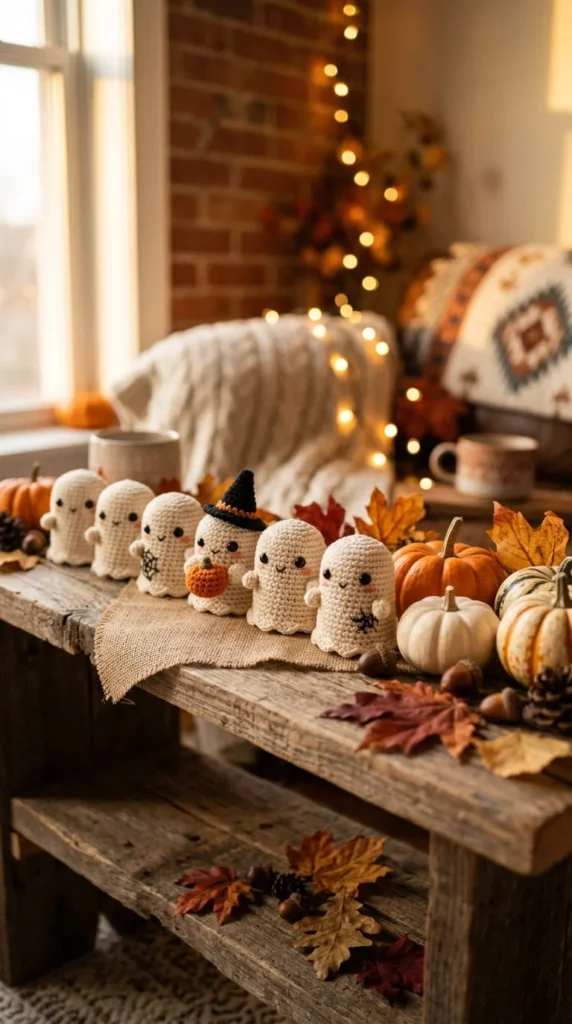
- String several together for a mantel garland
- Tuck one into a Halloween gift bag
- Pair it with a pumpkin for a simple seasonal display
- Try glow-in-the-dark yarn for a version that works year-round in a kid’s room
Ready to Give It a Try?
A crochet Halloween ghost proves that a simple project can still feel genuinely satisfying. With just a magic ring, single crochet, and a bit of shaping, you’ll have a finished piece in an evening — no advanced techniques required.
Save this guide for later and try it out when you’re ready to pick up your hook. Once you’ve made one ghost, you’ll probably want a whole little haunted collection.