
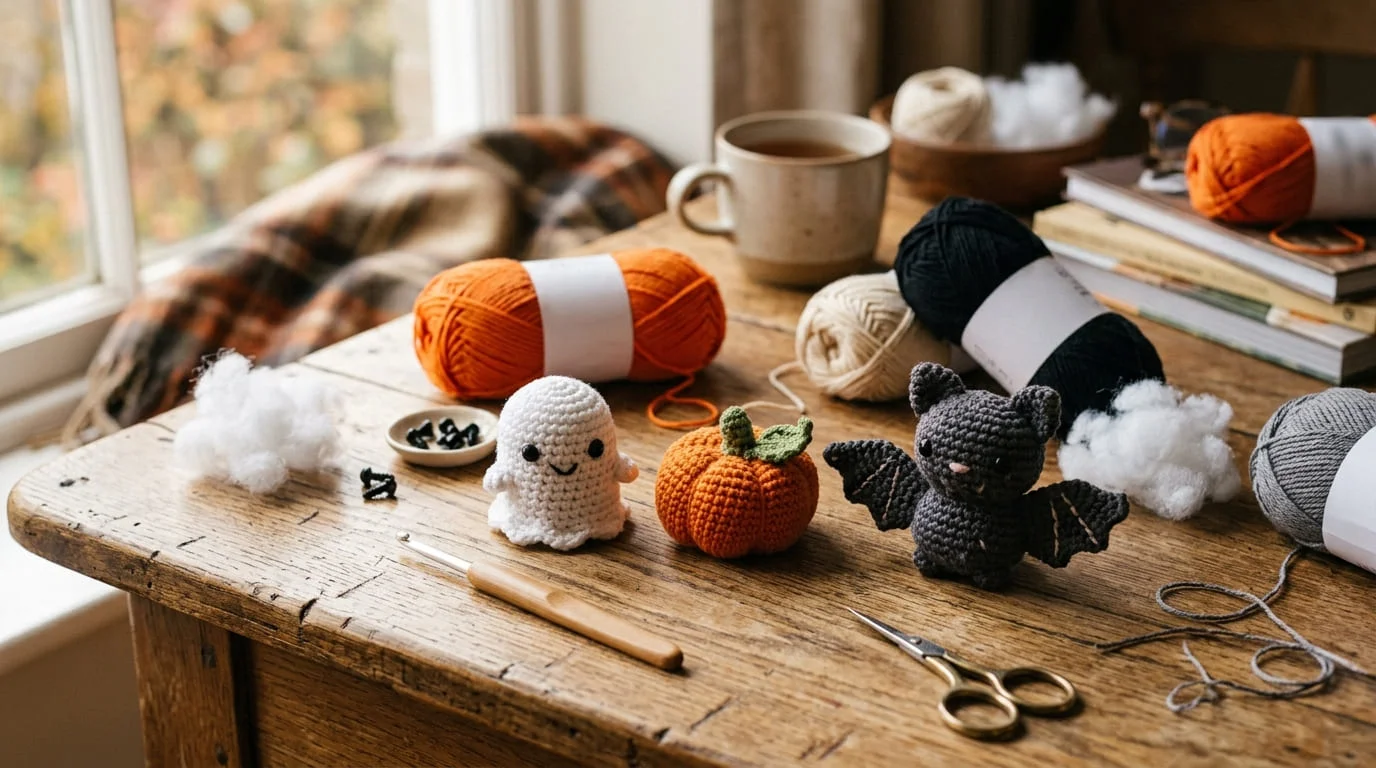
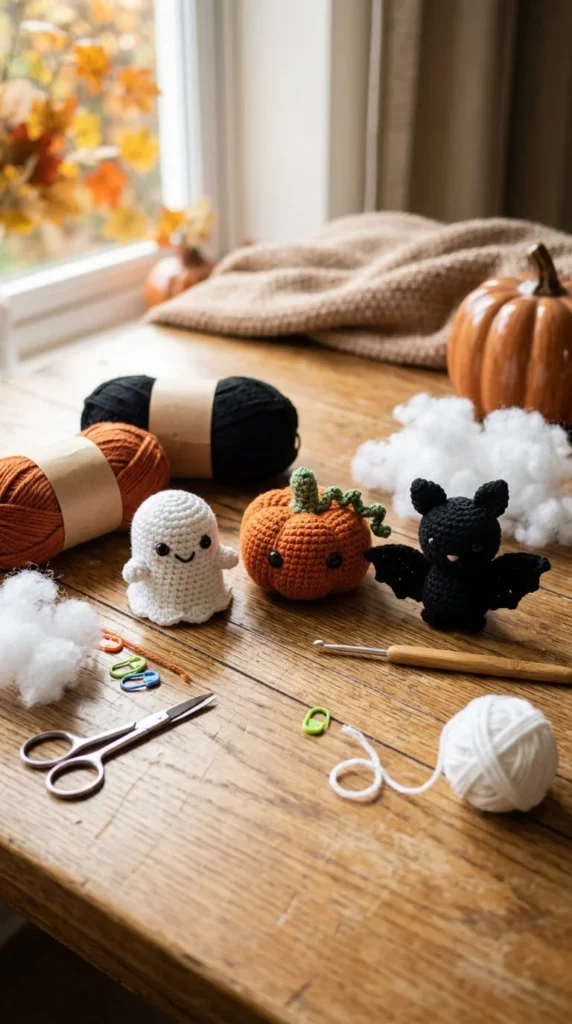
Crochet Halloween amigurumi has become one of the most satisfying ways to bring spooky-season charm into your home without spending a fortune or waiting for store shelves to fill up with mass-produced decor. Whether you’re a beginner who just learned the magic ring or someone who already has a stash of orange and black yarn waiting for a purpose, there’s a project here sized to your skill level and your free time. This list covers ghosts, pumpkins, bats, witches, and plenty of hybrid characters, along with practical notes on difficulty, sewing requirements, and finished size, so you can pick a project that actually fits your evening instead of guessing. You’ll also find ideas that go beyond shelf decor — keychains, garlands, party favors, and gifts that make use of small amounts of yarn and short crochet sessions. Grab your hook, and let’s get into the characters and combinations that make this season’s amigurumi lineup so fun to work through.
1. The Ghost-in-a-Pumpkin Combo That Steals the Show
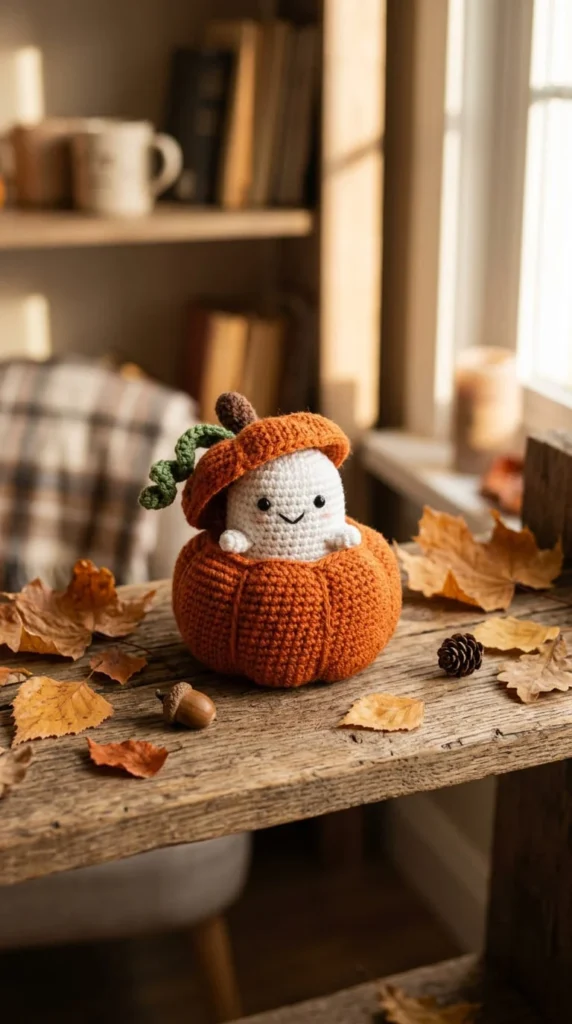
This pairing shows up again and again in pattern collections for a reason — it packs two recognizable Halloween shapes into one project and gives you a built-in surprise element. The pumpkin body works as a shell, and the ghost sits inside or peeks out from a small opening at the top, so kids and adults alike get a little “reveal” moment when they pick it up.
Construction-wise, this is a two-piece build: a simple pumpkin worked in the round with ribbed sections for definition, and a small ghost shape stuffed lightly enough to stay soft and floppy rather than firm. Most versions use single crochet throughout, which keeps the stitch count low and the shaping forgiving for anyone still getting comfortable with increases and decreases.
Because it’s really two small amigurumi in one, expect around two to three hours of total crochet time, split across two shorter sessions if needed. Use a lighter-weight yarn for the ghost so it drapes rather than sitting stiff, and consider embroidering the ghost’s face with black thread instead of using safety eyes if the finished piece will be handled by young children.
2. No-Sew Mini Bats for Anyone Who Hates Finishing Work
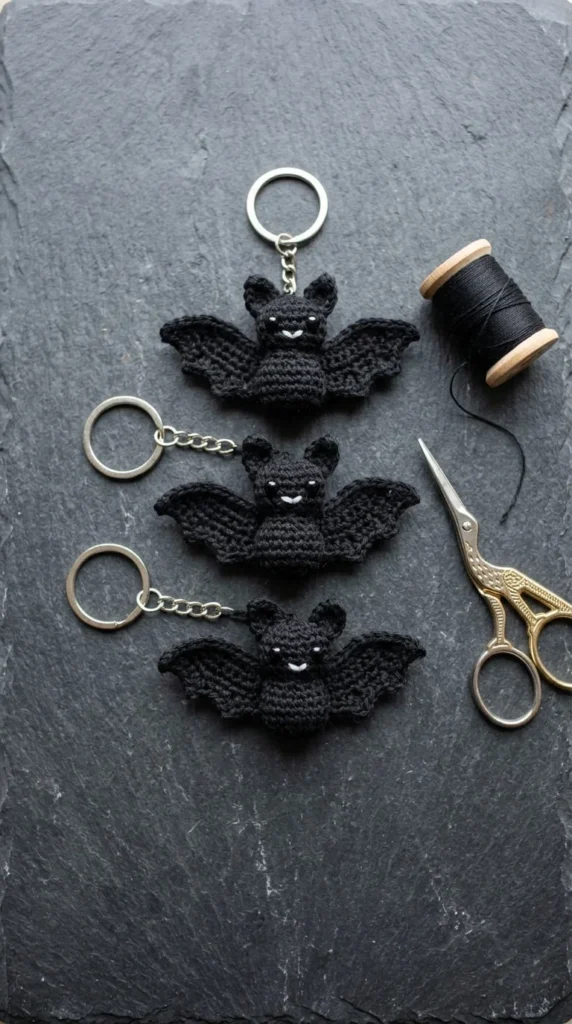
If sewing on limbs and closing gaps is the part of amigurumi that makes you put the project down and never pick it back up, mini bats solve that problem directly. Most bat patterns designed for beginners are built as a single continuous piece — body, wings, and ears worked in one connected round with no separate parts to attach afterward.
The wings are usually shaped through strategic increases rather than crocheted flat and sewn on, which means the whole bat can go from yarn to finished object in under an hour once you’re comfortable with the pattern. This makes bats one of the fastest wins in the entire Halloween amigurumi category.
A few practical notes: use a firm sport-weight or DK yarn so the wings hold their shape instead of drooping, and stuff the body just enough to round it out without overfilling, since overstuffing can distort the wing shape. Black and dark purple are the obvious color choices, but a two-tone bat with a lighter belly panel adds visual interest without adding construction steps. These work well strung along a mantel garland, clipped onto a backpack, or given away in a small stack as party favors.
3. An Interactive “Mystery Pumpkin” With a Hidden Surprise Inside
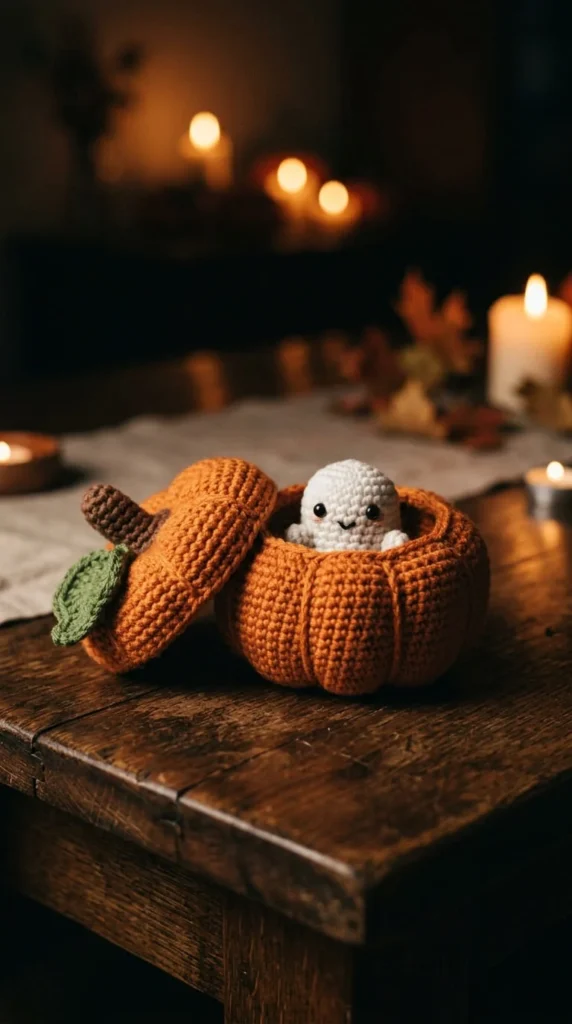
Most amigurumi are static — you make them, you display them, and that’s the whole interaction. A mystery pumpkin flips that by building in a removable lid or a drawstring opening so something small can be tucked inside and swapped out.
The base is a standard pumpkin shape, but instead of closing the top round completely, you crochet a separate lid piece that fits snugly over the opening, almost like a jar with a lid. Inside, you can hide a tiny crocheted ghost, a mini spider, or even a small candy, turning the pumpkin into a reusable surprise container rather than a one-time decoration.
This project takes a bit more planning than a standard pumpkin because the lid has to match the circumference of the opening closely enough to stay put without gluing or sewing it shut. Working the lid with a slightly smaller hook than the body helps it fit snugly. Kids especially enjoy these because they double as a guessing game — shake it, guess what’s inside, then open it up. It also makes a memorable handmade gift since the recipient gets a small reveal moment every time they use it, rather than just a static shelf piece.
4. Tiny Ghost Keychains That Make Party Favors Easy
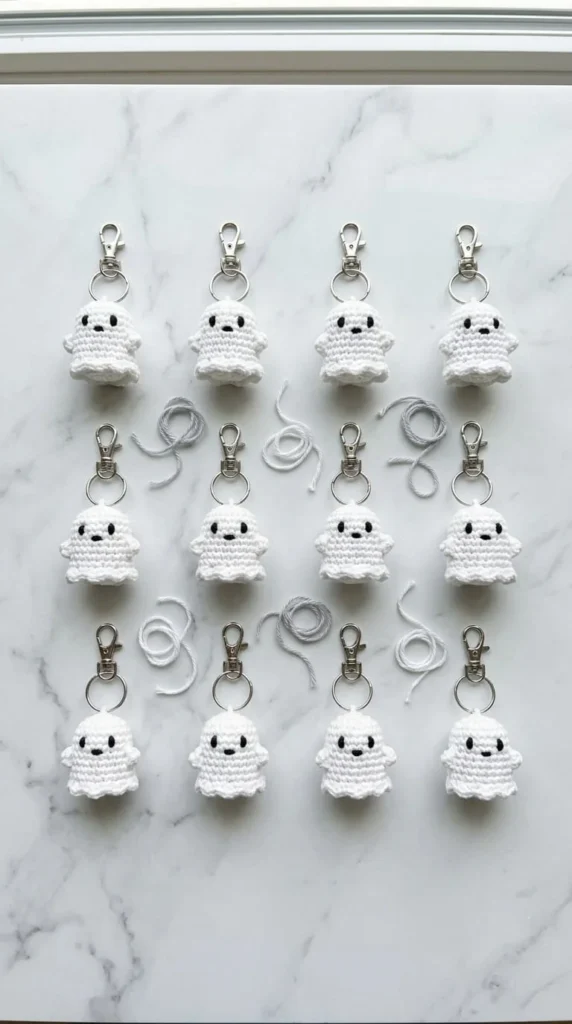
When you need a lot of small gifts fast — for a classroom, a trick-or-treat basket, or a craft fair table — a keychain-sized ghost is one of the most efficient projects in this whole category. Each one uses only a small amount of yarn, works up in roughly 15 to 20 minutes once you know the pattern, and doesn’t require any separate limbs or facial pieces beyond two small embroidered dots.
The shape itself is basic: a rounded body worked in continuous rounds, decreased gradually toward the bottom to create that classic teardrop ghost silhouette, then lightly stuffed before attaching a keyring loop at the top. Because there’s so little assembly, this is a genuinely good project for practicing consistent tension across multiple repeats of the same pattern.
If you’re making a batch, lay out all your materials before you start — pre-cut yarn tails, keyring clasps, and stuffing portions — so you can move from one ghost to the next without stopping to gather supplies each time. A dozen ghosts can realistically be finished in a single evening, which makes this one of the most practical bulk-gifting ideas in the entire lineup.
5. Spider Bag Charms for Everyday Halloween Spirit
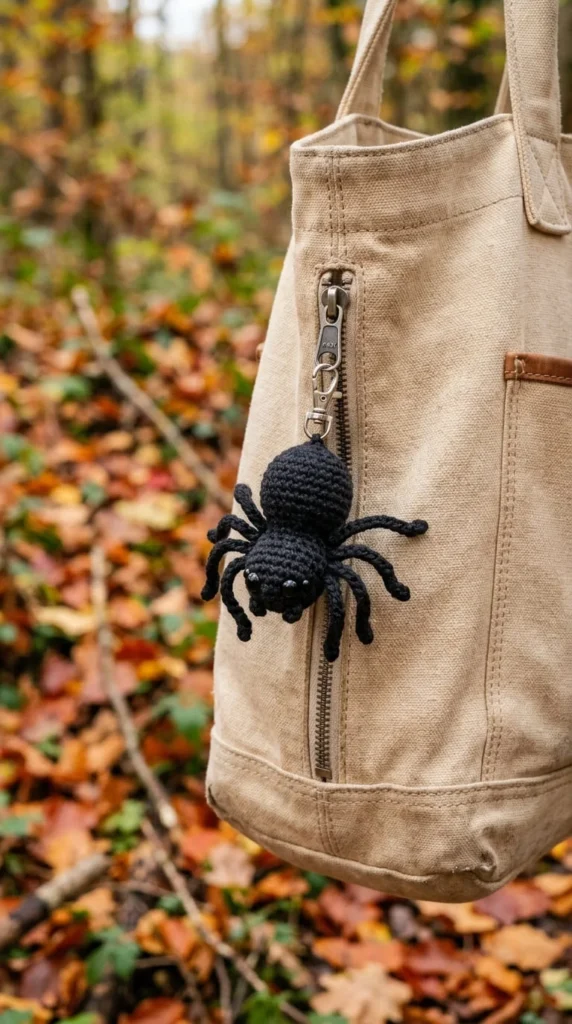
Not everyone wants a full display of Halloween decor, but a small spider clipped to a backpack or tote bag is subtle enough to wear year-round for anyone who likes the aesthetic. This project is mostly about legs — the round body is quick, but the eight legs each need consistent length and a bit of wire or pipe cleaner inside if you want them to hold a bent shape rather than flopping.
Start with a small round body using single crochet and a magic ring, then crochet each leg as a simple chain covered in single crochet stitches, working back down the chain to give it thickness. Attach all eight legs evenly around the body before stuffing, since it’s much harder to place them symmetrically afterward.
For the charm itself, a metal lobster clasp or a small keyring loop works well. If you want a slightly creepier look, use a fuzzy or brushed yarn for the body and keep the legs in a smooth, matte black yarn for contrast. This combination gives the spider some depth instead of looking flat. Because the whole thing is small, it’s a good stash-buster project for using up leftover black or dark purple yarn from other Halloween makes.
6. A Witch-and-Black-Cat Duo That Works as a Themed Set
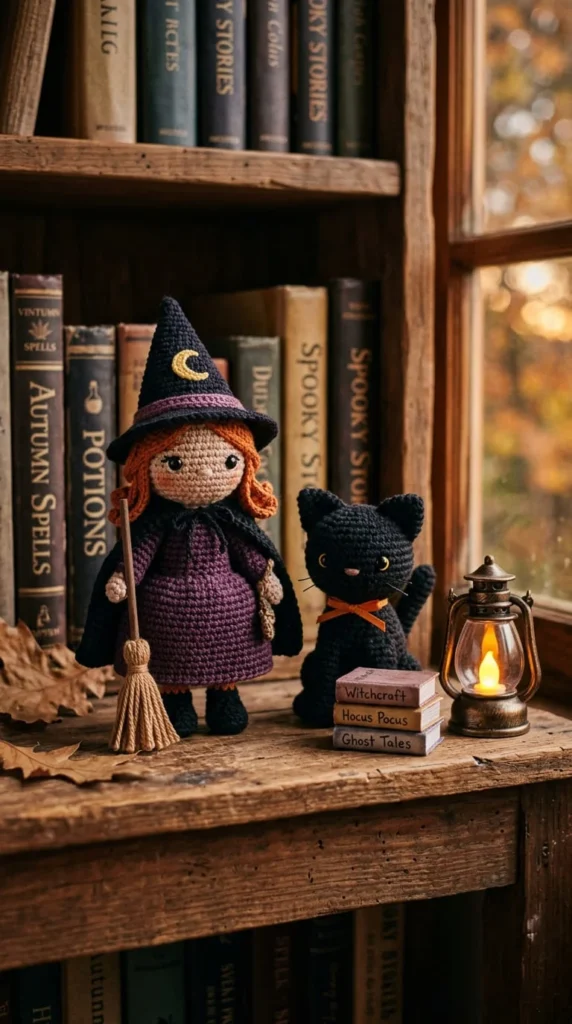
Pairing a witch with a black cat gives you a small scene rather than two unrelated figures, and it’s an easy way to fill out a shelf display with characters that feel connected. The witch is the more involved of the two, usually requiring a separate hat piece, a simple dress shape, and small arm pieces that need to be sewn on.
The cat, by contrast, is a good project for a beginner because it’s just a rounded body with two triangular ears worked directly into the head shaping — no separate ear pieces to attach. Keep the cat’s tail short and curled rather than long and straight, since a short tail is easier to stuff evenly and holds its shape better over time.
If you’re working through both patterns, make the cat first. It’ll help you get comfortable with the increase and decrease pattern you’ll need for the witch’s hat brim, which is the trickiest part of the whole set. A green or lime accent on the witch’s dress against the black cat’s fur creates good visual contrast if you’re photographing the finished pair for a display or a handmade gift listing.
7. Finger Puppets for Storytelling and Classroom Activities
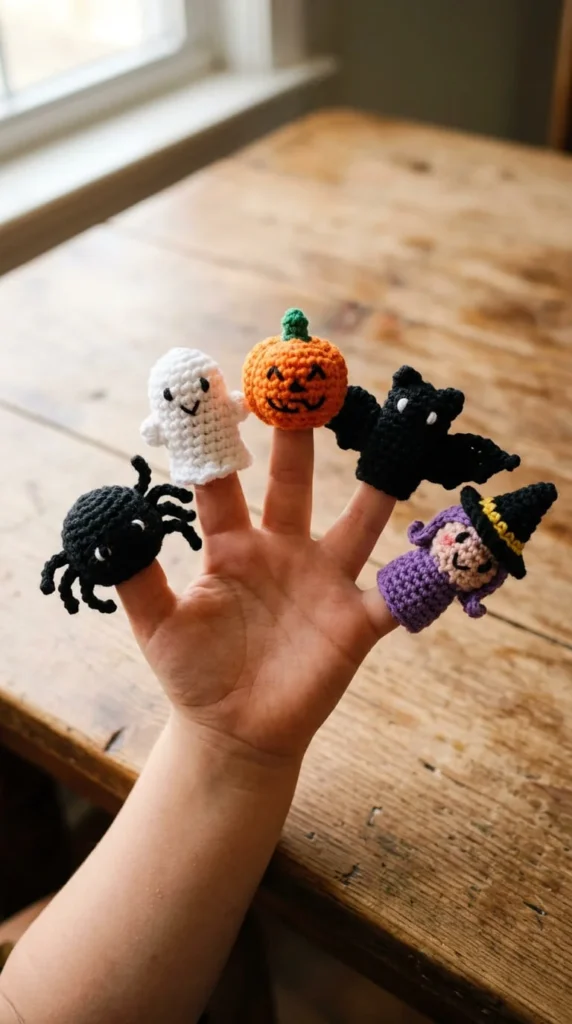
Finger puppets solve a specific problem: they give kids something to hold and play with immediately, rather than a decorative object that mostly sits on a shelf. A set of five small puppets — ghost, pumpkin, bat, witch, and spider — can be made from small amounts of yarn and finished in a single afternoon once you have a basic tube shape down.
Each puppet starts the same way: a small open-bottomed tube sized to fit a child’s finger, worked in single crochet with no need for stuffing since the finger itself gives it shape. From there, the differences are just in the details added on top — two felt or embroidered eyes and a hat shape for the witch, small wing shapes stitched onto the bat’s tube, and simple stitched details for the pumpkin’s ridges.
These work well for classroom Halloween parties, story time at home, or as a quiet activity during car rides. Because they don’t need stuffing or safety eyes, they’re also one of the safer options for younger children, and they’re fast enough to make several sets if you’re contributing to a school event or a sibling’s classroom.
8. A Skeleton With Joints That Actually Bend
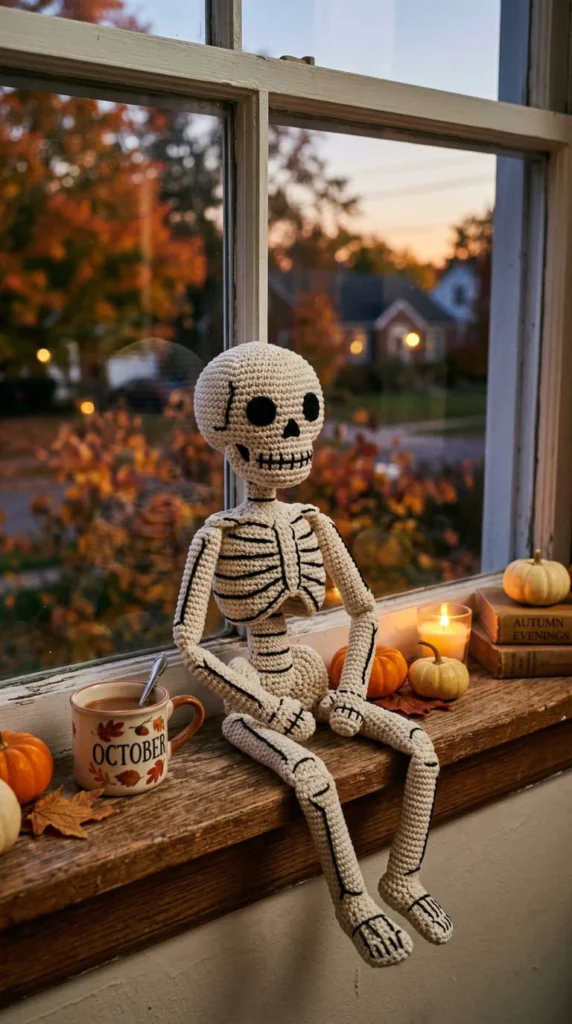
A skeleton amigurumi gives you a chance to work with jointed limb construction, which is a step up from patterns where arms and legs are permanently sewn in a fixed position. Using plastic joint discs or safety joints between each limb and the body lets the finished skeleton sit, wave, or pose differently each time you display it.
The body itself is a simple rounded shape, but the visual interest comes from the black bone details stitched or embroidered on top of the white yarn — ribs across the torso, joint lines on the arms and legs, and simple dot eyes on the skull. You don’t need to crochet each bone separately; embroidering them afterward is faster and gives you more control over placement.
Because jointed limbs add a bit of hardware to the project, this one is better suited to older kids and adults rather than very young children, similar to any amigurumi using safety eyes or small plastic parts. If you’ve never worked with joint discs before, practice attaching one limb before committing to all four, since the disc placement affects how far the limb will rotate once the skeleton is finished.
9. A Mummy Built From Wrapped Yarn Strips Instead of a Solid Body
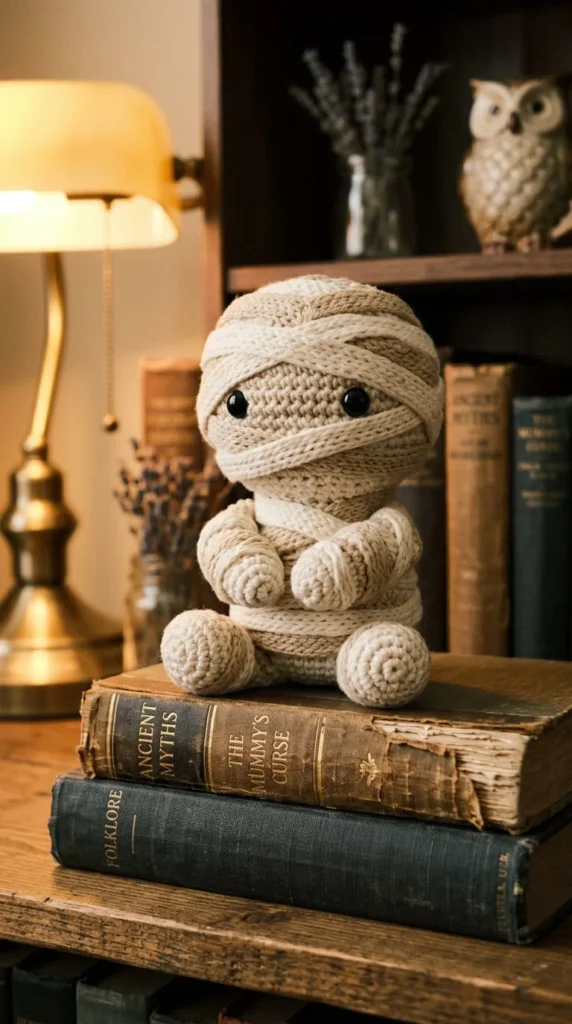
Most Halloween amigurumi start with a smooth rounded body, but a mummy looks better when the surface has visible texture and irregularity, since that’s what sells the “wrapped in bandages” look. Rather than crocheting a single smooth shell, this pattern usually calls for a plain round body as a base, then long crocheted or woven strips wound around it in a crisscross pattern to mimic loose bandage wrapping.
This is a good project if you enjoy the finishing and embellishing side of amigurumi more than the initial shaping. The base body takes very little time, and most of the character comes from how you wrap the strips — leaving small gaps for the eyes to peek through and varying the wrap direction so it doesn’t look too uniform or intentional.
Cream, beige, or slightly aged-looking off-white yarn works better than bright white here, since it reads as fabric rather than plain yarn. A single frayed strip end left loose at the bottom adds a nice touch of realism without any extra construction. This is also an easy pattern to scale up into a slightly larger centerpiece if you want one standout piece for a mantel display.
10. The Pumpkin-Bat Mashup for Something Different
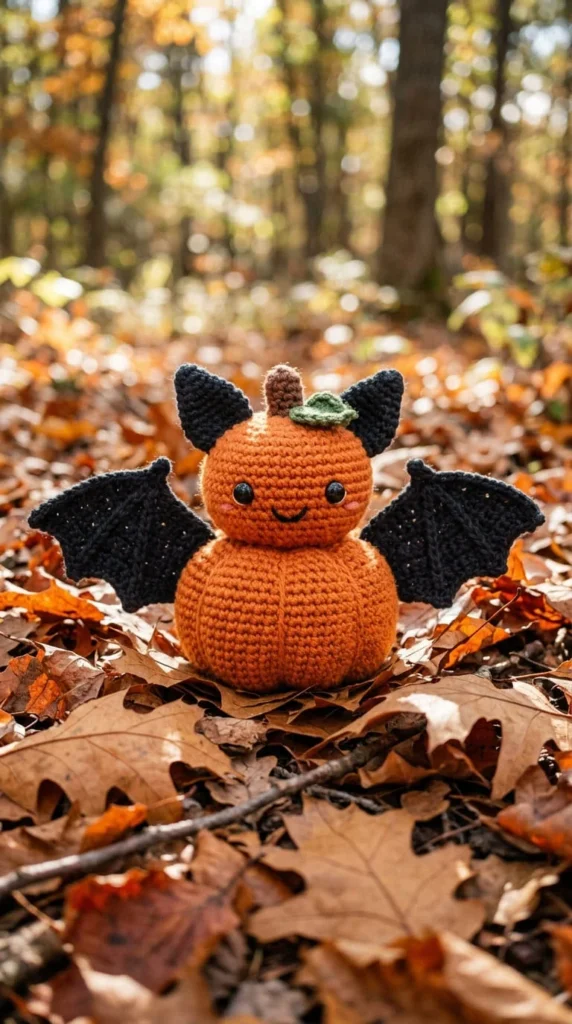
Character mashups are an easy way to make a small collection feel less repetitive, and pumpkin-bat is one of the more visually interesting combinations because the shapes contrast well — a round, ribbed pumpkin body paired with pointed, angular bat wings and ears.
Structurally, you’re building a standard pumpkin base and then adding two flat, wing-shaped pieces to the sides instead of arms, along with two small pointed ear shapes on top instead of a stem. The wings can be worked flat in rows rather than in the round, which makes them one of the few flat-crocheted elements in an otherwise round-heavy project, and a nice change of pace if you want to practice both techniques in one make.
Color-wise, sticking with a single orange body and black wings keeps the two halves of the mashup readable at a glance — if you mix the colors too much, it can start looking like an unrelated blob rather than a clear hybrid. This project also works well as a teaching piece if you’re introducing someone to amigurumi, since it combines a familiar round shape with a slightly more advanced flat-panel attachment step.
11. A Mantel Garland Strung From Miniature Characters

Once you’ve made a few small amigurumi from other projects on this list, a garland is a natural way to put them all in one place instead of scattering single figures around a room. The trick to a garland that looks intentional rather than mismatched is keeping every character roughly the same finished size — somewhere around one to two inches works well — so the visual rhythm along the string stays consistent.
Rather than designing new characters specifically for a garland, this is a good place to repurpose keychain-sized ghosts, mini pumpkins, and small bats, attaching each one to a length of black cord or narrow ribbon with a simple loop stitch on top of the head. Space them evenly, alternating character types so the same shape doesn’t repeat twice in a row.
If you want the garland to hold its shape well when hung, avoid overstuffing the individual figures — a slightly softer fill keeps them lightweight enough that the cord doesn’t sag in the middle. This is also one of the more forgiving projects to make gradually over several weeks, adding a new character here and there until the garland reaches your preferred length.
12. Jack-o’-Lantern Coasters That Double as Functional Decor
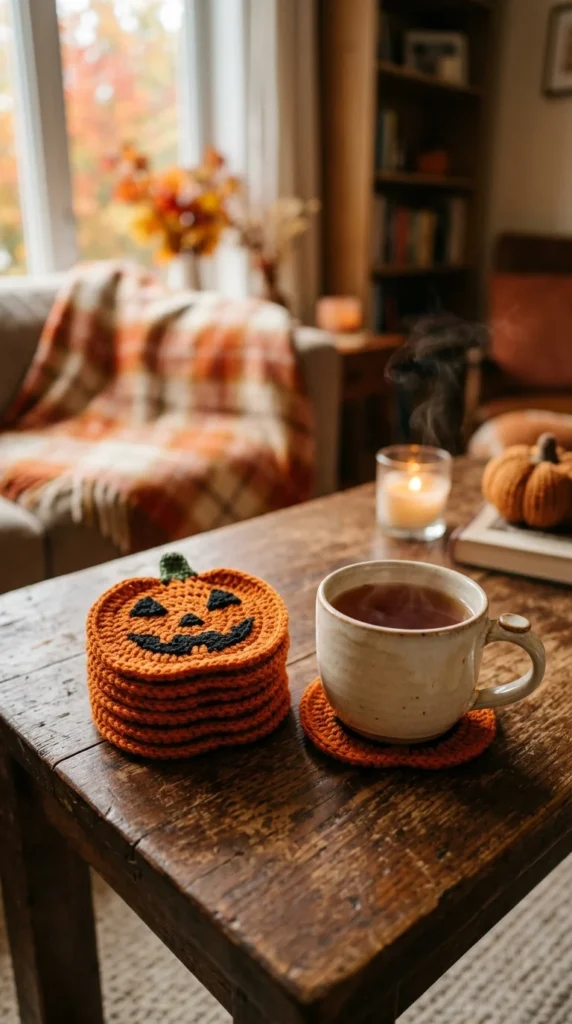
Most amigurumi are purely decorative, but flat pumpkin coasters give you something you’ll actually use during the season instead of just displaying. These are worked flat in the round rather than shaped into a 3D form, using increases spaced evenly around each round to keep the piece lying flat instead of curling into a bowl shape.
The jack-o’-lantern face — triangle eyes, a jagged mouth — can be added with a contrasting color using intarsia-style color changes, or embroidered on top after the base circle is finished. Embroidering afterward is easier for beginners since you don’t need to manage multiple yarn colors mid-round.
A set of four or six makes a practical little gift, especially paired with a set of drink coasters someone would use anyway. Because these are flat and unstuffed, they’re also one of the fastest projects in this list — a single coaster can be finished in about 20 minutes once you’re comfortable with the increase pattern. Use a slightly stiffer cotton yarn rather than acrylic if you want the coasters to actually hold their shape under a cup rather than folding at the edges.
13. A Ghost Car Hanger for Everyday Halloween Spirit
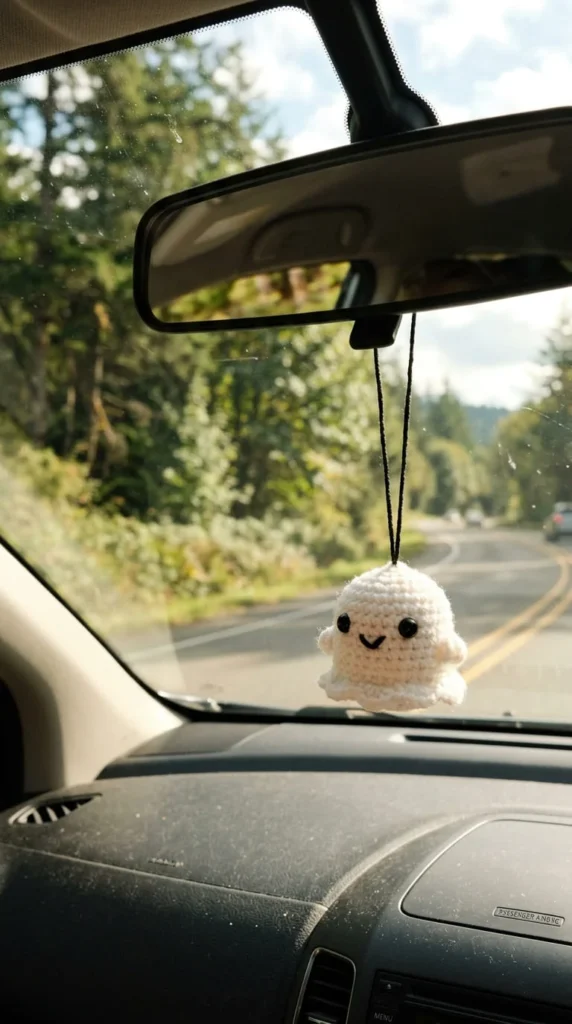
A car hanger version of the classic ghost takes the same basic shape you’d use for a keychain and adjusts it slightly for a different kind of daily use — hanging from a rearview mirror instead of clipping to a bag. The main difference is in proportions: a car hanger ghost tends to be a bit longer and narrower than a keychain ghost, since a more elongated shape swings and catches light nicely against a windshield.
Construction stays simple: a rounded head worked in continuous single crochet rounds, decreasing gradually into a longer tapered body instead of stopping short like a keychain version would. Skip heavy stuffing toward the bottom half so the tail end has some movement rather than sitting rigid.
For the hanging cord, a length of black elastic cord works better than plain yarn since it won’t stretch out or fray from being handled every time someone gets in or out of the car. This is a nice small gift for a teenager who just started driving, or a fun addition to a car during the Halloween season without the commitment of an actual costume or bumper decoration. It’s also compact enough to make several as a themed gift set.
14. A Bat Wind Spinner for Porches and Patios
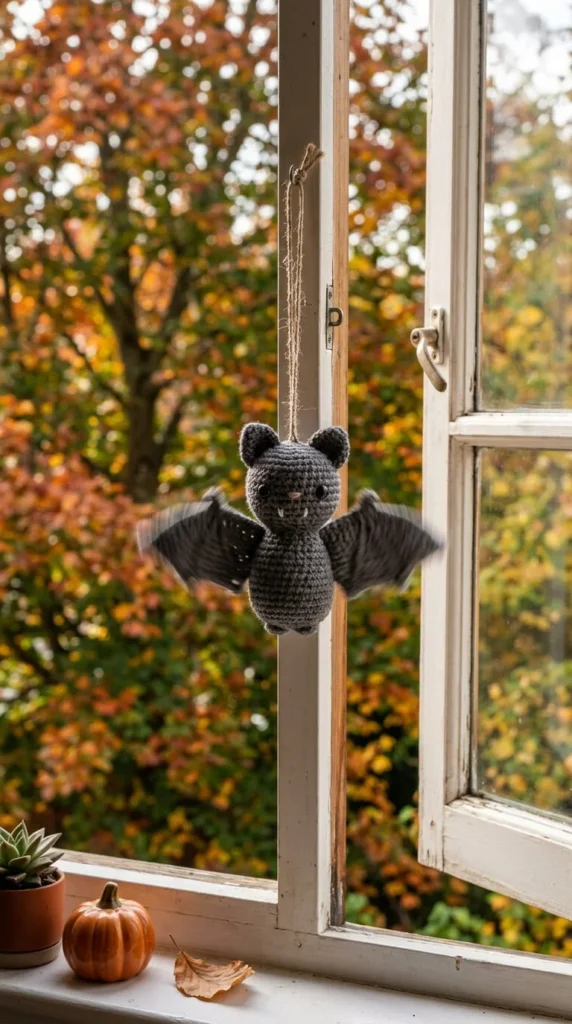
Wind spinners bring a bit of movement into a Halloween display, which sets them apart from most amigurumi that just sit still on a shelf. A bat version works particularly well for this because the wings already have a natural shape that catches air, so even a light breeze creates a gentle rotating or swaying motion.
To make the wings actually spin rather than just flap in place, this pattern usually attaches the bat body to a small swivel clip or fishing swivel before hanging it, which lets the whole figure rotate freely around a fixed hanging point without the cord twisting up and stopping the motion. The bat’s wings should be worked slightly stiffer than a standard bat pattern — a firmer yarn or a light starch treatment helps them hold their shape in the wind instead of going limp.
Because this one is meant for outdoor or semi-outdoor use, choose a yarn that handles humidity reasonably well, such as acrylic rather than a natural fiber that might felt or mildew if it gets damp on a porch. This is a fun weekend project for anyone who wants their Halloween decor to do something rather than just look decorative.
15. A Wreath Built From a Ring of Tiny Pumpkins
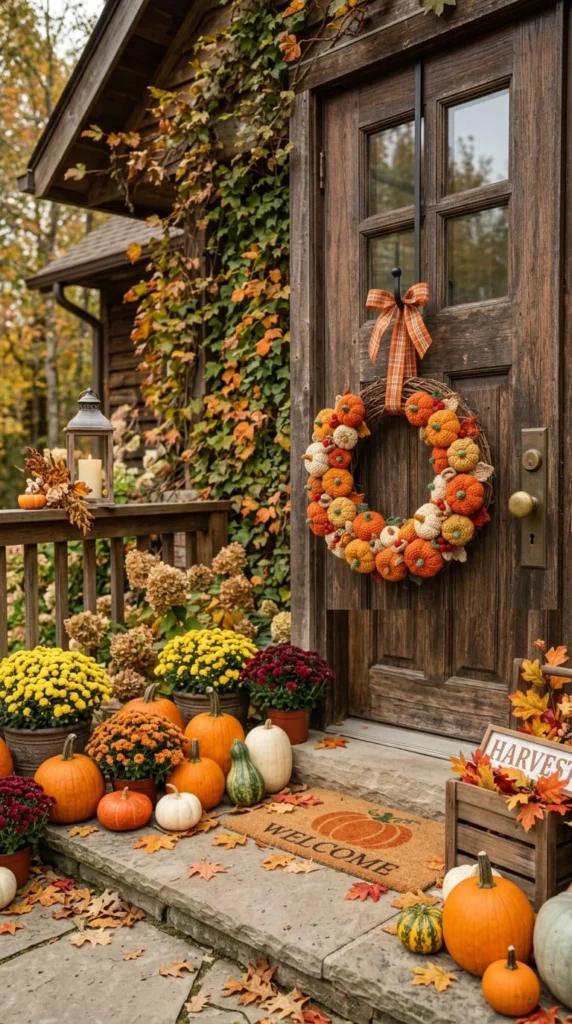
A wreath is one of the more ambitious projects on this list simply because of the number of individual pieces involved, but it’s also one of the most rewarding once it’s finished and hanging on a front door. Rather than crocheting one large wreath shape, this approach uses a plain foam or wire wreath base and covers it with a ring of small pumpkin amigurumi attached side by side.
Each pumpkin follows the same basic pattern you’d use for a standalone decoration, just made smaller and slightly flatter on the back so it sits flush against the base instead of rolling. Depending on the size of your wreath frame, expect to make somewhere between twelve and twenty mini pumpkins to fill the ring completely, which makes this a good project to batch out over a few weeks rather than trying to finish in one sitting.
A short length of green yarn crocheted as a curling vine between the pumpkins fills any gaps and ties the whole piece together visually. Attach each pumpkin with a hot glue dot or a few hidden stitches directly into the wreath base rather than relying on the yarn tension alone to hold it in place over time.
16. A Small Devil Figure for a Playful Twist on Spooky
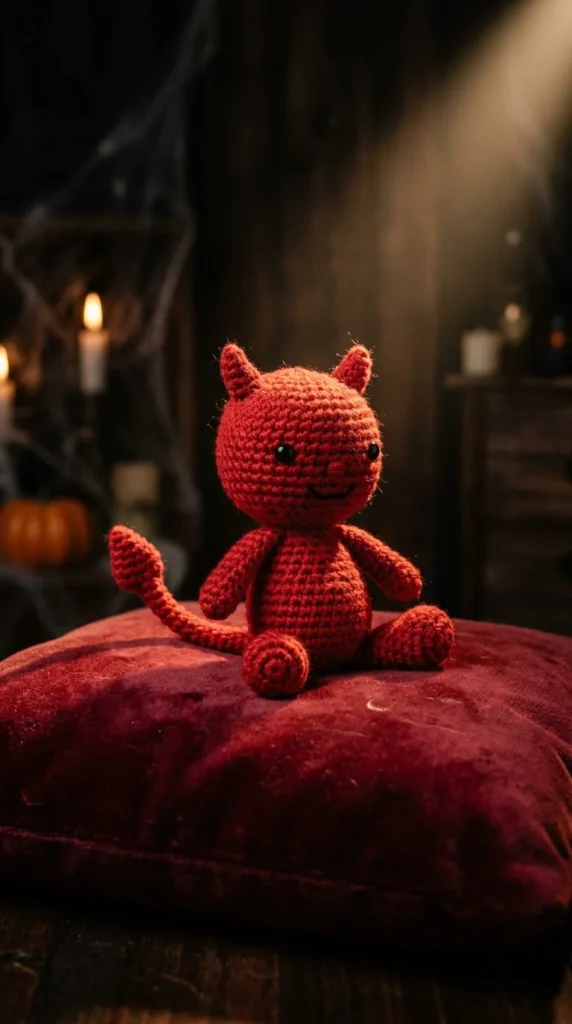
Not every Halloween character has to be ghost- or pumpkin-themed, and a small devil figure gives you a chance to work with a color palette — deep reds — that doesn’t show up much elsewhere in this list. The body is a standard rounded shape, but the details are what sell the character: two small pointed horns worked separately and attached to the top of the head, plus a thin curling tail crocheted as a simple chain-based cord.
The horns are the trickiest part, mostly because they’re small enough that stuffing them evenly can be fiddly. A better approach is to skip stuffing entirely and crochet them tightly enough that the fabric itself holds a firm cone shape without any fill. This also keeps them from going soft and floppy over time, which is a common issue with tiny unstuffed pieces made from looser yarn.
A simple pitchfork prop, crocheted flat or made from a bent pipe cleaner wrapped in yarn, gives the devil something to hold and adds a bit of personality without much extra work. This character works well paired with an angel or ghost figure for a lighthearted good-versus-mischief display.
17. Frankenstein’s Monster With Visible Stitched Seams
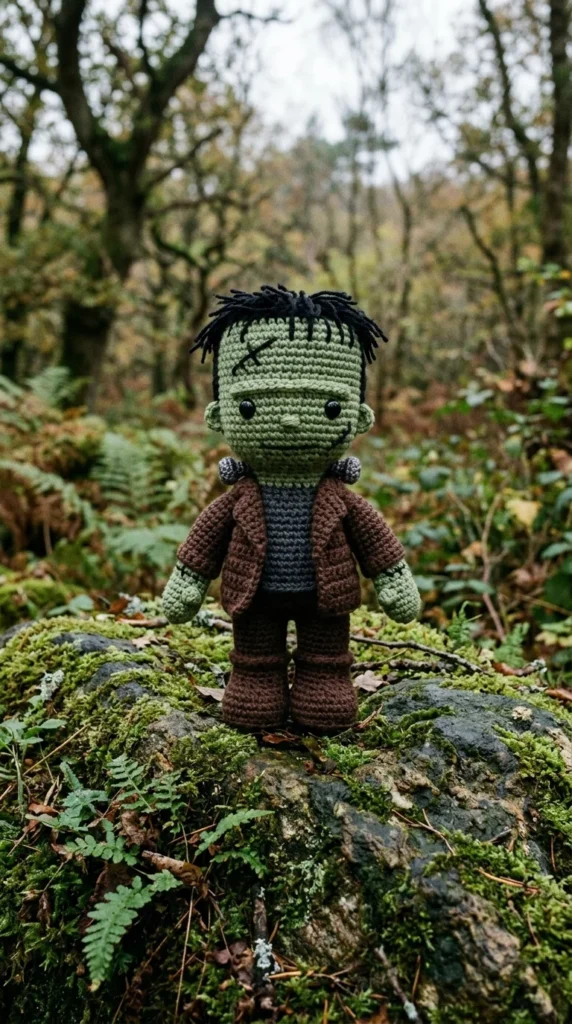
This character stands out because the “flaws” in the design are actually the point — visible seams, mismatched patchwork coloring, and small bolt shapes on the neck are what make it recognizable, rather than something to hide during finishing.
The body uses a standard rounded amigurumi shape in green yarn, but instead of finishing seams neatly on the inside, this pattern intentionally brings a few stitched lines to the outside using a contrasting dark green or black thread, mimicking the classic stitched-together look. Two small gray or silver French knots on either side of the neck stand in for the bolts, and they’re quick to add once the head is finished.
Square off the top of the head slightly during your final rounds rather than tapering it to a smooth dome, since the flat-top silhouette is a big part of what makes this character instantly recognizable even at a small scale. A simple straight-line mouth stitched in black, rather than a curved smile, keeps the expression flat and appropriately monster-like. This is a fun project if you enjoy customizing details rather than following a pattern exactly as written.
18. Eyeball Jars for a Slightly Creepier Display
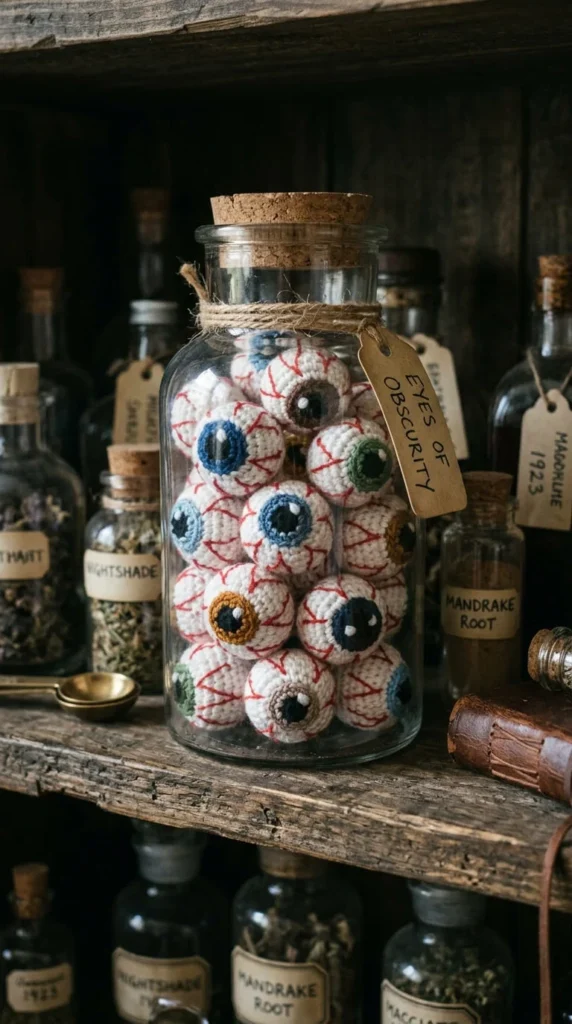
If most of the ideas on this list feel a bit too cute for your taste, eyeball amigurumi lean further into the unsettling side of Halloween while still being a genuinely simple project to make. Each eyeball is just a basic sphere, worked in the round with white yarn and finished with a black or colored circle for the pupil, either embroidered or crocheted separately and sewn flat on top.
The detail that makes these convincing is the red “veins” stitched across the white surface using thin embroidery thread rather than yarn, since yarn is usually too thick to create the fine, spidery lines that read as veins from a distance. Keep the stitching irregular rather than symmetrical — real veins don’t follow a neat pattern, and a slightly chaotic placement actually looks more convincing than a carefully balanced design.
Once you have a handful made, piling them into a clear glass jar or apothecary container creates an instant tablescape centerpiece with almost no additional effort. This is also one of the easiest projects to make in bulk, since each sphere takes very little time and uses barely any yarn, making it a good stash-buster for leftover white or cream yarn.
19. Batch-Made Pumpkins for Classroom or Office Gifting
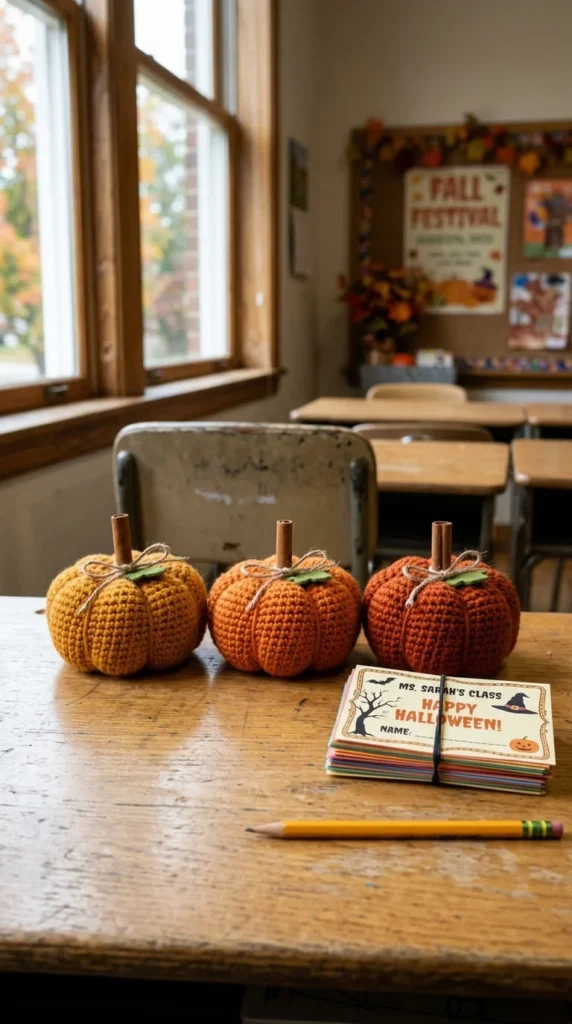
Making the same small pattern multiple times in a row is a genuinely useful skill to practice, and a batch of identical mini pumpkins is one of the more practical ways to do it. Rather than treating each pumpkin as a separate project, this approach treats the whole batch as one production run — you crochet all the bodies first, then stuff all of them, then attach all the stems, working through each stage across the entire set instead of finishing one pumpkin completely before starting the next.
This assembly-line method is noticeably faster than making pumpkins one at a time, since your hands stay in the same motion for longer stretches instead of switching between different steps constantly. For a classroom gift of twenty or more, this difference in pace matters.
Slightly varying the orange shade across the batch — using two or three different yarns rather than one uniform color — keeps a large group of identical pumpkins from looking mass-produced despite being made from the same pattern. Attach a small paper tag with each recipient’s name using a bit of twine through the stem loop, and you’ve got a simple, handmade classroom gift that costs very little per piece.
20. Choosing a Multilingual Pattern Bundle If You Craft Internationally
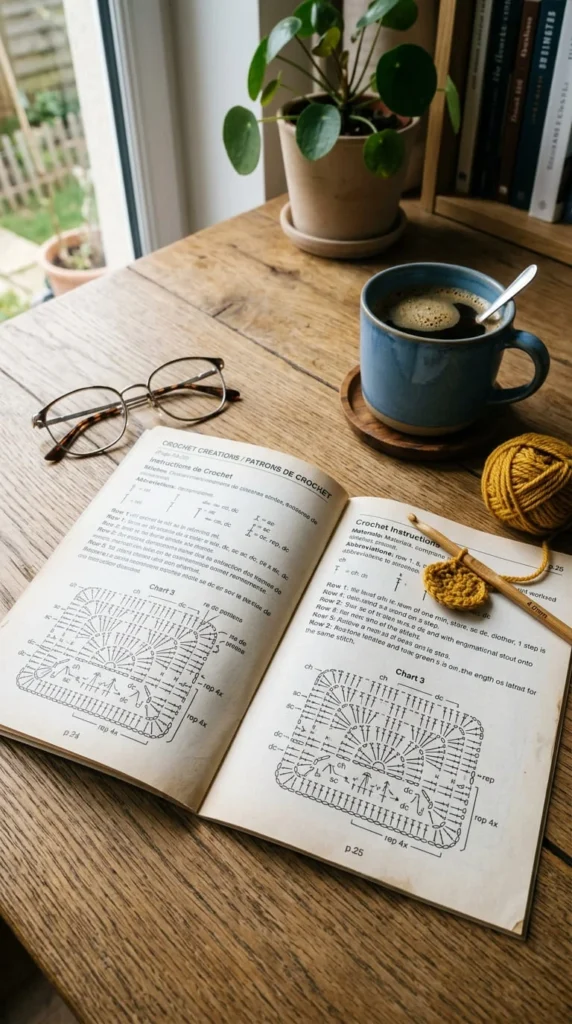
If you’re buying patterns rather than designing your own, a bundle written in more than one language is worth seeking out even if you only need one of them, because these bundles are often more thoroughly diagrammed than single-language patterns. Designers who write for an international audience tend to rely more heavily on charts, stitch counts, and step-by-step photos, since those elements translate across languages better than written instructions alone.
When comparing bundles, check whether the pattern includes a row-by-row stitch count table, since that’s often the clearest way to confirm you’re on track without needing to fully understand every written instruction. A pattern with photos at each major stage is also easier to follow regardless of the language it’s written in, because you can compare your work visually rather than relying purely on text.
This is especially useful if you’re crafting alongside a friend or family member who speaks a different first language, since a well-diagrammed bilingual or trilingual pattern lets you both follow the same document without one of you working from a rough translation. It’s a small detail, but it can make a real difference in how smoothly the project goes.
21. The Fastest Project on This List for a Single Free Hour
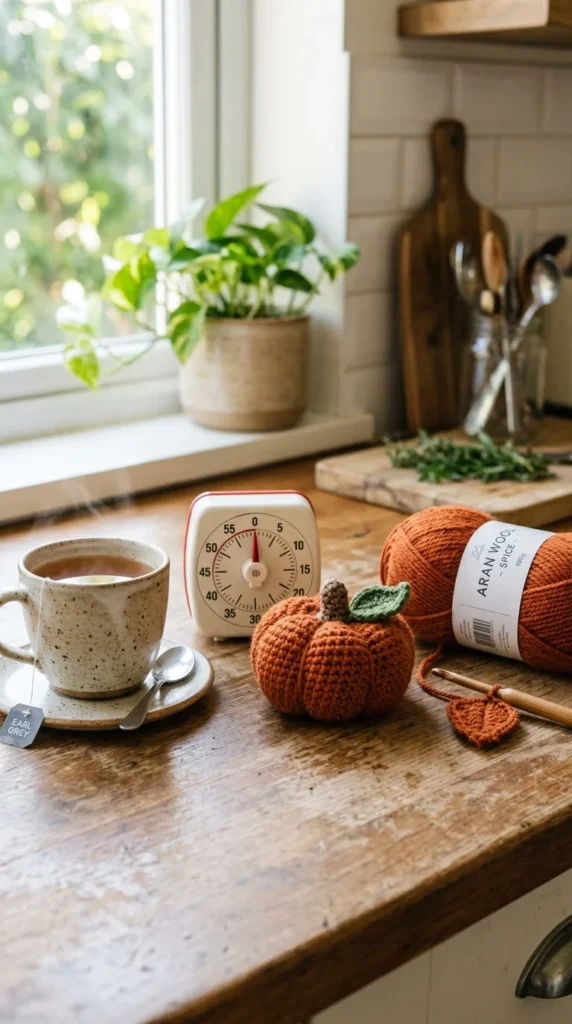
Not every evening leaves room for a multi-session project, so it helps to know which pattern actually fits into a short window of free time. A basic pumpkin without a hybrid twist, extra limbs, or added texture is realistically the quickest build in this entire list, usually finished in under an hour once you know the pattern.
The speed comes from the shape itself — a pumpkin is just a sphere with ribbed vertical lines and a small stem, without the separate limbs, faces, or attachments that slow down most other characters. Working the ribbing using back-loop-only single crochet rather than a more complex stitch pattern keeps the technique simple while still giving you that recognizable ridged pumpkin texture.
If you’re new to amigurumi and want a genuine win on your first attempt, this is a better starting project than a ghost or bat, since there’s no shaping around limbs or wings to get wrong. Once you’ve made one, the muscle memory carries directly into other pumpkin-based projects on this list, including the ghost-in-a-pumpkin combo and the pumpkin-bat mashup, both of which use this same base shape as their starting point.
Conclusion
Between quick one-hour pumpkins, no-sew bats, and more involved builds like a jointed skeleton or a wreath ringed with mini pumpkins, there’s enough range here to fill a whole season of crochet time — whether you have twenty minutes before bed or a full weekend to dedicate to one bigger project. Pick a couple of ideas that match your current skill level, gather the yarn and hook sizes each one calls for, and work through them at whatever pace fits your schedule. Many of these characters share the same base shapes, so skills you build on an early project, like the basic pumpkin or the round bat body, will carry directly into the more detailed hybrids and displays later on this list. Start with one small figure, see how it turns out, and let that first finished piece decide what you make next.