
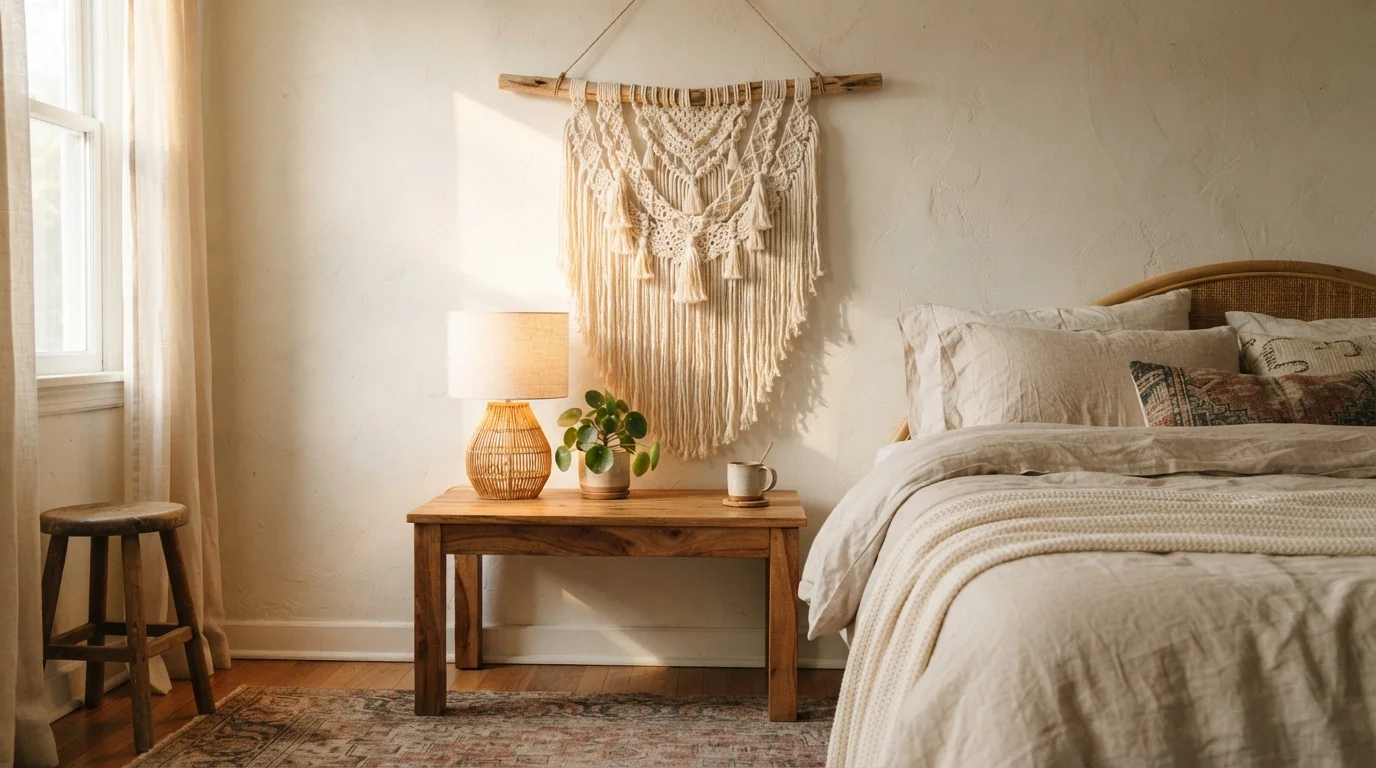
A blank wall can make even a cozy bedroom feel unfinished. Instead of buying another mass-produced decoration, you can turn a skein of yarn and a simple wooden dowel into textured handmade art. A crochet wall hanging is especially beautiful in boho spaces because it adds softness, movement, and natural texture without taking up valuable floor space.
This beginner-friendly project uses simple stitches, openwork sections, and flowing fringe. You can keep it neutral with cream cotton or bring in earthy shades like sage, rust, mustard, and terracotta to match your existing crochet bedroom decor.
What You’ll Need
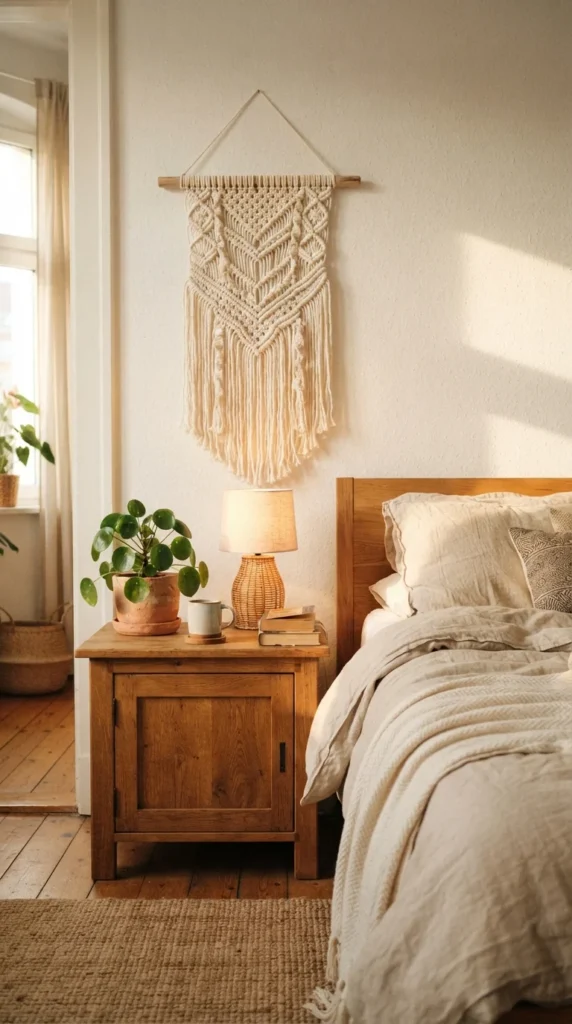
You do not need specialized equipment for this project. Most supplies are inexpensive, and you may already have several in your crochet basket.
Gather:
- Worsted-weight or medium cotton yarn
- 5–5.5 mm crochet hook
- Wooden dowel, smooth branch, or bamboo rod
- Yarn needle
- Sharp scissors
- Measuring tape
- Blocking mat and pins, if available
- Extra yarn or cotton cord for hanging
Cotton is a great choice because it shows stitch definition clearly and gives the finished piece enough structure to hang neatly. Acrylic can work too, although it tends to create a softer, lighter result.
For a classic boho look, try ivory, sand, oatmeal, sage green, dusty rose, muted mustard, or terracotta.
Choose the Size and Style Before You Start
Decide where your wall hanging will live before choosing its dimensions.
A small piece works beautifully beside a mirror, over a desk, or as part of a gallery wall. A wider design can become the focal point above a dresser or headboard.
For an easy first project, aim for a panel around 10–14 inches wide. Your exact finished dimensions will vary according to your yarn, hook, stitches, and tension, so do not worry about matching a rigid measurement.
Choose a dowel slightly wider than the crocheted panel so approximately an inch remains visible on either side.
Crochet the Main Wall-Hanging Panel
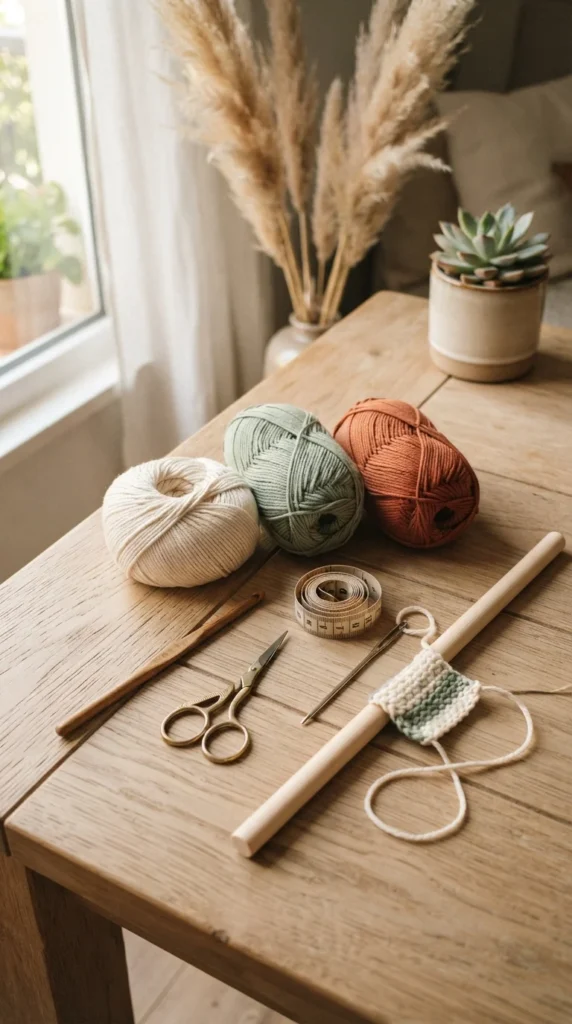
Start with a foundation chain slightly wider than you want your finished piece because crochet usually contracts as stitches are worked.
For a simple beginner version:
- Chain approximately 35–45 stitches.
- Work one row of single crochet across the chain.
- Continue with 4–6 rows of single crochet to create a sturdy upper section.
- Add an open section using alternating double crochet stitches and chain spaces.
- Return to several solid rows.
- Repeat the solid-and-open pattern until the panel reaches your preferred length.
Count your stitches regularly. Accidentally skipping the first or last stitch of a row is one of the most common reasons crochet wall panels gradually become narrower.
The contrast between dense stitches and open spaces gives the piece more visual interest without requiring complicated techniques.
Create the Boho Texture
Texture is what separates interesting fiber art from a plain crocheted rectangle.
You can introduce it through simple techniques such as:
- Puff or bobble stitches for raised details
- Back-loop-only crochet for subtle ribbing
- Open mesh rows for airy sections
- Shell stitches for a softer decorative edge
- Color-blocked stripes for a modern look
- Geometric diamonds or chevrons if you are comfortable following stitch counts
You do not need to use every technique. Two or three textures usually look more intentional than combining many different stitches.
For a minimalist bedroom, try cream yarn with alternating solid and mesh sections. For a warmer bohemian room, introduce one accent shade such as rust or sage.
Attach the Crochet to a Wooden Dowel
Once the main panel is complete, weave in all loose yarn ends.
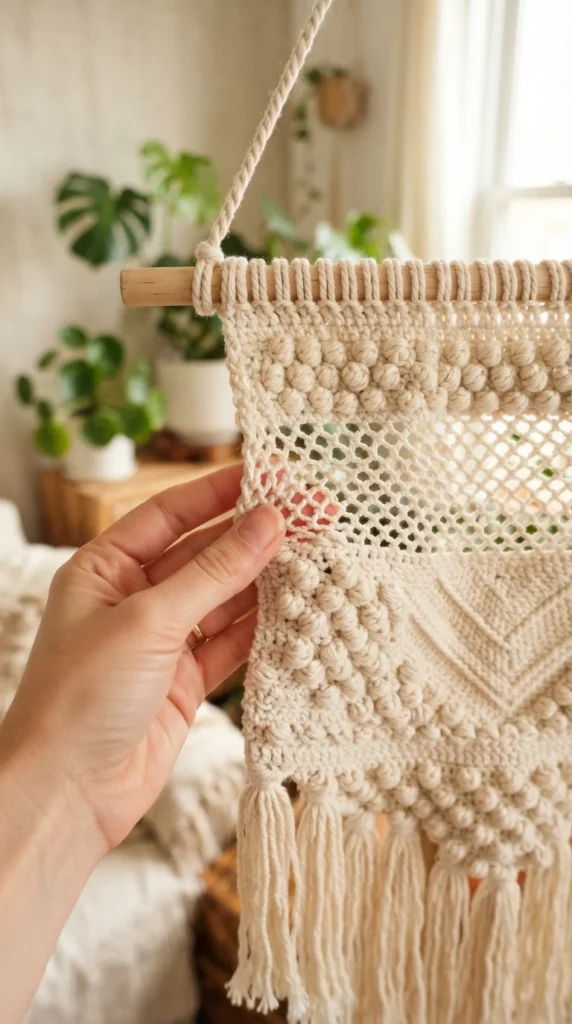
You can attach the upper edge to the dowel by sewing it around the rod with a yarn needle. Another option is to work loops directly around the dowel so the crochet becomes part of the hanging structure.
Keep your attachment points evenly spaced. Uneven tension can cause one side of the wall hanging to sit higher than the other.
Add a strong piece of yarn or cotton cord between the two ends of the dowel to create the hanging loop.
If you use a natural branch instead of a manufactured dowel, clean it thoroughly and make sure there are no rough areas that could snag the yarn.
Add Long Fringe for the Finished Boho Look
Fringe adds movement and instantly gives crochet wall art that recognizable relaxed bohemian character.
Cut multiple yarn strands to roughly twice your desired fringe length. Fold each group in half, pull the folded loop through a stitch along the bottom edge, then pass the loose ends through the loop.
Continue across the entire bottom.
Once everything is attached, gently comb the strands with your fingers and trim them into your preferred shape. Try:
- A straight edge for modern decor
- A shallow V for classic boho styling
- A deep point for a dramatic statement
- Graduated fringe for a softer layered look
Wrapping yarn around a book or piece of cardboard before cutting is an easy way to create many strands of equal length.
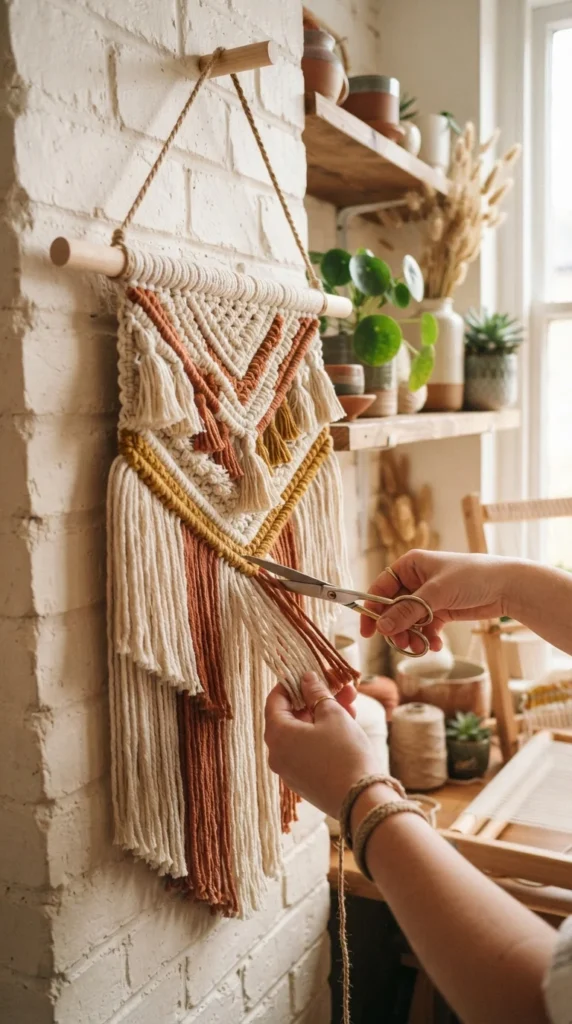
Block and Style Your Finished Wall Art
Blocking can make a surprisingly big difference. It helps straighten the edges, relax uneven stitches, and give geometric sections cleaner definition.
Check the care instructions for your yarn before choosing a blocking method. Cotton generally responds well to gentle wet blocking, while synthetic fibers require more caution around heat.
When the piece is completely dry, hang it securely. If you are placing crochet decor above a bed, use a lightweight dowel and suitable wall hardware rather than relying on a loose decorative hook.
Style the wall hanging with natural materials such as linen bedding, wood furniture, woven baskets, ceramic vases, or plants. Let the crochet provide texture rather than competing with too many other decorative pieces.
Make Your Wall Hanging Completely Your Own
The best part of handmade boho home decor is that small changes can create an entirely different look. Use leftover yarn for colorful stripes, add three-dimensional crochet flowers, combine narrow panels, experiment with asymmetrical fringe, or replace the dowel with a carefully prepared branch.
Your first wall hanging does not need to be perfectly symmetrical. Handmade texture is part of its character.
Start with simple stitches, focus on even tension, and let the yarn become the decoration. Once you finish one piece, you can easily adapt the same basic method to create matching wall art for bedrooms, nurseries, studios, or cozy reading corners.
Save this guide for later and try these ideas when you’re ready to add handmade boho charm to your space!