
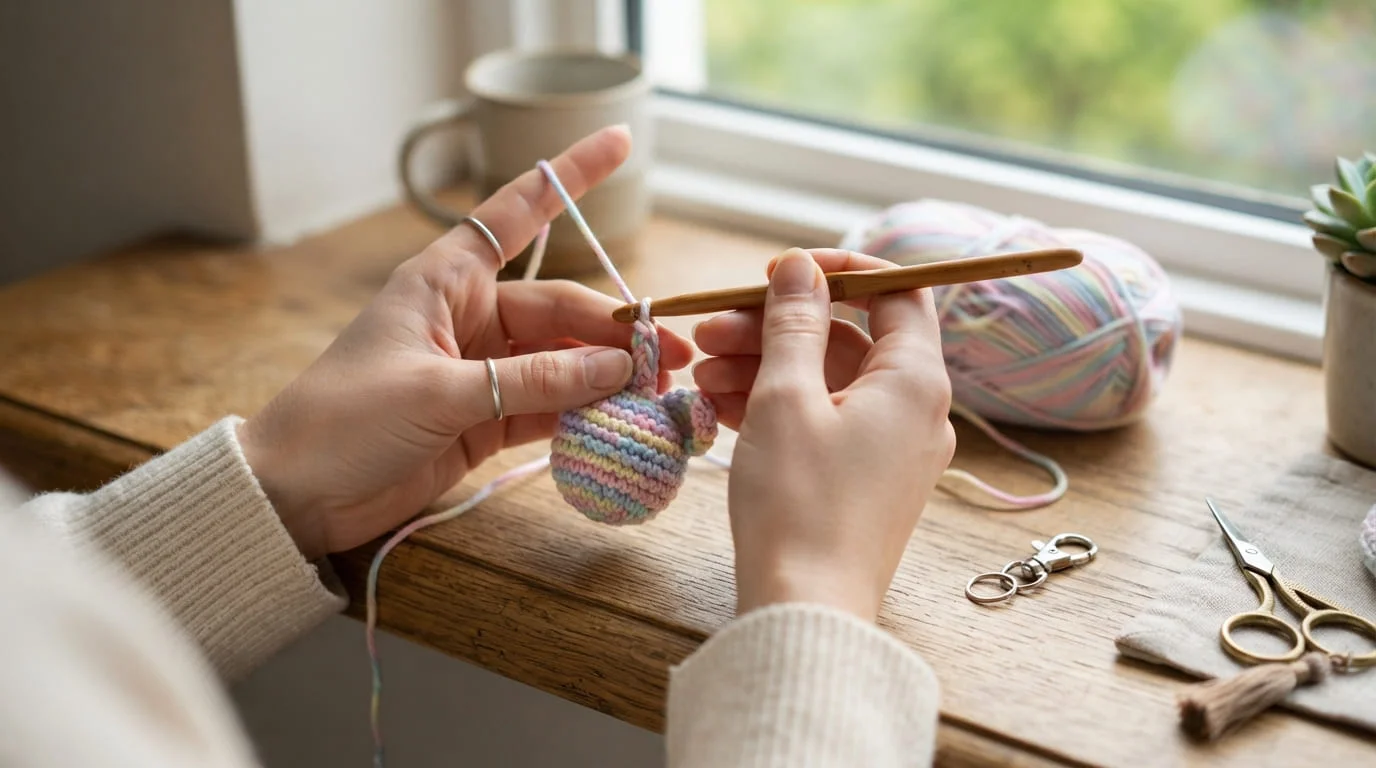
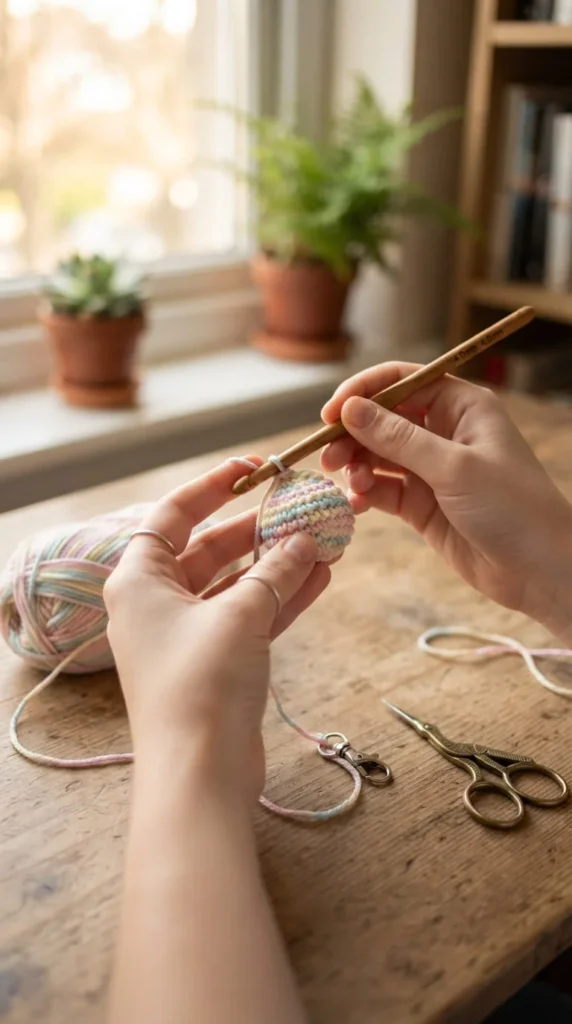
Learning to crochet a keychain is one of the best ways to build real confidence with a hook and yarn. These projects are small, forgiving, and finished fast, so you get that satisfying “I made this” feeling without hours of commitment. Whether you’re holding a hook for the first time or just want quick wins between bigger projects, this list walks you through 24 beginner-friendly designs. Grab some scrap yarn, a small hook, and a keyring, and let’s get started.
1. Basic Chain-and-Loop Keychain
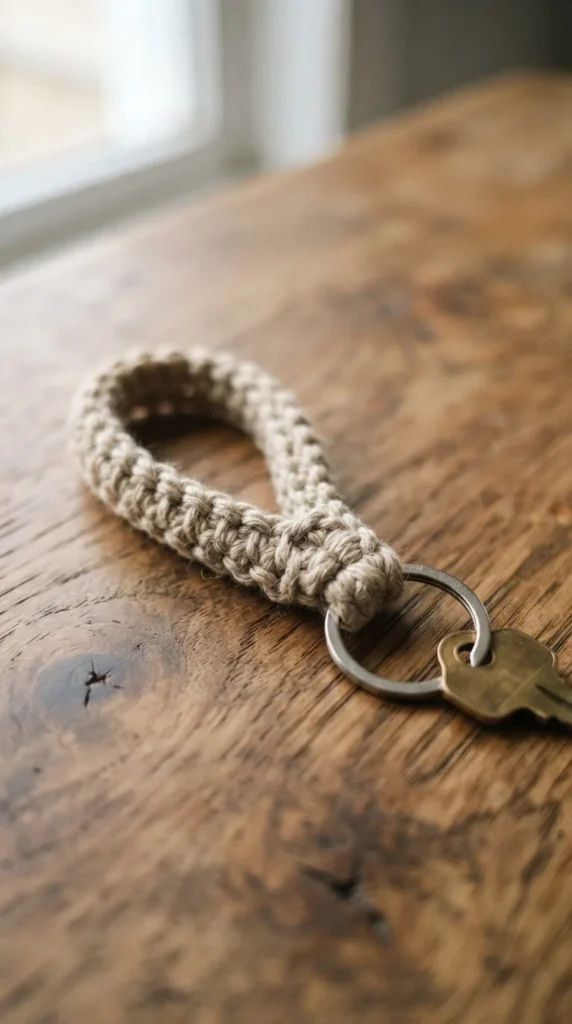
This is the simplest project on the list, and it teaches you your very first stitch. A foundation chain folded in half and slip-stitched together makes a sturdy little loop. Budget tip: this uses less than 5 yards of yarn, so it’s completely free if you have any scraps lying around. Chain about 20 stitches, fold the chain in half, then slip stitch down the length to join both sides. Slide your keyring onto the loop before you finish your last stitch. This project takes less than 10 minutes and needs no stuffing, no shaping, and no amigurumi skills. It’s the perfect warm-up before trying anything more detailed. Try mixing two yarn colors by working half the chain in one color and half in another. This tiny project teaches chain stitches and slip stitches, two skills you’ll use in almost everything else on this list.
2. Simple Square Keychain
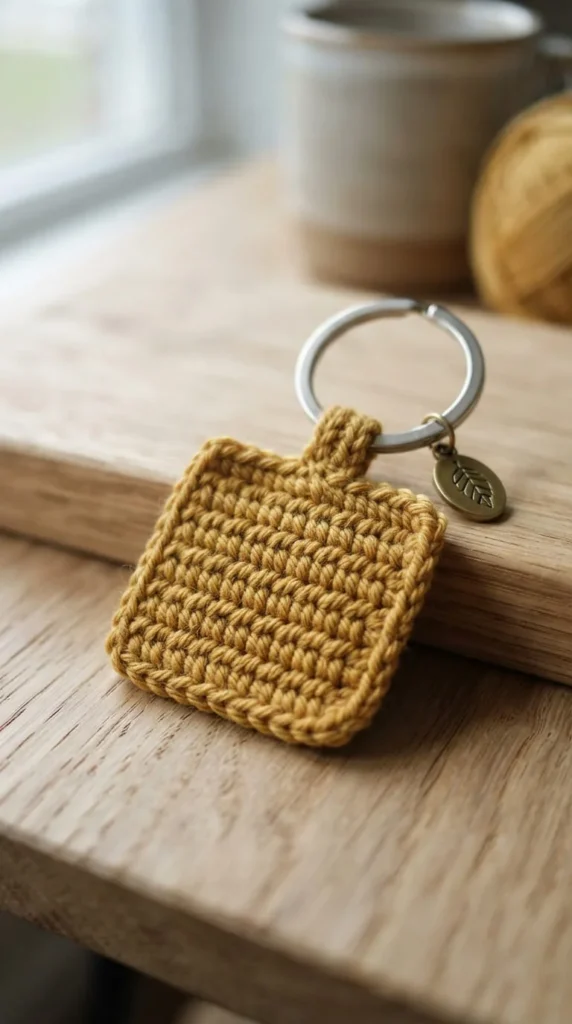
A flat square is one of the best first “real” projects for a beginner. It teaches foundation chains, turning, and single crochet all in one small piece. Budget tip: this uses under 10 yards of worsted cotton, so a single skein makes many squares. Chain 10, then work single crochet rows back and forth until your square is even on all sides. Add a simple slip-stitch border around the edge for a clean finish. Attach your hardware through two or three stitches at one corner for a secure hold. This project usually takes under 30 minutes once you’re comfortable with the stitch. Try adding a contrasting border color for extra polish. This square shape is also a great practice piece before moving into more decorative motifs, since it teaches you how to keep your tension even and your edges straight, two skills that carry into every other project.
3. Five-Minute Butterfly Charm
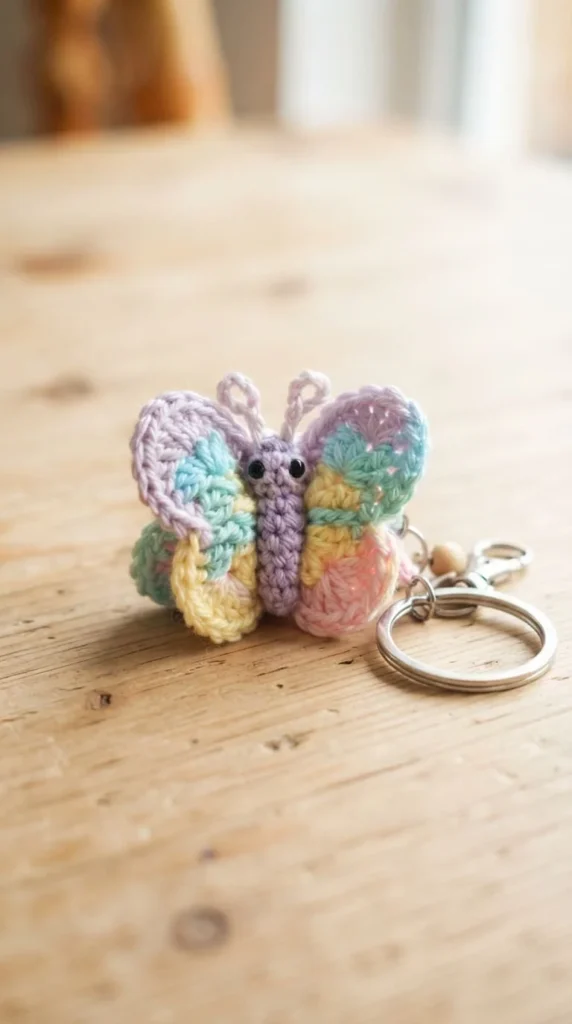
Butterflies are the trending beginner project right now, and it’s easy to see why. A simple double crochet wing shape, folded and pinched at the center, creates a butterfly in just a few short rows. Budget tip: this uses barely any yarn, so it’s essentially free from scraps, and pastel colors are especially popular right now. Work two teardrop-shaped wing sections, join them at the center with a few stitches, then pinch the middle to create the folded butterfly look. Add a short chain for antennae if you want extra detail. This project truly can be finished in under 10 minutes once you know the shape. Try making a few in different pastel combinations for a spring-themed set. These are perfect for bag charms, gift toppers, or a quick handmade present when you’re short on time.
4. No-Sew Amigurumi Ball
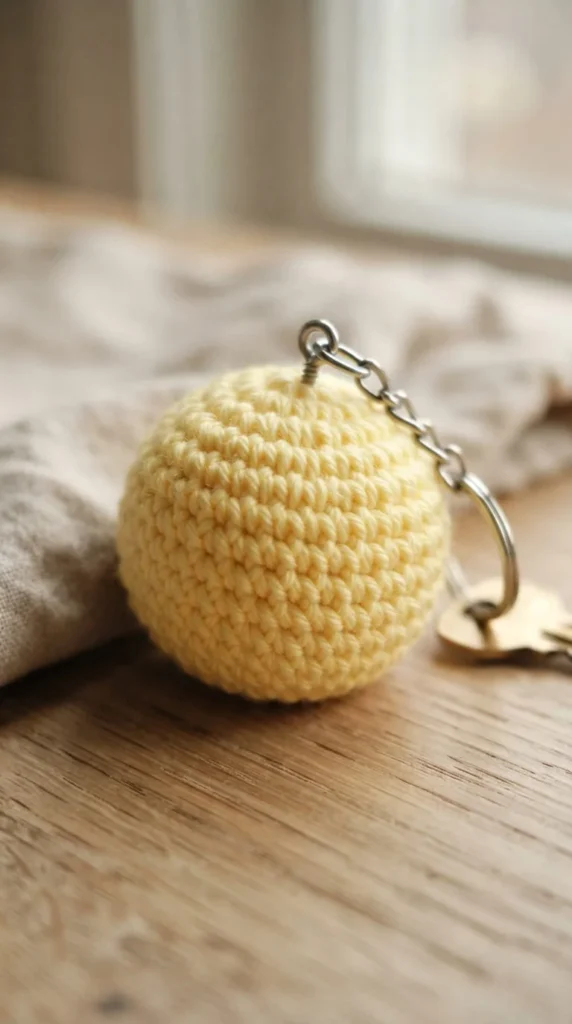
This project introduces you to working in continuous rounds without any separate pieces to sew together. A simple round ball, made by increasing then decreasing stitches, is your gentle first step into amigurumi. Budget tip: this uses under 10 yards of yarn, so it’s another great way to use up small scraps. Start with a magic ring or a chain-4 alternative if the magic ring feels tricky at first. Increase every round until you reach your desired size, stuff lightly, then decrease back down to close. Attach your hardware through several sturdy stitches at the top. This project has no arms, legs, or extra pieces to sew, making it one of the lowest-stress amigurumi projects you can try. Once you’re comfortable with this shape, you’ll be ready to move on to small animals and fruit designs later in this list.
5. Tiny Heart Keychain
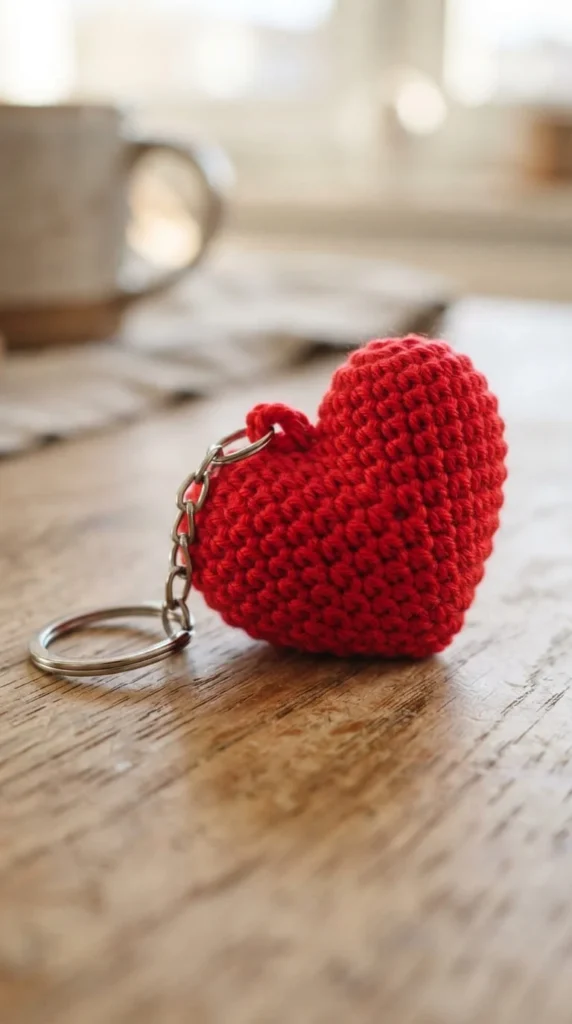
Hearts are a simple, symmetrical shape that beginners can master quickly. Two rounded lobes worked from a center point create the classic heart silhouette. Budget tip: this uses under 10 yards of red or pink yarn, so it costs next to nothing if you already have scraps. Work each lobe as a small semi-circle, join them at the center bottom point, then add a border round for a cleaner edge. Stuff very lightly, just enough to add a little dimension, or leave it flat for an even quicker project. Attach your hardware at the top center notch of the heart. This is a popular Valentine’s Day or anniversary gift idea, and it takes most beginners under 20 minutes to complete. Try making a small set in different reds and pinks for a coordinated gift bundle. This shape also teaches basic increases and decreases in a low-pressure way.
6. Practical Wristlet Keychain
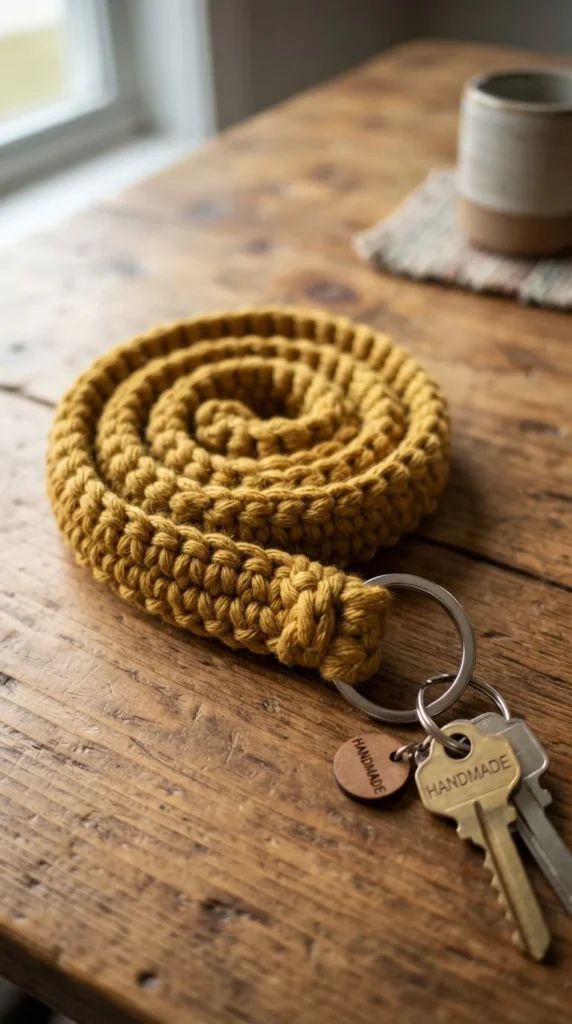
If you want something functional rather than decorative, a wristlet is a great next step. This long strap loops around your wrist and holds your keys securely with a D-ring and swivel hook. Budget tip: this uses a bit more yarn than a small charm, but a single skein of worsted cotton still covers the entire project with room to spare. Chain a small foundation, work single crochet rows back and forth until your strap reaches your desired length, then fold it in half and slip stitch the ends together around your hardware. Keep your stitches tight and even so the strap doesn’t stretch under the weight of your keys. This project takes a bit longer than a small charm, usually 30 to 45 minutes, but it’s genuinely useful every single day. This is a great confidence-builder once you’ve finished a few smaller projects first.
7. Simple Flower Keychain
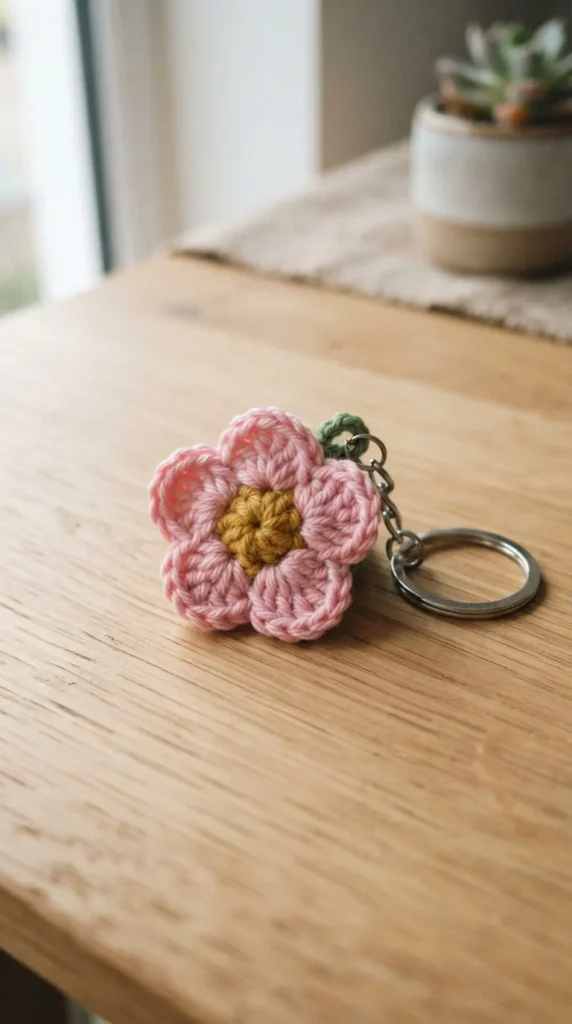
A basic five-petal flower is a beginner-friendly way to practice working in the round. A small center circle gets five simple petals worked directly around the edge. Budget tip: this uses under 10 yards total, so it’s an easy scrap-yarn project using whatever colors you have leftover. Start with a magic ring or chain-4 circle, work a few rounds to build your center, then crochet each petal as a small chain-and-stitch loop around the outside. Keep your petals even in size for the most polished look. Attach your hardware at the top of one petal or through the center back. This project takes most beginners about 20 minutes once they’re comfortable with basic stitches. Try making a few in different colors for a mixed flower bouquet keychain set. This is also a gentle introduction to working with two colors if you want to add a contrasting center.
8. Puff Stitch Circle Keychain
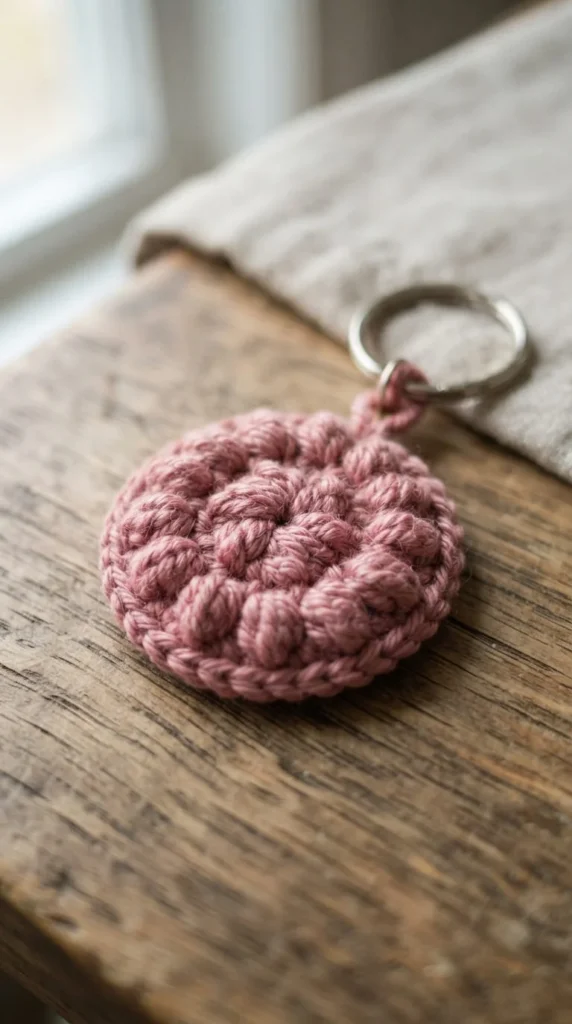
This project introduces a fun textured stitch without much added difficulty. A puff stitch creates small raised bumps that give your circle keychain real dimension. Budget tip: this uses under 10 yards of yarn, so it’s another nearly-free project from your scrap bin. Work a small circle in the round, using puff stitches instead of plain single crochet for a few rounds. The texture naturally hides small tension mistakes, which makes this a forgiving project for beginners still learning even stitching. Attach your hardware through the top of the circle once finished. This project takes about 25 minutes and is a nice way to practice a slightly more advanced stitch without committing to a big project. Try a cream or neutral color to let the texture stand out. This puff stitch skill also transfers well into other textured projects you might try later.
9. Mini Amigurumi Strawberry
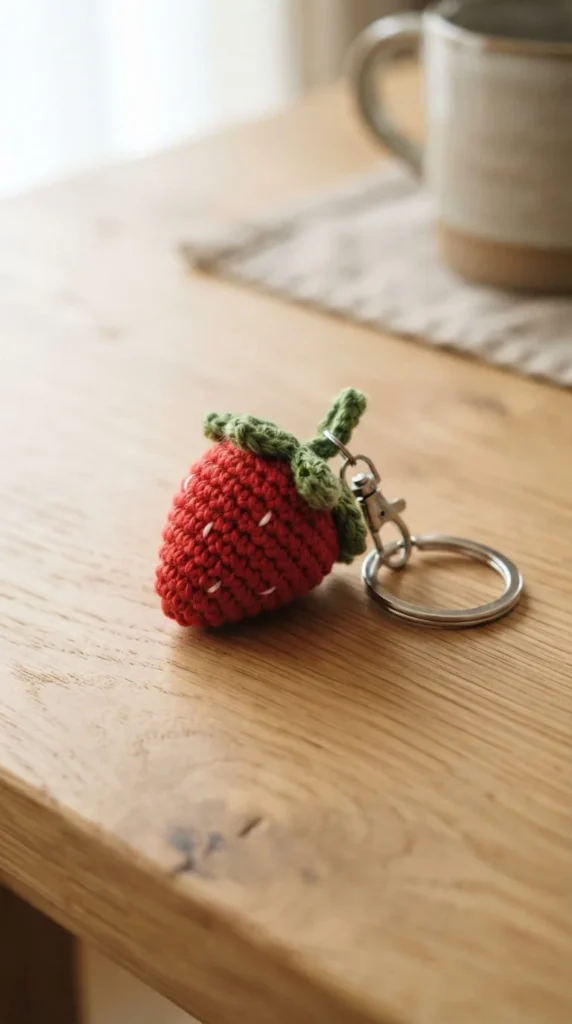
Once you’ve tried the basic amigurumi ball, a strawberry is a natural next step. A red teardrop-shaped body topped with a small green leafy cap creates an instantly recognizable charm. Budget tip: this uses under 10 yards total across both colors, so it’s another excellent scrap-yarn project. Work the red body in continuous rounds, increasing then decreasing to form the rounded teardrop shape, then stuff lightly. Add the green leaf top as a small separate round attached at the top. Embroider a few small yellow seed dots with scrap thread for extra detail. Attach your hardware through the top of the leaf section. This project takes about 30 minutes and introduces you to working with two separate pieces, a helpful skill before trying more detailed animal shapes. These make sweet, quick gifts for kids or anyone who loves a bit of fruity charm on their keys.
10. Basic Granny Square Keychain
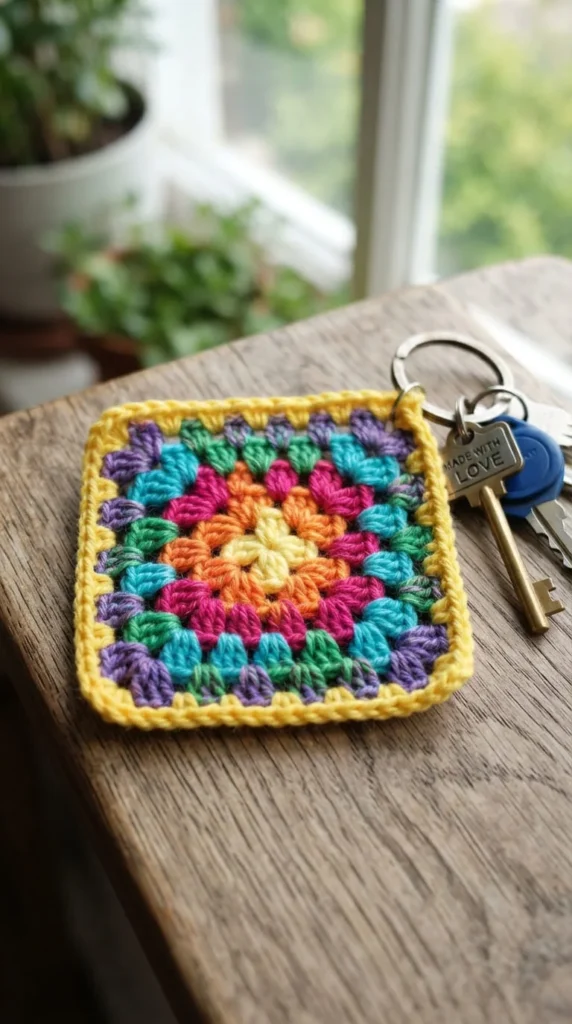
The granny square is a classic crochet motif, and a mini version makes a perfect keychain-sized practice piece. Small clusters of double crochet stitches build up in rounds, creating the signature textured square. Budget tip: this is one of the best true stash-busting projects since you can change colors every round using whatever scraps you have. Work a magic ring, then build two or three rounds of granny square clusters, changing colors as you go for a classic multicolor look. Finish with a simple border round for clean edges. Attach your hardware at one corner. This project takes about 25 minutes and teaches you the foundational granny square technique used in blankets and larger projects down the road. Try a bold color combination or stick to neutrals for a more modern look. This is a small taste of a skill you’ll use again and again.
11. Tiny Cactus Keychain
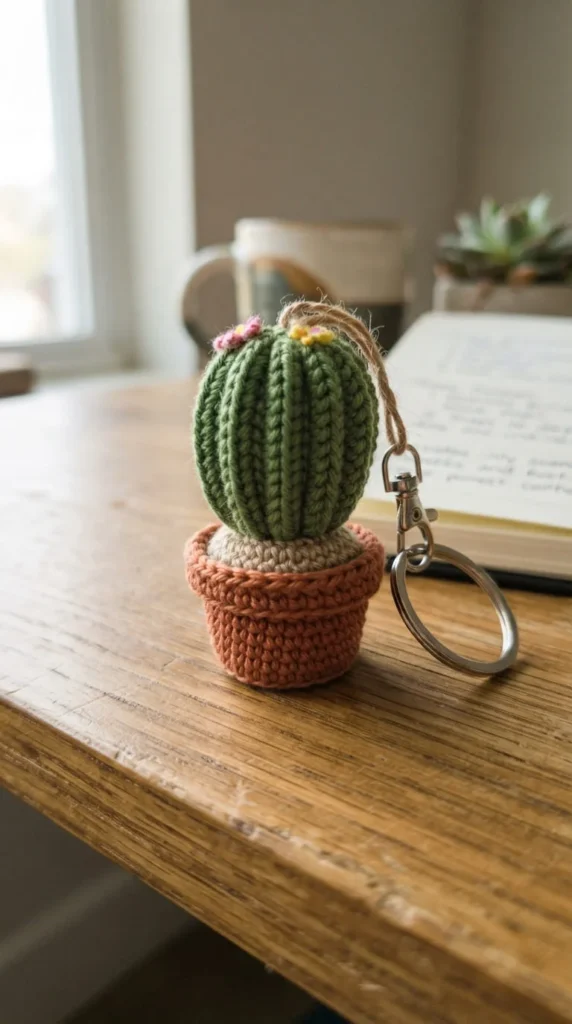
This project combines simple shaping with a bit of decorative texture. A ribbed cylinder body sits in a small contrasting pot base, creating a cute plant-inspired charm. Budget tip: this uses under 15 yards total, so it’s an easy project using leftover green and brown or terracotta scraps. Work the cactus body using front-post and back-post stitches for a ribbed texture, then switch colors to crochet a small pot base underneath. Stuff firmly so the cactus stands upright rather than flopping over. Add a tiny pink flower on top if you want extra detail, though this step is optional for beginners. Attach your hardware through the top of the pot section. This project takes about 30 minutes and introduces post stitches in a low-pressure way. These make fun gifts for plant lovers who appreciate décor that never needs watering.
12. Simple Star Keychain
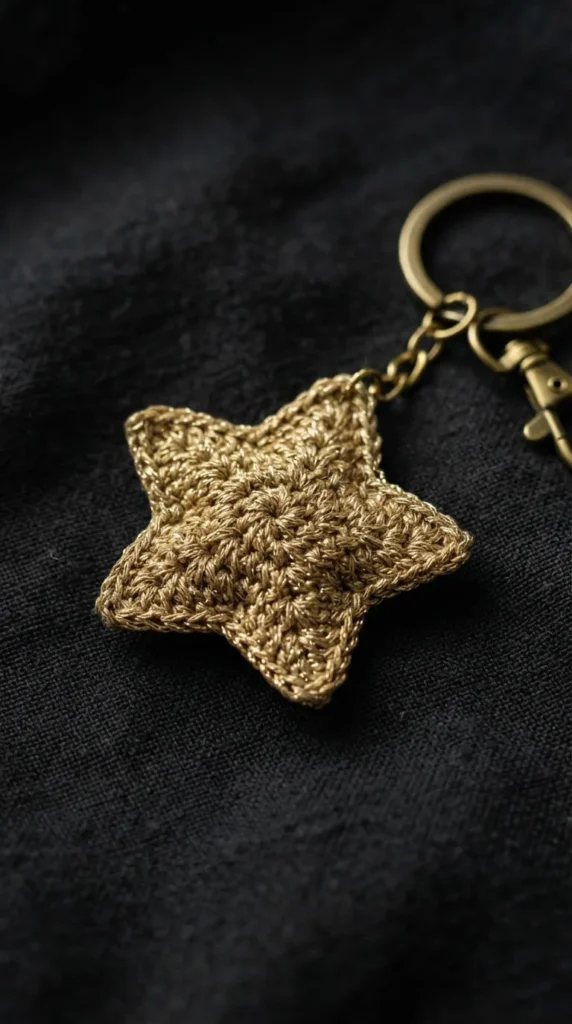
A five-pointed star is a simple shape that still feels a little more advanced than a basic circle or square. Small increases and decreases create each point around a central round. Budget tip: this uses under 10 yards of yarn, so gold or cream scraps work perfectly and cost nothing extra. Work a small center round, then build out five points using short increase-and-decrease sequences at even intervals. Stuff very lightly for a bit of dimension, or leave it flat for a quicker finish. Attach your hardware at the top point of the star. This project takes about 25 minutes and is a gentle introduction to shaping techniques you’ll use in more complex designs later. Try metallic thread mixed in for a bit of sparkle. These make great gifts for graduations, achievements, or just as a small celestial-themed charm for your keys.
13. Basic Bow Keychain
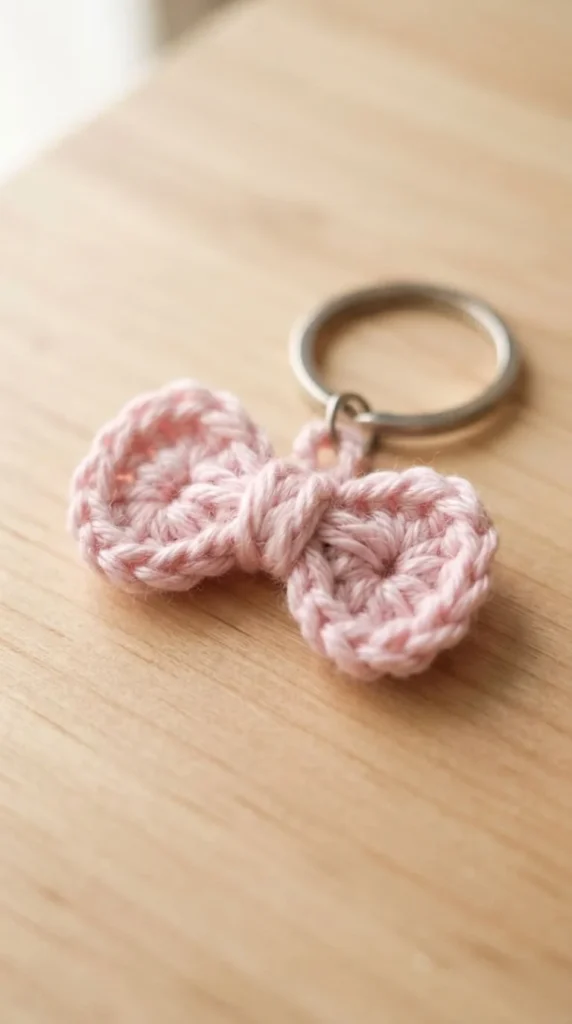
A bow shape is simpler than it looks and makes a genuinely cute finished charm. Two small rectangles, gathered at the center with a wrapped strip, create the classic bow silhouette. Budget tip: this uses under 10 yards total, making it another nearly-free scrap project. Crochet two small rectangles using single crochet rows, then pinch each one at the center to create the bow shape. Wrap a short strip of yarn around the center point to hold everything together and hide the pinch. Attach your hardware through the back of the wrapped center section. This project takes about 20 minutes and is a great confidence builder since the rectangles themselves are simple, it’s the assembly that creates the cute final look. Try pastel colors for a soft, feminine style, or bold colors for something more playful. These are popular gifts for bag charms and hair accessories alike.
14. Mini Mushroom Keychain
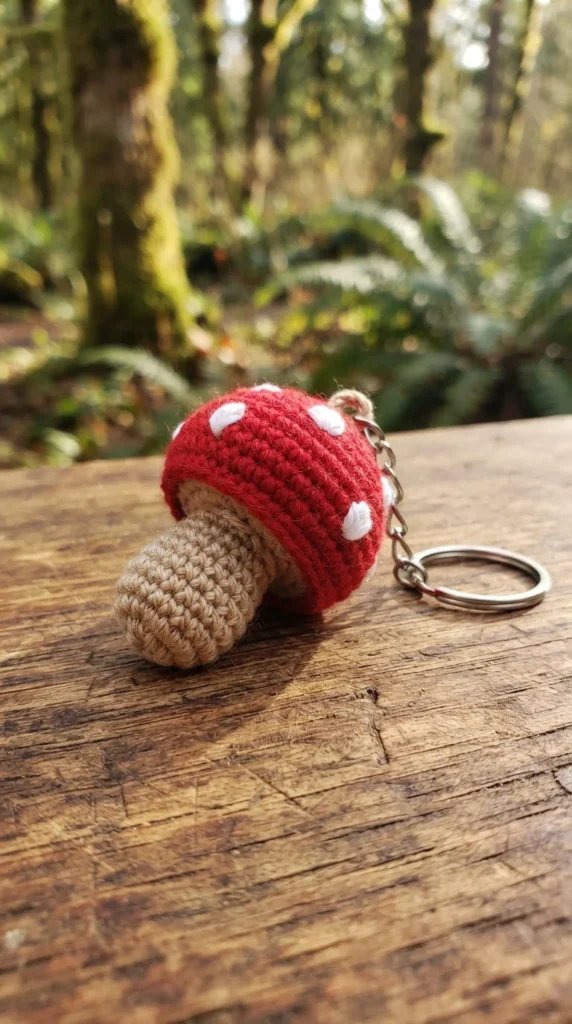
Mushrooms are a beginner-friendly two-piece project that introduces simple assembly. A round red or brown cap with small white dot details sits on a plain tan stem. Budget tip: this uses small amounts of two or three colors, so it’s an easy way to use up various scraps at once. Crochet the cap and stem as two separate small rounds, stuff each lightly, then sew them together at the base. Add white dot details using simple embroidered stitches rather than trying to crochet tiny circles. Attach your hardware at the top of the cap. This project takes about 30 minutes and teaches you how to join two separately finished pieces, a helpful skill before trying more detailed animal designs. These make sweet gifts for nature lovers or anyone who enjoys a cottagecore-style aesthetic on their keys or bag.
15. Simple Cloud Keychain
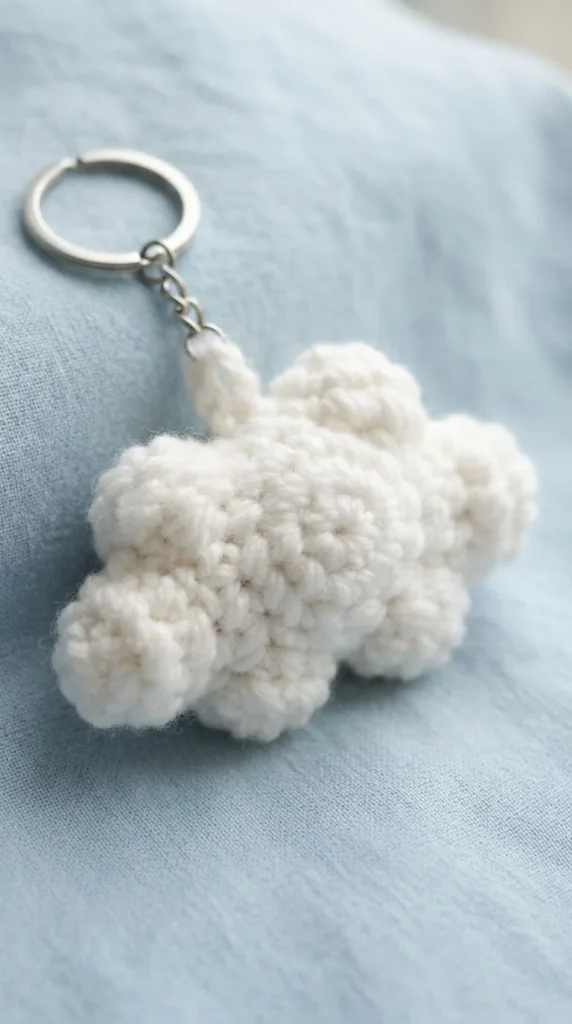
A cloud shape is a forgiving, beginner-friendly project since its bumpy, irregular edges hide small mistakes easily. A flat or lightly stuffed white shape with a few rounded bumps along the top creates a simple, recognizable cloud. Budget tip: this uses under 10 yards of white or cream yarn, so it’s basically free from your stash. Work a flat oval base, then add a few extra rounds of increases along the top edge to create the bumpy cloud silhouette. Stuff very lightly for a bit of dimension. Attach your hardware at the top center of the cloud. This project takes about 20 minutes and is a great low-stress option for beginners nervous about symmetry, since clouds are naturally supposed to look a little irregular. Try adding a tiny rainbow or raindrop charm dangling below for extra character. These are popular gifts for kids and nursery-themed accessories.
16. Basic Fish Keychain
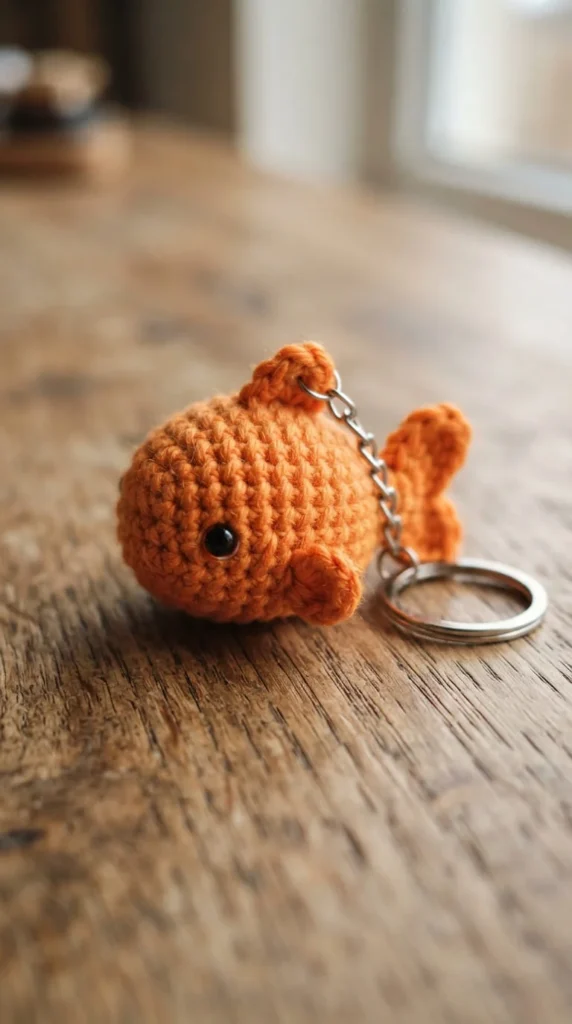
A simple fish shape introduces basic body shaping with a fun, playful result. An oval body tapers into a small triangular tail fin, creating an easy, recognizable silhouette. Budget tip: this uses under 10 yards of yarn, so any bright scrap color works well for this project. Work the oval body in continuous rounds, decreasing toward one end to create a tapered shape, then add a small triangle tail at the narrow end. Stuff lightly and embroider a simple eye and mouth with scrap thread. Attach your hardware at the top of the body, near the head. This project takes about 25 minutes and is a gentle step up from a basic ball shape since it introduces tapering. Try bright orange, blue, or rainbow colors for a cheerful look. These make fun gifts for kids or anyone who loves an ocean-themed accessory.
17. Simple Donut Keychain
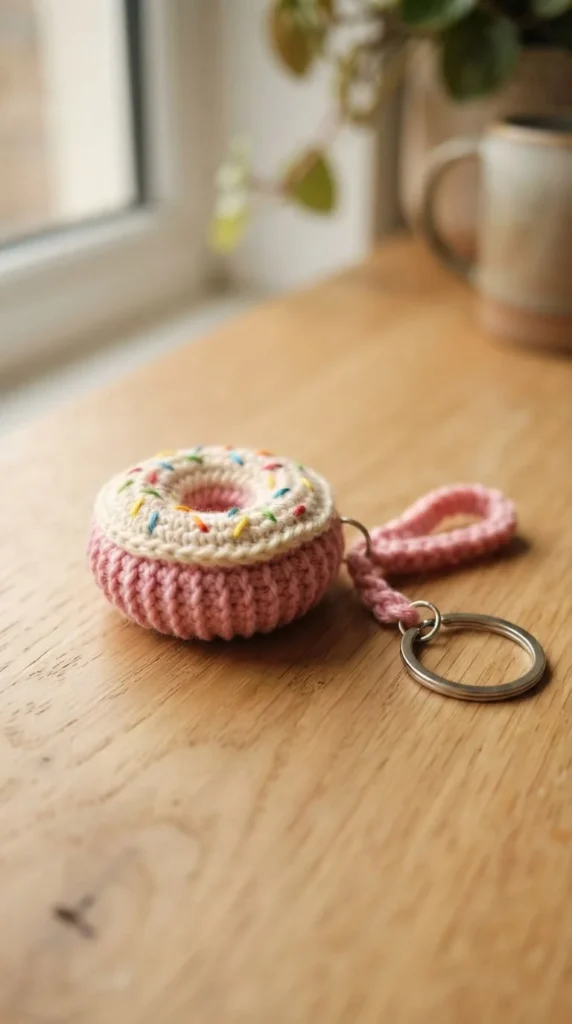
Donuts are a fun food-themed project that beginners can complete quickly. A flat ring shape topped with a contrasting “icing” color creates an instantly recognizable charm. Budget tip: this uses under 10 yards total across two colors, so it’s another great way to use small scraps. Work a flat ring in the round, leaving a small hole in the center, then add a second contrasting color on top for the icing layer. Add tiny sprinkle details using short straight stitches in bright thread. Attach your hardware through the top edge of the ring. This project takes about 25 minutes and introduces you to working with a hole in the center, a small technique that’s useful in other designs too. Try pastel icing colors for a bakery-inspired look. These are popular for gift sets, craft fairs, or as a sweet little treat that never expires.
18. Basic Rainbow Keychain
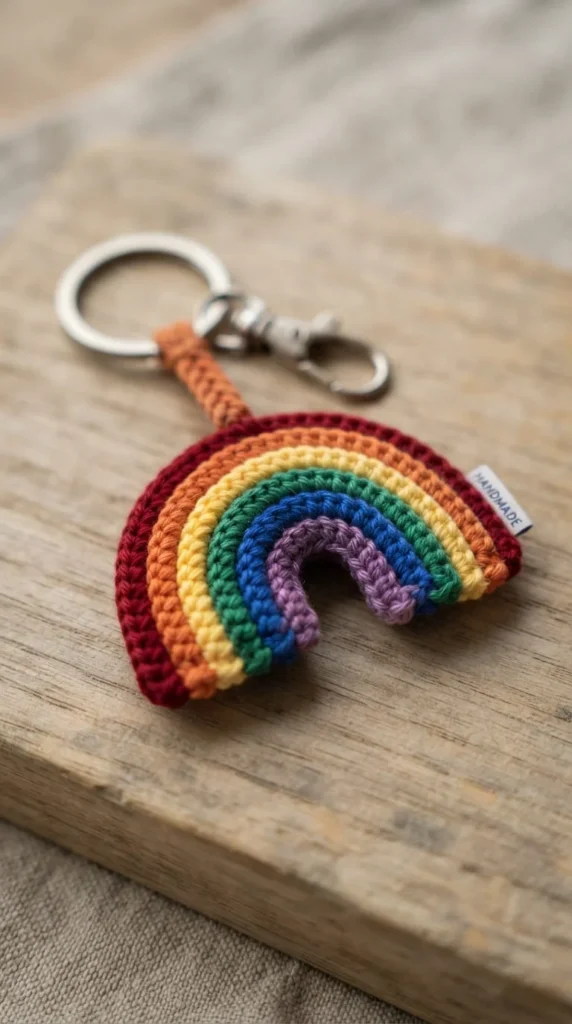
A rainbow shape is a simple layered project that teaches basic color changes. Curved rows of different colors stack on top of each other to build the classic arch shape. Budget tip: this is one of the best true stash-busting projects since it welcomes practically any leftover colors you have on hand. Work each curved row using half double crochet, changing colors as you go from row to row. Keep your tension even so the arch stays smooth rather than wavy. Attach your hardware at the top center of the rainbow. This project takes about 30 minutes and is a great practice piece for color changes and carrying yarn along the edge to avoid extra ends. Try ordering your colors in the traditional rainbow sequence, or mix them randomly for a playful, eclectic look. These are popular gifts for kids and colorful bag accessories.
19. Mini Bee Keychain
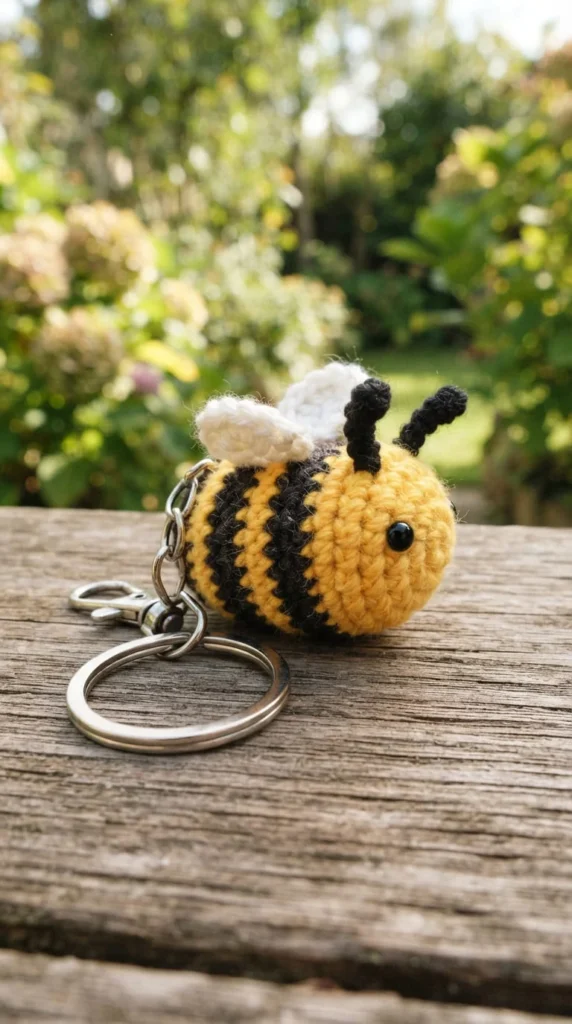
A striped oval body with small wings creates a cute, recognizable bee charm. This project introduces stripe changes in a simple, forgiving shape. Budget tip: this uses under 10 yards total, so yellow and black scraps work perfectly and cost nothing extra. Work the oval body in continuous rounds, changing between yellow and black every couple of rounds to create the classic bee stripes. Stuff lightly, then attach two small white or clear wing shapes to the back. Embroider simple eyes with scrap thread. Attach your hardware at the top of the body, between the wings. This project takes about 30 minutes and is a fun way to practice stripe changes without much added difficulty. These make sweet gifts for gardeners, teachers, or anyone who appreciates a cheerful little charm buzzing around their keys.
20. Simple Evil Eye Charm
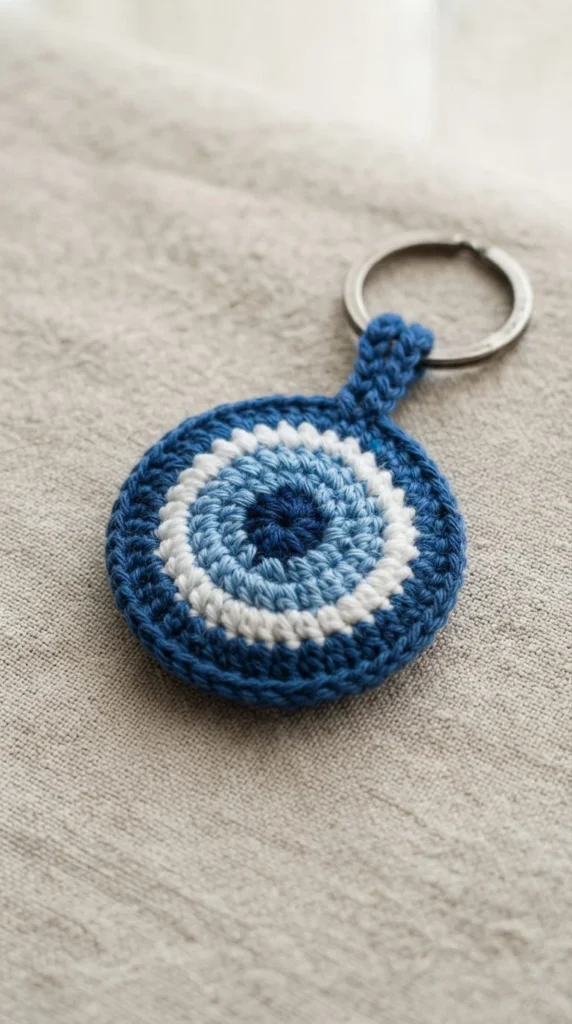
This flat, layered circle design is simple to make and popular as a protective, symbolic gift. Concentric rounds of blue, white, and black yarn stack to create the classic evil eye pattern. Budget tip: this uses under 10 yards total across three colors, making it another easy scrap-yarn project. Work a small flat circle, changing colors every round or two to build up the layered rings, working from the outside in or inside out depending on your preference. Keep the piece flat rather than stuffed for the most authentic look. Attach your hardware at the top edge. This project takes about 20 minutes and is a great practice piece for color changes within a flat, non-stuffed shape. These make meaningful gifts for friends and family, and their bold, simple design also works well as a bag charm or wall hanging in miniature form.
21. Basic Pumpkin Keychain
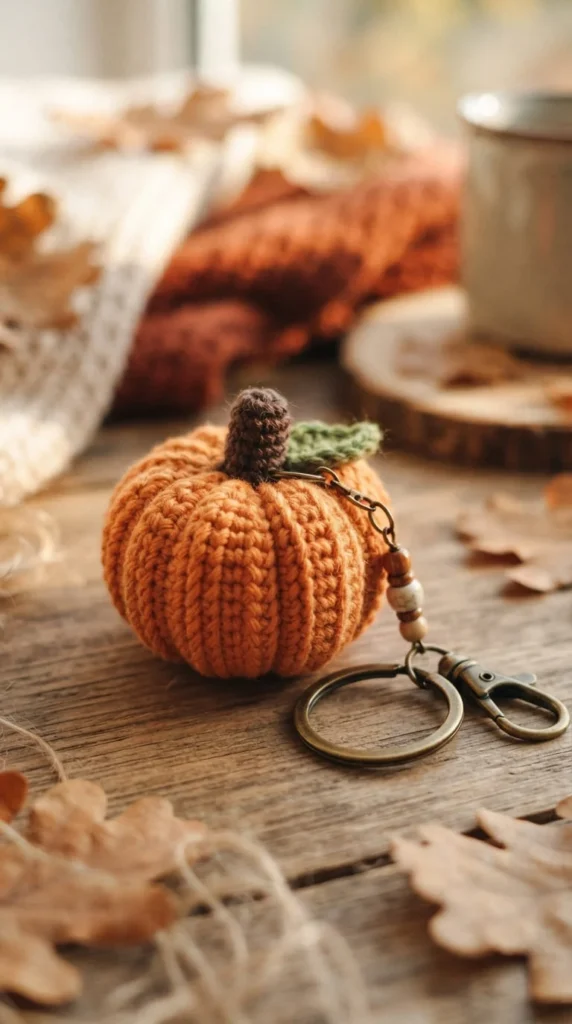
Pumpkins are a seasonal favorite that beginners can complete in one sitting. Ribbed vertical lines create the classic pumpkin texture, topped with a small brown stem. Budget tip: orange yarn is often inexpensive, and you only need a small amount of brown for the stem, making this a cheap seasonal project. Work the body using front-post and back-post stitches for the ribbed texture, stuff lightly, then add a short stem on top. This project takes about 25 minutes and is a great way to practice post stitches in a simple, rounded shape. Attach your hardware at the top, next to the stem. Try making a small set in slightly different orange shades for a natural, varied look. These are popular for fall craft fairs, Halloween gifts, or Thanksgiving-themed accessories, and they’re quick enough to make several in one evening.
22. Tiny Ghost Keychain
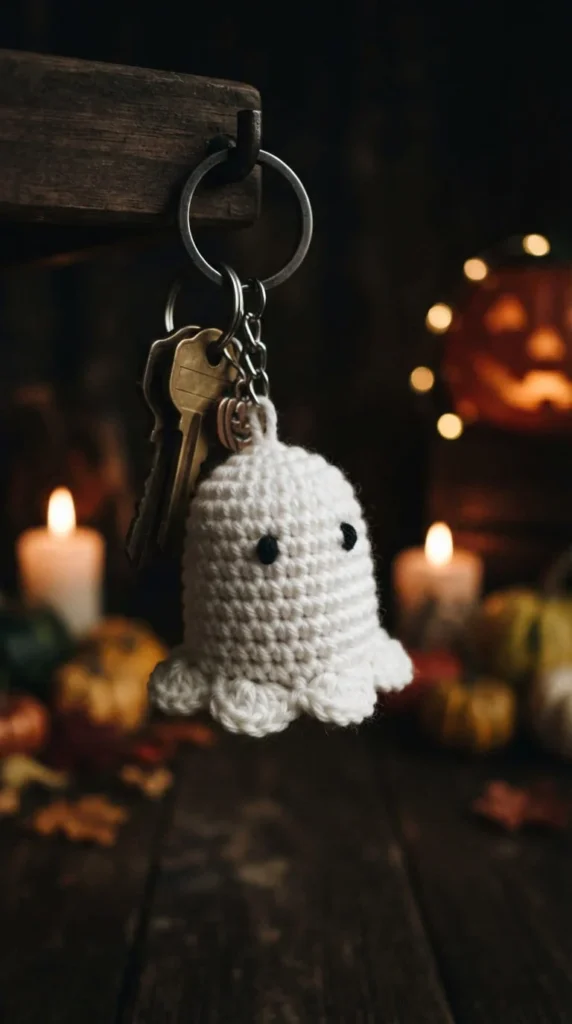
A simple ghost shape is one of the easiest seasonal projects on this list. A rounded body with a wavy bottom edge creates the classic floating ghost silhouette. Budget tip: white or cream yarn is inexpensive and this shape uses well under 10 yards total. Work the body in continuous rounds, then finish with a scalloped or wavy final round instead of a straight edge for that classic ghost look. Stuff lightly so the shape stays soft rather than fully round. Embroider simple dot eyes and an open mouth with scrap black thread. Attach your hardware at the top of the head. This project takes about 20 minutes, making it perfect for a quick Halloween craft session. Try making a small batch for trick-or-treat bag charms or classroom party favors. These are a fun, low-pressure way to practice edge shaping techniques.
23. Basic Clover Keychain
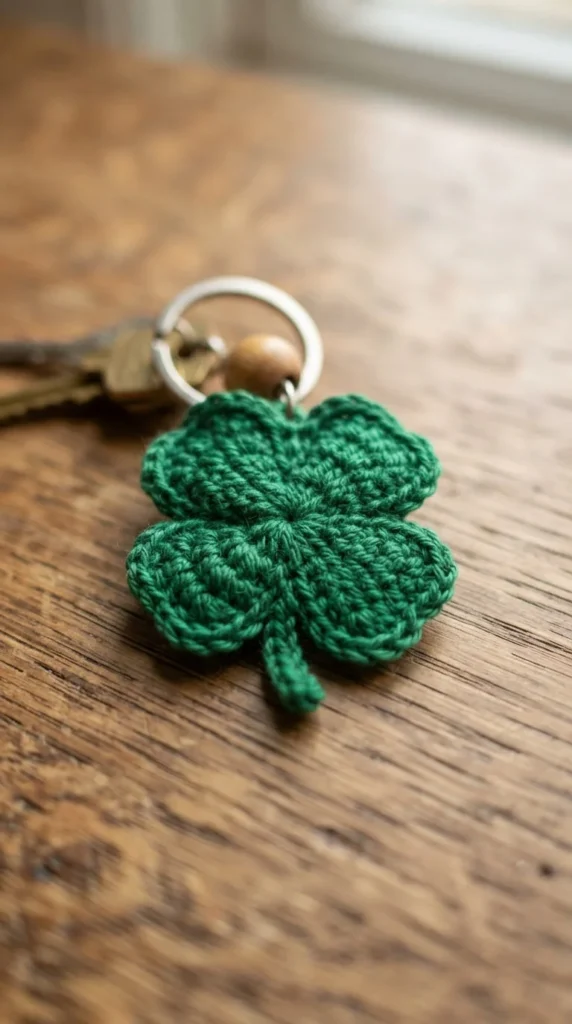
A four-leaf clover is a small, quick project full of good-luck symbolism. Four rounded leaf sections join at a center point, sometimes with a short stem below. Budget tip: this uses under 10 yards of green yarn, so it’s essentially free if you already have cotton on hand. Crochet each leaf as a small rounded shape, then join all four in the center round before weaving in your ends. Keep the leaves evenly sized so the clover sits flat and balanced. Attach your hardware at the center top. This project takes about 20 minutes, making it perfect for a quick, satisfying make. Try batching a few at once for St. Patrick’s Day gifts or graduation presents. Because it’s such a small, fast project, it’s ideal for beginners who want to practice joining multiple small pieces into one cohesive shape without much time investment.
24. Simple Round Coaster-Style Keychain
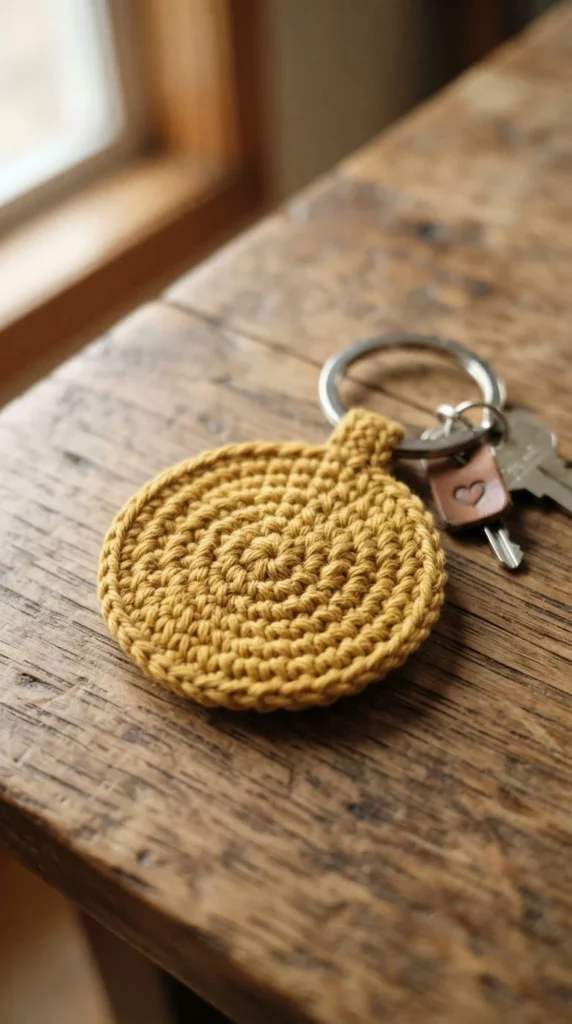
This project brings you full circle, literally, back to one of the most foundational shapes in crochet. A small flat circle, worked using a magic ring and single crochet increases, is a perfect final beginner project that ties together everything you’ve practiced. Budget tip: this uses under 10 yards of yarn, so it’s another free project from your scrap collection. Start with a magic ring, work single crochet increases evenly around each round, and stop once your circle reaches about two inches across. Add a simple border round for a clean finish. Attach your hardware through two or three sturdy stitches at the top edge. This project takes about 20 minutes and reinforces the magic ring and increase skills you’ve been building throughout this list. Try making a few in different colors, you’ll have a whole collection of practice pieces to show off or gift.
Conclusion
These 24 beginner crochet keychains prove that small projects can teach big skills. From your very first chain loop to shaped amigurumi and textured stitches, each design builds on the last while staying quick, affordable, and genuinely fun to make. Start with the simplest shapes, work your way through flowers, fruit, and seasonal designs, and don’t worry about perfection, every wobbly stitch gets better with practice. Pick one idea from this list, grab your hook, and make your first keychain today.