
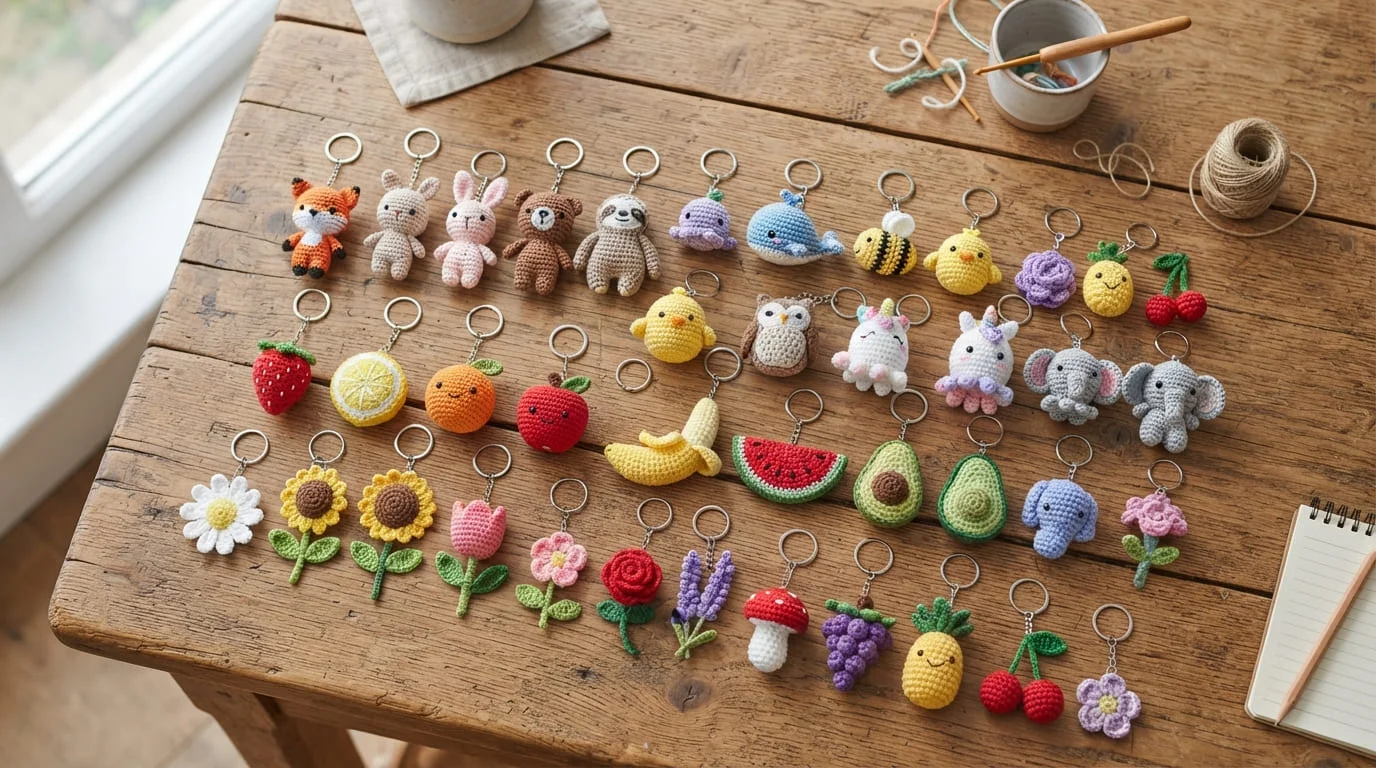
There’s something magical about making a tiny, adorable accessory with just a hook, some yarn, and about 20 minutes of your time. Crochet keychains are the perfect first project if you’re new to the craft — they’re small, forgiving, and ridiculously cute once finished.
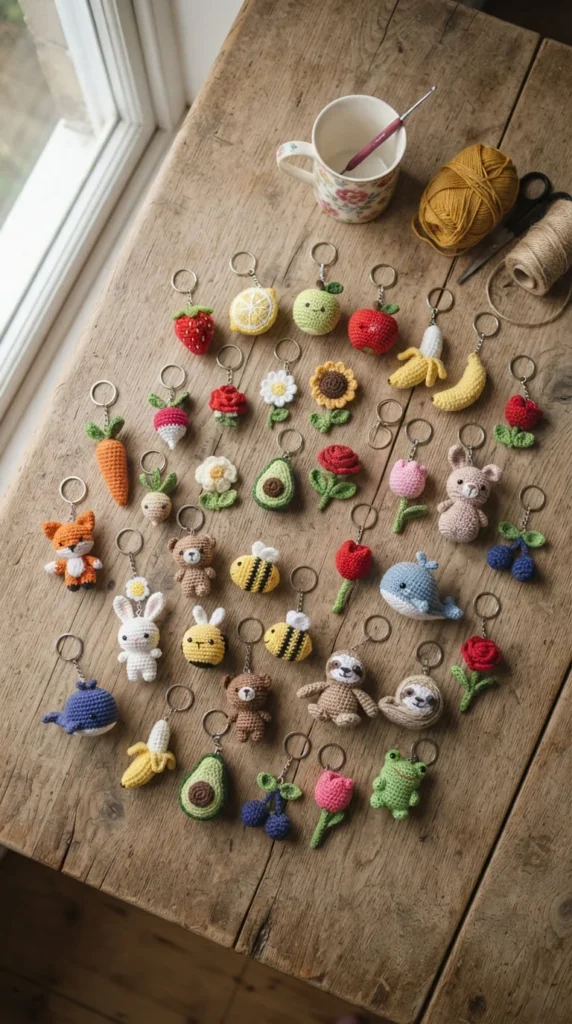
Whether you want a sweet handmade gift, a bag charm that gets compliments everywhere you go, or a fun way to use up leftover yarn, this beginner-friendly guide walks you through everything step by step. No fancy skills required — just a willingness to loop some yarn and have fun.
What You’ll Need
Before diving in, gather these simple supplies:
- Cotton or milk cotton yarn — it holds stitches neatly and feels durable in your hands
- A small crochet hook (2.0–3.5 mm, depending on your yarn weight)
- Stitch marker to track your rounds
- Yarn needle for weaving in ends
- Safety eyes and fiberfill (if making an amigurumi-style keychain)
- Keychain hardware — a lobster clasp, swivel clasp, or split ring
That’s it! Most of these projects use just scraps of yarn, so it’s a great way to clear out your stash.
Step 1: Master the Magic Ring
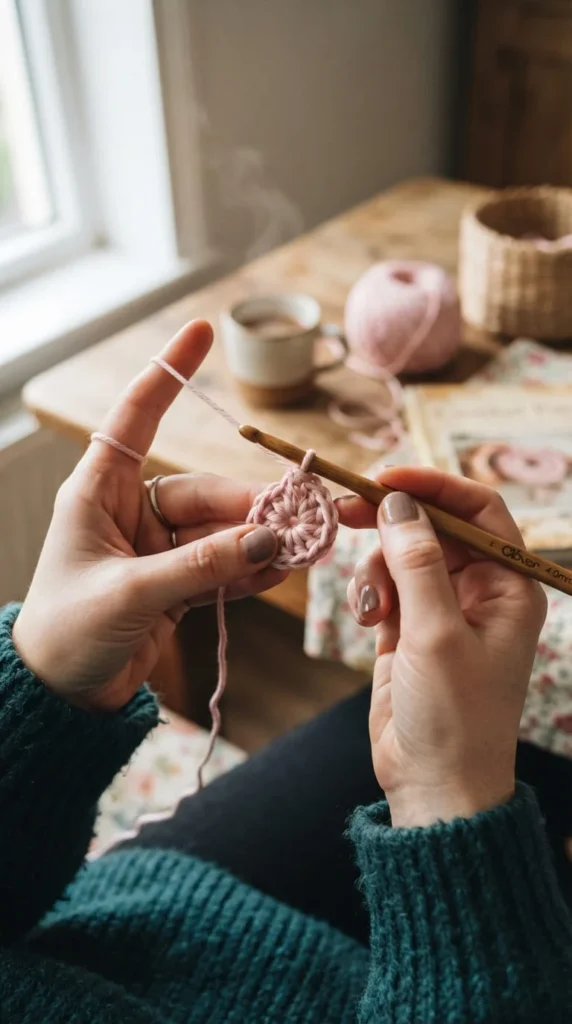
Almost every crochet keychain starts with a magic ring (sometimes called a magic circle). This technique lets you cinch your first round tight so there’s no unsightly hole in the center of your finished piece.
- Wrap your yarn around two fingers to form a loop
- Insert your hook and pull up a loop
- Chain one, then work your first round of single crochet stitches into the ring
- Pull the tail to close the circle snugly
Tip: If your magic ring feels tricky at first, that’s totally normal! It’s the one technique that trips up most beginners — practice it a few times on scrap yarn before starting your project.
Step 2: Learn the Core Stitches
You really only need a handful of stitches to make most keychain patterns:
- Single crochet (sc) — the workhorse stitch for the whole body
- Increase (inc) — adds stitches to shape rounder parts
- Decrease (dec) — removes stitches to taper and close things up
- Slip stitch (slst) — used for joining rounds or edging
Work in a continuous spiral (no joining each round) for a seamless amigurumi look, or join each round with a slip stitch if your pattern calls for it. Either way, keep your stitches nice and tight — loose stitches are the number one reason beginner amigurumi ends up with visible gaps.
Step 3: Pick Your Shape and Stuff It
This is where the fun really begins. Some of the most popular beginner-friendly keychain shapes include:
- Mini fruit (cherries, strawberries, grapes)
- Tiny animals (frogs, corgis, capybaras)
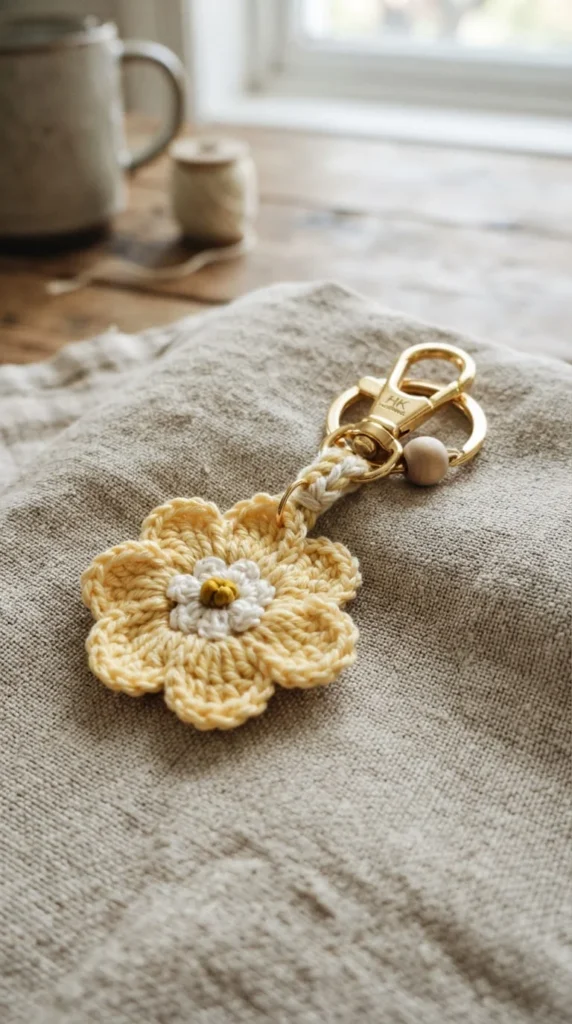
- Little flowers and mini bouquets
- Food-themed charms (croissants, cookies, avocados)
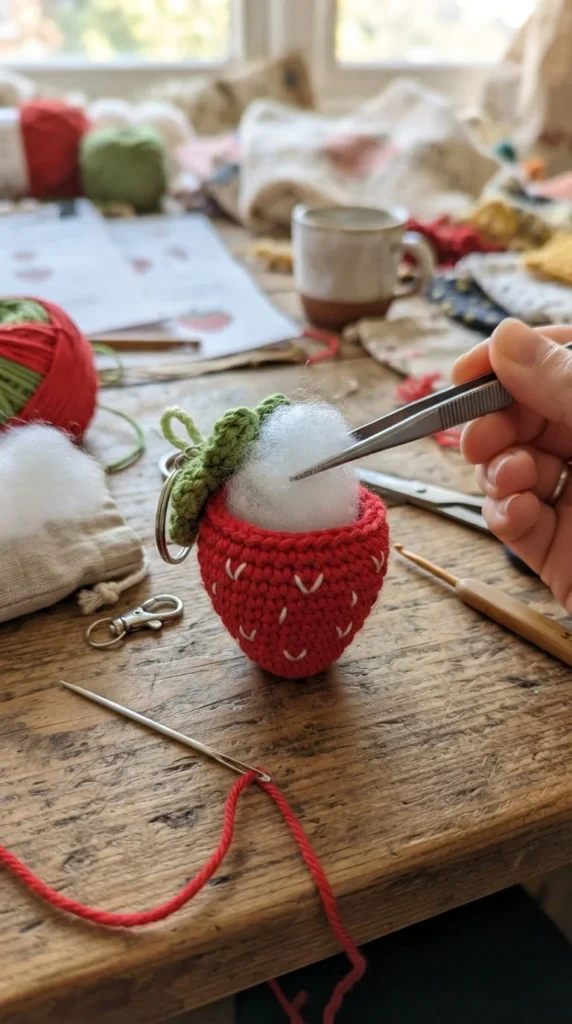
If you’re making a 3D shape, stuff it lightly with fiberfill as you crochet — not too much, or it’ll lose its cute rounded shape.
Step 4: Attach the Hardware
Once your shape is complete, it’s time to add the keychain hardware. There are two easy methods:
- Chain and sew method — Crochet a short chain, then sew both ends securely to your finished piece and attach a clasp to the loop.
- Direct attachment method — Work your very first round straight onto a swivel clasp or split ring, so it’s built right into the base.
Whichever method you choose, go over the attachment point with your yarn needle several times. This is the part that takes the most wear and tear, so reinforcing it now saves heartbreak later.
Step 5: Add the Finishing Touches
Now for the fun part — personalizing your keychain! Try:
- Embroidering a tiny face or details with contrast thread
- Adding small beads or charms
- Mixing colors for a two-tone effect
- Attaching a little fabric tag if you’re gifting or selling it
Quick Tips for Beginners
- Start with small, simple shapes before tackling detailed animals
- Use stitch markers religiously — it’s easy to lose track of rounds on tiny projects
- Keep a mini abbreviation cheat sheet nearby until the terms become second nature
- Don’t stress about perfection — a slightly wonky first keychain is still adorable (and it’s proof you made it yourself!)
Your Cute Handmade Accessory Awaits
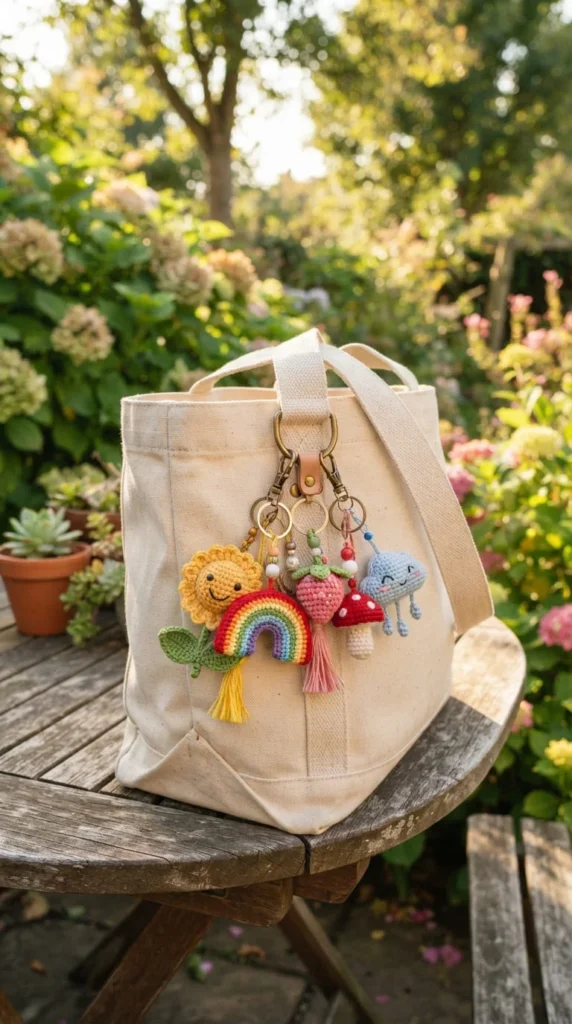
There you have it — a beginner-friendly path from a ball of yarn to a one-of-a-kind accessory you can clip onto your bag, gift to a friend, or even sell at your next craft fair. Crochet keychains are quick, budget-friendly, and endlessly customizable, which makes them the perfect gateway project into the wonderful world of amigurumi.
Ready to give it a try? Grab your hook, pick your favorite shape, and start looping. Save this tutorial for later so you can come back to it every time inspiration (or a yarn scrap) strikes!