
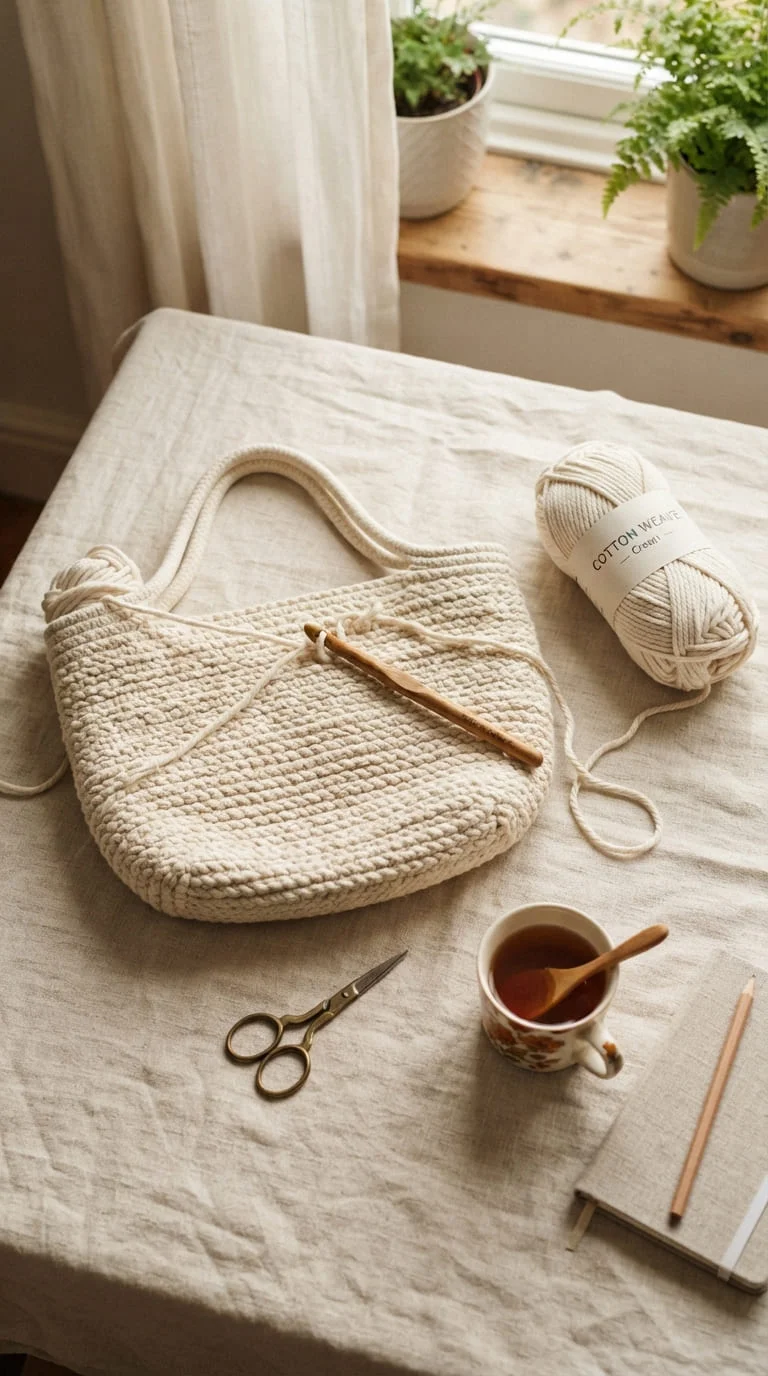
Ever stared at a skein of cotton yarn and wondered if you could really turn it into a bag you’d actually carry? You can. A crochet tote is one of the friendliest projects out there, and it turns a few hours of simple stitches into something you’ll reach for at the farmers market, the beach, or just running errands.
This guide walks you through the whole process, from picking your materials to stitching handles that won’t sag. No fancy techniques, no confusing pattern language. Just clear steps you can follow at your own pace.
What You’ll Need
Before you start, gather your supplies. Keeping things simple makes the whole project less intimidating.
- Cotton yarn, medium weight (worsted weight works great) — about 400–500g depending on bag size
- A 3.5–4.0 mm crochet hook
- Stitch markers (or a scrap of yarn in a different color)
- A yarn needle for weaving in ends
- Scissors
Cotton is the go-to choice here. It holds its shape better than acrylic and doesn’t stretch out the moment you toss your water bottle inside.
Step 1: Crochet the Base
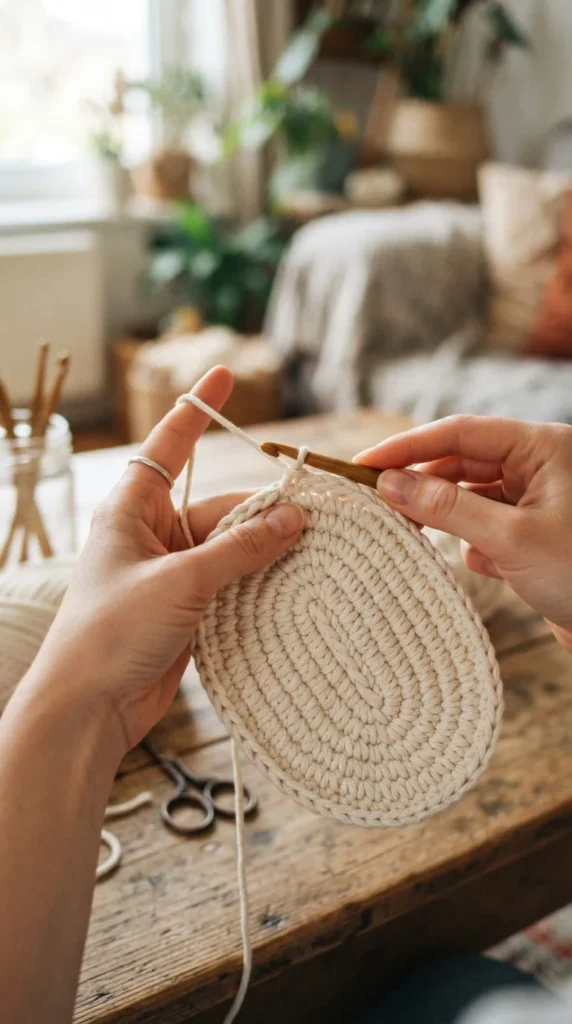
Every sturdy tote starts with a solid base. You’ll work this part flat, then build up from it in rounds.
- Chain around 20–30 stitches, depending on how wide you want your bag
- Single crochet across, then continue around the other side of your starting chain to form an oval
- Repeat this oval shape for 2–3 rounds so the base has some real weight to it
Working in single crochet (sc) here keeps the base tight and dense, which matters once you start loading the bag up.
Step 2: Build the Body in Rounds
Once your base is done, it’s time to grow the bag upward.
- Continue working in continuous rounds, without joining or turning
- Use single crochet or half-double crochet (hdc) for a slightly softer, faster-growing fabric
- Keep your stitch count even every round unless your pattern calls for shaping
- Use a stitch marker on your first stitch of each round so you don’t lose track
This is the part where your bag actually starts looking like a bag. Keep your tension consistent. Loose, uneven stitches now mean a floppy bag later.
Quick tip: If you want a slightly flared shape, add a few extra stitches evenly around your first round or two, then keep the count steady after that.
Step 3: Add the Handles
Handles are where most beginner totes run into trouble. Thin, single-strand handles tend to stretch and sag the moment you add any weight.
- Chain a length long enough for a comfortable handle, usually 12–18 inches
- Single crochet back across the chain, then repeat that same strip 2–3 times more so your handle has some real thickness
- Attach each handle with at least 20 stitches per side where it meets the bag body — this spreads the weight out instead of putting all the strain on one weak point
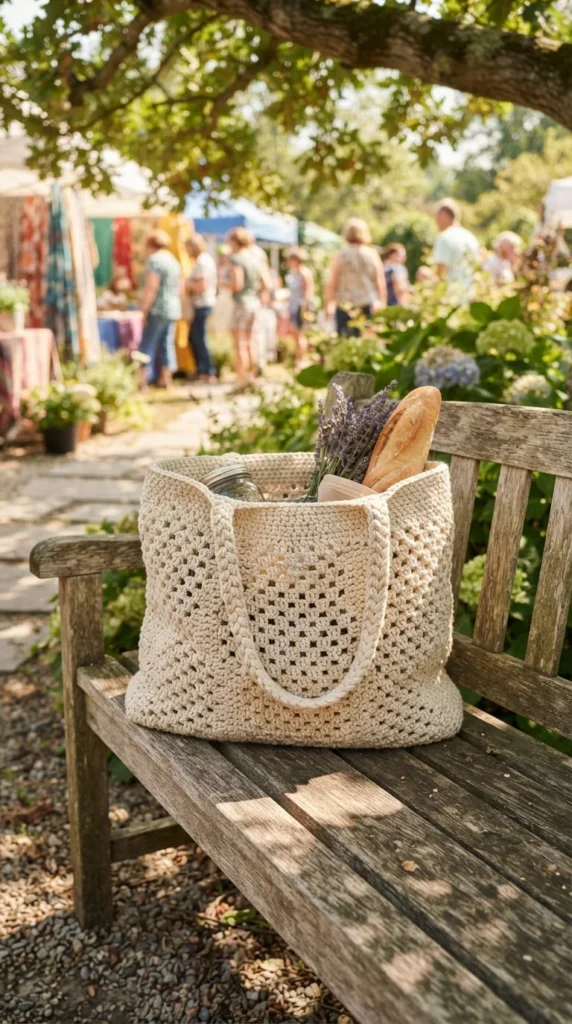
If you want extra support, thread a length of cord or ribbon through the handle stitches before closing them up. It’s a small trick that makes a big difference in how long your handles hold their shape.
Step 4: Line It (Optional but Worth It)
A fabric lining isn’t required, but it seriously upgrades your finished bag.
- Cut a piece of cotton canvas or linen slightly larger than your bag’s interior
- Fold the top edge under and press it flat
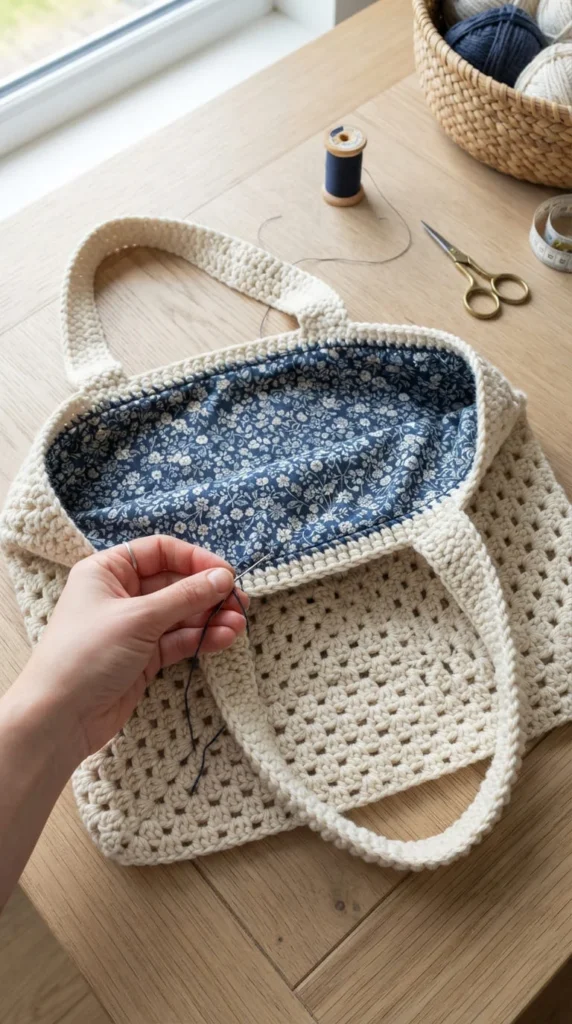
- Whipstitch the lining to the inside top edge of your tote, keeping stitches small and even
This one step stops the bag from stretching out of shape and keeps small items from slipping through gaps in the stitches.
Step 5: Finish It Off
You’re almost there.
- Weave in any loose yarn ends using your yarn needle
- Trim excess yarn close to the fabric so nothing pokes out
- Give your bag a light steam or gentle wash if your yarn label recommends blocking
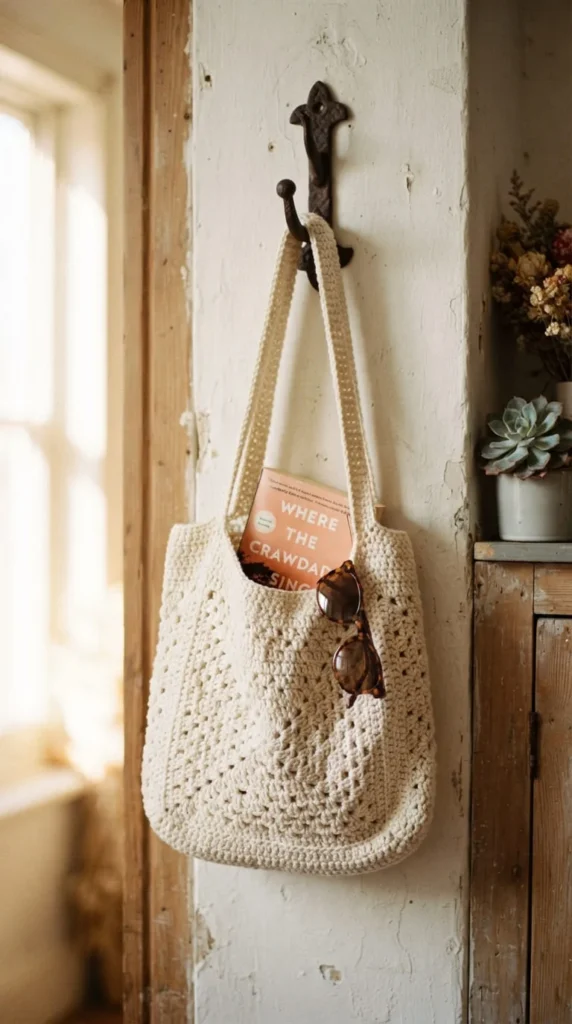
Set your finished tote somewhere you can actually see it. There’s something satisfying about looking at a bag you built stitch by stitch.
Final Thoughts
Crocheting your own tote bag is one of those projects that feels bigger than the sum of its parts. A simple base, a few rounds, and two sturdy handles turn into something you’ll carry for years. Take it one step at a time, don’t stress over perfect tension on your first try, and remember that even a slightly wobbly bag still holds groceries just fine.
Save this guide for later so you always have it on hand next time you’re ready to pick up your hook and yarn.