
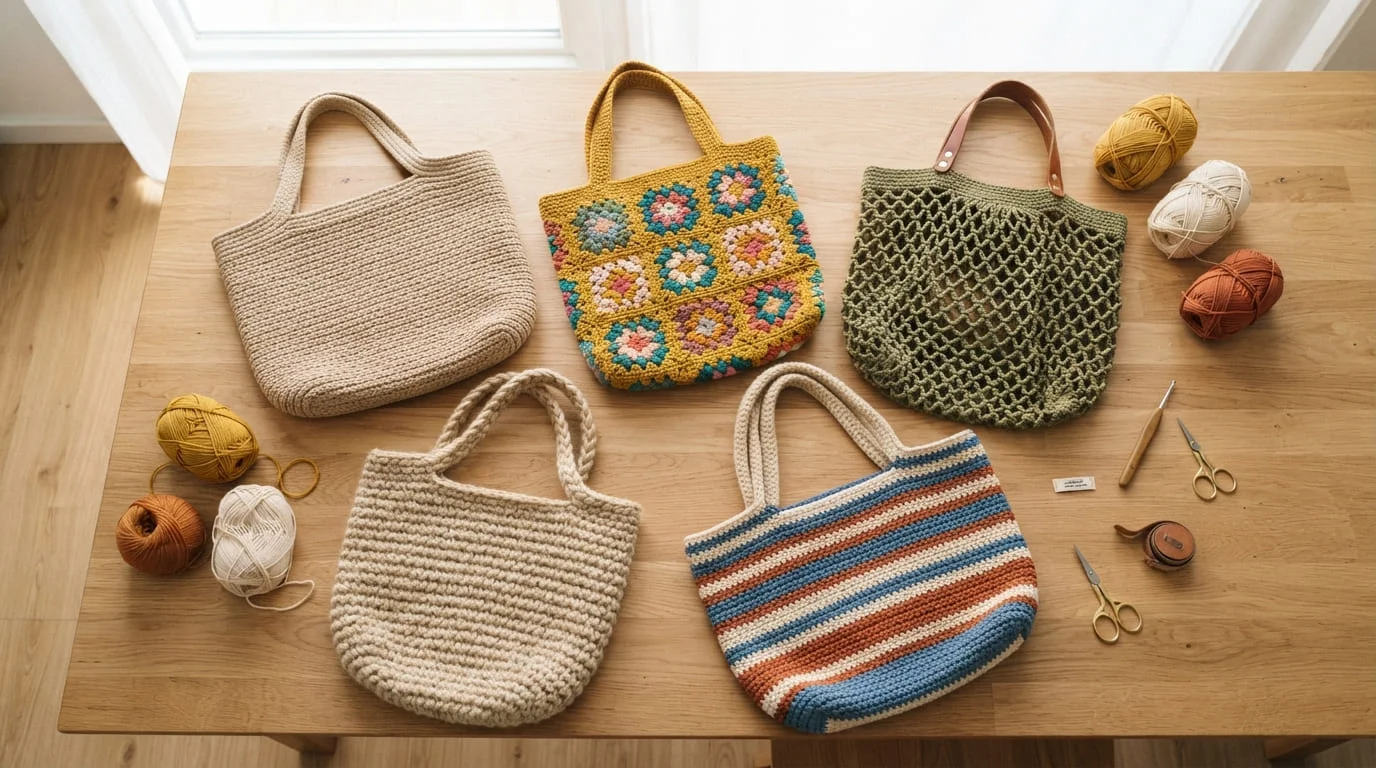
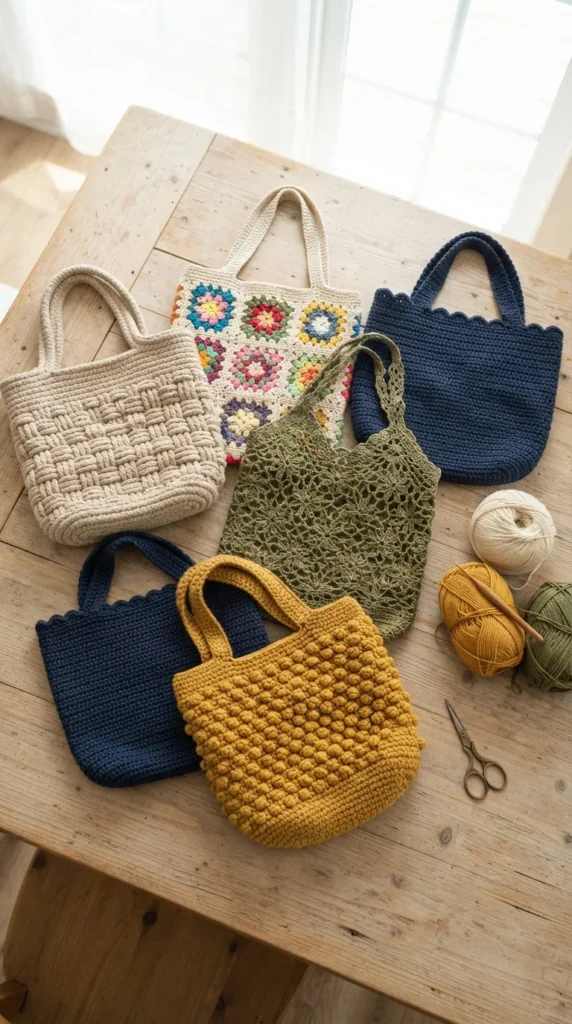
Crochet totes have turned into one of the easiest ways to carry a handmade project into your everyday routine. They’re forgiving for beginners, quick enough to finish in a weekend, and useful the moment you tie off the last stitch. Whether you want something for the farmers market, the beach, or your daily commute, there’s a tote style here that matches your skill level and your yarn stash. This list pulls together 21 approachable tote projects, each built from basic stitches like single crochet and double crochet, so you can start today with supplies you probably already own.
1. Mesh Market Tote
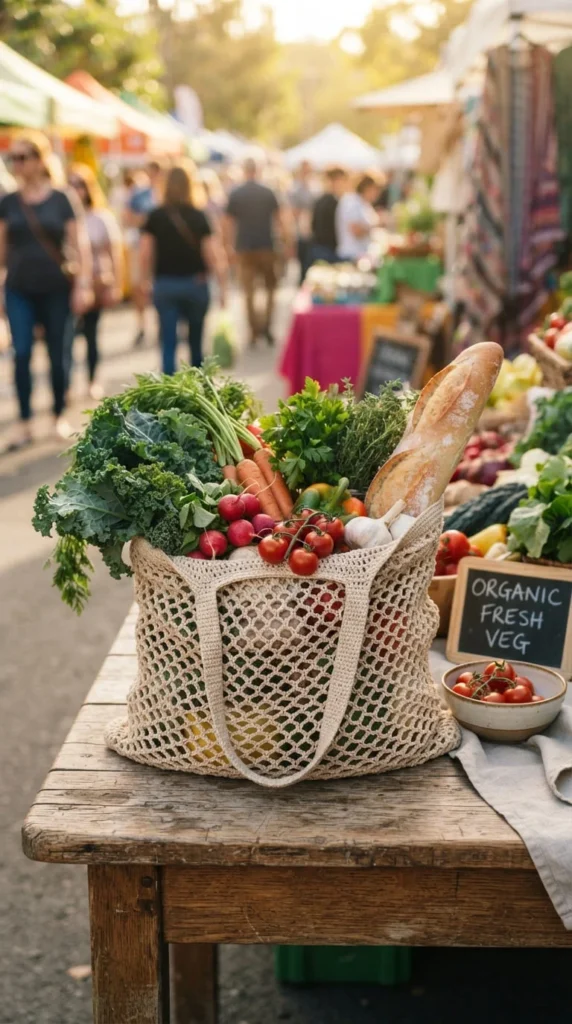
A mesh market tote is the first bag most beginners reach for, and it’s a strong pick. The open weave uses just double crochet and chain spaces, so there’s no complicated stitch pattern to memorize. Because the mesh stretches, it can hold more than it looks like it should, which makes it perfect for grocery runs. Budget tip: a single skein of cotton yarn easily makes a full-sized market bag, so this is one of the cheapest totes on the list. Chain around 30–40 stitches for a standard width, then repeat your mesh pattern in rounds until you reach your desired height. Add a simple sc band at the top opening so the edge doesn’t curl or stretch out of shape. This bag folds down small enough to keep in your car or purse, so you always have a reusable option handy instead of grabbing a plastic bag. It’s a practical first project that gets used almost daily.
2. Cotton Rope Tote
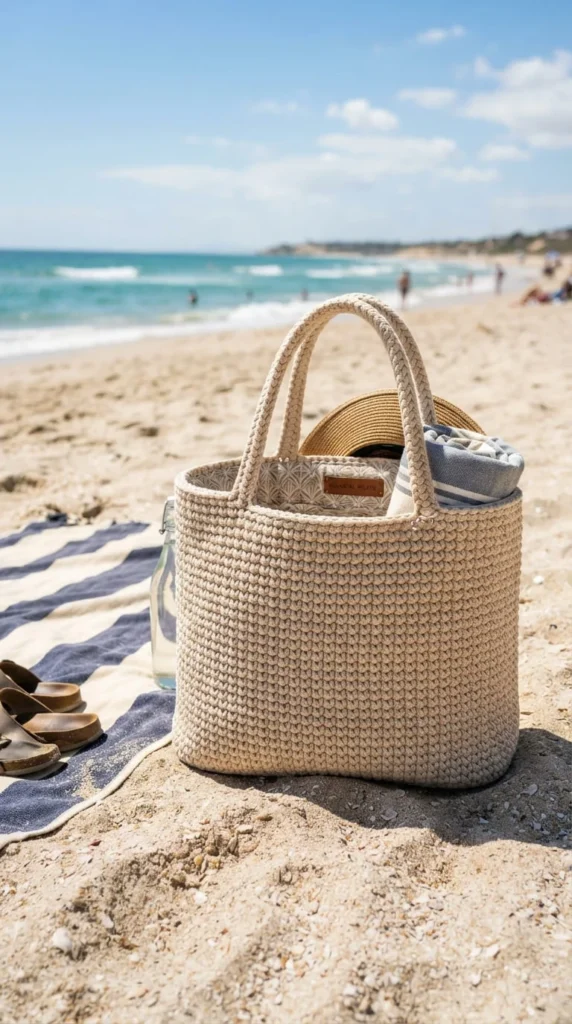
Cotton rope totes hold their shape without any extra stiffening, which makes them a favorite for beginners who want a structured bag without sewing in a liner. Using 2.0–3.0 mm cotton rope with a larger hook creates a dense, sturdy fabric. Budget tip: rope costs a bit more per meter than regular yarn, but you’ll use far less overall since the stitches are so much bigger, so total cost often ends up similar. Work single crochet in rounds for the body, keeping tension even so the rope doesn’t twist. Because rope is naturally stiff, the bag stands upright even when it’s empty, which is a nice change from floppier yarn totes. This style works well as a beach bag or an everyday carryall. Keep your rounds consistent in stitch count to avoid flaring, unless you’re intentionally shaping a wider top. This is a satisfying next project once you’ve finished a basic mesh tote and want something with more structure.
3. Bulky Yarn Quick Tote
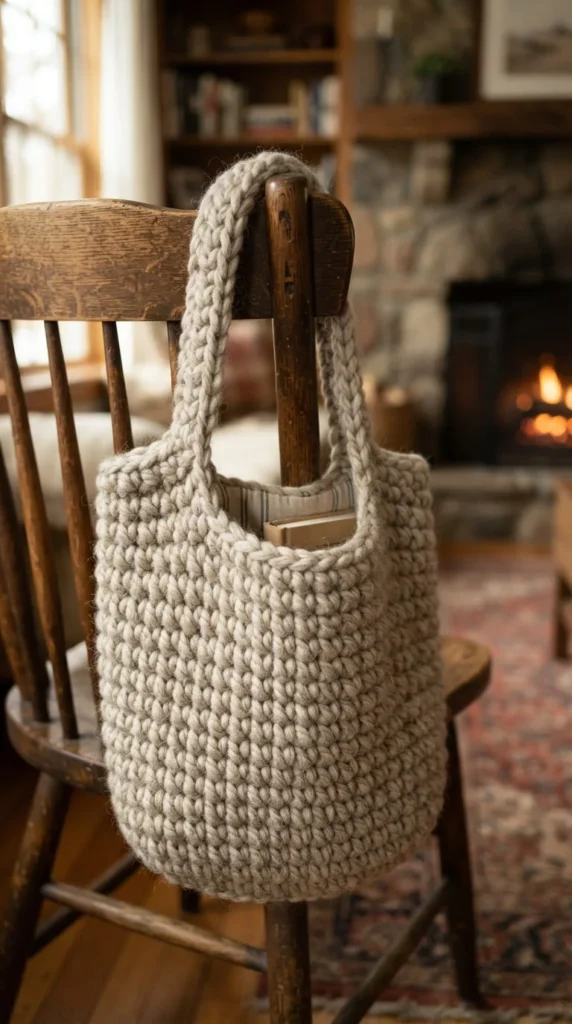
If you want a finished bag in one sitting, a bulky yarn tote is your fastest option. Thick yarn and a large hook mean the whole project can come together in one to two hours. Budget tip: one skein of bulky tube yarn often covers an entire tote, so this is a low-cost, low-commitment project if you’re not sure amigurumi or bags are your thing yet. Work the base flat, then continue in rounds using single crochet for a denser, more structured fabric. Because bulky yarn naturally has more stretch, consider a simple fabric lining if you plan to carry anything heavy. This tote style is a great gift option too, since it looks finished and polished despite taking so little time. Keep an eye on your stitch count each round, since bulky yarn makes uneven stitches more obvious. This is the project to reach for when you want a fast, satisfying win.
4. Reinforced Handle Tote
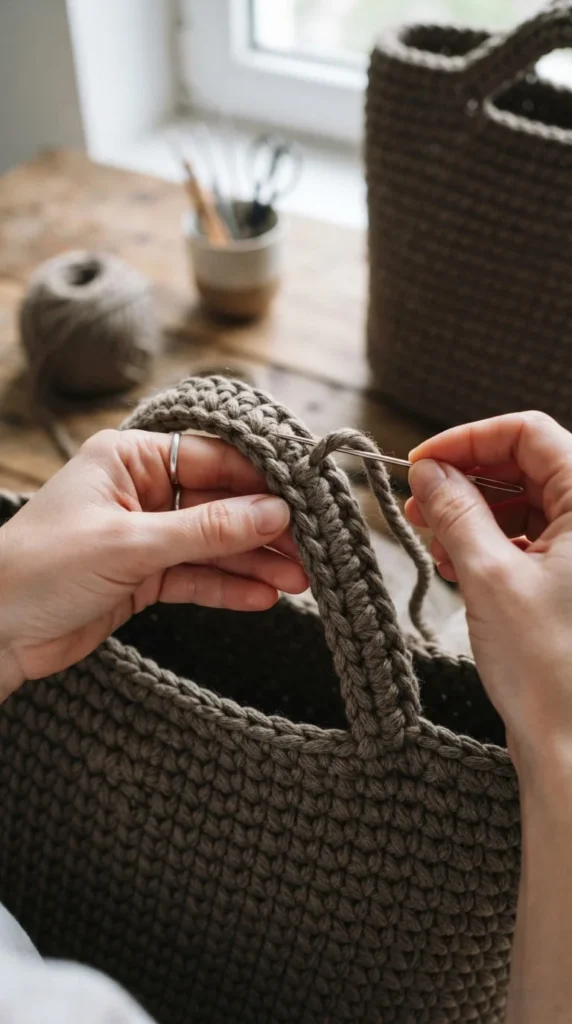
Handles are where most beginner totes fail, so building reinforcement in from the start saves you a repair job later. Thin, single-strand handles stretch fast under weight. Instead, work your handle strip two or three times over the same chain for extra thickness. Budget tip: you don’t need special reinforcement materials. Threading a spare length of yarn or cotton cord through your handle stitches before closing them up costs nothing extra and adds real strength. Attach each handle across at least 8–14 stitches where it meets the bag body, spreading the weight out instead of concentrating it at one weak point. This technique works on almost any tote pattern, so once you learn it, you can apply it to older projects too. A little extra time here means your bag survives grocery trips instead of stretching out after a few uses. Sturdy handles are what separate a bag you use daily from one that sits in a drawer.
5. Granny Square Tote
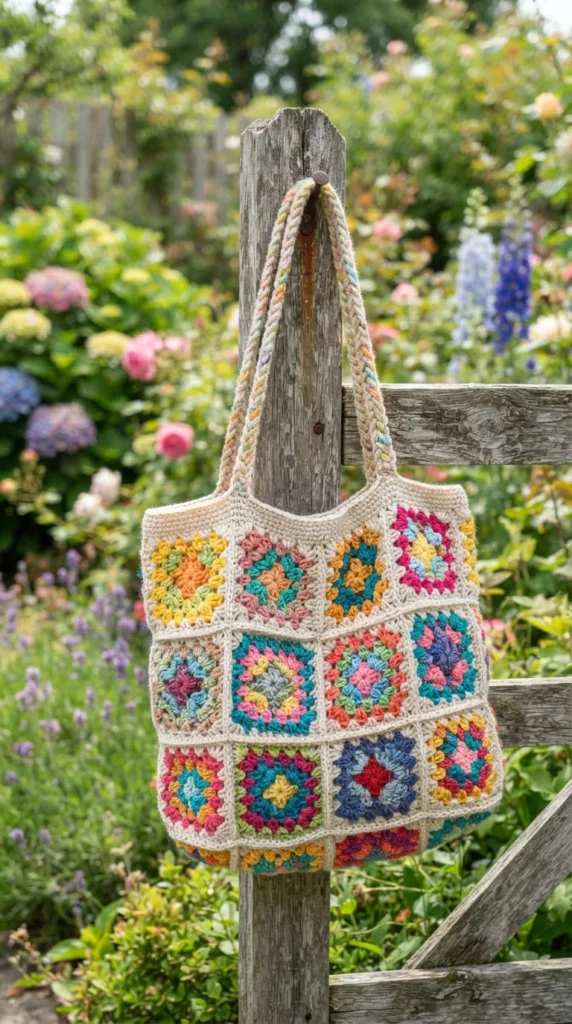
Granny square totes are a fun way to use up leftover yarn while building something bigger than a single square. Each motif is small and quick, so the project doesn’t feel overwhelming even though the finished bag is sizable. Budget tip: this is the ultimate scrap-yarn project, since you can mix any leftover colors and it still looks intentional. Crochet six to eight squares, then join them into two panels for the front and back of your tote. Seam the sides together, add a top band for stability, and attach simple strap handles. Because each square is worked separately, this project is easy to pick up and put down, which makes it a good choice for busy schedules. Mixing bright, mismatched colors gives the bag a playful, handmade look that store-bought totes can’t replicate. This is also a smart project for practicing color changes and simple seaming techniques before moving to bigger garment projects.
6. Lined Cotton Tote
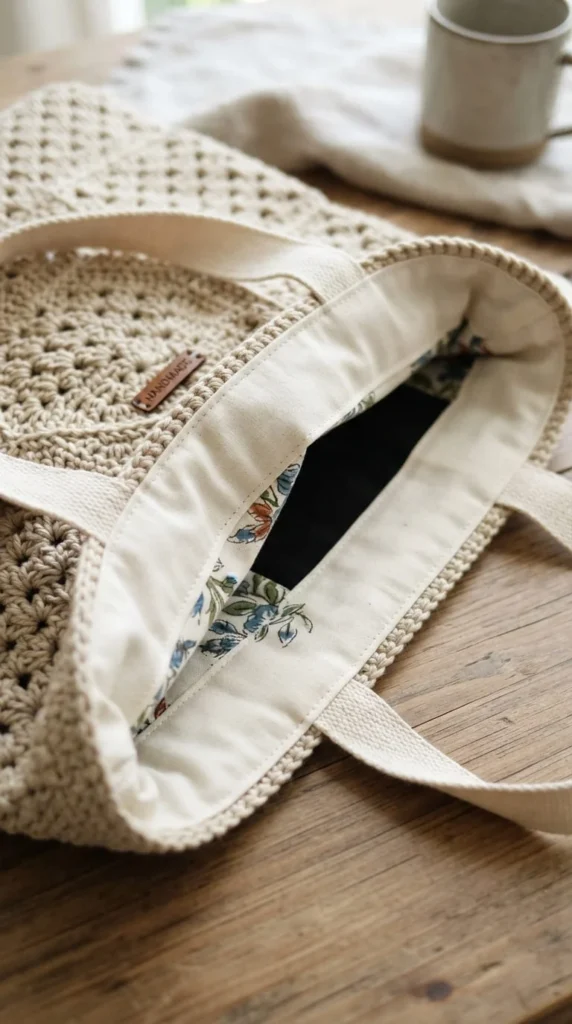
A fabric lining takes a basic tote from casual to genuinely useful. Lining prevents the bag from stretching out of shape and stops small items from slipping through gaps in the stitches. Budget tip: an old pillowcase or a remnant of cotton fabric from a fabric store’s clearance bin works just as well as new yardage, so this upgrade barely costs anything. Cut your fabric slightly larger than the bag’s interior, fold the top edge under, and whipstitch it to the inside opening using small, even stitches. This single step solves two common beginner complaints at once: sagging and losing items inside an open-weave bag. Choose a sturdy cotton canvas if you want extra structure, or a lighter cotton if you prefer a softer feel. This technique works on almost any tote in this list, so it’s worth learning early. A lined tote also photographs better if you ever want to sell your finished bags.
7. A4 Structured Work Tote
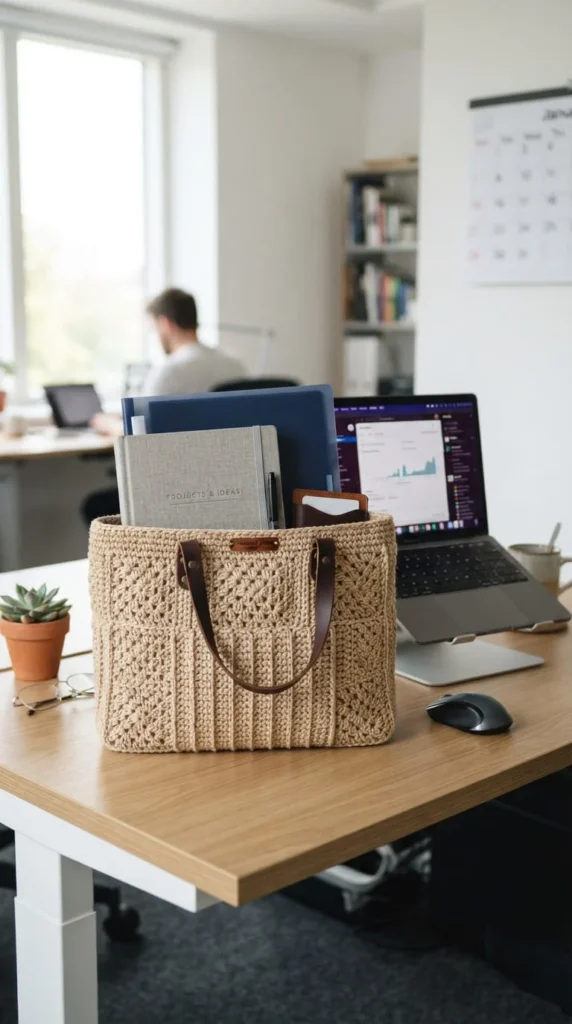
A structured A4 tote is built with straight sides and a flat rectangular base, making it the right shape for carrying folders, notebooks, or a small laptop. This shape needs a bit more planning than a rounded bag, but it’s still approachable for a beginner with one or two finished projects behind them. Budget tip: use a firmer cotton yarn instead of a soft blend, since stiffness helps the rectangular shape hold without sagging, and cotton is one of the cheaper yarn options available. Work your base as a flat rectangle, then continue upward in rounds or turned rows depending on your pattern. Keep your gauge tight for extra durability, since this bag will likely carry heavier daily items. Add a simple sc top band to keep the opening from stretching wide. This tote works well as a commuter bag or a school bag, giving your crochet skills a genuinely practical, everyday use.
8. Adjustable Crossbody Tote
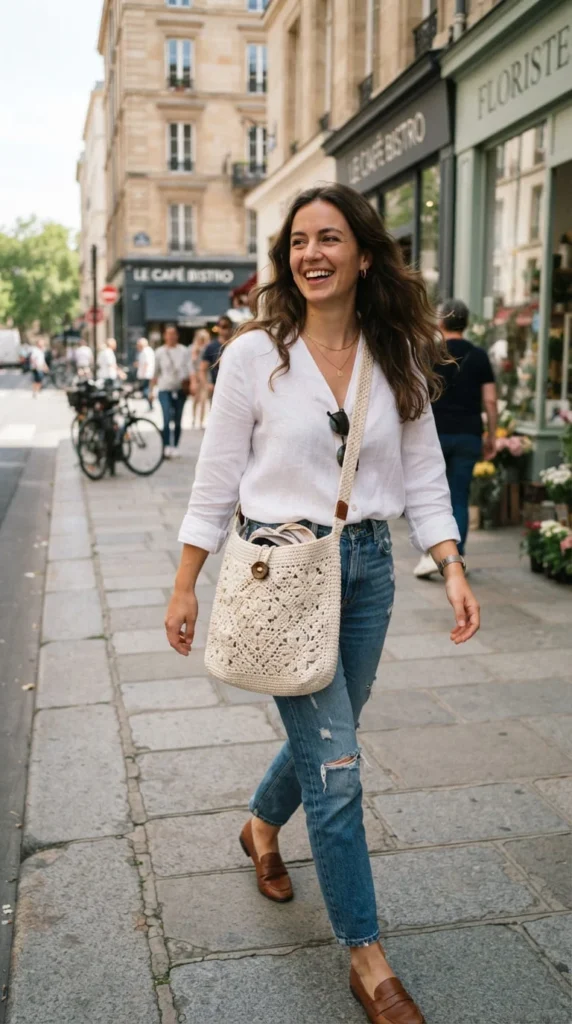
An adjustable crossbody strap turns a basic tote into a hands-free bag you can wear all day. Instead of a short handle, work a long strap chain and single crochet back across it, leaving enough length to loop over your shoulder and adjust with a slide buckle or knot. Budget tip: a plastic strap slider from a craft store costs just a couple of dollars and instantly makes any tote adjustable, so there’s no need for a specialty pattern. This style works especially well for travel, errands, or festivals where you want your hands free. Keep the strap width doubled or tripled over itself for strength, since a single thin strand won’t hold up to constant shoulder wear. This project is a good one to try once you’re comfortable with basic handle construction, since it’s really just a longer, adjustable version of a skill you already have. It’s one of the more versatile bags on this list for daily use.
9. Beach Shell Stitch Tote
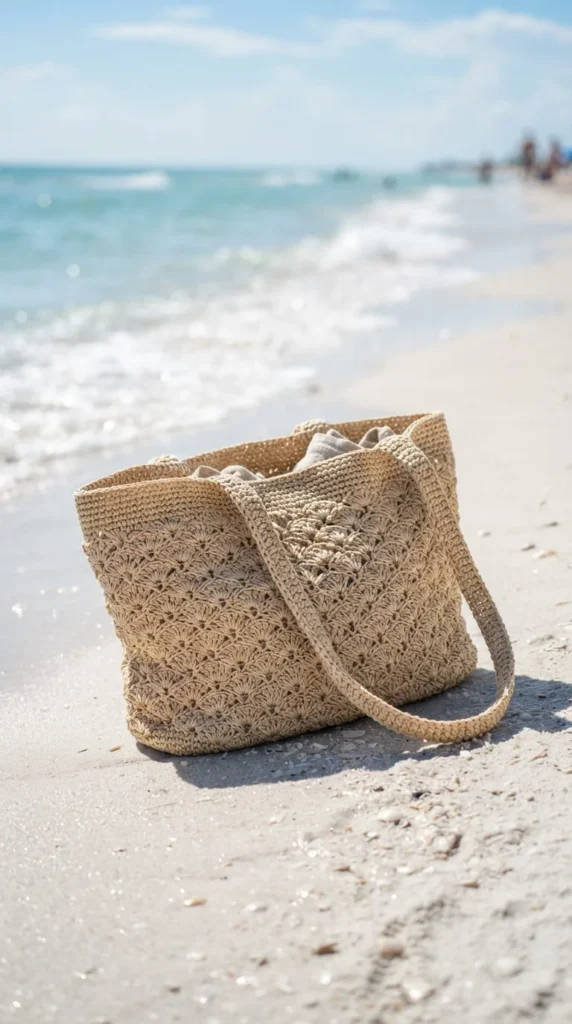
The shell stitch gives a tote a textured, scalloped look that’s more decorative than basic single crochet, but it’s still simple enough for a confident beginner. Repeating shell clusters across the body creates a wavy pattern that looks far more detailed than the actual stitch count requires. Budget tip: shell stitch uses more yarn per row than plain single crochet, so choose an affordable acrylic or cotton blend rather than a premium yarn for your first attempt. This style works especially well for beach totes since the open texture keeps sand from collecting inside as much as a solid stitch would. Practice your shell repeat on a small swatch first to get comfortable with the rhythm before starting the full bag. Pair it with a solid-color top band and handles so the shell texture stays the visual focus. This is a great project once you want to add a bit of texture and interest beyond straight rows of single crochet.
10. No-Sew Insert Tote
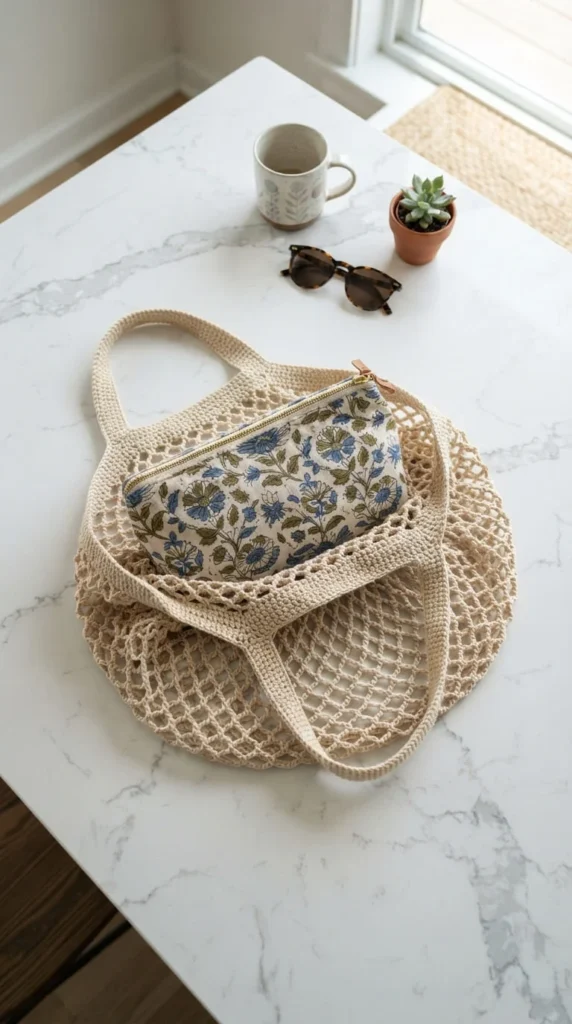
If sewing a lining feels intimidating, a no-sew insert solves the same problem without a needle and thread. Instead of stitching fabric directly into the bag, you drop in a pre-made fabric pouch or organizer that holds your keys, phone, and wallet separately from loose items. Budget tip: repurpose a small makeup bag or pencil case you already own instead of buying a purpose-made insert. This trick is especially useful for mesh or open-weave totes, where small items can otherwise slip through the gaps. It also means you can swap the insert between different bags instead of committing to one lining per tote. This is the easiest structure upgrade on the list since it requires zero extra stitching. It’s worth trying before you commit to sewing a full lining, especially if you’re still deciding whether a bag pattern is a keeper.
11. Plastic Canvas Base Tote
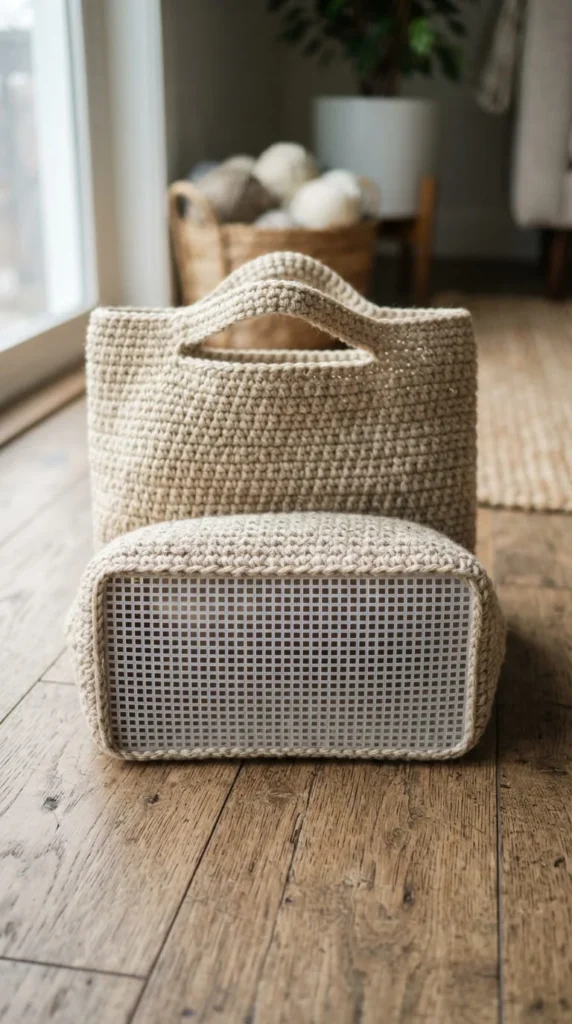
A plastic canvas base stops your tote from sagging at the bottom, which is one of the most common complaints with soft yarn bags. Cut a piece of plastic canvas to match your base shape, then slide it into the bottom of the finished bag before adding your first items. Budget tip: plastic canvas sheets cost only a few dollars and one sheet covers several bag bases, so this is a cheap fix for a bag that already feels floppy. You can add it after the fact to an older project too, not just new ones. This trick works especially well for structured or A4-style totes where a flat, stable bottom matters most. It also protects your bag’s shape when it’s set down on the ground, keeping the base from spreading out. This is a small addition that makes a noticeable difference in how professional a finished tote looks and feels.
12. Gradient Colorblock Tote
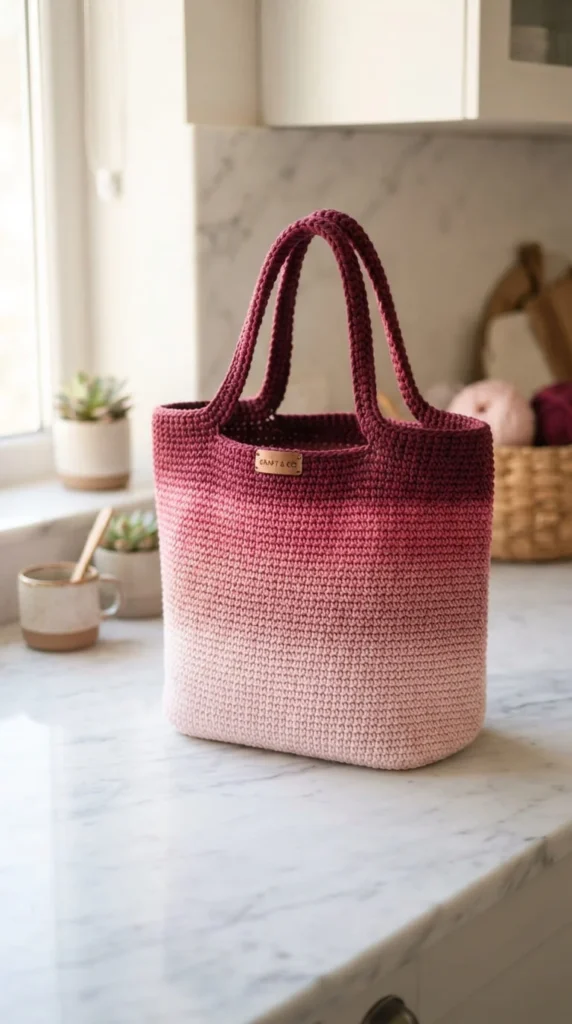
Gradient yarn does most of the design work for you, shifting from one shade to another as you crochet without any color changes on your part. This makes a colorblock or ombré tote an easy way to get a modern, polished look without extra technical skill. Budget tip: gradient yarn cakes cost a little more than solid colors, but since you only need one skein for a full tote, it’s still an affordable upgrade from a plain single-color bag. Simply work your usual single or double crochet pattern and let the yarn transition naturally as you go. If you want more contrast, alternate between two solid colors every few rows instead, which uses ordinary yarn you may already have. This style photographs beautifully, making it a strong option if you ever want to sell finished totes. It’s proof that a small yarn choice can make a basic pattern look far more intentional.
13. Macramé Cord Market Tote
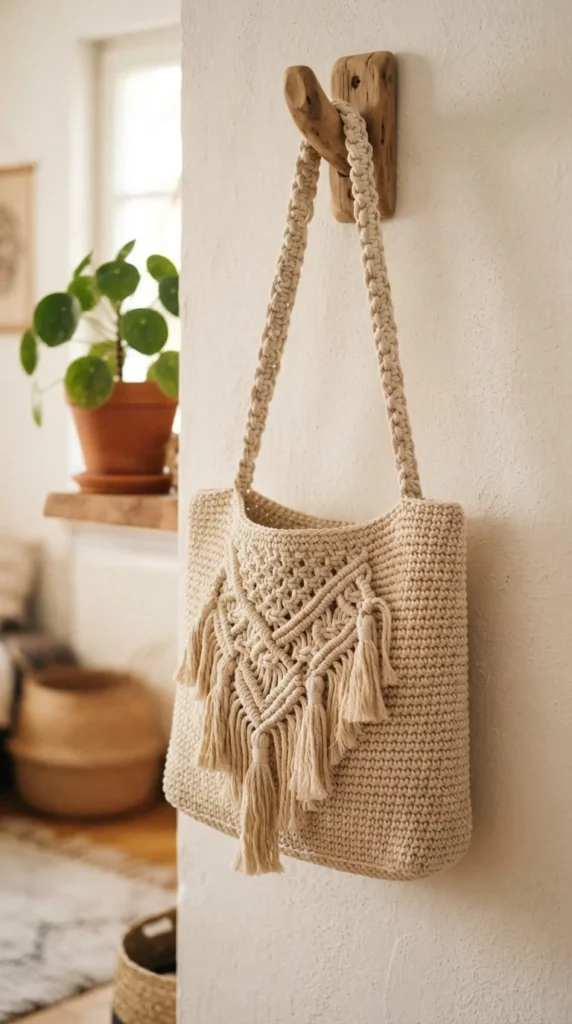
Combining macramé cord with basic crochet stitches creates a sturdier, more structured market bag than yarn alone. A 4mm three-ply cotton cord is a solid starting point for beginners trying this hybrid style. Budget tip: cord is sold by the meter, so buy just enough for one bag rather than a full spool until you know you like working with it. Use the cord for the main net or body of the bag, then switch to a softer cotton yarn for the handles so they’re comfortable to hold. This style holds its shape exceptionally well and works great as a beach or grocery bag since it can handle heavier loads without stretching much. The thicker cord also means your stitches are larger, so the project moves quickly despite looking detailed. This is a fun in-between project if you’re curious about macramé but want to stick with a crochet hook for now.
14. Bucket Bag
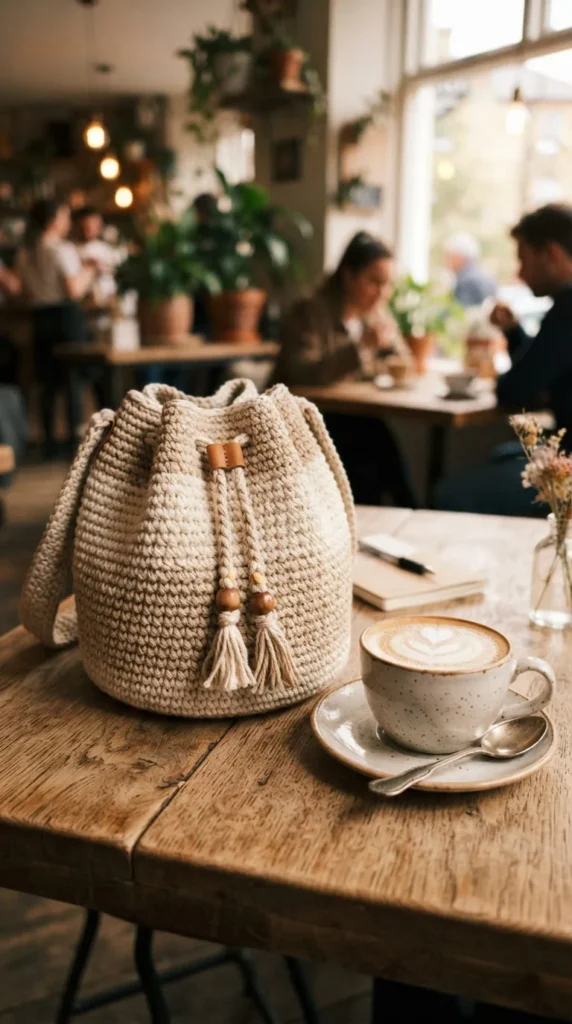
A bucket bag swaps the flat tote shape for a rounded body and a drawstring or button closure at the top. It’s a slightly more structured project, but the round base is worked the same way as a basic amigurumi circle, so it’s still beginner-friendly. Budget tip: use a mid-weight cotton yarn instead of anything specialty, since the structure of this bag comes from its shape rather than expensive materials. Start with a flat circle base, then continue straight up in rounds without increasing to form the sides. Add a drawstring cord through the top round for closure, or a simple button loop if you prefer. This shape works well for a day out since the closed top keeps your items secure. It’s a nice change of pace from flat totes and gives you practice with circular increases you’ll use again in other crochet projects.
15. Hobo Bag
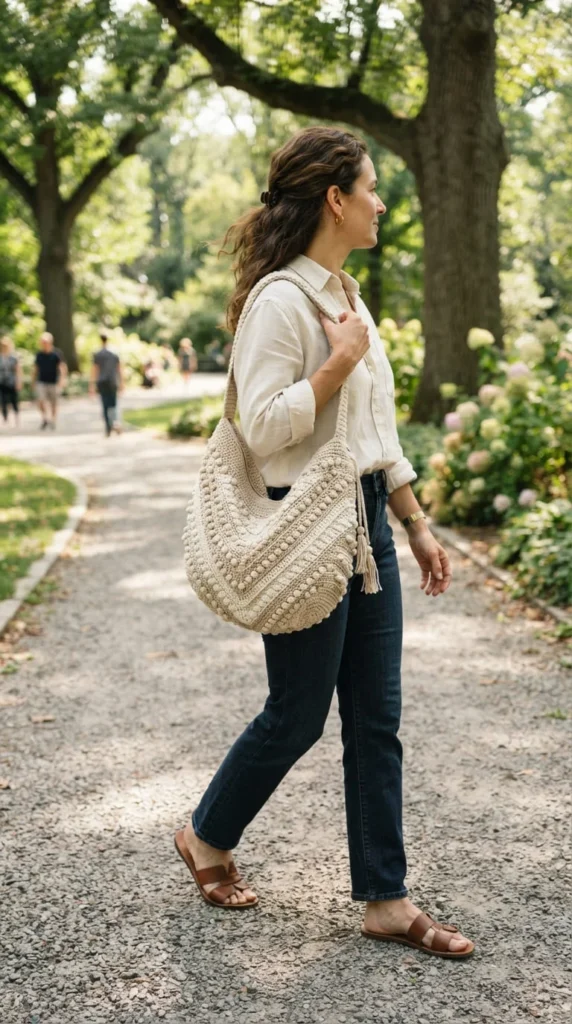
The hobo bag has a relaxed, curved silhouette that drapes naturally over the shoulder instead of standing structured like a tote. A softer yarn works best here since the slouchy look depends on the fabric having some give. Budget tip: an acrylic or acrylic-cotton blend is both affordable and soft enough for this drape, so you don’t need a premium fiber. Work the body using double crochet for a looser fabric, then add a single long strap sized to sit comfortably at your shoulder or hip. Because this bag isn’t meant to be stiff, skip the plastic canvas base and let it move naturally. This style pairs well with casual outfits and works as a lightweight everyday bag rather than a heavy-duty carryall. It’s a good project once you’re ready to move past rigid, structured shapes and experiment with drape and movement in your crochet fabric.
16. Two-Panel Seamed Tote
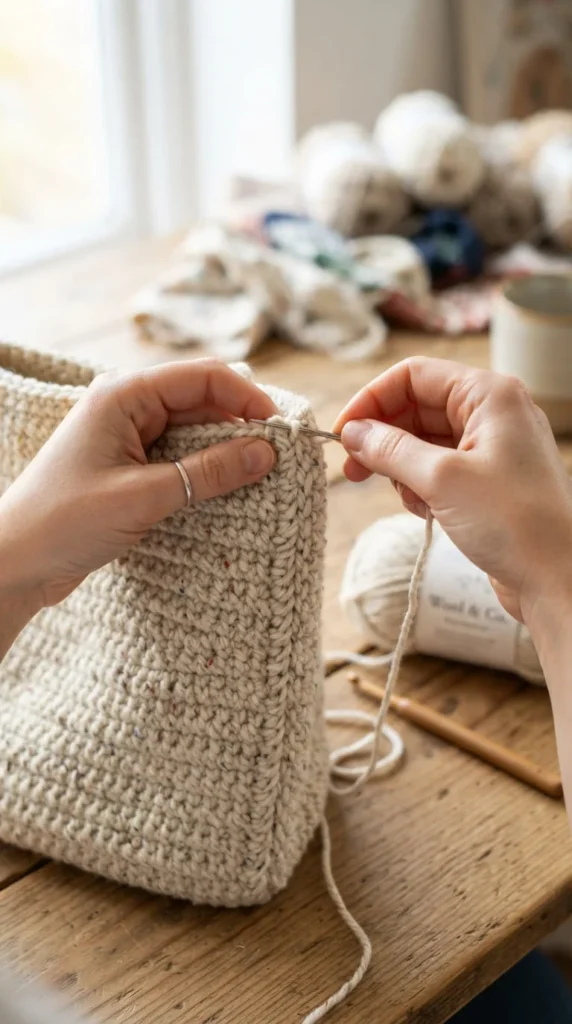
Instead of working in continuous rounds, a two-panel tote is made from two flat rectangles crocheted separately, then seamed together along the sides and bottom. This method is useful if you want a very structured, boxy shape. Budget tip: working flat panels uses roughly the same amount of yarn as working in rounds, so there’s no real cost difference, just a different technique to learn. Crochet both panels to matching dimensions, then use a whipstitch or single crochet seam to join them along three edges, leaving the top open. This construction method makes it easy to add a contrasting color or pattern to just one side, like a monogram or motif, since each panel is worked independently before joining. It’s also a good introduction to seaming, a skill that transfers directly to garment-making if you ever want to branch out from bags into crochet clothing.
17. Textured Ripple Tote
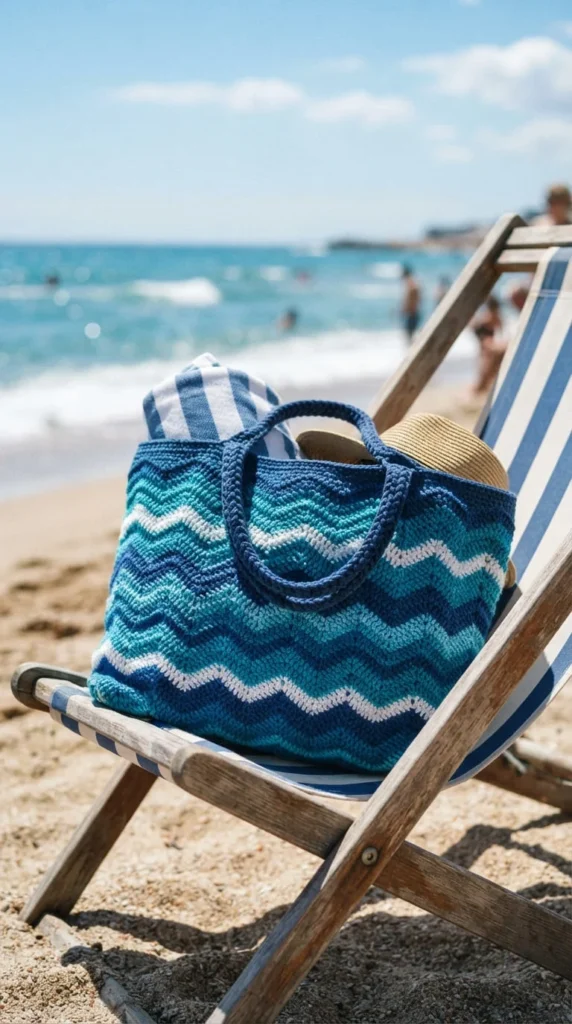
The ripple stitch creates a wave-like texture using a repeating pattern of increases and decreases across each row. It looks far more complex than it actually is, making it a satisfying stitch to add to your beginner toolkit. Budget tip: ripple patterns look great in variegated or multi-color yarn, which is often sold at a similar price to solid colors, so you get a more detailed-looking bag without spending extra. Practice the increase-decrease repeat on a small swatch before starting your full tote, since getting the rhythm right takes a few rows. Once you’ve got it, the pattern becomes easy to repeat without much counting. This texture works particularly well for beach or summer totes, echoing the look of ocean waves. It’s a strong next step once you’ve mastered basic single and double crochet and want a stitch pattern with more visual interest.
18. Modular Rectangle Tote
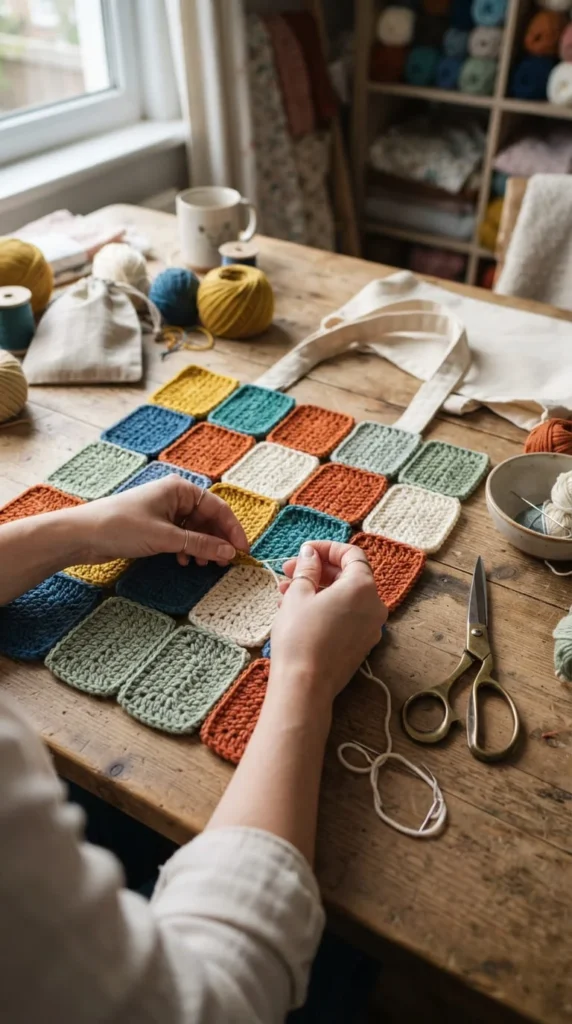
Similar to a granny square tote, a modular rectangle tote is built from smaller crocheted rectangles joined together rather than one continuous piece. This method lets you plan out a color layout ahead of time, almost like a quilt. Budget tip: this is another excellent scrap-yarn project, since each rectangle only needs a small amount of yarn to complete. Crochet six to ten rectangles in your chosen colors, then arrange them in a grid before joining with a whipstitch or slip stitch seam. Because each piece is small, this project is easy to work on during short breaks rather than needing a long, uninterrupted session. It also makes a great group or gift project, since you could crochet a few rectangles yourself and have others contribute pieces too. This modular method is flexible enough to resize into a bigger or smaller bag just by adding or removing rows of rectangles.
19. Sashiko Reinforced Tote
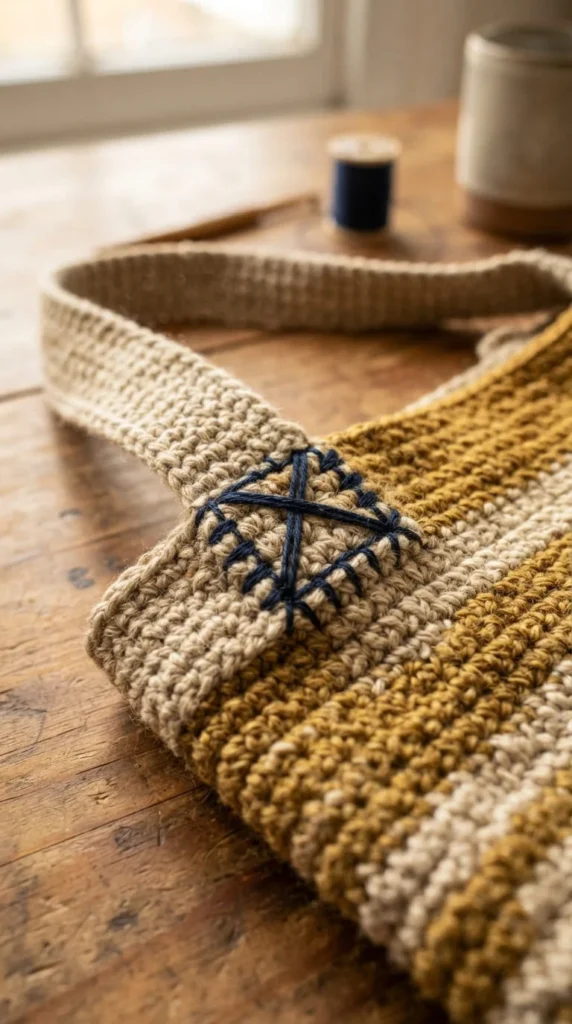
Borrowing from the Japanese mending technique sashiko, this style turns reinforcement stitching into a visible design feature rather than hiding it. Instead of quietly strengthening weak points like the handle bases or bottom corners, you stitch a contrasting thread pattern right on top in a decorative running-stitch style. Budget tip: embroidery floss is inexpensive and works perfectly for this technique, and a single skein covers reinforcement stitching for several bags. Focus your stitching on the areas that take the most stress: handle attachment points and bottom corners. This method solves a durability problem while also making your bag look more intentional and detailed. It’s a great technique to apply to an older tote that’s already starting to show wear at the seams. This approach works especially well on solid-color totes, where the contrasting stitch pattern stands out clearly against the plain background.
20. Resizable Everyday Tote
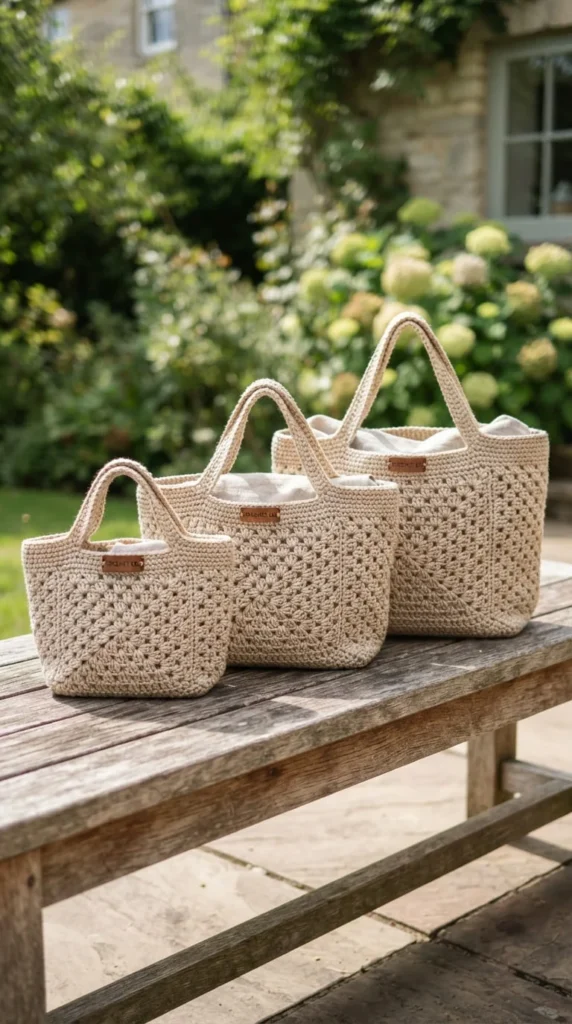
Once you understand the basic tote formula, you can resize it to fit almost any purpose. A resizable tote just means adjusting your foundation chain and row count rather than following one fixed pattern. Budget tip: working a gauge swatch first helps you estimate yarn needs accurately, so you don’t accidentally run out mid-project or overbuy for a smaller bag. Add or remove chains at the start to change the width, and add or remove rounds to change the height. A shorter, wider version works well as a beach bag, while a taller, narrower version suits books or a laptop. This skill saves you from hunting for a brand-new pattern every time you want a slightly different size. Once you’ve made two or three totes from this list, resizing becomes second nature, giving you the freedom to design bags that fit your exact daily needs instead of following someone else’s measurements.
21. Weekend Beginner Tote
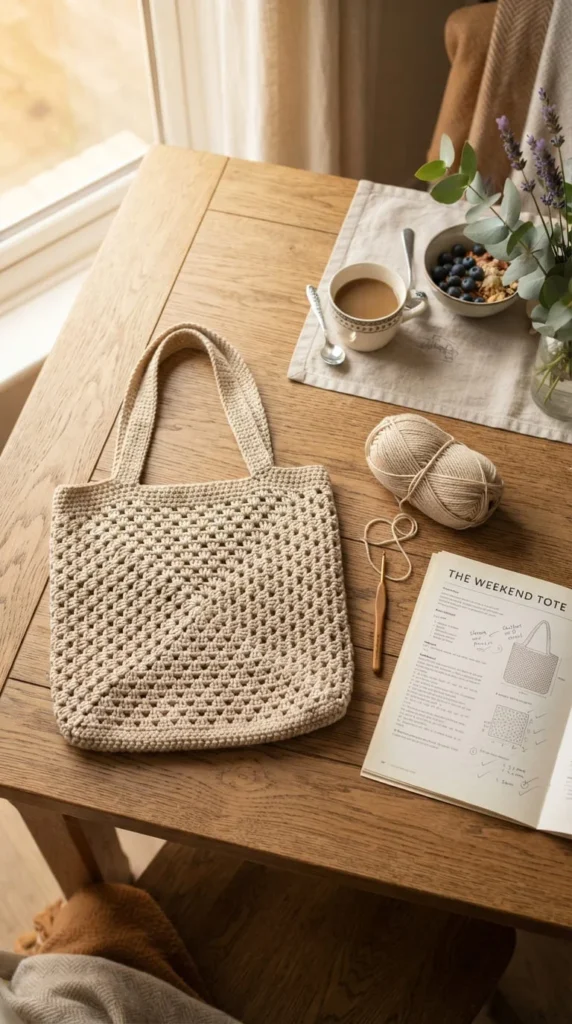
If you want a clear plan to finish your first bag, spread the project across a single weekend. Day one: crochet your base and swatch your gauge. Day two: work the body in rounds until you reach your desired height. Day three: add handles, a top band, and weave in your ends. Budget tip: stick to one affordable cotton yarn and a basic hook for this project, since the goal is finishing, not perfecting every detail. Breaking the project into three short sessions keeps it from feeling like a huge commitment, which is often what stops beginners from starting at all. Each session only takes an hour or two, so it fits around a normal weekend schedule. By Sunday evening, you’ll have a finished, usable bag and the confidence to try something more detailed next. This approach works for literally any pattern on this list, so use it as your starting structure for whichever tote catches your eye first.
Conclusion
Crochet totes prove that a handful of basic stitches can turn into something you actually use every day. From a quick bulky-yarn bag finished in an afternoon to a structured, lined work tote built over a weekend, each project on this list works with beginner-level skills and budget-friendly materials. Pick the style that matches what you’ll actually carry, whether that’s groceries, books, or a beach towel, and start with your existing yarn stash before buying anything new. Once you finish your first bag, resizing and mixing techniques from this list gets easier every time. Grab a hook, choose your favorite style from above, and start your first tote this week.