
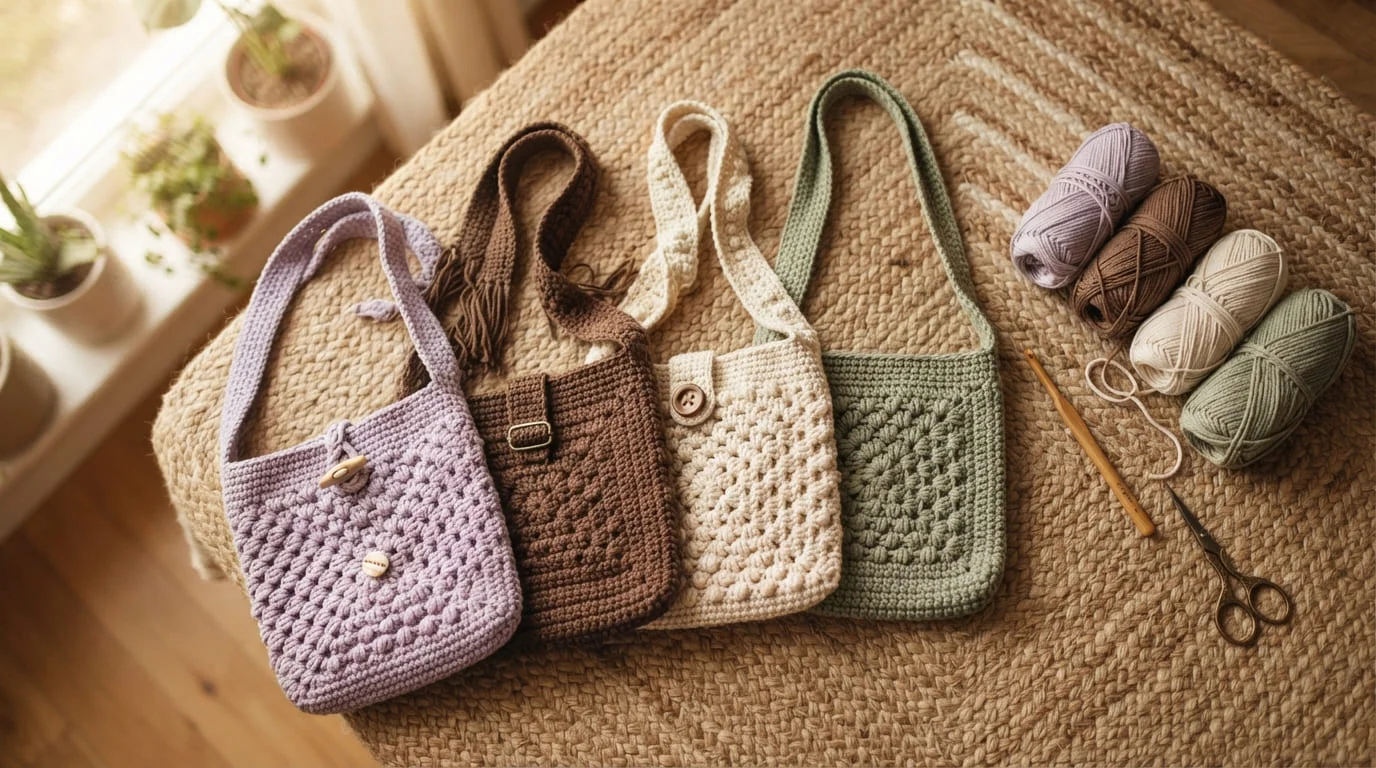
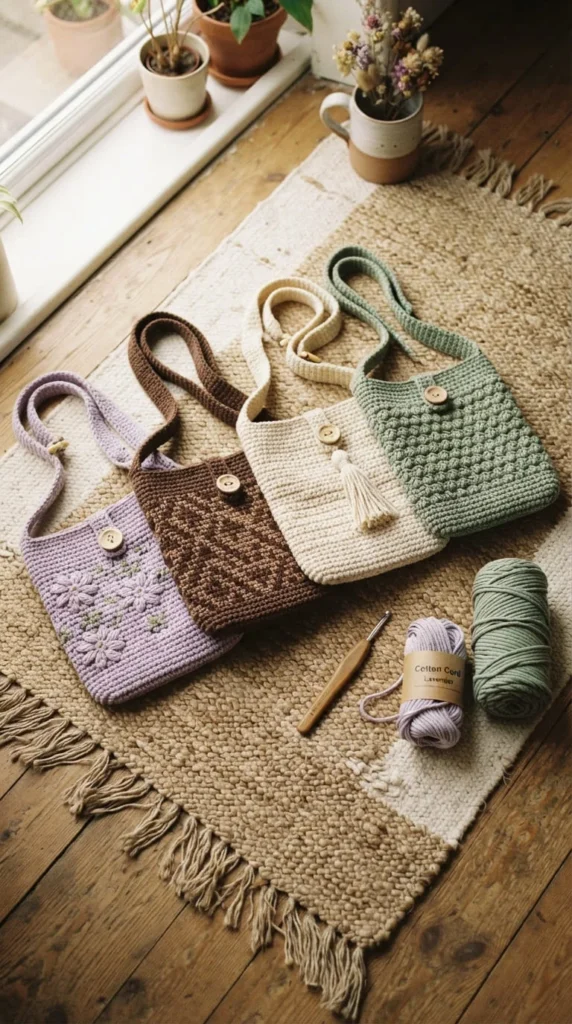
Crochet shoulder bags sit right at the sweet spot between practical and pretty. They carry your wallet, phone, and keys, but they also look like something you’d find in a boutique window. If you’ve only made small pouches so far, a shoulder bag is the next natural step. You get to practice panels, straps, and a little structure, without jumping straight into anything overly technical. Below are 22 aesthetic crochet shoulder bag ideas built around beginner-friendly stitches, simple hardware, and budget-conscious materials like cotton cord and leftover yarn. Grab your hook and let’s find your next project.
1. Two-Panel Everyday Shoulder Bag
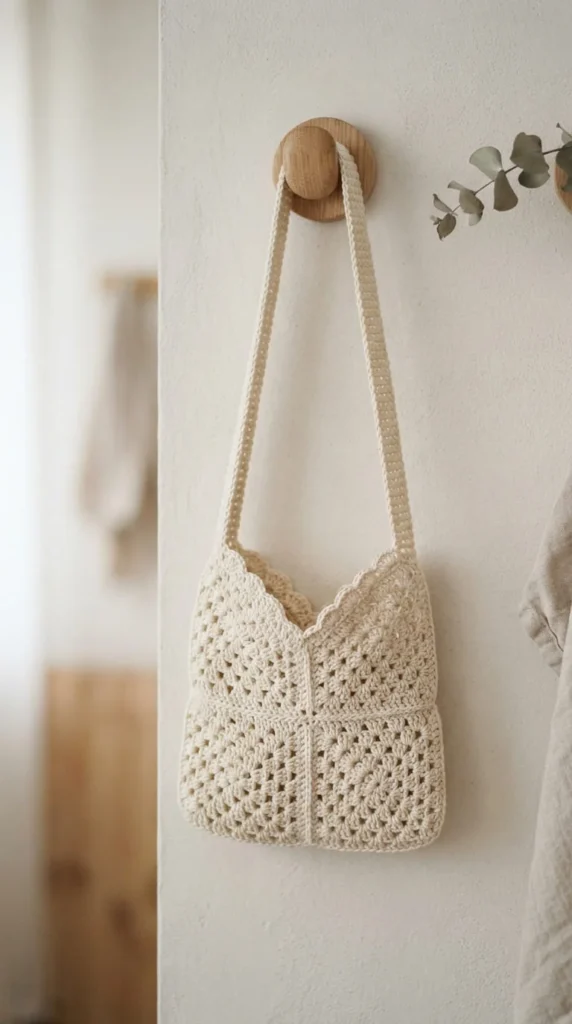
This is the most beginner-friendly shoulder bag shape out there. You crochet two flat rectangles, sew them together along the sides and bottom, then add a strap. No shaping, no curves, no guesswork. Budget tip: one $8 skein of worsted cotton is usually enough for the whole bag. This construction method also teaches you how panels and gussets work together, a skill you’ll reuse in almost every future bag pattern. Keep your tension even across both panels so the sides match up cleanly when you sew them. This bag holds a wallet, phone, and small makeup bag with room to spare. Try a solid neutral for an everyday look, or two contrasting colors for a color-blocked version. It’s a genuinely solid first shoulder bag project.
2. Bobble Stitch Textured Bag
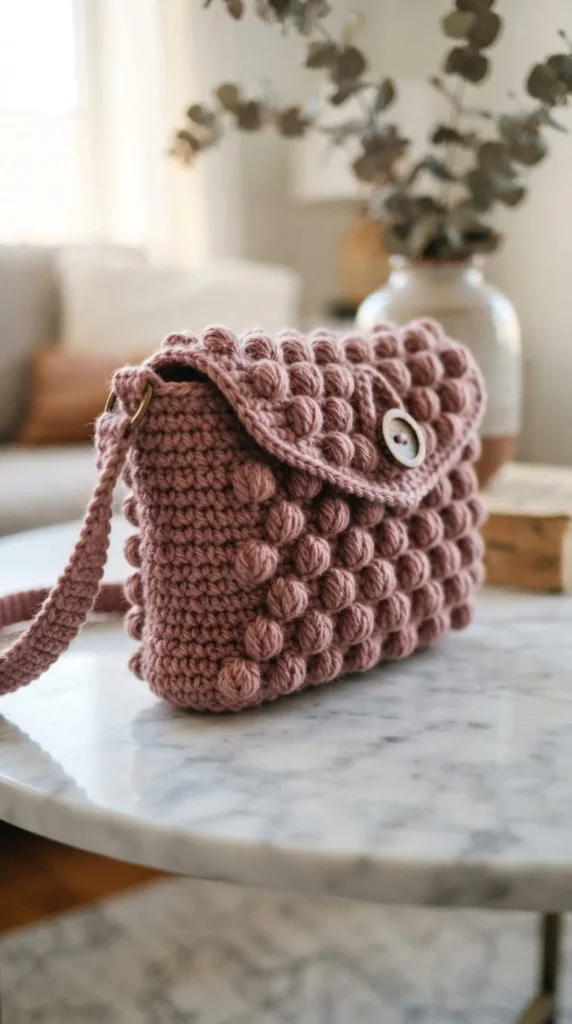
Bobble stitch (sometimes called popcorn stitch) creates a raised, textured surface that looks far more advanced than it actually is. You’re just working a cluster of stitches into one spot and closing them together. Budget tip: bobble stitches use a bit more yarn per row, so grab one extra small skein just in case. This texture hides uneven tension really well, which makes it forgiving for newer crocheters. The finished bag has a slightly padded, tactile feel that photographs beautifully. Try it in a muted rose or sage tone for an elegant look, or a bold color for something playful. This stitch is a great confidence-builder before trying anything more complicated like cables or colorwork. Practice a small swatch first to get comfortable with the rhythm.
3. Oval Base Ruffle Bag
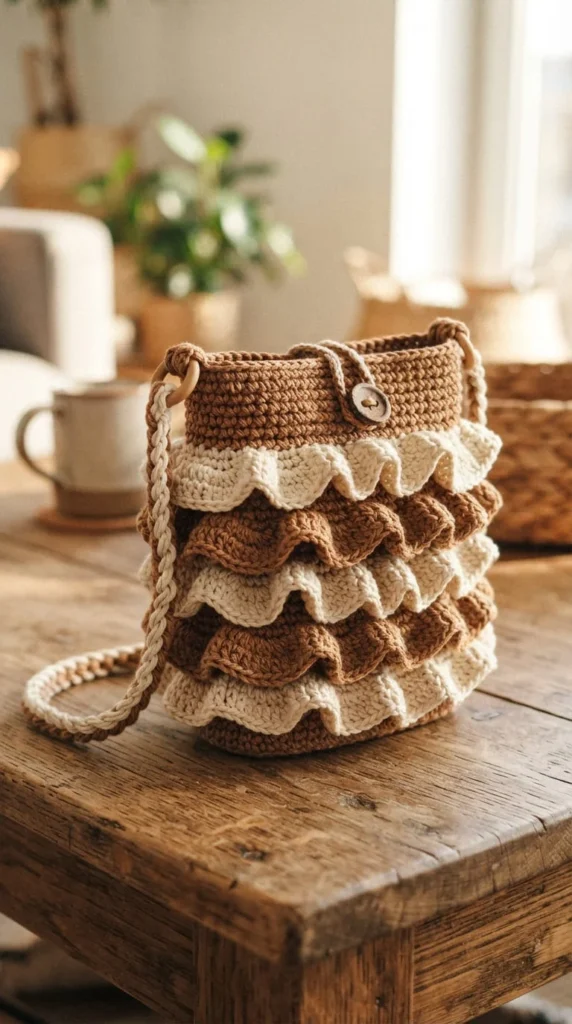
Ruffle shoulder bags start with an oval base, then build upward in tiered layers that flare out slightly at each round. It’s a striking silhouette that stands out from your typical flat-panel bag. Budget tip: a ruffle bag this size uses around 380 grams of cotton cord total, so shop for cord in bulk to save per-gram cost. The oval base takes practice, but once you understand the increase pattern, it becomes repetitive and easy to follow. Use stitch markers at the start of each round so you don’t lose track of where increases happen. Try a two-tone palette, like brown and white, for contrast between tiers. This bag has real presence and works well as a statement piece rather than a plain everyday carry.
4. No-Sew Mini Shoulder Bag
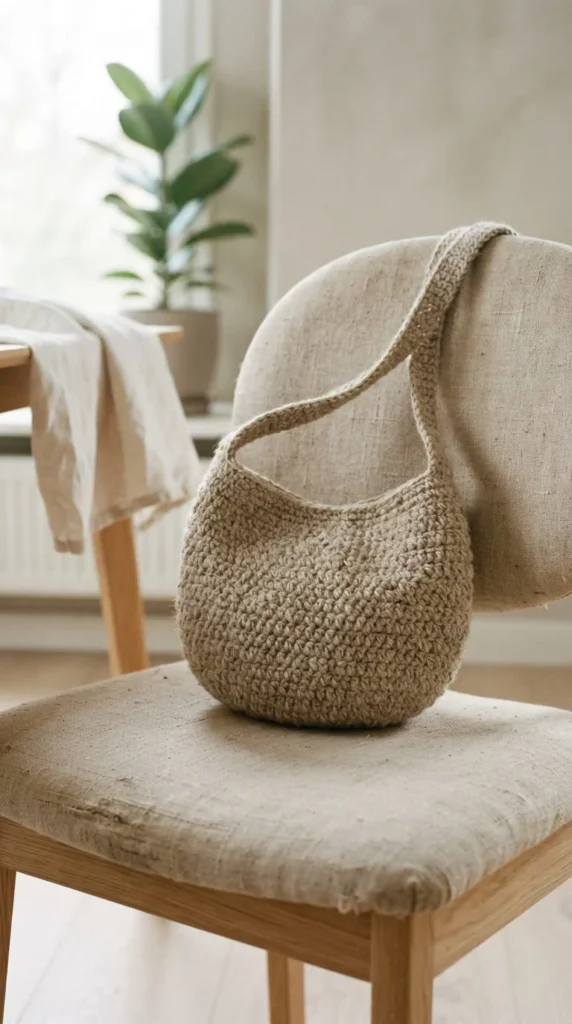
Sewing seams can be one of the trickiest parts of bag-making, so a no-sew design skips that step entirely. You crochet the whole bag in continuous rounds, working the sides and bottom as one piece instead of stitching panels together later. Budget tip: this method uses roughly the same yarn as a two-panel bag, so there’s no extra cost, just less assembly work. This is a smart choice if sewing intimidates you or if you want a faster finish. The seamless build also means fewer weak points where the bag could pull apart over time. Add a simple crochet strap directly onto the body to keep the whole project sew-free. Oatmeal, cream, or soft gray tones suit this minimal style especially well.
5. D-Ring Detachable Strap Bag
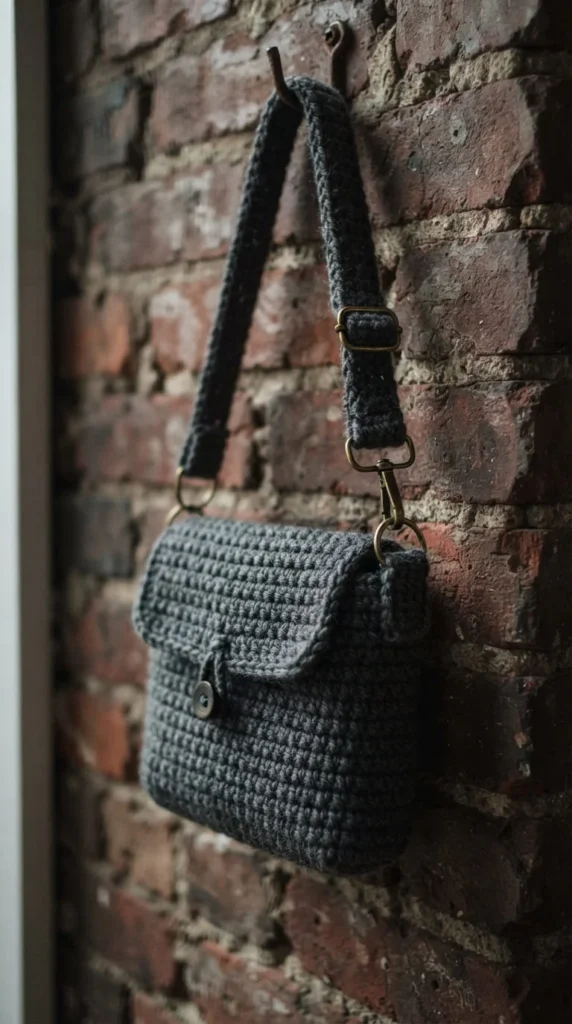
D-rings let you swap straps whenever you want, which is a genuinely useful upgrade for a beginner bag. You crochet small loops at the top corners, slide a 2 cm D-ring through each one, then sew the loops down securely. Budget tip: a pair of D-rings and a swivel clasp usually costs under $5 online. This setup means you can wear a crochet strap one day and a leather or chain strap the next, without committing to just one look. Mark the loop placement with stitch markers before sewing so both sides end up even. This detail also makes the bag easier to sell or gift, since the buyer can customize the strap themselves. Charcoal, black, or deep brown yarn gives this bag a slightly elevated finish.
6. Lined Zipper Shoulder Bag
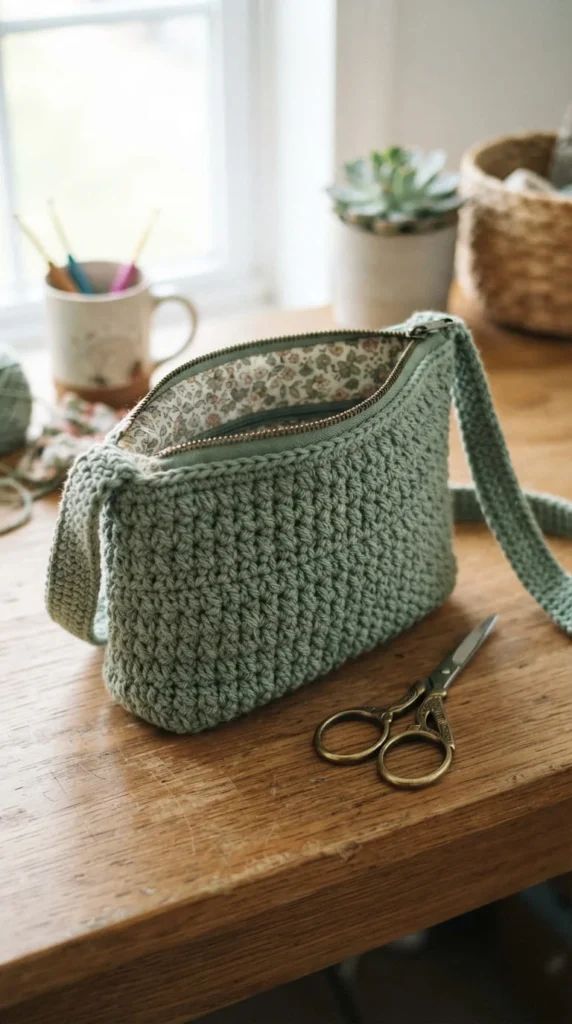
Adding a fabric lining and zipper turns a soft, floppy crochet bag into something structured and secure. You can hand-sew a lining without a sewing machine, using a simple whip stitch around the top edge. Budget tip: a yard of cotton fabric from the remnant bin costs just a couple of dollars and lines multiple bags. This upgrade is worth learning early since it solves the two most common beginner complaints: bags that sag and bags that don’t close securely. Choose a lining fabric that complements your yarn color, like a cream lining inside a sage bag. This project takes a little longer than an unlined bag, but the payoff is a shoulder bag that actually holds its shape through daily use.
7. Flower Motif Shoulder Bag
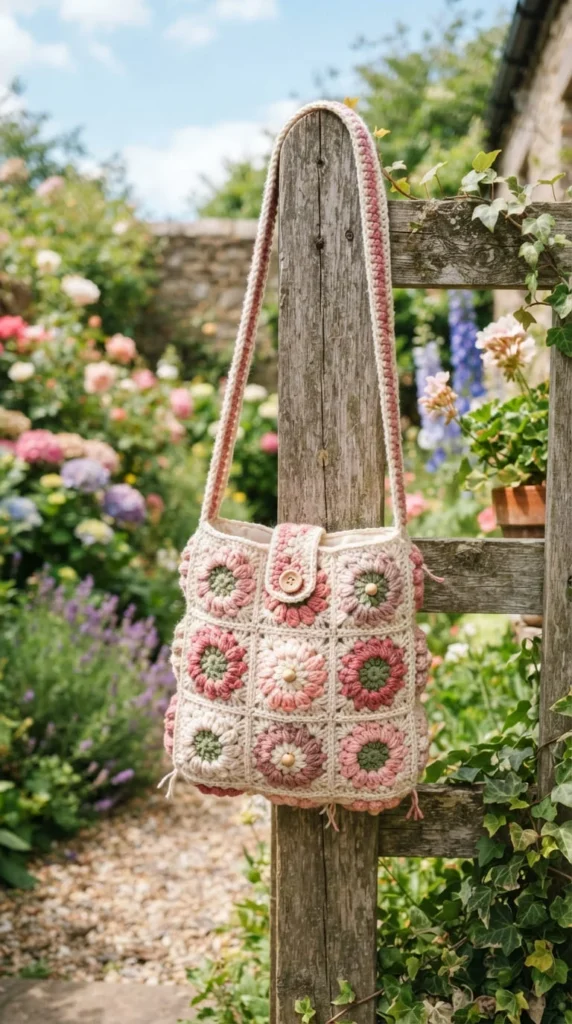
This design joins several small flower motifs into one bag body, which is a fun way to practice motif-joining without a huge commitment. Each flower is quick to make on its own, so you can crochet a few during a lunch break and assemble them later. Budget tip: motifs use small amounts of yarn per piece, so this is a great stash-buster project using leftover scraps. Join the motifs with a slip stitch seam or a simple whip stitch, whichever feels more comfortable. This bag has a cottagecore, romantic feel that pairs well with a sundress or a spring outfit. Line the inside with fabric if you want to prevent small items from slipping through the gaps between motifs. It’s a charming, slightly nostalgic style.
8. Chunky Cotton Cord Tote-Shoulder Hybrid
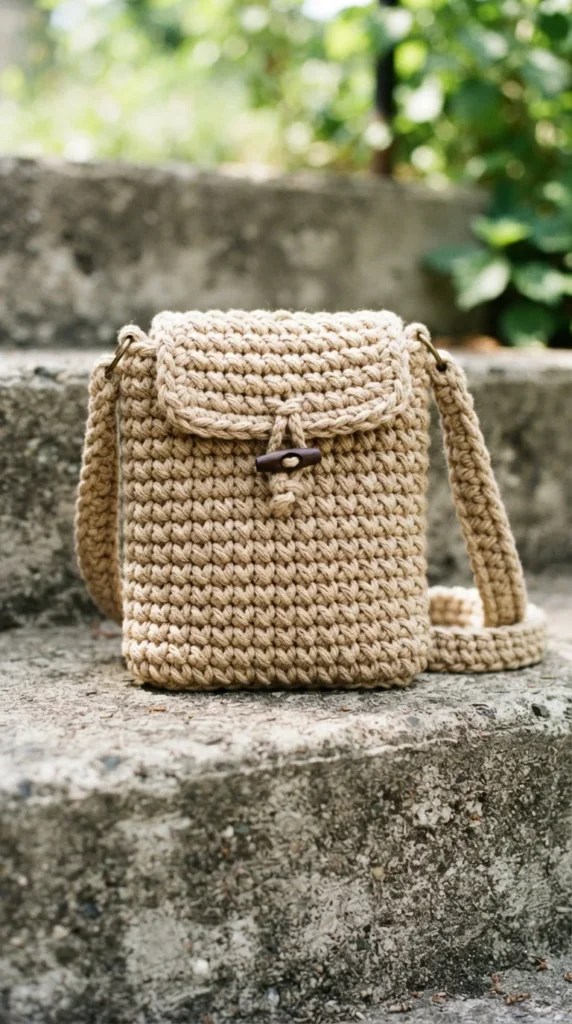
Cotton cord works up fast because of its thickness, which makes this a great weekend project. You’ll use a 5mm hook and fewer stitches overall compared to thinner yarn, so the whole bag comes together in just a few sittings. Budget tip: cotton cord costs a bit more per skein, but you need far less yardage than regular yarn, which balances out the price. The chunky texture gives this bag a relaxed, market-bag feel while still being small enough to wear on one shoulder. This style works well for grocery runs or beach days when you want something sturdy. Beige, oatmeal, and terracotta tones suit the natural, woven look of cotton cord especially well. It’s a satisfying, fast-finish project.
9. Chocolate and White Two-Tone Bag
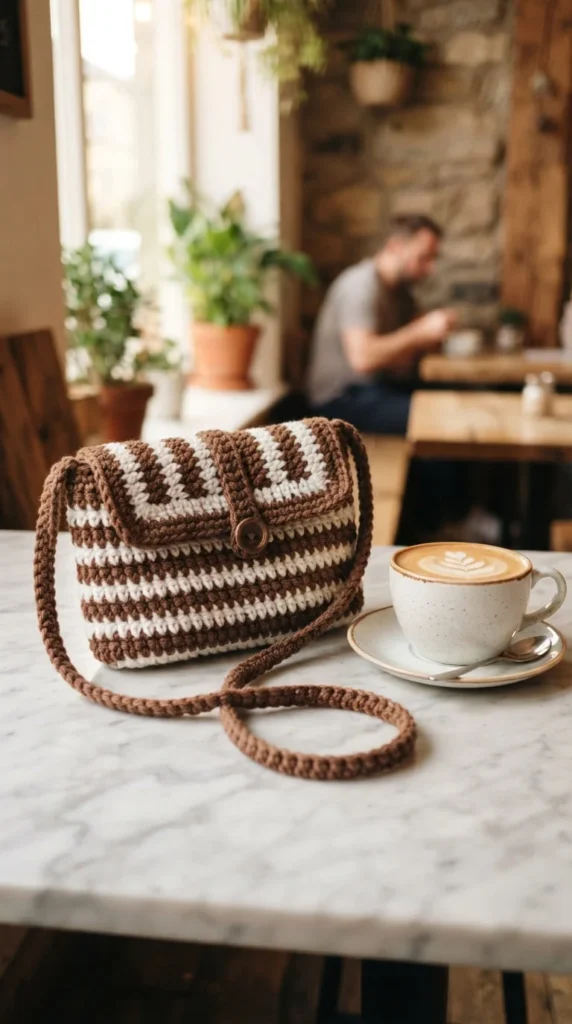
Two-tone color combos are one of the easiest ways to make a plain bag look intentional. You just switch yarn colors every few rows, no complicated colorwork skills required. Budget tip: this is the perfect project for pairing one full skein with leftover scraps from another project, cutting your yarn cost nearly in half. Carry the unused color up the side of the bag instead of cutting it each time, which saves you from weaving in a dozen loose ends later. Chocolate brown and white feels classic and pairs with almost any outfit. Try navy and cream or black and tan for a similar effect. This project is predictable and repetitive, which makes it a relaxing choice after a more technical pattern.
10. Lavender Aesthetic Bag
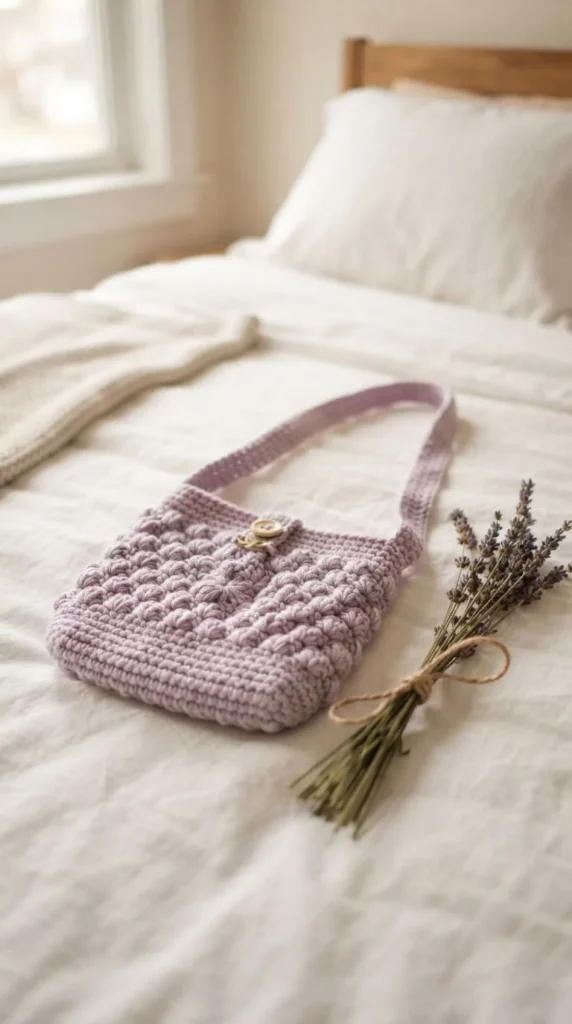
Lavender has become a signature color in the aesthetic crochet space, and it’s easy to see why. The soft purple tone feels calm and slightly vintage without being too bold. Budget tip: lavender cotton yarn is usually priced the same as any other solid color, so there’s no premium for choosing this shade. Keep the stitch pattern simple, like basic single or double crochet, so the color itself does the visual work. This bag pairs naturally with neutral outfits and adds a soft pop of color without clashing. Add a small wooden button or a thin ribbon tie for a finishing touch. This is a great project if you’re building a capsule collection of bags in a cohesive, calming palette.
11. Reusable Market-Style Shoulder Bag
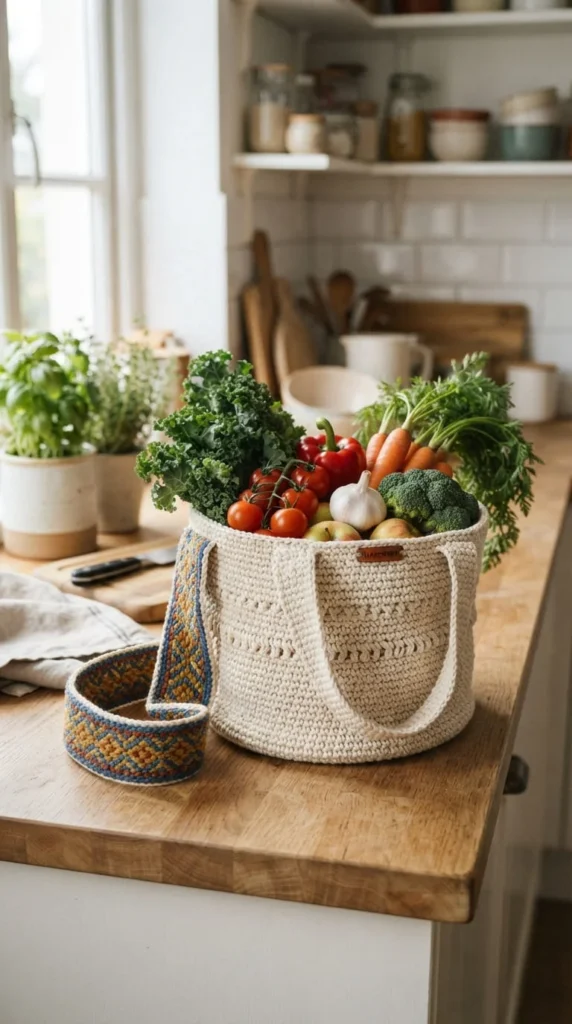
This style borrows from reusable market bags but scales down slightly for shoulder-carry comfort. It needs a wide strap and a strong base so it can hold some weight without stretching out of shape. Budget tip: a sturdy cotton-acrylic blend yarn costs less than pure cotton and still holds up well under grocery loads. Work the base in a firm single crochet stitch to prevent sagging once items are inside. This bag works for farmers market trips, quick grocery runs, or carrying a change of clothes to the gym. Natural tones like tan, cream, or olive suit this practical style. It’s a genuinely useful bag that blurs the line between fashion accessory and everyday tool, which makes it worth the extra sturdiness.
12. Gusset Panel Structured Bag
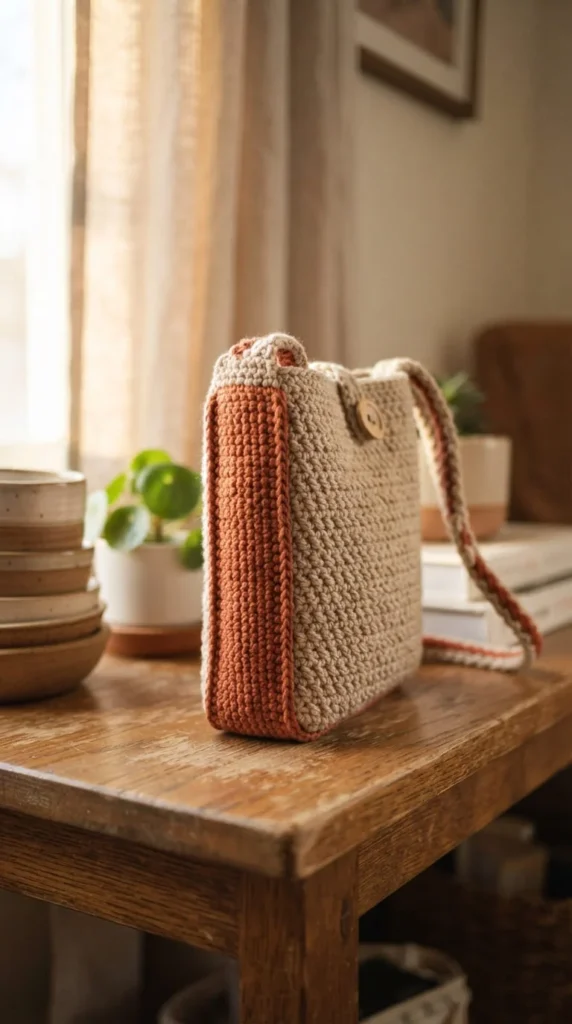
A gusset strip is just a narrow panel sewn between the front and back of a bag to add depth. Once you learn this trick, your bags stop looking flat and start looking like they can actually hold things. Budget tip: the gusset uses very little extra yarn since it’s just a thin strip, so it barely affects your overall budget. Sew it in place using a tapestry needle and matching yarn, working slowly around the curves for a clean finish. This construction method is common in slightly more advanced beginner patterns, so it’s a good next step once you’ve made a flat two-panel bag. Terracotta, rust, and clay tones give this structured style a grounded, earthy feel. This bag holds its shape noticeably better than flat designs.
13. Slip-Stitch Edged Clutch-Shoulder Bag
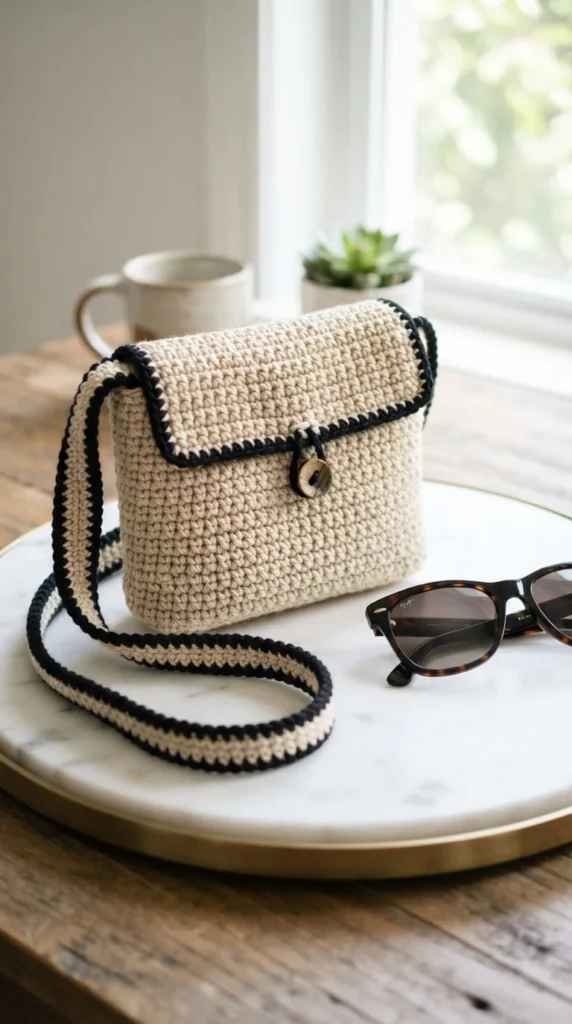
A clean edge changes how a bag reads, even if the rest of the construction is simple. Slip-stitch edging around the top opening tidies up the raw stitch line and gives the bag a finished, almost store-bought look. Budget tip: this technique uses only a small amount of extra yarn, so it costs next to nothing to add. Work the edging in the same color as the bag for a subtle finish, or a contrasting color to frame the opening. This bag works equally well as a small clutch or a shoulder bag once you add a short strap. Black, navy, or deep green yarn gives this style a slightly dressier feel, perfect for evenings out. It’s a small technique with a noticeable payoff.
14. Tassel and Keychain Accent Bag
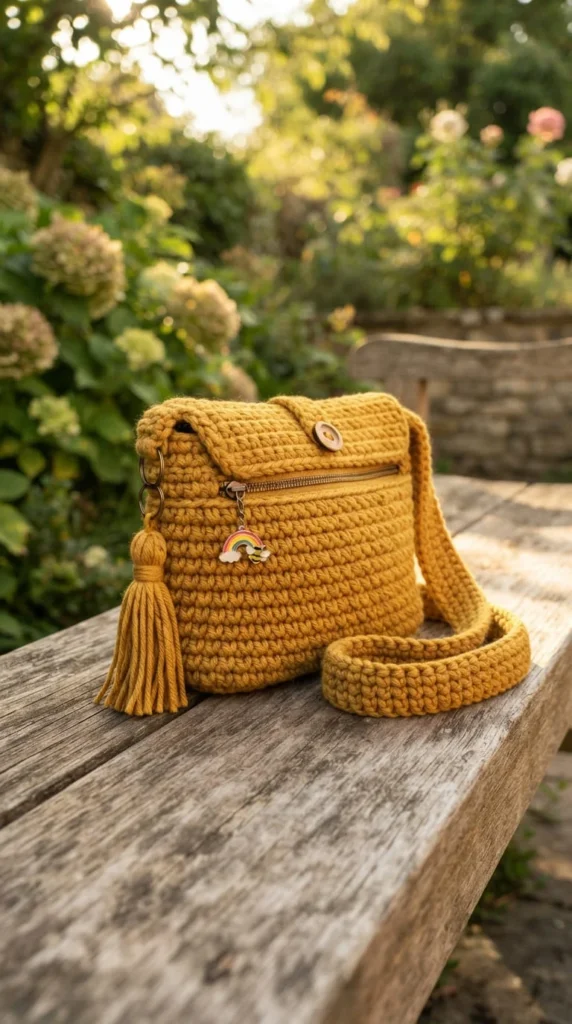
Small details like tassels and keychains turn a plain bag into something with personality. A yarn tassel takes just a few minutes to make using a fork or a small piece of cardboard as a base. Budget tip: tassels use only scrap yarn, so this embellishment is essentially free if you’re already working from stash leftovers. Tie the tassel to the zipper pull or a corner of the strap for movement and visual interest. A small metal keychain charm adds a second layer of detail without much extra cost, usually under $2 at a craft store. Mustard, rust, and burnt orange tones pair especially well with tassel details for an autumn-inspired look. This is a five-minute upgrade that makes a real difference in the finished bag.
15. Interactive Pattern Beginner Bag
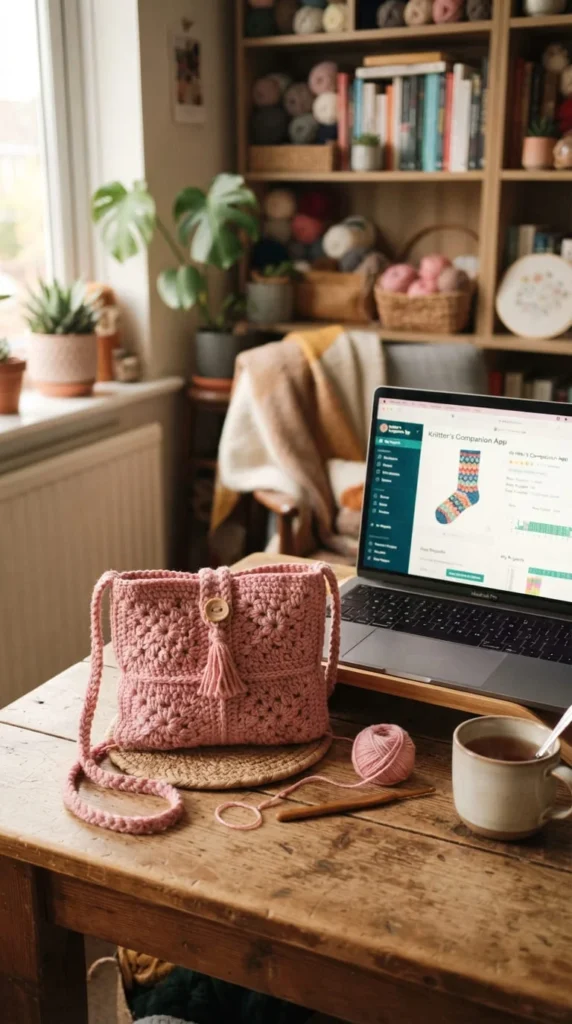
If you’re the type who likes checking off rows as you go, look for a pattern with built-in progress tracking through a platform designed for interactive digital patterns. These often break the project into clear, numbered steps that are easy to follow without losing your place. Budget tip: interactive patterns sometimes cost a little more than a static PDF, but the clarity can save you time and frustrated yarn frogging in the long run. This approach works well for visual learners who want to see exactly where they are in the pattern at all times. Soft pink, blush, or dusty rose tones photograph nicely for anyone documenting their progress online. This is a good option if you’ve struggled to follow written patterns in the past.
16. Chain Strap Statement Bag
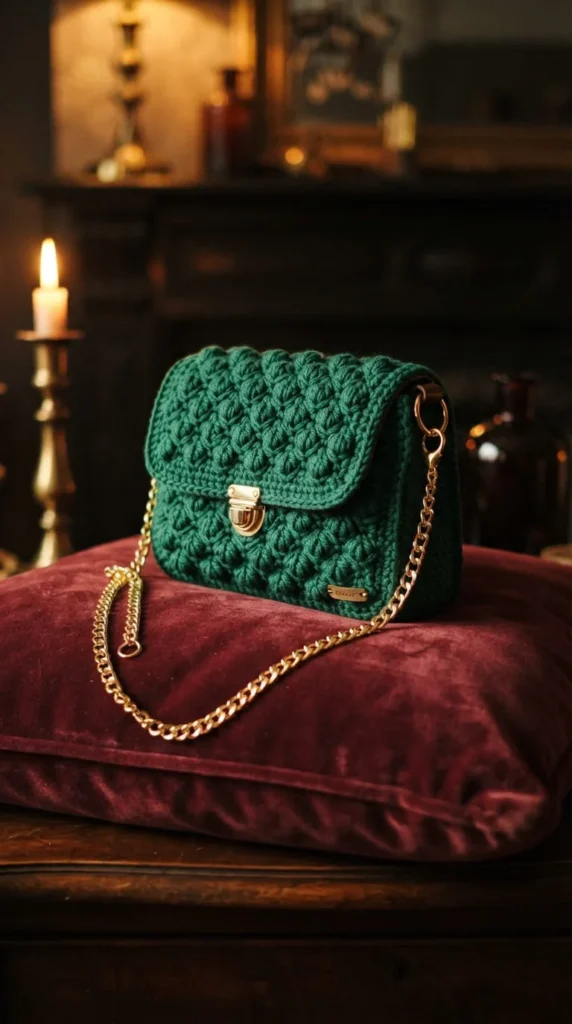
Swapping a crochet strap for a pre-made chain strap instantly changes the whole feel of a bag. You crochet the body as usual, then attach small D-rings at the top corners where the chain clips on. Budget tip: gold or silver chain straps cost around $6-10 online and can be reused across multiple bags over time. This combination of soft crochet texture and hard metal hardware creates a nice contrast that feels a little more polished than an all-yarn design. Emerald, burgundy, or black yarn pairs especially well with a gold chain for a slightly dressier look. This bag works for evenings out or as a statement piece for an otherwise simple outfit. It’s a small swap with a big style payoff.
17. Beginner Bobble Flap Bag
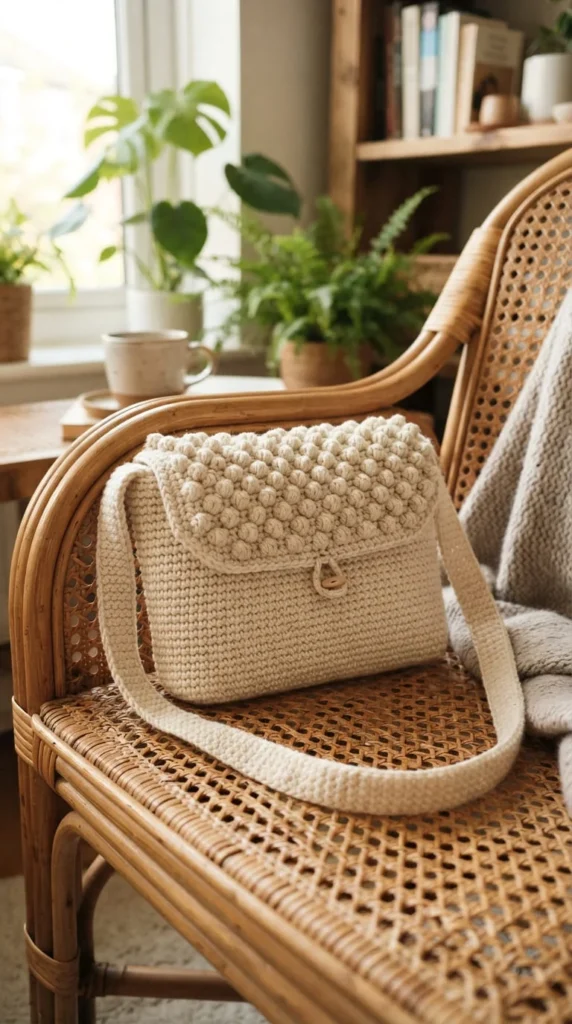
A flap closure adds a little structure and security without requiring a zipper or clasp. This version combines a simple flap with bobble stitch texture along the edge for extra visual interest. Budget tip: the flap uses a small amount of extra yarn, so it barely changes your total project cost. Crochet the flap as a separate piece, then sew it to the back top edge so it folds over the bag’s opening naturally. A small button or loop closure keeps the flap secure while you’re out and about. Cream, ivory, or soft beige tones let the bobble texture stand out clearly. This is a good next step after a flat two-panel bag, since it introduces a new shape without much added difficulty.
18. Scrap Yarn Rainbow Shoulder Bag
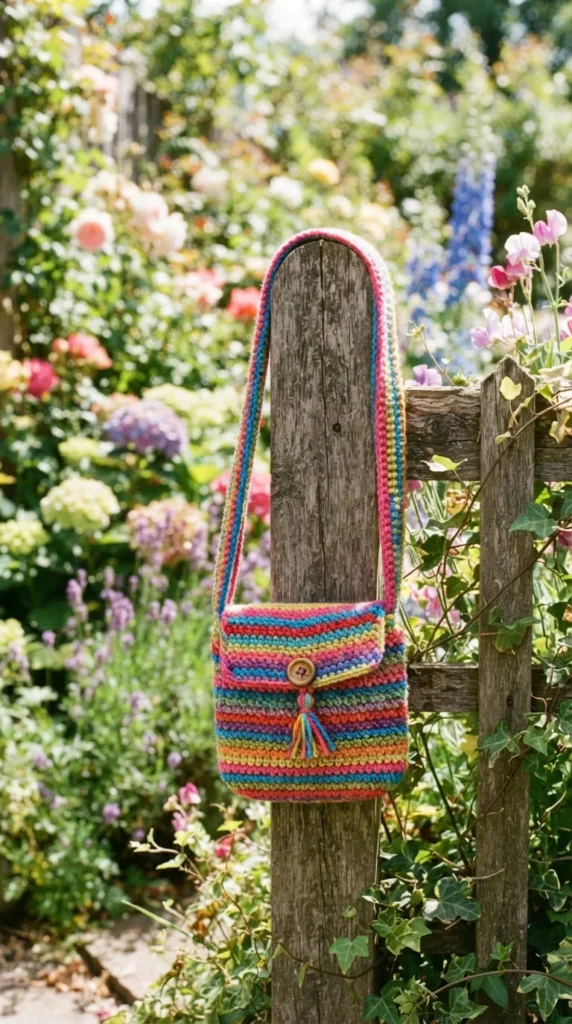
This is the ultimate budget project because it uses up whatever leftover yarn you already have sitting around. Work in random stripes or blocks of color, switching yarns whenever one runs out. Budget tip: this bag can cost close to nothing if you’re working entirely from stash scraps collected over time. There’s no need to plan a color scheme in advance, which makes it a relaxing, low-pressure project after finishing something more technical. The randomness gives the bag real character, and no two ever turn out the same. Keep a basket for leftover yarn going forward so your next scrap bag is already half planned. This project is also a smart way to test different yarn weights and textures together in one piece.
19. Crossbody Convertible Shoulder Bag
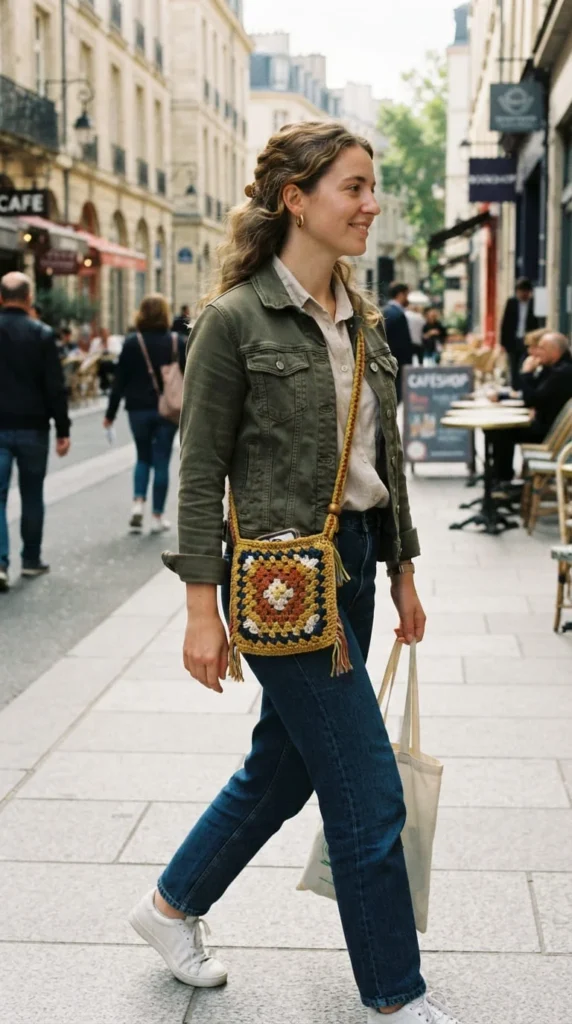
An adjustable strap means this bag can switch between a shoulder bag and a crossbody depending on your mood or outfit. You’ll need a long strap, either crocheted as a wide chain or worked as a strip of single crochet, with a few extra inches of length for adjustability. Budget tip: use a sturdy cotton-acrylic blend so the strap holds weight without stretching unevenly over time. Add a slide buckle or knot system so you can shorten or lengthen the strap as needed. This bag works for hands-free days when you need your phone, wallet, and keys without carrying a full purse. Olive, navy, or charcoal tones suit this practical, everyday style. It’s a genuinely versatile design that adapts to how you actually want to wear it.
20. Wooden Handle Top-Handle Shoulder Bag
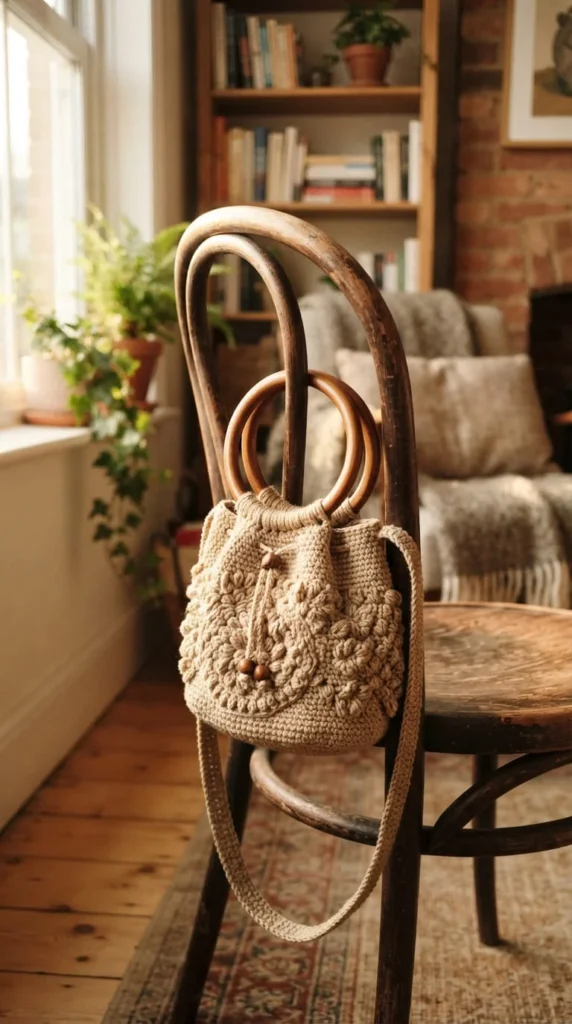
Swapping a soft crochet strap for a wooden handle gives this bag a slightly structured, boutique look. You crochet the body as usual, then loop the top edge around a pre-made wooden handle and sew it securely in place. Budget tip: wooden handles cost around $5-8 a pair online and can be reused if you want to update the bag body later. This style works best with a firmer yarn like cotton, since it needs to hold its shape around the rigid handle. Natural tones like tan, cream, or sage complement the wood grain nicely. This bag makes a lovely gift since the wooden handle detail feels a little more finished than a typical strap. It’s a simple swap that changes the whole silhouette.
21. Resale-Ready Handmade Bag
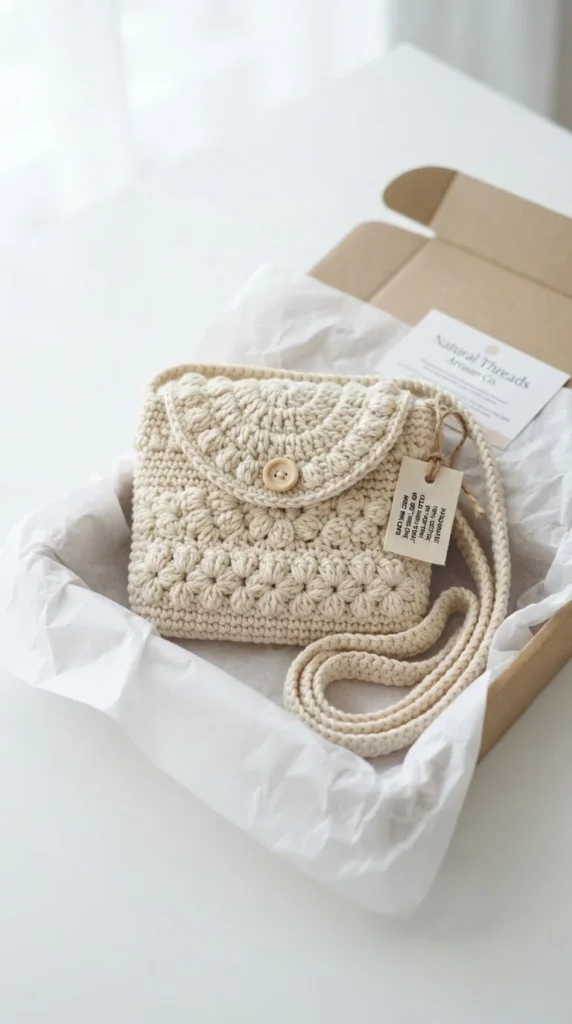
If you’re thinking about selling your crochet bags, a few small details make a real difference in how professional the finished piece looks. Clean edging, a hand-sewn fabric lining, and a small care label go a long way toward a polished result. Budget tip: printable fabric labels cost just a few cents each when ordered in bulk, and they make a bag feel intentional rather than homemade in a rough sense. Photograph your finished bag in natural light against a plain background before listing it anywhere. Package it in simple tissue paper for a nice unboxing moment if you’re mailing it to a buyer. Cream, neutral, or soft pastel tones tend to sell well since they match a wider range of outfits. This is a good bag style to practice before opening a small shop.
22. Cozy Neutral Palette Bag
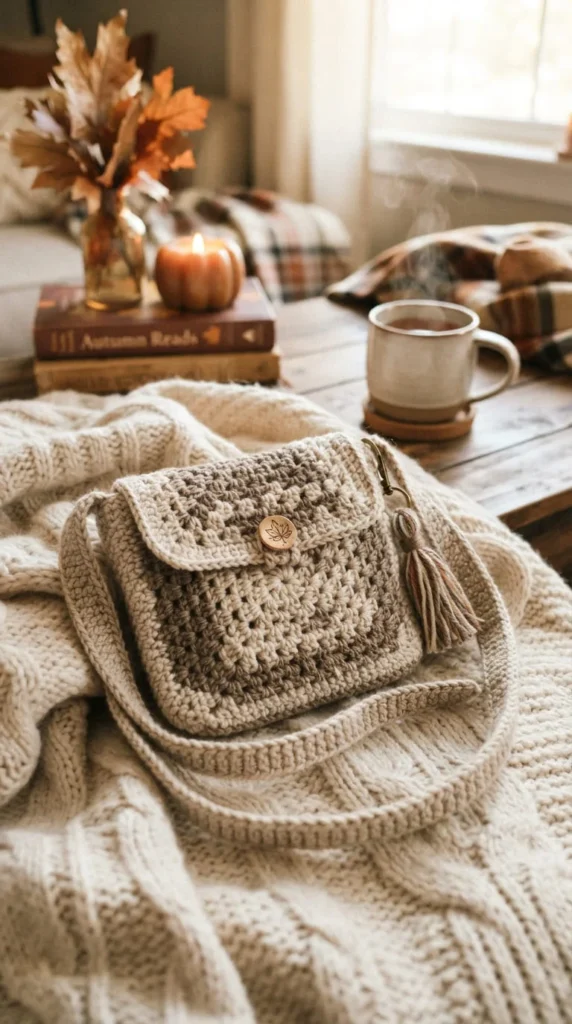
Closing out this list with a bag that pulls together everything you’ve practiced: simple panels, a basic strap, and a calm neutral palette. Oatmeal and taupe together feel warm without being flashy, and they match almost any wardrobe. Budget tip: neutral cotton yarn is often priced the same as bright colors, so there’s no extra cost for choosing this palette. Keep the stitch pattern simple, like alternating rows of single and double crochet, for subtle texture without complexity. This bag works as a genuine everyday piece you’ll actually reach for again and again. Add a small button closure or leave it open for easy access. This is a great final project to wrap up your first round of shoulder bag practice.
Conclusion
Crochet shoulder bags give you a real, wearable project that builds skills without demanding too much time or money. Whether you start with a simple two-panel bag or work your way up to a lined zipper design with D-ring hardware, each idea on this list adds a new technique to your toolkit. Use the yarn you already have, keep your first few projects simple, and let each finished bag teach you something for the next one. Pick your favorite from this list and cast on today.