
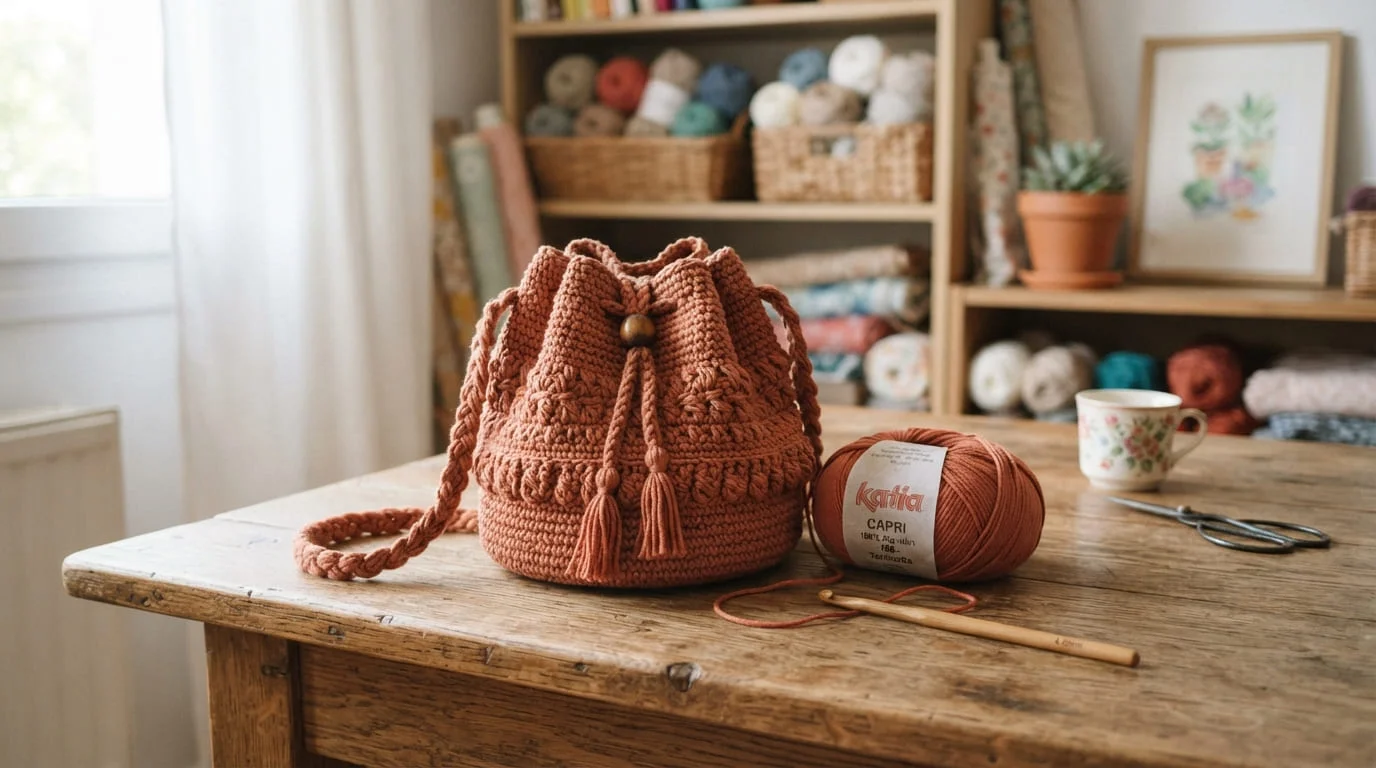
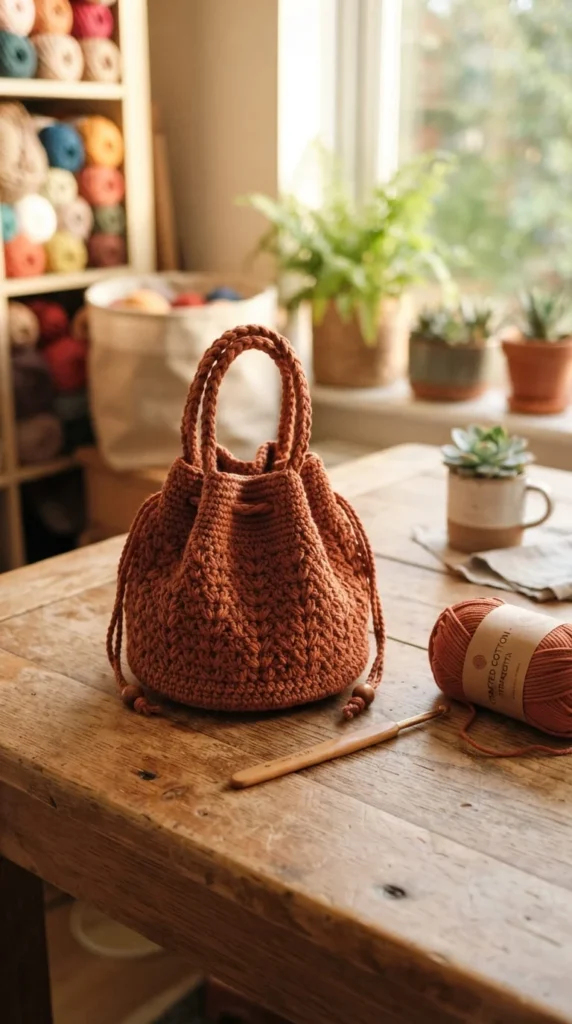
If you’ve ever wanted to try crochet but felt unsure where to start, a small bag is one of the best first projects you can pick. It’s small enough to finish in an afternoon, forgiving enough that mistakes barely show, and useful enough that you’ll actually carry it once it’s done. No tricky shaping, no complicated colorwork, just simple rows and rounds building into something real.
This tutorial walks you through everything you need to know: the materials to grab, the stitches to learn, and the steps to follow from your first chain to your finished strap. By the end, you’ll have a small crochet bag perfect for coins, earbuds, or a set of keys, and the confidence to try a bigger project next.
What You’ll Need
You don’t need a huge supply list for this project. Here’s what to gather before you start:
- Yarn: A medium-weight cotton yarn works best for bags since it holds its shape and doesn’t stretch out over time.
- Hook: A 4mm or 5mm hook pairs well with most medium-weight yarns.
- Scissors and a tapestry needle: For cutting yarn and weaving in ends.
- Stitch markers: These help you track rounds and mark strap placement later.
Budget tip: one small skein of cotton yarn is usually enough for a mini bag, and it often costs less than $8. If you already have leftover yarn from another project, this is a great way to use it up.
Stitches You’ll Use
You only need two basic stitches for this pattern:
- Single crochet (sc): The foundation stitch for a tight, sturdy fabric.
- Chain (ch): Used to start your project and to create the drawstring or strap.
If you already know these two stitches, you’re ready to begin. If not, practice a small swatch first so your tension feels even before you start the real project.
Step 1: Start With a Magic Ring
Most small bags start from a magic ring (also called a magic circle). This gives you a tight, adjustable center point to build outward from, without a hole in the middle.
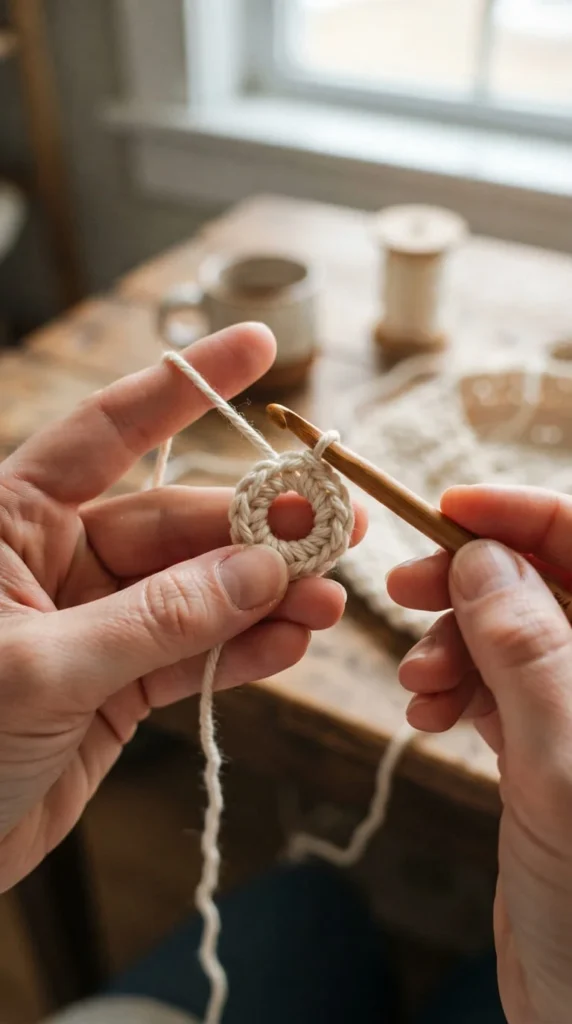
To start:
- Wrap your yarn around two fingers to form a loop.
- Insert your hook through the loop and pull up a stitch.
- Chain one, then work your first round of single crochet stitches into the loop.
- Pull the tail to close the ring once your round is complete.
This forms the base of your bag. Most beginner patterns call for 6 single crochet stitches into the ring for round one.
Step 2: Build the Base With Increases
From here, you’ll increase your stitch count each round to create a flat, growing circle. A simple increase is just two single crochet stitches worked into the same stitch.
A typical beginner base looks like this:
- Round 1: 6 sc into the ring
- Round 2: 2 sc in each stitch (12 total)
- Round 3: Alternate 1 sc, 2 sc in next stitch, repeating around (18 total)
- Round 4: Continue increasing evenly until your base reaches about 3 to 4 inches across
Use a stitch marker at the start of each round so you always know where you are. It’s easy to lose track once the rounds start blending together.
Step 3: Work the Sides in Straight Rounds
Once your base is the right size, stop increasing. Now you’ll work straight rounds of single crochet, without adding any new stitches, until the bag reaches your desired height.
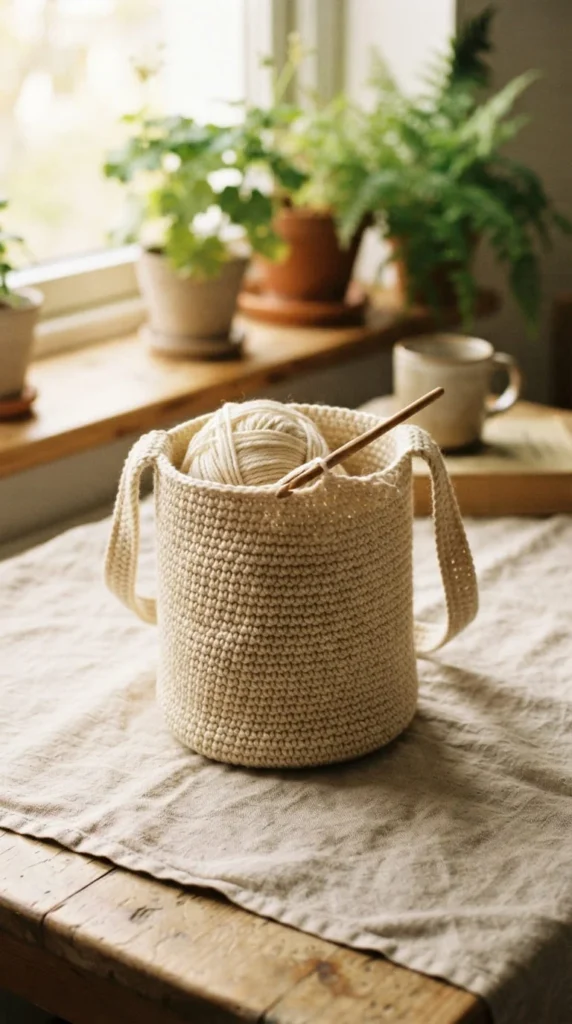
For a mini pouch, four to six straight rounds is usually enough. For a slightly bigger everyday bag, keep going until you reach 4 to 5 inches tall. This part of the pattern is repetitive, which makes it a relaxing stretch to work through while watching a show or chatting with a friend.
Step 4: Add a Drawstring or Strap
This is where your bag becomes functional. You have two easy options:
- Drawstring closure: Chain a long cord (about 20 to 24 inches), then weave it through the top round of stitches. Pull both ends to close the bag.
- Simple strap: Chain a length long enough to go over your shoulder or wrist, then single crochet back along the chain for extra strength. Sew the ends to opposite sides of the bag.
Measure the strap against your body before attaching it permanently. This is the step most beginners need to adjust, so don’t be afraid to try it on first.
Step 5: Finish and Weave in Ends
Once your strap or drawstring is attached, thread your loose yarn tails onto a tapestry needle and weave them through several stitches on the inside of the bag. Trim any extra yarn close to the fabric.
If you want a slightly more polished look, work one round of slip stitches around the top opening before finishing. This tidies up the edge and gives the bag a cleaner, more finished appearance.
Simple Tips for a Better Finished Bag
A few small habits make a noticeable difference in your finished project:
- Keep your tension even: Stitches that are too loose will make the bag floppy; too tight will make it stiff and hard to work.
- Count your stitches often: Especially during increase rounds, where it’s easy to miss one.
- Choose cotton over acrylic: Cotton holds its shape better for bags and doesn’t stretch as much over time.
- Add a fabric lining later: If you want more structure, a simple hand-sewn lining from scrap fabric makes a big difference without much extra work.
Final Thoughts
A small crochet bag is proof that you don’t need advanced skills to make something genuinely useful. With just a magic ring, a few rounds of single crochet, and a simple strap, you’ll have a finished project you can actually carry, gift, or fill with your favorite small treasures.
Save this guide for later and try these ideas when you’re ready!