
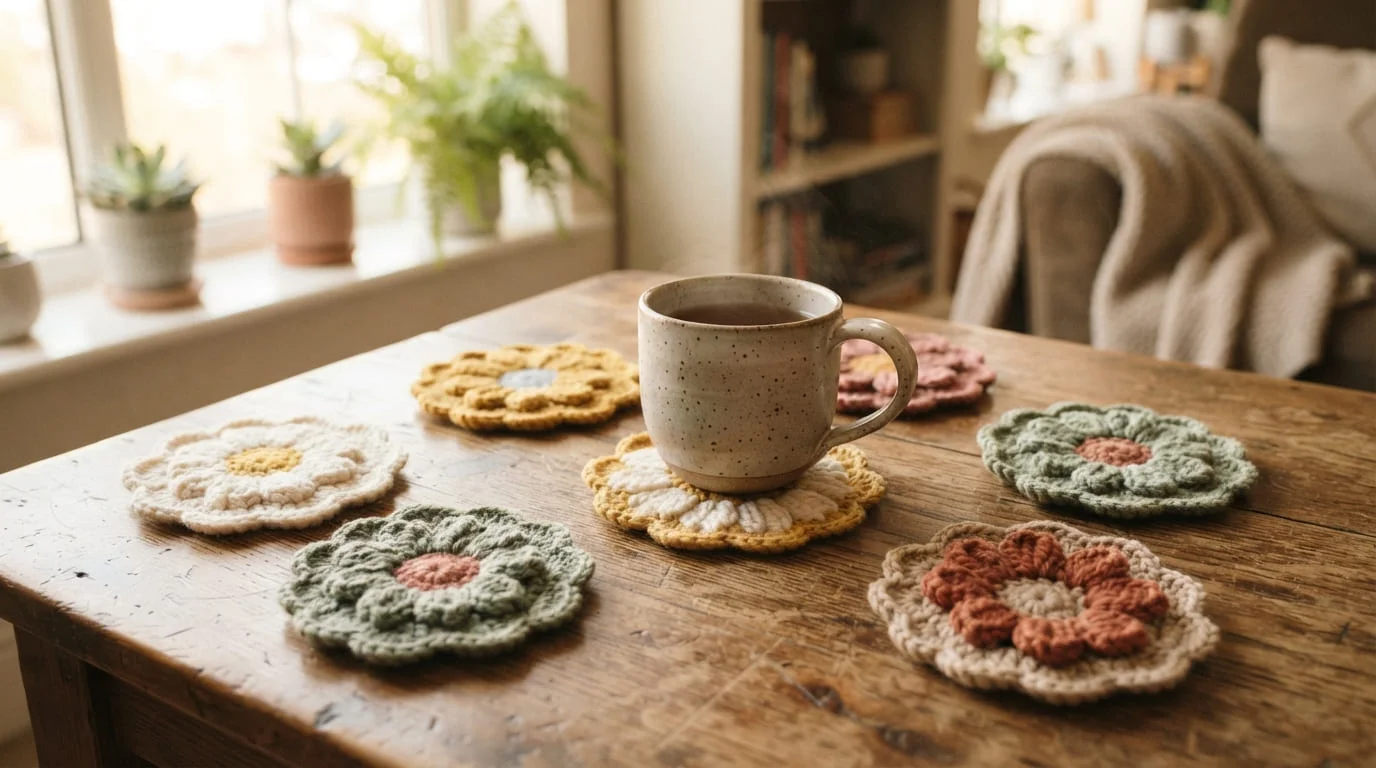
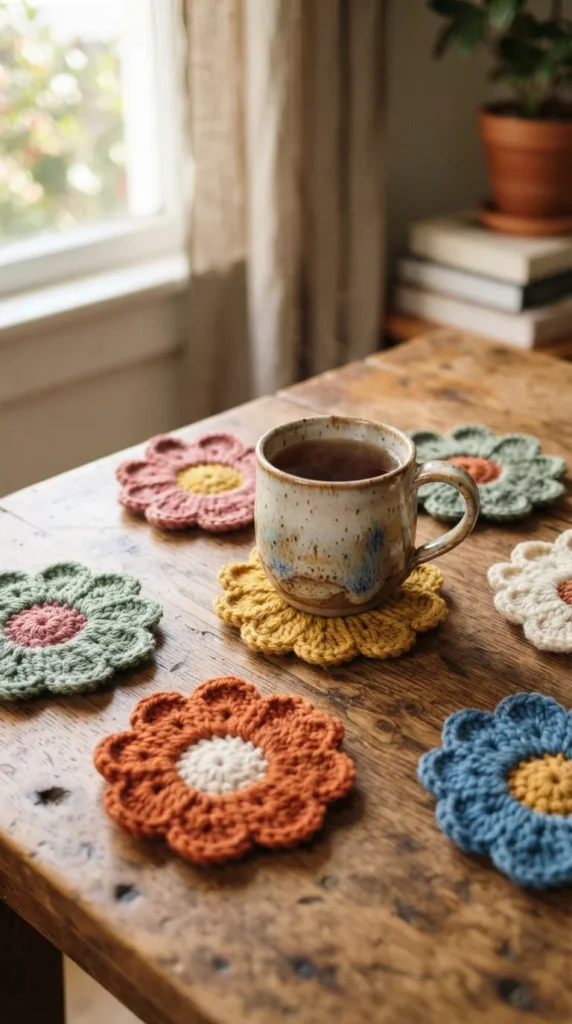
Crochet flower coasters bring color and handmade charm to any table setting, and if you’ve been searching for ideas that go beyond the basic granny square, you’re in the right place. Whether you’re a beginner working your first magic ring or an experienced maker looking to try a 3D tulip design, this list pulls together 21 gorgeous crochet flower coaster ideas that mix classic daisies, sunflowers, tulips, and textured petals. Each idea includes practical notes on yarn, stitches, and finishing so you can pick a project that matches your skill level and actually looks good under your morning coffee cup.
1. Start With a Classic Magic Ring Daisy
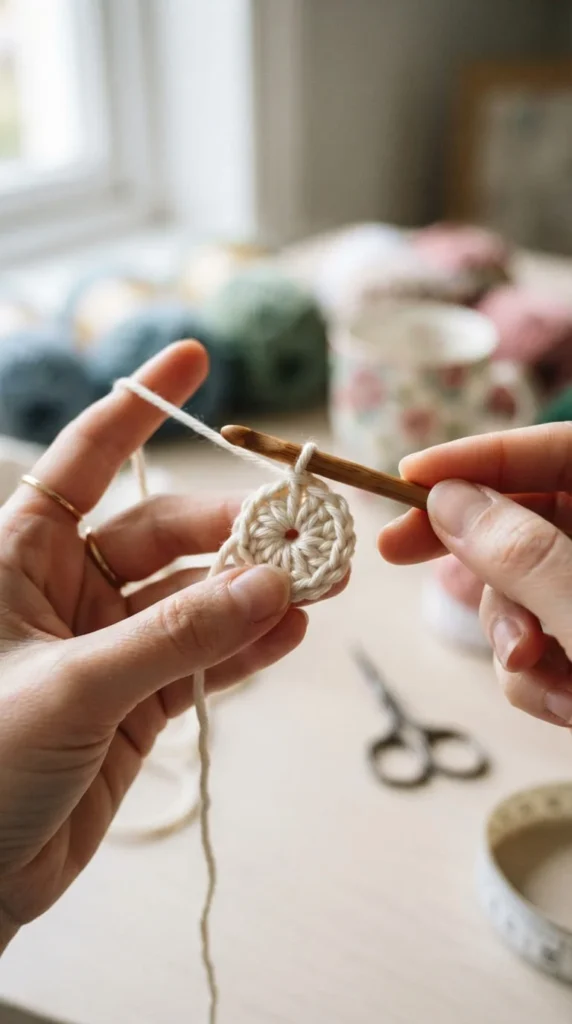
If you’ve never made a flower coaster before, this is the friendliest place to begin. The magic ring technique closes your center tightly, so you skip the annoying hole that pops up when you just chain and join instead. From there, you build a simple daisy with six to eight petals worked into chain-2 spaces around the ring.
Use a worsted-weight cotton yarn and a 4mm hook for a coaster that holds its shape and won’t melt under a hot mug. Yellow or cream for the center, white or pink for the petals — that classic combo never goes out of style.
What makes this a smart starting project:
- Only three stitch types needed: single crochet, double crochet, and slip stitch
- Fast to finish: most makers complete one in under 30 minutes
- Forgiving: uneven petals still look charming on a first try
Once you’ve made two or three, you’ll notice your tension evening out and your petals getting more uniform without even trying.
2. Try a Sunflower With a Textured Center
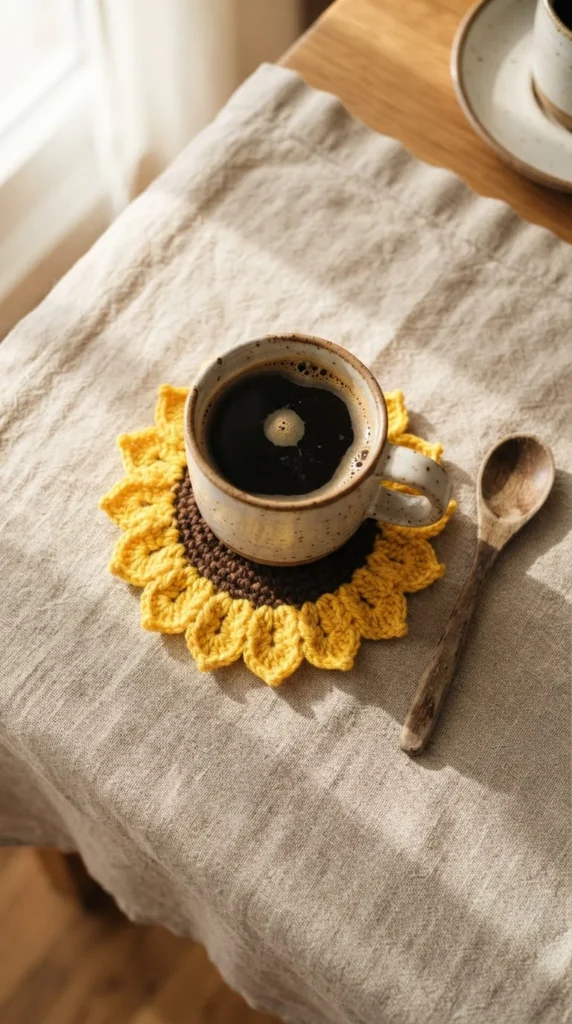
Sunflower coasters stand out because the center isn’t flat — it’s often worked in bobble stitches or a tight cluster of half-double crochets to mimic the seeded middle of a real sunflower. Surround it with pointed petals in mustard or burnt-orange cotton yarn for a design that reads as sunny even on a gray day.
This project is a step up from a basic daisy because the petals are longer and worked with treble crochet, which takes a little more hand control. Go slowly on your first round and count your stitches after every repeat.
A few tips that help:
- Use a stitch marker on the first stitch of each round so you don’t lose track
- Block the finished piece by pinning it to a towel while slightly damp — this flattens curling petals
- Weave in ends as you go rather than leaving them all for the end
Sunflower coasters make a great late-summer gift set, especially bundled three or four together in a small drawstring bag.
3. Build a 3D Tulip Coaster for Extra Dimension
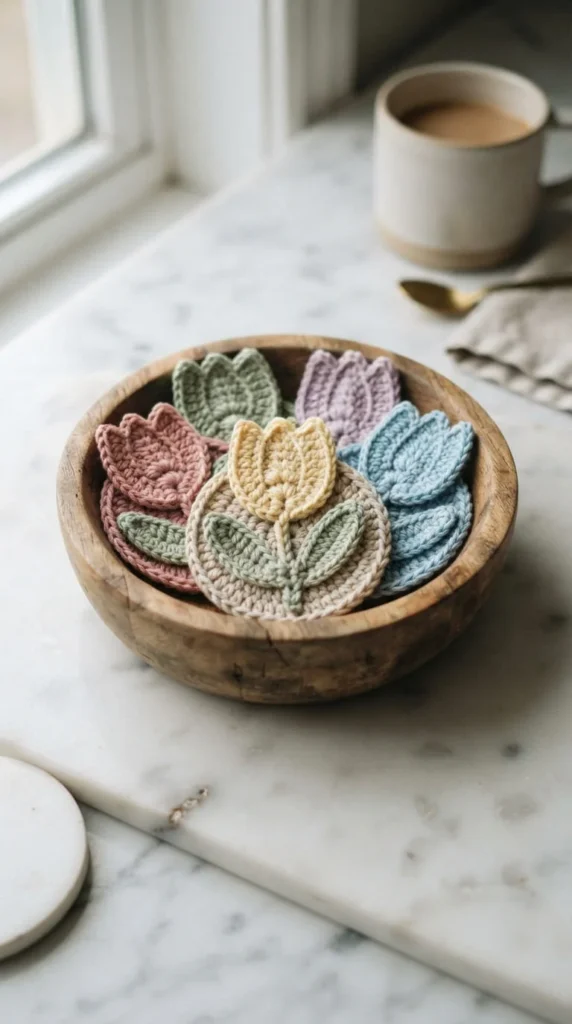
Tulip coasters look more advanced than they actually are. The trick is working the petals as separate raised pieces that get stitched onto a flat base rather than being crocheted flush against the round. This gives the flower real height and a sculptural look on the table.
Start with a flat circular base in double crochet, then make three or four petal shapes separately using half-double crochet increases. Attach them around the edge with a whip stitch, angling each one slightly outward so they don’t lie flat.
Why this style works so well:
- The raised petals catch light differently than flat coasters, giving them a more polished, boutique feel
- You can mix petal colors — soft pink with a deeper rose edge looks especially realistic
- They stack less easily, so keep this in mind if storage space is tight
This is a good project once you’re comfortable with basic increases and want something that photographs beautifully for a handmade gift or craft fair table.
4. Choose Cotton Over Acrylic for Anything Holding a Hot Mug
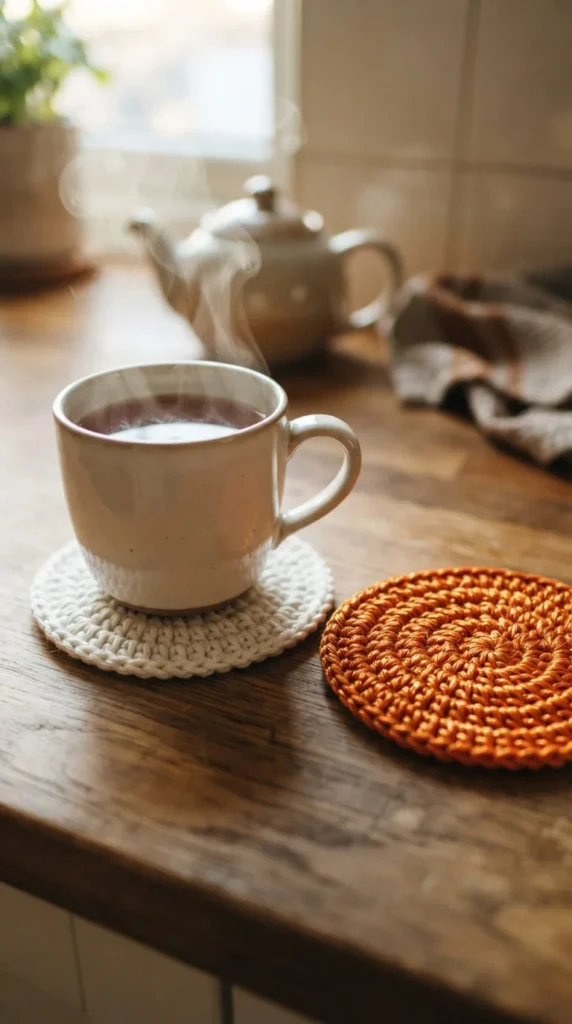
Yarn choice matters more than most beginners realize. Acrylic yarn is affordable and comes in bright colors, but it’s a synthetic fiber that can soften or even scorch under sustained heat from a hot mug or teapot. Cotton, on the other hand, handles heat without any risk and has a slightly stiffer hand that helps coasters hold their shape.
Look for aran or worsted-weight cotton — brands like Drops Paris or Rico Creative Cotton are widely used for exactly this reason. They’re firm enough to protect your table but soft enough to work with comfortably.
Quick guidance for picking yarn:
- Cotton or cotton-blend: safe for hot drinks, holds shape well
- Acrylic: fine for decorative coasters that won’t touch heat directly, but skip it for daily coffee-table use
- Wool: absorbent but can felt or shrink if it ever gets wet and machine washed
If you’re building a coaster set as a gift, cotton is the safer, more practical choice every time.
5. Master a Clean Color Change Between Petals
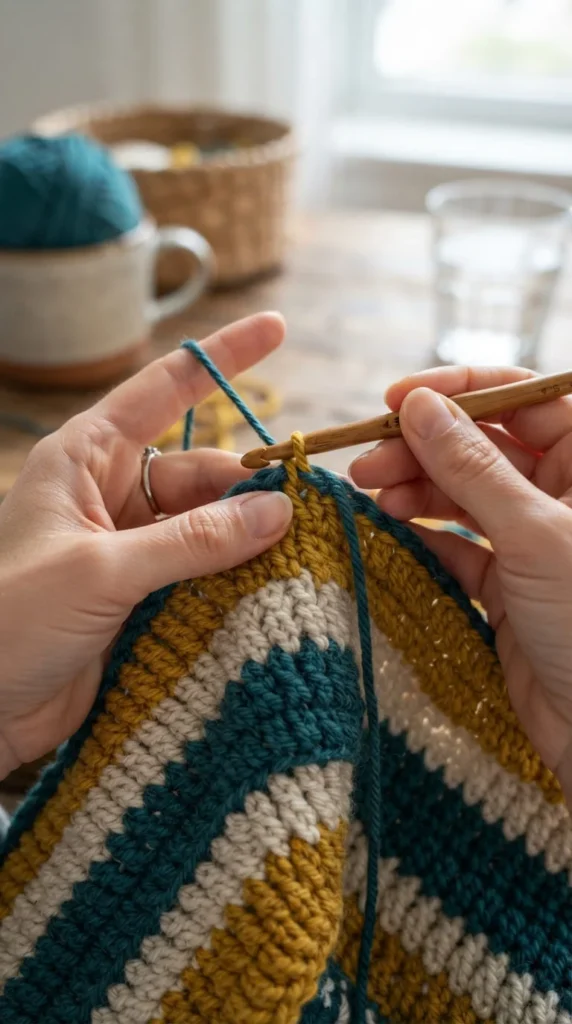
Nothing gives away a beginner project faster than messy color changes on the back of a coaster. The fix is simple: instead of cutting yarn after every color, carry the unused strand loosely along the back of your work and pick it back up when you need it again, as long as you’re only skipping one or two stitches.
For bigger color blocks, like switching from a green base to pink petals, join the new color on your last yarn-over of the final stitch in the old color. This creates a seamless transition instead of a visible knot.
Steps that keep backs neat:
- Trim tails to about 4 inches before weaving them in
- Weave ends in a zigzag pattern through several stitches, not just in a straight line
- Avoid tying knots — woven ends lie flatter and hold just as securely
Once color changes stop feeling scary, you’ll find yourself reaching for multi-color flower patterns far more often.
6. Add Puffy Petals for a Textured Daisy
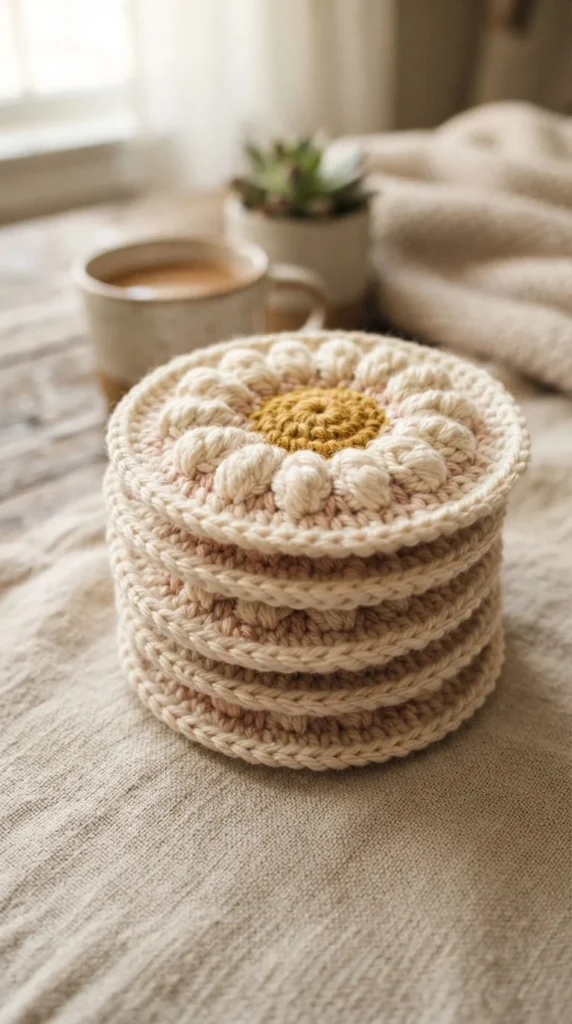
A puffy petal daisy takes the classic flower shape and adds volume using a puff stitch or a bobble stitch instead of a flat double crochet for each petal. The result feels almost three-dimensional, even though it’s still worked as one continuous round.
To make a puff stitch petal, you’ll yarn over and pull up a loop several times into the same stitch before closing them all together. It takes a bit of practice to keep tension even, but the payoff is a coaster that looks noticeably more expensive than a flat version.
A few things worth knowing:
- Puff stitches use more yarn than flat petals, so budget slightly extra
- They’re bulkier, which actually makes them more absorbent under condensation-heavy glasses
- Blocking helps rounder puffs hold their shape rather than flattening over time
This style works especially well for coasters meant to sit out as year-round decor rather than daily-use pieces.
7. Look for Left-Handed Tutorials If Mirroring Feels Off
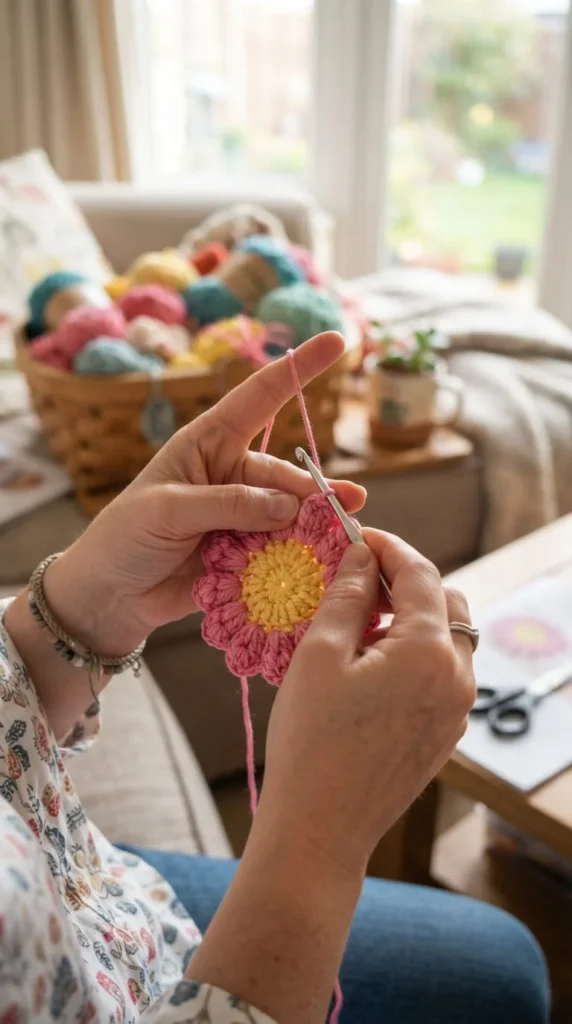
If you’re left-handed and every pattern diagram feels backward, you’re not imagining it. Most written and video patterns are drafted for right-handed crocheters, which means the increase points, color changes, and even the direction the flower spirals can feel mirrored and confusing.
The good news is that left-handed video tutorials exist specifically for flower coasters, and they walk through the same magic ring and petal construction but from the correct hand orientation. Search directly for “left-handed” plus the pattern name rather than assuming you can just flip a right-handed video.
Ways to make this easier on yourself:
- Watch the video muted first and mimic hand position before adding audio instructions
- Flip written patterns using a mirror held up to a printed diagram if no left-handed version exists
- Join a crochet community where left-handed makers share adapted notes
Once you find a few reliable left-handed creators, save their channels — they’ll save you real frustration down the line.
8. Scale a Single Flower Motif Into a Full Table Runner
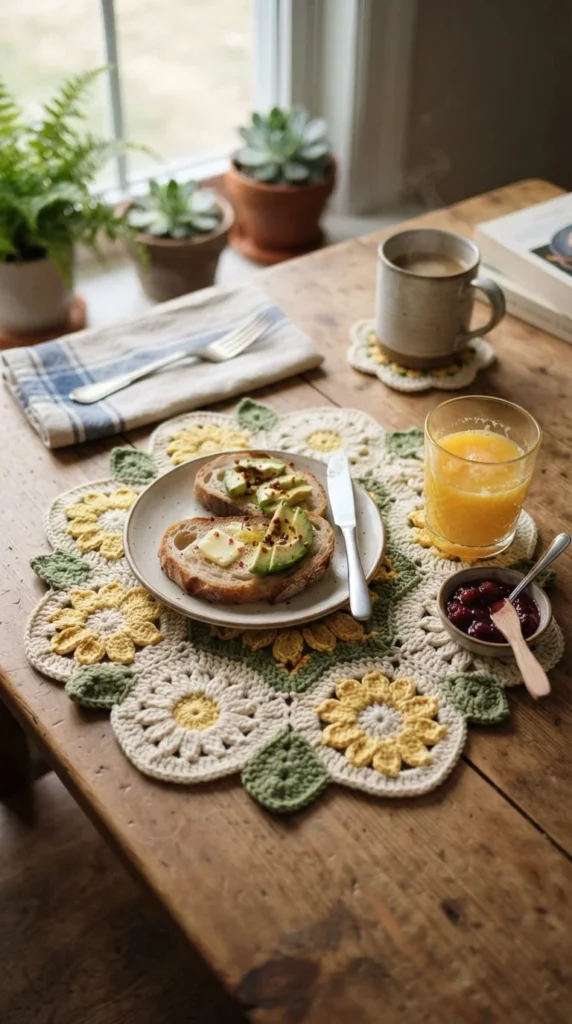
Once you’ve made a few individual coasters, you’ll probably notice how easily the same flower motif scales up. Joining six or seven flowers in a row, using slip stitches or a simple whip stitch along matching petal tips, turns your coaster pattern into a table runner with almost no extra pattern-reading required.
The key is consistency — use the same yarn weight and hook size across every flower so the joined pieces lie flat instead of puckering. Lay them out on a flat surface before joining to plan spacing and check that petals line up symmetrically.
Things to watch for when scaling up:
- Blocking each flower individually before joining makes the seams much neater
- Joining through the back loops only keeps a cleaner seam line on the front
- Test with two flowers first before committing to a full runner-length row
This is a satisfying way to get more mileage out of a pattern you already know well, without learning something entirely new.
9. Weigh Free Patterns Against Paid PDFs
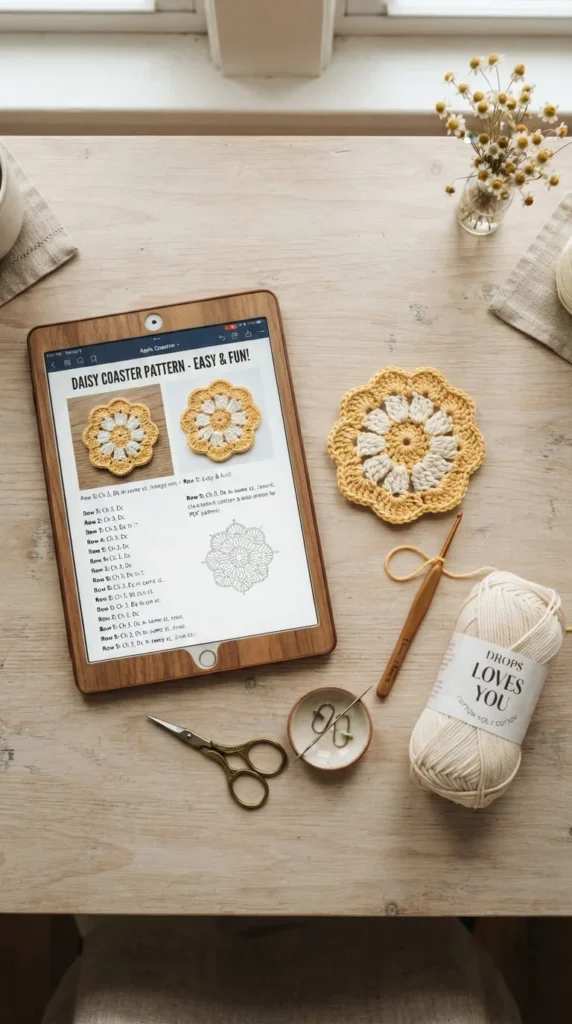
There’s no shortage of free flower coaster patterns on YouTube and craft blogs, and for a first project, that’s usually the right place to start. But paid PDF patterns, often sold for just a few dollars on marketplaces, tend to include more detail: exact stitch counts per round, charted diagrams, and finishing notes like blocking instructions.
If you’ve made a few coasters already and keep running into the same sizing or shaping questions, a paid pattern might save you more time than it costs. Many also include both written instructions and a stitch chart, which helps visual learners a lot.
How to decide which route fits your project:
- Free video tutorials: best for learning technique and watching hand movement
- Free written patterns: good once you already understand basic terms
- Paid PDFs: worth it for complex shapes like 3D tulips or intricate multi-round flowers
Neither option is objectively better — it really comes down to how much guidance you need for the specific design you’re attempting.
10. Make a Matching Set as a Handmade Gift
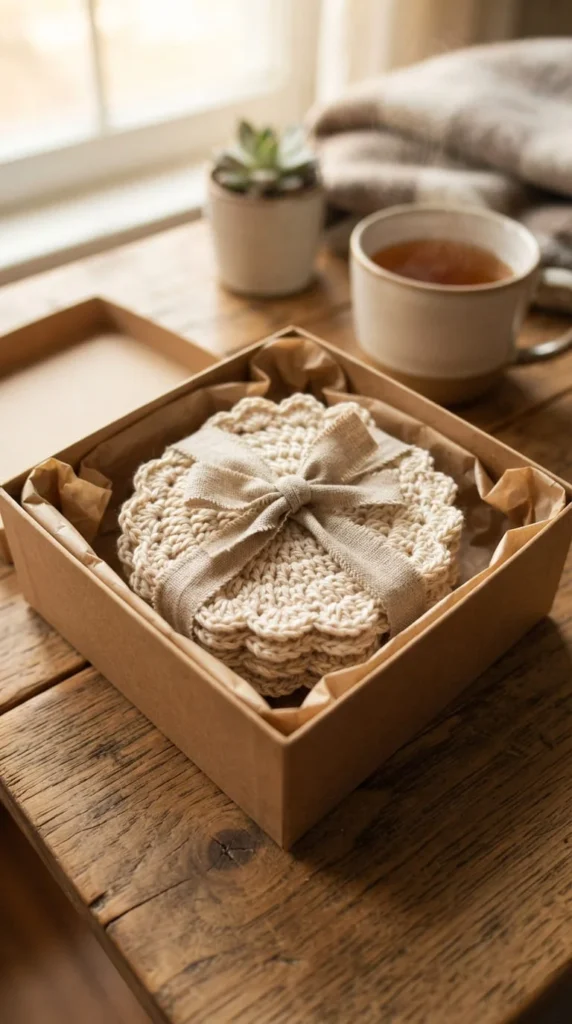
A single coaster is a nice sample project, but a set of four or six makes a genuinely useful gift. Pick one flower motif and repeat it in a coordinated color palette — maybe the same petal shape in three complementary shades — so the set feels intentional rather than like a pile of practice pieces.
Package them with a simple ribbon tie or slip them into a small drawstring bag made from coordinating fabric. For a housewarming or wedding gift, consider adding a short handwritten care note about washing and heat safety, since not everyone knows cotton coasters can go in a gentle wash cycle.
A few ways to make the set feel more finished:
- Keep petal count consistent across all pieces so the set reads as a cohesive collection
- Use a single accent color for the flower centers to tie everything together visually
- Block every piece the same way so sizes match closely, even with slight tension differences
Handmade gifts like this tend to get used daily, which makes them more memorable than something purely decorative.
11. Learn to Read Chain-2 Spaces Before Attempting Complex Petals
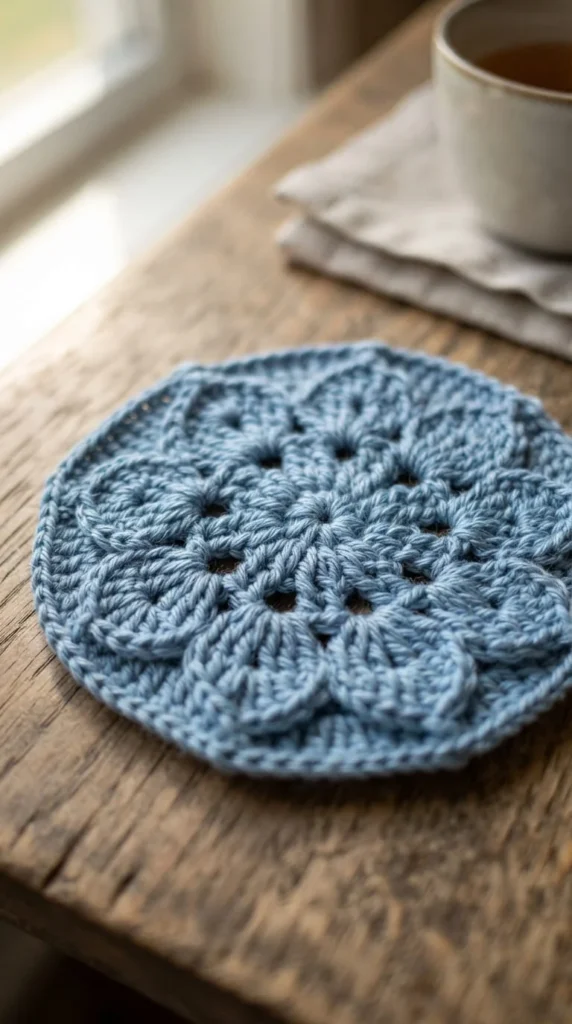
Many flower coaster patterns rely on chain-2 spaces from a previous round as anchor points for the next round’s petals. If you’re new to reading patterns, this step can be confusing because the instructions assume you already know where those gaps are.
Look at your work after finishing a round of chains and double crochets — you should see small open gaps where the chains sit between stitch clusters. Petals for the next round get worked directly into those gaps rather than into individual stitches, which is what gives flowers their layered look.
A simple way to practice this skill:
- Count your chain spaces before starting the next round to confirm you have the right number
- Use a contrasting scrap yarn as a stitch marker in the first chain space so you don’t lose your place
- Slow down on round transitions — this is where most stitch-count mistakes happen
Once this concept clicks, you’ll find that most flower patterns start to feel far more predictable and easier to follow.
12. Block Every Coaster for a Noticeably Neater Finish
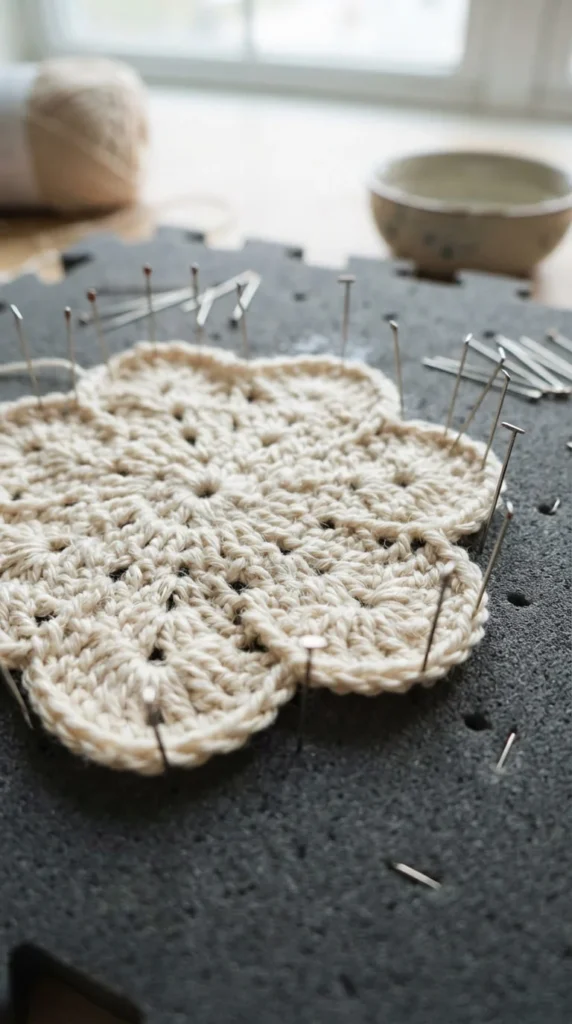
Blocking is the step most beginners skip, and it’s the one that makes the biggest visible difference. After finishing a coaster, lightly dampen it with a spray bottle, then pin the petals into place on a towel or foam mat, gently stretching curled edges flat.
Let it dry completely before removing the pins — usually a few hours depending on humidity. You’ll notice petals lie flatter, edges look crisper, and the whole piece looks more like something you’d buy rather than something handmade in a rush.
A few blocking basics worth remembering:
- Don’t oversaturate the yarn — a light misting is usually enough for cotton
- Pin from the outer points inward to avoid distorting the center
- Skip blocking for puff-stitch designs if you want to preserve their natural dimension
This one extra step, which only takes a few minutes of hands-on time, is often what separates a rough first attempt from a polished finished piece.
13. Pair Coasters With a Matching Textured Basket
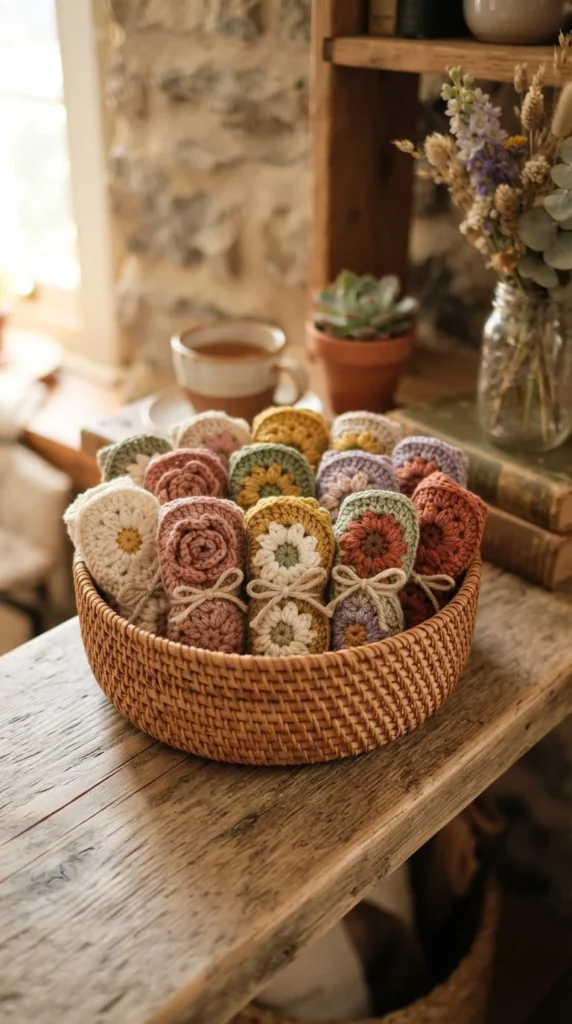
If you enjoy crochet beyond just coasters, consider making a small basket to hold and display your finished set. A simple textured basket, worked in the round using a sturdy cotton or cotton-blend yarn, gives you somewhere to store coasters between uses instead of leaving them scattered around the table.
Match the basket’s rim color to your coaster petals for a coordinated look. Even a plain single-crochet basket looks intentional once it’s holding a stack of colorful flower coasters inside.
Reasons this combo works well together:
- Keeps coasters organized and easy to grab for guests
- Doubles as a centerpiece when not actively in use
- Uses similar yarn weight, so you don’t need to buy anything new
This is a nice next project once you’ve built up a small coaster collection and want a way to display it properly.
14. Design a Summer-Themed Textured Coaster Set
Summer coasters benefit from slightly different construction than winter or year-round pieces, mainly because they’re more likely to sit under cold, condensation-heavy glasses rather than hot mugs. A textured stitch pattern, like a shell stitch border or a raised ripple round, absorbs moisture better and keeps the coaster from sliding around.
Bright coral, turquoise, and citrus-yellow cotton yarns lean into the seasonal feel without needing an actual flower shape — though a simplified five-petal flower still works nicely as a base.
What makes a good summer coaster set:
- Slightly thicker cotton yarn to handle repeated moisture exposure
- A textured border round instead of a flat edge, which improves grip
- Quick-drying placement — lay them flat rather than stacking when damp
These make an easy seasonal refresh if you already have a winter coaster set and want something that feels lighter for warmer months.
15. Get the Sizing Right Before You Commit to a Full Set
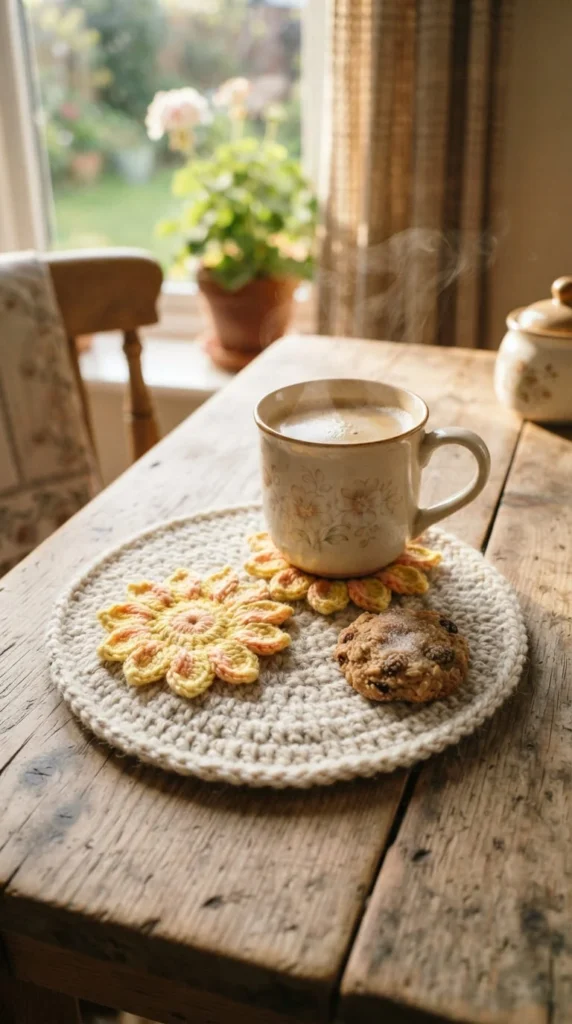
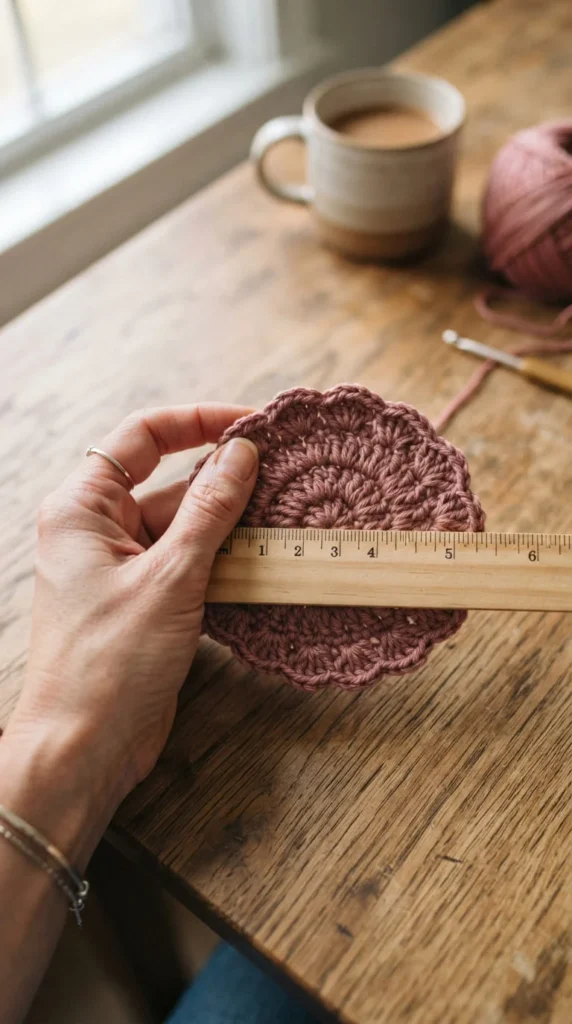
Coaster sizing is easy to overlook until you’ve made six and realized they’re either too small for your favorite mug or too large for your side table. Most standard coasters land between 3.5 and 4.5 inches across, but this depends heavily on your yarn weight, hook size, and personal tension.
Before committing to a full matching set, make one test piece and actually place a mug or glass on it. If it’s noticeably too small, go up a hook size or add an extra round. If it’s too large, drop down half a millimeter on your hook.
Quick sizing checks worth doing:
- Measure across the widest point, petal tip to petal tip, not just the base circle
- Test with your actual dishware, not just a ruler, since mug bases vary in width
- Note your gauge so future coasters in the same pattern come out consistent
Getting sizing right on a test piece saves you from reworking an entire set later.
16. Try a Mug Rug Instead of a Standalone Coaster
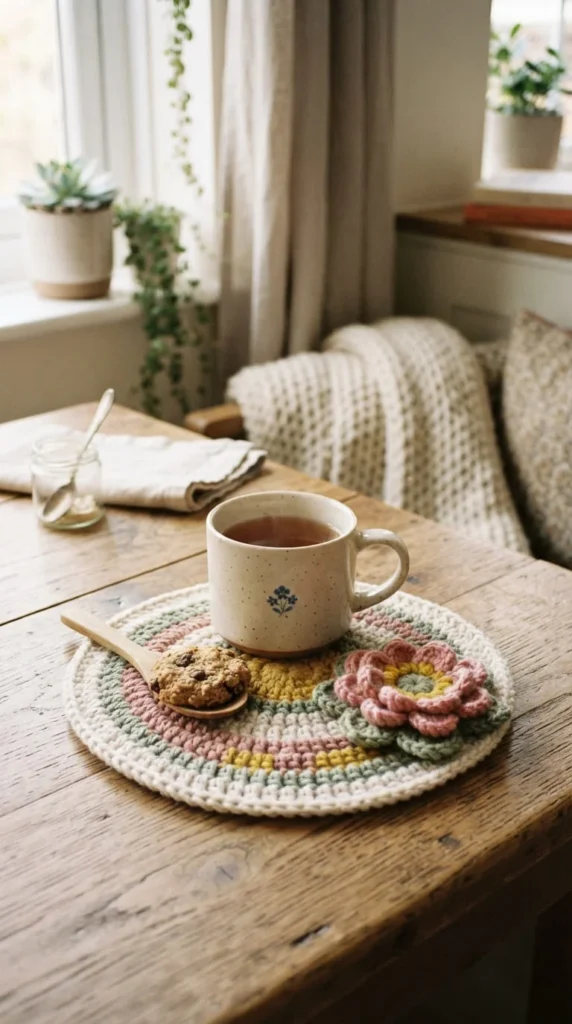
A mug rug is essentially an oversized coaster with room for both a mug and a small snack, and it’s a natural next step once you’re comfortable with basic flower motifs. Extend your usual coaster pattern by an extra round or two, or work an oval base instead of a circle, then add your flower design as a decorative accent rather than the entire shape.
Mug rugs make especially nice gifts because they feel a little more personal and functional than a plain coaster — perfect for someone’s reading nook or home office desk.
A few adjustments that help this project succeed:
- Add a flat border round after your flower shaping to keep edges from curling
- Use a firmer yarn weight since mug rugs see more surface wear than small coasters
- Consider a contrast edge color to frame the flower motif more clearly
This is a good pattern to keep in your back pocket for quick, thoughtful gifts throughout the year.
17. Lean Into a Cottagecore Color Palette

Color choice does a lot of the visual work in a flower coaster, sometimes more than the stitch pattern itself. A cottagecore-inspired palette — think sage green, dusty rose, buttery cream, and soft lavender — gives even a simple daisy shape a romantic, vintage feel without any extra construction effort.
Stick to three colors per coaster at most: one for the center, one for the petals, and one for an optional border round. Too many colors in a small piece can start to look busy rather than intentional.
A simple approach to picking your palette:
- Choose one dominant color for petals and let the center and border support it
- Test colors together by holding yarn skeins side by side before starting
- Avoid high-contrast combos like bright red and stark white if you want the softer cottagecore look
This palette works particularly well displayed alongside dried flowers, vintage teacups, or other soft, muted home decor pieces.
18. Use Flower Coasters as Mini Trivets for Small Vases
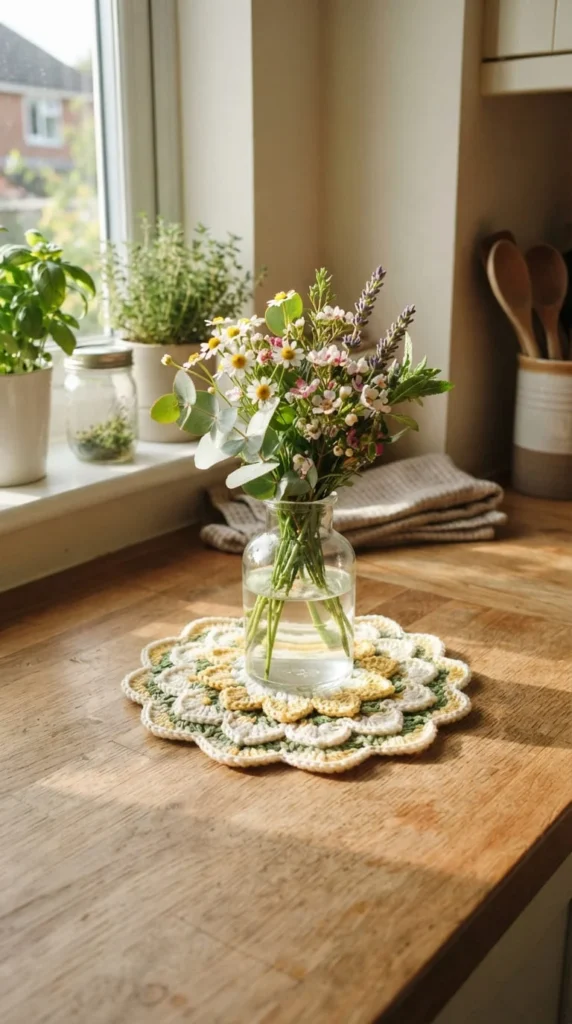
Beyond mugs and glasses, flower coasters work surprisingly well as small trivets under vases or candle holders. The slightly raised texture from petals or a textured border protects wood or glass surfaces from scratches, while the flower shape doubles as a decorative accent even when nothing is sitting on top of it.
For this use, go slightly larger than a standard drink coaster — closer to 5 or 6 inches across — so it comfortably supports a wider vase base without gaps showing at the edges.
A few practical notes for this application:
- Choose a sturdier stitch pattern, like a solid double crochet base, over lacy open designs for better support
- Size up your hook slightly if you want a looser, more cushioned feel under heavier items
- Pick colors that complement whatever you’re placing on top, whether that’s greenery or a candle
It’s a simple way to get more everyday use out of a pattern you’ve already learned.
19. Compare Border Styles Before Finishing Your Round
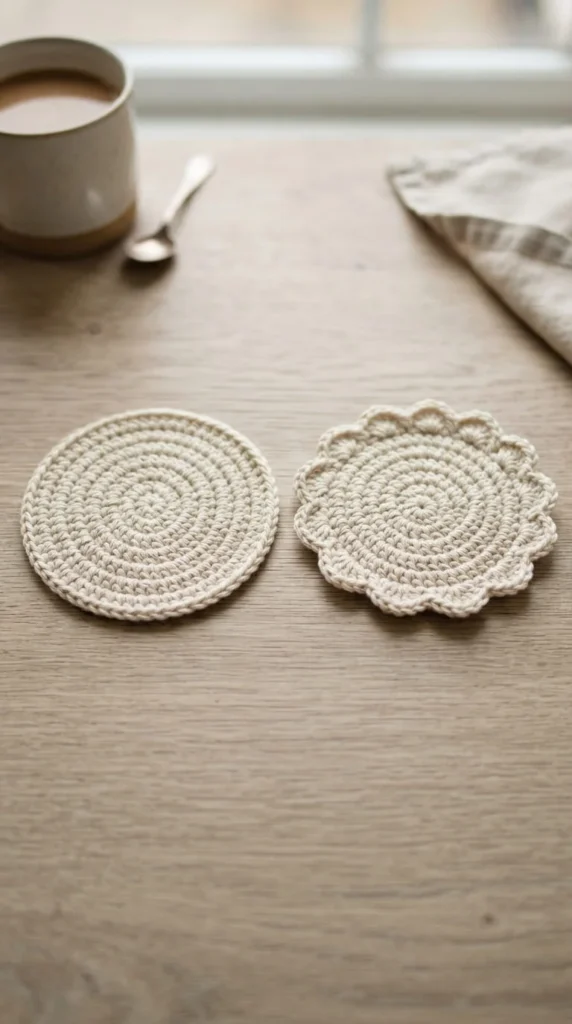
The final border round changes a coaster’s whole personality, even when the flower underneath stays exactly the same. A plain single crochet border gives a clean, modern look, while a scalloped shell-stitch border adds a lacy, more traditional feel.
If you’re making a set and want variety without redesigning the whole flower each time, changing just the border is an easy way to create visual difference across matching pieces.
Border options worth trying:
- Single crochet border: simple, durable, works well for daily-use coasters
- Shell stitch border: decorative, slightly more delicate, better suited for display pieces
- Picot border: adds small pointed details, nice for a vintage-inspired set
Try swatching two or three border styles on the same base flower before deciding which one fits your overall project. It’s a small change that makes a noticeably different final impression.
20. Finish the Back as Carefully as the Front
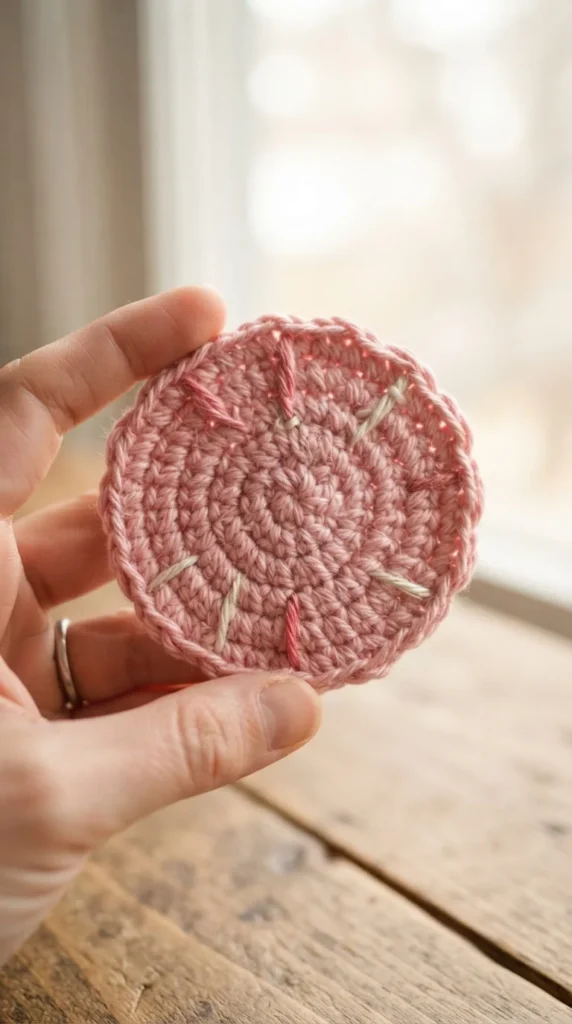
It’s tempting to focus all your attention on how the front of a coaster looks, but the back matters too, especially for anything you plan to sell or gift. Loose ends, visible knots, or bumpy color-change joins on the back will show through thinner cotton yarn and make the whole piece look unfinished.
Take an extra few minutes at the end of each coaster to weave in every tail properly, trim them close, and check the back for any stray loops that need tightening.
A quick back-finishing checklist:
- Weave each end in a different direction than the stitch it’s near, for extra security
- Trim tails flush rather than leaving long, visible pieces
- Flip the coaster over in good light to do a final check before calling it done
This last step takes barely any extra time but makes a real difference in how professional the finished piece feels.
21. Build a Rotating Seasonal Collection Over Time
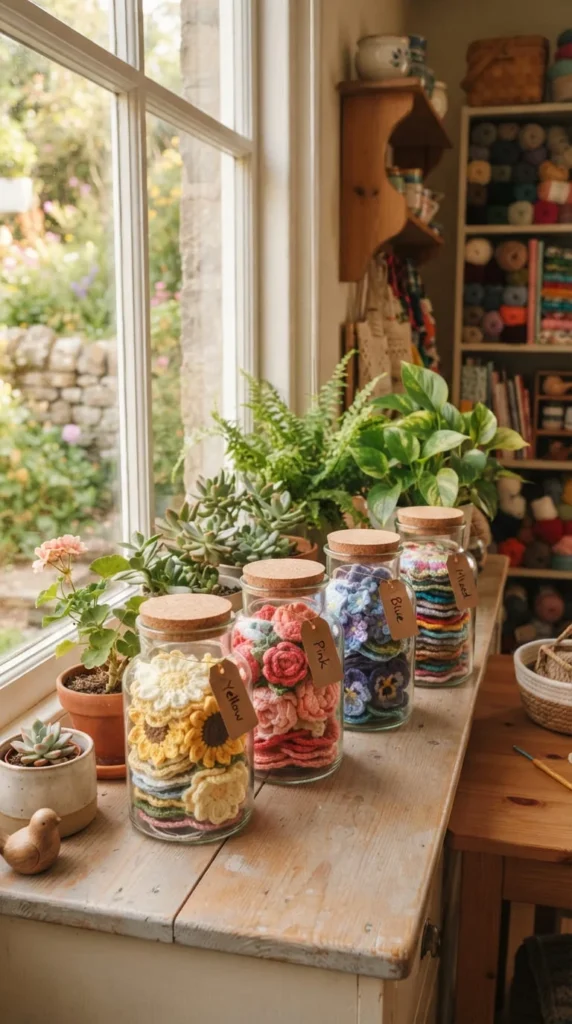
Once you’ve made a few different flower coaster styles, consider building out a small rotating collection — daisies and pastels for spring, sunflowers for summer, deeper jewel tones for fall, and simple white or silver-accented flowers for winter. Storing each set separately, sorted by color or season, makes it easy to swap out your table decor without starting a new project every time.
This approach also gives you a reason to try new stitch combinations gradually, rather than feeling like you need to master everything in one sitting.
Ways to keep a rotating collection organized:
- Store each seasonal set in its own labeled bag or jar so swapping is quick
- Keep a small notebook of hook size and yarn used per set, in case you want to make more later
- Photograph each finished set before storing it away, both for reference and for sharing with others
Over time, this turns a simple coaster pattern into an ongoing, low-pressure creative habit that keeps your table decor feeling fresh throughout the year.
Conclusion
Crochet flower coasters are one of those small projects that teach real, transferable skills — magic rings, color changes, petal shaping, and clean finishing — while giving you something useful at the end of every session. Start with a simple daisy if you’re new to flower motifs, then work your way toward textured petals, 3D tulips, or a full matching set as your confidence builds. Pick up a skein of cotton yarn, grab a 4mm hook, and turn your next coffee break into the start of a coaster collection you’ll actually reach for every day.