
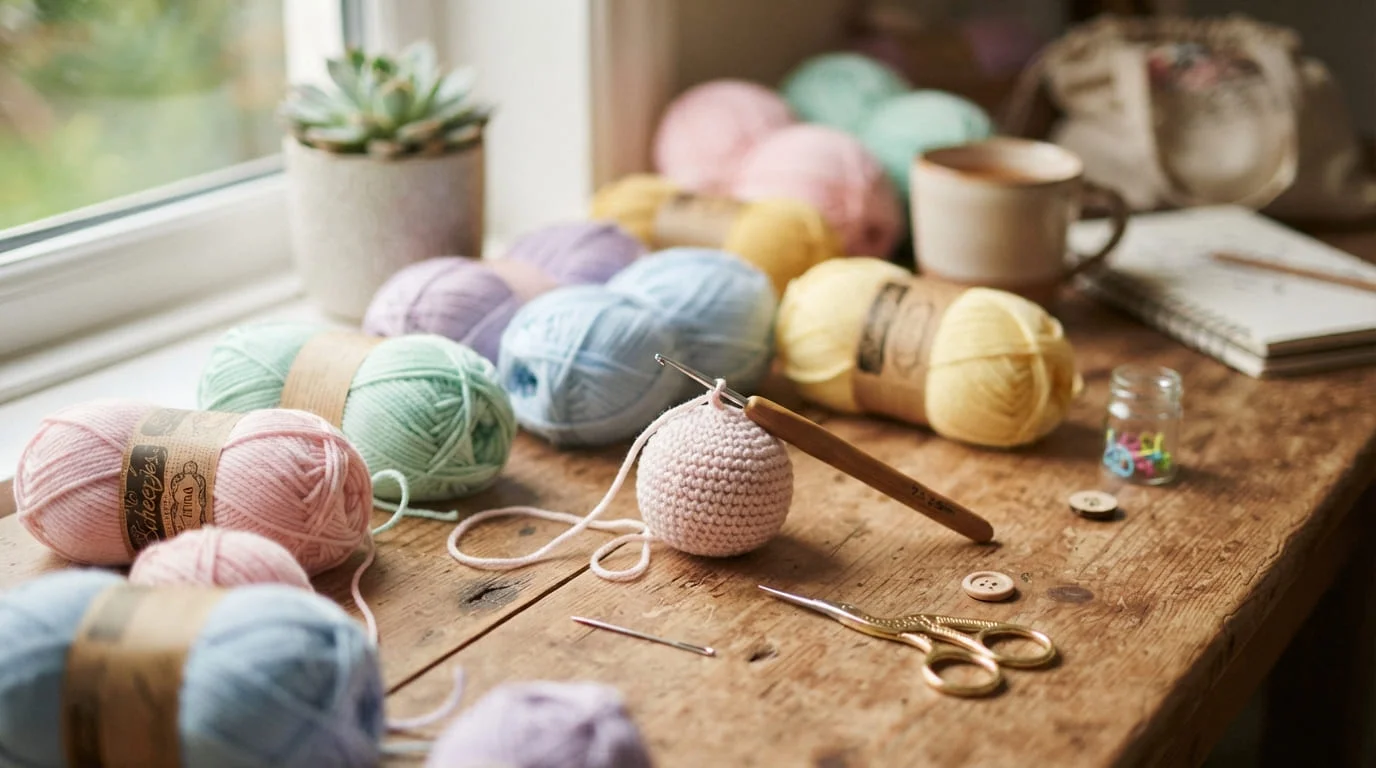
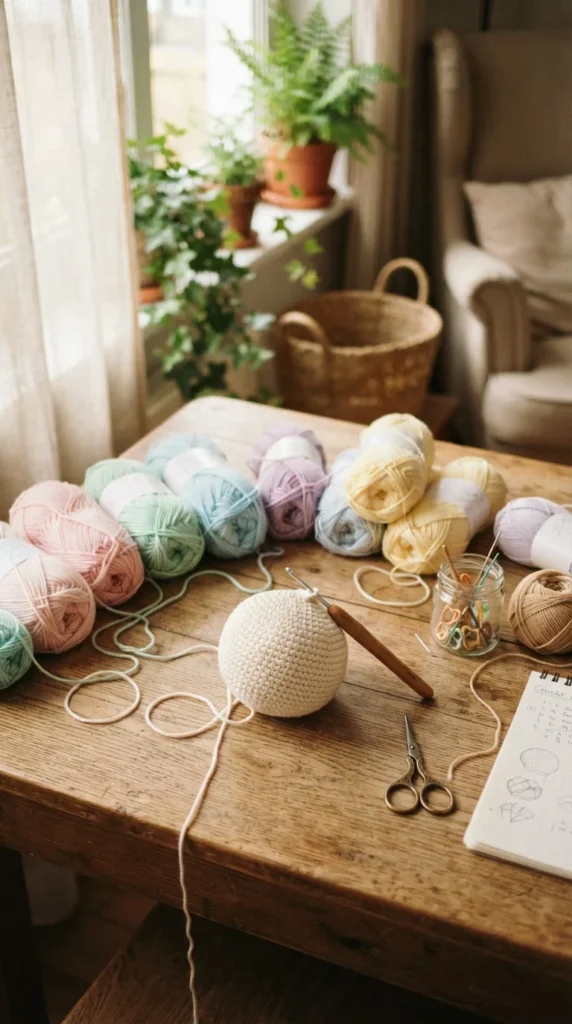
Picking up a hook for the first time can feel overwhelming when every pattern online seems to assume you already know what a magic ring is. This list skips the confusion and points you toward crochet amigurumi patterns for beginners that are genuinely simple to follow, built from basic single crochet stitches, worked in small rounds, and forgiving if your tension wobbles a little. Each pick below focuses on shapes that teach a specific skill, whether that’s shaping a round head, joining limbs, or finishing without heavy sewing. By the end, you’ll have a shortlist of first projects that build real confidence instead of frustration, plus a sense of which yarn, hook, and stuffing choices actually matter when you’re just starting out.
1. A No-Sew Frog That Teaches Shaping Without the Sewing Stress
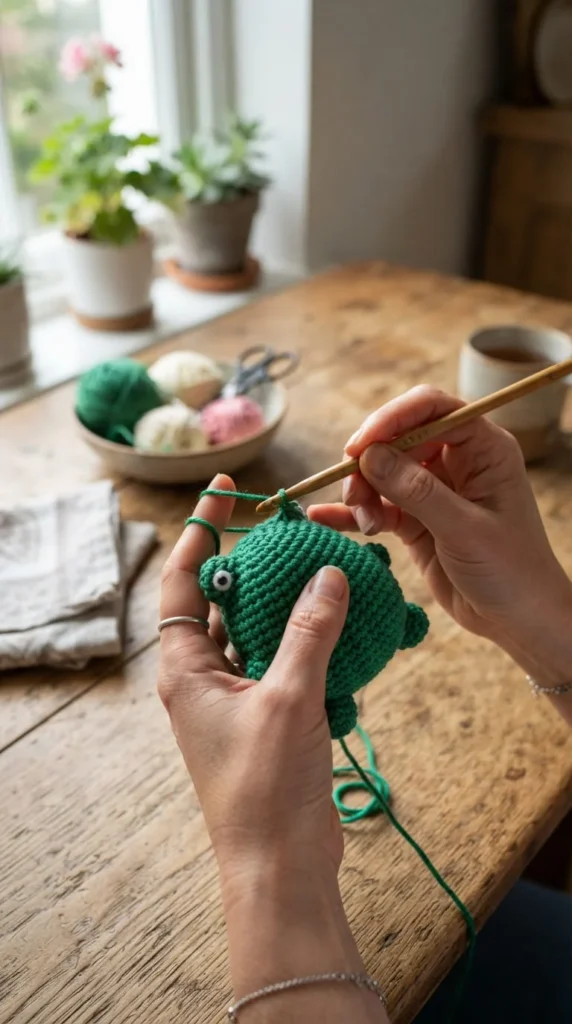
A round frog body is one of the friendliest first projects because it skips the part beginners dread most: attaching separate pieces. The legs and eyes are crocheted directly onto the body or added with minimal stitching, so you spend your energy learning shape control instead of threading a needle over and over.
Start with a basic sphere body worked in continuous rounds, increasing evenly until you reach the width you want, then decreasing back down. This single shape teaches you how increases and decreases actually change the silhouette, which carries over into nearly every other amigurumi you’ll ever make.
Use a light green or yellow cotton yarn so you can clearly see each stitch while counting. A smaller hook than the yarn label suggests will keep your fabric tight enough that stuffing won’t peek through the gaps.
Because there’s little to sew, this project usually takes under two hours, making it a good confidence builder before you move on to anything with separate limbs.
2. A Palm-Sized Bumblebee for Practicing Color Changes
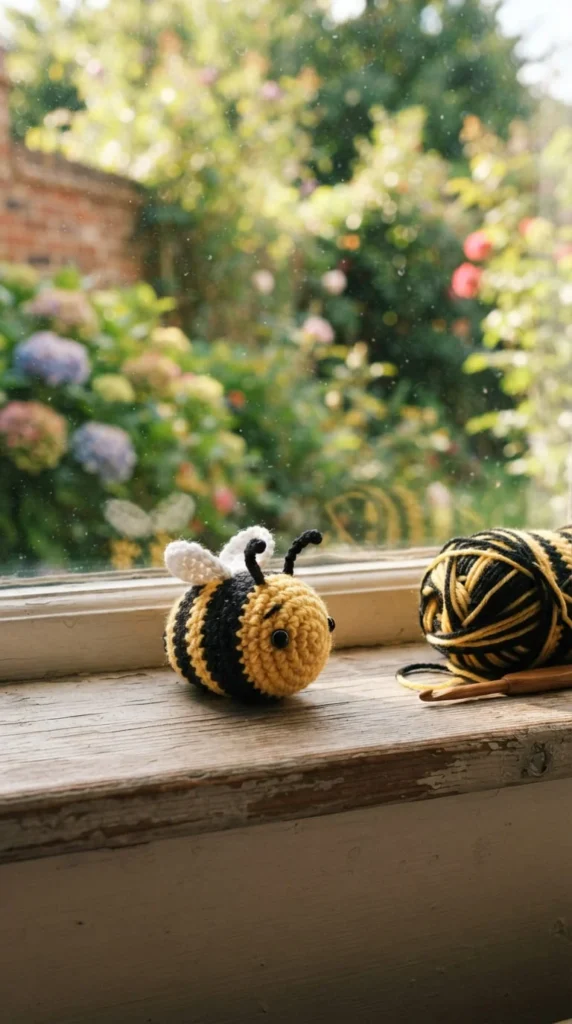
Striped projects scare a lot of new crocheters, but a small bumblebee is actually one of the gentlest ways to practice switching yarn colors mid-round. Because the stripes are short, you get repeated practice without committing to a huge project.
The body is a simple rounded oval, and the wings are two flat ovals stitched on separately, which gives you a taste of basic assembly without the complexity of jointed limbs.
Tip for clean stripes: carry your unused yarn color loosely along the inside of the work instead of cutting and rejoining every few rounds. This keeps the inside neat and saves you from weaving in a dozen extra ends.
A worsted weight acrylic yarn works fine here since the bee is small and won’t need to hold much shape on its own. Keep your stitch count consistent by using a locking stitch marker at the start of each round, especially once the stripes make it harder to spot where a round begins.
This pattern usually finishes in one sitting, which makes it satisfying for a first color-work attempt.
3. A Wide-Eyed Owl for Learning Facial Placement
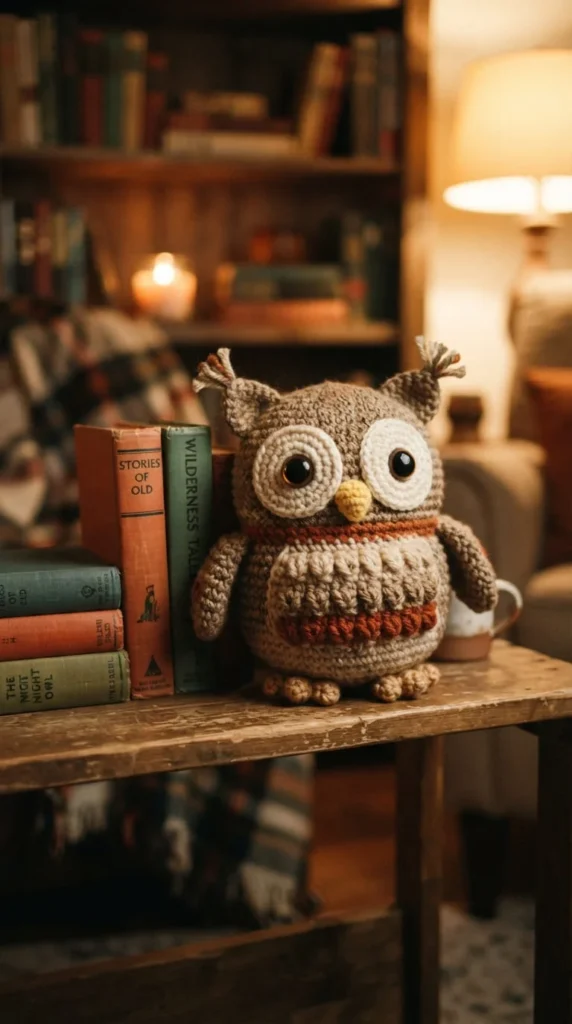
Getting a face to look right is one of the trickiest parts of amigurumi, and a simple owl is a forgiving place to practice. Because owls are naturally round and symmetrical, small placement errors are far less noticeable than they would be on, say, a bunny with a narrow snout.
Work the body as one continuous round shape, then focus your attention on spacing the safety eyes evenly before you stuff and close the piece. A helpful trick is to insert the eyes loosely first, hold the toy up, and check both angles before locking them into place permanently.
Wings and a small triangular beak are added afterward, giving you light practice with basic embroidery or simple appliqué stitching.
Choose a medium-toned yarn rather than something very dark, since it will be easier to see exactly where your eye placement rounds are while you’re still learning to count stitches by touch.
This project is ideal for anyone who wants to move past plain spheres and start shaping personality into their work.
4. A Curly-Legged Octopus for Mastering Long Chains
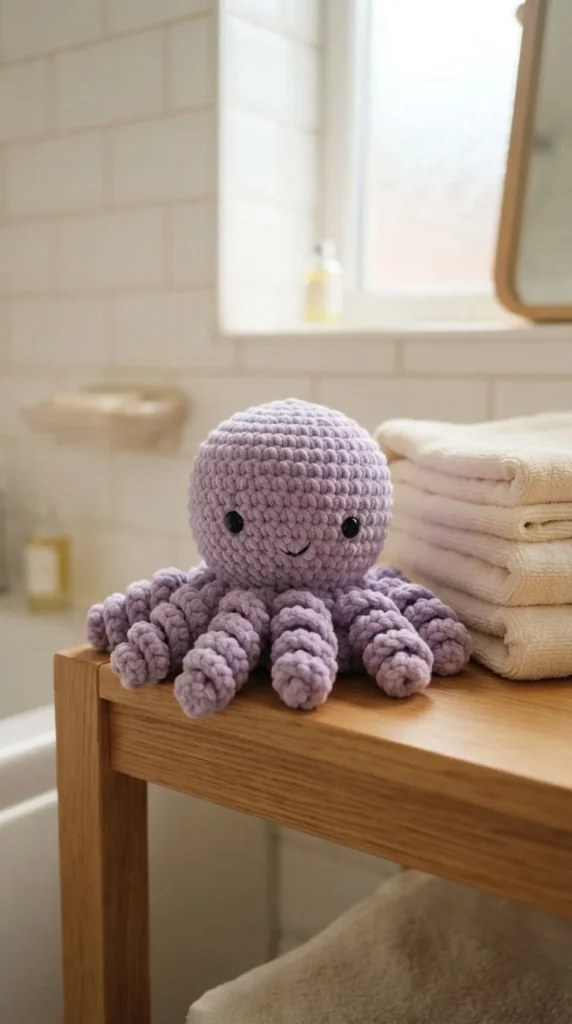
Octopus patterns are popular for a reason: the legs are usually worked as simple chains or slip-stitched strands, which means no complicated leg-shaping is required at all.
The body is a basic dome shape, similar to a half-sphere, and the eight legs can be made by chaining a length of stitches directly from the base and slip-stitching back up. This teaches a technique that appears constantly in future amigurumi projects, from tails to antennae.
For legs that naturally curl, use a stiffer cotton yarn rather than a soft acrylic. Cotton holds its shape better after you finish, giving the legs that classic curled octopus look without any extra blocking or wire.
Because there are eight repetitive legs, this pattern is also a good opportunity to build speed and rhythm with your stitches. By leg five or six, most beginners notice their hands moving faster and their tension evening out naturally.
Stuff the body just enough to round it out, since overstuffing an octopus tends to stretch the stitches and make the legs look disproportionately thin.
5. A Frilly Axolotl for Practicing Small Attached Pieces
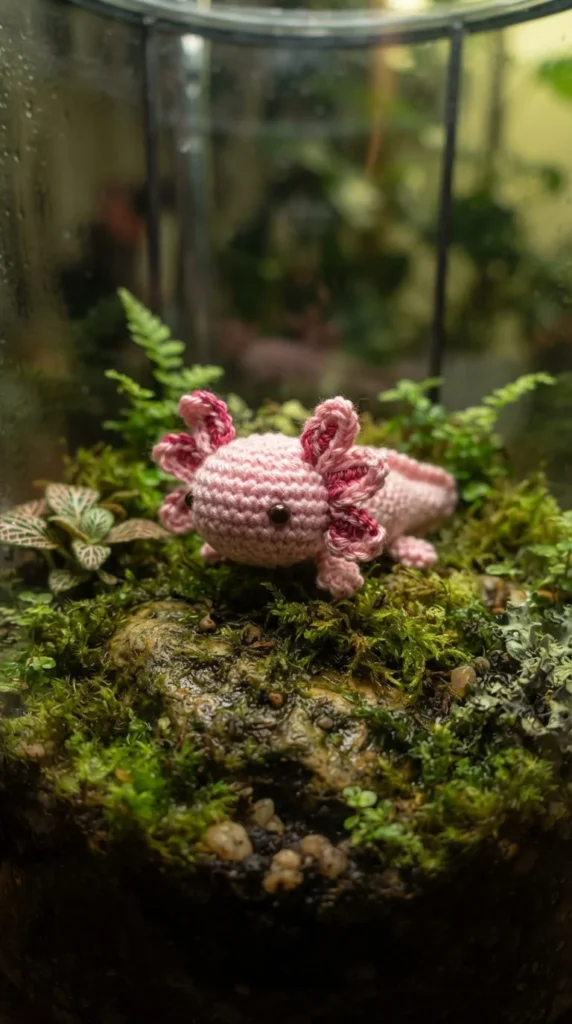
Axolotls have become a favorite beginner subject because their signature gills give you low-stakes practice attaching several small pieces to one body without much risk if they’re slightly uneven.
The body and tail are typically one continuous piece, tapering naturally from a rounded head down to a flat tail fin. The gills, usually three per side, are small looped or fringed pieces stitched on afterward.
Because the gills are decorative rather than structural, this is a great pattern for practicing placement confidence. If one gill sits slightly higher than the others, it barely affects the overall look, which takes the pressure off compared to symmetrical features like eyes.
Pick a soft pink or pale yellow yarn, since axolotls are naturally pale, and it helps the finished toy read clearly as the animal it’s meant to be.
This pattern also introduces basic tail shaping through gradual decreases, a skill that transfers directly to fish, mermaids, or any tapering amigurumi design you attempt later.
6. A Tiny Strawberry for Practicing Clean Increases
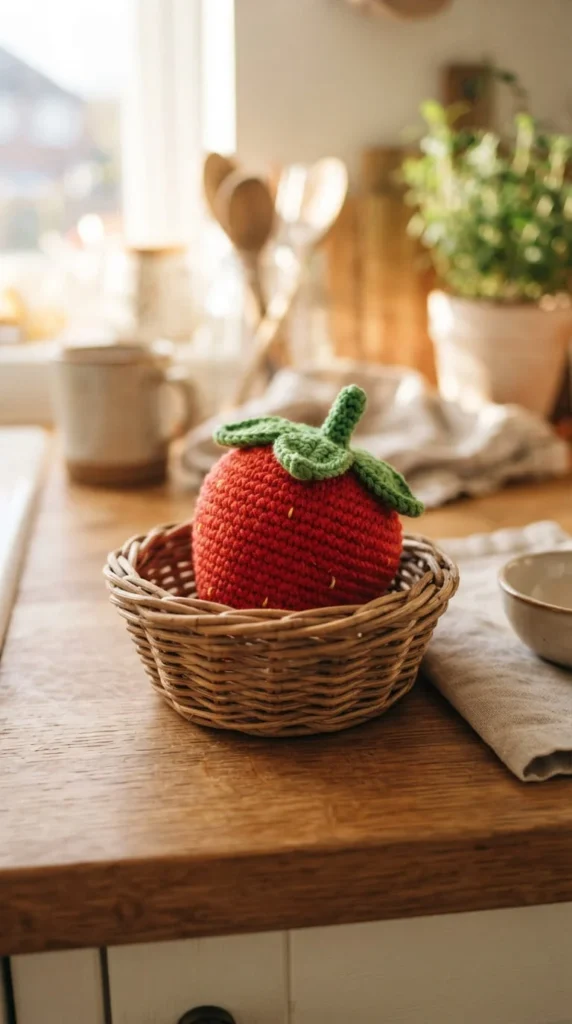
Food-shaped amigurumi are ideal first projects because the shapes are simple and forgiving, and a strawberry in particular teaches clean, even increases from the very first round.
Starting from a magic ring, you increase steadily to widen the body into a rounded triangle shape, which is one of the most common increase patterns you’ll reuse in dozens of future projects, from fruit to hats to noses.
The leafy green top is worked flat and stitched on last, giving you a bit of practice attaching a flat piece to a rounded body, a skill that appears constantly once you start adding hats, bows, or clothing to your amigurumi later on.
Use red cotton yarn for good stitch definition, and consider adding small French knots or scattered stitches for seeds once you’ve finished the shaping, though this step is entirely optional for a first attempt.
Because the whole project uses under one skein of yarn, it’s also a low-cost way to practice before investing in a bigger project.
7. A Curled-Up Sleeping Cat for Practicing Closed Eyes
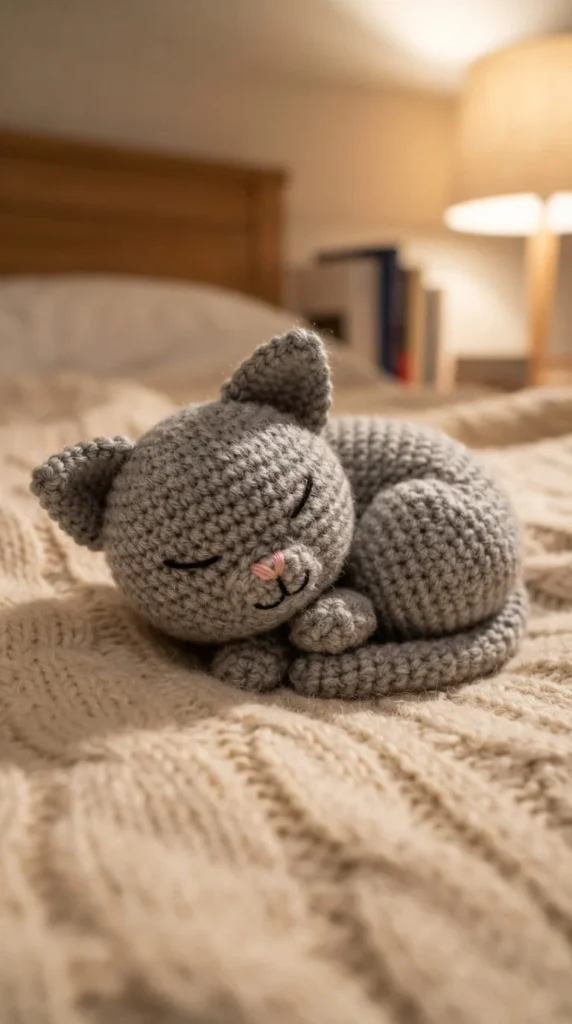
Not every amigurumi needs safety eyes, and a sleeping cat is a great way to learn embroidered or simple stitched eyes instead, which removes one entire category of tricky hardware from your first few projects.
The body is worked as a curled, slightly flattened ball rather than a standing figure, which is actually easier for beginners since there’s no need to balance the toy or worry about leg symmetry.
Closed eyes are usually just two short horizontal stitches in black or dark brown embroidery thread, placed after stuffing. This is a forgiving technique because small imperfections in a closed eye read as a natural sleepy expression rather than a mistake.
Ears are small triangles crocheted flat and folded slightly before attaching, giving you a bit of practice with basic 3D shaping from a 2D piece.
A soft gray or tabby-toned yarn with a slightly fuzzy texture works particularly well here, since it mimics real fur and hides minor stitch irregularities better than a smooth cotton would.
8. A Floppy-Eared Bunny for Practicing Limb Attachment
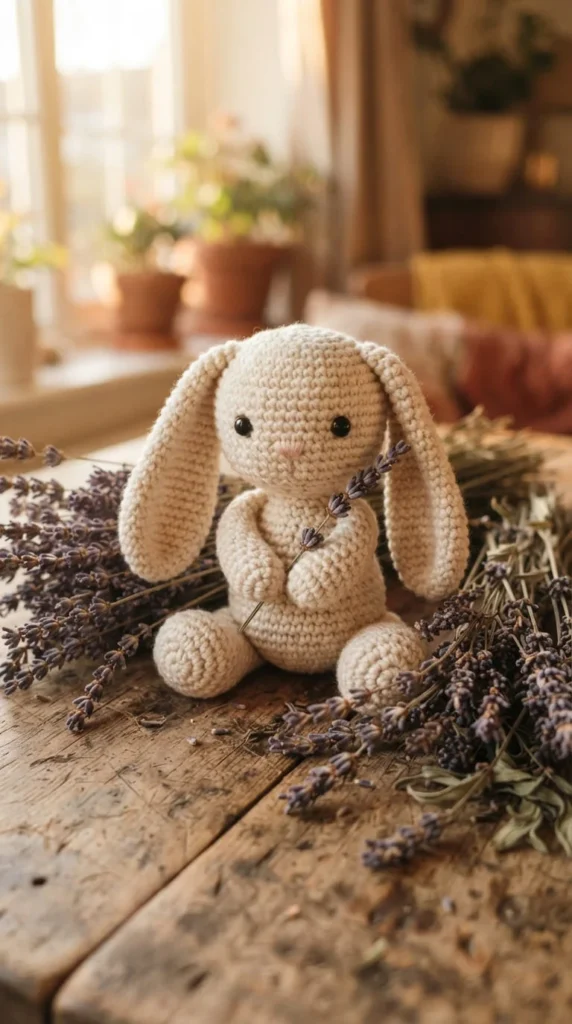
A classic bunny with floppy ears and simple stub arms is often recommended as a true first “complete” amigurumi, since it introduces the full process of making separate pieces and joining them into one finished toy.
The body and head are usually worked as one continuous piece to reduce the number of seams you’ll need to close, while the arms, legs, and ears are made separately and sewn on afterward.
The key skill here is learning to pin pieces before sewing. Use stitch markers or safety pins to hold each limb in place, then step back and check the proportions from multiple angles before committing to permanent stitches.
Keep the ears slightly floppy rather than stuffed firm, since this softens the overall look and is more forgiving of minor asymmetry between the two sides.
A medium worsted weight yarn in a soft neutral color keeps this project quick to finish while still giving you meaningful practice with the full amigurumi assembly process from start to finish.
9. A Potted Cactus for Practicing Bobble and Texture Stitches
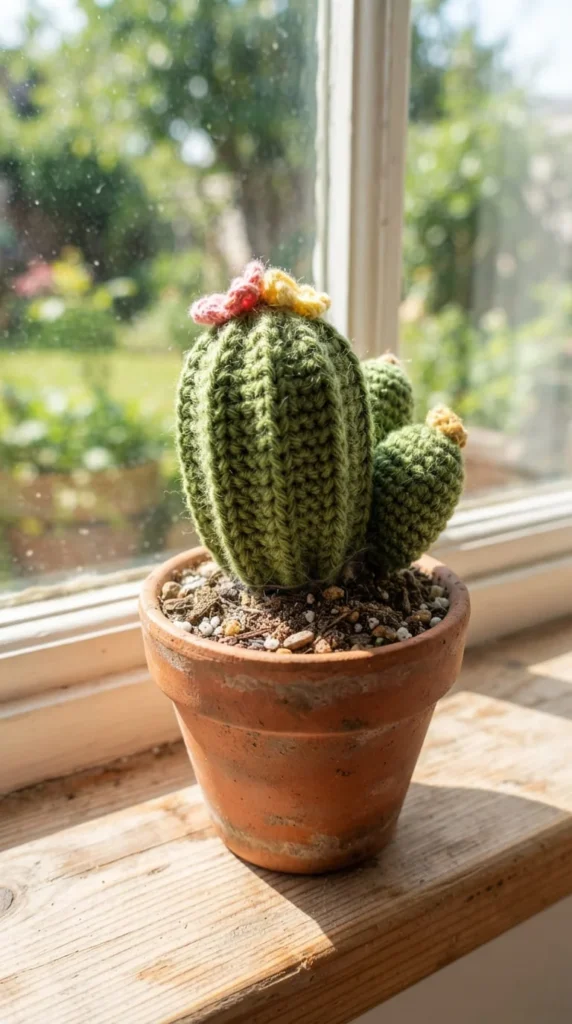
If plain single crochet is starting to feel repetitive, a small cactus is a fun way to introduce simple texture stitches without changing the overall difficulty level much at all.
The cactus body is a basic cylinder or slightly tapered tube, and the “spines” can be added with small bobble stitches, French knots, or even scattered straight stitches in a contrasting yarn color, depending on how much texture you want to attempt.
The pot is typically crocheted flat in a spiral, then lightly stuffed or weighted at the base so the finished piece can actually stand upright, which introduces a light structural consideration beginners don’t usually think about.
Because a cactus has no face, no limbs, and no symmetry requirements, it’s an unusually low-pressure project to practice new stitches on. If a bobble looks a little uneven, it genuinely just reads as natural cactus texture rather than a mistake.
Green cotton yarn holds its shape best for the body, while a rougher acrylic works fine for the pot since it won’t be handled as much once displayed.
10. A Sprinkled Donut for Practicing Ring Shaping
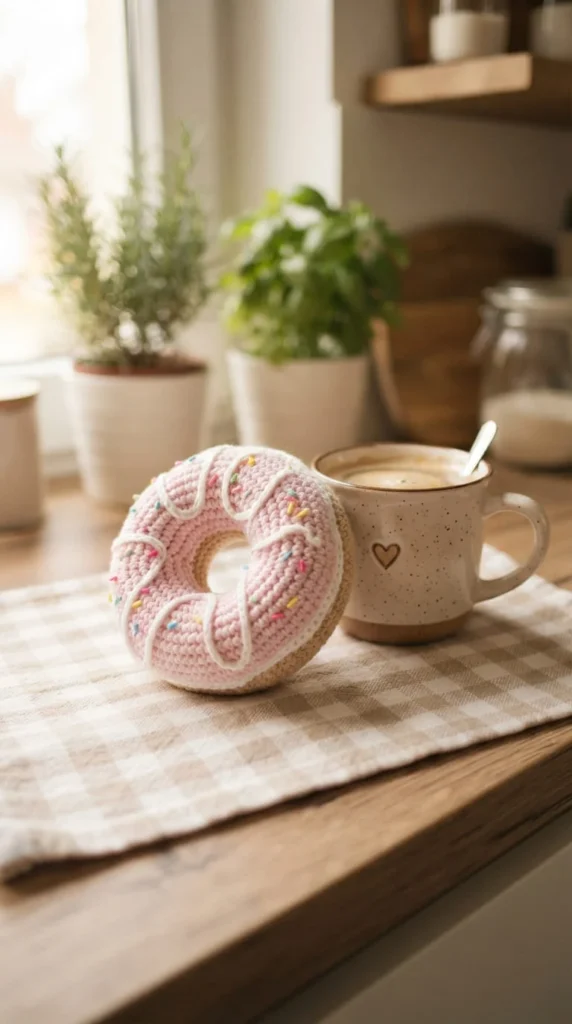
A donut is one of the few amigurumi shapes worked with an open center rather than a solid stuffed sphere, which makes it a genuinely different skill from most other beginner patterns on this list.
You’ll crochet two flat rings and join them around the outer and inner edges, leaving a gap to stuff the tube shape before closing it fully. This teaches even tube stuffing, a skill that transfers directly to scarves, wreaths, or any ring-shaped project you take on later.
The “icing” layer is usually a second, slightly smaller ring crocheted separately in a contrasting color and stitched on top, giving you light practice matching two pieces of different sizes neatly.
For sprinkles, short straight stitches in several bright colors scattered across the icing add a playful finishing touch without requiring any advanced technique.
A smooth cotton yarn in pastel tones gives the cleanest, most food-like appearance, and because the shape is flat rather than tall, this project photographs particularly well for anyone documenting their beginner progress.
11. A Keychain Mouse for Practicing Miniature Scale
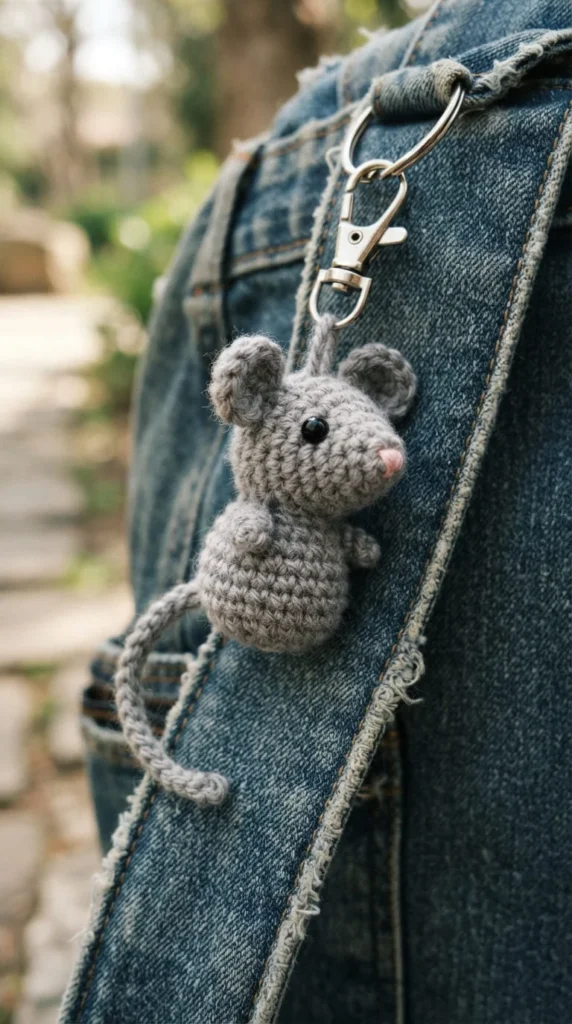
Working at a smaller scale than usual teaches patience and precision in a way that larger projects simply can’t, and a tiny mouse sized for a keychain is a great way to try it without committing to a full miniature collection.
Because the pieces are so small, a finer weight yarn and a smaller hook than you’d normally use are recommended, which also means your stitch count per round will be lower and easier to track by feel.
The tail is a simple long chain, and the ears are two tiny flat circles stitched onto the rounded head. Since everything is scaled down, mistakes are less visible from a normal viewing distance, which makes this a forgiving way to experiment with miniature work.
Attach a metal keychain clip to the top of the head or back once stuffing is complete, giving the finished piece an actual practical use beyond sitting on a shelf.
This project is also useful for testing whether you enjoy working at a smaller scale before investing in specialty fine-weight yarns for future miniature amigurumi.
12. A Round Baby Whale for Practicing Gradual Tapering
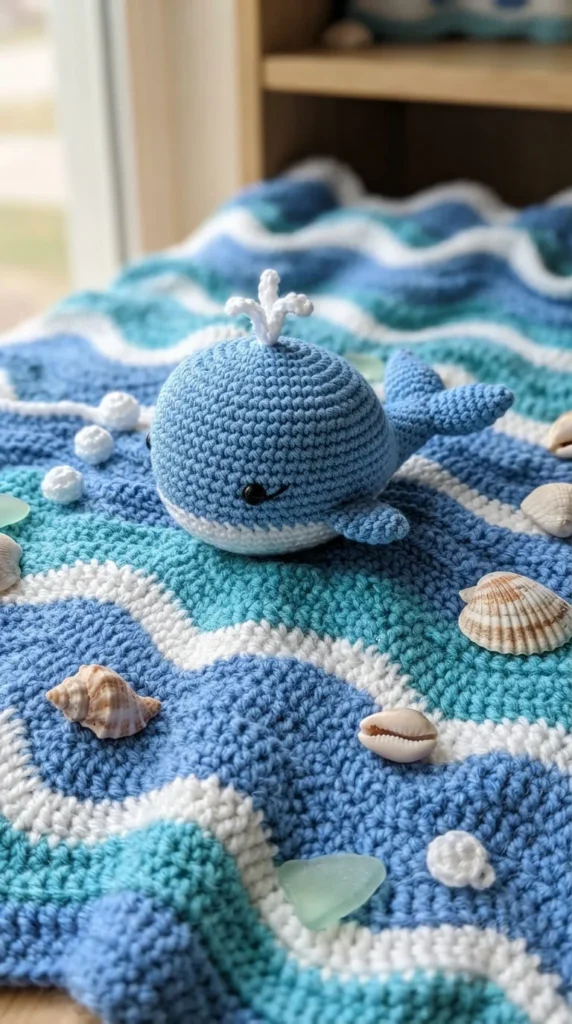
A baby whale shape is a good next step once you’re comfortable with basic spheres, since it introduces a gradual, elongated taper rather than the sharper increases and decreases used in rounder projects.
The body starts wide near the head and tapers slowly toward the tail, giving you practice controlling the rate of decrease across many rounds rather than compressing it into just a few. This is a subtle but important skill for anything shaped like an animal body rather than a simple ball.
The tail fin and small side fins are flat pieces, folded slightly and stitched on, adding light practice with shaping flat crochet into a 3D form.
A soft blue or gray yarn works well here, and adding a lighter belly panel in a contrasting color is optional but gives beginners a chance to practice basic color blocking without committing to full stripes.
Because the shape is elongated rather than round, stuffing evenly along the length takes a bit more attention, which makes this a useful stepping stone toward larger, more detailed animal patterns.
13. A No-Sew Ghost for a One-Sitting Project
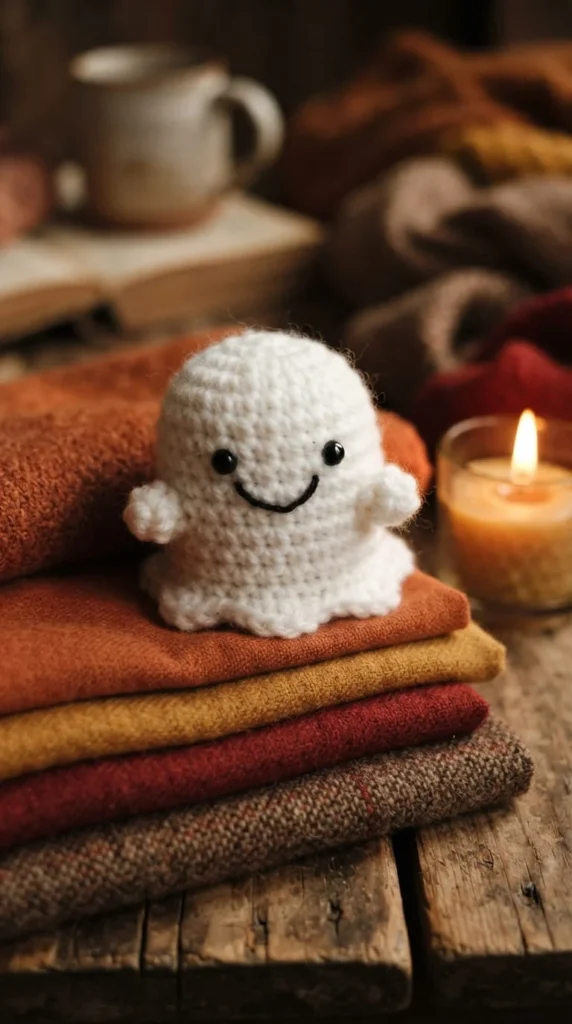
When you want a finished amigurumi without much assembly at all, a simple ghost shape is about as fast and forgiving as it gets. The whole body is one continuous piece with a wavy bottom edge created by adjusting stitch counts around the base rather than sewing on separate pieces.
The face is just two small embroidered or safety eyes and a simple curved mouth, added directly onto the front of the body after stuffing, which means there’s genuinely nothing extra to attach.
The wavy hem is created by working a few extra chain stitches or picot-style points around the bottom round, giving the shape its recognizable silhouette without any complicated technique.
White or pale gray cotton yarn gives the cleanest classic ghost look, though a soft lavender or pale blue works just as well for a slightly different mood.
Because there’s no sewing required beyond the face details, this project usually takes well under an hour, making it a great confidence booster on days when you want to finish something quickly.
14. A Bandana Puppy for Practicing Small Accessories
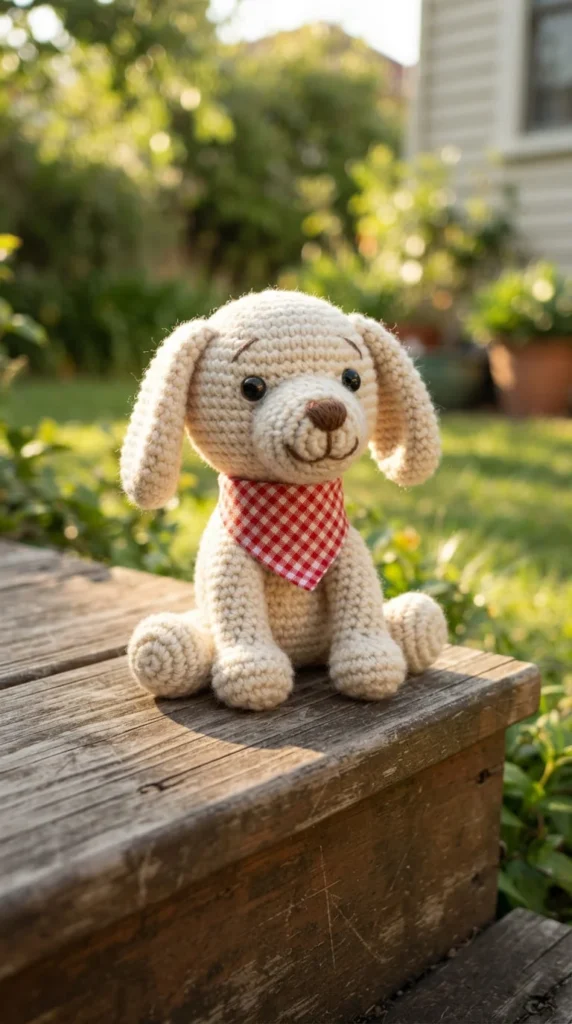
Once you’re comfortable with a basic animal body, adding a small accessory like a bandana is a natural next challenge that teaches a skill you’ll reuse constantly: fitting a flat or tube-shaped piece around a rounded body.
The puppy itself follows a similar structure to the bunny mentioned earlier, with a rounded head, small stub limbs, and long floppy ears attached separately. What sets this project apart is the tiny triangular bandana, worked flat and simply tied or tacked around the neck.
This teaches you how to gauge the right size for an accessory relative to the body it’s meant to fit, a skill that applies just as well to hats, scarves, or tiny sweaters on future projects.
Choose a contrasting yarn color for the bandana so it stands out clearly against the puppy’s body, and consider adding a single small button or knot detail at the front for a finished look.
This pattern is a good bridge project between plain animal shapes and more elaborate, accessorized amigurumi designs.
15. A Patterned Sea Turtle for Practicing Surface Texture
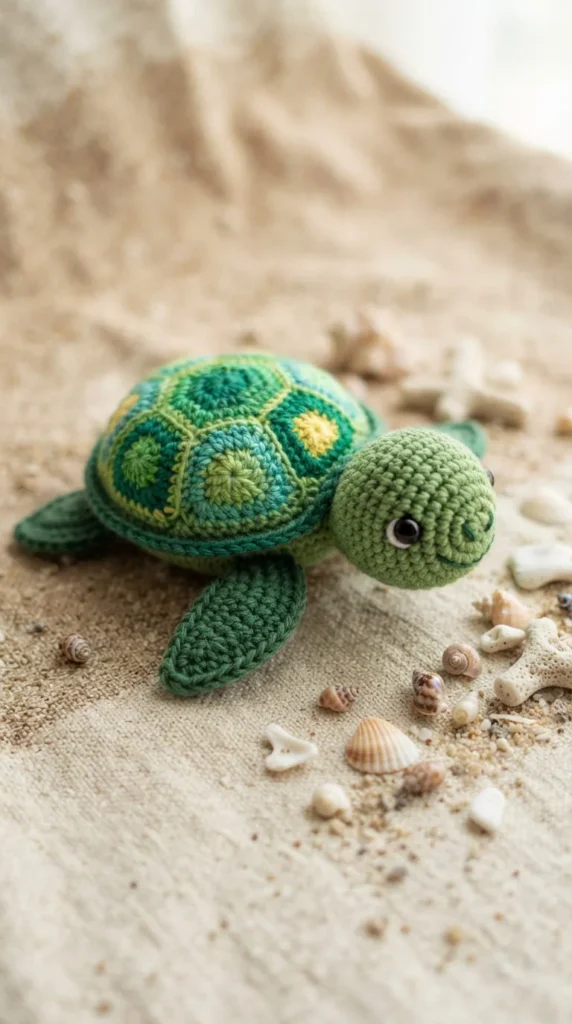
A sea turtle introduces a fun optional challenge: adding a simple geometric pattern to the shell using basic color changes, without needing any advanced colorwork technique like tapestry crochet.
The body is a flattened oval base, and the shell is worked separately as a domed piece, often with small triangular or hexagonal sections marked using contrasting yarn stitched or embroidered on afterward rather than crocheted in directly. This keeps the difficulty manageable for a first attempt at a “patterned” project.
Flippers are simple flat triangles attached at the front and back corners of the body, giving you a bit more practice with placement and proportion.
Because turtles are naturally flat and low to the ground, this shape is more forgiving with stuffing than taller animal shapes, since there’s less risk of it toppling over or looking lopsided from certain angles.
A green or teal cotton yarn for the body with a lighter contrast for the shell pattern creates good visual definition, and this project works well as a stepping stone toward more detailed colorwork amigurumi later on.
16. A Standing Sunflower for Practicing Petal Shaping
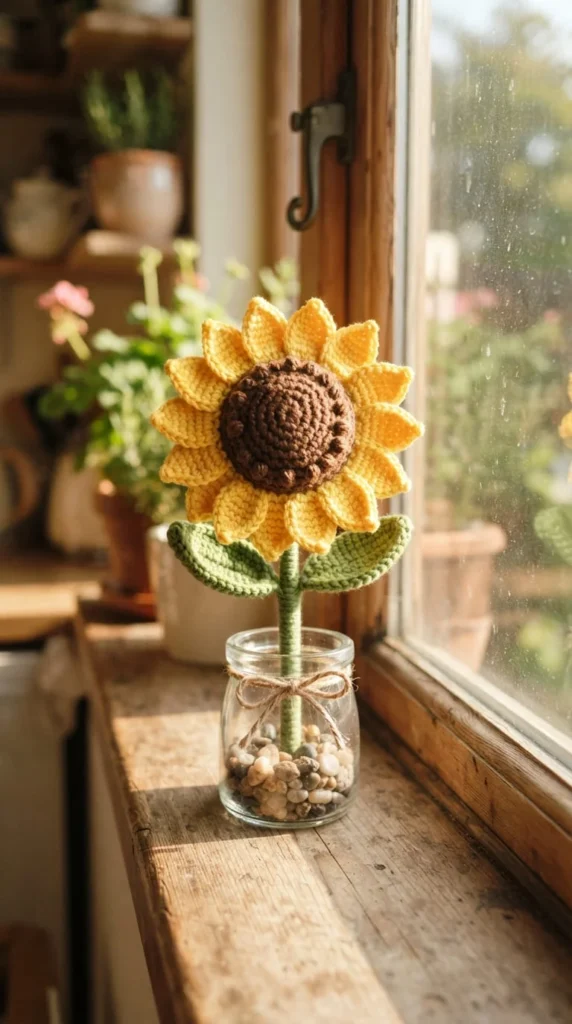
Flower-shaped amigurumi are a nice change of pace from animals, and a sunflower in particular teaches repeated petal shaping, a technique that shows up constantly in later projects like crowns, decorations, or clothing trims.
Each petal is a small elongated oval, usually made using a simple increase-then-decrease pattern within just a few rounds or rows, then attached around a central round face made from brown or dark yellow yarn.
Because you’ll be making several petals in a row, this project builds real muscle memory and speed, and most beginners notice their petals getting more consistent by the time they reach the later ones.
The stem is usually a simple crocheted tube stiffened with a pipe cleaner or floral wire inserted through the center, which introduces a light bit of structural thinking beyond just stuffing with fiberfill.
Bright yellow cotton yarn for the petals and a soft brown for the center gives the most recognizable sunflower look, and the finished piece makes a nice small gift once you’ve completed it.
17. A Round Panda Cub for Practicing Patch Placement
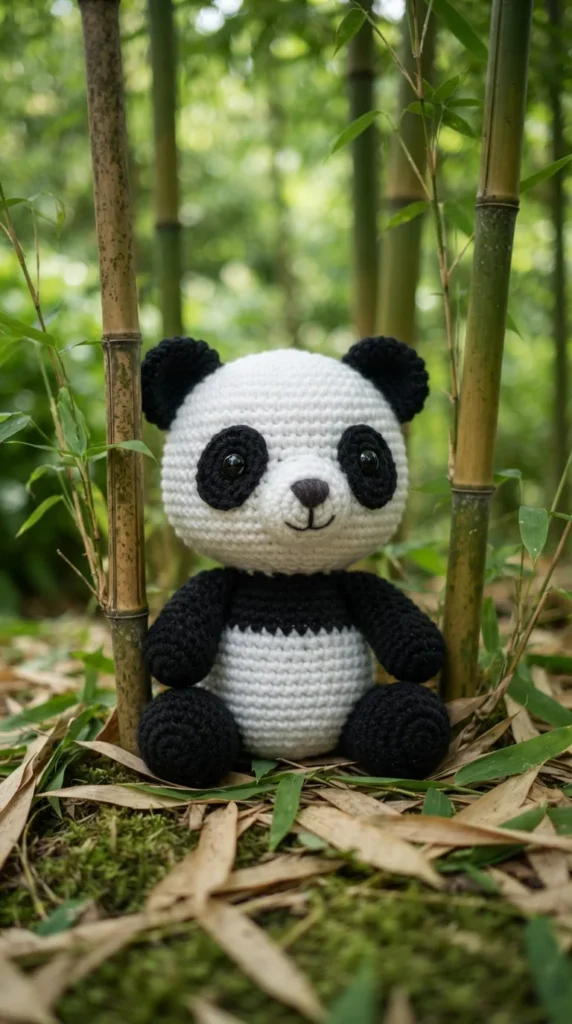
A panda is a great project once you want to try adding contrasting eye patches and ears without doing full colorwork, since the black sections are simply separate pieces stitched onto a white body rather than crocheted in as stripes.
The body is a basic rounded shape, similar to the bear-style amigurumi you’ll see in countless patterns, and the black ear and eye patch pieces are worked flat, then attached with careful attention to symmetry.
This project is particularly good for practicing measuring before attaching, since a panda’s recognizable look depends heavily on the eye patches being roughly the same size and placed at matching heights. Using a ruler or simply folding a piece of scrap yarn in half to measure both sides helps keep things even.
Limbs are short and rounded rather than elongated, which keeps the overall difficulty manageable even with the added patch details.
White or cream body yarn with black patches gives the clearest panda look, and this pattern is a good confidence builder for anyone nervous about symmetry in future, more detailed designs.
18. A Spiral-Shelled Snail for Practicing Coiled Shapes
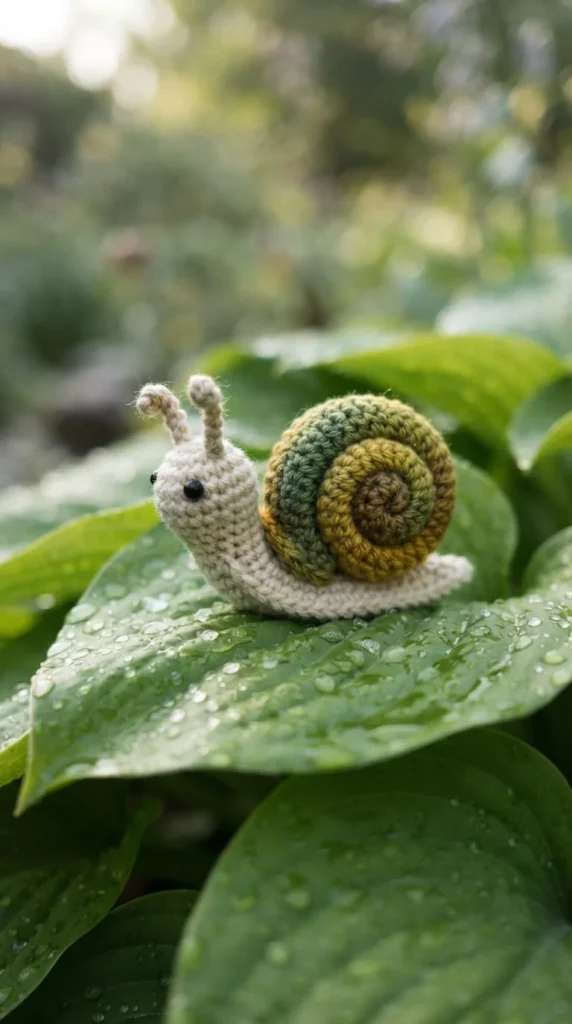
A snail introduces a genuinely different shaping technique: instead of increasing outward into a sphere, you’re working a flat spiral disc for the shell, then attaching it at an angle to a simple tube-shaped body.
The spiral is created by increasing consistently around a flat circle without ever decreasing, which teaches you how flat crochet motifs are built, a skill useful for coasters, appliqués, or other flat decorative pieces later.
The body is a simple elongated tube with small eye stalks made from short crocheted tubes stitched on at the front, giving a bit of extra character without much added difficulty.
Attaching the flat spiral shell to the curved body at a natural-looking angle takes a little trial and error, so pin it in a few different positions before sewing permanently in place.
A soft brown or tan yarn for the body with a slightly different tone for the shell gives good visual contrast, and this project is a nice way to practice flat spiral shapes before attempting anything like a snail-shell hat or rose motif later.
19. A Puffed Heart Keychain for Practicing Flat Shaping
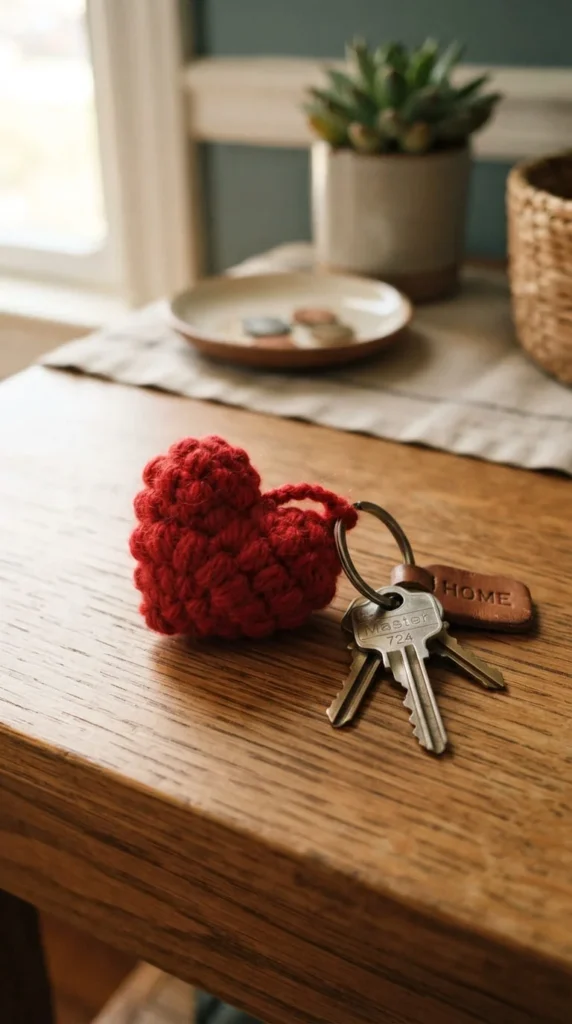
Not every amigurumi needs to be a rounded animal, and a small puffed heart is a nice change of pace that teaches flat shape control rather than spherical increases and decreases.
The heart is worked in two mirrored halves joined at the top, then stitched together around the edges while leaving a small gap to stuff lightly before closing. This gives the finished piece a soft, slightly puffed dimension rather than lying completely flat.
Because the shape relies on symmetry between the left and right halves, this is good practice for counting stitches carefully and matching row or round counts exactly, a habit that will save you frustration on more complex patterns later.
A metal keychain ring or clip can be looped through a small chain at the top point once the heart is finished, giving it a practical use similar to the mouse keychain mentioned earlier, though the technique here is quite different.
Red or pink cotton yarn gives the most classic look, though this pattern works nicely in almost any solid color depending on who you’re making it for.
20. A Toadstool Mushroom for Practicing Cap and Stem Assembly
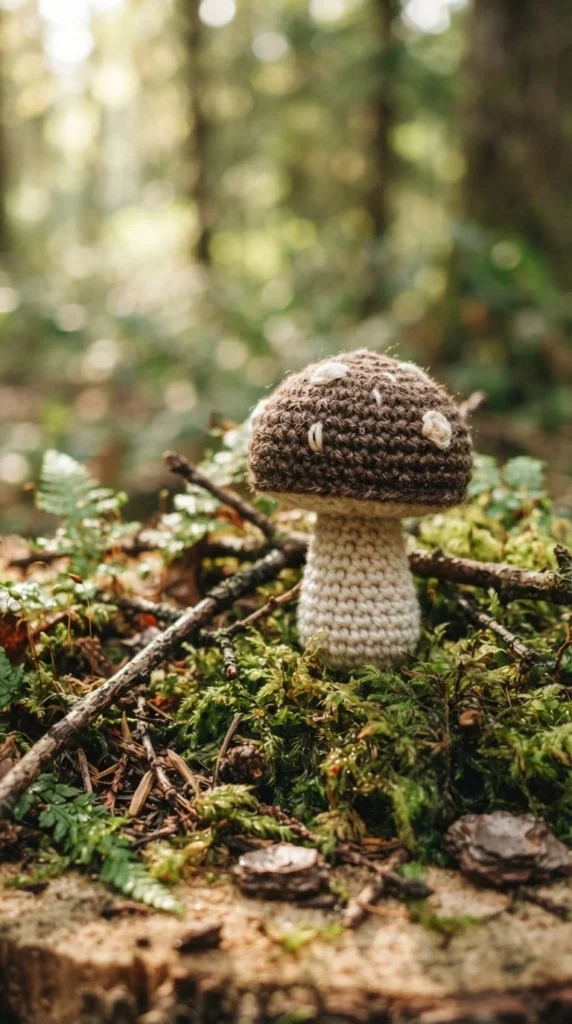
A mushroom is a simple two-piece project that teaches you how to join a domed cap to a straight cylindrical stem, a basic construction pattern that reappears in hats, umbrellas, and plenty of other amigurumi accessories.
The stem is worked as a simple tube, slightly narrower at the top than the base, while the cap is a rounded dome worked separately and then placed over the stem opening before stitching the two pieces together.
Small white dots, either embroidered or added as tiny individual stitches, can be scattered across the cap for a classic toadstool look, giving you light practice with decorative surface details without much added difficulty.
Getting the cap to sit level on the stem takes a little patience, so pin it in place first and check that it looks even from a few different angles before committing to your final stitches.
A red or brown cap with a cream stem gives the most recognizable mushroom shape, and this project is a nice small-scale way to practice joining two very differently shaped pieces cleanly.
21. A Spiky Baby Dinosaur for Practicing Layered Details
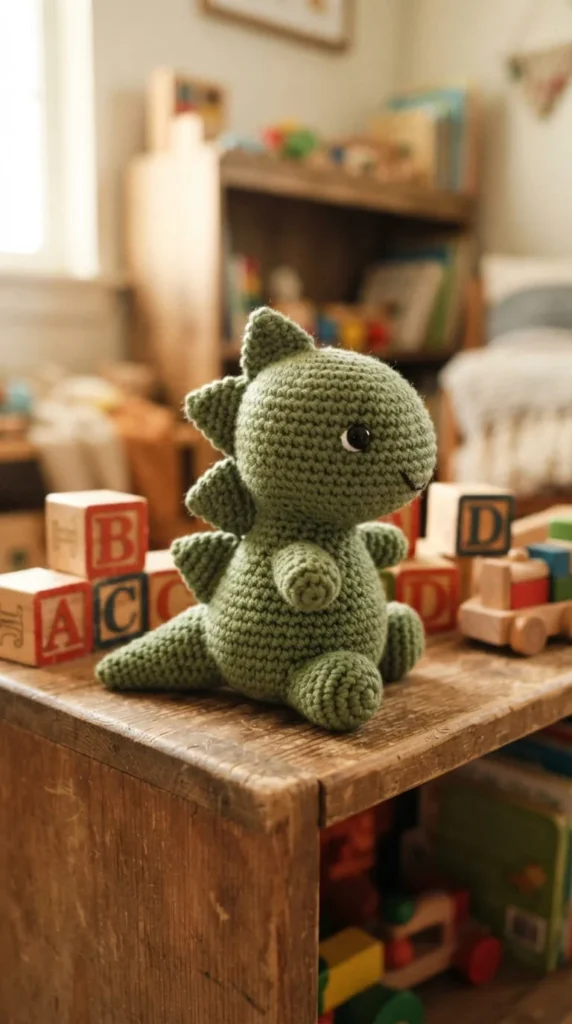
As a slightly more involved final project on this list, a baby dinosaur brings together several skills covered earlier: a rounded body, small limbs, a tapering tail, and a row of small triangular spikes down the back.
The spikes are the standout feature here, usually made as tiny individual triangles crocheted flat and stitched along the spine in a descending row from the head to the tail tip. This is a good test of patience and consistency, since even spacing between spikes makes a noticeable difference in the finished look.
Because this pattern combines several previously practiced techniques, it works well as a project to attempt once you’ve completed a few of the simpler patterns earlier on this list, rather than as a very first project.
A soft green or teal yarn for the body with a slightly darker shade for the spikes creates good visual definition without needing any complicated colorwork.
Finishing a dinosaur after working through some of the earlier, simpler shapes is a genuinely satisfying way to see how far your stitch control and confidence have come.
Conclusion
Working through even a handful of these patterns will teach you more about amigurumi than reading a dozen tutorials ever could, simply because your hands start recognizing what a clean increase or a properly tight round actually feels like. Start with whichever shape appeals to you most rather than working strictly in order, since staying motivated matters more than following a fixed sequence. Keep a small notebook or note on your phone tracking which hook sizes and yarn weights worked best for you, since this becomes genuinely useful once you start adjusting patterns on your own. Pick up your hook, choose one shape from this list, and give it an honest first attempt this week.