
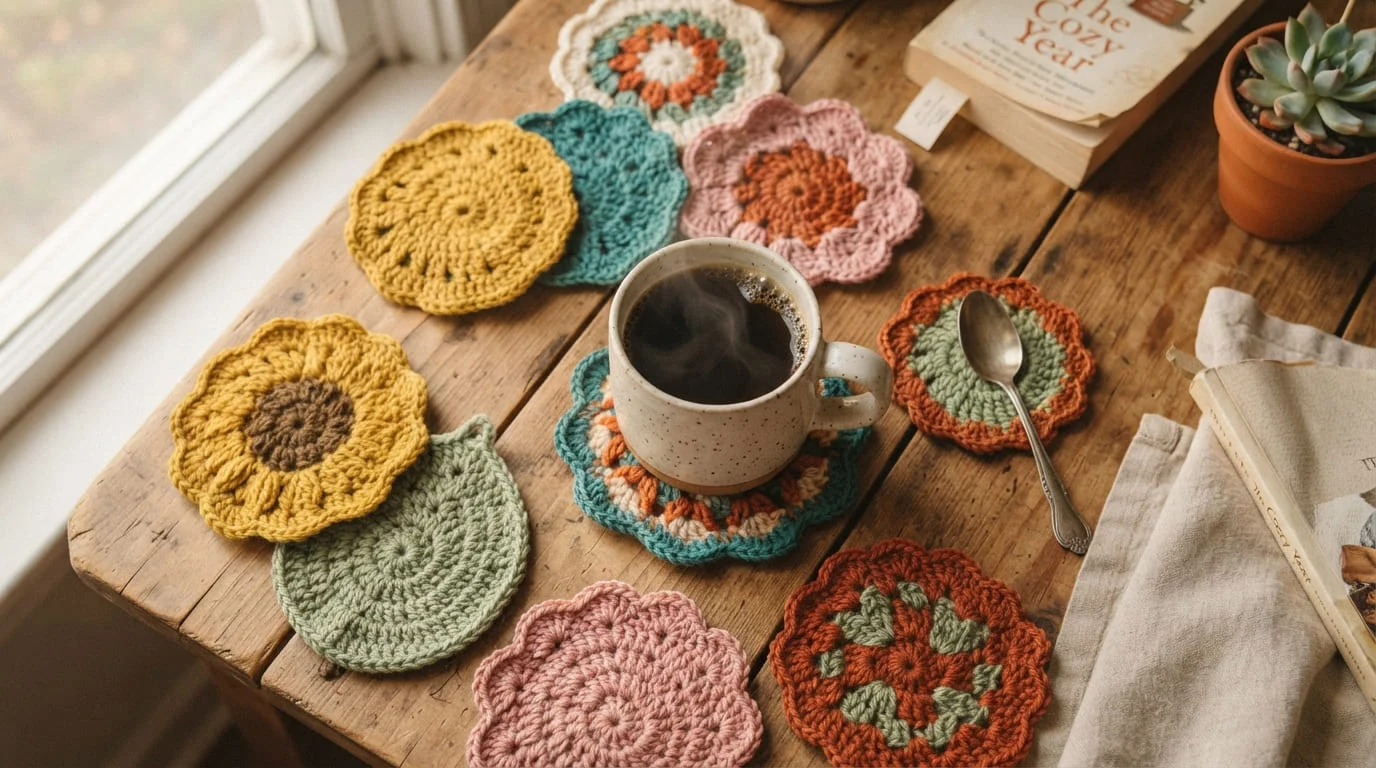
There’s something deeply satisfying about setting your coffee mug down on a coaster you made yourself. Crochet coasters are one of the best projects for anyone just picking up a hook — they’re small, quick, and forgiving enough that mistakes barely matter. In under an hour, you can turn a bit of leftover yarn into something useful and pretty.
This guide walks you through everything you need to know: the supplies, the stitches, two different ways to start your round, and how to keep your coaster flat instead of curling into a bowl shape.
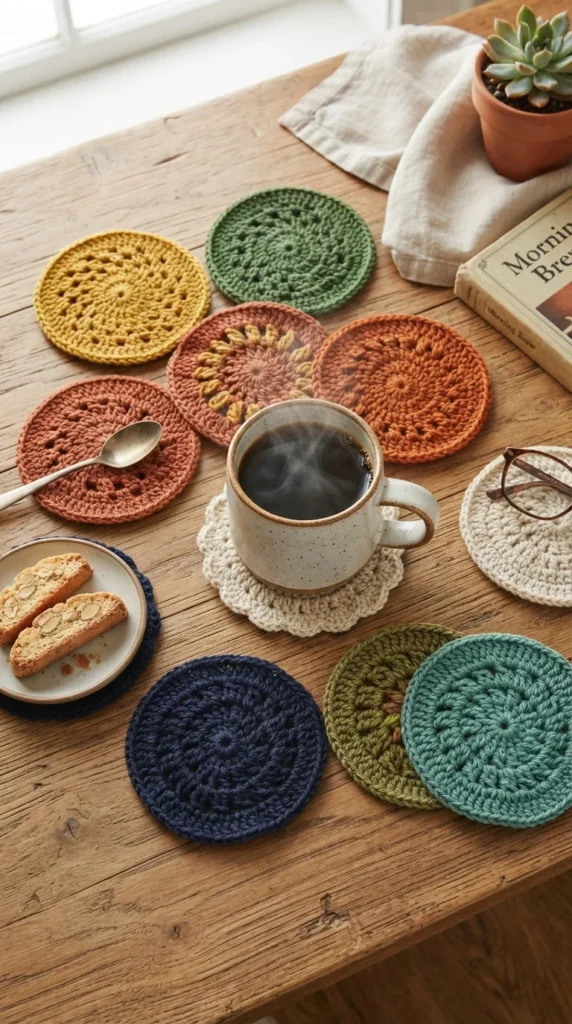
What You’ll Need
Crochet coasters don’t require much. Here’s the short list of essentials:
- A crochet hook (size depends on your yarn — more on that below)
- Cotton yarn, ideally worsted or DK weight
- Scissors
- A yarn or tapestry needle for weaving in ends
- Stitch markers (optional, but handy for beginners)
Cotton is the go-to choice for coasters because it’s absorbent, durable, and holds up well against hot mugs and glasses. Acrylic works too, but it doesn’t soak up condensation nearly as well, so it’s better suited to decorative pieces than everyday use.
As for hook size, follow the guidance on your yarn label. A finer DK cotton often pairs with a smaller hook around 3mm, while a worsted-weight cotton usually calls for something closer to 5mm. The main goal is a tight, dense fabric — looser stitches mean a coaster that won’t protect your table properly.
Learning the Basic Stitches
Before diving into the pattern, it helps to know the handful of stitches you’ll actually use. Coasters are a great way to practice these because you’ll repeat them dozens of times in one small project:
- Chain stitch (ch) – forms your starting loop or foundation
- Slip stitch (sl st) – joins rounds together
- Single crochet (sc) – the dense, foundational stitch used in most coaster patterns
- Half double crochet (hdc) and double crochet (dc) – taller stitches sometimes used for texture or speed
One quick note: crochet terminology differs between the US and UK. A “double crochet” in the US is called a “treble” in the UK, and so on. If you’re following a pattern from a UK source, double-check which system it uses before you start.
Starting Your Coaster: Two Methods
Most round coasters begin with a small ring of stitches that you build outward from. There are two common ways to create that ring.
The magic ring (or magic circle) is the traditional method. You loop the yarn around your fingers, crochet your first round of stitches into the loop, then pull the tail to cinch it closed. It creates a nice tight center with no gap — but it does trip up a lot of beginners at first.
The chain ring, sometimes marketed as the “no magic ring” method, is a simpler alternative. You chain a small number of stitches (often 4–6), then join them into a circle with a slip stitch. It’s easier to grasp visually, though it can leave a slightly larger hole in the center if you don’t pull your first stitches snug.
Neither method is “wrong.” If the magic ring feels frustrating, start with a chain ring instead — you can always come back to the magic ring once you’re more comfortable.
The Basic Round Coaster Pattern
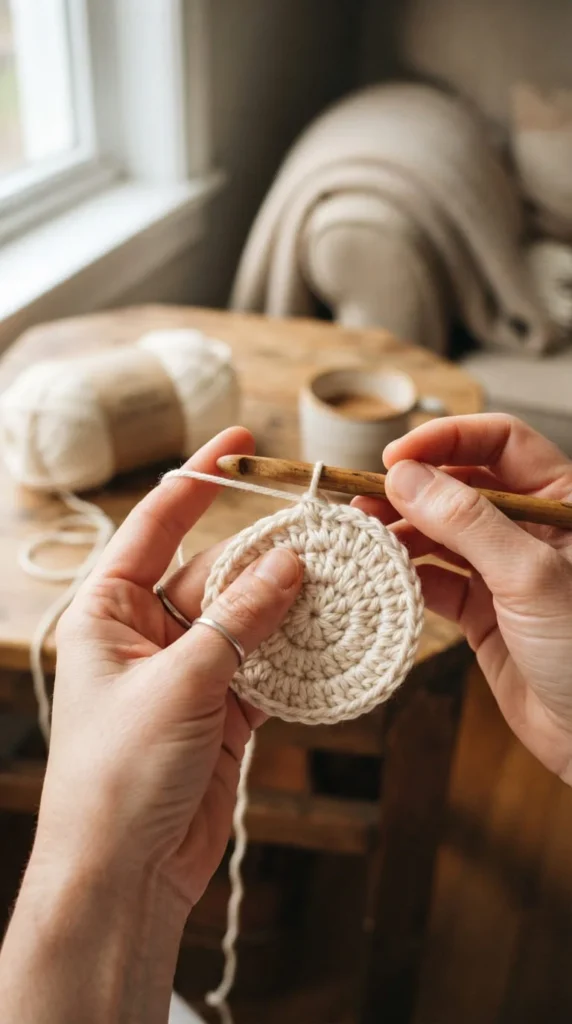
Here’s a simple structure that mirrors what most beginner patterns use:
- Start with a magic ring or chain ring.
- Round 1: Work 6 single crochet stitches into the ring. Join with a slip stitch. (6 stitches total)
- Round 2: Work 2 single crochet in each stitch around. (12 stitches)
- Round 3: Alternate 1 single crochet, 2 single crochet in the next stitch, repeat around. (18 stitches)
- Round 4: Continue increasing evenly until your coaster reaches the size you want — most finish around 3.5 to 4 inches across.
Checking your stitch count after every round is the easiest way to catch mistakes early, rather than discovering a lopsided edge three rounds later.
Why Your Coaster Might Be Curling
If your coaster looks more like a bowl than a flat circle, don’t worry — this is one of the most common beginner issues, and it’s fixable.
- Not enough increases: If your rounds aren’t gaining enough stitches, the edges will pull inward and dome.
- Too many increases: The opposite problem creates a ruffled, wavy edge.
- Tight tension: Crocheting too tightly can cause curling even with the right stitch count.
If adjusting your tension and increases doesn’t fully flatten it, blocking will finish the job.
Blocking Your Coaster
Blocking is a simple finishing step that flattens your work using a bit of water and pressure:
- Lightly dampen the coaster with water.
- Lay it flat on a towel and gently shape it into a circle.
- Cover it with a cloth and place something flat and heavy on top, like a book.
- Leave it to dry overnight.
This small step makes a noticeable difference, especially for coasters that curled slightly during the increases.
Finishing Touches and Fun Variations
Once your basic round is done, don’t feel like you have to stop there. A scalloped edge, a puff-stitch texture, or even a square shape can turn a simple pattern into something more decorative. Coasters are also perfect for using up leftover yarn — a single skein of cotton can often make eight or nine coasters, more than enough for a matching set of four or six for your coffee table.
They also make lovely handmade gifts, especially when color-coordinated to match someone’s kitchen or living room.
Final Thoughts
Crochet coasters are the perfect starting project — small enough to finish quickly, simple enough to learn real technique, and useful enough that you’ll actually want to make more. Once you’ve nailed the basic round, experimenting with textures, edges, and colors becomes half the fun.
Save this guide for later and try these ideas when you’re ready to pick up your hook!