
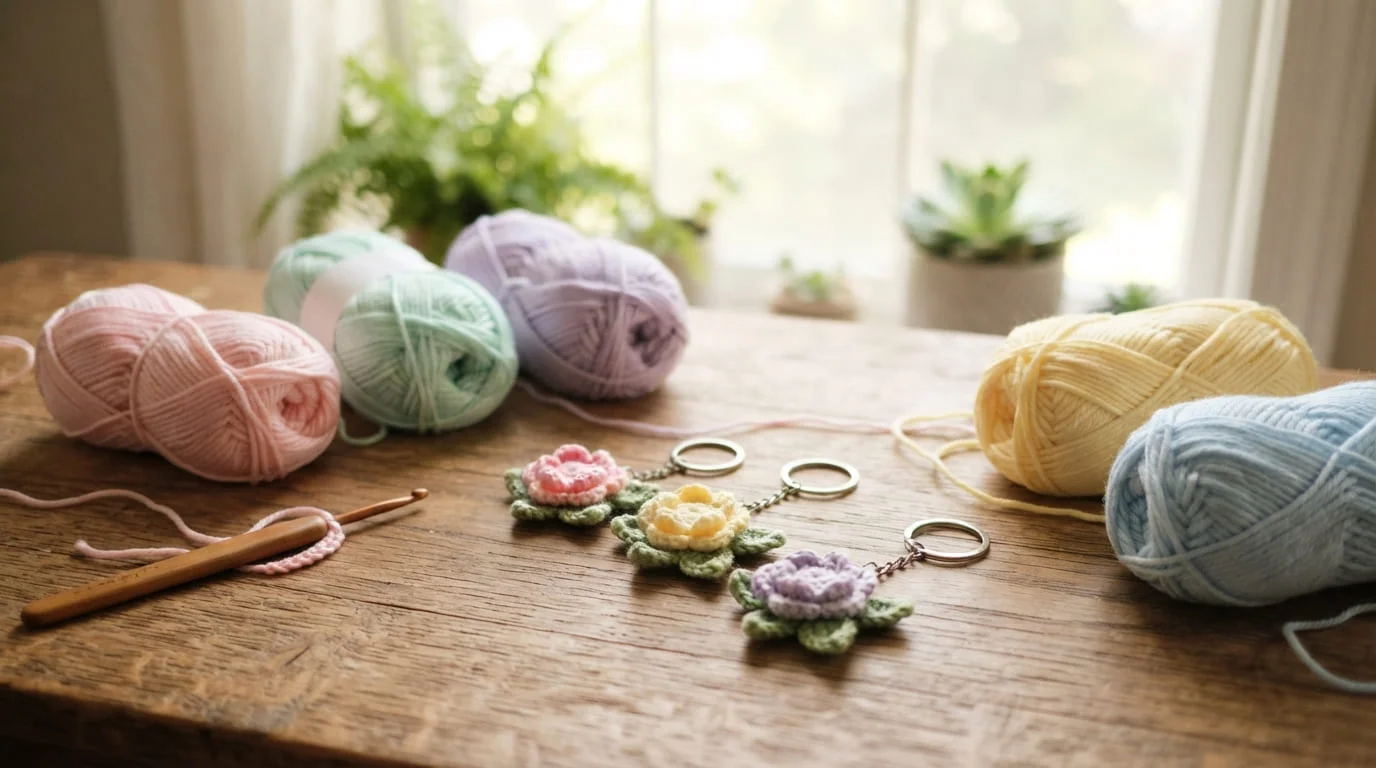
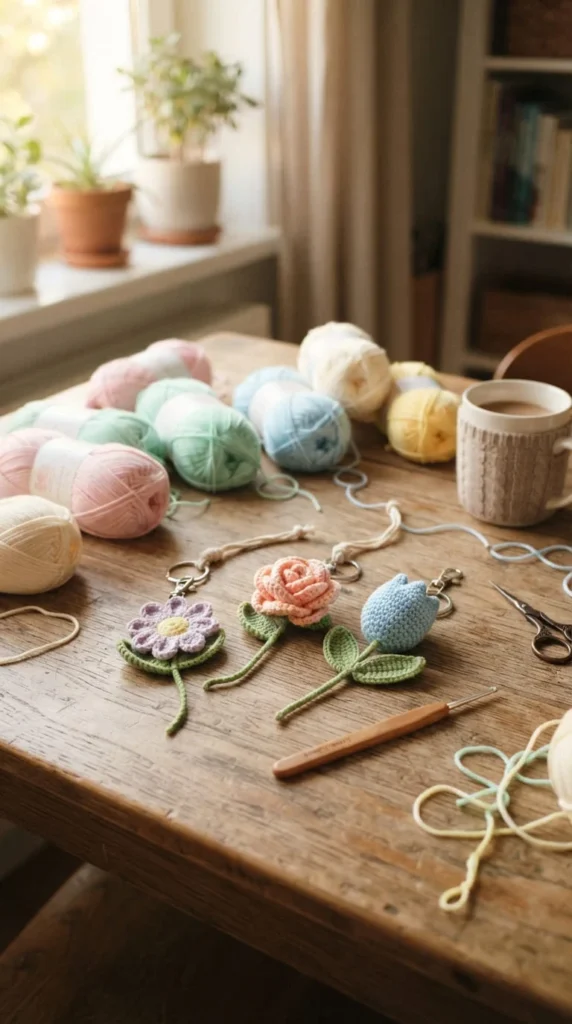
If you’ve ever scrolled past a tiny crocheted flower dangling from someone’s keys or backpack and thought “I want one of those,” you’re in the right place. A crochet flower keychain is one of the most forgiving projects for anyone learning to crochet, since it only takes a small amount of yarn, a few basic stitches, and about half an hour of your time. What makes this project so appealing is how differently each version can turn out. A flat five-petal daisy looks nothing like a stuffed puff flower, and a scrap-yarn bouquet feels completely different from a single bold poppy attached to a keyring. Below you’ll find 23 distinct crochet flower keychain designs, each with its own construction style, color approach, and use case, whether you’re making something for your own bag, a gift for a friend, or a small batch to sell at a craft fair. Grab your hook and a bit of cotton yarn, and let’s look at the options.
1. Classic Five-Petal Daisy Keychain
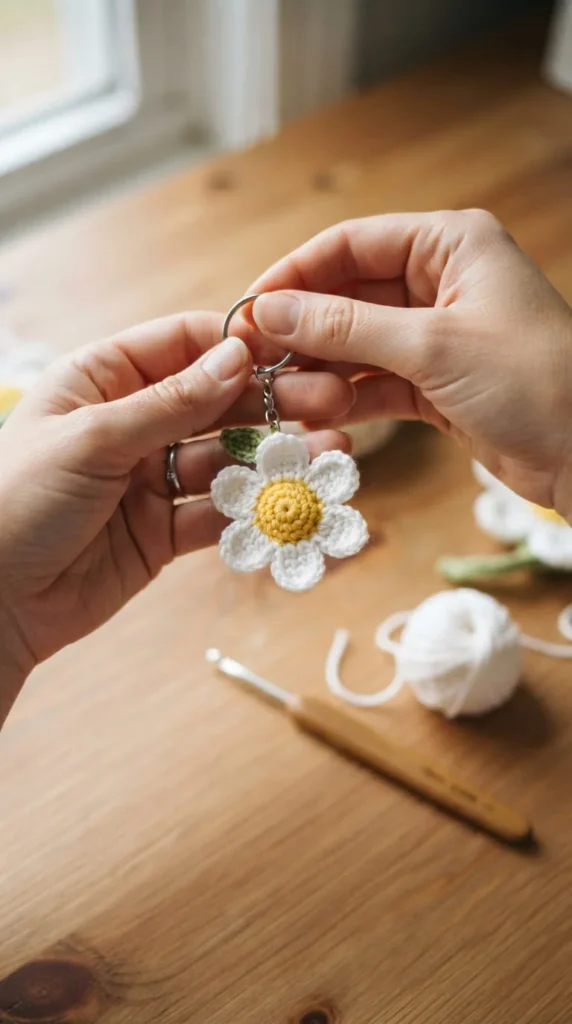
This is the design most beginners start with, and for good reason. The center is a simple magic ring worked into a small circle, and the petals are single crochet stitches worked around that circle in groups. You don’t need any shaping tricks or increases beyond the basics, which makes it a good first project if you’ve only just learned chain stitch and single crochet.
The classic daisy works best in cotton yarn with a hook around 3.0 to 3.5 mm, since anything thicker makes the petals look bulky instead of crisp. A bright yellow center paired with white petals is the most recognizable version, but you can swap in any two colors you have on hand.
Once the flower is finished, weave in your ends carefully so nothing pokes through the front. Attach a metal keyring through the back loop of the center round rather than through a single petal, since that spreads out the pulling pressure and keeps the flower from tearing loose over time. This one design can become a keychain, a bag zipper pull, or even a small applique on a hat.
2. No-Sew Puff Flower Charm
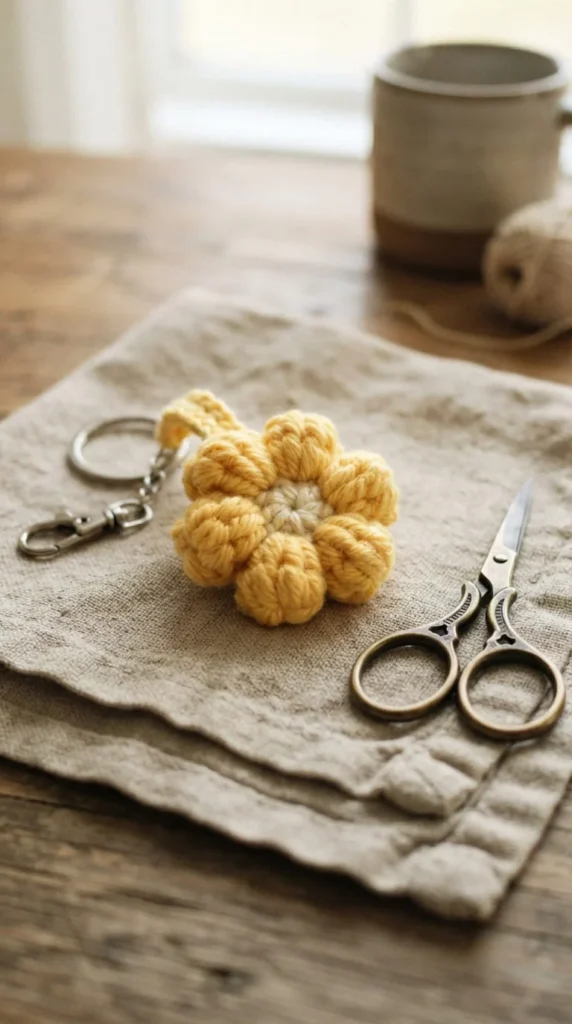
If you want something that looks more dimensional without any assembly steps, the puff flower solves that problem. Instead of joining separate petals to a center piece, the whole flower is built in one continuous round, with each petal formed by a small group of stitches worked into the same stitch and then closed off before moving to the next one.
Because there’s nothing to sew together, this design is faster to finish and there’s no seam to come undone later. It also holds its shape well without stuffing, which means less yarn and less time overall.
The rounded petal shape looks especially good in solid, saturated colors like coral, teal, or mustard, since the puff texture catches shadow and shows off the yarn better than a flat stitch would. Beginners sometimes find the individual puff stitch a little tricky to count at first, so it helps to mark the start of each petal with a stitch marker until the rhythm feels natural. This is one of the sturdier options for a daily-use keychain, since there’s no seam to pull apart with regular handling.
3. Layered Rose Bud Keychain
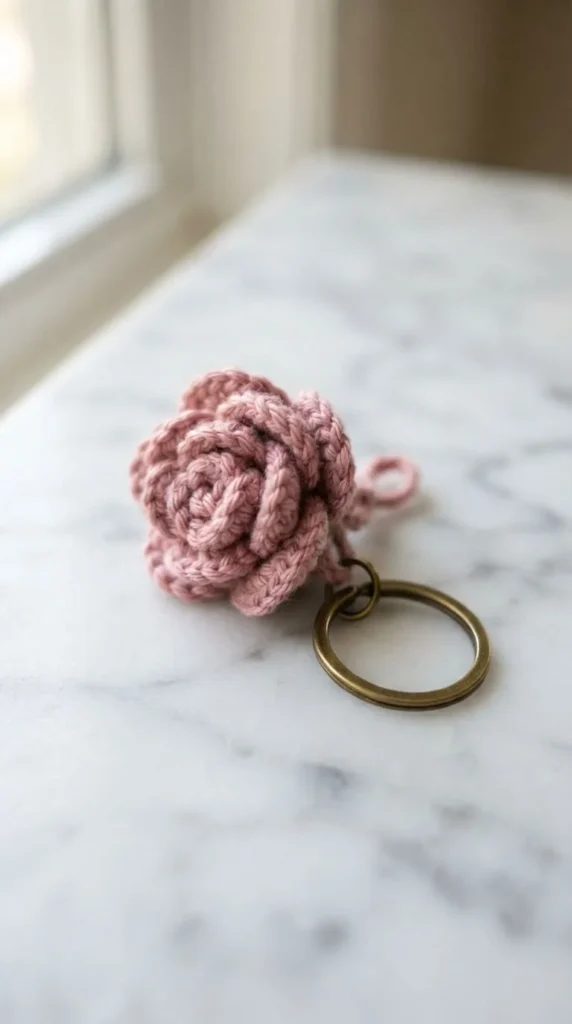
A rose bud looks far more complicated than it actually is. The trick is a long strip of single crochet worked in one continuous piece, then rolled and stitched at the base to form overlapping layers that resemble unfurling petals. There’s no separate center piece and no petal-by-petal shaping involved.
This design rewards a slightly longer strip if you want a fuller-looking bloom, so it’s worth testing the length before committing to your final chain count. Dusty pink, deep red, or soft blush tones all read clearly as a rose once the strip is rolled, while a green scrap can be added underneath as a small leaf or calyx.
Because the whole shape depends on a tight roll and a secure base stitch, this is one of the designs where a doubled strand of yarn at the very bottom makes a real difference in durability. A loose base means the rolled petals can slowly unwind with wear, so take an extra minute to knot and weave that base securely before attaching your ring. This one photographs beautifully for anyone planning to sell finished pieces.
4. Sunflower Bag Charm
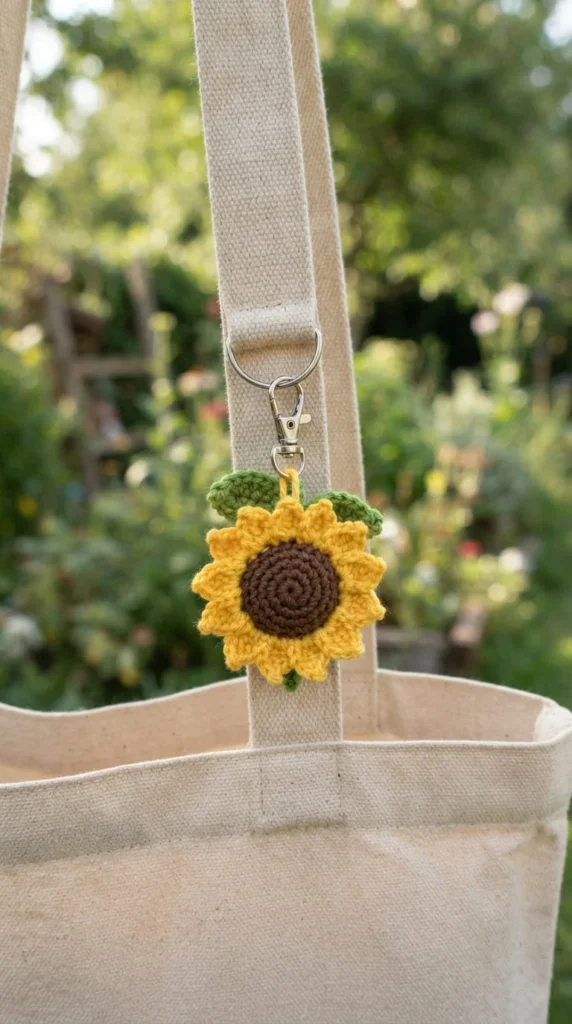
Sunflowers translate surprisingly well into a small charm format, mostly because the contrast between a dark brown center and bright yellow petals reads clearly even at a tiny scale. The petals are worked as pointed shapes rather than rounded ones, usually using a half double or double crochet to give them a bit more length and a defined tip.
This design works particularly well as a bag charm rather than a traditional keychain, since the shape and color combination stand out against canvas totes and backpacks in a way that smaller pastel flowers don’t. A swivel clip instead of a plain keyring makes it easy to move between bags.
If you’re using scrap yarn, this is a good design to raid your yellow and gold leftovers for, since sunflowers forgive slight color variation between petals better than flowers meant to look uniform. Keep the brown center round tight so the seed-like texture stays visible, and consider a French knot or small contrasting stitches scattered across the center for extra texture. This design tends to get noticed, which makes it a strong option if you’re building a small shop.
5. Tiny Forget-Me-Not Cluster
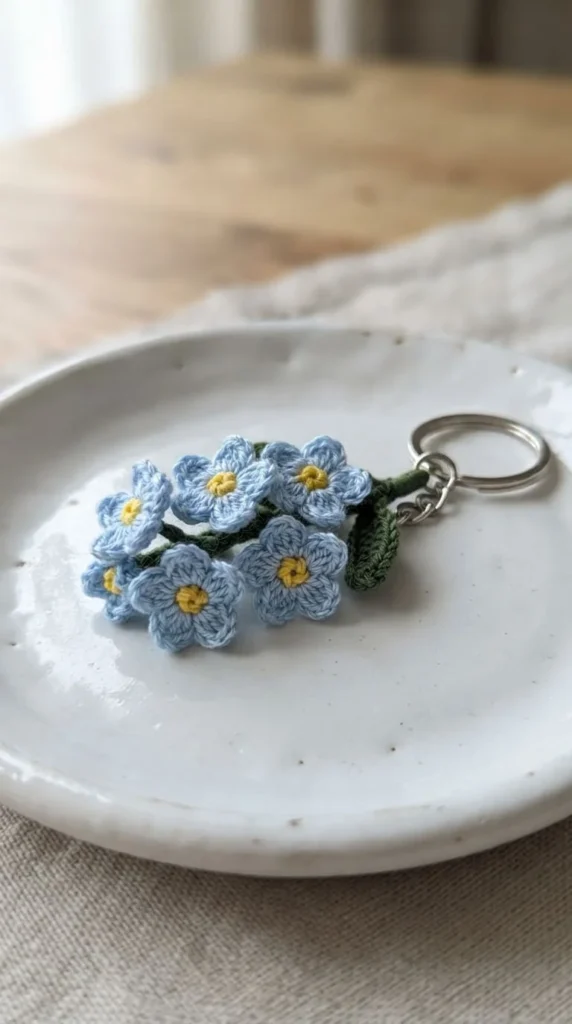
Instead of making one larger flower, this design groups several miniature blossoms together into a single charm. Each flower is only a few rounds of stitching, small enough that you can finish five or six of them from a single small ball of yarn.
Pale blue petals with a tiny yellow French knot center are the traditional forget-me-not colorway, but the cluster format also works nicely for mismatched scrap-yarn flowers if you’re using up small leftover amounts. Because each flower is so small, magic rings can be fiddly, so a chain-2 starting circle is a reasonable substitute if you find the ring closing awkwardly at this scale.
Once your individual flowers are finished, arrange them in a small cluster and stitch them together at their base points before attaching the hardware through the joined center. This spreads the weight across multiple stitching points instead of one, which actually makes the cluster sturdier than a single larger flower attached at just one spot. It’s a thoughtful gift design for anyone who prefers delicate, detailed accessories over bold statement pieces.
6. Six-Petal Poppy with Contrast Center
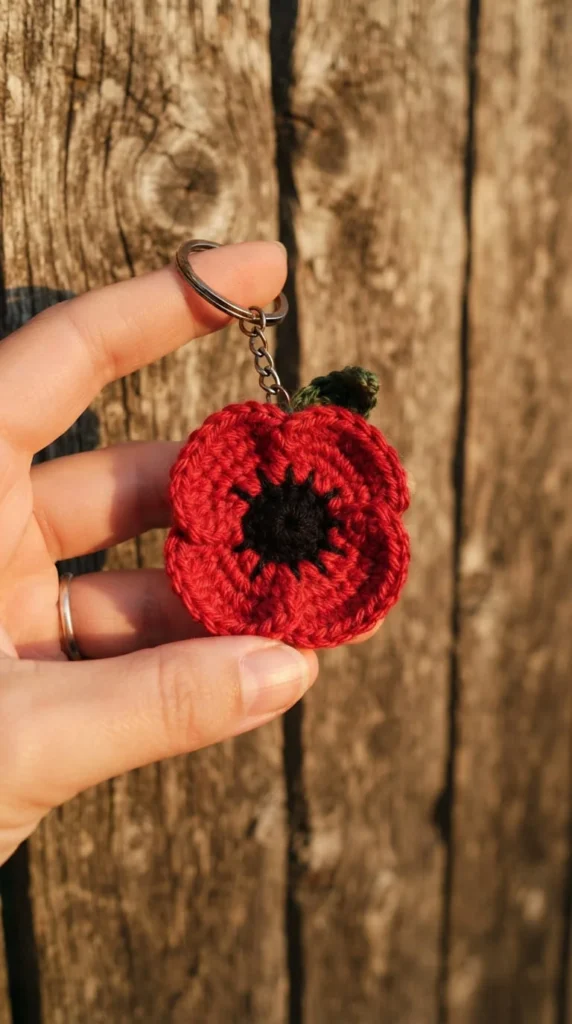
Poppies stand out because of their strong center contrast, and this version leans into that with a black or deep charcoal center surrounded by six rounded red petals. The petal count matters here more than with other flowers, since five petals reads as generic while six gives the poppy shape its recognizable silhouette.
Working the center first in black, then switching colors before adding petals, is the cleanest way to get a crisp boundary between the two colors. If you find color changes leave a visible bump, try changing colors on the last stitch of the previous round instead of the first stitch of the new one, which tucks the color change to the back.
This flower looks best with a slightly firmer hook tension than a soft daisy, since poppy petals have a more structured, less droopy look in real flowers. A 3.0 mm hook with a slightly tighter grip on your yarn will help the petals hold their shape rather than flopping over. Poppies also carry meaning for remembrance gifts, which makes this a thoughtful option for certain occasions beyond simple decoration.
7. Flower-and-Leaf Duo Charm
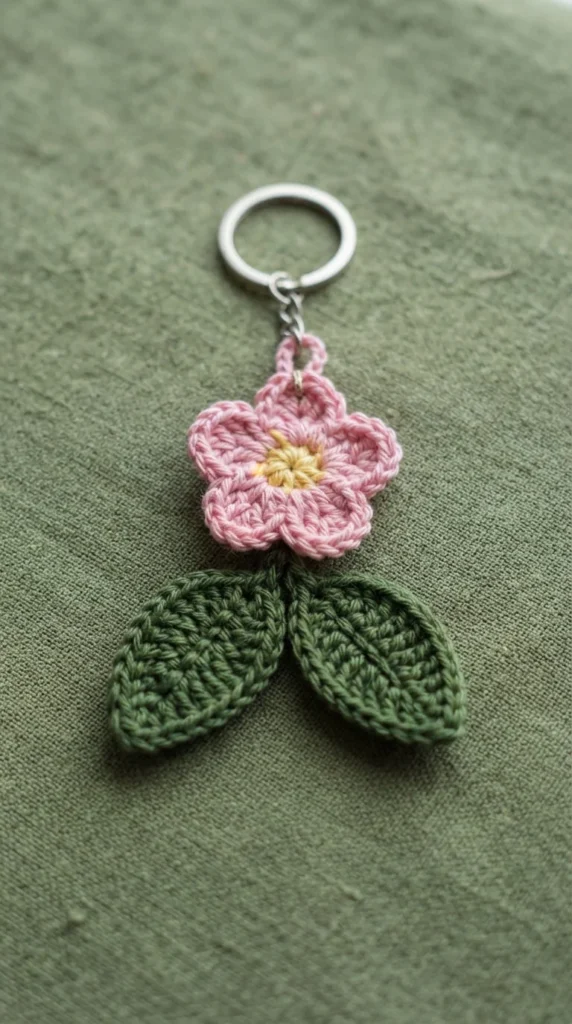
Pairing a flower with one or two crocheted leaves adds visual balance that a flower alone doesn’t have, especially on a keychain where the shape hangs and moves. Leaves are typically worked as a simple pointed oval using chain stitches with increases and decreases along the sides, which is a useful new skill if you’ve only made round flowers so far.
Attach the leaf underneath the flower, slightly offset rather than perfectly centered, so the finished charm has a more natural, asymmetrical look when it hangs from a bag or keys. Green paired with almost any flower color works, though sage or olive tones photograph better than bright kelly green for a softer, more realistic look.
This design is a good next step once you’ve mastered a basic flower, since the leaf shaping introduces you to increases and decreases in a low-pressure project. It also gives you a reason to keep a small stash of green yarn on hand, since leaves use so little that a single small skein can supply dozens of future projects. Consider this a building block for the bouquet and applique designs further down this list.
8. Mini Bouquet Keychain
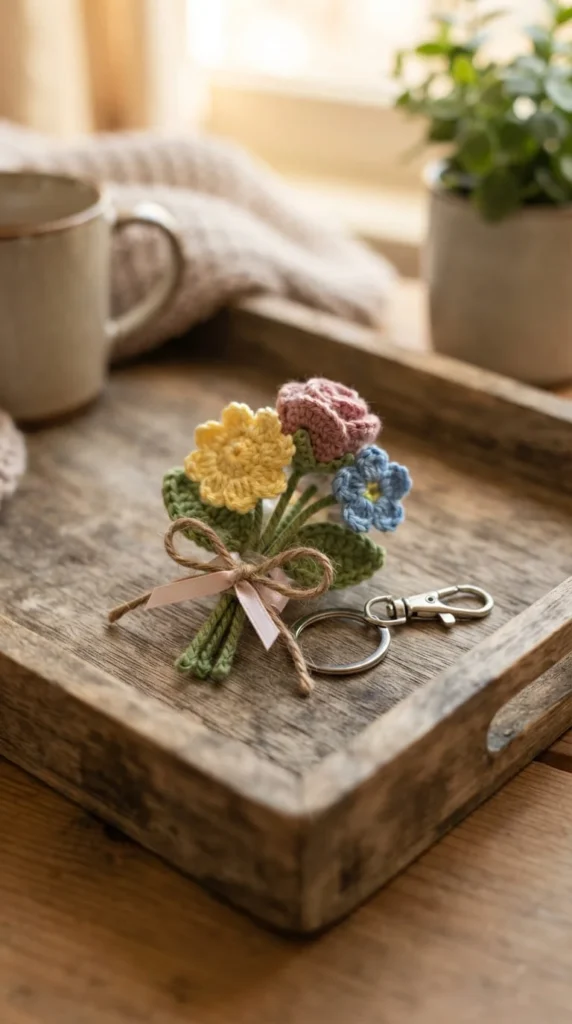
Rather than choosing one flower design, this option groups three small flowers of different colors and sizes into a single hanging bouquet. It’s a good way to combine several of the flower styles on this list into one charm, and it uses up scrap yarn faster than any single-flower project.
Vary the flower sizes slightly by using different hook sizes or petal counts, since three identical flowers in a row can look flat compared to a mix of small, medium, and slightly larger blooms. A thin length of ribbon or a crocheted chain tied at the base holds the bouquet together and gives it a gathered, hand-picked look rather than a rigid cluster.
Because this design involves multiple finished pieces joined at one point, reinforce that joining spot with a doubled strand or a small loop of sturdy thread before attaching your keyring. This is one of the more time-intensive designs on this list, closer to 30 to 40 minutes total once you count three separate flowers, but it also makes one of the more giftable and photogenic options if you’re planning to sell finished pieces or give a more elaborate present.
9. Tassel-Topped Flower Charm
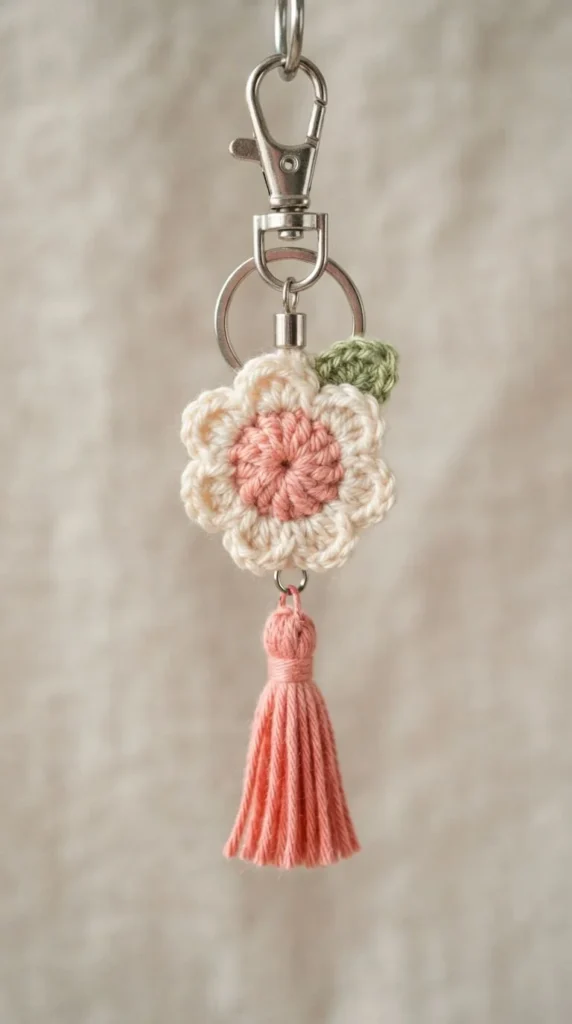
Adding a tassel beneath a flower changes the whole feel of the keychain, giving it movement and a slightly bohemian look compared to a flower alone. Tassels are quick to make from cut lengths of yarn wrapped and tied at the top, so this addition takes only a few extra minutes once your flower is finished.
Match the tassel color to one of the flower’s shades for a cohesive look, or choose a contrasting neutral like cream or gray if you want the tassel to read as a separate design element rather than an extension of the flower itself. Trim the tassel ends evenly with sharp scissors for a clean finish, since uneven trimming is one of the most common mistakes with this style.
Attach the tassel to the same jump ring as the flower rather than stacking it directly onto the flower’s base stitches, which keeps both elements moving independently and prevents the tassel from twisting the flower out of shape over time. This design works particularly well for gift-giving occasions like graduations or birthdays, where a slightly more decorative charm feels more intentional than a plain flower alone.
10. Scrap-Yarn Rainbow Flower
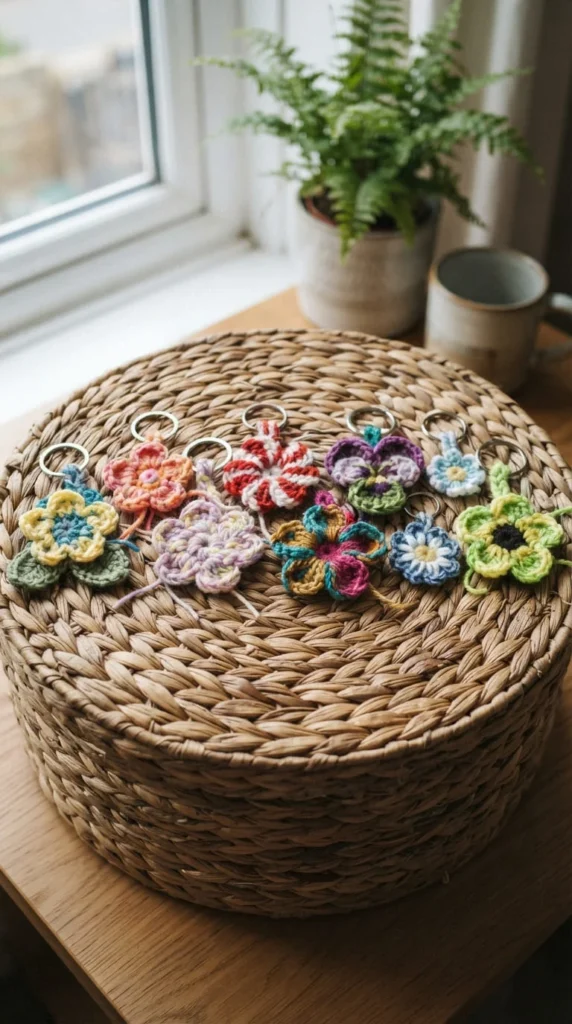
This design exists specifically for anyone with a basket of small yarn leftovers that feel too small to use for anything else. Instead of planning a color scheme in advance, each petal is worked in whatever scrap happens to be next in the pile, resulting in a flower with genuinely mismatched, unpredictable coloring.
The center can either match one of the petal colors or use a completely neutral shade like cream or gray to anchor the randomness. This is a good project to keep in a project bag for moments when you only have ten minutes free, since there’s no color planning required and no need to track which skein you used last.
Because scrap-yarn projects often mix yarn weights slightly, pay closer attention to your tension than usual so the petals stay roughly the same size despite using different leftover balls. A slightly smaller hook than usual can help even out thicker scraps. This design also makes a good low-cost option for classroom gifts or party favors, since it turns yarn that would otherwise sit unused into a finished, giftable item at almost no material cost.
11. Chunky Puff Flower for Backpacks
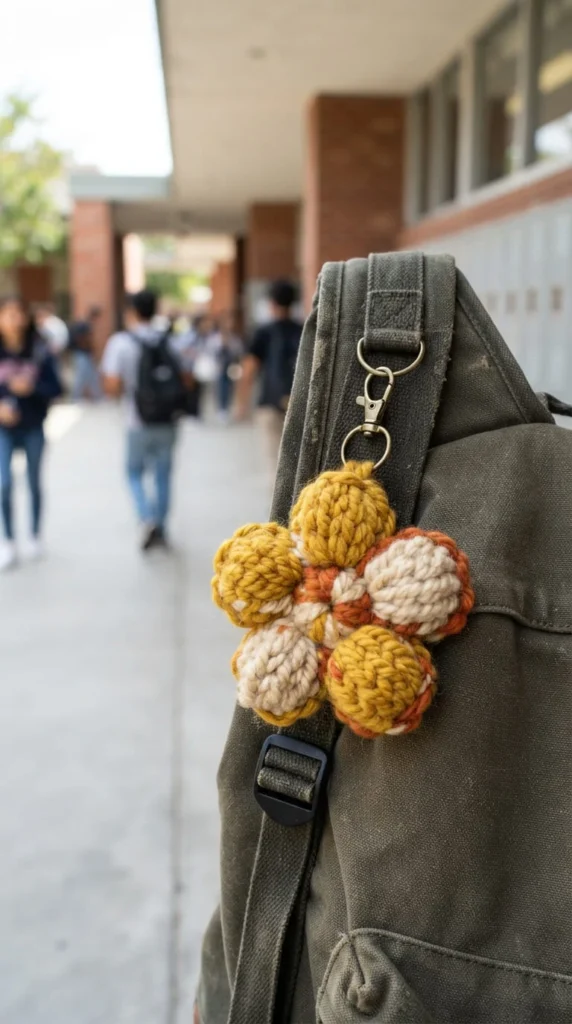
Backpacks call for a slightly bigger, more visible charm than a delicate keychain flower, and this version uses a thicker yarn weight and a larger hook to scale the puff flower design up. Where the standard puff flower uses fine cotton yarn, this version swaps in a worsted or aran-weight yarn for a bolder, more substantial finished size.
Because the piece is larger, it also holds up better to the rougher handling backpacks tend to get, since thicker yarn resists snagging and flattening more than fine cotton does. A sturdy swivel clip rather than a small keyring makes it easier to attach and remove from a busy backpack strap.
This is a good project for using up leftover worsted-weight yarn that’s too thick for the smaller keychain designs on this list. Keep in mind that a bigger hook and thicker yarn will use noticeably more yarn per flower than the finer cotton versions, so budget a slightly larger scrap for this one. The bold scale also makes this a practical choice for kids, since the larger stitches and thicker yarn are easier to spot if the charm ever requires a repair after regular use.
12. Crocheted Cord Loop Daisy (No Metal Ring)
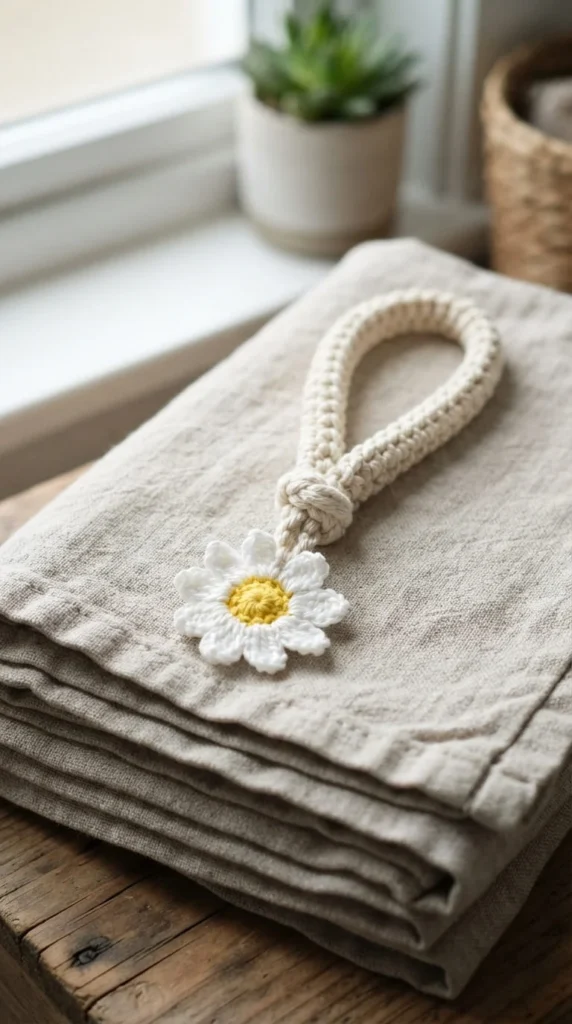
Some people prefer to avoid metal hardware entirely, whether because of allergies, cost, or simply personal preference, and this design answers that by replacing the standard keyring with a crocheted cord loop instead. The loop is worked as a long chain, then reinforced with a round of single crochet along its length so it holds tension without stretching out of shape.
A loop of around 20 to 25 centimeters gives enough length to slide onto most keyrings or bag zippers without feeling too short or bulky. If you’re making this for a specific use, like a wristlet or a bag strap loop, test the length against the actual item before finishing, since loop length varies quite a bit depending on what you plan to attach it to.
Attach the flower directly to one end of the loop, ideally weaving the connection through several stitches rather than just one for added strength. Because there’s no metal component at all, this version won’t rust, tarnish, or catch on fabric the way some metal rings can, which makes it a practical choice for anyone who wants a softer, fully fiber-based accessory rather than a mixed-material one.
13. Two-Tone Hibiscus Charm
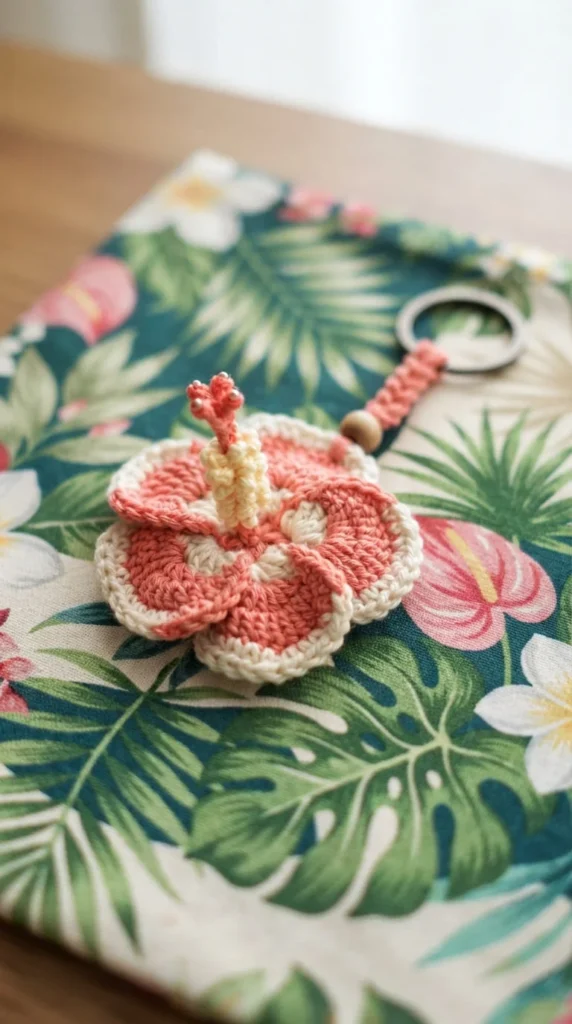
The hibiscus shape stands apart from rounder flowers because of its long, slightly ruffled petals and a distinctive stamen detail extending from the center. Achieving that stamen usually means adding a short crocheted or embroidered stem topped with a few French knots after the main flower is finished.
Two-tone petals, where each petal fades from a deeper coral at the base to a lighter cream or yellow at the tip, give this design a more layered look without much extra effort. This is achieved by changing yarn color partway through each petal rather than switching between full rounds, which takes a bit of practice but pays off visually.
Because the petals on a hibiscus tend to be longer and slightly ruffled at the edges, a taller stitch like a treble crochet gives better length and drape than a shorter stitch would. This design suits warm-weather gifts, vacation-themed accessories, or anyone drawn to bold tropical colors rather than the softer pastel tones common in daisy or forget-me-not designs. It takes a little longer to finish than a basic flower, closer to 25 minutes once you include the stamen detail.
14. Birth-Month Color Flower Keychain
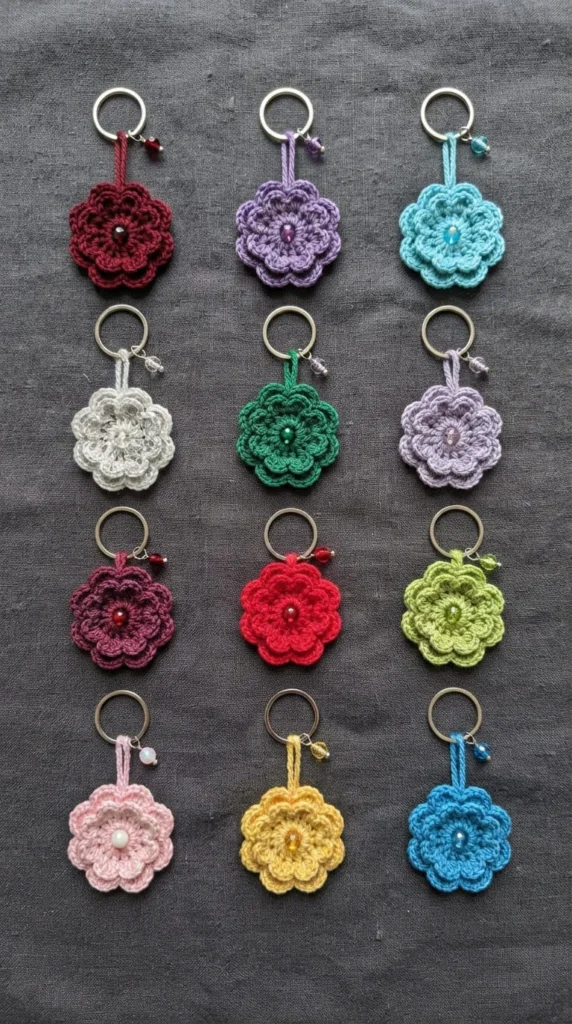
This design takes the basic five-petal flower shape and turns it into a personalization project by matching the petal color to a specific birth month, using traditional birthstone colors like deep red for January, soft green for August, or clear blue for December. It’s less about a new stitch technique and more about a thoughtful way to make a familiar pattern feel individual.
Because the shape stays the same across every version, this is a good project for batch-making several keychains at once, perhaps for a group of friends or family members who each get a flower in their own color. Keeping a small reference chart of birthstone colors nearby saves you from second-guessing which shade belongs to which month partway through a project.
A small tag or handwritten note explaining the birth-month meaning adds a nice touch if you’re gifting these rather than keeping one for yourself. This approach also works well for other personalization angles beyond birthstones, including school colors, favorite sports team palettes, or a couple’s wedding colors, since the underlying flower pattern doesn’t need to change at all to support these variations.[Image Prompt: Realistic macro photograph of a crocheted flower keychain with small glass seed beads sewn into the center, resting on black velvet fabric, dramatic side lighting, no text visible.]
15. Beaded Center Flower Charm
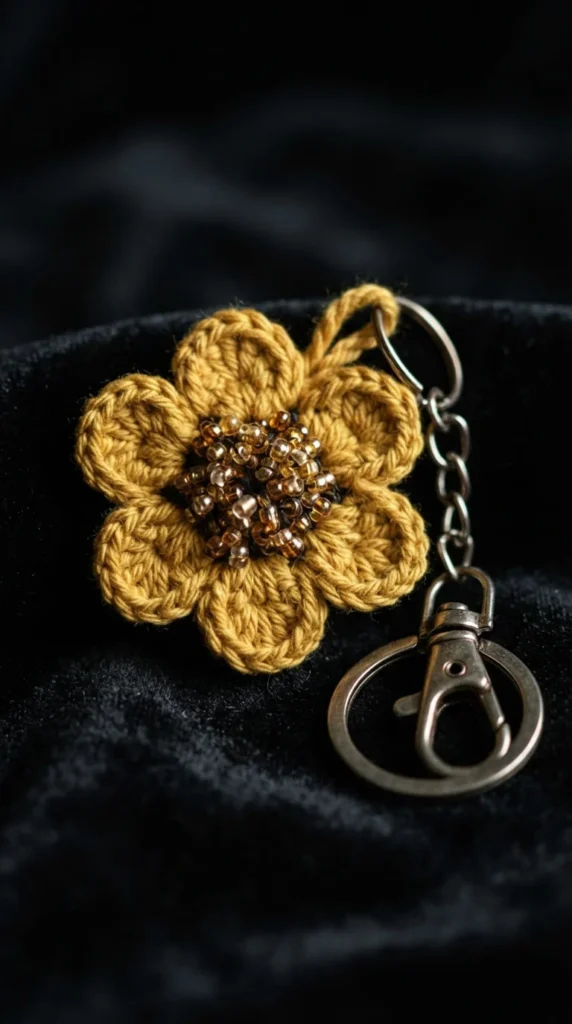
Adding beads to the center of a flower is a simple way to dress up an otherwise plain design without learning any new crochet techniques. Small glass or plastic seed beads are stitched directly into the center round using a needle and thread once the flower itself is finished, rather than crocheted in as you go.
This detail works especially well on flowers with a solid, single-color center, since a cluster of scattered beads reads clearly against a plain background but gets lost against a busy or textured one. Gold, silver, or iridescent beads tend to catch light nicely against darker petal colors like navy, maroon, or forest green.
Because beads add a small amount of weight and a rigid texture to the center, this design isn’t the best choice for anyone making keychains for young children, since loose beads could eventually work free with heavy handling. For adult gifts or personal use, though, it’s a quick way to make a simple flower feel more finished. Secure each bead with a double knot on the back side of the work so it doesn’t shift or loosen with regular wear.
16. Graduation Tassel Flower Keychain
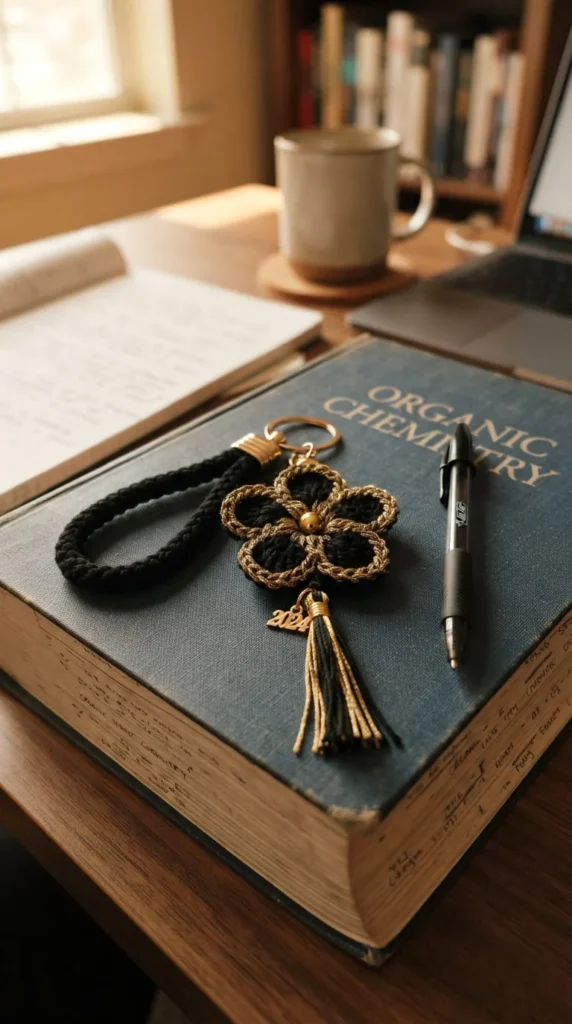
Graduation season brings a specific color combination into play, usually the wearer’s school colors paired with a small tassel reminiscent of the one on a graduation cap. This design combines a simple flower shape with a tassel in coordinating colors, giving it a clear occasion-specific purpose rather than a general everyday accessory.
Black and gold, navy and white, or maroon and cream are common school color pairings, though the exact combination should match whichever school or program the gift is intended for. Attaching a small charm shaped like the graduation year, if you have access to letter or number charms, adds another layer of personalization without much extra crochet work.
This design works well as a small batch project if you’re making gifts for a group of graduating friends or family members, since the flower pattern itself stays consistent and only the color combination changes between each one. Consider packaging these in a small clear bag or box with a ribbon, since presentation matters more for occasion-specific gifts like this than it does for a flower you’re keeping for yourself.
17. Pastel Spring Trio Keychain
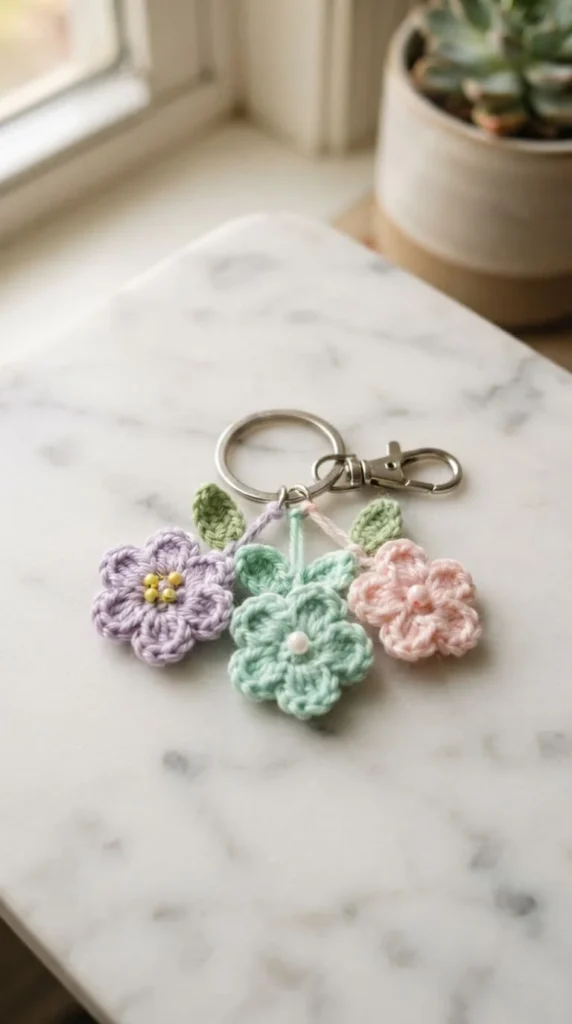
Spring color palettes lean toward softer, muted tones rather than the bold saturated colors used in designs like the sunflower or poppy earlier in this list. This trio combines three small flowers in lavender, mint, and pale pink onto a single keyring, giving a gentle, cohesive look without needing an exact matching set.
Working all three flowers using the same basic pattern but in different pastel shades keeps the project quick, since you’re repeating a technique you already know rather than learning something new for each flower. This makes it a reasonable option for a first multi-flower project once you’re comfortable with the basic five-petal shape.
Because pastel yarn can sometimes look slightly washed out in photographs, especially under indoor lighting, natural daylight brings out the true color range best if you’re photographing finished pieces for sale or for sharing online. This trio design also works nicely as an Easter or Mother’s Day gift, since the soft coloring fits those occasions without needing a specific flower type like a poppy or hibiscus tied to it.
18. Wildflower Applique Turned Keychain
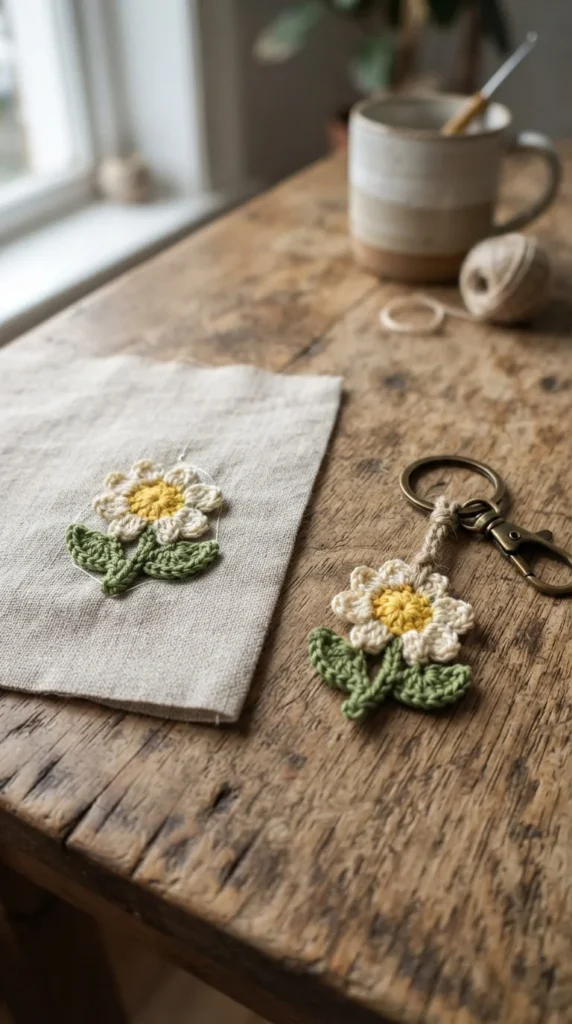
This entry is less about one specific flower and more about a construction approach: designing your flower as a flat applique first, the kind normally sewn onto a blanket, hat, or bag, and only adding hardware afterward to turn it into a keychain. Because applique flowers are designed to lie completely flat, they tend to have a slightly different petal shape than charms built specifically to hang and move.
Working the flower with this dual purpose in mind means keeping the back relatively neat and free of bulky knots, since an applique sometimes gets viewed from both sides depending on how it’s attached to a project. If you already have a favorite applique flower pattern from another project, this is a good chance to reuse it rather than learning something new.
Once the flower is finished, a jump ring threaded through one sturdy point on the back turns it into a keychain without altering the front design at all. This flexible approach means a single flower pattern can serve multiple purposes across your projects, whether that’s a keychain today and a hat decoration next month, without needing to memorize more than one pattern.
19. Cottagecore Daisy Chain Keychain
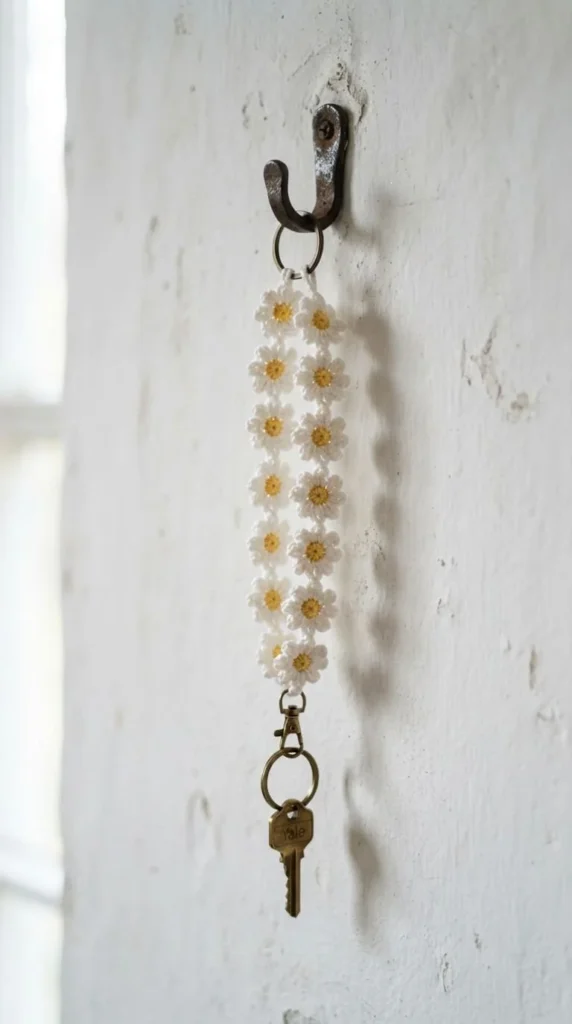
Rather than a single flower, this design links several small daisies together in a chain, similar to the flower chains made from real daisies picked in a field. Each flower connects to the next through a short crocheted chain stitch, creating a strand that can be looped onto a bag or keys with a slightly whimsical, handmade look.
Three to five small daisies usually make a good length for a keychain strand without becoming too long or tangling easily. Using slightly different shades of white, cream, and pale yellow across the daisies, rather than making every flower identical, gives the chain a more natural, field-picked appearance instead of a uniform, manufactured look.
This design takes a bit longer than a single flower since you’re really making several small flowers and joining them, closer to 35 to 45 minutes total depending on how many daisies you include. It photographs well against natural backgrounds like wood, linen, or greenery, which makes it a strong choice if you’re building a shop listing or a social media post around a soft, cottagecore aesthetic rather than a bold, graphic look.
20. Mother’s Day Rose Keychain
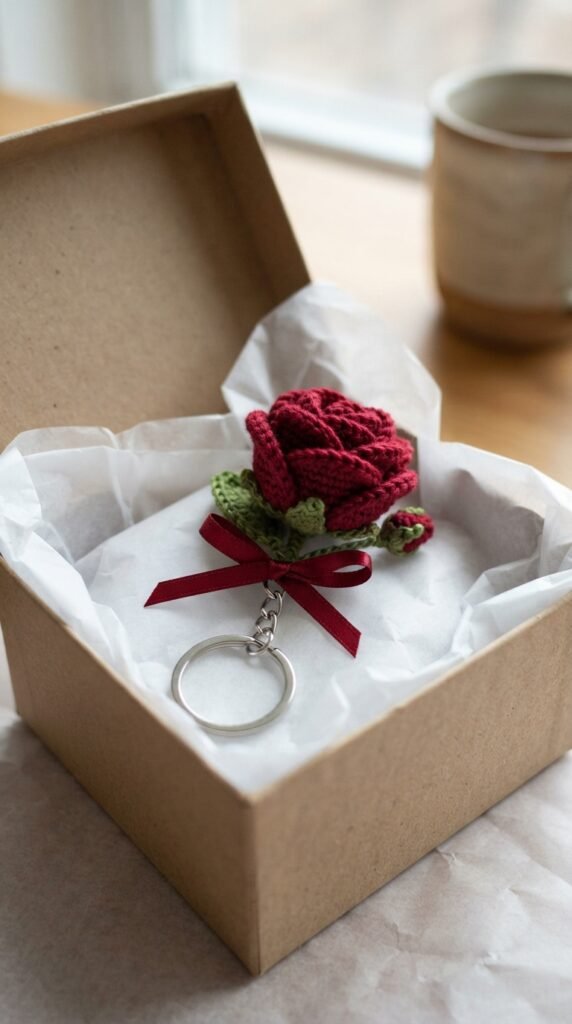
A deep red or soft pink rose, built using the layered rolled-petal technique described earlier in this list, makes a fitting gift for Mother’s Day without requiring an entirely new pattern. What changes here is mostly the presentation rather than the construction, since color choice and packaging do most of the work in making this feel occasion-specific.
Pairing the rose with a small crocheted leaf underneath, then tying a thin satin ribbon around the base where the flower meets the keyring, gives the finished piece a slightly more polished, gift-ready look than a plain flower alone. Presenting it inside a small box with tissue paper, rather than handing it over loose, also changes how the recipient perceives the effort behind it.
If you’re making several of these for multiple family members, consider varying the rose color slightly between pink, red, and soft coral so each one feels individually chosen rather than mass-produced. This is a good project to start a week or two ahead of the occasion, since the rolled-petal technique benefits from a little practice before you commit to your best yarn for the final gift version.
21. Classroom Gift Mini Flower Set
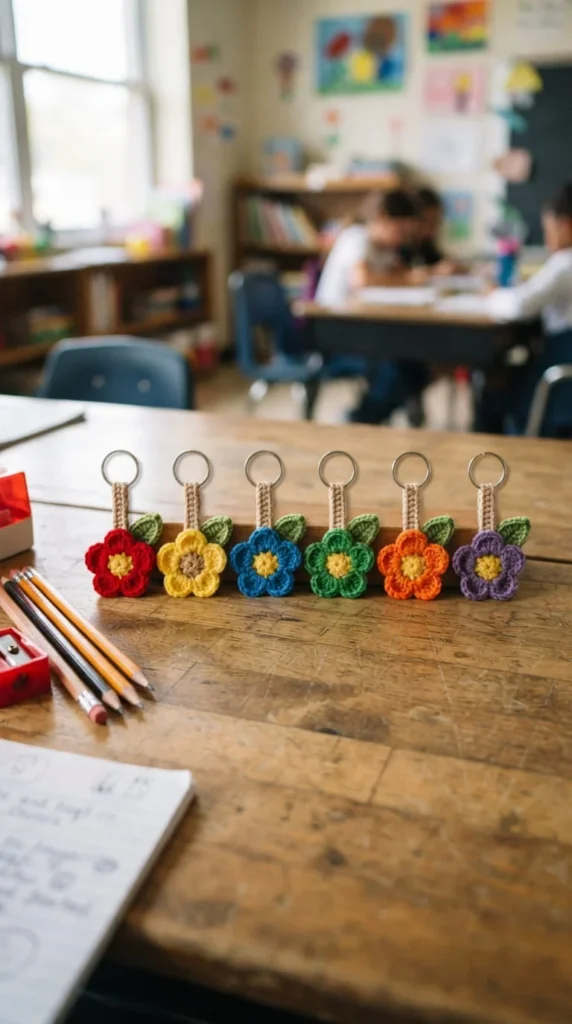
Teachers and classroom helpers often need a batch of small, identical gifts rather than one elaborate piece, and this design addresses that by using the smallest, fastest flower pattern from this list repeated many times over. A basic five-petal daisy or simple puff flower in bright primary colors works well here, since simplicity and speed matter more than intricate detail when you’re making twenty or more at once.
Batching your work by stage, making all the centers first, then all the petals, then all the finishing, tends to be faster than completing one flower entirely before starting the next, especially once you’re past the first few repetitions and the pattern feels automatic.
Attaching each flower to a simple metal keyring rather than more elaborate hardware keeps the cost per piece low across a large batch. This is one of the more budget-conscious designs on this list, since a single small skein of cotton yarn can often produce six to eight finished flowers depending on their size. Consider this option whenever you need a larger quantity of thoughtful, low-cost handmade gifts rather than one standout piece.
22. Pride Palette Flower Keychain
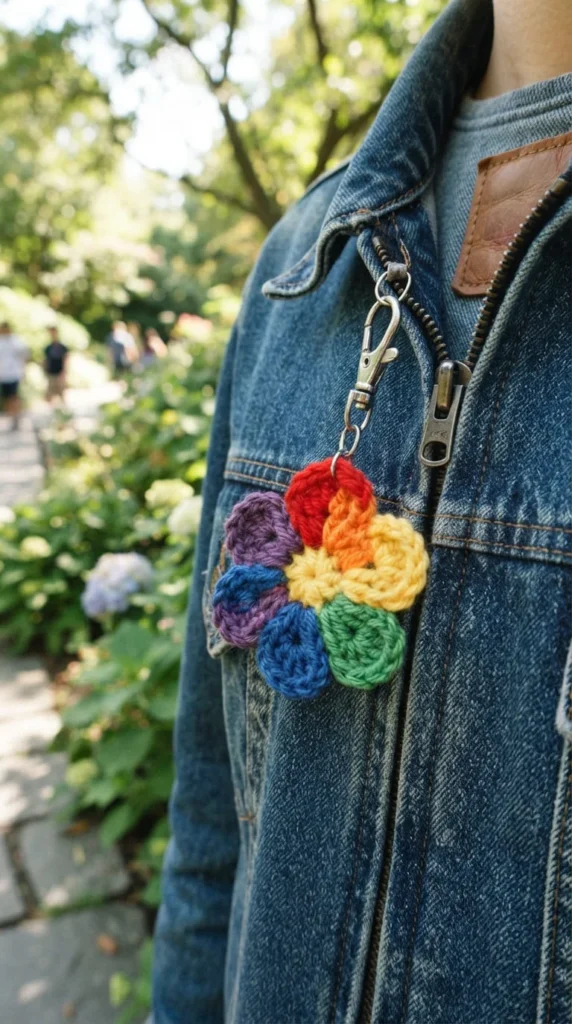
This design uses the flower shape as a canvas for color rather than focusing on realistic flower coloring at all. Each petal is worked in a different color following the pride flag palette, giving the finished piece a clear, recognizable meaning at a glance without needing any text or symbols added to it.
Because the petal colors need to stay distinct and evenly sized for this design to read clearly, a flower with five or six separate petal sections, rather than a continuous puff style, tends to work better here. Keeping consistent stitch counts across each petal keeps the colors appearing as equal segments rather than uneven blocks.
This design works well both as a personal accessory and as a small-batch item for community events, pride celebrations, or as a supportive gift for a friend. Because the color meaning matters more than the flower’s realism here, feel free to experiment with a completely flat, simplified petal shape rather than trying to replicate a specific real flower. A plain black or white center keeps the focus on the petal colors themselves rather than competing with them.
23. Reinforced Heavy-Duty Flower Charm
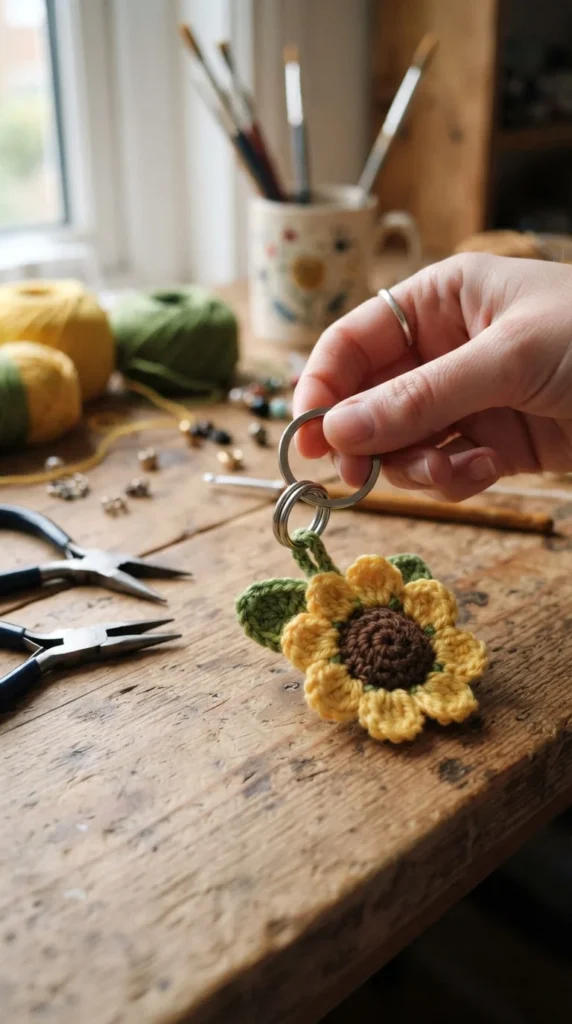
This final design isn’t about a new flower shape at all, but about solving one of the most common complaints with crochet flower keychains: the attachment point pulling loose after regular use. Instead of threading a single jump ring through one petal or a thin section of the center, this version builds in a dedicated loop of doubled yarn specifically for hardware, separate from the decorative petals entirely.
After finishing your chosen flower, add a small tab of single crochet folded over and stitched down to create a sturdy loop on the back, then attach your jump ring through that reinforced tab rather than through the flower’s visible structure. This keeps the decorative front completely undisturbed while giving the hardware a stronger anchor point.
Before handing off a finished keychain, gently pull on the attachment point to test it, the same way you’d check a button before wearing a shirt. If anything feels loose, add an extra few stitches through the tab before considering the piece finished. This approach works with any flower design from this list and is worth applying whenever you’re making a keychain intended for daily, heavy use rather than occasional display.
Conclusion
Twenty-three designs is a lot of options, but the good news is that most of them share the same handful of building blocks: a magic ring or chain-2 start, single and double crochet petals, and a few finishing techniques like weaving in ends and reinforcing your attachment point. Once you’ve made two or three of these, you’ll likely find yourself mixing elements between designs, maybe a puff flower’s texture with a hibiscus color scheme, or a daisy chain using birth-month colors instead of pastels.
Start with whichever design matches the yarn and time you actually have right now rather than waiting for the perfect materials. A ten-minute scrap-yarn flower teaches you just as much as a more elaborate bouquet, and it gets a finished project into your hands faster. From there, keep a small notebook of which combinations worked well and which attachment methods held up best, since that record becomes genuinely useful once you start making these regularly for gifts or for sale. Pick one design from this list, pull out whatever yarn is closest to your hook right now, and get started on your first flower today.