
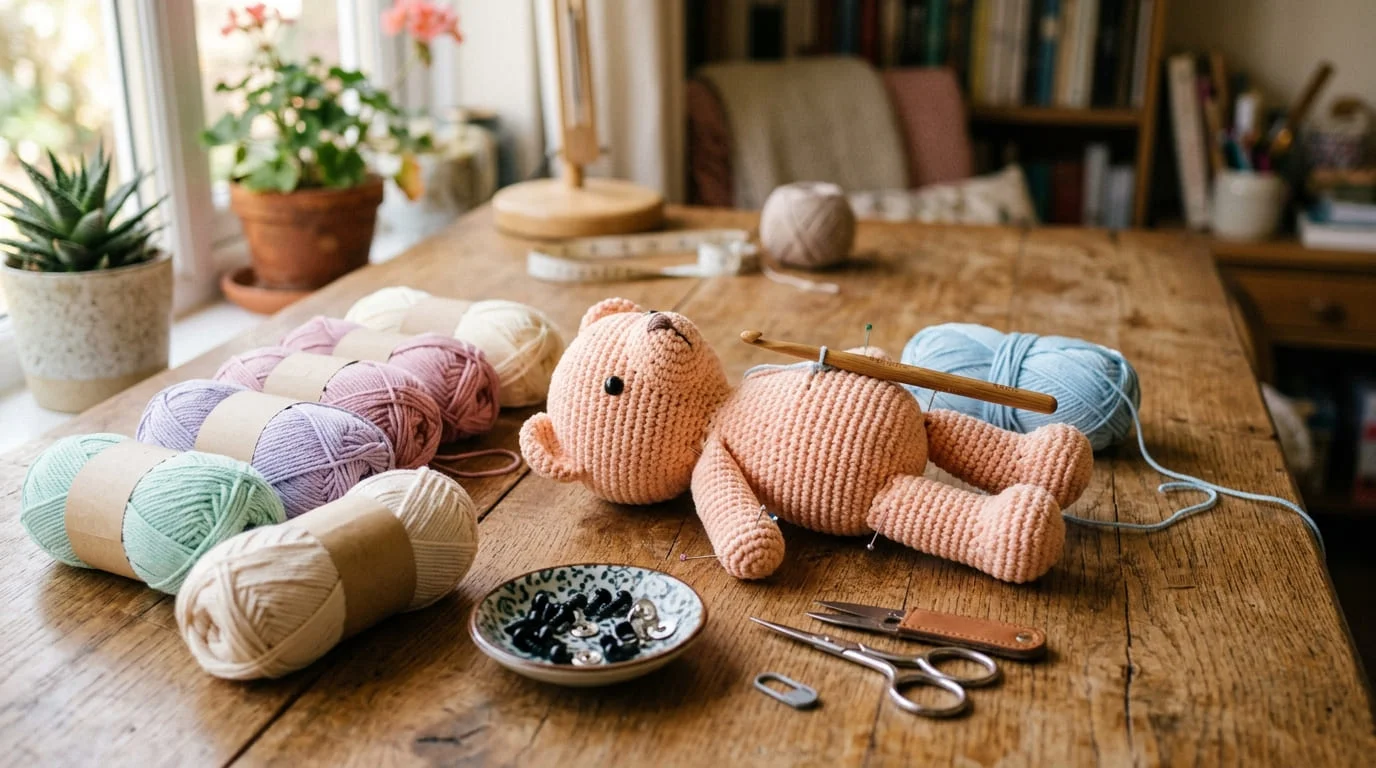
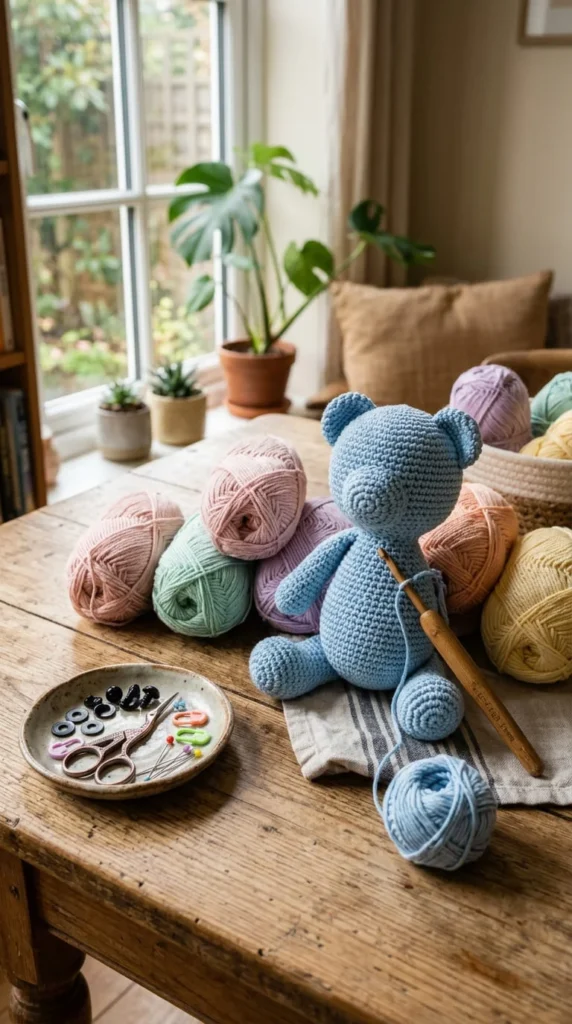
If you’ve ever scrolled past a basket of round-eared, button-nosed crochet animals and thought “I want to make that,” this list is for you. Crochet animal toys are one of the friendliest projects a new stitcher can pick up — they use small amounts of yarn, work up in an afternoon or two, and forgive the occasional wobbly stitch because, honestly, a lopsided ear just adds character. Below are 21 crochet animal toys that are genuinely doable for beginners, whether you’re stitching a gift for a nephew’s birthday, filling a nursery shelf, or just want a soft, squishy project to keep your hands busy on the couch. Each one comes with the kind of practical notes — yarn weight, hook size logic, stuffing tips — that make the difference between a toy that holds its shape and one that ends up looking a little sad after a week on a kid’s bed.
1. The Round-Bodied Teddy Bear (No Sewing Required)
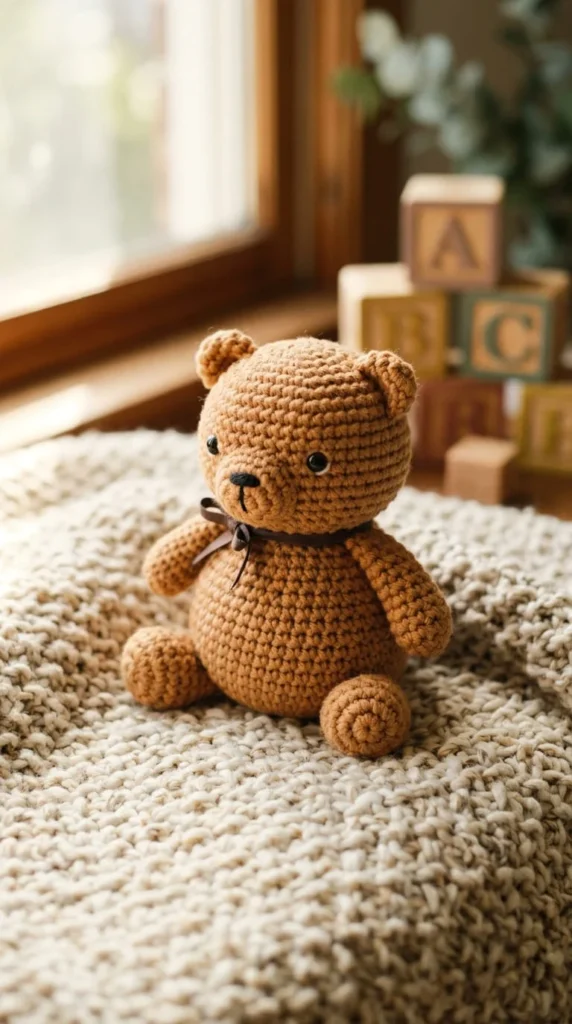
A classic teddy bear is the project most beginners reach for first, and for good reason — the body is just a series of increasing and decreasing rounds, no complicated shaping involved. Work the head, body, arms, and legs separately using worsted weight cotton or acrylic yarn and a hook one size smaller than the label suggests. This tightens your stitches so stuffing doesn’t peek through.
The trick that makes this bear beginner-proof is attaching pieces as you crochet the final round of each limb, instead of sewing everything together at the end. It’s slower in the moment but saves you the most frustrating part of amigurumi: whip-stitching wobbly seams.
Quick tips:
- Stuff firmly, not loosely — a soft bear looks deflated within days
- Embroider the nose and mouth with a single strand of dark yarn instead of buying separate thread
- Safety eyes work well for older kids; for babies under three, embroider the eyes instead
This bear takes most beginners two to three hours and uses less than one skein of yarn.
2. The Floppy-Eared Chenille Bunny
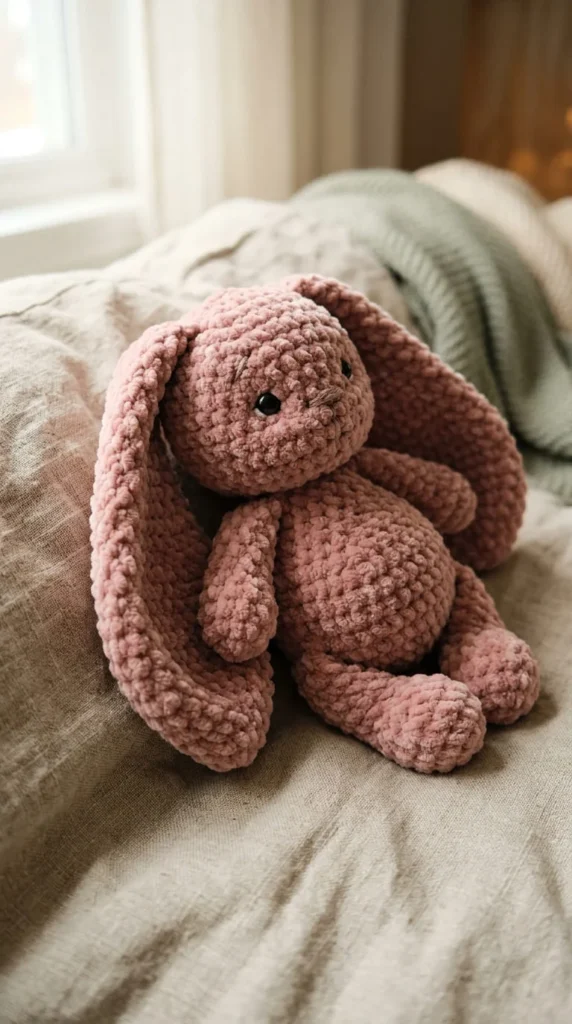
Chenille yarn changes the entire feel of a crochet toy. It’s soft in a way that mimics store-bought plush, which makes this bunny a favorite for baby gifts. The catch is that chenille splits easily, so working with a slightly larger hook than usual and slowing your tension down prevents snagged stitches.
The ears are the star here — crochet them flat in rows rather than in the round, then fold and tack them to the head so they flop naturally instead of standing stiff. This single detail is what separates a homemade-looking bunny from one that looks intentionally rustic-cute.
What makes this one worth trying:
- Chenille hides minor stitch inconsistencies better than smooth cotton
- The pattern uses only single crochet, so there’s nothing new to learn
- A finished bunny is roughly palm-sized, making it ideal for a car seat toy
Stick to light or neutral colors if the bunny is headed for a nursery — pale grey, oat, and blush tend to photograph and age better than bright dye lots, which can fade unevenly with washing.
3. Mini Farm Animals as Keychains
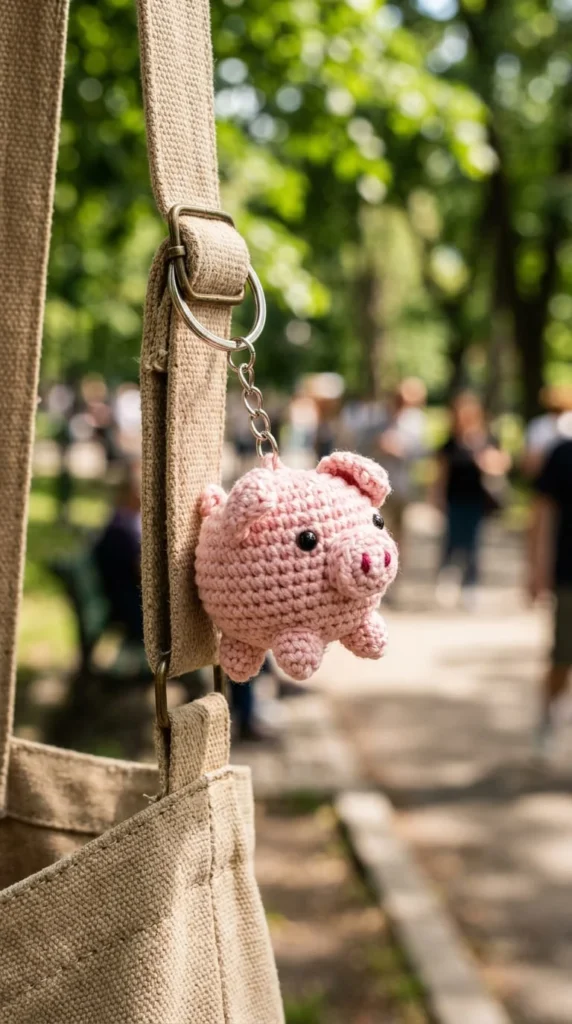
Small-scale amigurumi solves two beginner problems at once: it uses scrap yarn, and it’s fast enough that you actually finish the project instead of abandoning it in a drawer. A mini pig, cow, or sheep worked at roughly two inches tall takes under an hour once you know the shaping.
These miniatures work best with a smaller hook (around a US D or E) and cotton yarn, since the tighter gauge holds detail at that scale. Instead of full limbs, most mini animal patterns use small stitched-on shapes for legs, which is far less fiddly than it sounds.
Why beginners like this project:
- Uses under 10 grams of yarn per animal
- Clips onto a keyring or bag zipper with a simple metal hook
- Good for practicing color changes in small, low-stakes pieces
Because they’re so quick, mini animals are also a good way to test a new stitch or technique — like back loop only edging for a wooly sheep texture — without committing to a full-sized project first.
4. The Curled-Trunk Baby Elephant
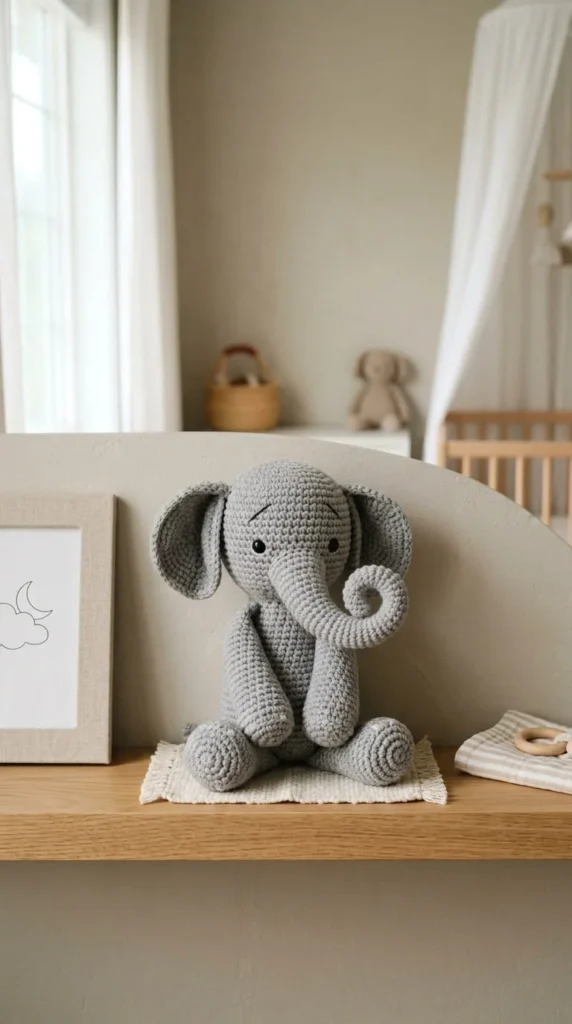
Elephants look intimidating because of the trunk, but the shaping is simpler than it appears — it’s just a tapering tube worked with steady decreases, then curled and tacked lightly to the face. The ears are two flat crocheted ovals sewn on at an angle, which is where most of the “cuteness” actually comes from.
For a nursery-ready look, stick to grey, oat, or dusty blue cotton yarn and keep the trunk short and stubby rather than long and thin — it reads as friendlier and is less likely to get tangled or tugged out of shape by little hands.
Construction shortcuts:
- Crochet ears flat in rows, not in the round, for a cleaner oval shape
- Use stitch markers on every increase round — elephants have more shaping than most beginner animals
- A slightly under-stuffed trunk curls more naturally than an overstuffed one
This project runs a bit longer than others on this list, closer to four hours, but it’s a satisfying one to hang on a crib mobile or prop on a changing table shelf.
5. The Stripey Cat With Embroidered Whiskers
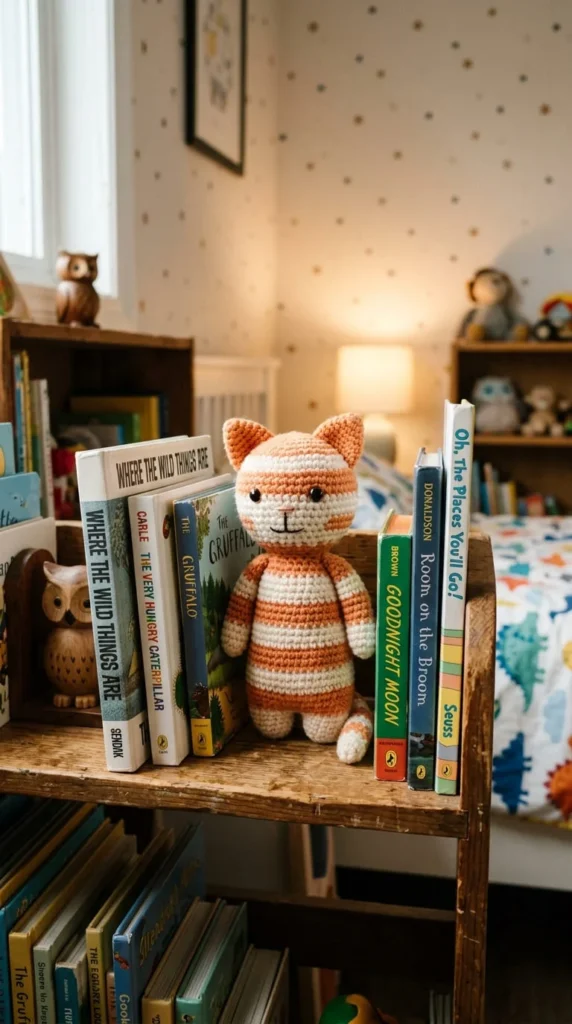
Stripes intimidate a lot of beginners, but a crochet cat is a low-pressure way to practice color changes because the stripes don’t need to be perfectly even — a slightly irregular tabby pattern actually looks more realistic. Carry your unused color loosely up the inside of the work instead of cutting and rejoining yarn every few rounds.
The whiskers are what sell the whole toy. Thread a needle with a single strand of contrasting yarn, pull it through both sides of the face, and trim to length. It takes two minutes and instantly makes the toy look intentional rather than unfinished.
Details that matter:
- Use a tapestry needle to weave in stripe ends neatly so they don’t peek through
- Curl the tail slightly with your fingers after stuffing, then tack the tip down
- Pink felt or embroidered triangles work well for inner ears if you don’t want to switch yarn colors
This is a great next-step project once you’ve made one plain-colored animal and want to try something with a bit more visual interest.
6. The Autumn Owl With Layered Wings
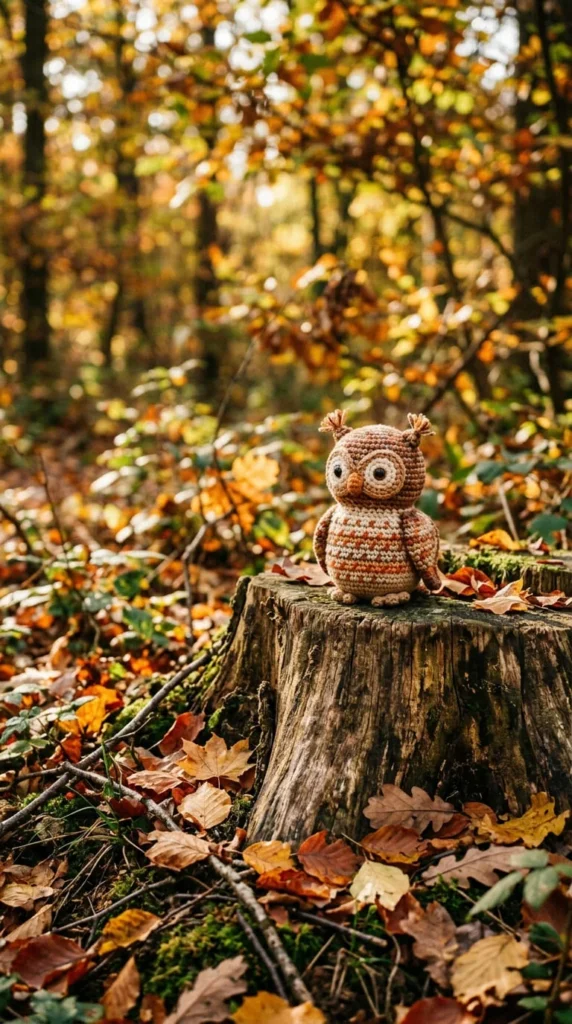
Owls are deceptively simple once you break them down: a rounded body, two felt or crocheted wing ovals, and embroidered or safety-eye features set close together for that classic wide-eyed look. The “feathers” are just a row of surface crochet or simple V-stitches worked over the finished body — no separate pieces needed.
This is a good seasonal project because warm yarn colors (rust, mustard, deep brown) photograph beautifully for autumn gift-giving, and the pattern doesn’t require any techniques beyond single crochet and basic increases.
Beginner-friendly shortcuts:
- Skip felt wings if sewing intimidates you — crocheted ovals attach the same way and match the yarn exactly
- Space the eyes wider than feels natural; owls read as “cute” rather than “creepy” with generous spacing
- A flat bottom (worked by increasing less on the final rounds) lets the owl sit upright on a shelf without tipping
Owls also make an easy gift for teachers or coworkers since they don’t skew as strongly toward babies or young kids the way many amigurumi animals do.
7. The Bobble-Stitch Sheep
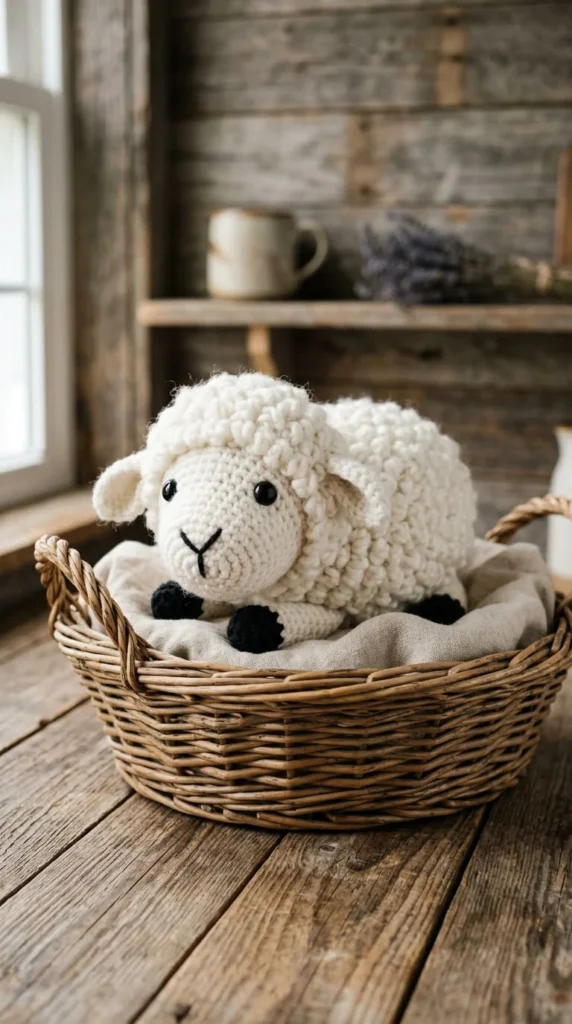
Bobble stitches (sometimes called popcorn stitches) create a wonderfully bumpy, wool-like texture that’s perfect for a sheep’s body — and once you get the rhythm down, it’s not much harder than regular single crochet, just a few extra yarn-overs per stitch.
Work the face and legs in smooth black or dark grey yarn for contrast, since an all-bobble sheep can look more like a cloud than an animal without that definition. Keep the legs short and stubby so the sheep sits flat rather than toppling.
What to know before starting:
- Bobble stitches use more yarn than plain single crochet, so budget slightly extra
- Practice the bobble stitch on a small swatch first if you’ve never made one — it has a learning curve of about ten stitches before it clicks
- A firmly stuffed body holds the bobble texture better than a loosely stuffed one, which can flatten the bumps
This project is a good bridge between total-beginner patterns and slightly more advanced textured amigurumi, and it introduces a stitch you’ll reuse in blankets and other projects later.
8. The Two-Tone Fox With a Fluffy Tail Trick
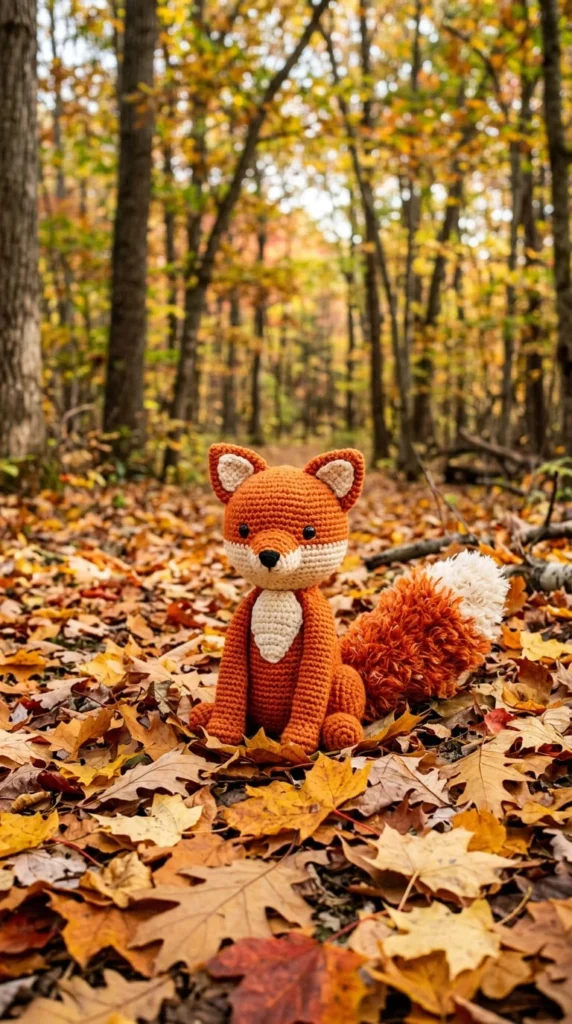
A fox is essentially a cat body with pointed ears and a color-blocked face, which makes it an easy variation once you’ve tried one animal pattern already. The real personality comes from the tail — instead of a simple tapered shape, work the last third in a fluffy or brushed yarn to mimic a fox’s signature fur texture.
If you don’t have brushed yarn on hand, a plain tail brushed lightly with a wire pet slicker brush (yes, the pet grooming kind) raises the fibers of regular acrylic yarn just enough to fake the effect.
Practical notes:
- Switch to white yarn partway up the muzzle and chest for the classic two-tone fox look
- Pointed ears are just a triangle worked flat and folded slightly before sewing on
- Orange and rust tones hide stuffing lumps better than pale colors, which show shadows more easily
This is a satisfying project for someone who wants their second or third amigurumi to look noticeably more advanced without actually learning new stitches.
9. The Branch-Hugging Koala
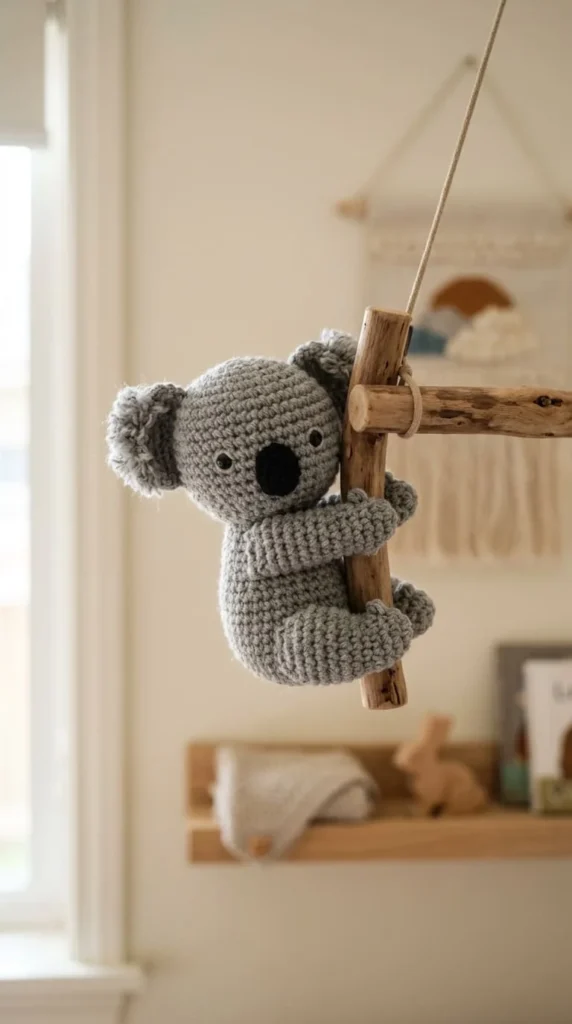
A koala’s charm is almost entirely in the pose — arms curved forward as if hugging something. Achieve this by stuffing the arms lightly (not firmly) so they stay bendable, then position and tack them around a small wooden dowel or a rolled fabric “branch” once the toy is finished.
The round, fuzzy ears are worked as flat circles rather than shaped in rounds, which keeps them soft and slightly floppy instead of stiff — closer to how a real koala’s ears actually sit.
Tips for a better result:
- Grey brushed yarn or a light fuzzy acrylic gives the most realistic texture without needing to felt anything
- Keep the nose oversized relative to the face; it’s the detail that makes a koala instantly recognizable
- If you skip the branch prop, the koala still works fine as a standalone huggable toy for smaller hands
This one is a nice option if you want a project that feels a little different from the standard “sit on a shelf” animal shape, since the hugging pose gives it a more interactive, playable quality for toddlers.
10. The Loop-Stitch Hedgehog
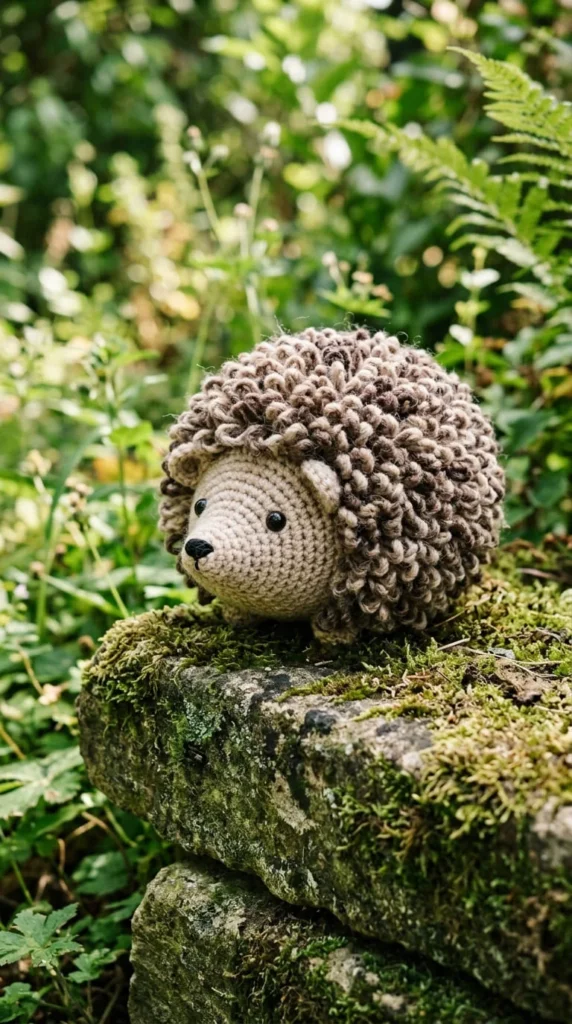
Loop stitch (also called fur stitch) creates individual little loops across the surface of your work, which is exactly the spiky-but-soft texture a hedgehog needs. It’s a slower technique than plain single crochet, but it’s not difficult — just repetitive, which makes it a relaxing project rather than a frustrating one.
Work the loop stitch only across the back and top of the hedgehog, leaving the belly in smooth yarn. This contrast is both realistic and practical, since a fully looped toy is harder to keep clean and more likely to snag on clothing or blankets.
Helpful notes:
- Loop stitch eats more yarn than you’d expect — plan for roughly 1.5 times what a plain animal of the same size would use
- Trim loops slightly uneven with small scissors for a more natural, less “wig-like” finish
- A pointed, slightly upturned nose reads as more hedgehog-like than a rounded one
Because the texture does a lot of visual work on its own, this is a good project for practicing patience with a repetitive stitch rather than practicing complex shaping.
11. The Pudgy Blue Whale
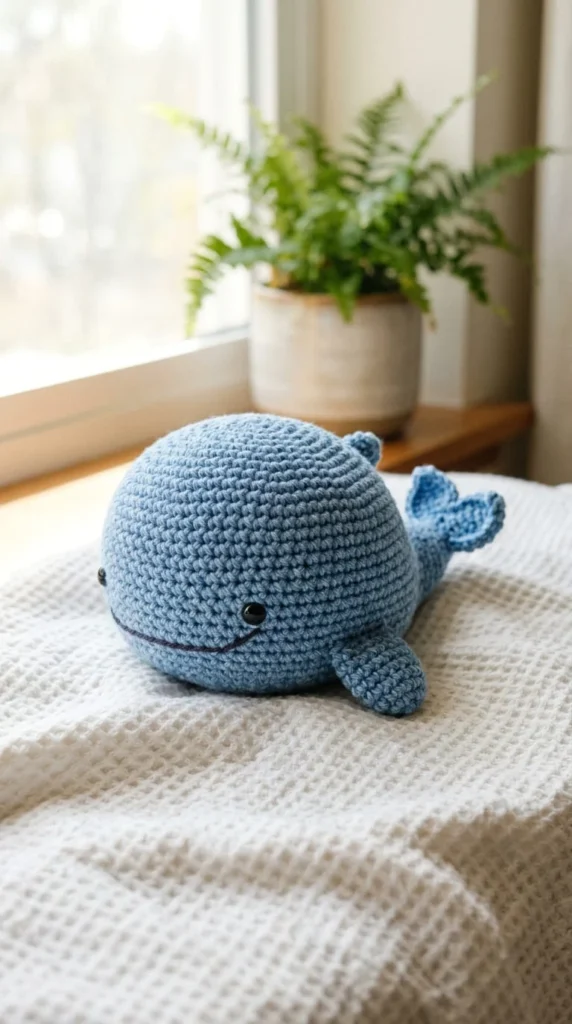
A whale’s body is one of the simplest shapes on this list — essentially a long oval with a flattened tail fin sewn on at the end. There’s no face detail beyond two small eyes and a curved mouth line, which makes this an excellent confidence-building project for someone newer to amigurumi.
The tail fin is worked flat in two matching pieces, joined together, then flattened slightly with your fingers before attaching so it holds a gentle V shape instead of standing straight up.
What makes it beginner-friendly:
- Only one color change is needed, between the blue body and a lighter grey or white belly
- The shape is forgiving of uneven stitches since there’s no fine detail to draw the eye
- A curved embroidered smile takes thirty seconds and instantly gives the toy personality
Blue and soft aqua tones work particularly well here, and the finished whale makes a nice bath-adjacent nursery decoration, even though it isn’t actually washable enough for the tub itself.
12. The Spiky-Backed Dinosaur
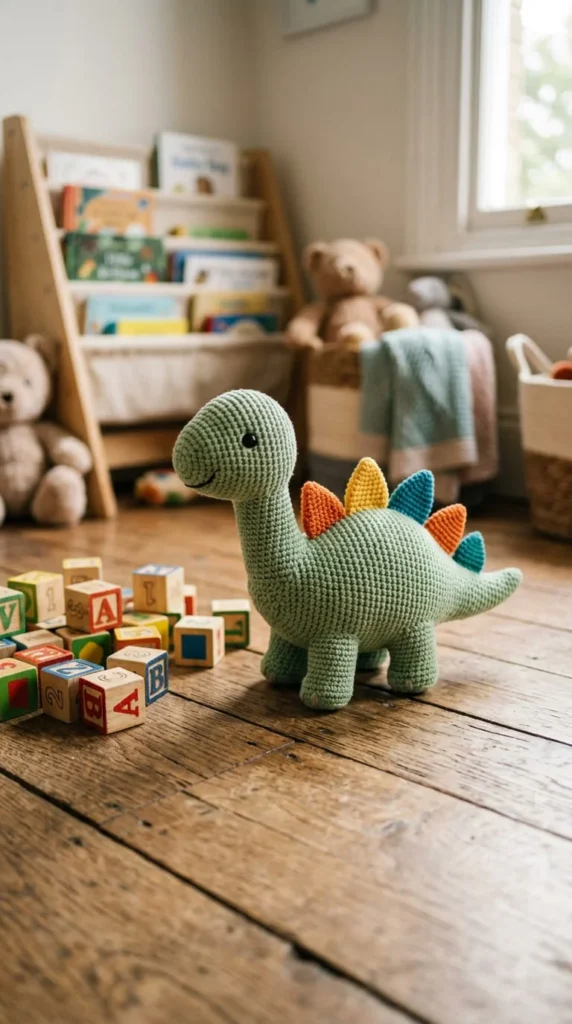
Dinosaurs pull double duty as an animal toy that appeals to kids who’ve outgrown “cute” and want something a little more rugged. The spikes running down the back are individually crocheted small triangles, sewn on in a row rather than worked into the main body — a technique that looks far more advanced than it actually is.
Standing dinosaurs need slightly firmer stuffing in the legs and tail than other toys on this list, since the shape relies on a wider stance to balance upright without tipping forward.
Building tips:
- Sew spikes on before attaching the head, while the body is still easy to hold flat
- Green, teal, and mustard yellow all work well and avoid the “generic dinosaur toy” look of bright plastic versions
- A slightly longer tail than feels proportional helps the dinosaur balance when standing
This is one of the more requested gift projects for older toddlers and early elementary kids, since the animal category skews a bit more gender-neutral and less overtly “baby toy” than some others on this list.
13. The Textured-Shell Turtle
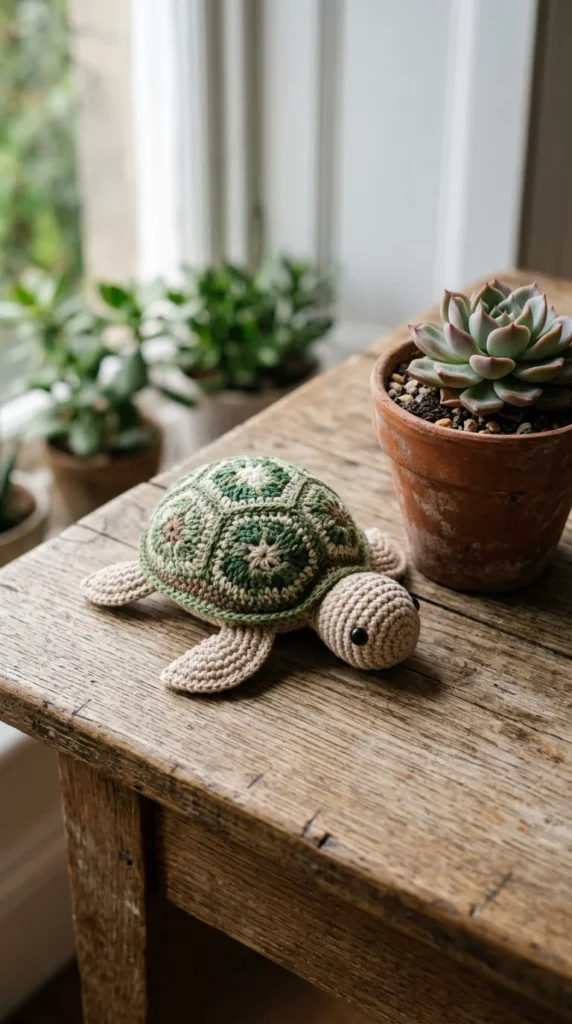
A turtle’s shell is a great place to practice the granny square technique in miniature — working the shell as a small round or hexagon motif before attaching it over a simple stuffed body. This gives you a raised, textured pattern without needing any specialty stitches.
Legs and head are just short, stubby tubes, which means most of your effort and attention goes into the one decorative piece rather than shaping four separate limbs with complicated details.
Why this project works well for beginners:
- The shell motif can be crocheted flat while you watch TV, then attached later in one sitting
- Two-tone shells (a base color plus contrasting granny square rounds) look intentional even if your tension varies slightly round to round
- A slightly oversized shell relative to the body reads as more charming than anatomically “correct” proportions
Turtles also make a nice teaching project if you’re introducing a child to crochet themselves, since the shell motif is a manageable, satisfying first round for small hands to attempt under supervision.
14. The Patch-Work Panda
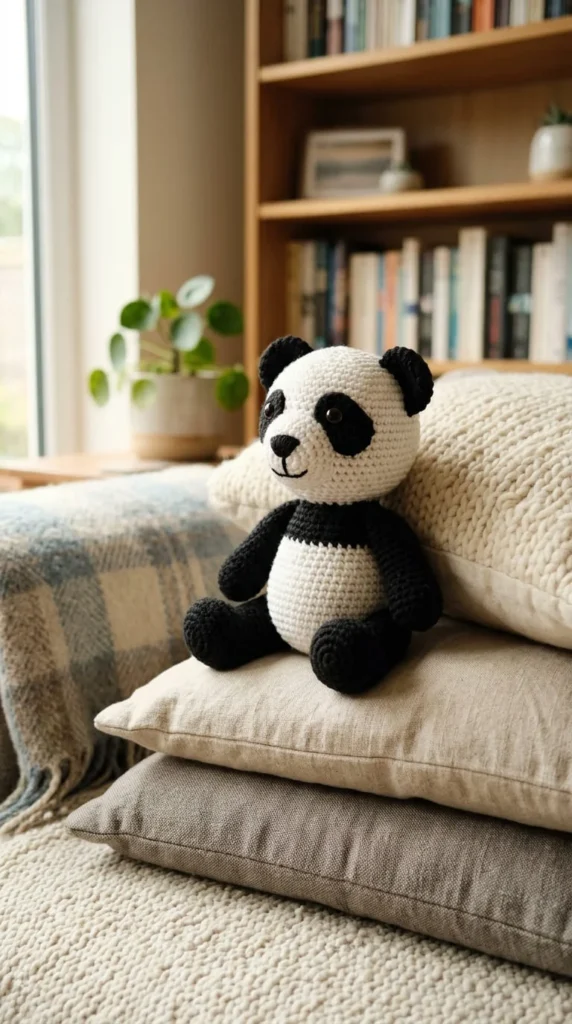
Pandas look complicated because of the black-and-white patterning, but the trick is surface crochet rather than intarsia — you crochet the entire body in white first, then stitch black patches directly on top for the ears, eye patches, and legs. This sidesteps the tricky color-change math that intimidates a lot of beginners.
Eye patches work best as small flat ovals stitched at a slight downward angle rather than perfectly round and centered, which gives the panda a more relaxed, sleepy expression.
Steps that simplify the process:
- Crochet all black patches separately and pin them in place before sewing, so you can adjust positioning before committing
- Keep the belly slightly lighter or cream-toned rather than pure white to hide handling marks over time
- A round, low-set head (rather than a tall one) reads as more panda-like than fox- or bear-like
Because the shaping itself is simple, this project is really about patience with the finishing details — which makes it a good “next challenge” once basic amigurumi shaping feels comfortable.
15. The Puddle-Side Duckling
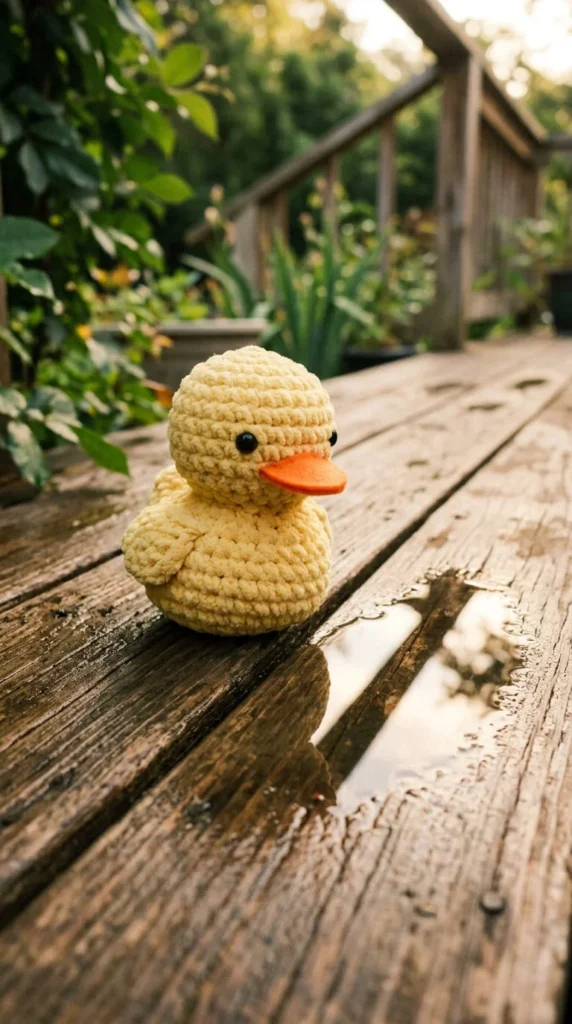
A duckling is essentially a teardrop-shaped body with a flattened beak and two small webbed feet — one of the fastest projects on this list, usually finishable in under two hours including stuffing and finishing touches.
The beak is the one part worth taking slowly. Crochet it flat, fold it slightly, and tack the center seam so it holds a gentle open shape instead of lying completely flat against the face, which can make the duckling look more like a yellow blob than a bird.
Small details that add up:
- Orange felt or a few rows of orange yarn both work fine for the beak and feet — felt is faster if you’re short on time
- Keep the body slightly egg-shaped rather than perfectly round; it reads as more duckling and less generic ball
- A single strand of black yarn for the eyes, sewn close together near the top of the head, gives the classic wide-eyed baby-bird look
Yellow ducklings are a dependable Easter or spring gift project, and the fast turnaround makes them a good option if you’re making several as party favors.
16. The Ringed-Tail Raccoon
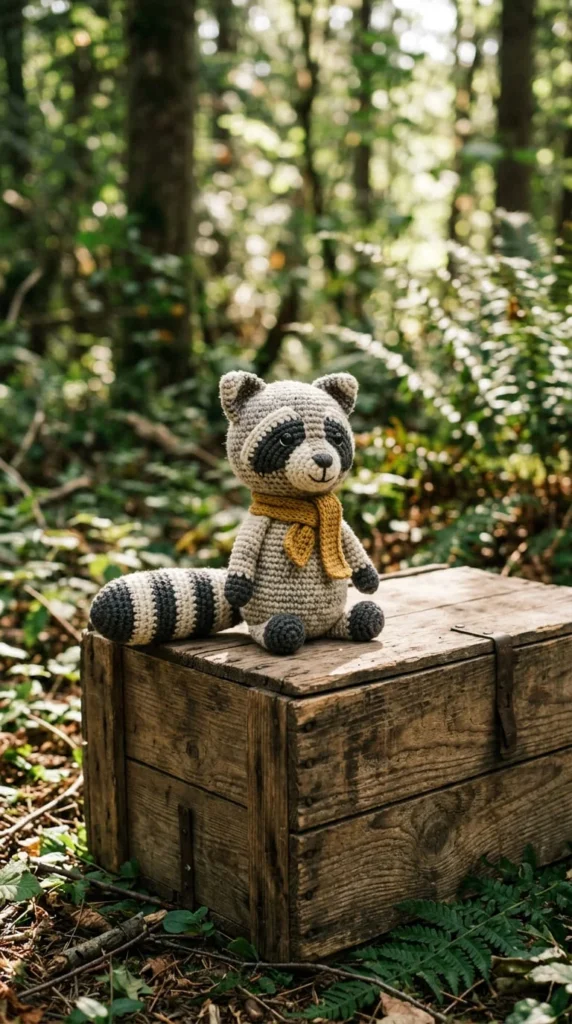
A raccoon’s defining feature is the striped tail and the dark mask around the eyes, both of which are simple color-block techniques rather than anything requiring new skills. The tail alternates grey and dark brown or black stripes every few rounds, carrying the unused color up the inside just like a striped cat pattern.
The mask is worked as a small dark patch stitched over lighter grey or cream fur-toned yarn, angled slightly upward at the outer corners for a more expressive, slightly mischievous look.
Notes worth knowing:
- Alternate stripe widths slightly (two rounds, then three, then two) for a more natural, less mechanical striped pattern
- A pointed rather than rounded nose helps distinguish a raccoon from a similarly shaped bear or panda
- Curl the tail gently and tack the tip down so it doesn’t stick straight out and get caught on furniture
Raccoons are a fun option if you want an animal that isn’t already saturated on gift shelves — they’re less common than bears, bunnies, and elephants, which makes a handmade one feel more distinctive.
17. The Lily-Pad Frog
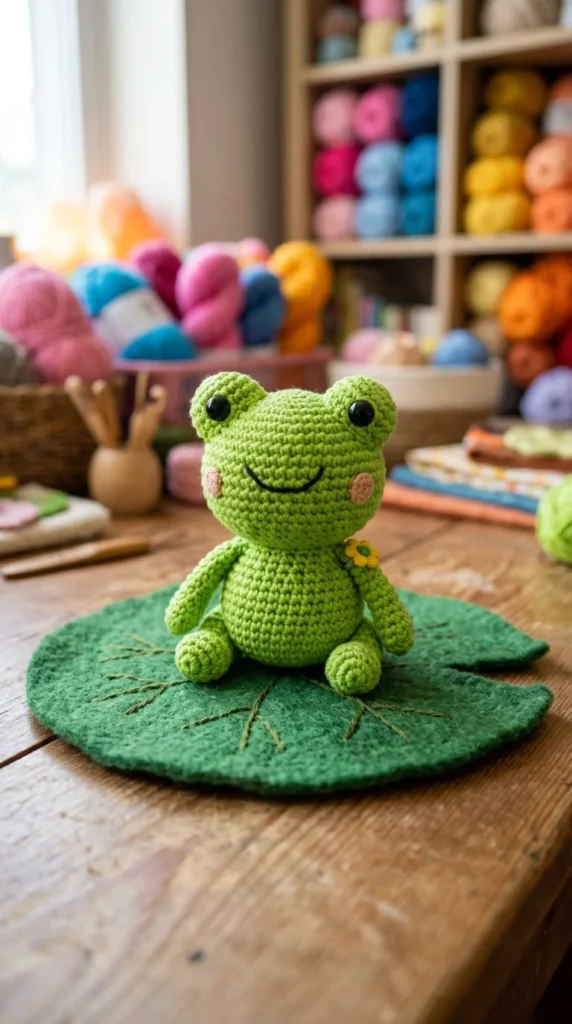
A frog is a great project for practicing bulging, exaggerated eyes without any complicated shaping — two oversized spheres worked separately and attached prominently on top of the head, rather than embedded into the face like most other animals on this list.
Because frogs read as playful rather than realistic, this is a good pattern to experiment with bright, saturated colors that might feel too bold on a bear or bunny — lime green, hot pink, or turquoise all work well here.
A few pointers:
- Make the eyes noticeably larger than feels proportional; frogs are supposed to look a little silly
- Short, wide legs splayed slightly outward help the frog sit in a natural crouching position
- A simple felt lily pad base (or a flat crocheted circle) gives the toy a little scene to sit in rather than existing alone
This is a good palate cleanser project if you’ve been making a string of muted, neutral-toned nursery animals and want something with a bit more color and personality.
18. The Curly-Wool Spring Lamb
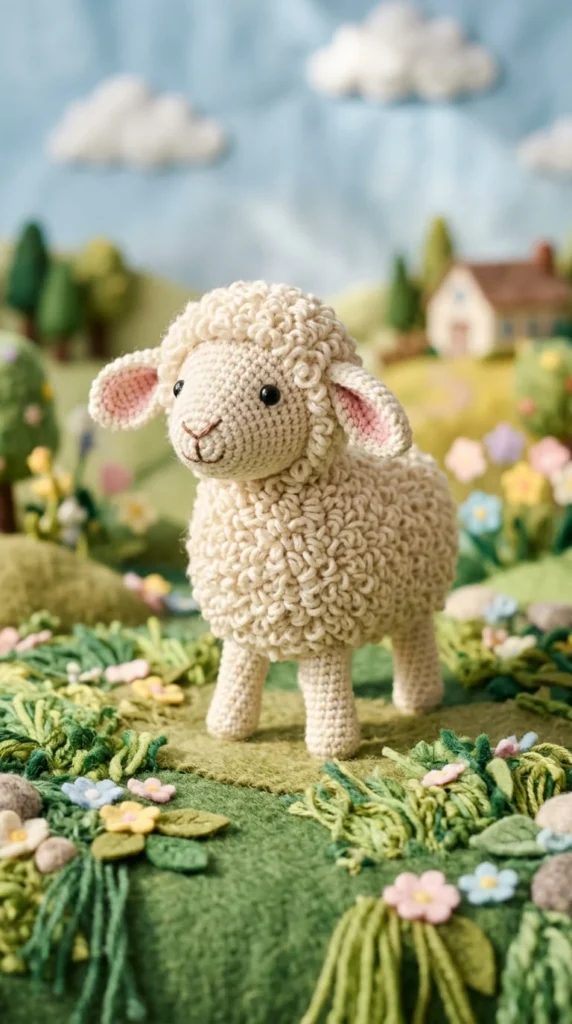
A lamb is a close cousin of the bobble-stitch sheep above, but with a different texture approach — instead of bobbles, this version uses tight loop stitch across the whole body for a curlier, woollier finish that’s especially popular for spring and Easter gifts.
Because loop stitch takes longer to work than plain rounds, this is a better project for a weekend than a single evening, but the payoff is a noticeably plush, textured toy that looks more complex than the stitch count actually is.
Practical guidance:
- White or cream cotton yarn holds the loop texture best; slippery or synthetic yarns tend to shed loops over time
- Keep the face and legs smooth and un-looped for contrast and to keep facial features clearly visible
- A small pastel bow or ribbon around the neck (optional) adds a finishing touch without any extra stitching
This lamb pairs naturally with the sheep pattern earlier on this list if you want to make a small flock — using the same base shape with two different textures is an efficient way to build a themed toy set.
19. The Curled-Tentacle Octopus
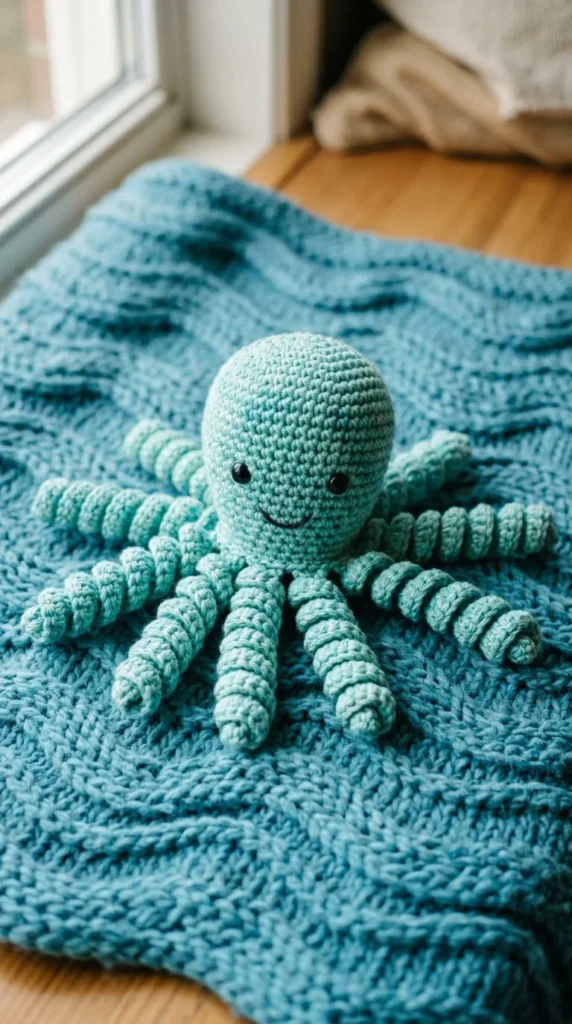
An octopus sounds advanced because of the eight legs, but each tentacle is just a simple tapering tube, and you make eight of them using the exact same instructions rather than eight different shapes. Once you’ve crocheted one leg, the rest is repetition.
The curl in each tentacle comes from working the last several rounds tighter (dropping to a smaller hook or tensioning more firmly) so the tip naturally coils rather than hanging straight.
What helps this project go smoothly:
- Stuff tentacles only about halfway up, leaving the tips soft and floppy so they curl and drape naturally
- Attach all eight legs before stuffing the head fully, so you can adjust spacing evenly around the body
- Ombre or variegated yarn gives a nice gradient effect across the tentacles without any deliberate color planning
Octopus toys tend to be a favorite for sensory play since the dangling, curl-able tentacles give kids something to fidget with, which makes this a nice option beyond just a shelf decoration.
20. The Woodland Fawn With Felt Antlers
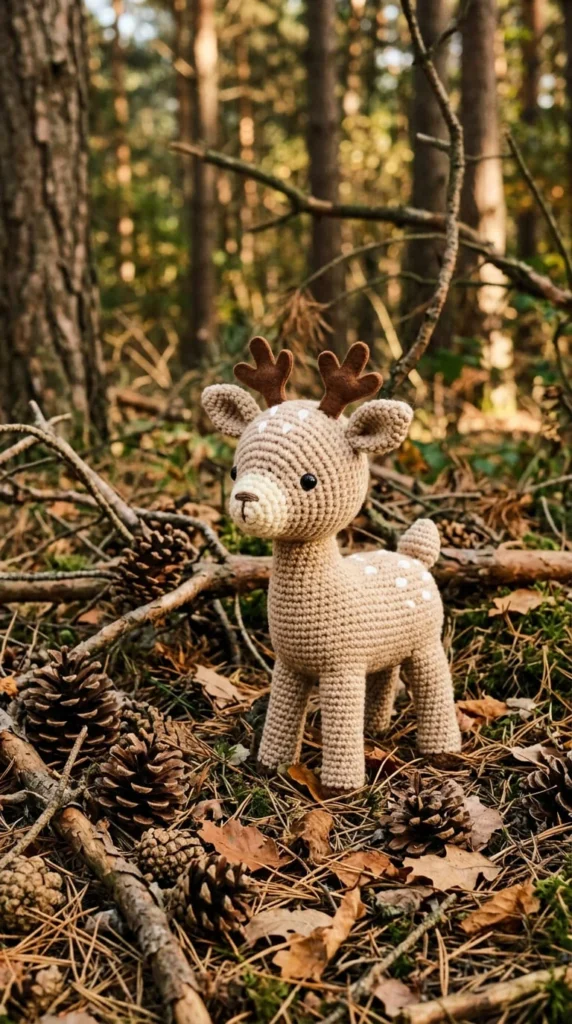
A fawn combines a slim, longer-legged body (a nice change from the round-bodied animals earlier in this list) with small felt or crocheted antlers, giving it a slightly more grown-up, less “baby toy” look that works well for autumn or winter gift-giving.
Longer legs mean this fawn needs firmer stuffing and slightly thicker yarn than a round animal of the same overall size, or it risks looking floppy rather than elegantly slim.
Construction notes:
- White felt spots stitched onto the back give a classic fawn look without any extra crochet rounds
- Small twisted pipe cleaners wrapped in brown yarn make surprisingly convincing antlers if you don’t want to crochet them
- A slightly arched neck (achieved by angling the head attachment forward) gives the fawn a more alert, lifelike posture
This is a nice project to try once you’re comfortable with basic shaping and want to move beyond the classic round amigurumi silhouette toward something with more elongated proportions.
21. The Oversized-Ear Mouse
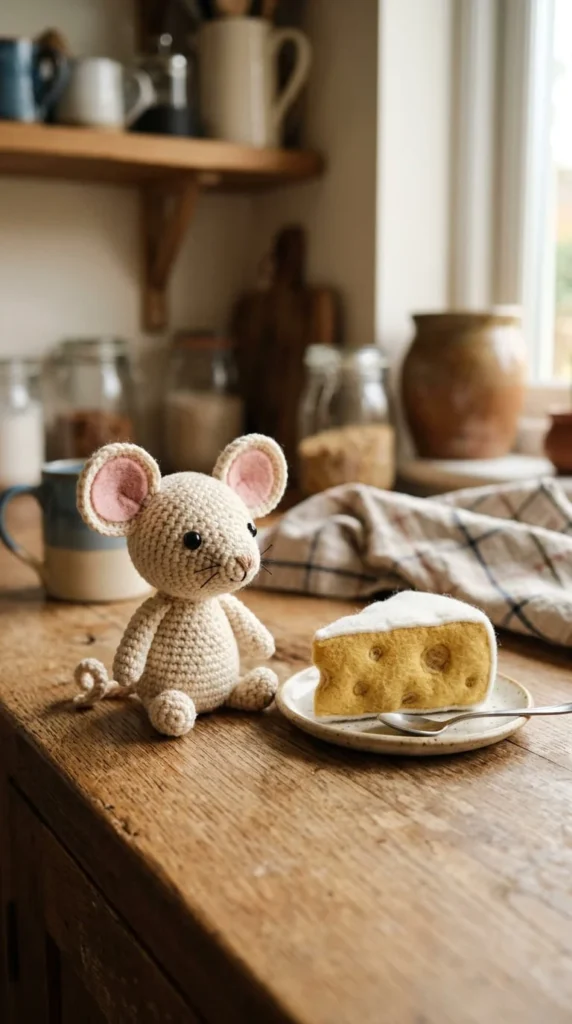
A mouse is one of the smallest, quickest projects on this list, and the exaggerated ears — worked noticeably larger than realistic proportion — are what make it instantly readable as a mouse rather than any other small rodent-shaped blob.
The tail is the one slightly fiddly part: a long, thin crocheted or twisted-cord tail that’s prone to curling awkwardly if left too loose. Wrapping it briefly around a pencil and steaming lightly (or just leaving it curled for a day) helps it hold a gentle spiral shape.
Tips for a cleaner result:
- Pink or cream ears against a grey or brown body give the clearest visual contrast
- Keep whiskers short — long embroidered whiskers tend to catch on things and pull loose over time
- A slightly pointed nose, rather than rounded, reads as more mouse-like and less bear-like
Because it’s so quick to make, this is a good project for using up small leftover balls of yarn from bigger projects, and it’s an easy one to make in multiples for party favors or advent calendar fillers.
Conclusion
Twenty-one animals is a lot to choose from, but you don’t need to work through this list in order or make every single one. Start with whichever shape feels the least intimidating — a round bear or a simple whale are both forgiving places to begin — and let your stitch tension and confidence build from there. The techniques repeat more than they multiply: once you’ve mastered a magic ring, a firm stuffing habit, and one or two texture stitches like loop stitch or bobbles, most of these patterns become variations on a theme rather than entirely new challenges.
Keep a small notebook or note on your phone tracking which yarn weights and hook sizes worked best for you, since amigurumi tension varies a lot from one crocheter to the next. And don’t be afraid to swap colors, resize an animal, or mash up details from two different projects on this list — a chenille bear with a raccoon’s striped tail is entirely fair game. Pick one animal, grab a skein of yarn you already have on hand, and get your hook moving today.