
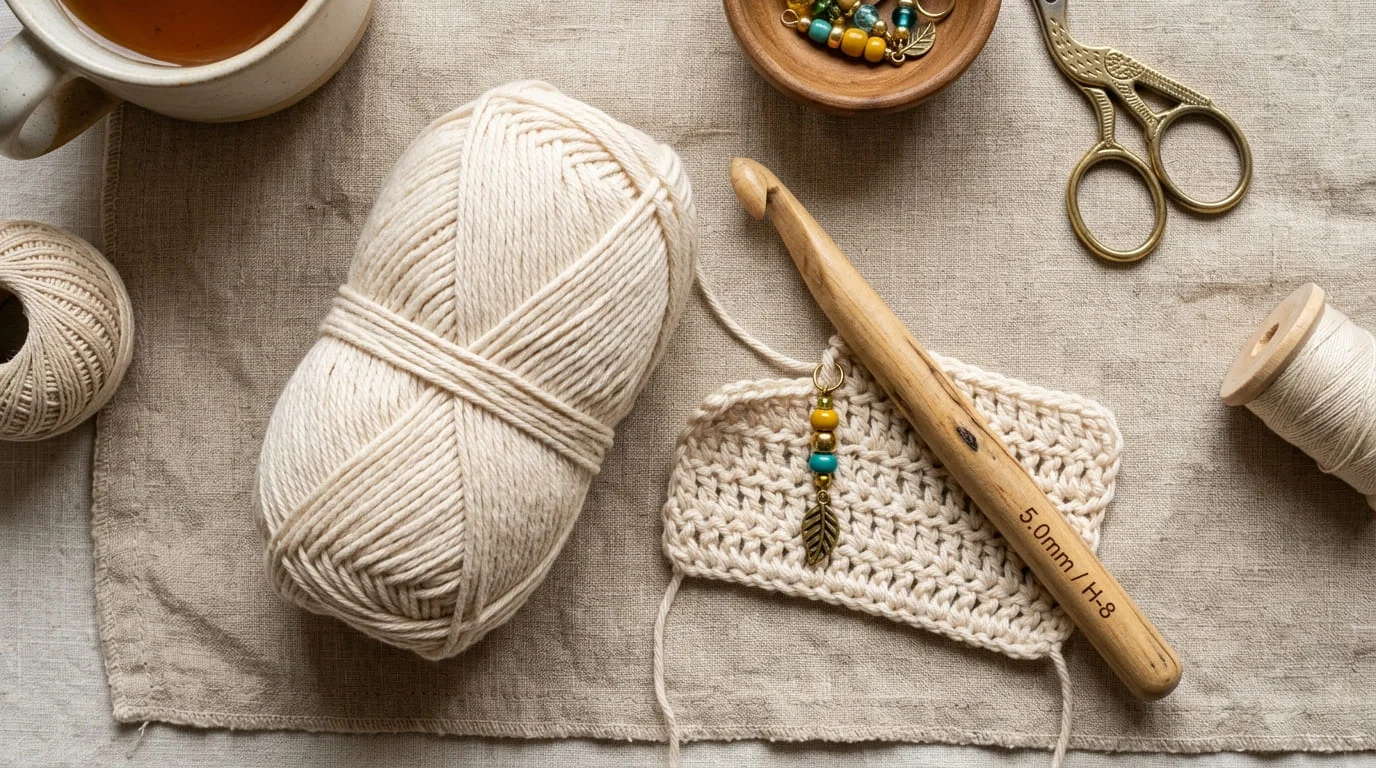
Ever looked at a gorgeous handmade crochet bag and thought, “there’s no way I could make that”? Good news: you absolutely can, and it starts with just two stitches and a ball of yarn. This beginner-friendly tutorial breaks everything down into simple, no-stress steps — no fancy shaping, no confusing patterns, just a cute, sturdy bag you’ll actually want to carry.
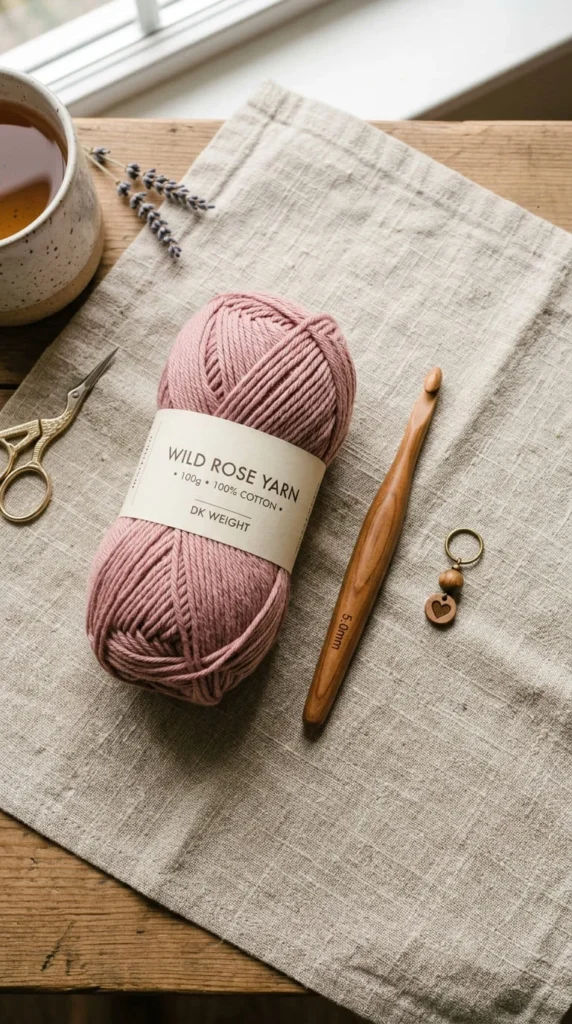
What You’ll Need
Before diving in, gather these simple materials:
- Yarn: Medium-weight (worsted/DK) cotton yarn works best for beginners — it’s durable and easy to handle
- Hook: A 5mm–6mm crochet hook (check your yarn label for suggestions)
- Stitch marker: Or just use a paperclip!
- Tapestry needle: For weaving in ends
- Scissors
That’s it. No special tools required.
Quick Terminology Refresher
If you’re totally new, here are the only stitches you need:
- Chain (ch): The foundation of your project
- Single crochet (sc): Your main stitch — dense and sturdy
- Slip stitch (sl st): Used for joining and seaming
💡 Quick tip: If you’re following a UK pattern, “single crochet” is called “double crochet” — always double-check which terminology a pattern uses.
Step 1: Make Your Foundation Chain
This is where your bag’s width gets decided.
- Chain about 30 stitches for a medium-sized tote (more chains = wider bag)
- Keep your tension relaxed — a tight foundation chain makes everything harder later
- Count your stitches twice before moving on
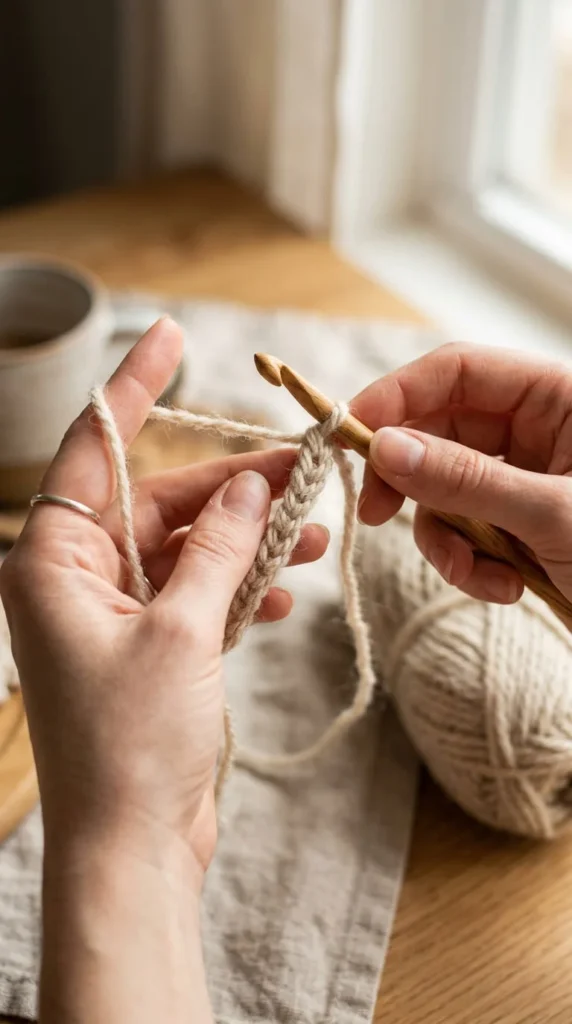
Step 2: Crochet the Body
Now for the fun part — building the base of your bag.
- Single crochet across your foundation chain, row by row
- Keep your stitch count consistent (check it at the end of every row!)
- Continue until your rectangle reaches your desired height (roughly 10–11 inches works well for a everyday tote)
Two ways to build your bag:
- Flat rectangle method: Crochet a rectangle, fold it in half, and seam the sides — perfect for total beginners
- Working in the round: Crochet a continuous oval base and build upward — no sewing required, but slightly trickier to track
If you’re brand new, start with the rectangle. It’s forgiving and foolproof.
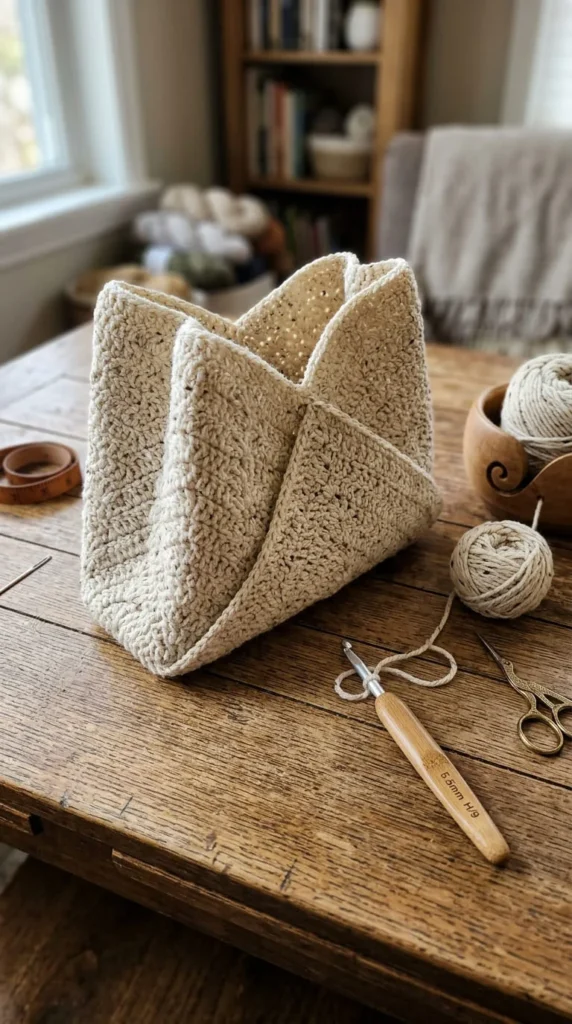
Step 3: Add the Handles
Handles are their own little skill, so give them attention.
You’ve got a few options:
- Crocheted chain straps: Simple chains, doubled for strength
- Integrated handles: Crocheted directly into the bag’s body
- Ready-made handles: Wooden or bamboo handles you attach after
- Metal-ring handles: A trendy, sturdy option
Sizing tip: For a shoulder bag, aim for a longer strap (24–26 inches); for a handheld tote, 8–10 inches is plenty.
Reinforce your handle attachment points by stitching through them two or three times — this is the #1 way to prevent loose or floppy handles down the road.
Step 4: Finishing Touches
This is the stage most tutorials rush through, so let’s slow down:
- Weave in all ends using your tapestry needle
- Seam the sides neatly with a whip stitch or slip stitch
- Add edging around the top opening for a polished look
- Optional lining: A simple fabric lining (hand-sewn is fine!) adds structure and prevents stretching
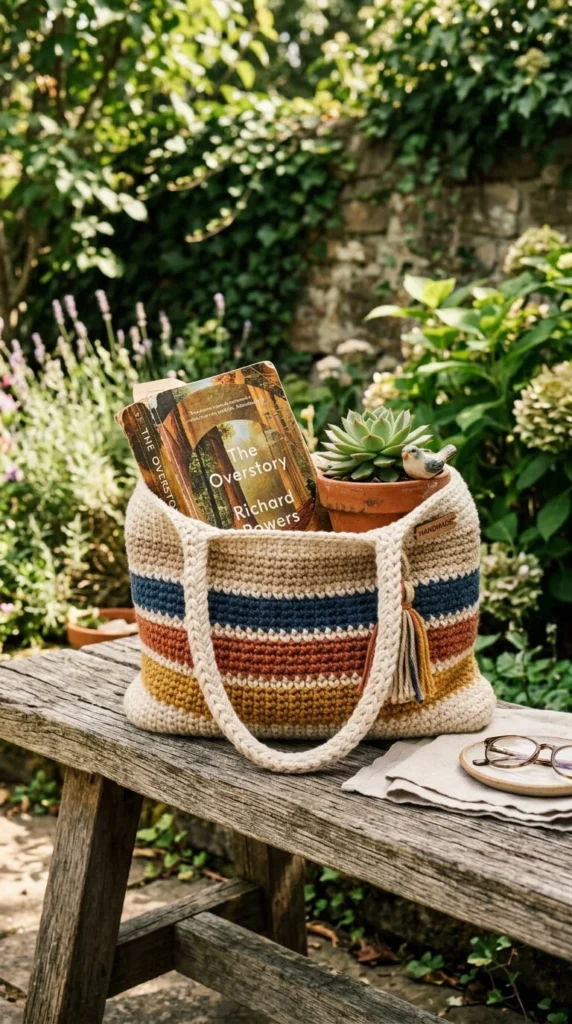
Make It Sturdy: A Quick Checklist
Nobody wants a saggy bag. Keep it durable with these tips:
- ✅ Use a tighter gauge than you think you need
- ✅ Choose single crochet over more open stitches for the base
- ✅ Reinforce handle joins
- ✅ Add a lining for heavier everyday use
Fun Ways to Customize Your Bag
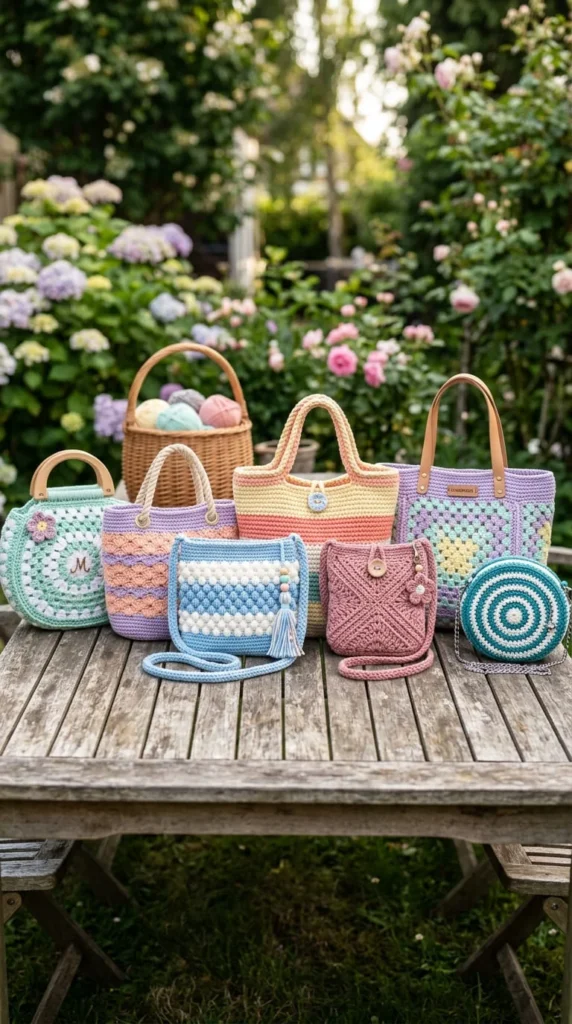
Once you’ve mastered the basics, make it yours:
- Switch up yarn colors for stripes
- Add a bow, flower, or charm
- Try raffia or t-shirt yarn for a totally different texture
- Adjust the strap length for a crossbody style
You’ve Got This!
Crocheting your first bag might feel intimidating at first, but with just two stitches and a bit of patience, you’ll have a one-of-a-kind accessory in no time. Whether it becomes your new favorite tote or a thoughtful handmade gift, you’ll be amazed at what your hands can create.
Save this tutorial for later, and grab your hook — your first crochet bag is just a few stitches away! 🧶