
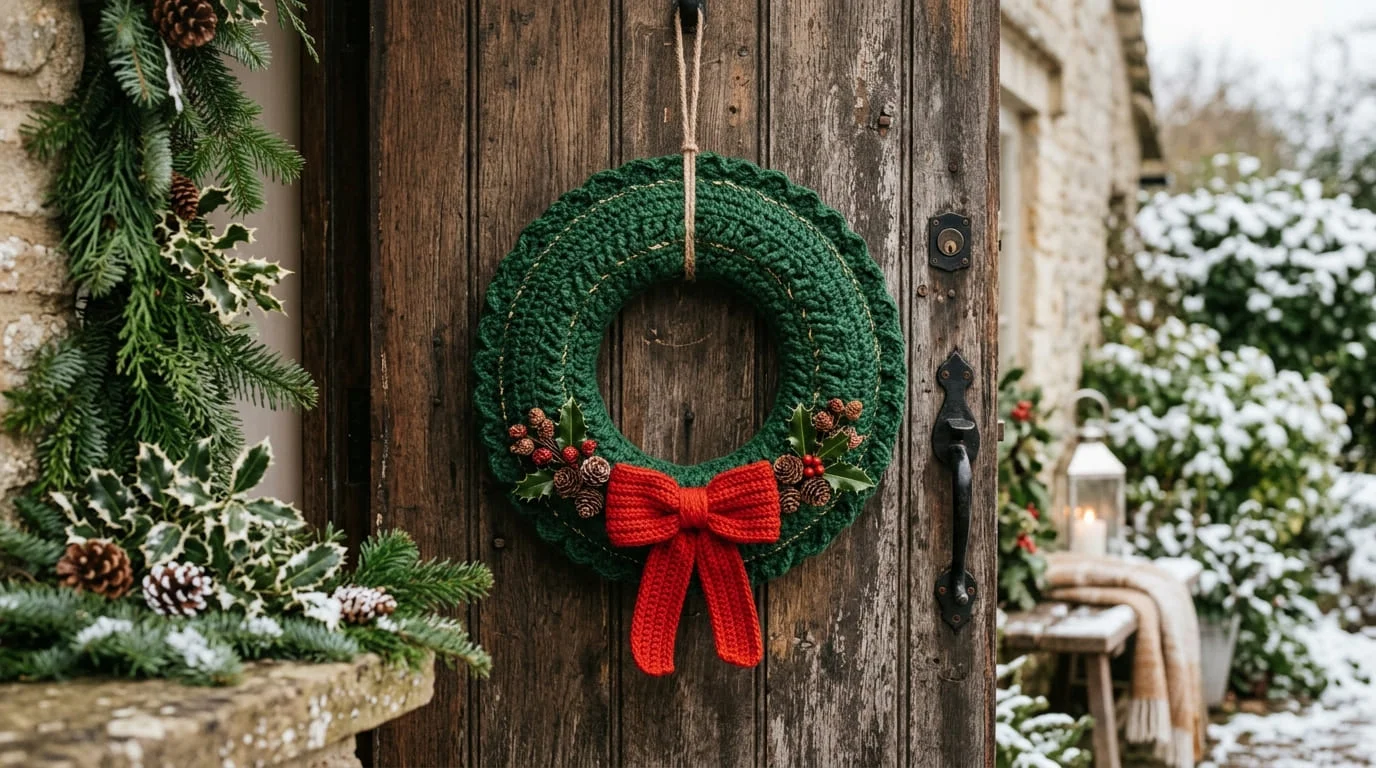
There’s something about a handmade wreath on the front door that store-bought decor just can’t match. It says someone actually made this, and that small detail changes how a whole entryway feels. If you’ve ever wanted to try crocheting your own, a Christmas wreath is one of the most forgiving places to start — there’s no fitted shape to worry about, no sizing chart, just yarn, a base, and a bit of patience.
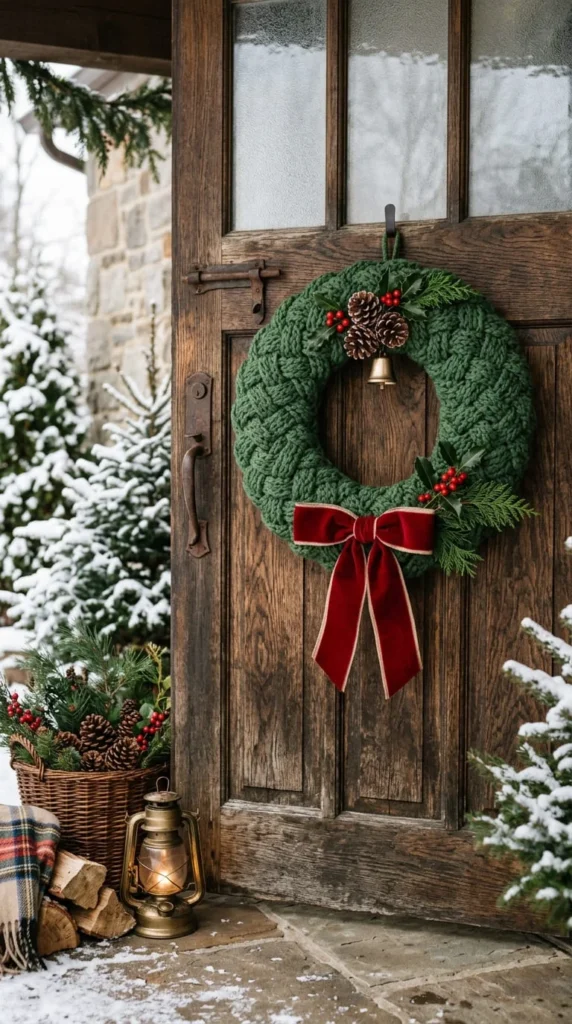
This guide walks through the whole process, from picking a base to adding the finishing touches, so you end up with a wreath that looks like it came from a boutique shop rather than a first attempt.
Choosing the Right Base for Your Wreath
Every crochet wreath starts with a base, and picking the right one shapes how the rest of the project goes. There are three common options:
- Embroidery hoops — lightweight, cheap, and easy to find in craft stores. Great for a simple, wrapped-yarn look.
- Wire wreath rings — sturdier than hoops and good if you’re planning to attach a lot of motifs or heavier decorations.
- Foam wreath forms — ideal for a fuller, chunkier look, especially if you’re wrapping bulky yarn around the whole form.
If this is your first wreath, an embroidery hoop or a basic wire ring is the easier starting point. Foam forms take more yarn and more wrapping time, but they give a plush, rounded finish that’s hard to achieve any other way.
Picking Yarn and Hook Size
For a full-size door wreath, worsted weight or DK yarn paired with a 4 to 6 mm hook is the standard combination. It works up quickly and gives enough structure to hold its shape once hung.
If you’re making a smaller version — say, a mini wreath ornament for the tree or a gift tag — switch to a finer 4-ply or sport weight cotton with a smaller 2.5 to 3.5 mm hook. That combination keeps the proportions right at a smaller scale.
A few practical notes:
- Classic red, green, and gold never go out of style, but don’t feel locked into it
- Buy slightly more yarn than the pattern suggests, especially if you’re wrapping a base by hand rather than crocheting a strip
- A glittery or metallic yarn blended into a plain green works well for a subtle sparkle without overdoing it
Two Ways to Build the Wreath Shape
There are two main approaches to actually forming the wreath, and it’s worth knowing both before you start.
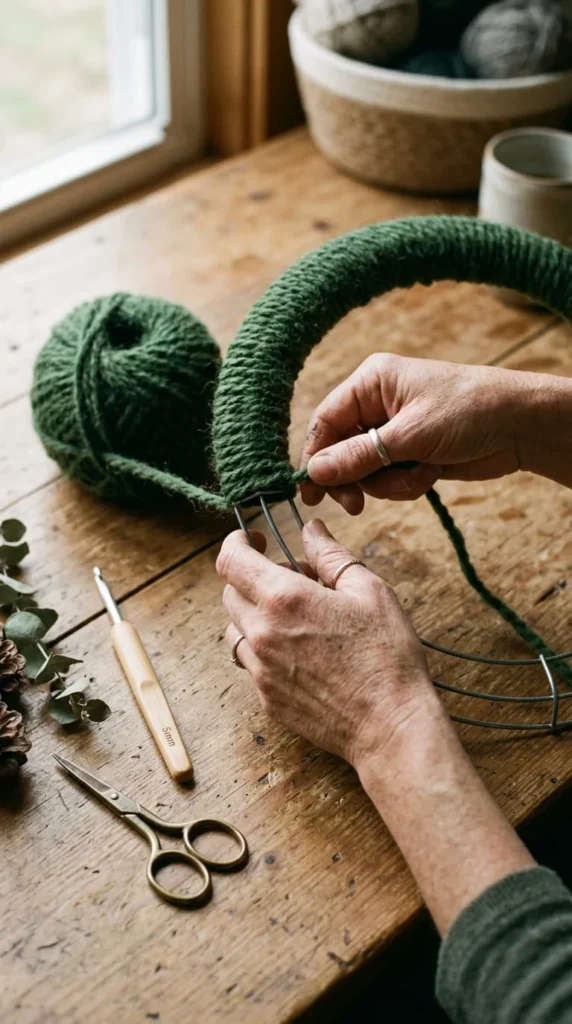
Wrapped-base wreaths involve winding yarn directly around a hoop, wire ring, or foam form until it’s fully covered. This is the faster option and works especially well if you’re using a chunky or super-bulky yarn for quick, dramatic results.
Free-standing crochet wreaths are built differently — you crochet a long stuffed tube, usually somewhere around 45 to 50 centimeters, then curve it into a circle and sew the ends together. This method takes a bit longer but gives you full control over the finished shape without needing a physical base at all.
If you’re not sure which to choose:
- Go with wrapping if you want a quick, one-evening project
- Go with the stuffed tube method if you want a plush, rounded wreath with a more polished, boutique look
Either method works fine as a foundation for the motifs and details covered next.
Adding Motifs, Leaves, and Seasonal Details
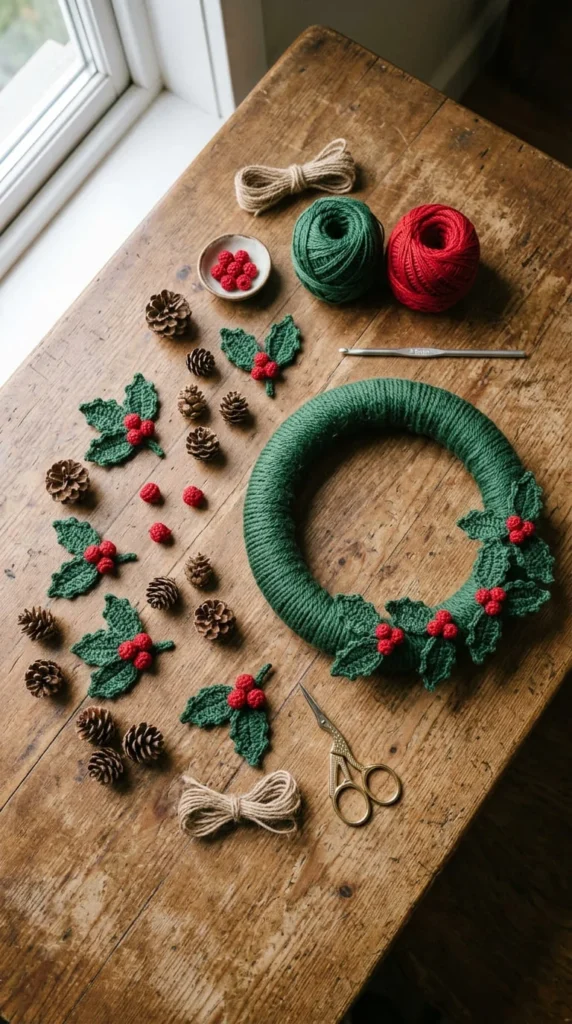
Once your base shape is ready, this is where a wreath really starts to feel like your design. Small crocheted leaves, berries, poinsettias, or pinecones can be sewn or glued directly onto the base in clusters.
A woodland-style wreath, for example, might combine small acorns, ivy leaves, and a few tiny toadstools for a natural, whimsical look. A more classic wreath might stick to holly leaves with red berry clusters in groups of three, which mirrors how real holly grows.
A few tips for attaching motifs cleanly:
- Use hot glue for placement first, then add a few anchor stitches for anything that will get handled or brushed against often
- Cluster motifs unevenly rather than spacing them in a perfect grid — real greenery never grows that symmetrically
- Leave some sections of the base visible, since a wreath that’s completely covered can start to look cluttered
Finishing With a Bow (and Making It Count)
Almost every crochet wreath ends with a bow, and it’s worth spending a little extra time getting this part right, since it’s often the first thing people notice.
A simple bow is just two crocheted loops joined at the center with a wrapped knot, but a few small choices change the whole effect:
- A multi-loop bow, with three or four loops layered instead of two, looks fuller and more polished
- Adding a few trailing tails below the knot gives the bow movement rather than sitting flat
- A contrasting color — gold against deep green, or white against classic red — makes the bow stand out as a clear focal point
Position the bow either at the top center for a traditional look, or slightly off to one side for a more modern, asymmetrical style, which has become a popular trend in recent wreath designs.
Should You Hang It Indoors or Outdoors?
This is one question a lot of first-time wreath makers forget to ask before they start. Yarn isn’t naturally weatherproof, and sun exposure will fade colors over time while rain can mat the fibers.
If you’re planning to hang your wreath outside:
- Choose a covered porch or sheltered doorway rather than a fully exposed spot
- Acrylic yarn holds up slightly better than natural fibers in damp conditions
- Bring it inside during heavy storms if you can, especially in the first season
For indoor use — on a wall, above a mantel, or on an interior door — none of this is a concern, and you can use any yarn you like without worrying about weather damage.
Save This Guide and Start Stitching
A crochet Christmas wreath is one of those projects that looks far more impressive than the actual time it takes to make. Pick a base, choose your yarn, and work through the motifs and bow at your own pace — there’s no wrong way to arrange holly and pinecones on your own front door.
Save this guide for later and try these ideas when you’re ready!