
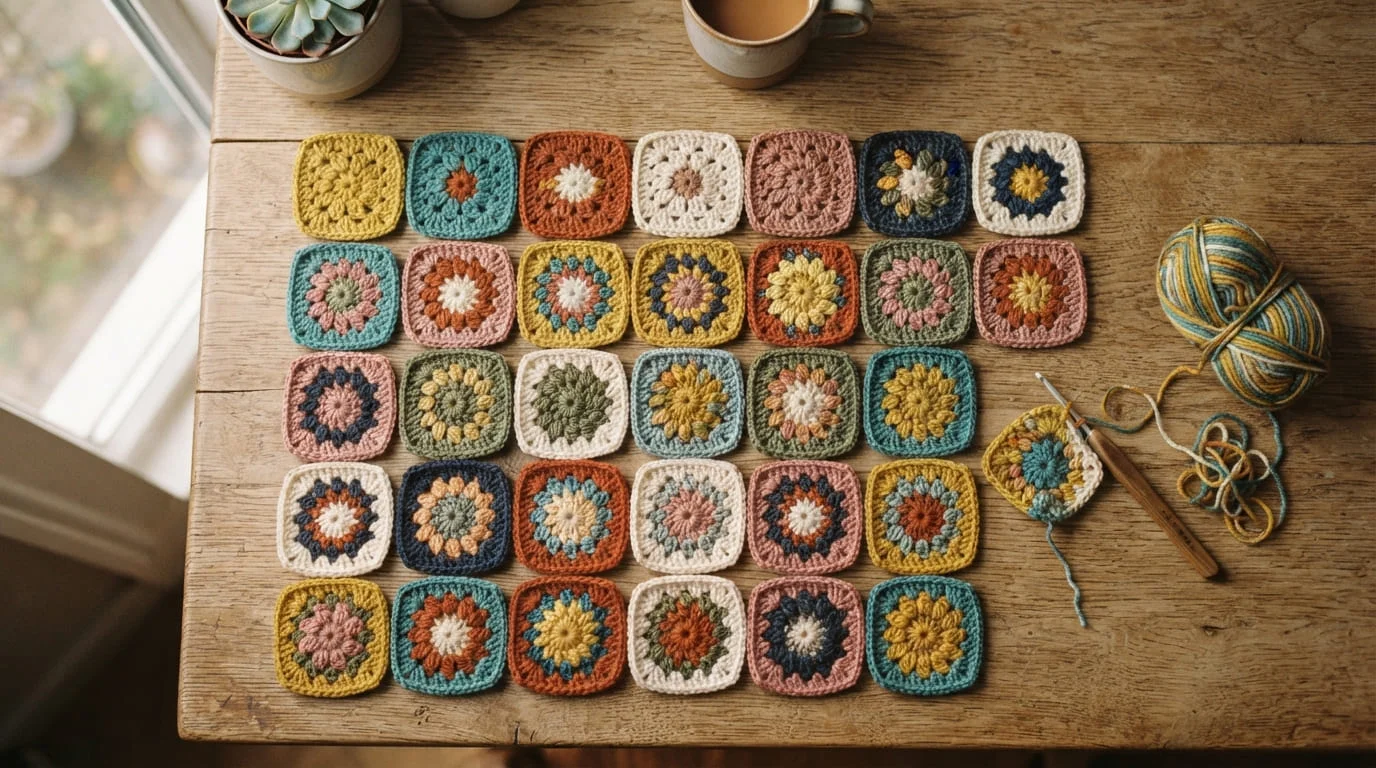
There’s something deeply satisfying about turning a pile of small, colorful squares into a cardigan you actually wear out the door. If you’ve ever scrolled past a granny square cardigan online and thought “I could never make that,” this guide is here to change your mind. The truth is, this project breaks down into small, repeatable steps that any beginner can follow — no complicated shaping, no scary garment math, just squares joined together in the right order.
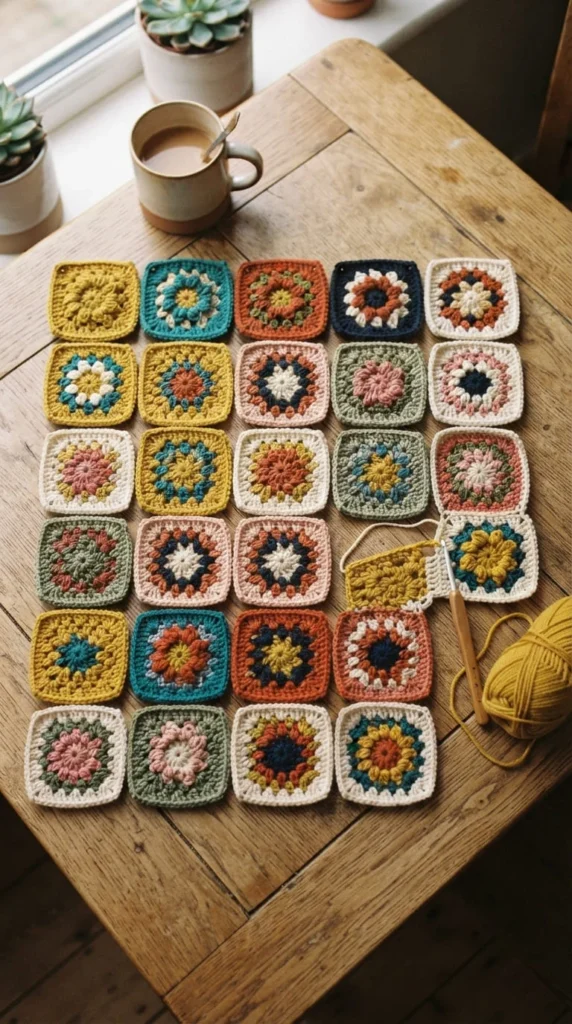
By the end of this guide, you’ll know exactly how many squares to make, how to join them without ending up with lumpy seams, and how to finish the edges so your cardigan looks polished instead of homemade in a bad way. Let’s get into it.
Why Granny Square Cardigans Are Perfect for Beginners
Most sweater patterns ask you to shape sleeves, calculate increases, and follow a schematic that looks more like a math worksheet than a craft project. A granny square cardigan skips almost all of that.
Instead, you make one small square at a time. Each square uses the same simple repeat, and once you’ve made two or three, your hands basically know what to do without thinking too hard about it.
That means:
- No complicated shaping or garment math
- Mistakes stay contained to one square, not the whole project
- You can work on it in short sessions instead of long, uninterrupted stretches
- It’s easy to pause for weeks and pick back up without losing your place
Step 1: Choose Your Yarn and Hook
Worsted or DK weight yarn in a solid color is the easiest starting point. Solid colors make it simple to see your stitches clearly, which matters a lot when you’re still getting comfortable with counting.
A 5mm or 5.5mm hook usually pairs well with worsted weight yarn, but always check the yarn label for a suggested hook size and adjust based on your own tension.
If you want a super-fast finish, a chunky yarn with a larger hook works too — you’ll just need fewer, bigger squares to reach the same finished size.
Step 2: Figure Out How Many Squares You Need
This step trips up a lot of beginners, so here’s the simple version. Most cardigan patterns are built around a target square count that scales with size, roughly:
- XS/S: around 48 squares
- M/L: around 60–72 squares
- XL–4XL: around 72–84 squares
- 5XL: up to 96 squares
These numbers shift depending on your square size and the specific pattern you’re following, so treat them as a starting reference rather than a fixed rule. If you’re working from a written pattern, it will usually give you an exact count — follow that instead.
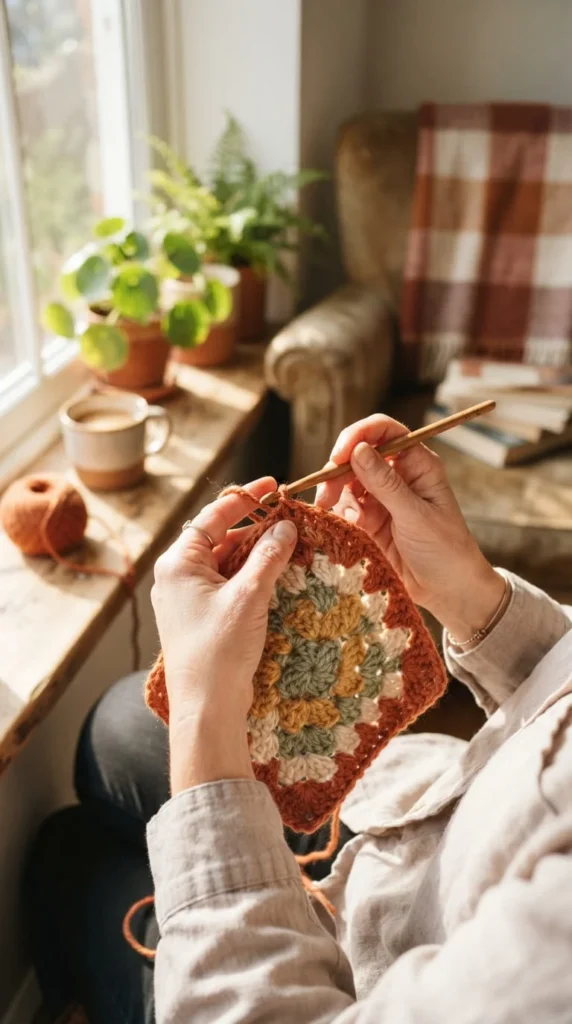
Step 3: Make Your Squares
Work your squares in batches rather than trying to make them all in one sitting. Twenty minutes here and there adds up faster than you’d expect.
A few habits that make a real difference later:
- Keep your row count identical across every square
- Weave in ends as you finish each square instead of leaving them for later
- Set squares aside in a basket or bag so they don’t get stretched out of shape
Consistency matters more than speed here. A pile of evenly sized squares is much easier to work with than a mismatched stack you have to fix later.
Step 4: Block Your Squares Before Joining
Blocking means gently wetting or steaming your squares, pinning them to the exact same size, and letting them dry flat. It sounds like an extra step you could skip, but it genuinely changes how your finished cardigan turns out.
Squares that haven’t been blocked are almost never perfectly uniform, even if you counted every stitch correctly. Joining unblocked squares often leads to wavy seams and a cardigan that doesn’t hang evenly.
Block every square to the same measurement before you join anything. It’s a little tedious, but it’s the single biggest factor in getting a clean, professional-looking result.
Step 5: Lay Out Your Color Plan
Before joining a single square, spread everything out on a bed or floor in the shape of the cardigan — two front panels, a back panel, and two sleeve strips.
This is your chance to catch color clumping before it becomes permanent. Step back, take a photo, and look for spots where the same color bunches together instead of spreading out evenly.
Number your layout on paper or in your photo if it helps, especially if you’re working across several days.
Step 6: Join the Squares
For beginners, whip stitch is the most forgiving join. It’s simple, secure, and hides reasonably well once you get the hang of even tension.
If you want a flatter, more subtle seam, try a slip stitch join through the back loops. For an almost invisible finish, mattress stitch takes more practice but gives a boutique-quality result.
Whichever method you choose, join your front and back panels at the shoulders first, then attach the sleeve strips, pinning them in place and easing any small differences before you sew.
Step 7: Add Ribbing and a Button Band
Ribbed edging at the cuffs, hem, and front opening gives your cardigan a finished, ready-to-wear look. Work this in back-loop-only rows for that classic stretchy ribbed texture.
For the button band, space your buttonholes evenly by marking their positions with scrap yarn first, then crochet the band with small gaps at each marked spot.
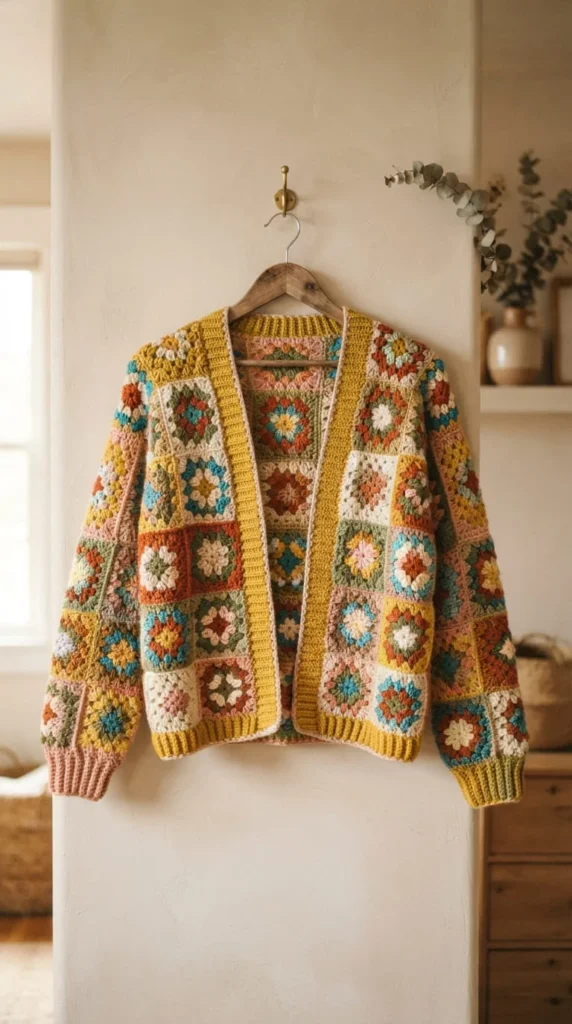
Final Tips Before You Start
- Wash a test square first if you’re using a new yarn, so you know how it behaves before committing to the whole project.
- Keep a small notebook of your square count, hook size, and color plan — it makes future projects so much faster.
- Don’t rush the blocking step. It’s the difference between a cardigan that looks handmade in the best way and one that looks unfinished.
A granny square cardigan isn’t a quick project, but it’s an honest one. Every square you make gets you closer to something you’ll actually wear, not just something that sits in a project bag. Save this guide for later and try these steps when you’re ready to pick up your hook.