
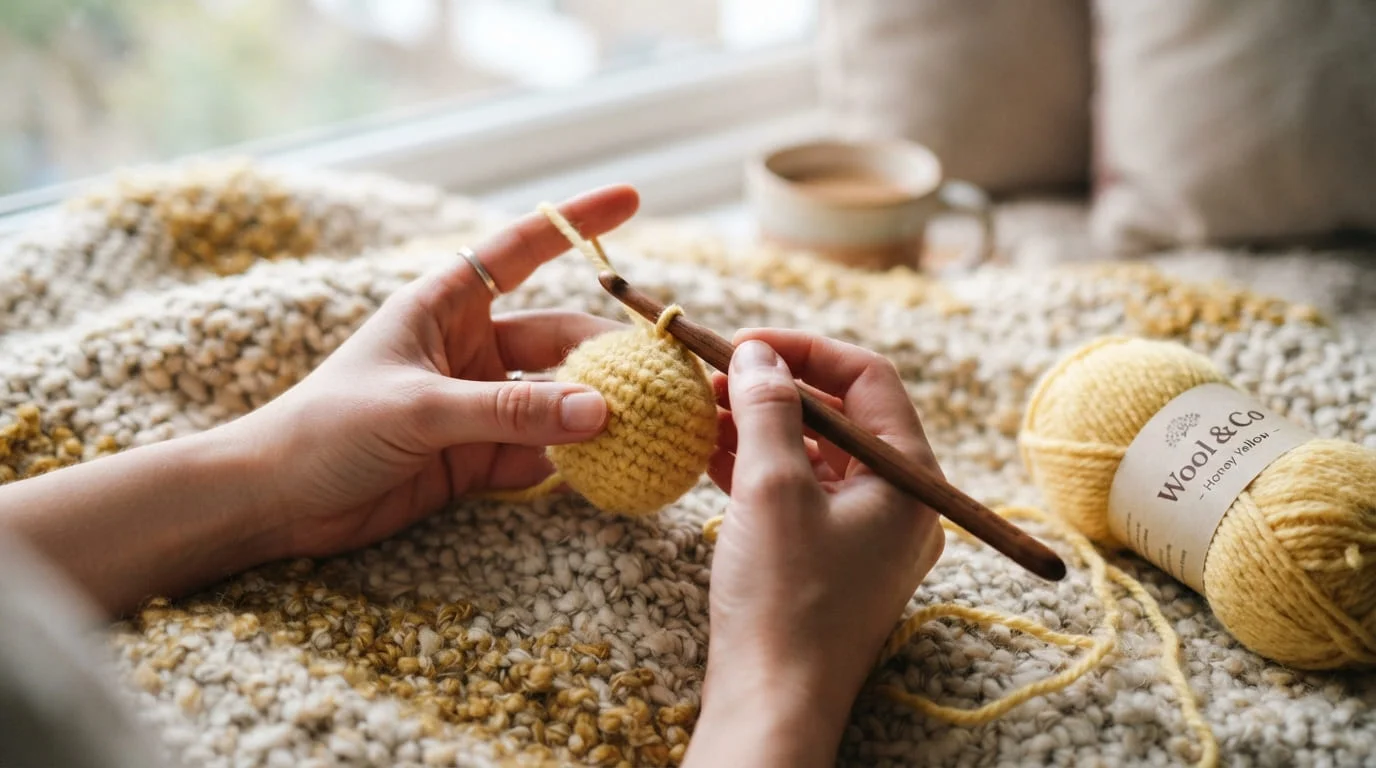
If you’ve ever seen a tiny crochet bear and thought “I could never make that,” I promise you’re wrong. Amigurumi looks fancy, but it’s really just a few simple stitches worked in a circle, over and over. Once you learn the magic ring, one stitch, and how to shrink your circle back down, you can make almost anything.
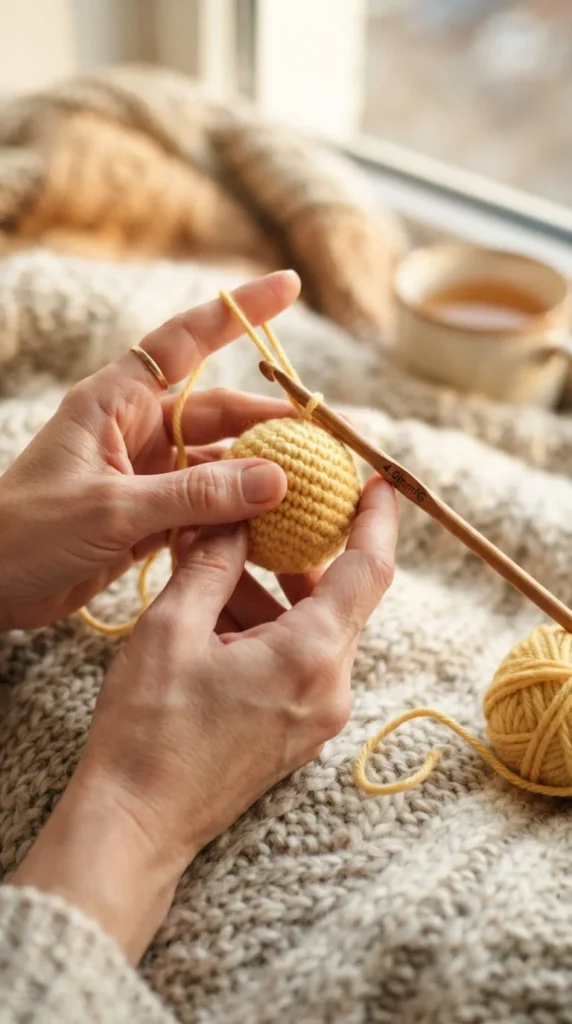
This guide walks you through your very first amigurumi project, a simple ball, using it to teach every core skill you’ll need. Grab your hook and let’s get started.
What You’ll Need
- A small ball of worsted-weight yarn (any color, any brand)
- A 3.5–4mm crochet hook
- A stitch marker (or a small scrap of contrasting yarn)
- Polyester stuffing
- A yarn needle for weaving in ends
Budget tip: you don’t need special “amigurumi yarn.” Any smooth, medium-weight yarn from your stash works just fine for practicing.
Step 1: Master the Magic Ring
The magic ring (also called a magic circle) is how almost every amigurumi project begins. It creates a closed loop you can crochet into and then tighten, leaving no hole at the center.
- Wrap the yarn around two fingers to form a loop
- Pull a bit of yarn through the loop with your hook
- Chain one to lock it in place
- Crochet your first round of stitches directly into the ring
Don’t worry if it feels awkward the first few times. If it’s not clicking, there’s an easier backup: chain two, then work your first stitches into the second chain from the hook. It’s a totally valid alternative and a lot of tutorials use it.
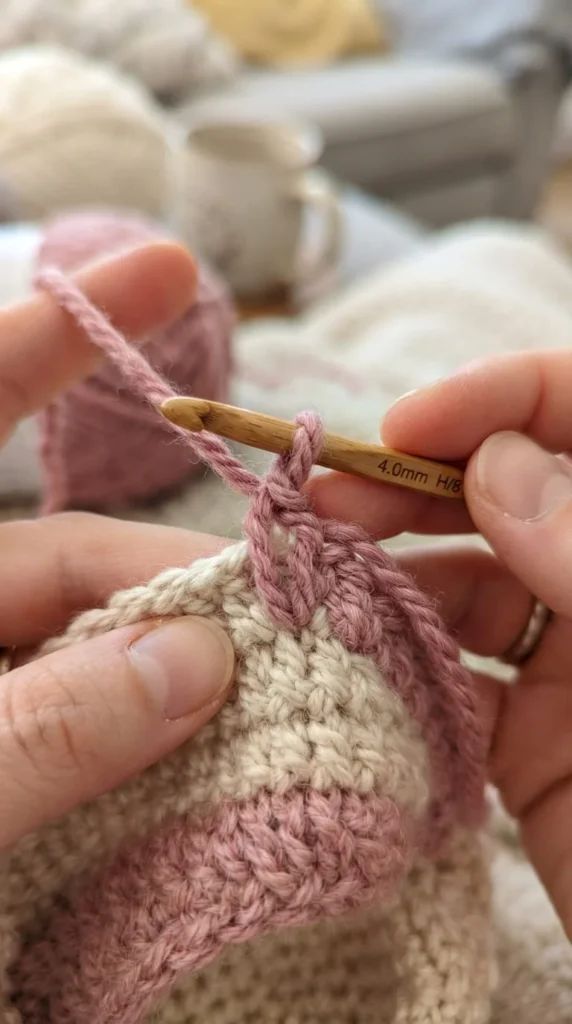
Step 2: Work Your First Round
Most amigurumi patterns start the exact same way: six single crochets into the magic ring. Pull the tail to close the loop, and you’ve got a tiny flat circle.
- Round 1: 6 single crochet (6 stitches total)
- Round 2: increase in every stitch (12 stitches)
- Round 3: [single crochet, increase] repeated 6 times (18 stitches)
This is called pattern reading, and it looks confusing at first, but it’s just shorthand. The brackets tell you what to repeat, and the number after “×” tells you how many times.
Tip: drop a stitch marker into your very first stitch of each round. Amigurumi is worked in a continuous spiral, not joined rounds, so it’s shockingly easy to lose track of where a round starts.
Step 3: Shape Your Ball
Once your circle is wide enough, work a few rounds “even,” meaning one single crochet in every stitch with no increases or decreases. This grows the sides of your ball.
Then start decreasing to close the shape back up:
- Use a regular decrease (sc2tog) or an invisible decrease for a cleaner look
- Space your decreases evenly around the round, just like you did with increases
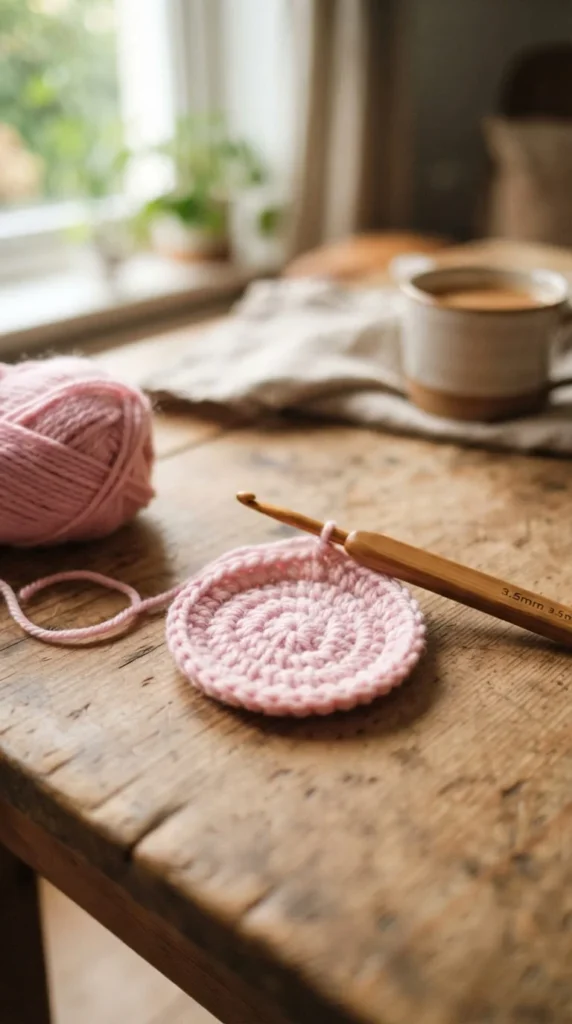
Why tension matters: amigurumi stitches should be tighter than regular crochet. If your stitches are loose, the white stuffing will peek through the gaps. If that happens, try dropping down to a smaller hook.
Step 4: Stuff as You Go
Here’s a mistake almost every beginner makes: waiting until the very last second to stuff. Instead:
- Add stuffing gradually as the opening gets smaller
- Use small pinches rather than one big handful
- Check that the shape looks even and round from all sides before closing completely
Stuffing early makes it much easier to get a smooth, evenly rounded shape instead of a lumpy one.
Step 5: Close the Hole and Finish
When you’ve decreased down to just a few stitches:
- Cut your yarn, leaving a 6-inch tail
- Pull the tail through the remaining stitches like a drawstring
- Pull tight to close the hole completely
- Weave the tail through the fabric to hide it, then trim
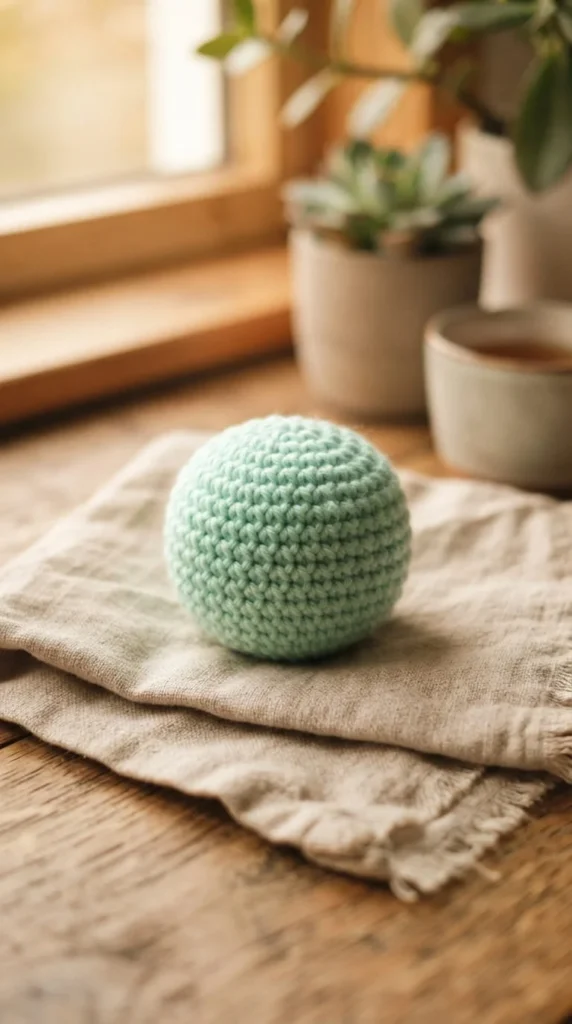
Congratulations — you just finished your first amigurumi piece, and along the way you learned the exact skills used in almost every pattern out there: magic ring, increases, decreases, stitch counting, stuffing, and closing.
A Quick Note on Safety
If you’re planning to add plastic safety eyes for a face, save that step for later projects meant for older kids or adults. For toys intended for children under three, skip safety eyes altogether and use embroidered features instead, since the plastic washers can be a choking risk.
What to Make Next
Once your ball feels easy, you’re ready to try:
- A simple round bee or chick (same shaping, just add small pieces)
- A no-sew frog or turtle (limbs worked in as you go)
- A tiny keychain-sized animal using thinner yarn
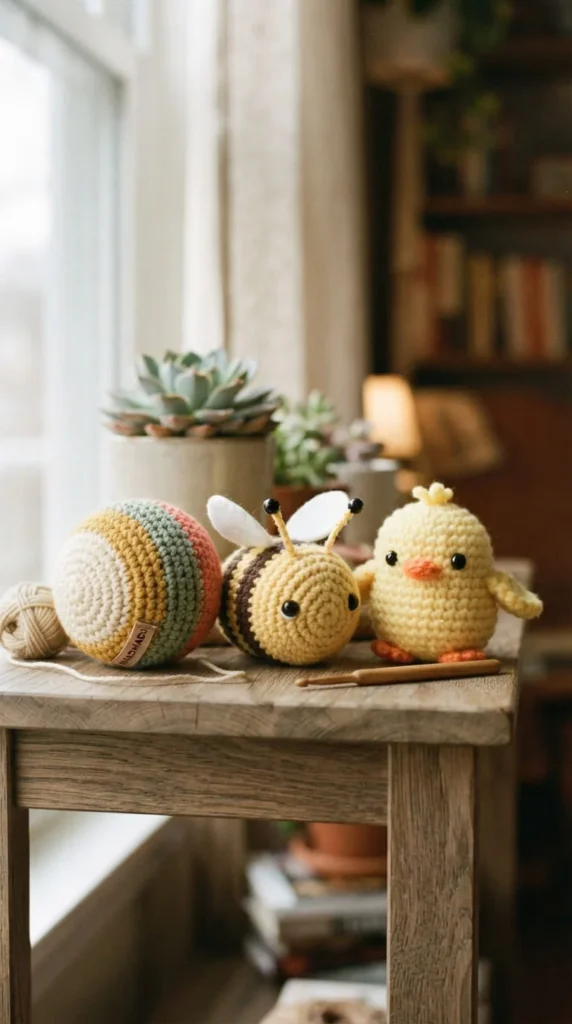
Every single one of these builds on the exact steps you just practiced. The hardest part of amigurumi isn’t the stitches, it’s just getting started.
Save this guide for later, grab a small ball of yarn tonight, and make your first amigurumi ball this week. Once you finish one, you won’t want to stop.