
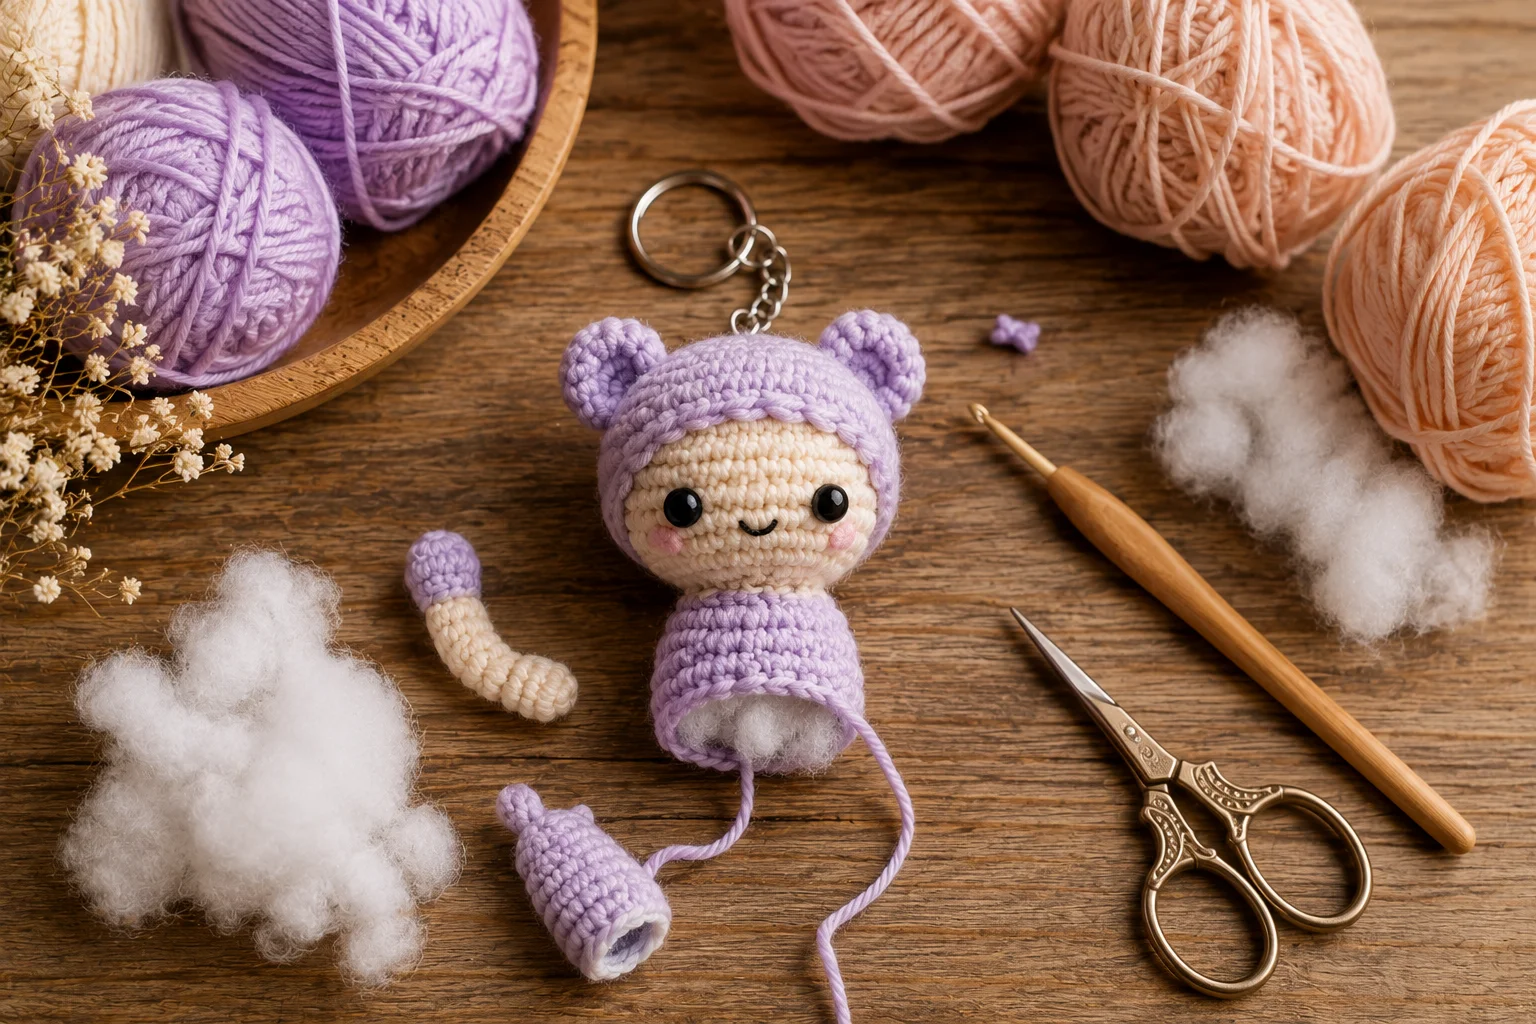
There’s a special kind of joy in finishing a tiny crochet project in under an hour and clipping it straight onto your bag or keys. Amigurumi keychains are the perfect entry point into the world of crochet toys — small enough to finish quickly, simple enough for a true beginner, and cute enough that you’ll want to make a whole collection.
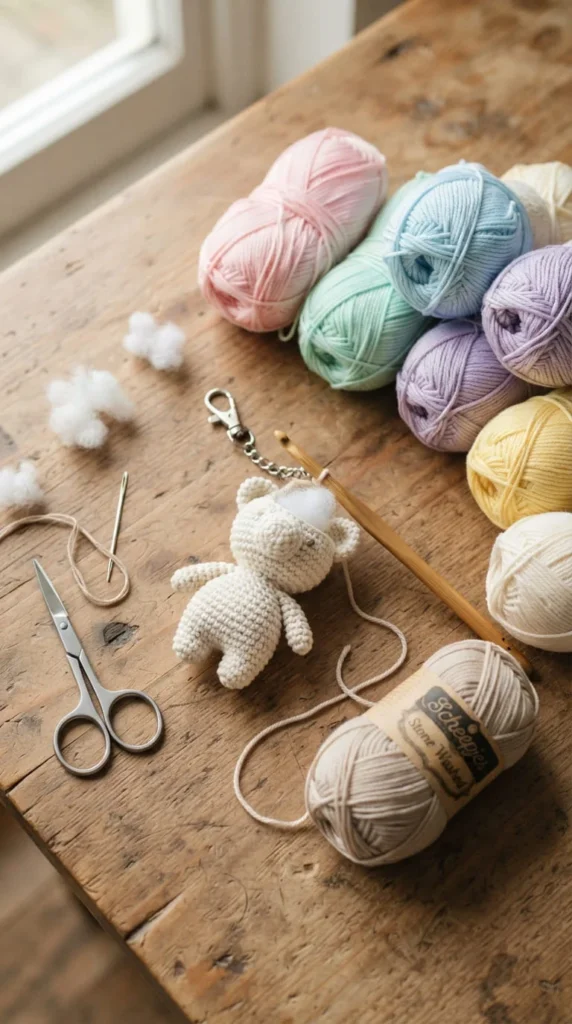
If you’ve ever wanted to try amigurumi but felt intimidated by bigger plush toys, a keychain is the ideal starting project. This guide walks you through everything you need, step by step, so you can make your very first one with confidence.
What You’ll Need Before You Start
You don’t need a huge stash of supplies to get started. Here’s the basic kit most beginner-friendly keychain patterns call for:
- A small ball of cotton yarn (4-ply or “milk cotton” works best for crisp, tight stitches)
- A 2.0–3.0mm crochet hook
- Polyester fiberfill for stuffing
- Safety eyes, sized around 6mm for most keychains
- A yarn needle for sewing pieces together
- A stitch marker to track your rounds
- A metal keychain ring or lobster clasp
Cotton yarn is worth highlighting here. Because amigurumi pieces are stuffed, you want a yarn that holds its shape and keeps your stitches tight enough that the stuffing doesn’t peek through. Fluffier yarns like chenille look adorable but are trickier to control as a beginner, so save those for once you’ve got a few keychains under your belt.
Learn the Basic Stitches First
Almost every amigurumi pattern relies on the same handful of techniques, so once you learn them, you can make dozens of different designs. The core stitches are:
- Magic ring (MR) – how nearly every amigurumi piece begins
- Single crochet (sc) – the main stitch used throughout
- Increase (inc) – adds stitches to shape rounded parts
- Decrease (dec) – removes stitches to close up a piece
- Slip stitch (slst) – used to finish off rounds
You’ll see these abbreviated in almost every pattern you read, so it helps to keep a small cheat sheet nearby while you’re learning. Once “mr, sc, inc, dec” starts to feel familiar, reading patterns gets a lot less confusing.
Step-by-Step: Crocheting Your First Keychain
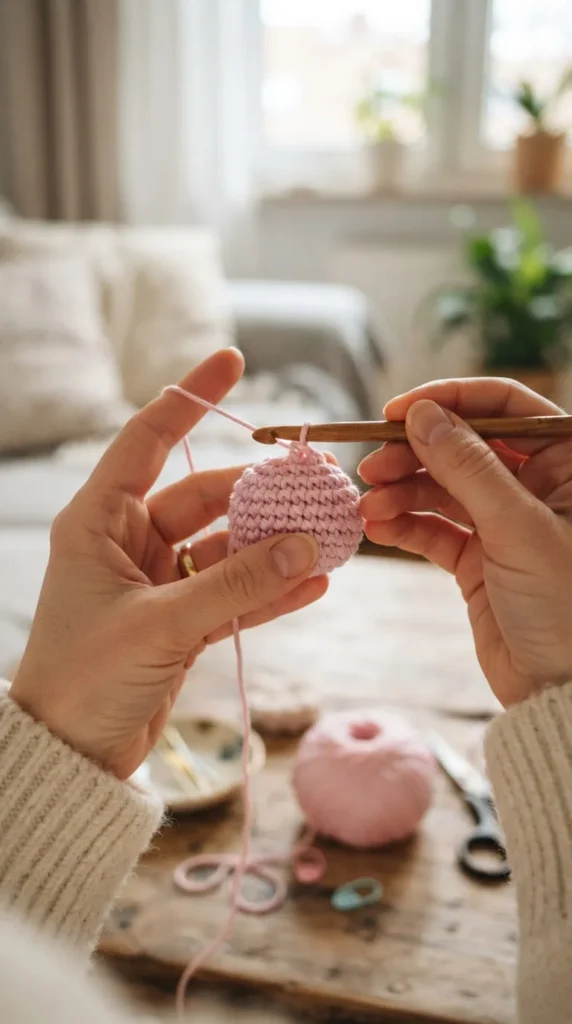
Here’s a simple structure you can follow for almost any small amigurumi keychain, whether it’s an animal, a food shape, or something more abstract.
1. Start with a magic ring. Crochet 6 single crochets into the ring and pull it tight to close the center.
2. Build the round shape. Increase evenly for a couple of rounds to widen the piece, then work even rounds (no increases) to build the body up to your desired size.
3. Start decreasing. Once your piece is big enough, begin decreasing evenly around each round to close the shape back up, just like you opened it.
4. Stuff as you go. Add small pinches of fiberfill gradually rather than one big handful at the end — this helps you avoid lumps and keeps the stitches even.
5. Attach the safety eyes. Insert them before you finish closing the piece completely, since it’s much easier to position them while there’s still an opening to work through.
6. Close and weave in ends. Use your yarn needle to close the final gap and hide any loose yarn tails inside the stuffing.
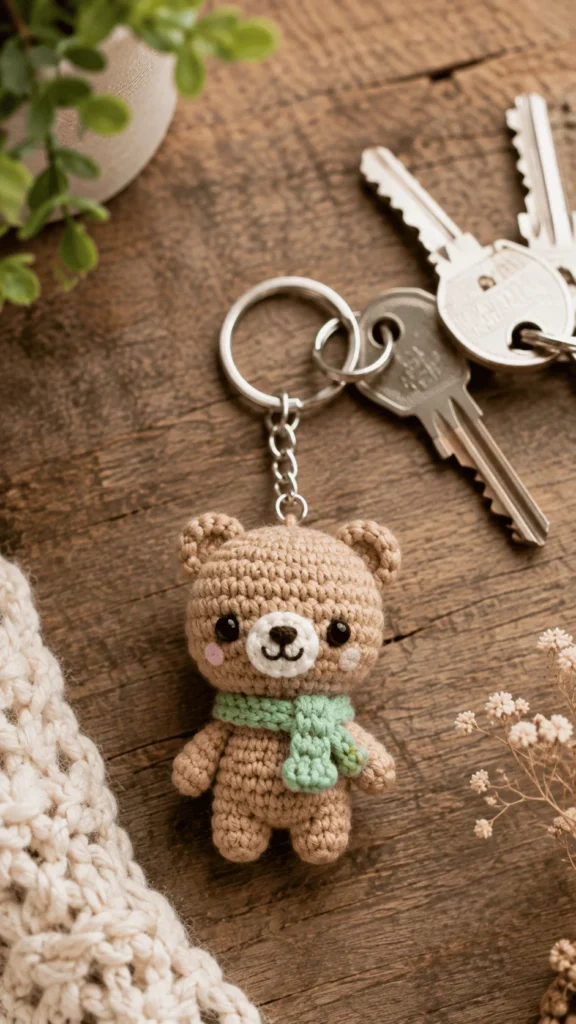
7. Add the keychain hardware. Sew a small loop of yarn or attach a jump ring to the top of your finished piece, then clip on your keychain ring.
Common Beginner Mistakes (and How to Fix Them)
A few small issues trip up almost everyone in their first few projects:
- Gaps between stitches — Usually caused by loose tension or too big a hook for your yarn weight. Try sizing down your hook slightly.
- Losing count of rounds — Keep a stitch marker in the first stitch of every round so you always know where you started.
- Lumpy stuffing — Add small amounts at a time instead of stuffing all at once, and gently shape it as you go.
- Uneven shaping — This often comes from missing an increase or decrease. Count your stitches at the end of each round until it becomes second nature.
None of these mistakes mean you’re bad at crochet — they’re simply part of learning, and they get easier to avoid with every project you finish.
Fun Ideas Once You’ve Mastered the Basics
Once your first keychain is done, the real fun begins. Try branching out into:
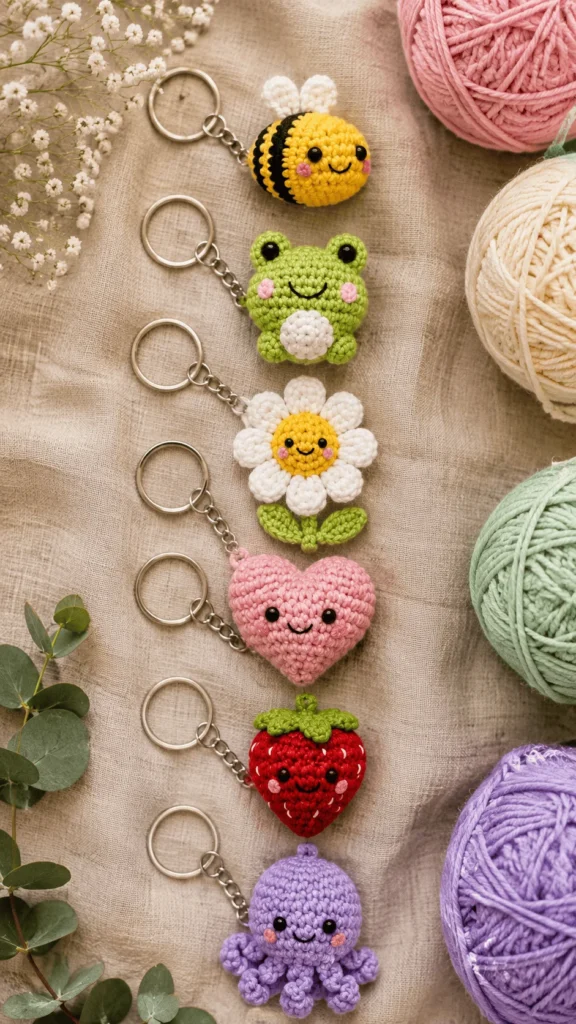
- Animal faces like cats, owls, or bunnies
- Food-inspired designs like strawberries or mushrooms
- Seasonal shapes for holidays and gifts
- Personalized color combinations for friends and family
Final Thoughts
Crocheting your first amigurumi keychain is one of the most satisfying ways to start (or restart) your crochet journey. It’s quick, low-pressure, and gives you a genuinely useful, giftable result in just one sitting. Once you’ve got the basic shape down, you’ll find yourself wanting to make one in every color and character you can think of.
Save this guide for later and try your first amigurumi keychain when you’re ready — your keys are waiting for a little extra personality.