
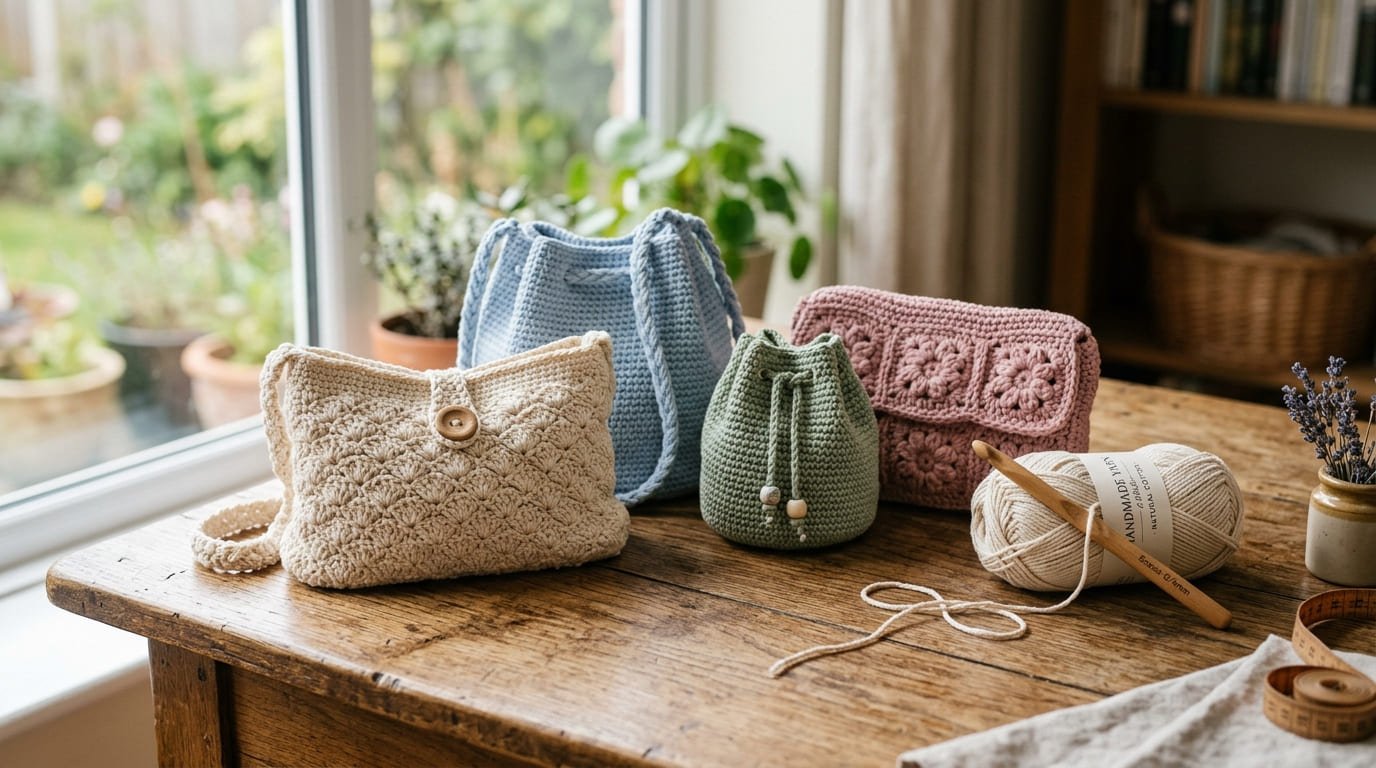
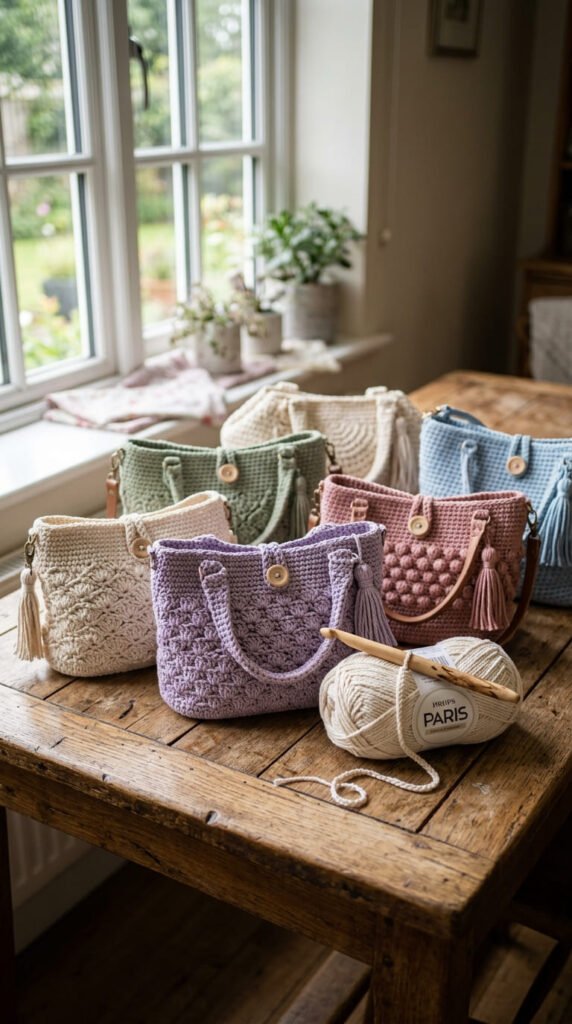
Starting a crochet purse for beginners doesn’t require years of practice or a drawer full of specialty tools. Most of the projects that look the most expensive when finished actually rely on the same handful of stitches — chains, single crochet, half double crochet, and double crochet — worked with sturdy cotton yarn or cord. What changes the final look is the shape, the hardware, and the little finishing touches like a clean strap or a well-seamed edge. This list walks through fifteen-plus purse ideas that are genuinely approachable for a first or second project, along with the yarn, hook, and construction choices that make each one hold its shape and look polished rather than homemade in the wrong way.
1. The Click-Clack Coin Purse That Teaches You Frame Assembly
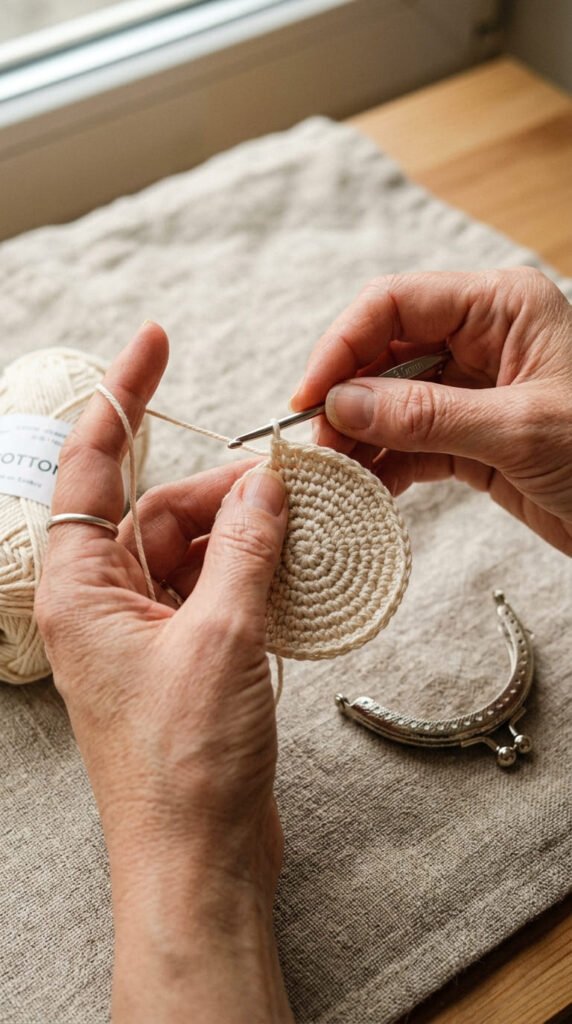
A metal-frame coin purse is one of the best true first projects because it’s small enough to finish in an afternoon but still teaches a skill you’ll reuse forever: attaching fabric or crochet to hardware. The body is usually just a small oval or circle worked in single crochet, so there’s no shaping to worry about.
The part that intimidates beginners — sewing the crochet piece into the metal frame — is simpler than it looks. Most frames come with pre-drilled holes, and a whip stitch around the frame edge with matching thread is all that’s needed.
What makes this project worth doing first:
- Uses under 50 grams of cotton yarn, so it’s a great stash-buster
- The click-clack closure feels satisfying and looks store-bought
- Small enough to finish before losing motivation
Once you’ve made one, you’ll understand frame-purse construction well enough to size up to a full clutch. Try a two-tone version — solid color for the body, a contrasting rim — to make it look more considered than a plain single-color piece.
2. A Character Coin Purse for Practicing Face Details
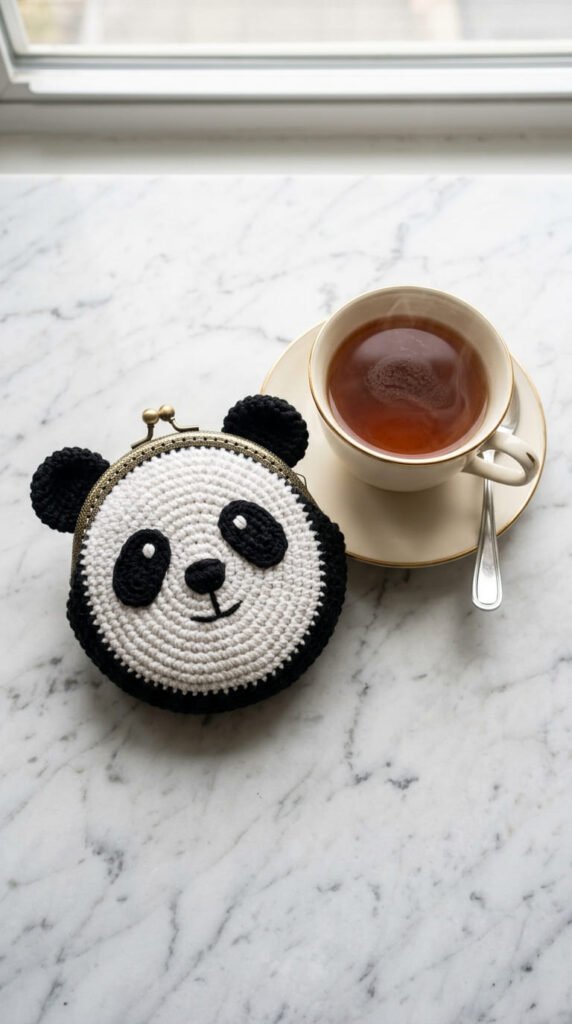
Character purses — the ones shaped like a panda, a bear, or a cat face — look far more advanced than they actually are. The body is still a simple round or oval base. What changes is the addition of two small circles for ears and basic embroidery or appliqué shapes for the eyes and nose.
This is a good second project after a plain coin purse because it introduces a new skill without changing the core technique: attaching small pieces neatly. Use a tapestry needle and matching yarn to sew the ears on before you close up the sides, not after, so the seam stays hidden.
Tips for a clean result:
- Stuff the ears lightly with scrap yarn so they hold shape instead of flattening
- Use safety eyes or felt for the face instead of freehand embroidery if you’re not confident with a needle
- Keep the color palette to two or three shades so the face reads clearly
These make excellent gifts for kids or as small items to sell at a craft fair, since they photograph well and cost very little in materials.
3. The Mesh Bag That Uses Only Two Stitches
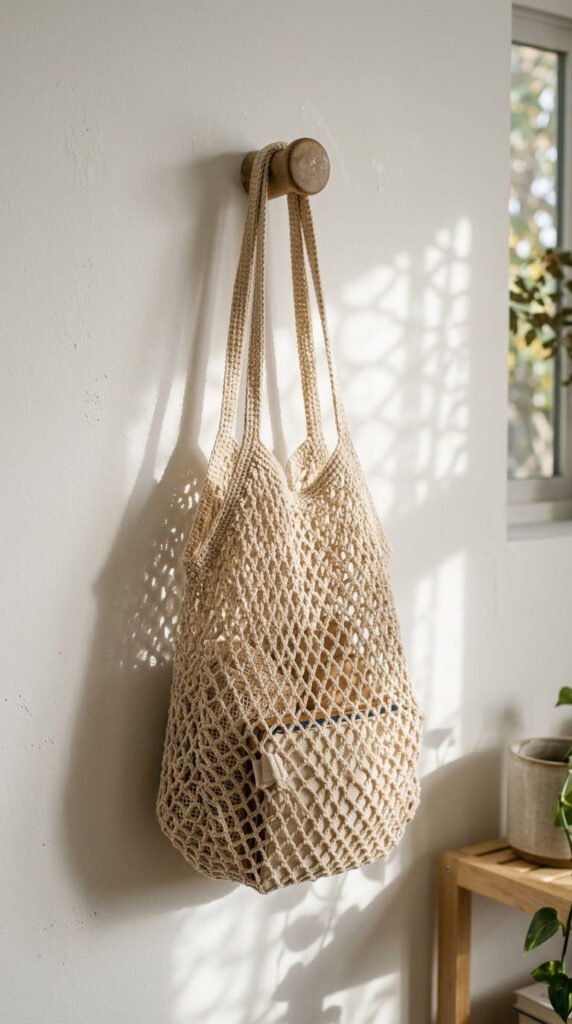
If you’ve been avoiding purse patterns because the stitch charts look complicated, the mesh bag is the antidote. It’s built entirely from chains and double crochet worked in the round, creating an open, lattice-like fabric that looks far more technical than it is.
Because the stitch pattern repeats every row, you don’t need to count as carefully as you would with a solid-fabric bag — the open spaces make mistakes easy to spot and fix before you’ve gone too far.
Why this project works well for a first “real” bag:
- The pattern can be finished in a single evening for most crocheters
- Mesh fabric is naturally forgiving of slightly uneven tension
- It pairs well with a simple drawstring or a single crocheted strap, so there’s no lining or zipper to install
For structure, use a firm cotton rather than an acrylic blend — acrylic mesh tends to sag and lose its shape once you start carrying things in it. A short strap turns it into a crossbody; a longer one makes it a shoulder bag.
4. A Granny Square Purse for Scrap Yarn Lovers
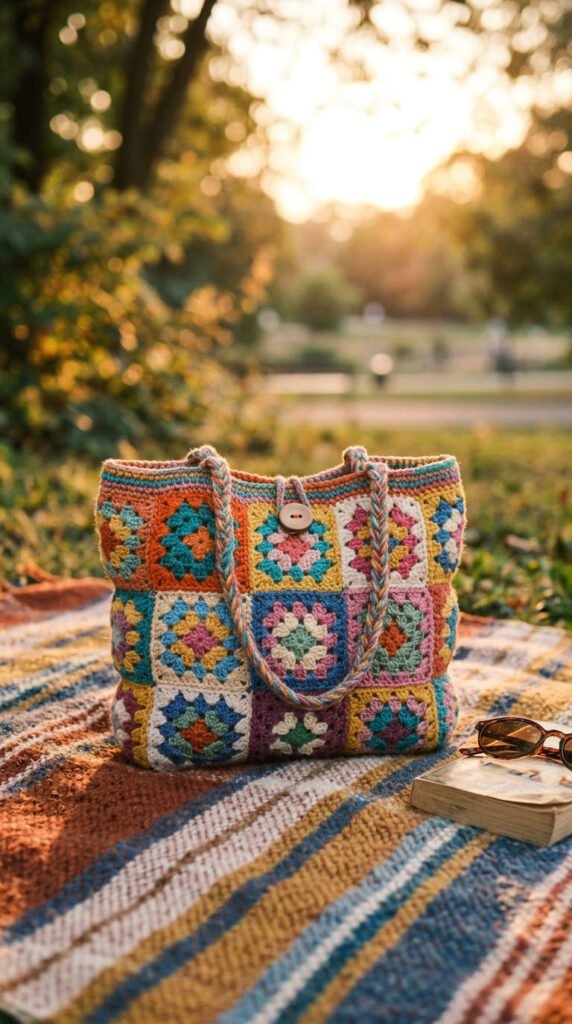
Granny squares are usually associated with blankets, but scaled down they make an excellent beginner purse — and they solve the “what do I do with all these yarn scraps” problem at the same time. Each square is worked flat and individually, so there’s no risk of a large project going wrong halfway through.
Four to six squares sewn together into a rectangle, folded and seamed up the sides, gives you a structured little bag with almost no shaping decisions to make. This also means you can practice color combinations square by square before committing to a full design.
Practical notes:
- Block each square before sewing them together so the edges line up cleanly
- Use a whip stitch or mattress stitch on the wrong side for an invisible seam
- Add a fabric lining if your yarn is loosely spun, since granny-square fabric has natural gaps
This is also one of the easiest purse styles to resize. Add more squares for a larger tote, or use a single square folded in half for a mini clutch.
5. A Drawstring Boho Bag Built Around the Strap
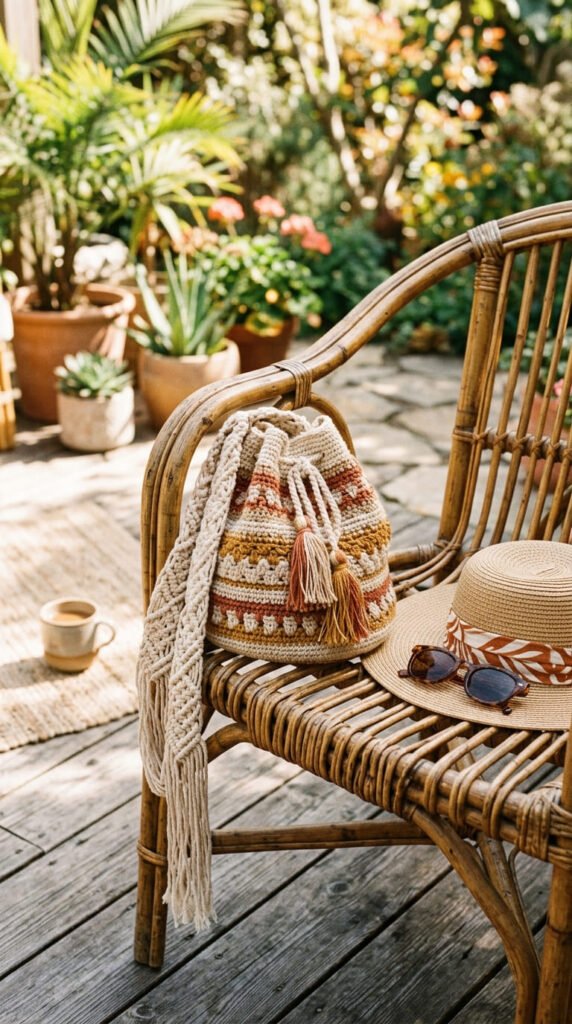
Some purses are designed around the body; this one is designed around the strap. A drawstring boho bag starts with a simple round base worked in the round, but the character of the finished piece comes from a macramé cord or chunky cotton rope handle threaded through eyelet gaps near the top.
Because the drawstring closure replaces a zipper entirely, this is a good project if hardware installation feels intimidating. You’re relying on tension and knots instead of clasps.
How to make it look intentional rather than unfinished:
- Space the eyelet chain-spaces evenly around the top round so the drawstring gathers symmetrically
- Add wooden beads or tassels to the cord ends as a finishing detail
- Use a larger hook (5mm or above) than you would for a fitted bag, since drape matters more than tightness here
This style pairs naturally with the Korean-style handle look and the boho trend more broadly, and it’s forgiving enough that uneven rounds are barely noticeable once the bag is gathered shut.
6. A Tapestry Heart Purse for Practicing Colorwork
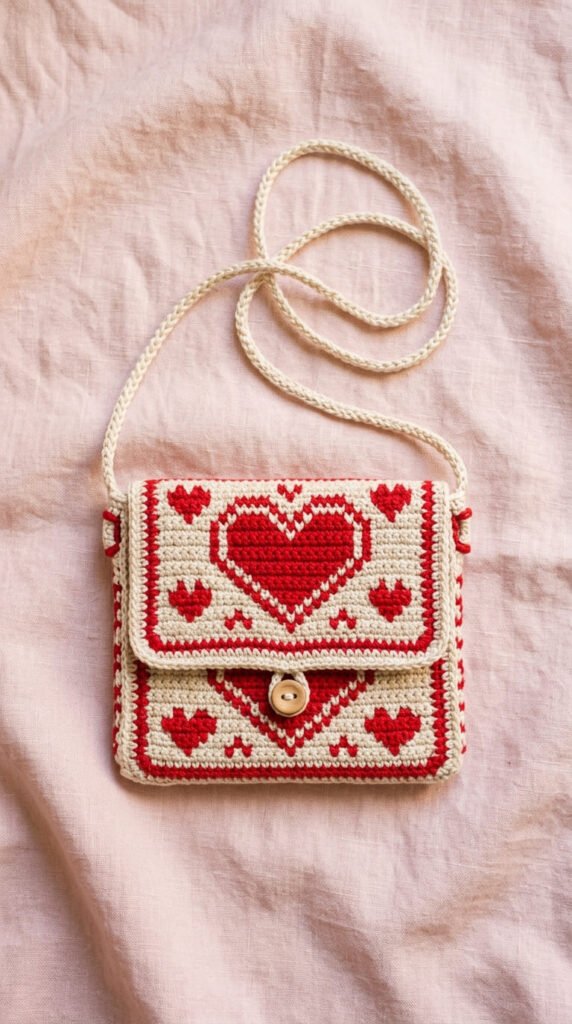
Tapestry or colorwork crochet sounds advanced, but a single heart motif on an otherwise plain purse front is a manageable way to try it for the first time. You’re carrying a second color across a handful of stitches per row, not managing an entire multicolor chart.
The rest of the purse — back panel, sides, strap — stays in a single color, so the colorwork stays contained and low-risk. If the heart comes out slightly uneven, it still reads as intentional and handmade rather than as a mistake.
A few things that make colorwork easier the first time:
- Carry the unused color loosely along the back of the work rather than cutting and rejoining each row
- Work with a firmer gauge than usual so the carried strands don’t show through
- Choose two colors with clear contrast, like cream and burgundy, so the motif reads clearly even if the tension isn’t perfect
Once you’re comfortable with a heart, the same carried-strand technique opens the door to stripes, initials, or simple geometric shapes on future bags.
7. A Rope Clutch That Stands Up on Its Own
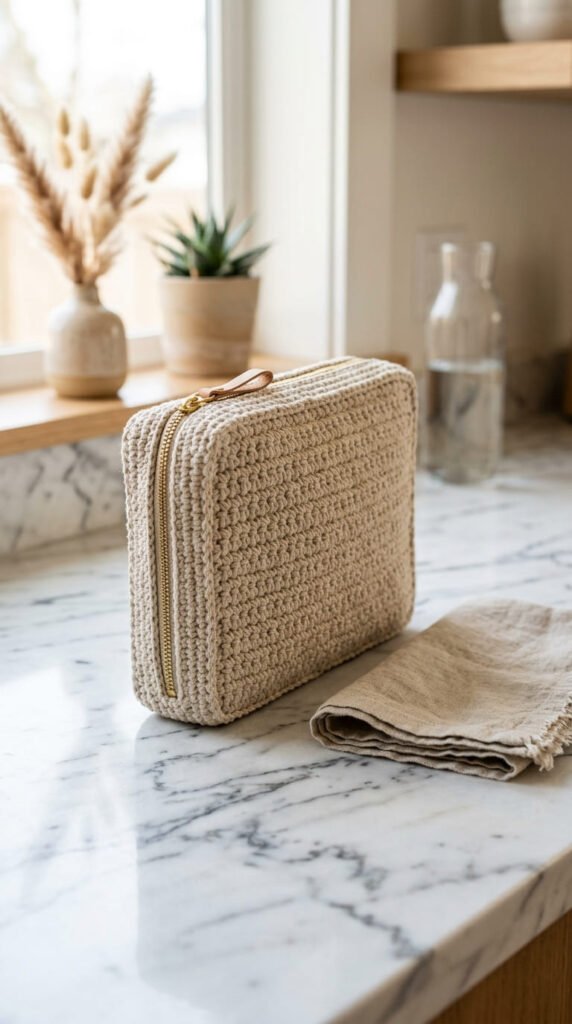
Most beginner crochet bags flop over because standard yarn doesn’t have enough body. Switching to cotton rope or cord solves that immediately — a clutch worked in rope holds its rectangular shape without any wire, interfacing, or stiffening spray.
Because rope is thicker, this project also works up fast. A clutch sized around 18 by 29 centimeters, which is a common benchmark in beginner patterns, can often be finished in one sitting using a 5mm or larger hook.
Construction pointers:
- Work the base as a flat rectangle in single crochet for maximum structure
- Fold and seam up two sides, leaving the top open for a zipper
- Hand-sew a plastic zipper into the opening rather than crocheting a flap closure, for a more polished finish
Rope clutches are a good next step after a coin purse because they introduce zipper installation without also asking you to manage shaping or a strap at the same time.
8. A Cotton Rope Market Tote for Everyday Carrying
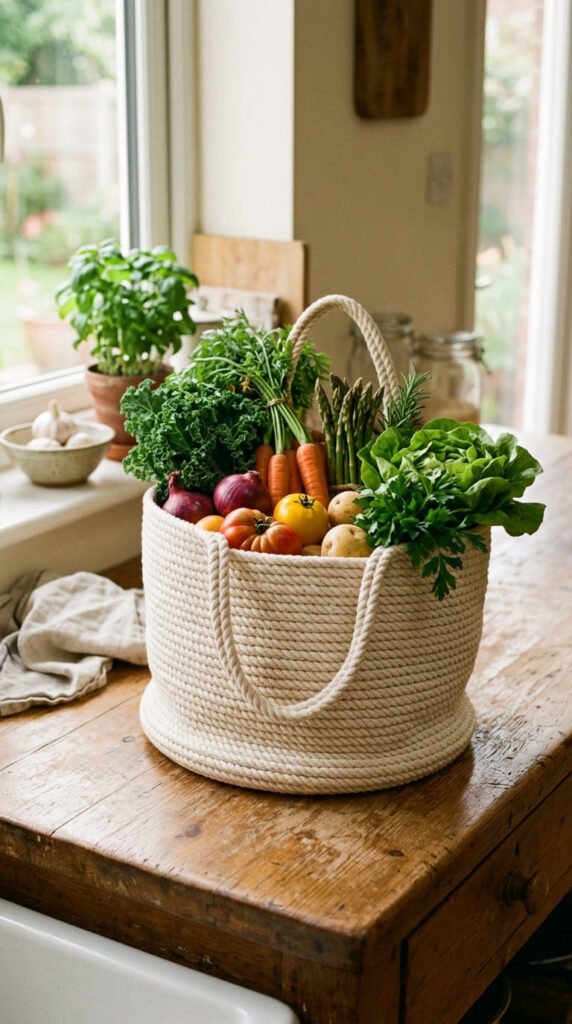
Not every beginner purse needs to be delicate. A market tote worked in cotton rope is durable enough for actual grocery runs, and the thicker material means the stitches themselves are easy to see and count — helpful if you’re still learning to read your own work.
The shaping is minimal: a flat or gently increased round base, straight sides worked in continuous rounds, and two short handles attached near the top. Because there’s no lining, no zipper, and no fitted shaping, this is closer to “practice project that happens to be useful” than a fashion piece.
Sizing guidance:
- A base around 30 centimeters across gives you a bag that can hold a reasonable grocery haul
- Handles around 20 to 25 centimeters keep the bag comfortable to carry by hand rather than over the shoulder
- Reinforce the handle attachment points with an extra round of stitches, since this is where market totes take the most stress
This is one of the more sustainable projects on this list, since a sturdy cotton tote genuinely replaces disposable shopping bags rather than sitting unused.
9. A Novelty Strawberry Purse for a Playful First Project
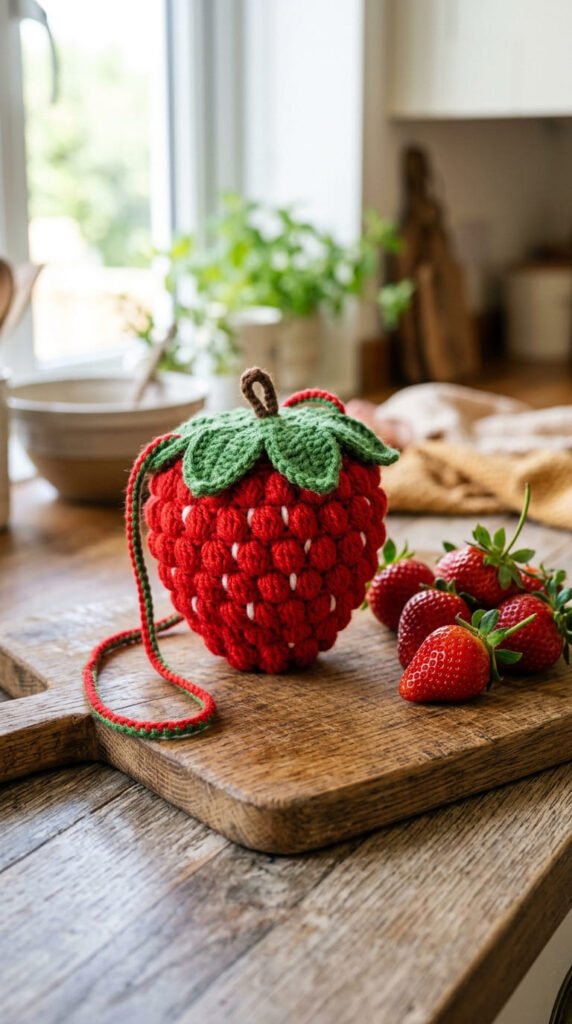
Shaped novelty purses look complicated because of their silhouette, but many are built from the same round-and-increase technique used in amigurumi, just scaled up and left open at the top. A strawberry shape, for example, starts as a simple increasing round base and finishes with a green leaf top sewn on separately.
The puff or bobble stitch texture that gives it a strawberry-seed look is repetitive rather than difficult — once you’ve worked one, the rest of the round follows the same pattern.
Why this is a good confidence-building project:
- The shape naturally hides minor tension inconsistencies
- Working in continuous rounds means no seaming until the very end
- It photographs well for craft sales or gifting even as a first attempt
These novelty shapes are worth trying once you’re past your very first coin purse but before tackling a fully structured tote — they bridge amigurumi-style shaping with functional purse construction.
10. A Half-Moon Bag for Practicing Curved Shaping
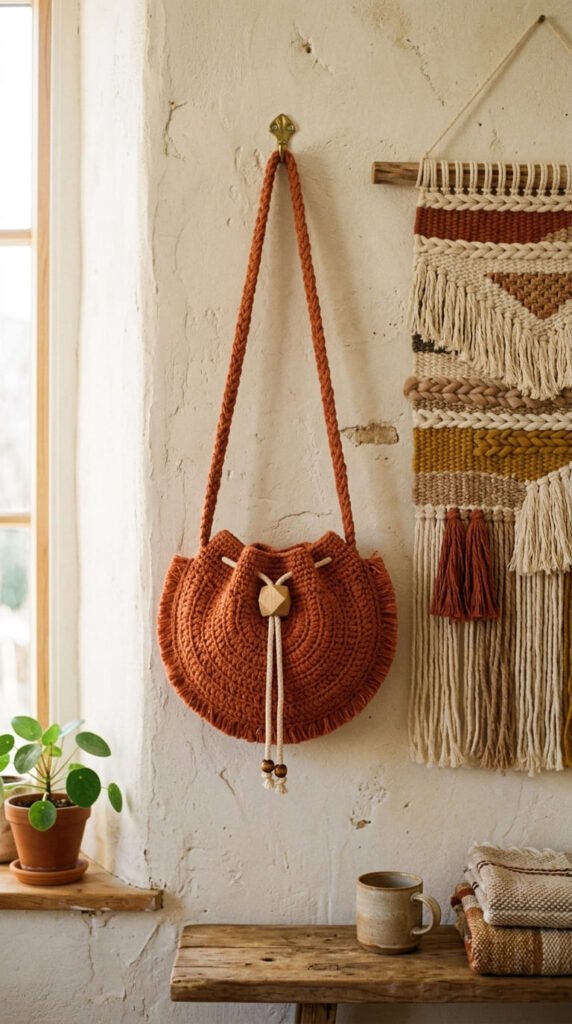
Curved silhouettes intimidate a lot of beginners because they assume curves require complicated shaping math. A half-moon purse is actually one of the simplest curved shapes to crochet — it’s just a semicircle worked flat, then folded and seamed along the straight edge.
The visual interest comes from the shape itself rather than from stitch complexity, which makes it a good project if you want something that looks distinctive without adding technical difficulty.
Steps that keep the curve even:
- Work the semicircle from the center point outward using regular increases, similar to starting a circular potholder
- Count your increases per row so the curve stays symmetrical rather than lopsided
- Add a drawstring or short handle at the flat top edge rather than trying to attach a curved zipper
Terracotta, rust, and warm neutral tones tend to suit this shape particularly well, which is part of why it shows up so often in boho-styled purse collections.
11. A Cherry Satchel for a Quick, Giftable Make
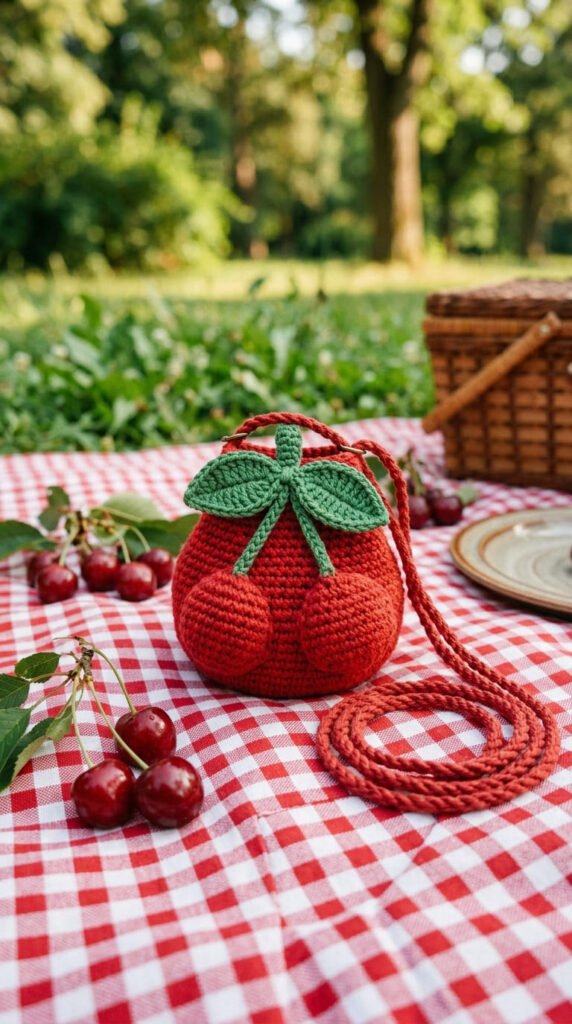
Fruit and food-shaped purses have become a reliable favorite because they’re small, fast, and instantly recognizable. A cherry satchel is really two small rounded pouches worked identically and joined at the top by a crocheted stem, with a thin cord threaded through as a strap.
Because both halves are worked from the same simple pattern, this project teaches you to repeat a motif accurately — a skill that carries over into matching sets like keychains or earrings later.
What to keep in mind:
- Stuff each cherry lightly before closing the top so it holds a rounded shape rather than collapsing flat
- Keep the stem short and slightly twisted for a more realistic look
- A slim cord strap suits this style better than a chunky one, since the purse itself is already visually busy
This is a strong option if you want to make several small gifts quickly, since each one uses very little yarn and can be finished in under two hours.
12. A Chain-Strap Crossbody for Learning Hardware Attachment
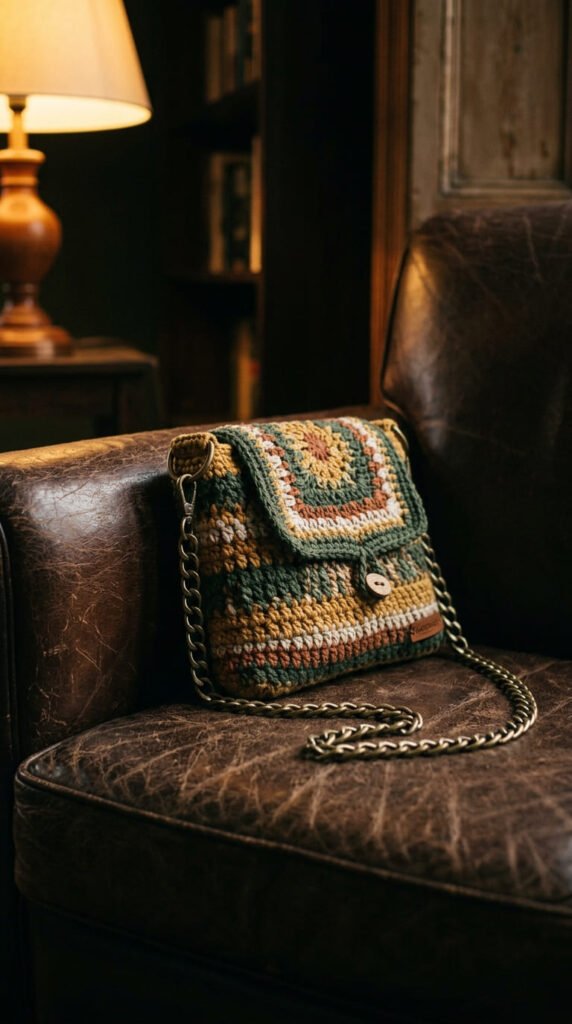
A metal chain strap is one of the fastest ways to make a plain crocheted body look finished and store-bought, but attaching it securely takes a little know-how. This project focuses on that one skill: crocheting sturdy connection points and clipping hardware to them without stressing the stitches.
Rather than sewing the chain directly into the fabric, work small connector loops — a short chain stitch tab reinforced with a few rounds of single crochet — at each side seam, then attach swivel clips to those tabs.
Why reinforced tabs matter:
- A chain looped through loose stitches will eventually pull them out of shape
- Reinforced tabs distribute the weight of the bag’s contents more evenly
- Swivel clips let you switch straps later without unpicking any stitches
Once you’ve built confidence attaching a chain strap, you can reuse the same tab technique for leather handles, rings, or any other hardware you want to add to future projects.
13. A Raffia-Style Beach Bag for Warm-Weather Carrying
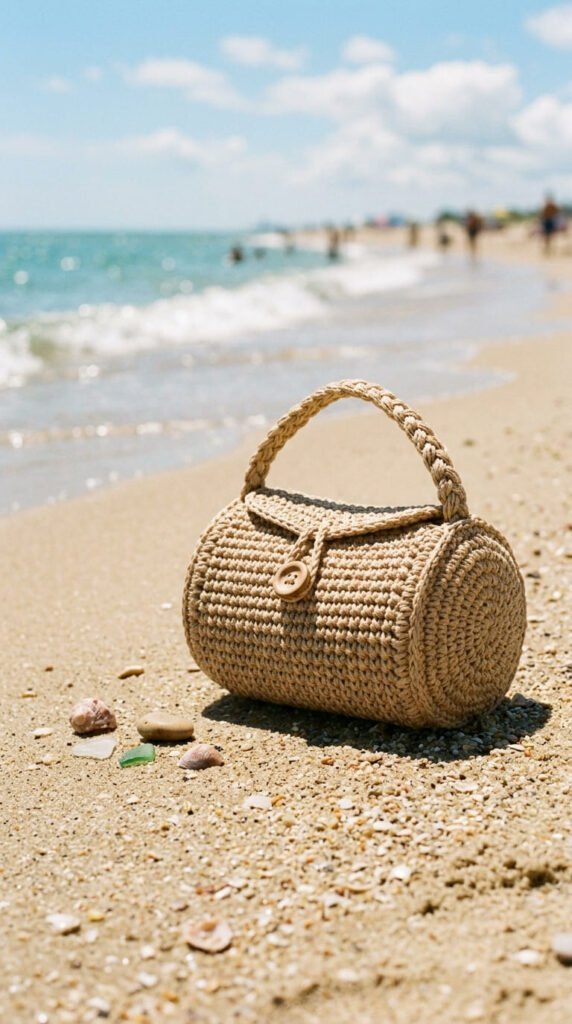
Raffia-style cotton yarns — the kind with a slightly rough, natural texture — have become a signature look for summer crochet bags. A rounded barrel-shaped tote worked in this yarn holds its shape well and suits an outdoor, vacation-ready look without needing any stiffening.
The barrel shape is worked much like a basic cylinder: a flat circular base, straight rounds up the sides, and a short handle or two attached near the top opening.
Tips specific to raffia-style yarn:
- It splits more easily than smooth cotton, so work with shorter lengths and check your hook grip often
- A slightly larger hook than the yarn label suggests gives the fabric a looser, more textured look that suits the raffia aesthetic
- Skip a lining — part of the appeal of this style is the visible texture of the stitches themselves
This is a good project to make in pairs, since a matching smaller pouch from the same yarn makes an easy beach-and-poolside set.
14. A Statement Flower Purse for Adding Dimension
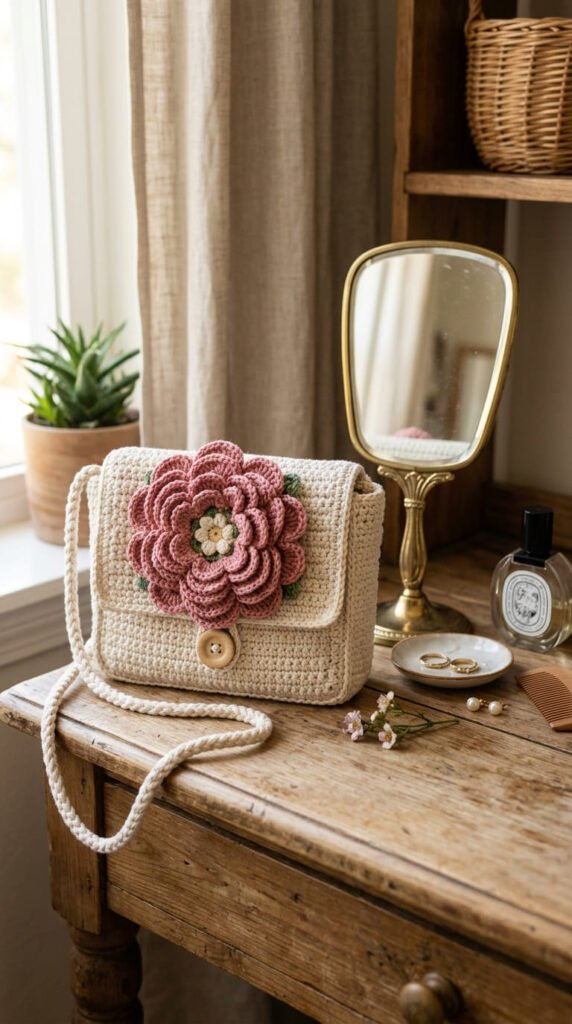
A flat crochet bag becomes noticeably more eye-catching with one well-made three-dimensional flower sewn onto the front flap. The flower itself is a small, separate project — usually layered petals worked as short rows or increasing rounds — that you make once and can reuse on multiple bags.
Because the flower is worked separately, mistakes on the main purse body don’t affect it, and mistakes on the flower don’t affect the purse. You can also make several flowers in different colors and swap them out.
Building a flower that holds its shape:
- Use a firmer gauge for the petals than for the purse body, so they don’t flop
- Layer two or three petal rounds of decreasing size for a fuller look
- Attach with a few secure stitches at the center only, so the outer petals stay loose and dimensional
This technique also works well on plain totes, hats, or cardigans, so it’s a skill worth learning even beyond this specific project.
15. A Mini Bag Sized for Just the Essentials
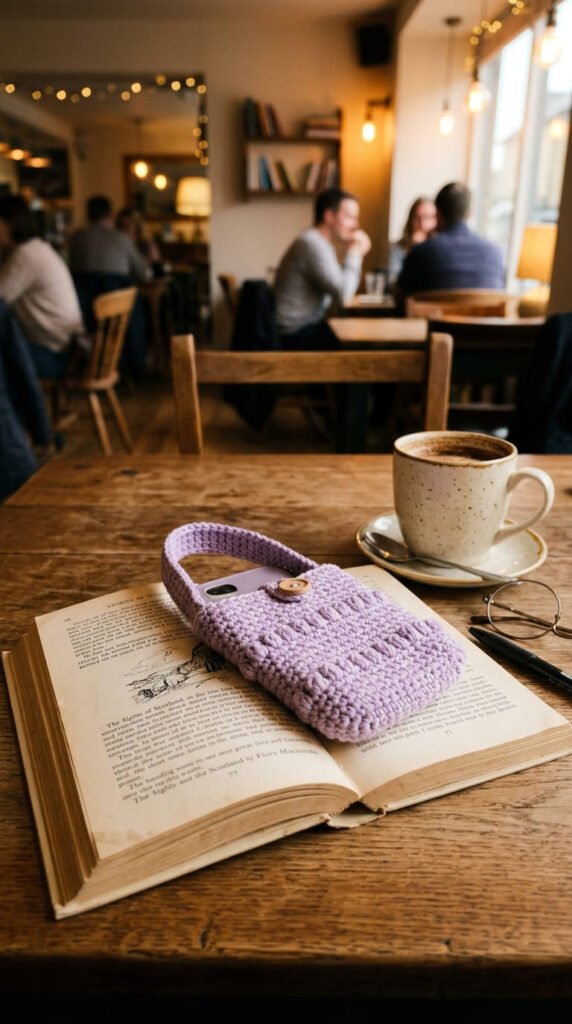
Mini bags have become popular partly because they’re genuinely one of the easiest purse shapes to finish. With a footprint barely larger than a phone, the entire project — base, sides, and handle — can often be completed with a single skein of cotton yarn.
Because there’s so little surface area, this is a low-pressure way to try a new stitch pattern or color combination without committing to a large project. If it doesn’t turn out the way you pictured, you’ve lost very little time or yarn.
Sizing suggestions:
- Roughly 12 by 15 centimeters comfortably fits a phone, cards, and lip balm
- A short top handle, around 10 to 12 centimeters, keeps the proportions balanced on such a small bag
- Add a magnetic snap or button closure at the top for a finished look without a full zipper installation
Because they’re quick to make, mini bags are also a practical way to test a pattern before scaling it up into a full-size tote in the same stitch.
Conclusion
Fifteen or more of these projects can realistically fit into a single season of practice, and the skills stack on top of each other quickly — a coin purse teaches frame assembly, a mesh bag teaches open-round construction, a bucket bag teaches tapering, and a leather-strap swap teaches hardware attachment. None of them require advanced stitches; the difference between a beginner-looking bag and one that looks store-bought usually comes down to yarn choice, a clean seam, and one well-chosen finishing detail like a chain strap or a real zipper.
Pick one project from this list that matches a skill you haven’t tried yet, gather cotton yarn in a size you’re comfortable with, and give yourself permission to treat the first attempt as practice. Once you’ve made two or three of these, you’ll likely find you can mix and match elements — a mesh body with a leather strap, or a granny-square panel with a drawstring top — to design something that’s entirely your own.