
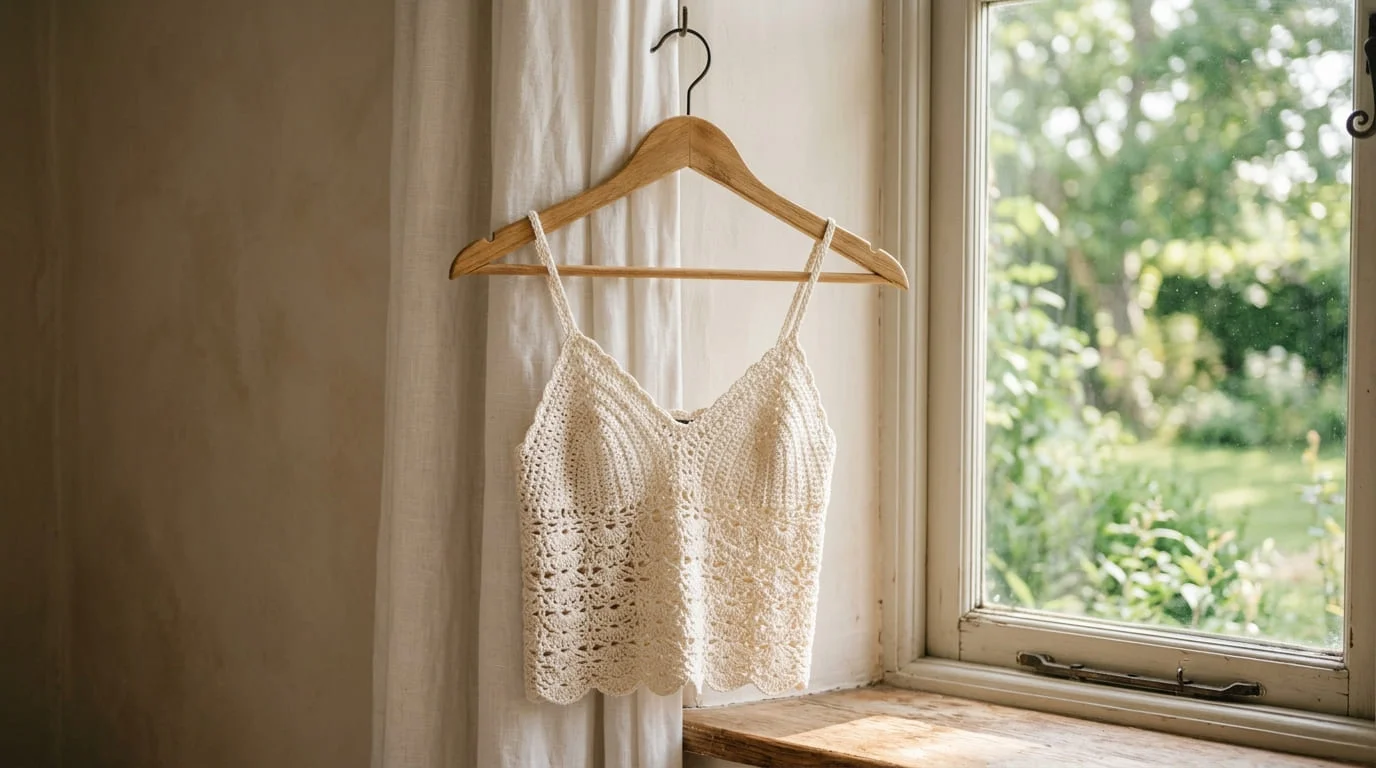
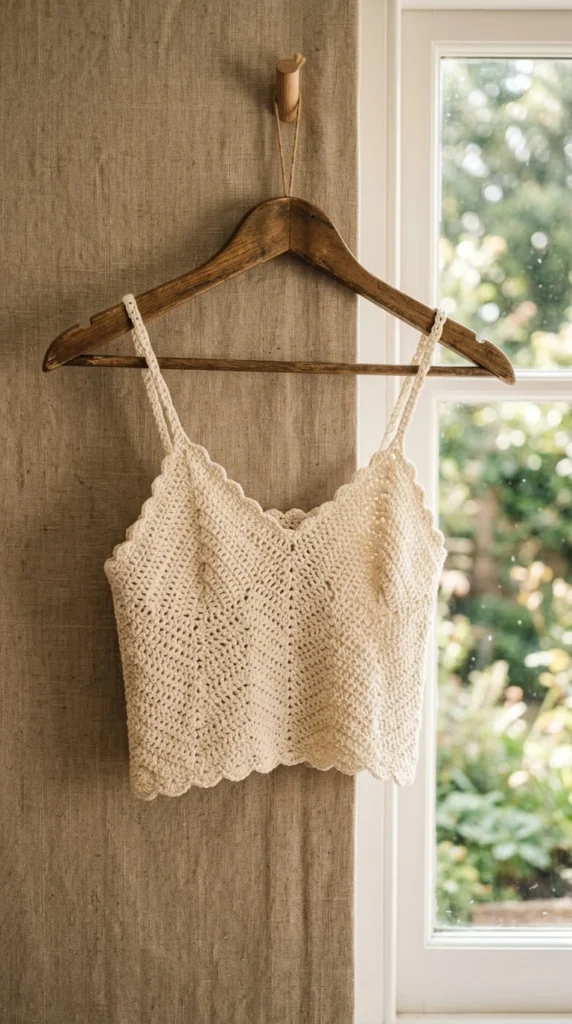
If you’ve ever scrolled past a crochet camisole and thought “I want to make that,” you’re not alone. These tops have become one of the most searched crochet projects for good reason — they’re quick, they use minimal yarn, and they turn a handful of basic stitches into something genuinely pretty to wear. Whether you’re brand new to a hook or you’ve made a few granny squares and want to level up, this list walks through 22 easy crochet camisole top ideas that actually work for real bodies, real closets, and real skill levels. You’ll find rectangle builds for absolute beginners, mesh and eyelet options for warm weather, strap variations that solve the usual comfort complaints, and styling angles most roundups skip entirely. Grab your hook — here’s where to start.
1. The No-Shaping Rectangle Cami Anyone Can Finish in a Weekend
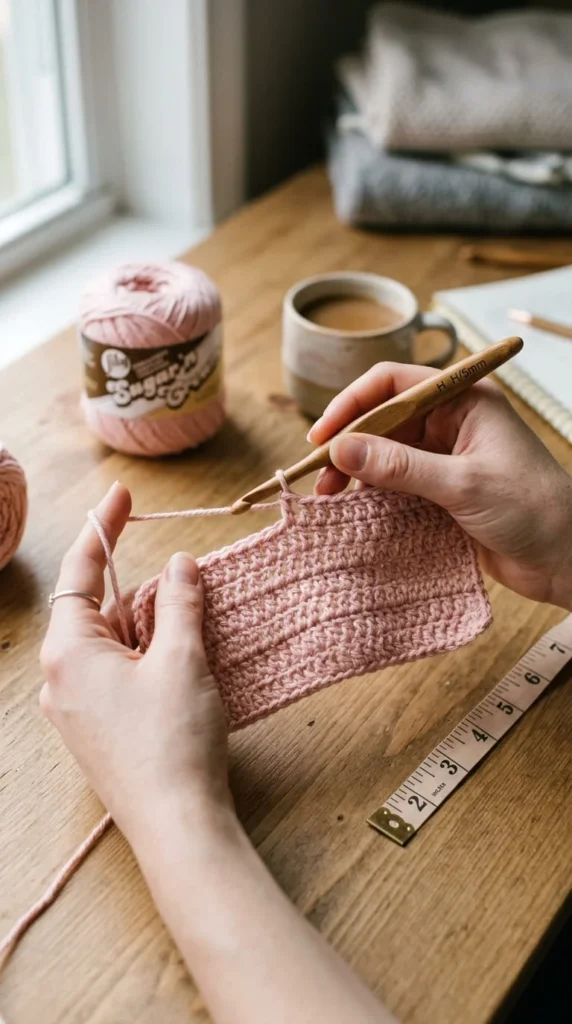
This is the project to start with if you’ve never made a garment before. You work one flat rectangle in double crochet or a simple mesh stitch, then fold and seam the sides, leaving gaps for your arms.
The sizing math is refreshingly simple: measure your fullest chest, add about 2 inches of ease, and that number becomes your rectangle’s width. Length is just personal preference — measure from underarm to hip, or wherever you want the hem to land.
There’s no increasing, no decreasing, and no counting rows for shaping. You’re just working straight until the piece is long enough, then stopping.
Once it’s seamed at the sides, you add straps — chain straps sewn directly to the top corners are the fastest option. A single crochet border around the neckline and armholes keeps the edges from curling and gives the whole thing a finished look.
This shape works in almost any stitch, so it’s a good project to practice a new technique on without worrying about shaping at the same time.
2. Two-Panel Construction for a Better Fit Than a Single Rectangle
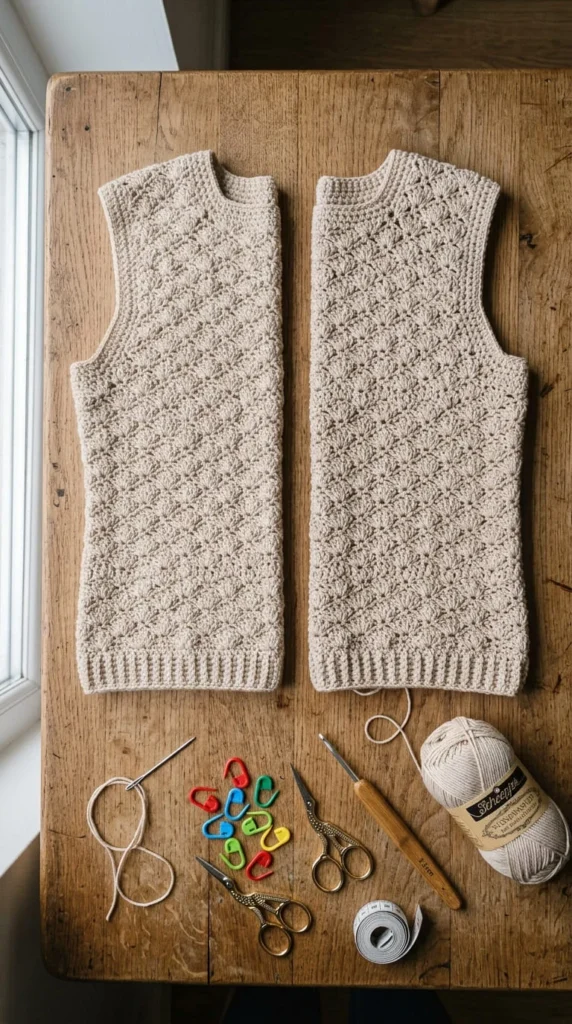
A single rectangle works, but a two-panel camisole — one piece for the front, one for the back — gives you more control over fit without adding real difficulty.
You crochet the front panel and back panel separately, using the same stitch pattern and row count so they match. The advantage over one continuous rectangle is that you can shape the front panel slightly differently than the back, which helps if you want a bit more room through the bust without adding volume at the back.
Join the panels at the side seams using a whip stitch or slip stitch, leaving armhole openings. Straps get attached at the shoulder points last.
This method is only marginally more work than the rectangle approach, but it gives a noticeably better silhouette. It’s also easier to adjust mid-project — if the front feels too snug, you can add a row or two before joining, instead of unraveling an entire seamed tube.
Beginners who’ve made one rectangle top already usually find this the natural next project, since the skills transfer directly.
3. An Open Mesh Cami Built for Hot, Sticky Afternoons
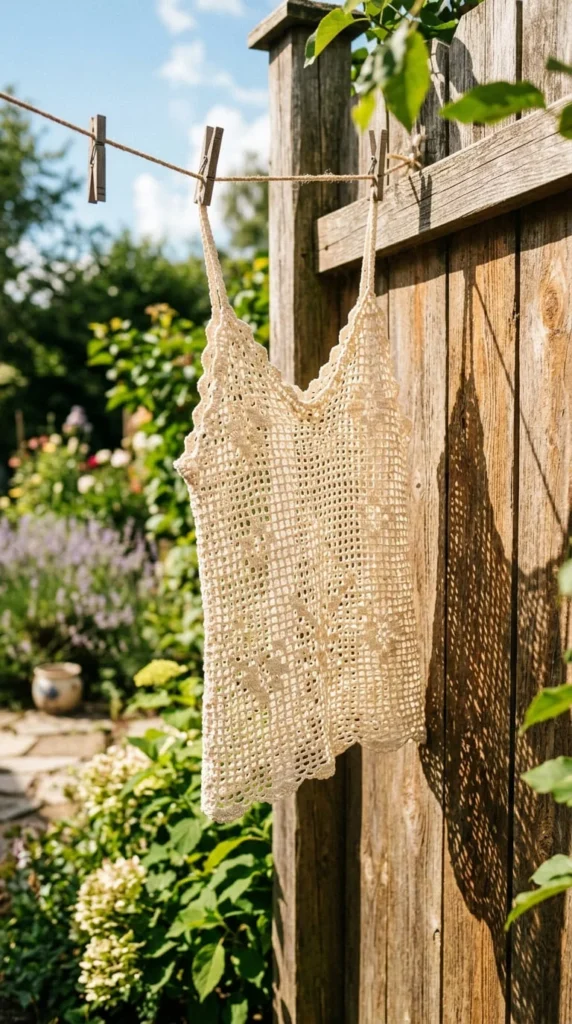
When the goal is staying cool, a mesh stitch camisole does the job better than a solid one. The stitch pattern — usually a repeat of double crochet, chain one, skip one — creates small open squares across the whole fabric.
This isn’t just a look. The open structure lets air move through the fabric, which matters if you’re wearing this top somewhere genuinely warm, not just for photos.
Because the stitch repeat is consistent and easy to memorize, mesh is actually a forgiving choice for a first lace-style project. You’re not tracking a complicated chart, just repeating the same three-stitch sequence across each row.
Pair mesh with a lightweight cotton or cotton-blend yarn rather than anything wool-heavy — the drape matters more here than the warmth.
One practical note: mesh stretches more than solid stitches, so size it slightly smaller than you think you need, or plan to layer a smooth camisole underneath for coverage. It looks best over a solid-color base layer anyway, since the contrast shows off the open pattern instead of hiding it.
4. Eyelet Lace Trim as the Detail That Upgrades a Basic Shape
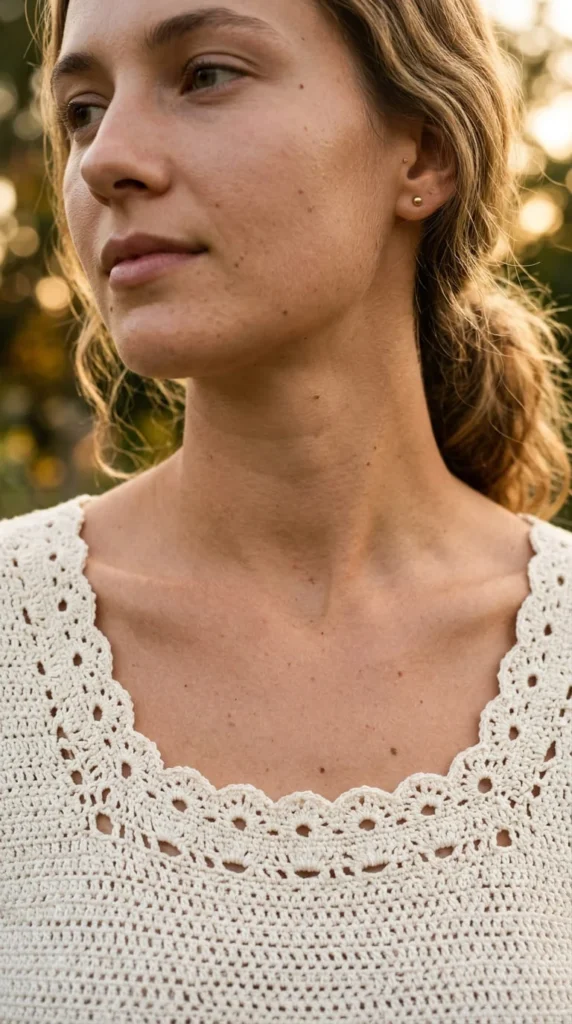
If you’ve already made a plain rectangle or two-panel cami and want it to look less like a first project, eyelet trim is the fastest way to change that.
Instead of reworking the whole body of the top, you add a border of small eyelet holes — usually a repeated chain-space pattern — around the neckline, armholes, or hem. It’s a finishing technique, not a full redesign, so it works on almost any base shape you’ve already got.
The eyelets also do something practical: they give you a natural spot to thread a ribbon or thin cord through if you want a drawstring effect at the neckline or waist.
Keep the trim to one or two rows unless you want a heavier lace look. A single row of eyelets reads as a subtle detail; three or four rows starts to look like a different garment entirely.
This is a good technique to practice on a swatch first, since eyelet spacing that looks right at gauge can gap or pucker if your tension shifts partway through.
5. Chain Straps: The Fastest Strap Option, With One Caveat
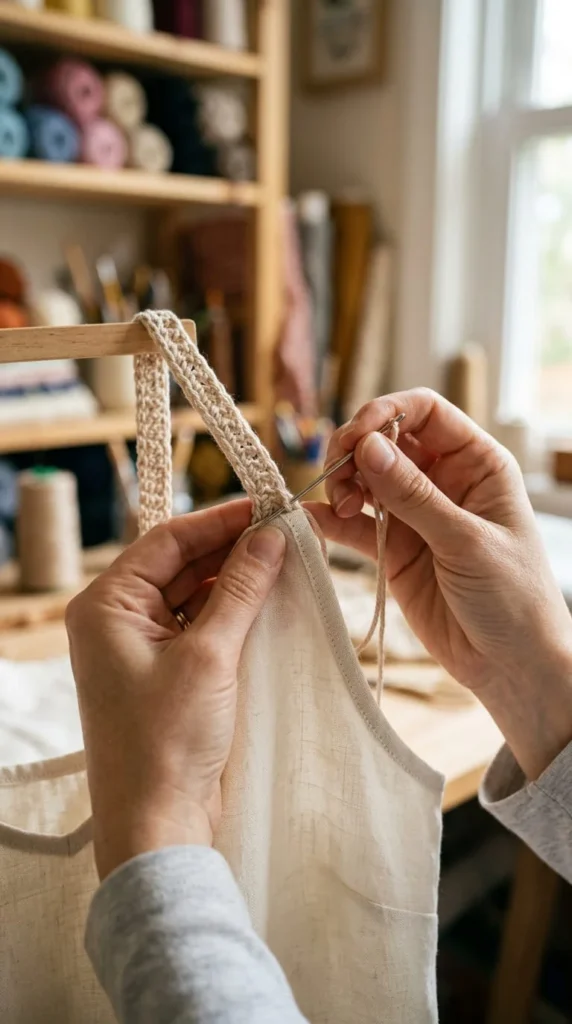
Chain straps are exactly what they sound like — a length of chain stitches, sewn or crocheted directly onto the top at the front and back.
They’re the quickest strap to make. No shaping, no extra stitches beyond a simple chain to your desired length, and you can adjust that length in seconds if the fit feels off.
The caveat: plain chain straps can twist during wear, especially with a heavier body fabric pulling on them. A quick fix is to work a row of single crochet back down the chain, which thickens it slightly and stops the twisting without changing the look much.
Chain straps also tend to stretch a little more than a crocheted or woven strap over time, so if you’re making a top you plan to wear often, consider reinforcing the strap with a strand of matching sewing thread run through the center before attaching it.
For a quick weekend project or a top you’re testing before committing to a more finished version, plain chain straps are still the easiest way to get from finished body to wearable top in under ten minutes.
6. Tie Straps for an Adjustable, No-Measuring-Twice Fit
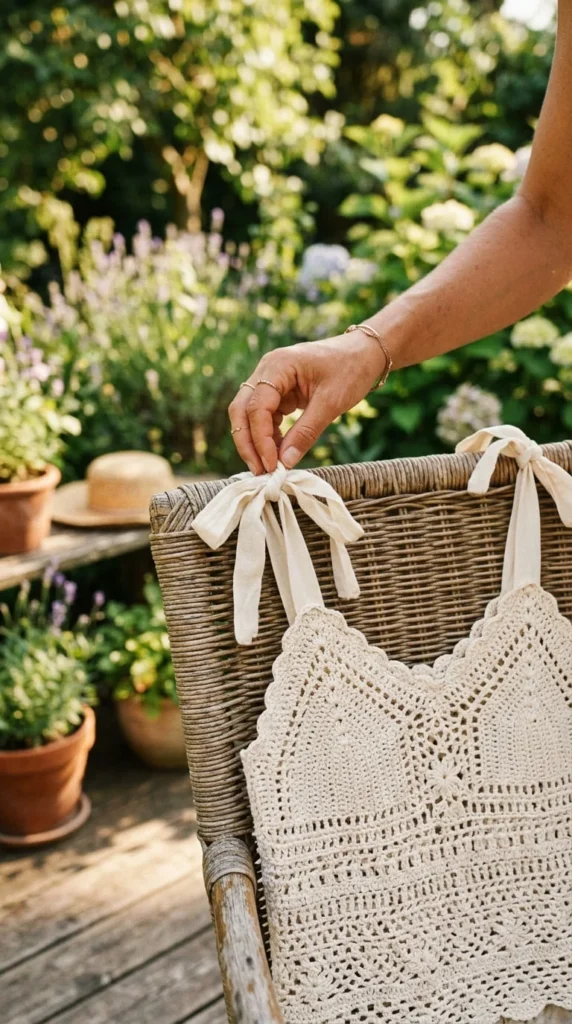
Tie straps solve the biggest complaint people have with fitted garments: getting the strap length exactly right the first time.
Instead of a fixed chain or strap, you crochet (or braid) a longer cord and thread it through eyelets or loops at the shoulder, then tie it in a bow or knot. You adjust the length every time you wear it, which means the top works even if your fit changes slightly over a season.
This is especially useful for camisoles you’re making as gifts, since you don’t need the recipient’s exact measurements — a tie strap forgives a size or two of guesswork.
To make the tie itself, a simple chain works, but a twisted cord or a few strands of yarn braided together holds a knot better and looks more intentional than a single crochet chain flopping at the shoulder.
One thing worth planning ahead: leave enough length on the tie for a comfortable bow, plus a few extra inches. Ties that are cut too short end up in tiny, fiddly knots that are hard to adjust one-handed.
7. Adding Elastic Support Where Straps Usually Fail
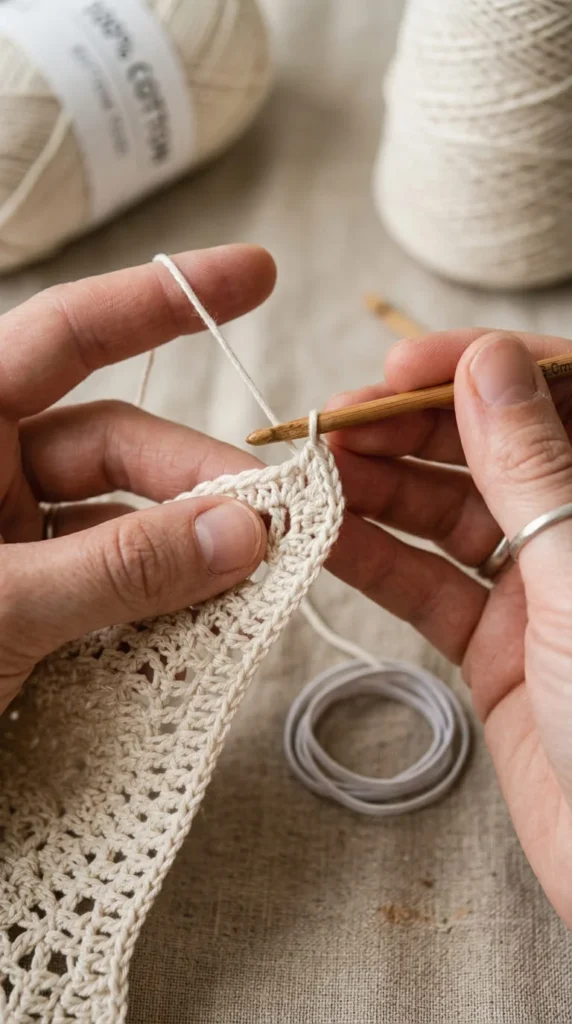
Plain crochet straps look great, but they’re the first thing to stretch out after a few wears. Running a thin strand of elastic thread through the strap as you work — or threading it through afterward — fixes that without changing the appearance at all.
The technique is simple: crochet the strap as a tube, or work single crochet stitches over the elastic as you go, letting the yarn hide the elastic completely from the outside.
This matters most on tops with any weight to the body fabric, since a heavier front and back will pull harder on unsupported straps over the course of a day. Mesh and mesh-adjacent stitch patterns are especially prone to this, since the fabric itself has more give.
You can apply the same trick around the neckline or under-bust area if you want the whole top to hold its shape better through movement, not just at the shoulders.
It adds maybe fifteen extra minutes to a project, and it’s the difference between a top that looks good in the first hour of wearing it and one that still looks good by the end of the day.
8. A Shell-Stitch Cami for Texture Without Extra Difficulty
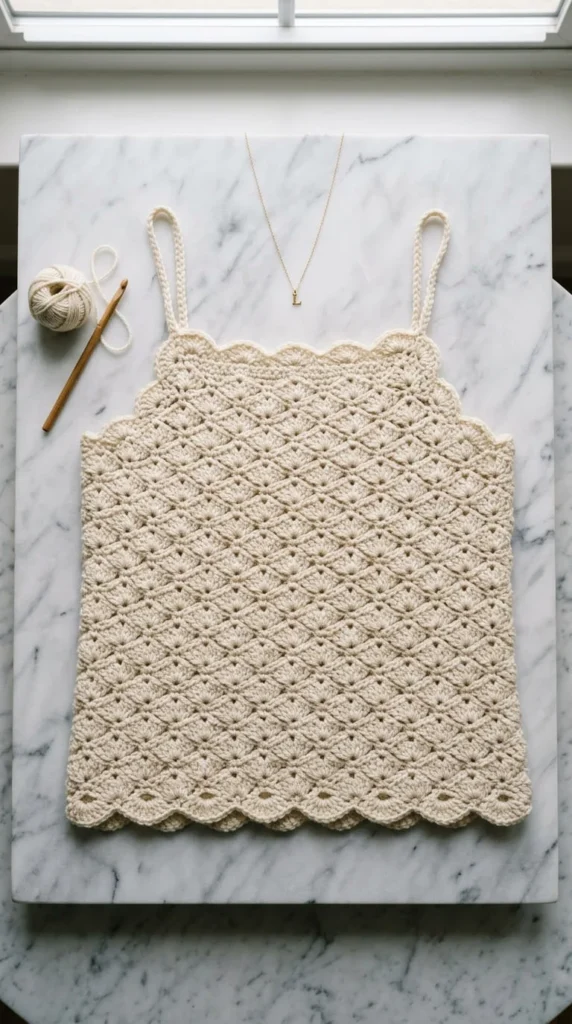
If plain double crochet feels a little flat to you, shell stitch is the next step up — and it’s still well within beginner range.
The stitch works in small clusters, usually a group of five double crochets into a single stitch, repeated across the row. The result is a scalloped, textured surface that reads as more advanced than it actually is to make.
Because the shells naturally curve, this stitch pattern is flattering worked horizontally across the body of a camisole — the scallops catch the light differently than a flat stitch would, which gives the fabric more visual depth in photos and in person.
One practical tip: shell stitch uses more yarn per row than plain double crochet, since you’re working several stitches into one spot. Budget an extra skein compared to what a plain rectangle in the same size would need.
It also pairs well with a solid-color yarn rather than a variegated one, since busy color changes tend to compete with the texture instead of highlighting it. Save your speckled or self-striping skeins for a plainer stitch pattern where the color can do the visual work instead.
9. An Ombre Fade Cami for a Basic Shape With a Statement Color Story
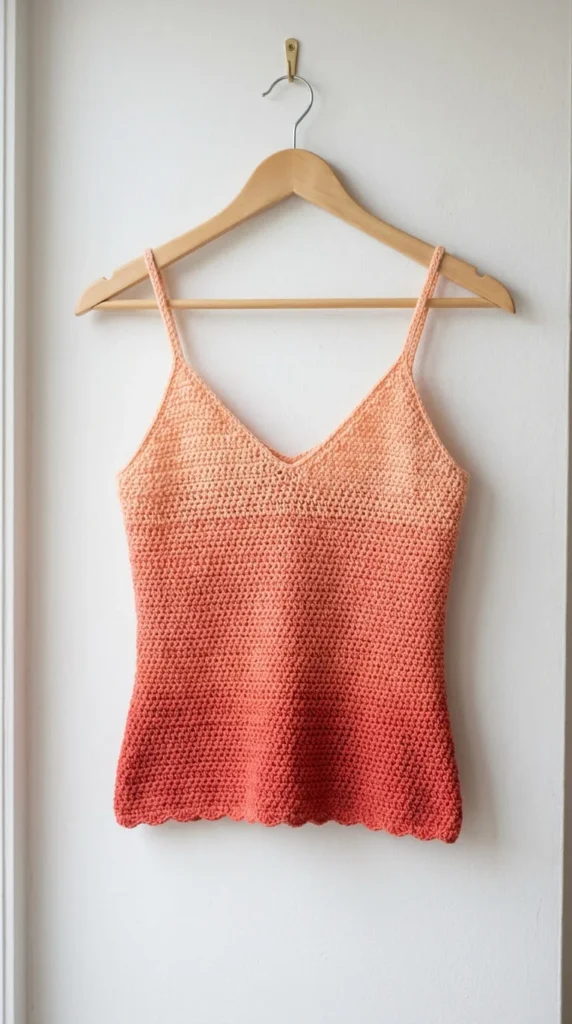
You don’t need a complicated stitch pattern to make a camisole feel special — a color change can do all the work instead.
An ombre effect is built by switching yarn colors gradually as you work up the body, usually moving through three to five shades of the same color family. The transitions look smoothest when each color change happens at a natural break, like the end of a row, rather than mid-stitch.
This works on literally any of the shapes already mentioned — the plain rectangle, the two-panel build, even the mesh cami. The stitch pattern stays simple; the color does the visual heavy lifting.
A practical approach for planning the fade: divide your total row count by the number of colors you’re using, then switch at those intervals. If you want a slower transition at the bottom and a faster one near the top, weight the row counts accordingly instead of splitting them evenly.
Keep the yarn weight and fiber consistent across all your colors. Mixing a fuzzy yarn with a smooth cotton in the same ombre sequence creates texture differences that distract from the color transition you’re trying to highlight.
10. An Ivory Lace Cami for a Softer, More Feminine Silhouette
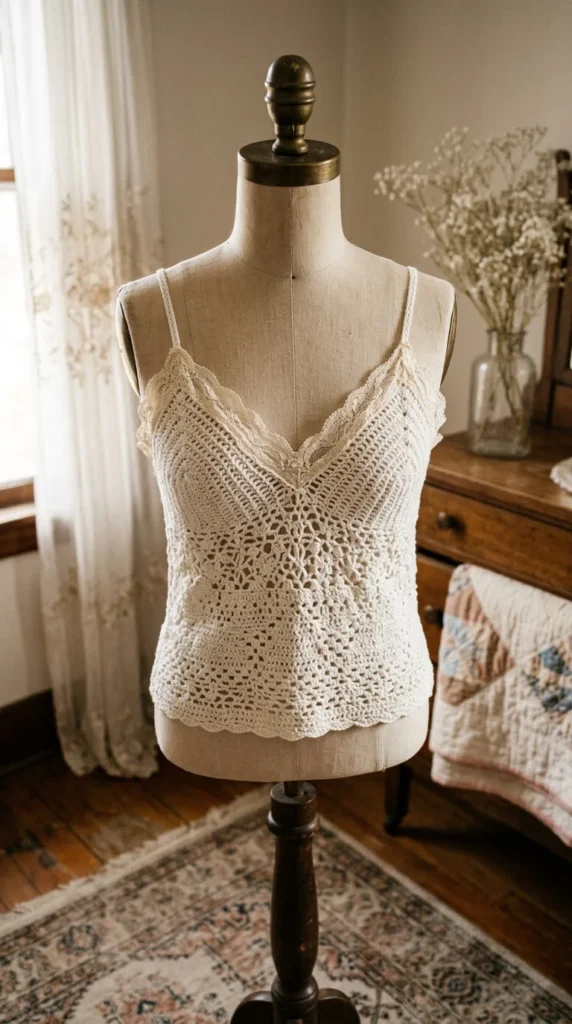
For a camisole that leans dressier rather than casual, ivory or cream yarn paired with a lace-adjacent stitch changes the whole mood of the piece.
The construction itself doesn’t need to be complicated — a standard rectangle or two-panel build works fine. The femininity comes from the color choice and a lace-style trim at the neckline, rather than an intricate all-over pattern.
Cream and ivory yarns photograph beautifully in natural light, which makes this a good option if you’re planning to wear the finished top somewhere photos will happen — an engagement shoot, a bridal shower, a summer wedding as a guest.
A thin satin ribbon threaded through an eyelet row at the neckline or waist adds a soft finishing touch without any extra crochet work. Tie it in a small bow at the center front and let the ends hang loose.
Because pale yarn shows tension inconsistencies more visibly than darker colors, this is a good project to double-check your gauge swatch on before committing to the full top. Uneven stitches are far more noticeable in cream than in a patterned or dark colorway.
11. A Halter-Neck Cami With a Lace-Up Back for Extra Support
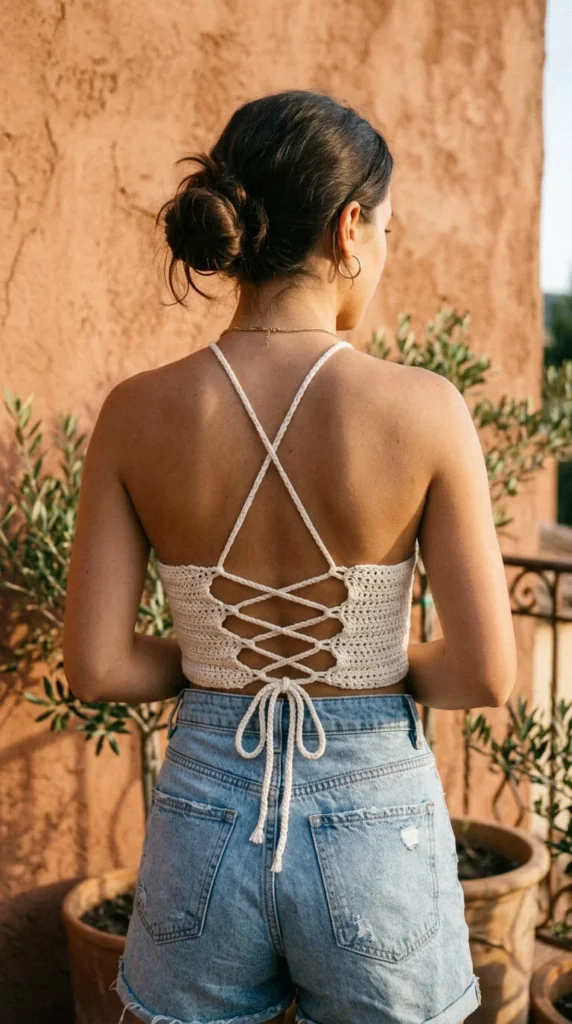
A halter neckline changes where the weight of the top sits — instead of pulling on thin shoulder straps, the fabric loops around the back of the neck, which distributes support differently and tends to feel more secure during movement.
To build one, you work the front panel as usual, then extend the straps up and over to meet at the back of the neck instead of at the shoulder tops. A lace-up back — worked with eyelets and a threaded cord — adds adjustability and a bit of visual interest at the same time.
This style suits tops with any of the earlier stitch patterns, but it’s worth noting that halter construction puts more strain on the neck area than a standard shoulder strap does. Reinforcing that section with an extra row of single crochet, or running elastic thread through it, helps it hold shape through a full day of wear.
The lace-up back also solves a fit problem plain halters have: instead of one fixed size, you loosen or tighten the cord depending on the day, which is useful if your fit tends to shift slightly with the season.
12. A Cropped Cami for Pairing With High-Waisted Everything
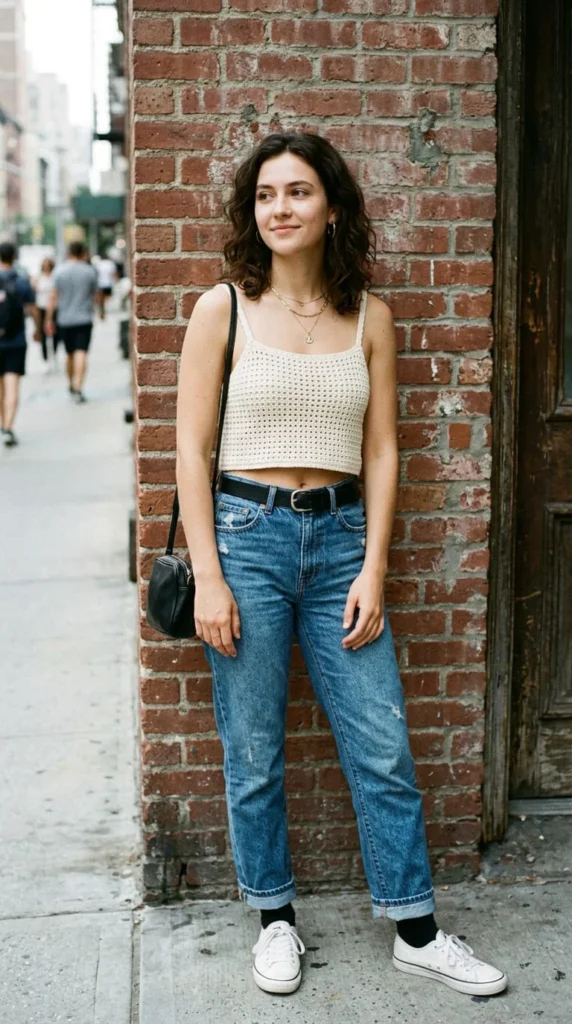
Shortening the standard camisole length turns it into a crop top, and the construction change is genuinely just that simple — stop a few inches sooner.
The main thing to plan for is where the hem lands relative to what you’re pairing it with. A crop that stops right at the natural waist works well with high-waisted jeans, shorts, or a skirt, since the waistband covers any gap rather than leaving a strip of exposed midriff you didn’t plan for.
If you’re converting an existing rectangle or two-panel pattern into a crop version, subtract length evenly from both panels before seaming, not just from one side, or the hem will sit unevenly once it’s assembled.
A crop version also uses noticeably less yarn than a full-length cami — often close to a third less, depending on your original length — which makes it a good project for using up a single skein you already have on hand rather than buying yarn specifically for it.
Finish the hem with a single crochet border to keep the edge from curling, especially if you’re using a stretchier stitch pattern like mesh.
13. Fit Adjustments for a Camisole That Actually Works on a Fuller Bust
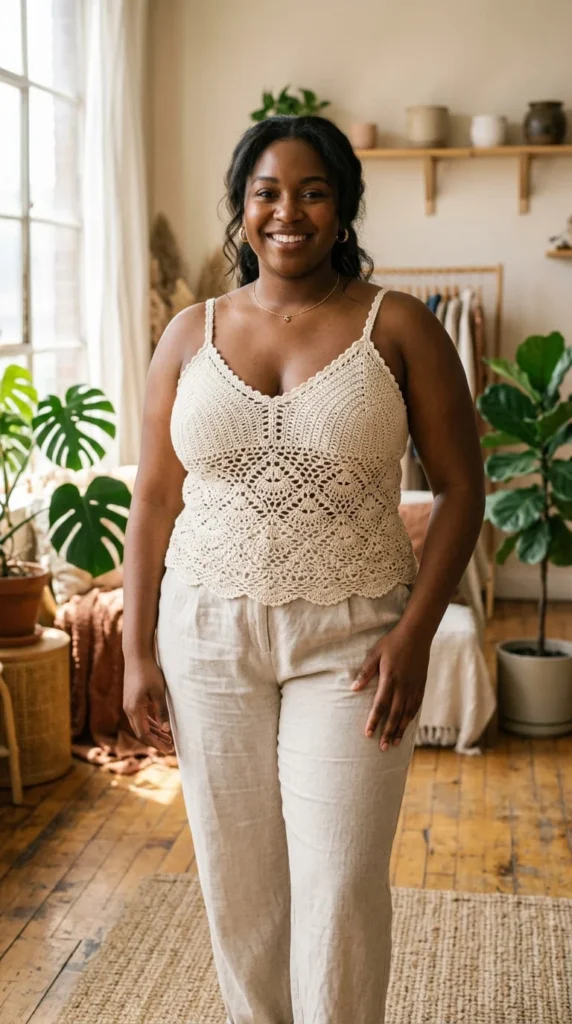
Most beginner patterns assume a fairly flat rectangle will fit everyone the same way, and for a lot of bodies, it just won’t sit right without a few tweaks.
The most useful adjustment is adding short-row bust shaping to the front panel — working a few partial rows in the center of the panel so there’s extra fabric where it’s needed, without adding width to the whole top. This keeps the sides and back fitting close while giving the front room to lie flat instead of riding up.
Widening the strap itself also helps distribute weight more comfortably, since a wider strap spreads pressure across more of the shoulder instead of concentrating it on a thin line.
If the top gapes at the underarm, a small dart worked into the side seam — essentially skipping a stitch or two at that point during assembly — closes the gap without a full pattern rewrite.
None of these adjustments require starting over. They’re modifications you layer onto any of the base shapes already covered here, which means you can apply them to a rectangle, a two-panel build, or a halter with equal success.
14. Choosing DK Cotton Blends So the Top Doesn’t Feel Stiff
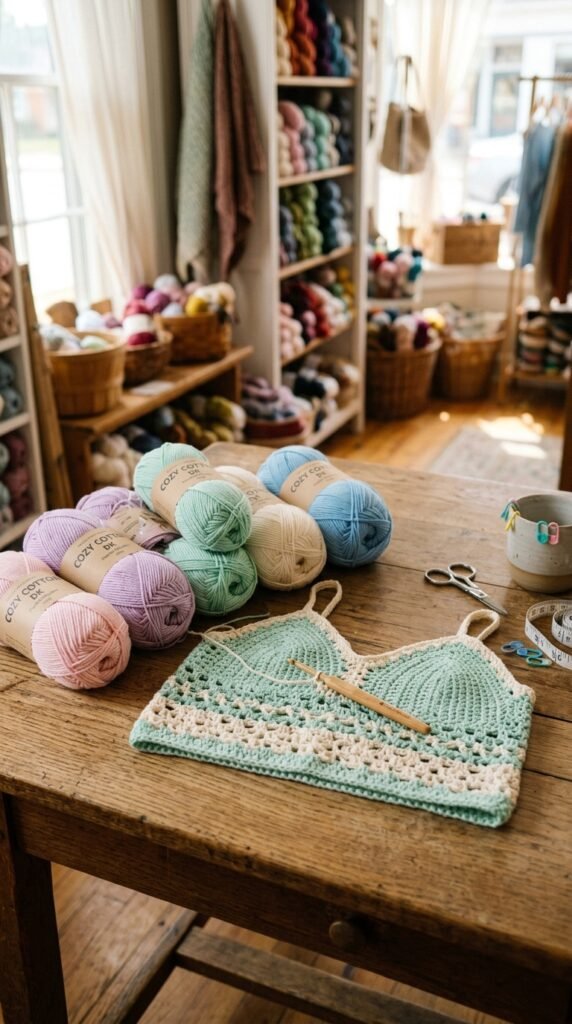
Yarn choice changes how a finished camisole behaves more than almost any other decision in this list.
DK weight cotton or cotton blends are the standard recommendation for this kind of top, and there’s a practical reason: pure cotton has enough structure to hold stitch definition, but enough drape that the finished fabric moves with your body instead of standing away from it stiffly.
100% acrylic, by comparison, tends to feel heavier and less breathable against skin, which matters more on a fitted top worn close to the body than it would on a blanket or a pair of mittens.
If pure cotton feels too heavy in your climate, a cotton-linen or cotton-bamboo blend lightens things up while keeping most of the drape. These blends also tend to soften with washing, so a top that feels slightly stiff right off the hook often improves after its first gentle wash.
Budget-wise, cotton yarn runs a bit more expensive per skein than acrylic, but a camisole uses relatively little yardage compared to a sweater, so the cost difference per project stays manageable.
15. What to Wear Underneath an Open-Stitch Camisole
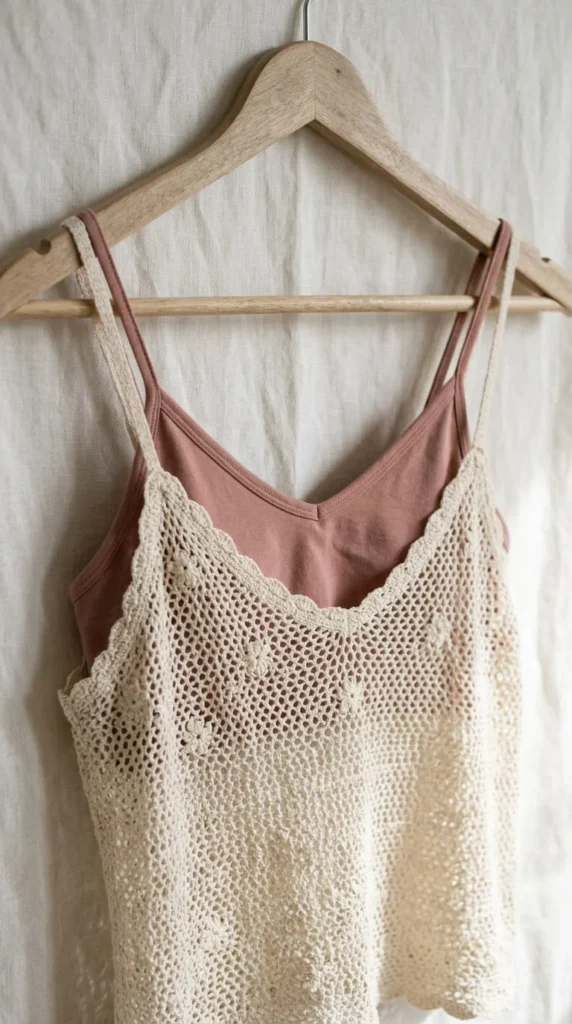
Mesh, eyelet, and shell-stitch tops all share one practical issue: the open spaces mean you’ll likely want something underneath, and the wrong choice can undercut the whole look.
A solid-color bralette or smooth camisole in a contrasting or complementary tone works best, since it lets the open stitch pattern show clearly against a plain background instead of getting visually lost.
Avoid layering another textured or patterned piece underneath — two busy patterns stacked on top of each other read as cluttered rather than intentional, even if each piece looks great on its own.
Color contrast matters more than most people expect. A cream mesh top over a cream base layer nearly disappears into itself, while the same top over a soft blush or navy base creates definition you can actually see from a few feet away.
For cooler weather, a fitted long-sleeve layered underneath extends the season you can wear an open-stitch camisole, turning what might otherwise be a strictly summer piece into something wearable through early fall as well.
16. The Denim Midi Skirt Pairing That Balances a Delicate Top
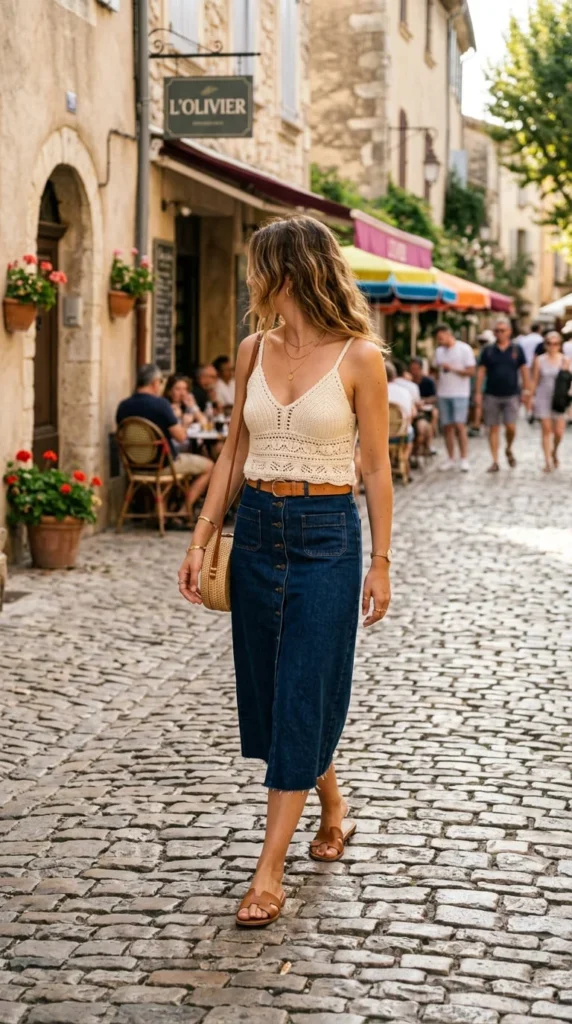
Camisoles read as soft and a little delicate on their own, and a denim midi skirt is one of the most reliable ways to balance that softness with something structured.
The contrast in texture does most of the styling work — smooth, sturdy denim against open or textured crochet stitching creates visual interest without needing accessories to fill in the gaps.
Tuck the front of the camisole loosely into the skirt’s waistband rather than fully tucking all the way around. A partial tuck keeps some drape at the hips, which suits the softer shape of crochet fabric better than a stiff, fully tucked-in look.
If your camisole has an open or mesh stitch, this pairing benefits from a solid-color base layer underneath, tucked the same way, so the midi skirt doesn’t compete visually with whatever’s showing through the open stitches.
Footwear-wise, this combination stays flexible — sandals lean it casual, while a low block heel dresses the same outfit up for an evening without changing either piece.
17. Making a Handmade Camisole Work in a Business-Casual Setting

Most styling advice for crochet camisoles assumes a beach or backyard setting, which leaves out a real question a lot of makers have: can you wear this to work?
The answer is usually yes, with the right layering. A structured blazer or lightweight cardigan over a solid-color camisole reads as intentional rather than casual, especially if the crochet piece itself is a tighter, more solid stitch pattern rather than an open mesh.
Stick to a fitted or semi-fitted silhouette rather than a loose, flowy one for this context — structure reads as more polished in an office setting than drape does.
Pair the top with tailored trousers or a pencil skirt rather than denim, and keep the color palette limited to two or three tones across the whole outfit. A camisole in a bold, busy colorway competes with a business-casual dress code in a way a solid neutral won’t.
This combination also solves the coverage question that comes up with open-stitch tops in professional settings — a blazer worn closed, or a cardigan layered underneath, adds coverage without hiding the crochet detail entirely.
18. A Simple Mesh Tank Built for a Men’s or Unisex Fit
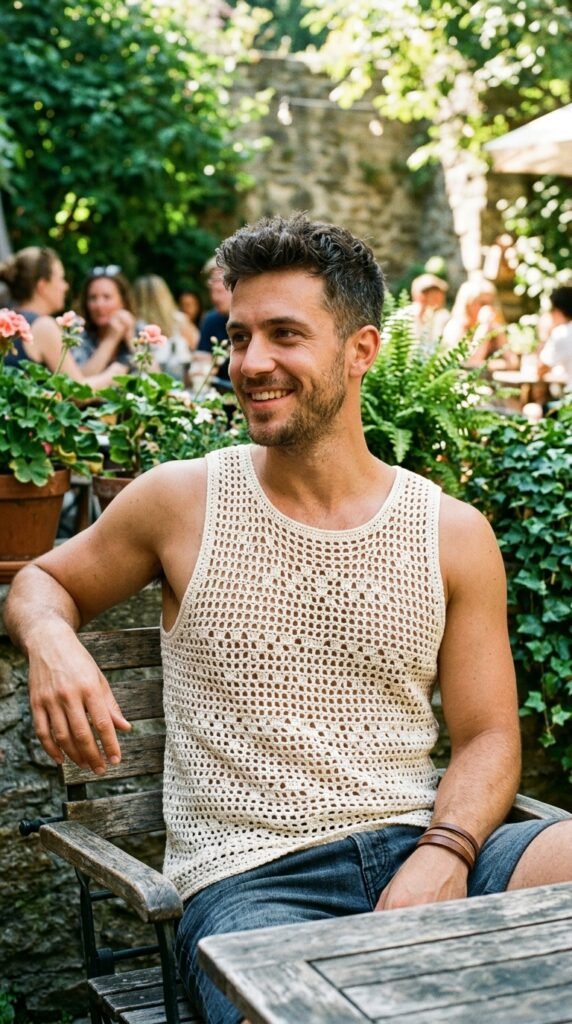
Crochet tank patterns lean heavily toward women’s silhouettes, but the same mesh and rectangle techniques translate directly to a looser, straighter unisex build with a few adjustments.
The main change is fit: drop the waist shaping entirely and work the body as a straight rectangle from chest to hem, with a slightly wider chest measurement than a fitted women’s version would use. Add roughly 3 to 4 inches of ease instead of the usual 2, since a looser drape suits this silhouette better than a snug one.
Straps widen into shoulder panels rather than thin chain straps — essentially, the armhole sits closer to the neckline, and the “strap” is really just a continuation of the front and back panels meeting at the shoulder.
Mesh stitch works particularly well here, since the open structure suits a more athletic, breathable use case than a solid, fitted top would.
This is a genuinely under-covered project idea. If you’ve been making fitted camisoles for yourself and want to make one as a gift for a partner, brother, or friend, this straightforward adjustment gets you there without learning a new construction method.
19. A Camisole Made From Upcycled or Leftover Yarn
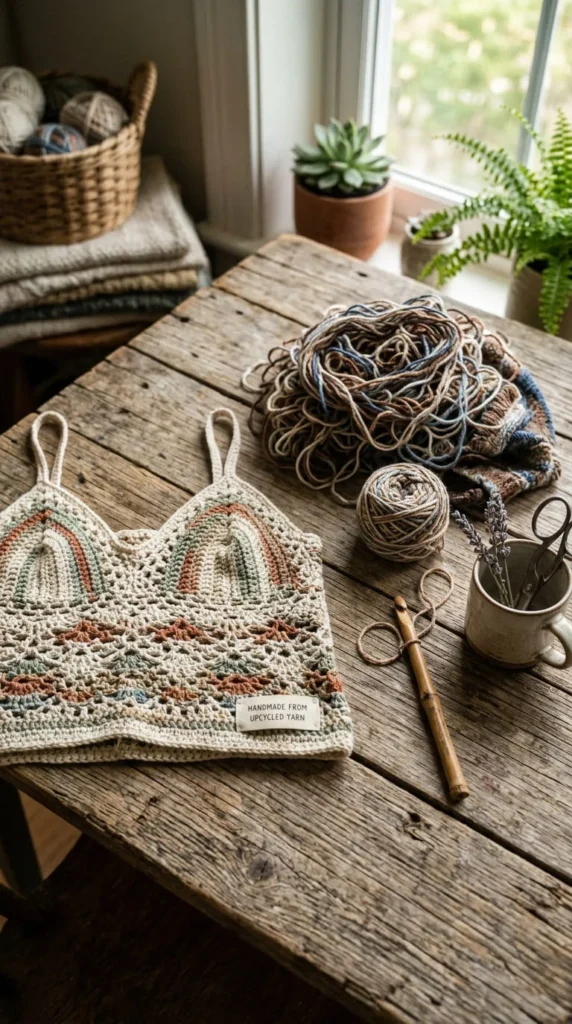
If you’ve got partial skeins left over from other projects, a camisole is a genuinely good use for them — the yardage requirement is low enough that leftovers often cover the whole thing.
One approach is to unravel an old cotton sweater you no longer wear, wind the yarn into usable skeins, and crochet a fresh camisole from what was otherwise heading to a donation pile. This works best with sweaters that are close to 100% cotton or a cotton blend, since synthetic-heavy yarns can look uneven after being reclaimed.
If you’re combining several different leftover yarns rather than a single reclaimed sweater, a striped or color-blocked design hides the transitions better than trying to blend mismatched colors seamlessly.
Stick to leftovers in a similar weight category — mixing DK with a much thinner or thicker yarn creates an uneven fabric that’s hard to correct once it’s seamed.
This angle rarely gets covered in typical pattern roundups, but it’s one of the more practical entry points if you’re trying to reduce yarn waste rather than buying new skeins for every project, and it costs nothing beyond the time to unravel and wind.
20. A Genuinely Budget-Friendly Cami Using Two Skeins or Less
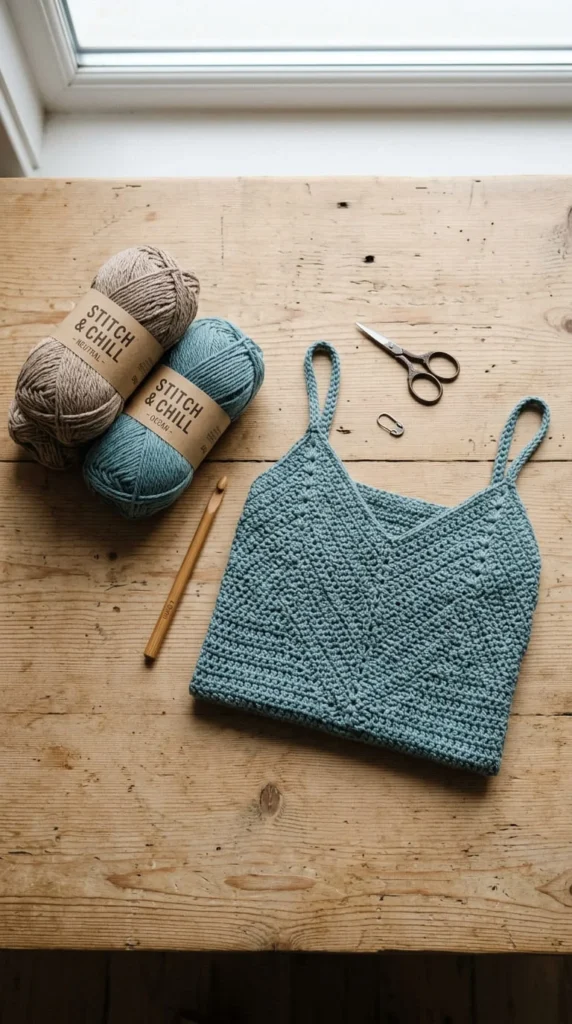
Most crochet content skips the actual cost question, so here’s a straightforward angle: a basic rectangle or two-panel camisole in a smaller size can realistically be finished with two standard skeins of DK cotton, sometimes less depending on your length.
Keeping the project under two skeins comes down to a few choices. Skip stitch patterns that use extra yarn per row, like dense shell stitch, and stick to plain double crochet or mesh, both of which use yarn more efficiently.
Shortening the length to a crop style, covered earlier in this list, also trims yarn use meaningfully — often enough to fit comfortably within a two-skein budget even in a mid-range size.
Buying yarn on sale or from a discount bin works well for this kind of project specifically, since you don’t need a large quantity to match, and a single unusual or discontinued color reads as an intentional choice rather than a compromise on a small garment like this.
If you’re new to crochet and hesitant to invest heavily before knowing if you’ll enjoy a garment-sized project, this is a low-cost way to test the waters before buying yarn for anything bigger.
21. A Ruffled Hem for a Softer, More Playful Finish
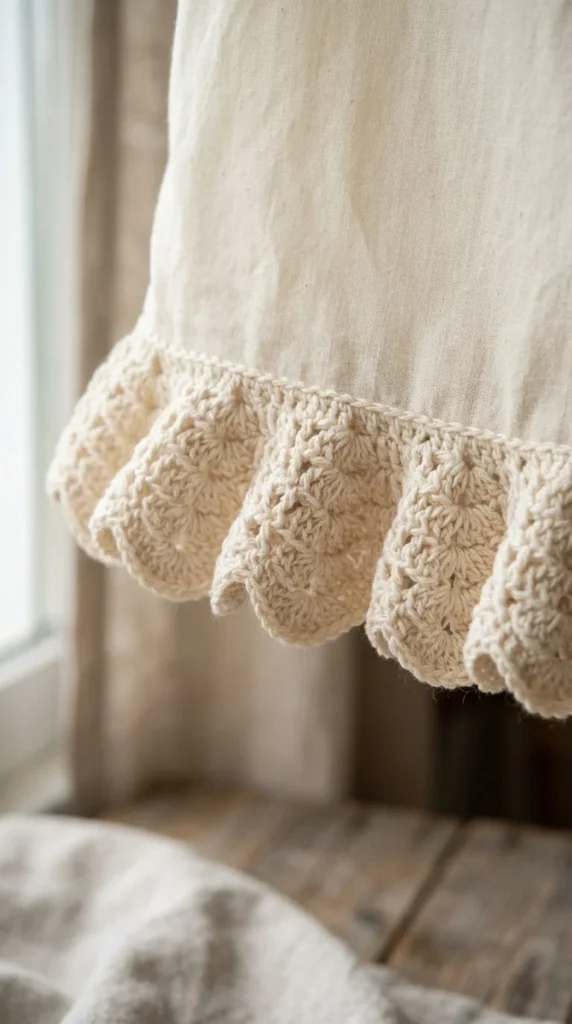
A ruffle changes the mood of a plain camisole without touching the main body construction at all — it’s purely a finishing technique added to an already-completed piece.
To create one, work an extra row along the hem with significantly more stitches per stitch than the row below — for example, three or four double crochets into each stitch across, which forces the extra fabric to ruffle rather than lie flat.
This works particularly well on a solid-stitch camisole, since the contrast between the flat body and the ruffled edge gives the eye a clear place to land. On a mesh or already-textured top, a ruffle can start to look busy rather than adding definition.
Keep the ruffle to the hem alone for a subtle effect, or extend the same technique to the neckline and armholes if you want a more romantic, fuller look throughout.
One practical consideration: a ruffled hem uses noticeably more yarn than a plain border, so factor in an extra partial skein if you’re planning this finish on a top you’ve already calculated yardage for without it.
22. A Striped Colorwork Cami for Practicing Clean Color Changes
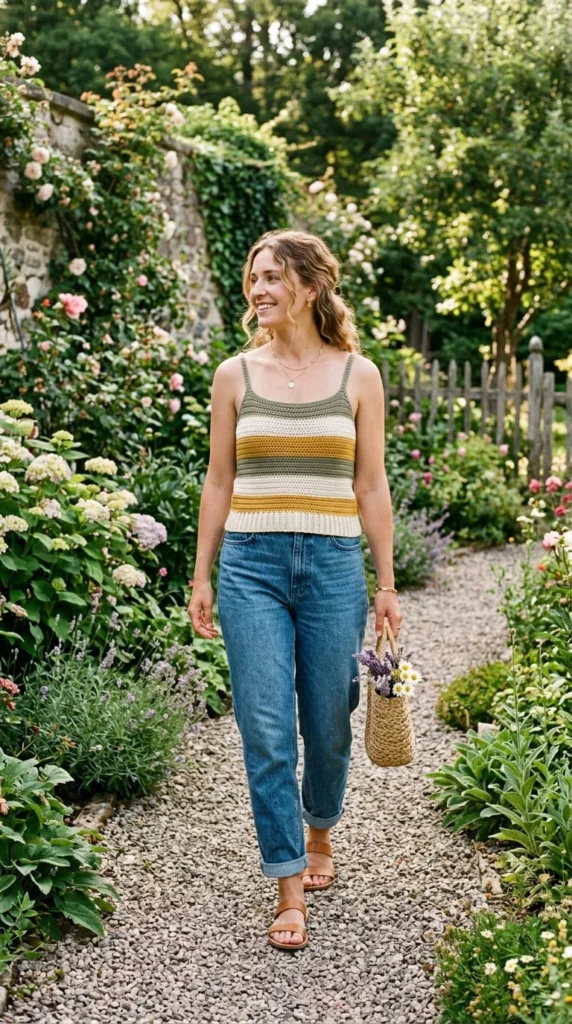
Stripes are a simple way to bring in multiple colors without the shaping complexity of true colorwork, and a camisole’s straight construction makes it a genuinely good practice piece for the technique.
Plan your stripe sequence before you start — three coordinating colors in a repeating pattern, like four rows of color A, two rows of color B, four rows of color C, tends to look more intentional than randomly switching whenever you feel like it.
The key technical skill here is changing colors at the end of a row cleanly, rather than mid-row, which keeps the color blocks crisp instead of jagged. Always switch colors on the last yarn-over of the final stitch in a row, so the new color is already in place to start the next row.
Weave in ends as you go rather than saving them all for the finishing stage — with multiple color changes, leftover ends pile up fast, and weaving each one in during construction saves a genuinely frustrating finishing session later.
This project also doubles as useful practice if you’re planning a more complex colorwork garment down the line, since the core skill transfers directly.
Conclusion
A crochet camisole doesn’t need to be complicated to look good — most of what separates a plain first attempt from a genuinely elegant finished piece comes down to small choices: the yarn you pick, the strap style, a trim added at the end, or a fit adjustment that takes ten extra minutes. Start with whichever idea on this list matches your current skill level, whether that’s the no-shaping rectangle or a more detailed halter with a lace-up back, and don’t hesitate to borrow elements from two or three different sections once you’re comfortable with the basics. The best way to find out what actually works for your body and your closet is to make one, wear it, and adjust from there. Pick up your hook, grab a skein of cotton, and get started on the one that caught your eye first.