
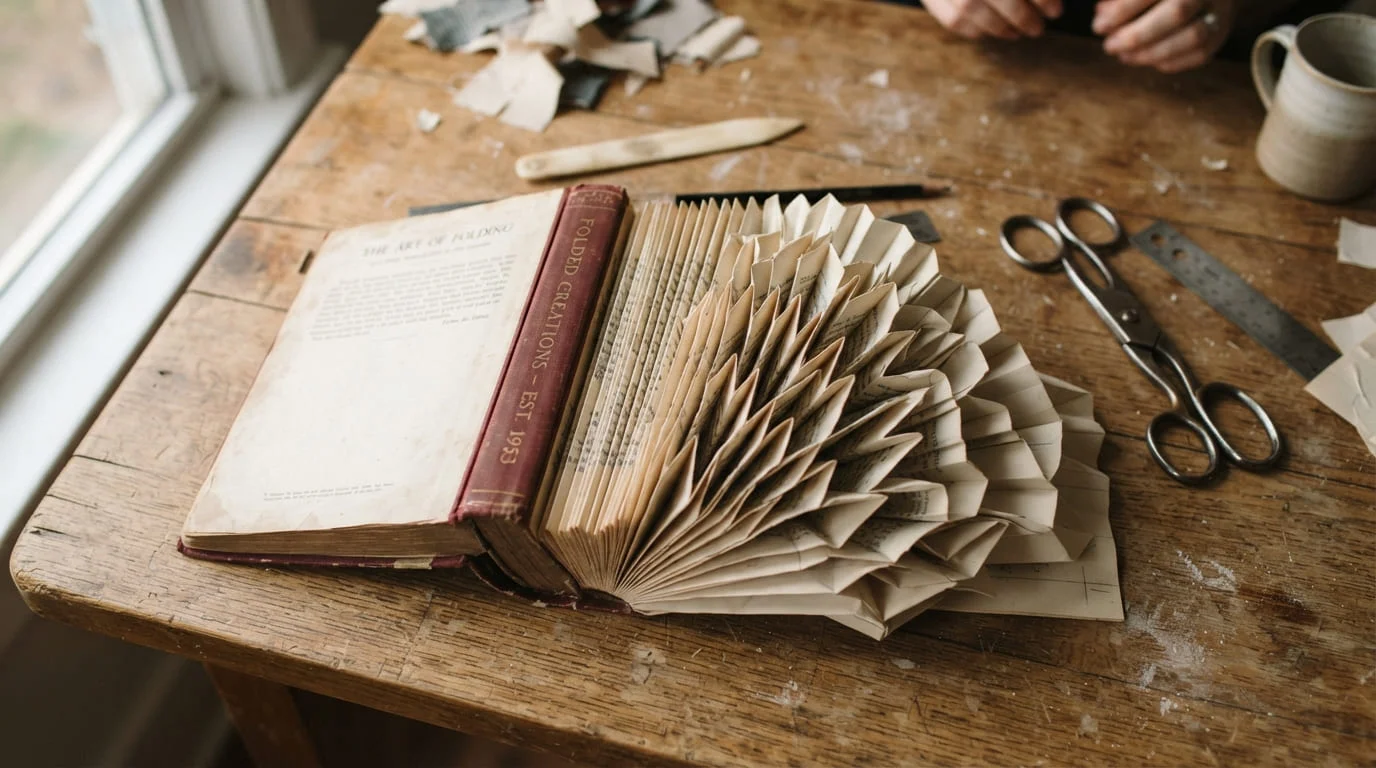
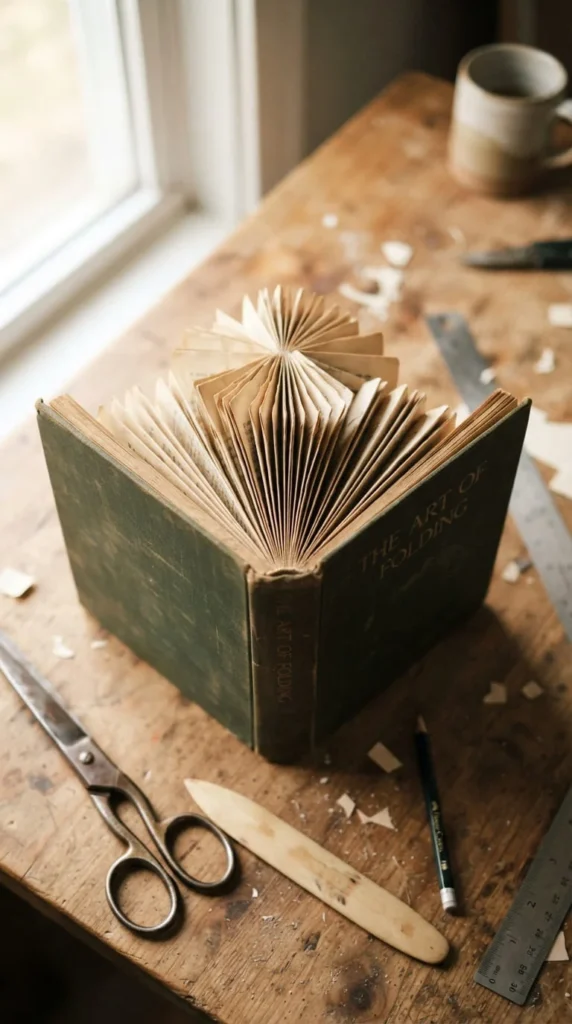
Old books pile up faster than most people realize — the ones with cracked spines, water-stained covers, or stories nobody’s going to reread. Instead of letting them collect dust or tossing them out, book art DIY turns those forgotten pages into something worth displaying. This isn’t just about folding a triangle here and there. It’s a whole craft world that covers everything from paper flowers and hidden safes to wearable jewelry and kids’ art projects. Whether you’re a thrift-store regular looking for a weekend project or someone who just inherited a box of old paperbacks, the ideas below give you real, doable ways to turn paper and glue into home decor, gifts, and keepsakes. Each project below includes what you’ll need, how it works, and why it holds up over time — no vague crafting advice, just practical steps you can start today.
1. Folded Book Art Silhouettes
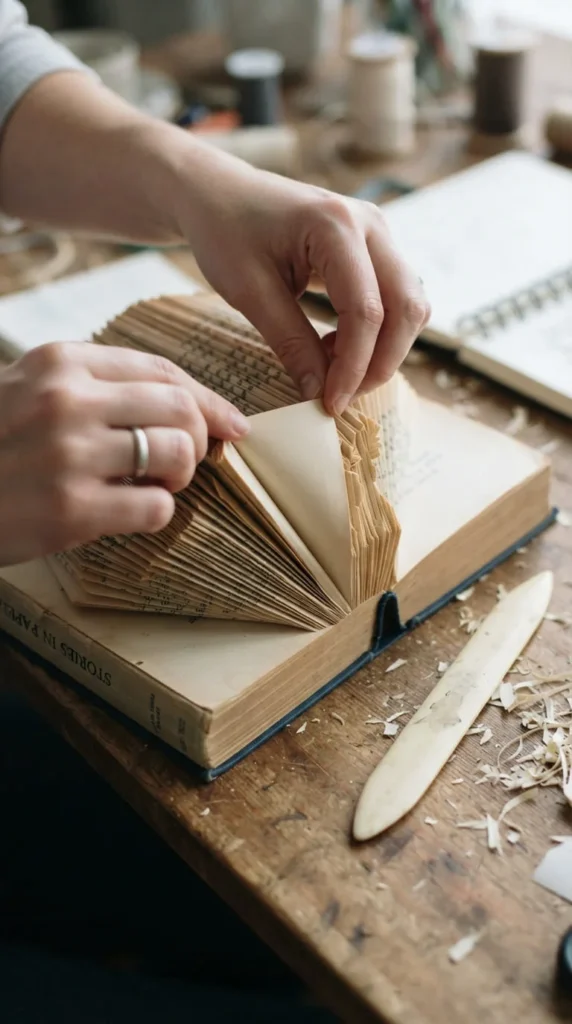
This is the project most people picture when they hear “book art DIY,” and for good reason — it turns a plain book into a sculptural centerpiece without paint, glue, or extra materials. You fold each page (or every second page, depending on how detailed you want the shape) into triangles that build outward from the spine, gradually forming a heart, a star, initials, or even a tree silhouette.
Start with a hardcover book that has at least 200 pages — thinner books won’t hold the shape once folded. A free printable template makes marking your fold points much easier than eyeballing it, especially for beginners. Mark two points on each page, then fold the top corner down and the bottom corner up until they meet.
The look changes a lot depending on fold density. Folding every page gives a tighter, more solid silhouette, while skipping pages creates a softer, more open design. If the folds stick out past the edge of the pages, a light trim along the spine keeps everything neat. Once finished, these pieces stand on their own — no frame or base needed — and make a striking shelf or mantel display.
2. Hollowed-Out Hidden Book Safe
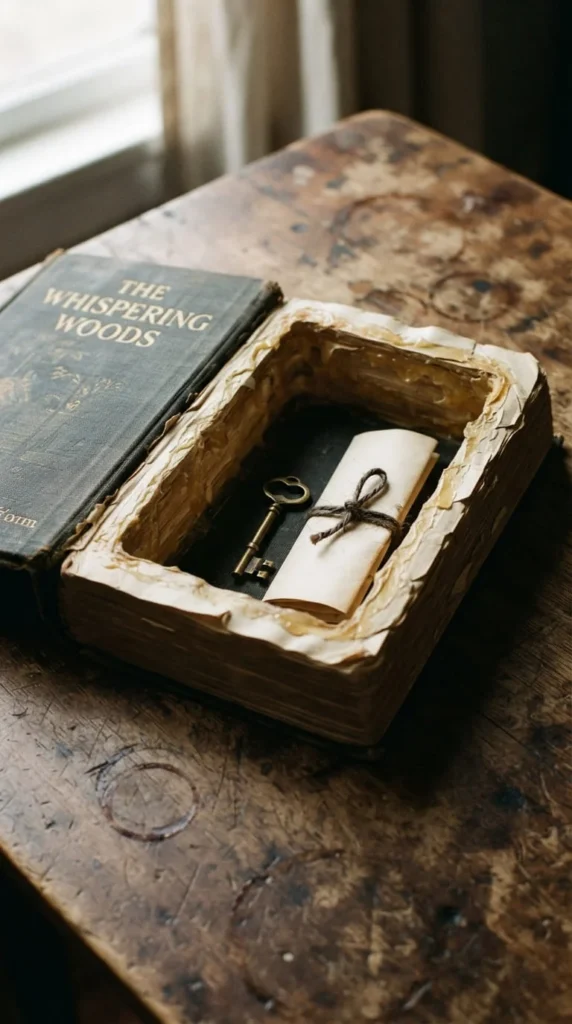
Turning an old book into a secret storage spot is one of the most practical projects on this list. It’s ideal for stashing spare keys, small jewelry, or cash somewhere a casual glance won’t find it — right there on the bookshelf, hiding in plain sight.
Pick a thick hardcover with pages you don’t mind cutting, then use a craft knife to slice through a block of pages at once, leaving roughly a one-inch border on all sides so the outer pages stay intact and the book still closes properly. Working in small batches of 15–20 pages keeps the cuts cleaner than trying to slice through the whole block at once.
Before you start using the cavity, seal the exposed inner edges with a thin layer of diluted craft glue. This stops the cut pages from fraying or peeling apart with regular handling. A coat or two of a sealant like Mod Podge on the interior walls adds extra durability, especially if the safe is going to get opened and closed often.
Once it’s dry, the book looks completely normal on a shelf. Slide it in among other books of similar height, and it blends right in — no one’s going to flip through a random hardcover looking for your spare cash.
3. Paper Rose Bouquet From Novel Pages
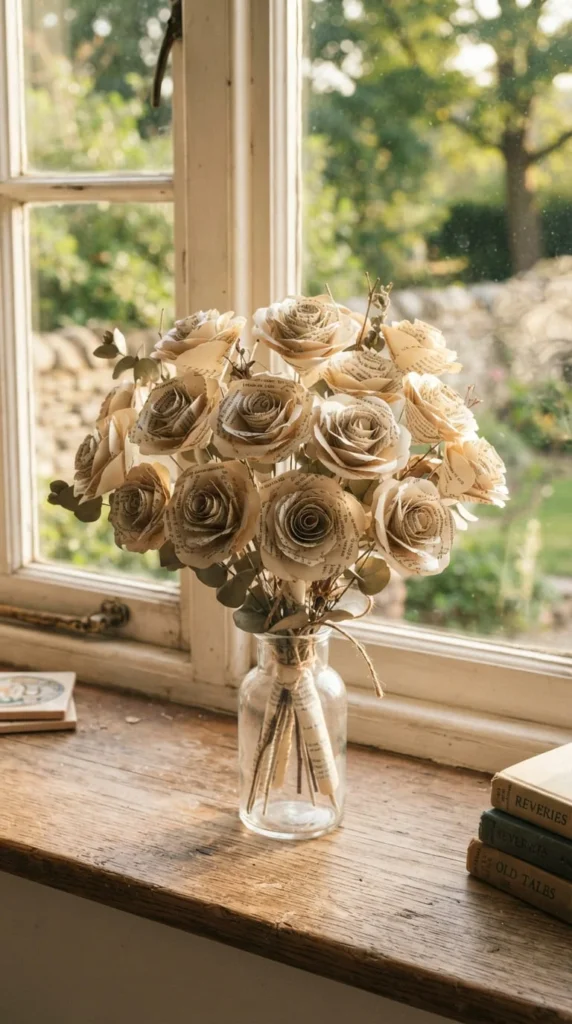
Paper flowers made from book pages have a texture and warmth that store-bought silk flowers just don’t match — you can still see fragments of printed text on the curled petals, which gives each bloom a bit of character.
To make a rose, cut a spiral pattern out of a single page, starting from the outside edge and working inward toward the center in a continuous curl. Once you unroll the spiral, gently curl each “petal” edge around a pencil or the back of a paintbrush to add shape and softness. Then roll the whole spiral from the outer end toward the center, letting the petals flare outward naturally as you go. A small dab of glue at the base holds the coil together.
For a fuller bouquet, mix in simpler five-petal flowers cut freehand — they’re faster to make and add visual variety. Attach floral wire stems wrapped in floral tape to each bloom so you can arrange them in a vase or bundle them for a wreath base.
A single bouquet uses surprisingly few pages — about 15 to 20 flowers can come from one paperback. Group them in a plain glass jar for a neutral, textured centerpiece that costs almost nothing to make.
4. Painted Ombré Spine Bookshelf Display
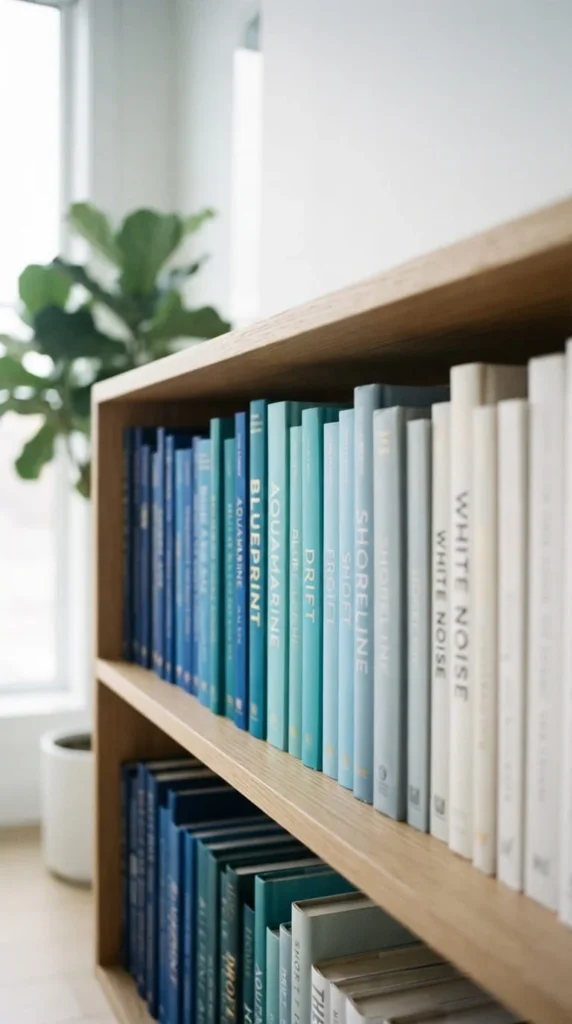
If your bookshelf looks cluttered no matter how you arrange it, painting the spines is a quick fix that turns mismatched books into a cohesive design element. This works especially well for books you keep for decoration rather than reading — old paperbacks with damaged covers are perfect candidates.
Pick a color palette that fits your room, then arrange your books by height or width before you start painting so you can plan the gradient. Using a small foam brush or sponge, apply acrylic paint directly to the closed spine edges, blending two adjacent colors slightly where each book meets the next. Two thin coats usually cover better than one thick one, and they dry faster too.
For a different effect, skip the gradient and paint single words or a repeating pattern across several spines instead — think one letter per spine spelling out a short phrase when the books sit side by side. This works great in a kid’s room or reading nook.
Let the paint fully cure for at least 24 hours before shelving the books normally. This project doesn’t touch the pages at all, so it’s reversible if you ever want to sand the spines back down.
5. Layered Page Wreath For The Front Door
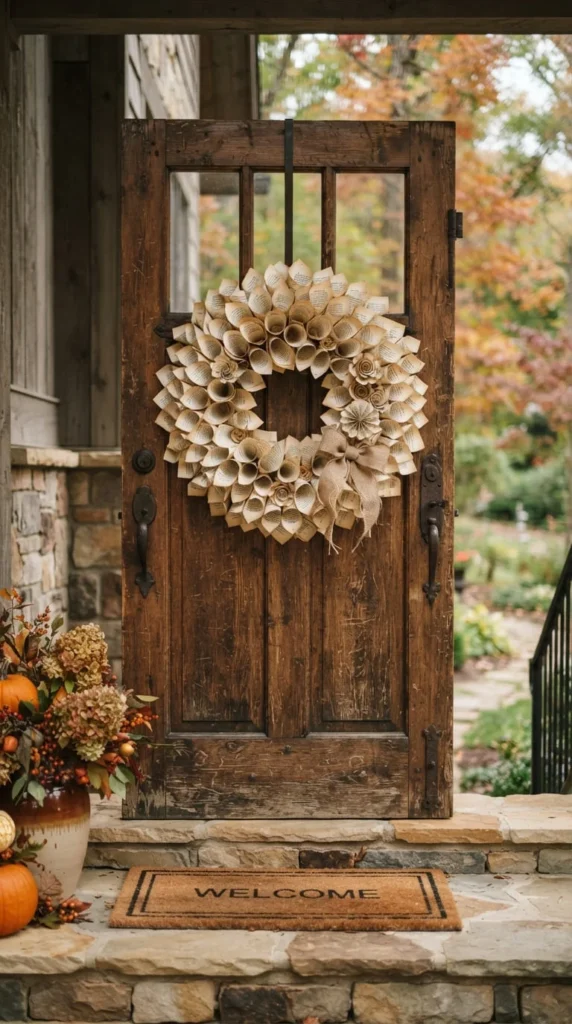
A wreath built from book pages has a soft, papery texture that looks handmade in the best way — and it costs a fraction of what a store-bought decorative wreath runs.
Start with a plain foam or wire wreath form as your base. Cut book pages into cone shapes, rolling each one from a wide base to a narrow tip and gluing the seam shut. Hot glue each cone onto the wreath form, working in overlapping rows so the tips all point the same direction, like scales. Filling in gaps with a few paper roses (see the flower project above) adds dimension and softens any uneven spacing.
Pace yourself with spacing before committing to glue — laying pieces out dry first helps you catch gaps early rather than discovering them once everything’s stuck down. A wreath usually takes 60–100 cones depending on the size of your form, so raid a few thrift-store paperbacks rather than sacrificing just one book.
Finish with a ribbon hanger at the top, and consider a light coat of matte sealant spray if the wreath will hang somewhere exposed to humidity, since paper softens quickly in damp air. Indoors, it’ll hold its shape for years without any extra care.
6. 3D Relief Book Sculpture
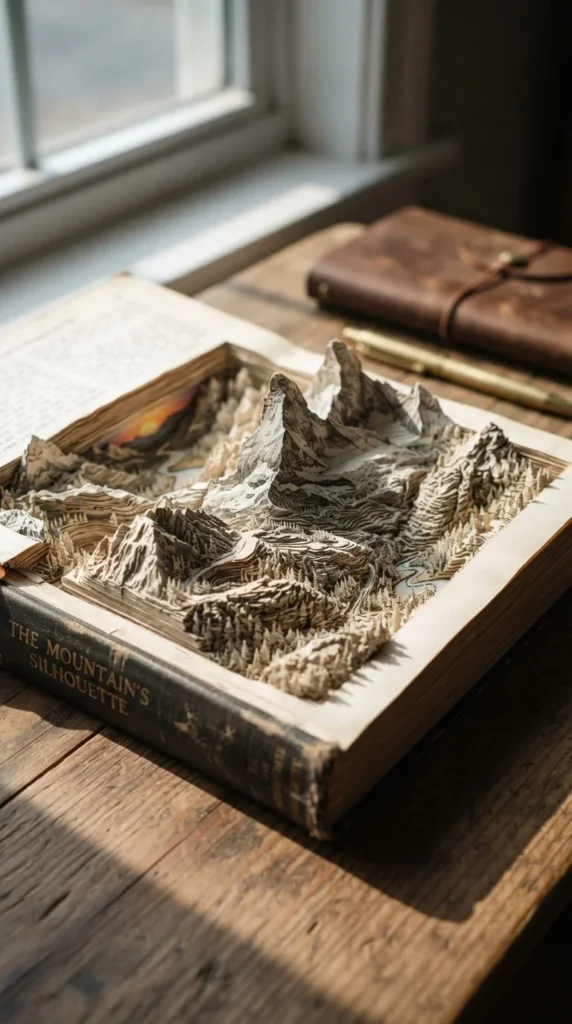
This project takes book folding a step further by cutting through the pages instead of just folding them, creating a sculpted scene with real depth — mountains, waves, city skylines, or tree branches that rise up out of the open book like a pop-up diorama that never closes.
Sketch your design directly onto the top page in pencil first. Then, using a sharp craft knife, cut along your outline through a set number of pages at once — cutting through 10 to 15 pages per pass keeps the layers distinct without making the cuts too shallow to notice. Repeat the design on the next block of pages, adjusting the shape slightly to build a sense of perspective as the layers recede.
Patience matters more than speed here. Rushing the knife work leads to jagged edges that ruin the clean layered look. Working in short sessions with a fresh blade keeps your cuts crisp.
Once finished, prop the book open at roughly a 90-degree angle on a stand or shelf bracket so the relief catches light from the side — that’s what makes the layers visible. A small reading lamp angled across the piece in the evening makes the shadows especially dramatic.
7. Mini Book Charm Earrings And Necklaces
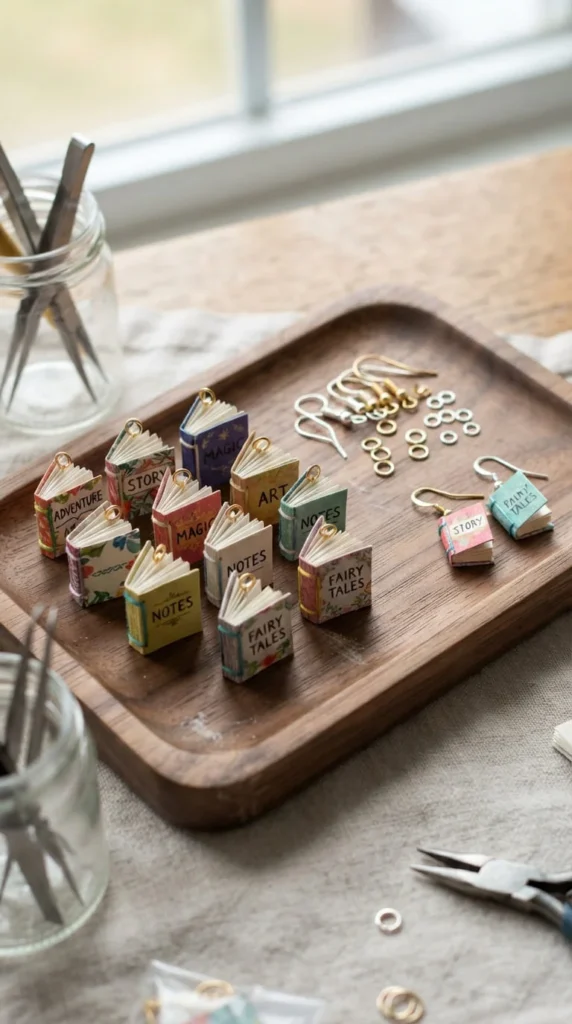
If full-sized projects feel like too much commitment, miniature book charms are a fast, low-material way to wear your book art DIY hobby instead of just displaying it.
Cut small rectangles of cardstock — roughly the size of a fingernail — and stack five or six together to mimic the look of a tiny closed book. Fold a slightly larger piece around the stack as a “cover,” and stitch or glue along the fold to hold it together like a spine. A tiny scrap of ribbon glued across the front can stand in for a title band if you want it to look like a real miniature novel.
Attach a jump ring through the spine fold, then clip on earring hooks or thread it onto a chain for a necklace. Because these use scraps rather than whole pages, one damaged book can supply enough material for a dozen charms.
Size matters more than people expect — anything wider than about an inch starts feeling heavy on an earring, so keep the base rectangle small if it’s going near your ears rather than around your neck. These make quick, thoughtful gifts for book-loving friends and cost almost nothing beyond a pack of jump rings.
8. Vintage Tea-Stained Junk Journal
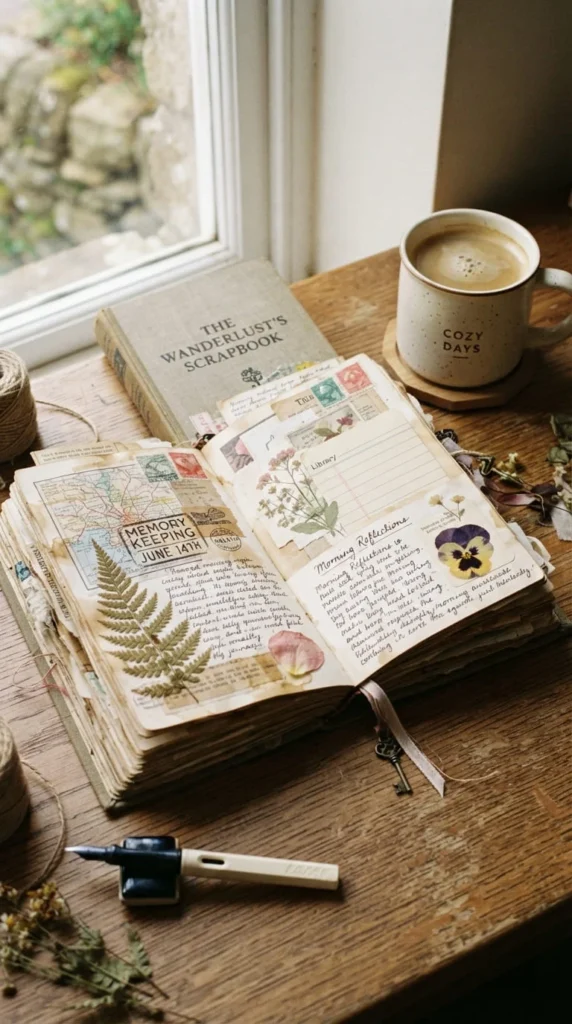
Turning an old novel into a journal gives it a second life as something you’ll actually use, rather than something that just sits on a shelf. The tea-staining step is what gives the pages that warm, aged look you see in vintage journaling photos.
Brew a strong batch of black tea and let it cool slightly. Using a wide brush, apply the tea directly to each page, working quickly since thin paper absorbs liquid fast. For a mottled, antique effect, crumple the page slightly before staining or dab the tea unevenly rather than brushing it flat. Let everything dry completely — this can take a full day flat on a towel — before moving on, or the pages will warp.
Once dry, prime a few pages with a thin layer of gesso where you plan to write or paint, since raw book pages tend to bleed ink and resist paint without it. Leave other pages untouched so the original text still shows through as a design element.
Add pockets from folded scrap pages, ephemera like ticket stubs or postage stamps, and ribbon page markers as you go. Unlike a store-bought journal, every page here already has its own texture and history built in before you’ve written a single word.
9. Book Page Garland For Parties
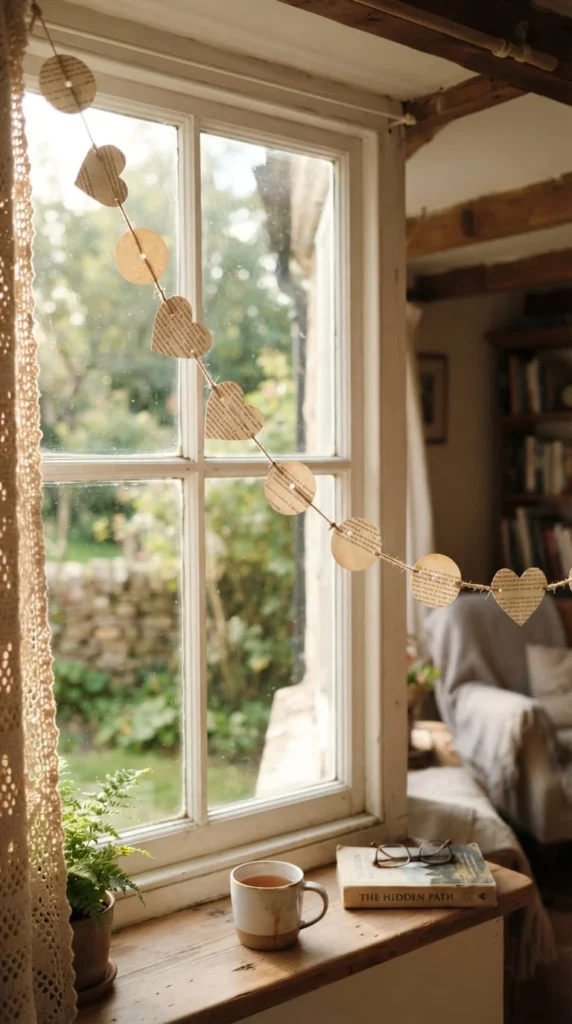
A garland made from cut book pages is one of the fastest projects on this list, and it’s especially good for using up pages that are too torn or stained for other crafts.
Use a paper punch to cut simple shapes — circles, hearts, or scalloped ovals all work well — from individual pages. A single paperback can yield well over a hundred small shapes, so this is a good way to use up a book you’ve already pulled flowers or folds from elsewhere. Thread the shapes onto plain kitchen twine or clear fishing line using a large needle, spacing them evenly or in a repeating color-block pattern if you’ve mixed in colored paper.
Varying the shape order slightly as you string it — two circles, one heart, repeat — keeps the garland from looking too uniform and mechanical. For a fuller look, double up the line with two strands hung slightly offset from each other.
These garlands work well for birthday parties, book club gatherings, or just as a semi-permanent window decoration. Since the paper is lightweight, a few strips of removable tape are all you need to hang it — no nails or hooks required, and it comes down just as easily when you’re ready for something new.
10. Gessoed Altered Book Art Journal
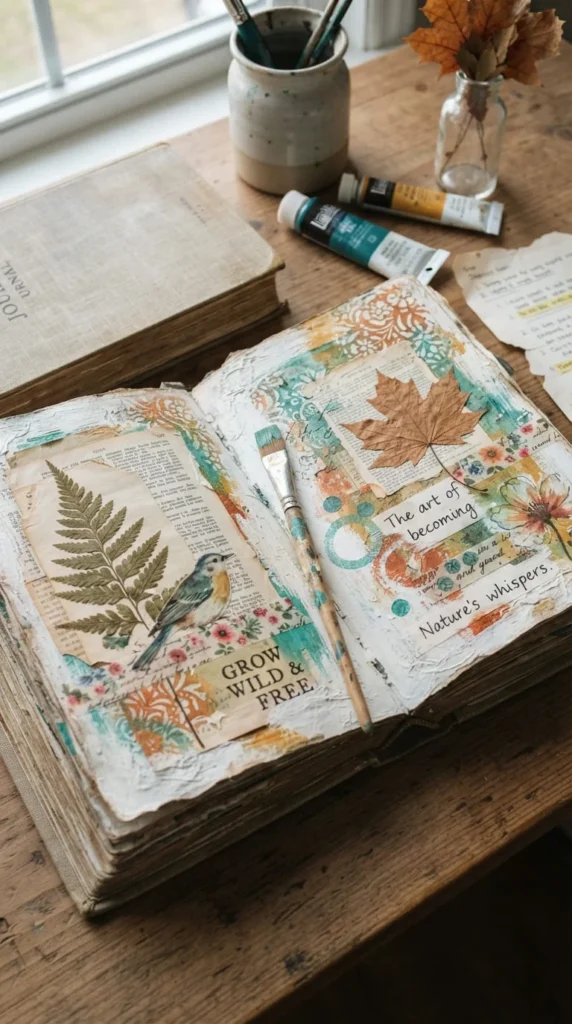
This project sits a step above basic journaling — it treats the book as a full-on mixed-media canvas rather than just a place to write. The gesso layer is what makes this possible, since it seals the printed text and gives you a stable surface for paint, ink, and collage.
Apply a thin coat of white gesso across a page (or a two-page spread) using a wide flat brush, letting some of the original text show faintly through if you like that layered look, or covering it fully for a blank canvas. Let it dry fully before adding anything on top — rushing this step causes paint to lift the gesso right back off.
From there, layer in stencils with acrylic paint or ink, torn scraps of patterned paper, pressed botanicals, or old photographs. Keeping each layer thin — ink before stencil before a light tissue paper wash — stops the pages from getting so thick with material that the book won’t close properly anymore.
Work through the book a spread or two at a time rather than trying to finish it in one sitting. Altered book journals tend to evolve over weeks or months, and that gradual buildup of texture and color is honestly part of the appeal.
11. Book Page Lampshade Or Light Wrap

Wrapping book pages around a light source creates a warm, diffused glow that plain lampshades can’t quite match — the printed text becomes a subtle pattern once light passes through the paper.
For a small string-light wrap, cut individual pages into strips and roll each one loosely into a cylinder, gluing the seam. Slide or glue these paper cylinders over each bulb on a string of LED lights, leaving a small gap at the top so heat can vent out. This only works safely with LED bulbs — incandescent bulbs run too hot and are a genuine fire risk with paper this close to the source.
For a lampshade-style project, wrap curled or folded page strips around an existing wire lampshade frame, overlapping each strip slightly and gluing it to the frame rather than to the strip next to it. This keeps the shade flexible enough to replace individual panels later if one gets damaged.
Keep any paper wrap at least a couple of inches from the bulb itself, and check it periodically for warm spots. Used correctly, this is a low-cost way to add texture and warmth to a reading nook, and it makes a genuinely unique gift for a book lover’s bedside table.
12. Floating Frame Collage From Illustrated Pages
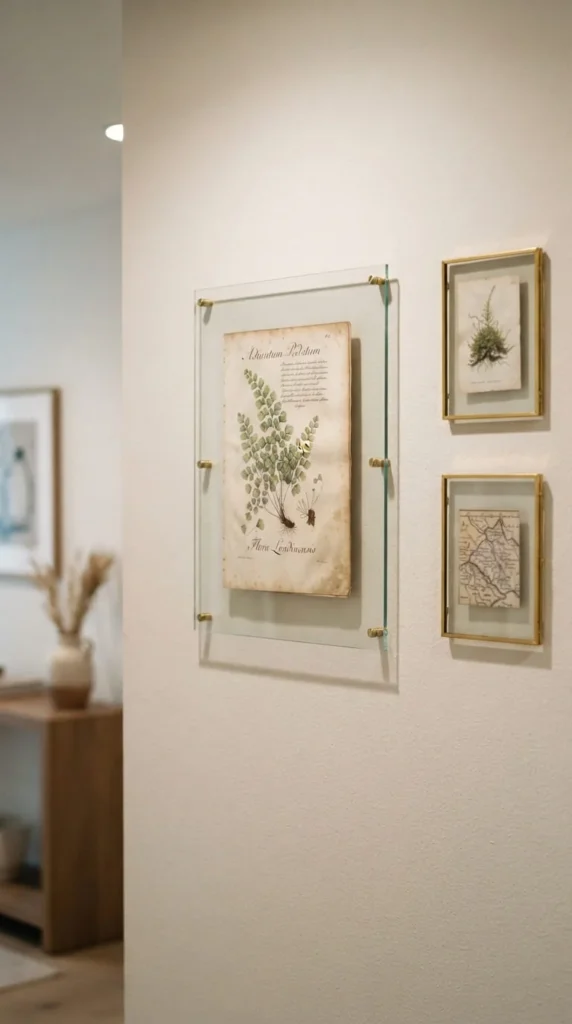
Some books have genuinely beautiful pages — botanical illustrations, old maps, sheet music, or decorative chapter headers — that deserve to be seen rather than buried in a book nobody reads anymore.
Carefully remove a page along the spine’s fold line using a sharp blade rather than tearing, which keeps the edge clean. A floating glass frame works best for this because it lets light pass through the paper and shows both sides if the page is interesting on the reverse too. Avoid regular glue-mounted frames, since trapped moisture can cause the paper to buckle or yellow unevenly over time.
For a gallery wall, group three or four pages with a similar theme — all botanical, all maps, all sheet music — rather than mixing random pages together, which tends to look more like clutter than curated art. Matching frame sizes but varying the page content slightly gives the wall a cohesive but not overly matchy feel.
This project works particularly well with old atlases, field guides, or illustrated encyclopedias, which often turn up cheap at thrift stores specifically because nobody wants outdated reference material — but the artwork inside still holds up decades later.
13. Paper Mache Sculpture Using Book Pages
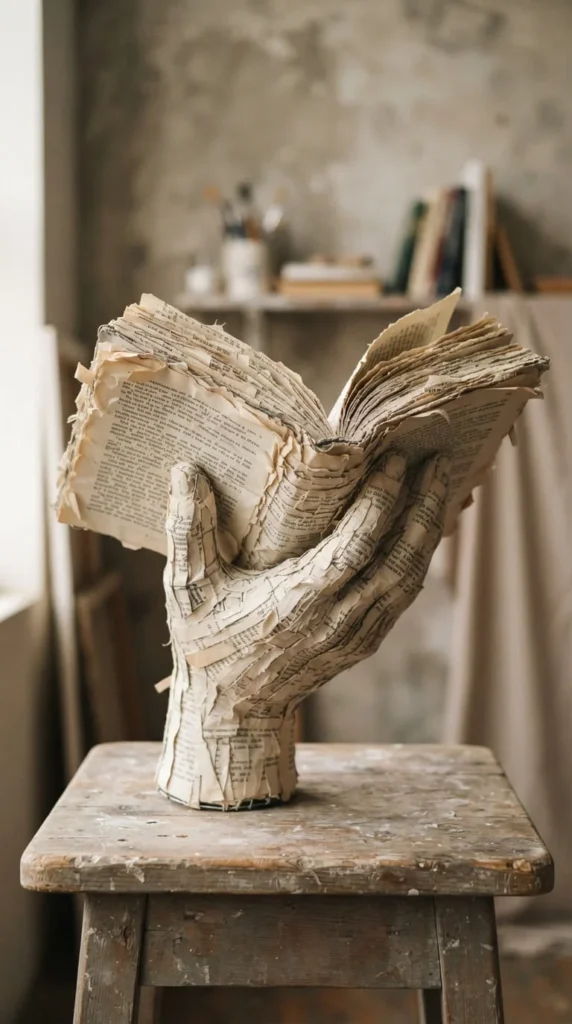
For a more ambitious project, paper mache turns torn book pages into three-dimensional sculptures — anything from a simple bowl shape to a detailed figure, depending on your patience and the armature underneath.
Build a rough shape first using wire, cardboard, or crumpled newspaper as your base structure. Tear book pages into strips rather than cutting them, since torn edges blend together more smoothly once layered. Dip each strip in a thin flour-and-water paste or diluted craft glue, then layer them over the armature, overlapping in different directions with each layer to add strength.
Three to four layers is usually enough for smaller sculptures, while larger pieces benefit from five or six for structural stability. Let each layer dry mostly before adding the next — working wet-on-wet leads to a soggy mess that takes days to fully cure and can warp your base shape.
Once fully dry, the surface still shows visible fragments of text and page edges, which gives the sculpture a distinct look compared to plain white paper mache. A light coat of matte varnish protects the surface and keeps it from absorbing dust or moisture, especially if it’s going to live somewhere with high humidity like a bathroom shelf.
14. Book Page Gift Wrap And Bows
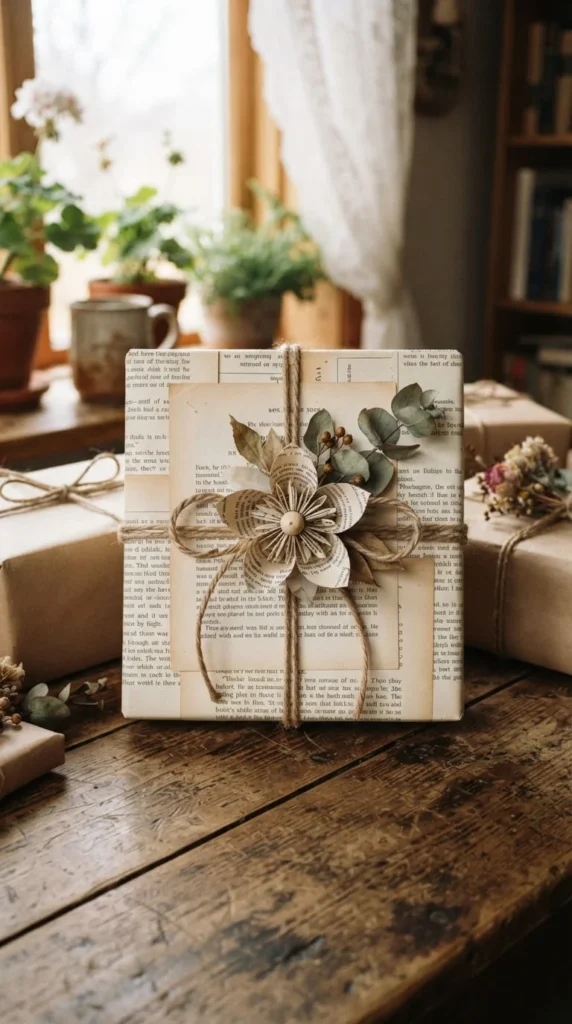
Instead of buying wrapping paper, book pages make an unexpectedly elegant substitute — especially for gifts going to readers, teachers, or anyone who’d appreciate the upcycled touch.
Iron pages flat first on a low, dry setting if they’ve got any creases, since smooth paper wraps much more cleanly around box corners. For larger gifts, tape several pages together at the edges to create a bigger sheet before wrapping normally. The text pattern reads as a neutral, almost textural print from a short distance, so it pairs well with solid-colored ribbon rather than needing extra patterned accents.
For bows, cut several page strips into loops of varying sizes, then layer and glue them onto a small cardstock circle from the largest loop to the smallest, building outward like a pom-pom. Finish with a tightly rolled paper rose at the center for a bit of extra dimension.
Gift tags can come from a single die-cut shape — a small paper flower or leaf works well and ties the whole package together without needing store-bought tags. This entire wrap-and-bow combination usually costs nothing beyond tape and glue you probably already have, and it consistently gets more comments than wrapping paper from a roll ever does.
15. Rolled Paper Bead Jewelry From Pages
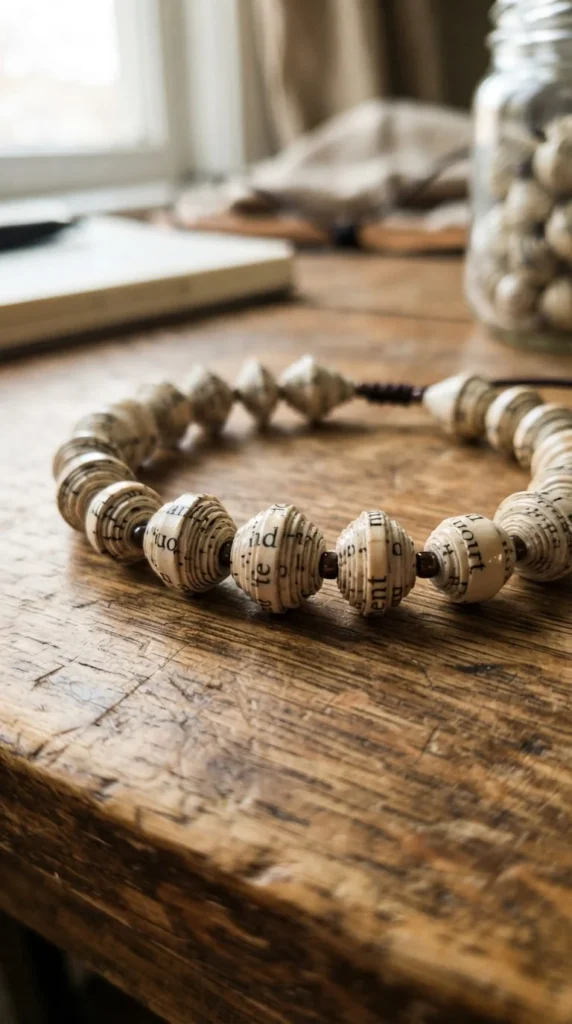
Paper beads have been a craft staple for generations, and book pages give them a distinctive, slightly muted look compared to plain colored paper, since the printed text peeks through the varnish once the beads are sealed.
Cut long, narrow triangles from book pages — a template speeds this up if you’re making a whole bracelet’s worth. Starting from the wide end, roll each triangle tightly around a thin skewer or toothpick, adding a dab of glue at the narrow tip to seal it. The width of the triangle’s base determines the bead’s final thickness, so cutting a few test shapes first helps you dial in the size you want before committing to a full batch.
Once rolled, slide the beads off the skewer and let them dry completely before handling further. A couple of coats of clear varnish or a glossy sealant protects the paper from moisture and wear, since raw paper beads can soften and lose shape with regular handling otherwise.
String the finished beads onto elastic cord or wire for a bracelet, or mix them with wooden or glass beads for more visual contrast. A single bracelet typically needs 15 to 20 beads, which means one book page easily supplies enough material for several pieces.
16. Book Bowl Molded From Page Strips
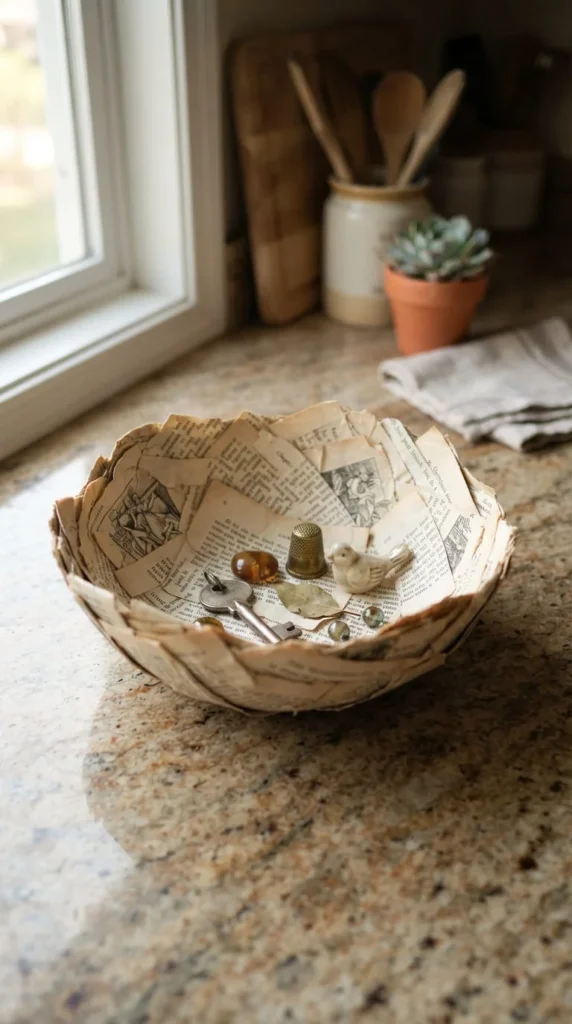
A book page bowl works as a catch-all for keys, jewelry, or loose change, and it’s a satisfying project because the finished shape is so different from the flat pages you start with.
Find a round bowl to use as a mold, and cover its outside surface with plastic wrap so your finished piece releases cleanly once dry. Cut book pages into strips, dip each one in a thin glue-and-water mixture, and layer them over the mold in crisscrossing directions, smoothing out air bubbles as you go. Four to five layers gives you enough rigidity to hold its shape once removed.
Let the shape dry fully on the mold — this usually takes a full day or two depending on humidity — before gently working it free from the edges inward. Trim the rim with scissors for a clean edge once it’s released and fully dry.
A coat or two of matte or glossy varnish on both the inside and outside seals the paper and makes the bowl wipeable, though it’s best used for dry items rather than anything liquid. Sized right, these bowls work well by an entryway for keys and mail, or on a dresser for jewelry and spare change.
17. Personalized Name Or Word Folded Book Art
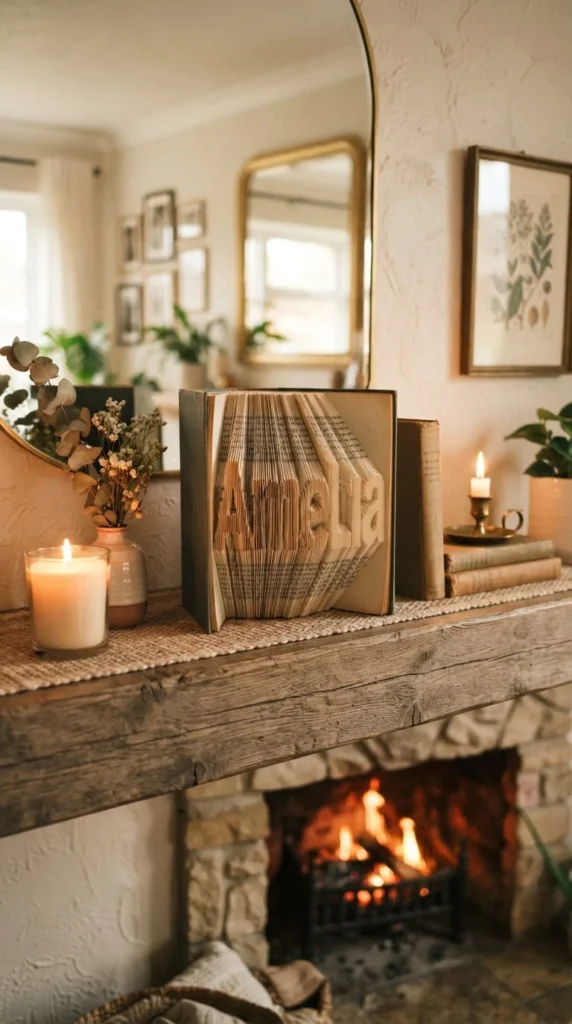
Building on the basic folded silhouette technique, this version turns a book into a custom name plaque or short word — a genuinely thoughtful gift for a birthday, wedding, or nursery.
Shorter names and simple letter shapes (think block-style capitals) are far easier to fold accurately than cursive or narrow letters, so keep that in mind if this is your first attempt at lettering rather than a basic silhouette. Map out your word on a printed template first, since letters need consistent spacing and height across the page block to read clearly once folded.
Mark each fold point carefully — letters are less forgiving than abstract shapes like hearts or stars, since even a small folding error can distort a letter enough to make it unreadable from a few feet away. Folding every page rather than skipping every other one usually produces crisper, more legible letters for this particular project.
Once complete, the book stands open on its own, spine down, with the folded word rising up from the pages. These make especially meaningful gifts when you use a book with some connection to the recipient — a favorite childhood title, or a novel that matches their name somehow — turning a simple craft into something genuinely personal.
18. Book Page Wall Butterflies
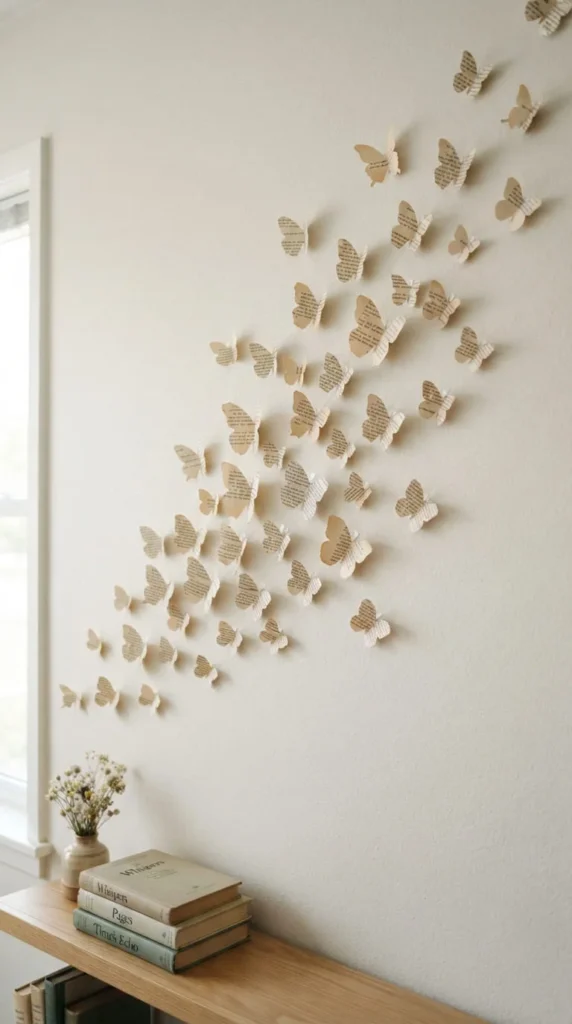
A cluster of paper butterflies on a plain wall adds movement and texture without committing to a full mural or painted design — and it’s an easy project to scale up or down depending on how much wall space you’re filling.
Cut butterfly shapes from book pages using a template or a simple freehand outline, varying the sizes slightly so the finished arrangement doesn’t look too uniform. Fold each one gently along the center to give the wings a slight three-dimensional lift rather than leaving them completely flat against the wall.
Attach each butterfly using a small foam mounting square rather than flat glue — the foam creates just enough of a gap between the wall and the wings to cast a soft shadow, which is what makes the whole arrangement feel dimensional rather than like flat stickers.
Arrange them in a loose diagonal trail, denser at one corner and thinning out as they “fly” across the wall, rather than a rigid grid pattern. This works especially well above a headboard, along a stairwell, or scattered around a mirror. Since the mounting squares don’t damage paint, the whole arrangement comes down cleanly whenever you’re ready for a change.
19. Thrift-Flip Budget Altered Book
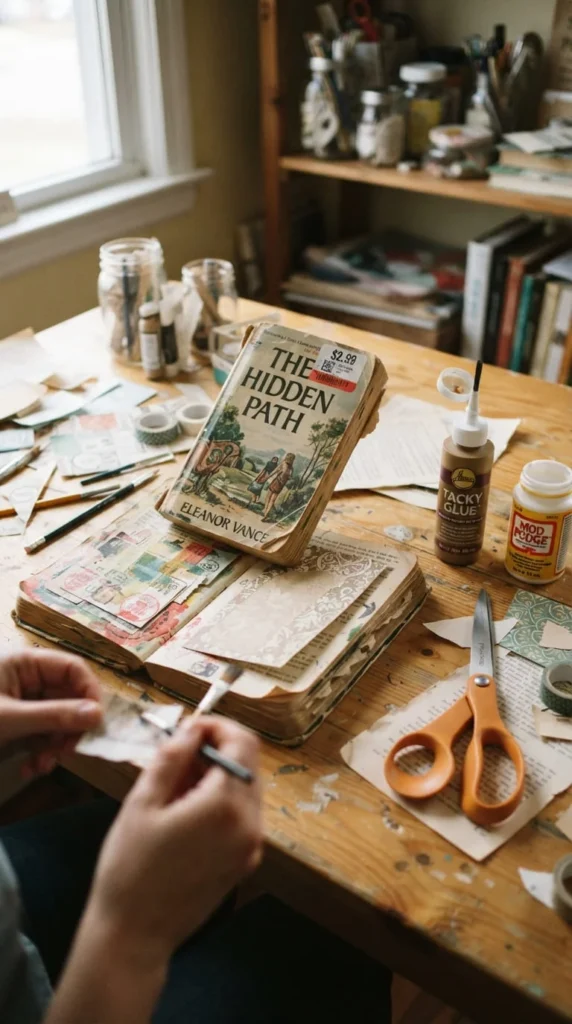
If you’re new to book art DIY and don’t want to sacrifice a book you actually care about, thrift stores are the obvious starting point — paperbacks there often run under a couple of dollars, which makes mistakes cheap and low-stakes.
Look for books with sturdy bindings and reasonably thick paper, since flimsy paperback stock tends to tear or wrinkle more easily during folding, cutting, or gluing. Slightly water-damaged books that stores mark down even further are often fine for projects where you’re painting or covering the pages anyway, since the damage won’t show once altered.
Buying two or three cheap books at once gives you room to experiment without pressure — try a fold on one, a gesso layer on another, and a page-pulling project on the third. This is a much better way to learn technique than jumping straight into a book with sentimental value and hoping it turns out.
Once you’ve got a technique you like, thrift-flipping becomes an ongoing, low-cost hobby rather than a one-time project. Many secondhand shops restock weekly, so checking back regularly means a steady supply of cheap raw material for whatever book art idea you want to try next.
20. Book Page Envelope And Stationery Set
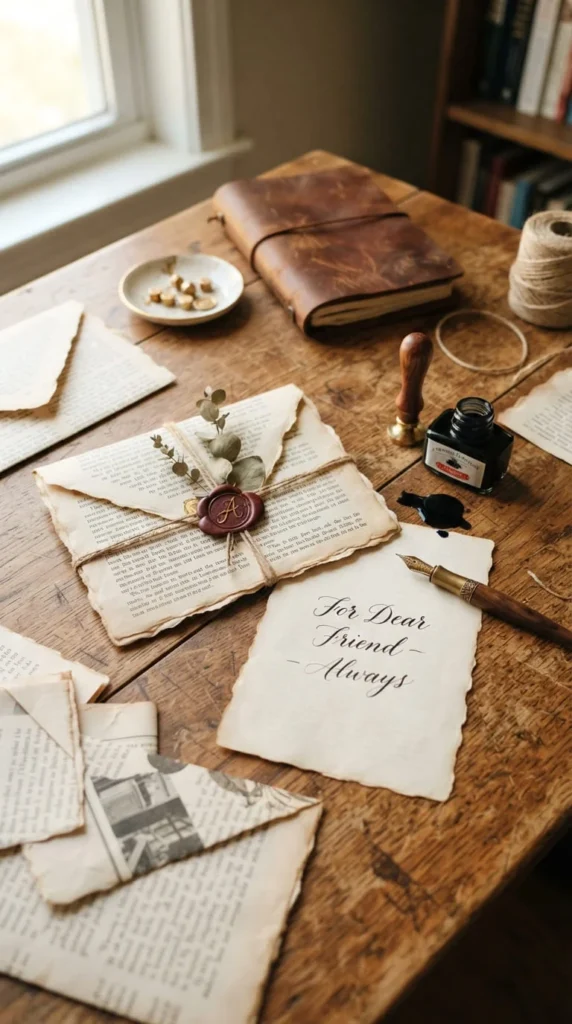
Handwritten letters already feel a bit old-fashioned, so envelopes made from book pages fit the mood perfectly — and they’re one of the more practical projects here since you end up with something genuinely usable.
Use an existing envelope as a template, tracing its unfolded shape onto a book page and cutting it out. Fold along the original crease lines, gluing the side and bottom flaps just like a standard envelope. Pages with visible chapter numbers or interesting typography in the corners make for a nice detail once folded, since those elements often land near the visible flap.
For matching note cards, cut plain cardstock to size and glue a smaller cutout of a book page onto the front as a decorative panel, leaving the inside blank for writing. A wax seal or a small paper flower on the envelope flap finishes the set without much extra effort.
Because book pages vary in thickness, test a folded envelope with a standard stamp and see if it holds up through handling before making a whole batch for actual mailing. For gifting rather than mailing, thickness matters less, so thinner pages work fine as a presentation set paired with a handwritten card inside.
21. Classroom-Friendly Book Art Activity For Kids
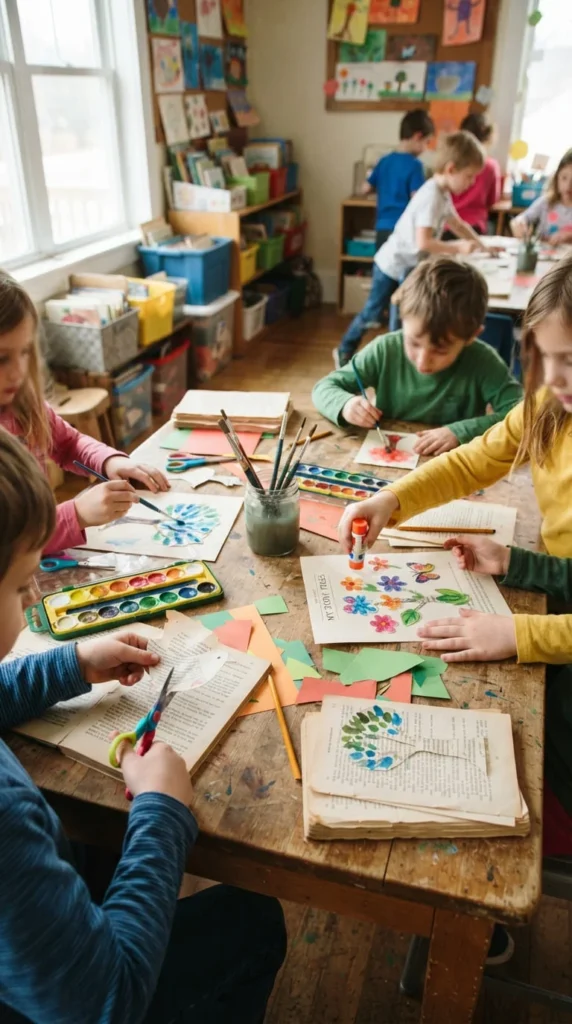
Book art doesn’t have to involve sharp knives or hot glue to be worthwhile — there are plenty of versions simple enough for kids, and they double nicely as a literacy activity alongside the craft itself.
Watercolor painting over a printed page is one of the easiest starting points: kids paint a simple sky, landscape, or pattern directly on top of the text, letting some words show through the color. Dot printmaking using the eraser end of a pencil dipped in paint is another low-mess option that works well for younger children who aren’t ready for scissors yet.
For a slightly more involved project, kids can draw a winding path or “adventure map” across a spread of pages, then add small paper cutout characters or landmarks along the route. This pairs especially well with a favorite storybook, turning the activity into a way to retell or reimagine the plot visually.
Keep the pages you use blank on the reverse side if possible, or choose books that are already damaged beyond reading, so nothing usable gets sacrificed for the sake of the craft. A tray of paints, some safety scissors, and a stack of old books is genuinely enough to fill an afternoon.
22. Stenciled And Layered Mixed-Media Book Cover Art
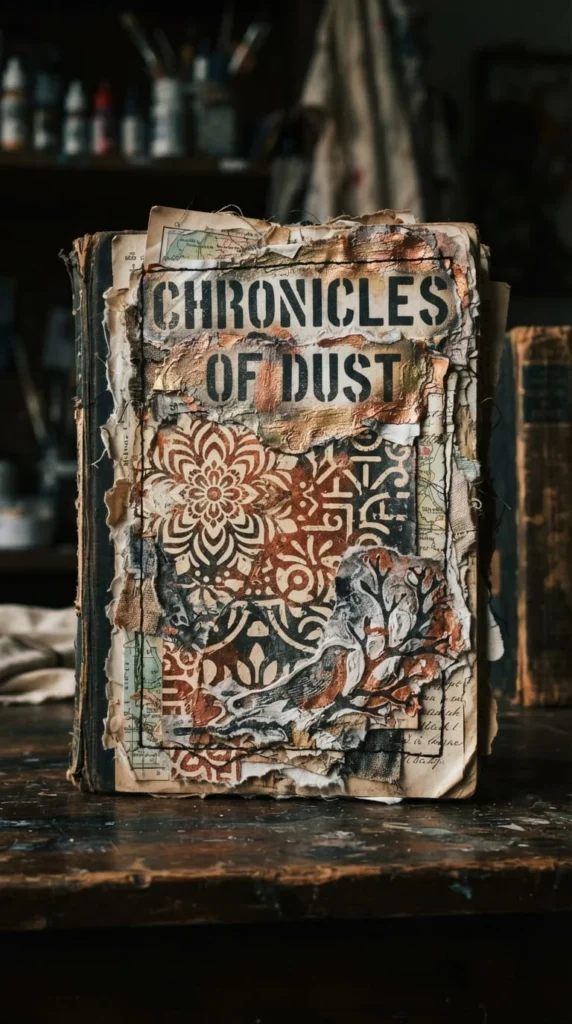
The cover itself is often the most overlooked surface in book art DIY, but a worn or plain hardcover can become a small mixed-media canvas with a few layered techniques.
Start by lightly sanding a glossy cover so paint and glue actually adhere instead of beading up. Apply a base layer of acrylic paint or a thin layer of gesso, then build texture with stencils, torn paper collage, or a light layer of joint compound for raised patterns if you want real dimension. Metallic paint or wax applied sparingly over raised areas catches the light and adds contrast without overwhelming the design.
Working in thin layers with drying time between each one keeps the final result from looking muddy — rushing straight from paint to stencil to collage in one sitting tends to blend colors together in a way that’s hard to undo.
Once finished, this becomes a display-only piece rather than a functional book, since the pages inside usually stay untouched while all the work goes into the cover itself. Prop it upright on a shelf, angled slightly forward, so the raised texture and layered materials catch natural light throughout the day.
Conclusion
Turning old books into decor, jewelry, or gifts isn’t about following one rigid method — it’s really about picking a technique that matches the book you’ve got and the time you’re willing to put in. A stack of thrift-store paperbacks and a bit of glue can become a wreath, a set of earrings, or a hidden safe depending on what your space actually needs. Start with one project that feels manageable, whether that’s a simple painted spine or a folded silhouette, and let your confidence build from there before moving on to carved reliefs or paper mache. The next time you’re about to donate a box of old books, take a second look first — one of them might be a decor project waiting to happen. Grab a page, a bit of glue, and start folding.