

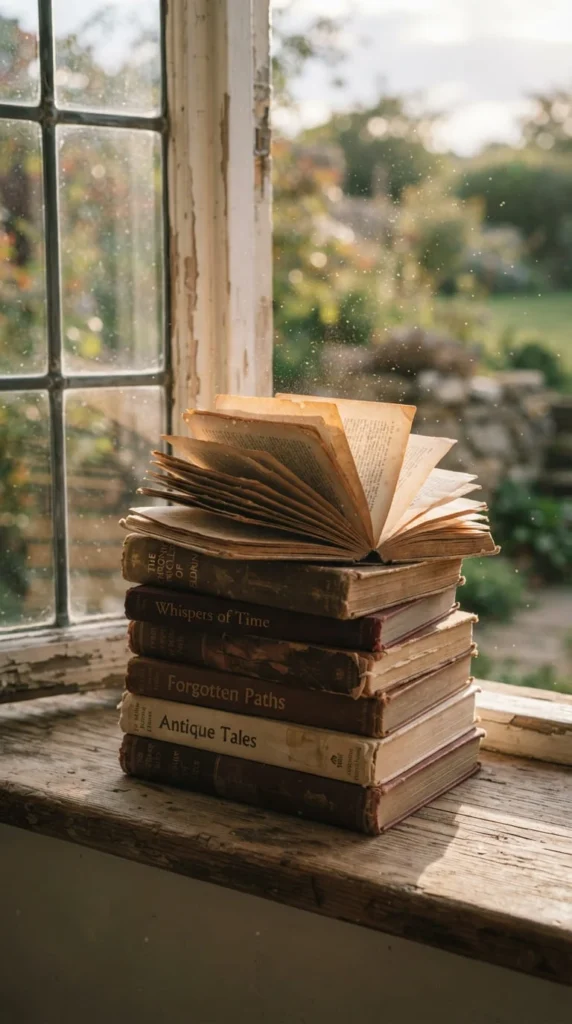
That box of old books sitting in the attic or on the bottom shelf doesn’t have to end up at the donation bin or in the recycling pile. With a bit of time and a few basic tools, those pages can become something you’d actually want in your home — wall art, seasonal décor, jewelry, even functional storage. Old book art ideas cover a surprisingly wide range of skill levels and styles, from a five-minute bookmark to a carved hollow-book safe that takes an afternoon. Before you start cutting into anything, it’s worth checking whether the book is better off donated, sold, or swapped instead — save the craft projects for copies that are damaged, outdated, incomplete, or otherwise unlikely to find a reader. Once you’ve sorted out which books are fair game, the ideas below walk through practical, hands-on ways to turn old pages, covers, and spines into something worth keeping.
1. Sort Your Books Before You Reach For Scissors

Not every old book belongs in a craft pile, and figuring that out first saves you from regretting a cut you can’t undo. A quick sorting pass takes ten minutes and makes every project afterward feel less guilty and more intentional.
Set aside anything that’s still readable and in decent shape — those can go to a library sale, a Little Free Library, or a secondhand bookshop instead of under your craft knife. Books with torn covers, missing pages, water stains, or broken spines are usually the better candidates for cutting apart, since they’re unlikely to find another reader anyway.
Check for a few things before you commit a book to the craft pile:
- Page count — thicker hardcovers hold shape better for folding or hollowing
- Paper condition — brittle or yellowed pages tear more easily
- Sentimental or resale value — a first edition or a gift inscription is worth pausing over
If a book turns out to be genuinely unsellable, most municipal recycling programs accept paper pages once the hardcover boards are removed, since the binding glue and cover material usually aren’t recyclable alongside regular paper. This sorting step isn’t just about ethics — it also means you’re not wasting good craft time on a book you’ll wish you’d kept.
2. Roll A Spiral Book-Page Rose
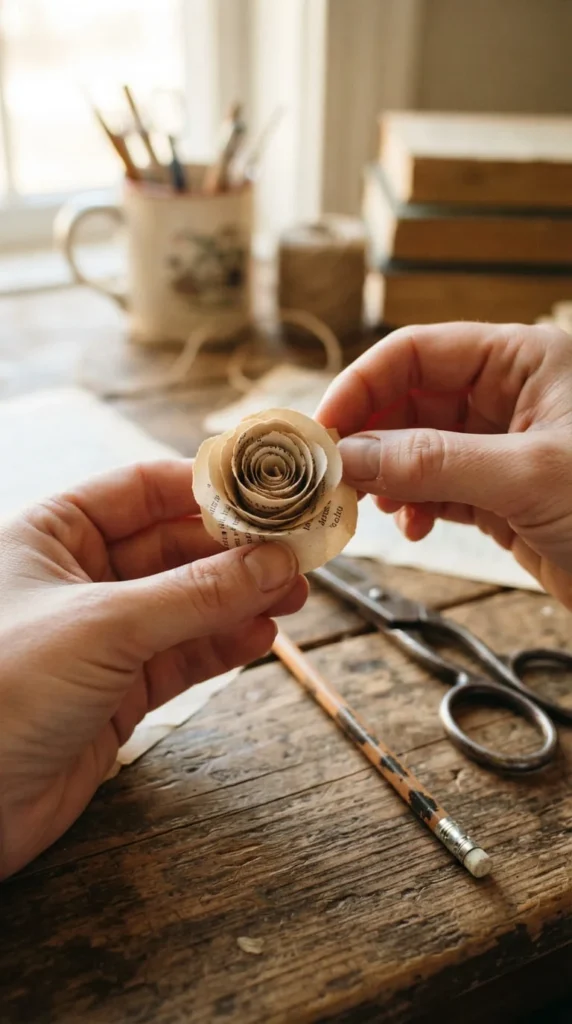
This is usually the first project people try, and it’s a good starting point because one mistake doesn’t ruin the whole page — you can just cut another spiral and try again.
Cut a rough circle from a book page, then cut inward in a continuous spiral until you reach the center, similar to peeling an apple in one long strip. Starting from the outer end, roll the strip tightly, letting it loosen slightly as you go so the rose opens up naturally rather than staying wound like a cinnamon roll. Glue the base once you’re happy with the shape.
Curling the edges of the spiral around a pencil before rolling gives the petals a softer, more natural look instead of sharp folded edges. Attaching a floral wire stem wrapped in tape lets you group several roses into a small bouquet or tuck them into a wreath.
A single page usually makes one good-sized rose, so a whole bouquet might use eight to ten pages — a good reason to start with a book that’s already too damaged to read cover to cover. Keep a few test spirals going at once, since the first one or two attempts often come out uneven while you get a feel for the tension.
3. Fold A Heart Silhouette From The Spine Out
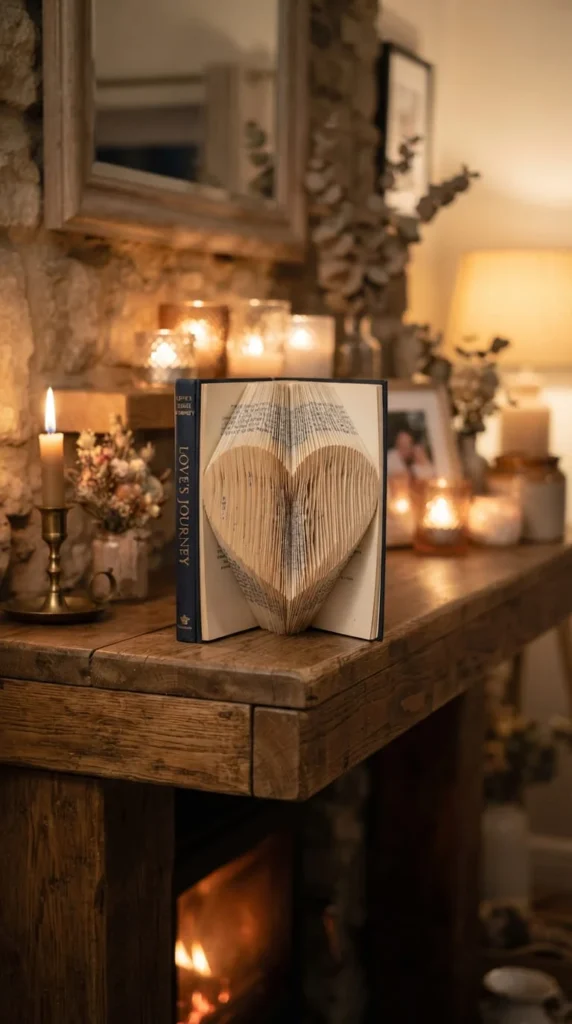
Folded book sculptures work by turning each page into a small triangle that, stacked together, builds a recognizable shape — hearts are the easiest starting silhouette because the curves are forgiving of small measuring errors.
Pick a hardcover with around 200 pages or more so there’s enough bulk for the shape to hold together once folded. Mark two points on each page using a printed template or a simple ruler measurement, then fold the top corner down to one mark and the bottom corner up to the other, building the curve of the heart gradually from the spine outward.
Folding every single page gives the cleanest, most solid-looking silhouette, while skipping every other page creates a slightly more open, airy version. If some folds poke out past the edge of the book once you’re done, a careful trim along the exposed edge tidies things up without undoing your work.
This project stands on its own without a frame or stand, which makes it an easy gift — a heart shape works for anniversaries, Valentine’s Day, or just as a permanent shelf piece that doesn’t need seasonal swapping.
4. Build A Rustic Fall Wreath From Folded Cones
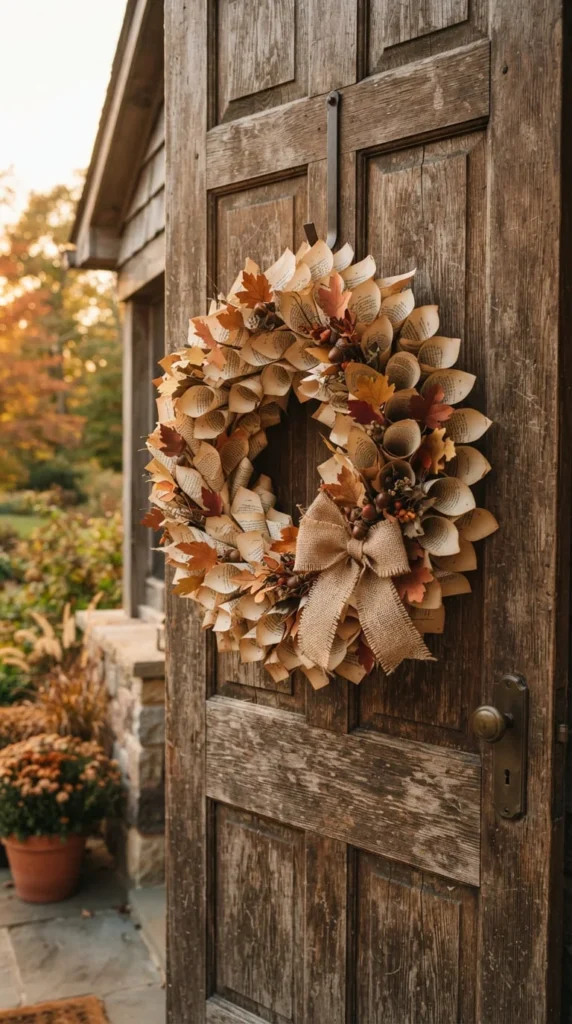
A wreath made from book pages fits naturally into fall décor, with its warm cream and tan tones already matching the season without any extra dye or paint.
Start with a plain wire or foam wreath base. Cut book pages into triangles, roll each one into a narrow cone starting from the wide end, and glue the seam closed. Hot glue the cones onto the wreath form in overlapping rows, all pointing the same direction so they layer like shingles or pinecone scales. Filling gaps with a few paper roses or small folded leaves adds texture without much extra effort.
Laying the cones out loosely on the form before gluing anything down helps you spot uneven spacing while it’s still easy to fix. Most standard wreath forms take somewhere between 70 and 100 cones, so plan on using two or three damaged paperbacks rather than a single book.
Because paper softens in humid air, this wreath does best hanging somewhere covered — a porch overhang or an indoor entryway rather than a door that takes direct rain. A light coat of matte sealant spray adds a bit of extra protection if it’s going somewhere exposed.
5. Hollow Out A Book For Hidden Storage
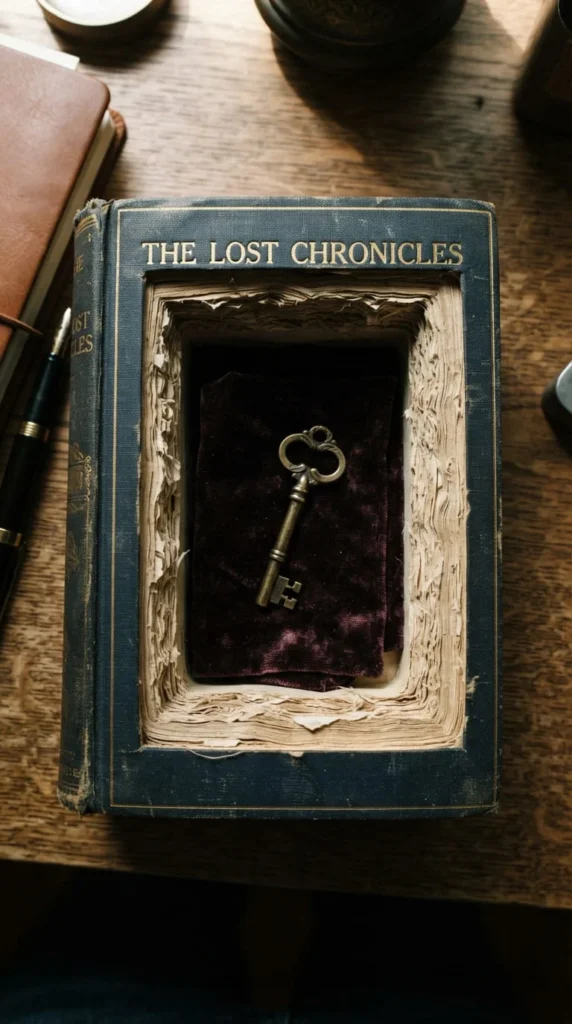
A hollow-book safe hides in plain sight on a shelf, which makes it a genuinely useful project rather than just a decorative one — spare keys, a bit of cash, or small jewelry all fit easily inside.
Choose a thick hardcover you don’t mind altering permanently, then use a sharp craft knife to cut through a block of pages, working in small batches of around 15 pages rather than trying to slice the whole block in one pass. Leave about an inch of border on all sides so the outer pages stay attached and the book still closes and looks normal from the outside.
Once the cavity is cut, seal the exposed inner edges with a thin coat of diluted craft glue to stop them from fraying with regular use. A layer of a sealant like Mod Podge over the interior walls adds extra durability if the compartment is going to be opened often.
Working slowly with a fresh blade matters more than speed here — a dull blade tends to tear pages instead of cutting them cleanly, which makes the cavity look ragged. Give the glue a full day to dry before using the compartment regularly.
6. Try Found Poetry On A Painted Page
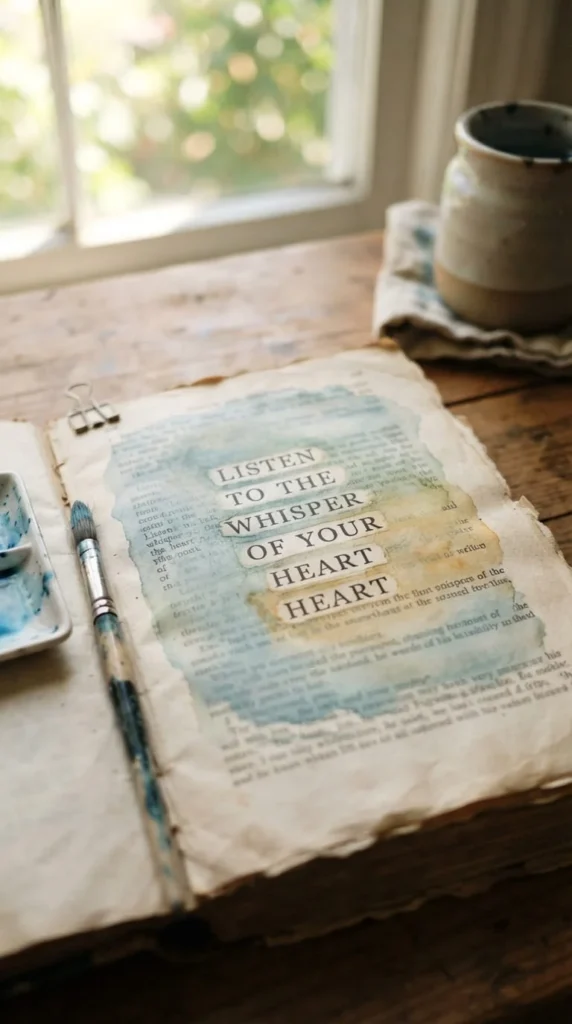
Found poetry takes a completely different approach from cutting or folding — instead of reshaping the book, you’re revealing a hidden message within the existing text, which makes it one of the more literary, low-material projects on this list.
Pick a page with interesting language, then read through it and circle a handful of words in pencil that could form a short phrase or sentence when read in order. Once you’re happy with your selection, paint over everything except those chosen words using watercolor, acrylic, or even a marker, leaving the selected words standing out against the painted background.
A thin wash of watercolor lets some of the surrounding text show through as texture, while a solid acrylic layer creates a bolder, more graphic contrast. Either way, work slowly around your chosen words with a fine brush so the edges stay clean.
This project works well framed individually or grouped as a small series from the same book, and it’s a genuinely different way to relate to old book art ideas — one that’s about uncovering meaning rather than building a shape.
7. Turn A Hollowed Book Into A Small Planter
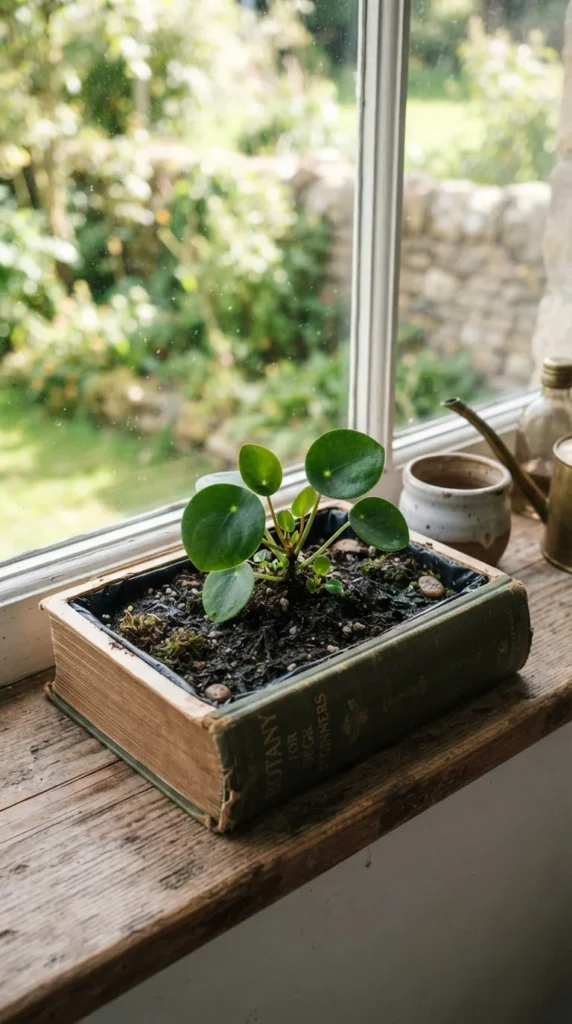
Building on the hollow-book technique, lining the cavity instead of leaving it bare turns the same basic project into a small planter — a nice option if the storage-safe idea doesn’t quite fit what you need.
Follow the same hollowing steps as the book safe, but instead of just sealing the paper edges, add a waterproof liner inside the cavity — a small plastic container, a cut piece of pond liner, or even a lined plastic bag works, since paper alone won’t hold up to regular watering no matter how much Mod Podge you apply.
Fill the liner with well-draining potting soil and choose a plant that tolerates lower light, since most bookshelves aren’t sitting in direct sun. Small succulents, pothos cuttings, or air plants tend to do better here than anything that needs frequent, heavy watering.
Keep the book propped at a slight angle or fully open rather than trying to close it, both to give the plant room and to keep condensation from building up against the pages. This project works best as a display piece rather than tucked onto a crowded shelf, since the open book itself is part of the visual appeal.
8. Arrange Removed Spines As Wall Art
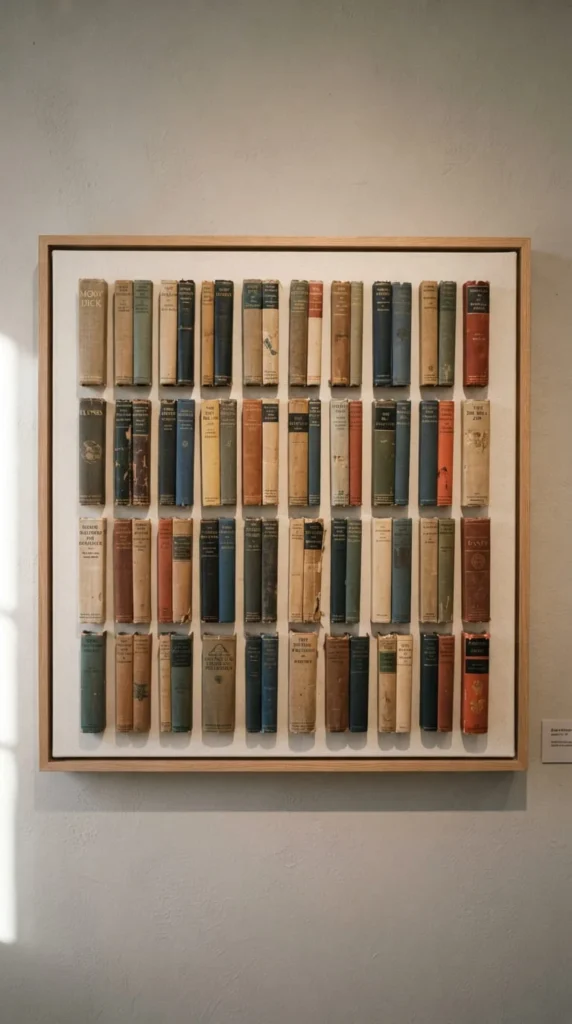
Book spines carry their own typography and color, which makes them an underused material for wall art — something a little more unusual than the usual painted-page canvas.
Carefully separate the spine from a damaged book using a craft knife along the inner hinge, keeping the spine intact as one flat piece. Once you’ve collected several from books with different colors or lettering styles, arrange them on a canvas panel or a flat wood backing in a grid, a loose scatter, or a gradient by color.
Glue each spine flat using a strong craft adhesive, pressing firmly and letting it dry under a light weight — a stack of books works fine here, somewhat fittingly — so the spines don’t curl up at the edges as the glue sets.
Mixing spines from a few different decades gives the piece some visual variety in typography and color without looking mismatched. This project uses up books that are otherwise hard to repurpose once the pages are gone or too damaged to use elsewhere, which makes it a good way to get value out of a book you’ve already pulled apart for other projects.
9. Turn A Book Cover Into A Photo Frame
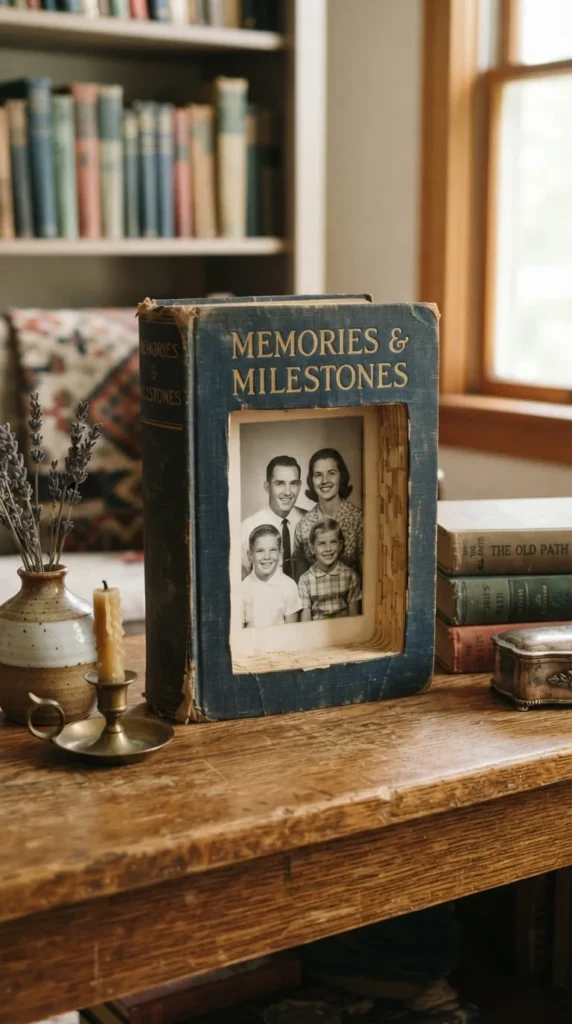
A book cover on its own has real visual weight — the texture, the color, sometimes decorative embossing — and repurposing it as a frame gives you a piece that looks intentional rather than obviously homemade.
Separate the front cover from the rest of the book, then cut a window into it slightly smaller than the photo or artwork you want to display, using a ruler and craft knife for straight edges. Mount your photo behind the opening using photo corners or a light adhesive so it can be swapped out later if you change your mind.
Backing the frame with a stiff piece of cardboard or thin wood keeps the cover from bowing once it’s hung or propped up. A small easel stand or a simple wall hook on the back finishes the piece.
This works especially well for a child’s artwork, a favorite family photo, or even a page from a different book if you want to keep the whole thing paper-themed. Using a cover with a color or pattern that already suits your room means less extra decorating once the frame is up.
10. Make Coasters From Rolled Book Pages
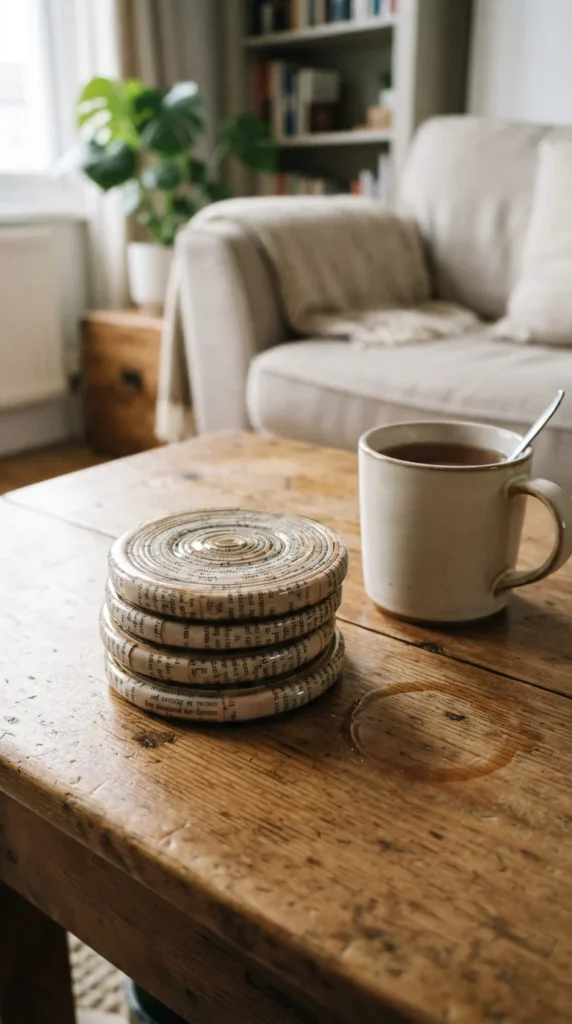
Coasters are a genuinely practical project — something you’ll actually use daily rather than just look at — and they use up scrap pages that are too small or torn for bigger projects like flowers or wreaths.
Cut long strips from book pages and roll each one tightly into a flat spiral, gluing as you go to keep the coil from unwinding. Once the spiral reaches your target coaster size — roughly four inches across works well for most mugs and glasses — glue the outer end down and let it dry flat under a light weight.
Because raw paper isn’t remotely waterproof, sealing is the step that actually makes these usable. Apply several thin coats of a glossy sealant, letting each one dry fully before adding the next, and pay extra attention to the edges where spills tend to soak in first.
These make a fast, low-cost gift set when paired together in a small stack of four or six, especially for someone who already collects books. Just set expectations that they’re meant for cool or room-temperature drinks — a scalding mug will test the limits of any paper-based coaster no matter how well it’s sealed.
11. Wrap String Lights In Book-Page Sleeves
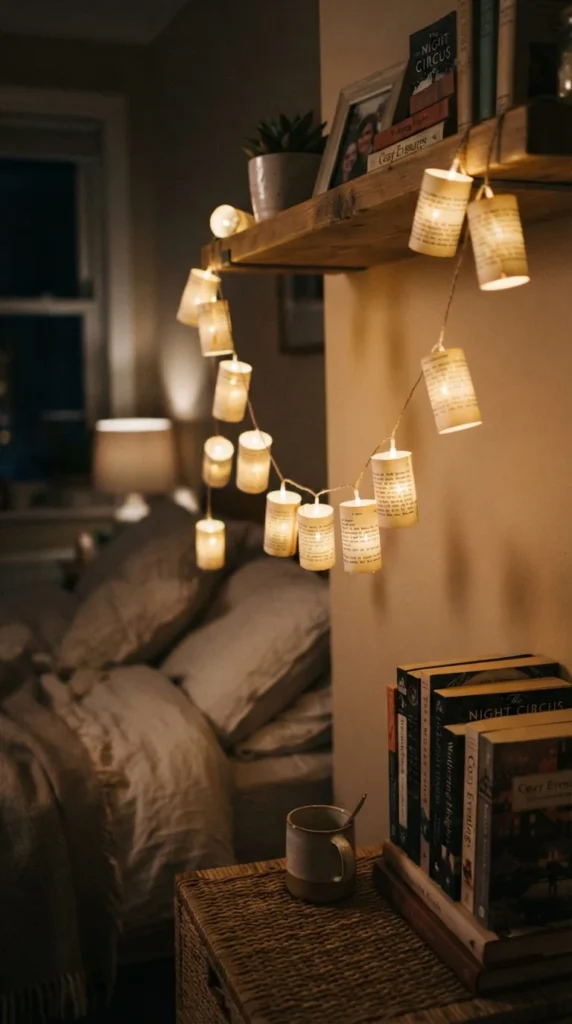
Paper sleeves around small lights create a soft, diffused glow that plain bulbs don’t have, and the printed text becomes a subtle pattern once the light shines through it.
Cut book pages into strips and roll each one loosely into a cylinder, gluing the seam to hold the shape. Slide each cylinder over an individual bulb on a string of lights, leaving a visible gap at the top so warm air isn’t trapped directly against the paper.
This only works safely with LED bulbs, since incandescent bulbs generate enough heat to pose a real fire risk this close to paper — don’t substitute here even if it’s the only string of lights you have on hand. Battery-powered LED strands also avoid the tangle of running a cord through a display.
Check the sleeves periodically for warm spots, especially if the lights run for several hours at a stretch. Used with the right bulbs, this project adds a warm, literary touch to a reading nook or a mantel display during the darker months, and it’s inexpensive enough to redo if a sleeve gets damaged or you want to freshen the look later.
12. Frame Decorative Typography And Chapter Headings
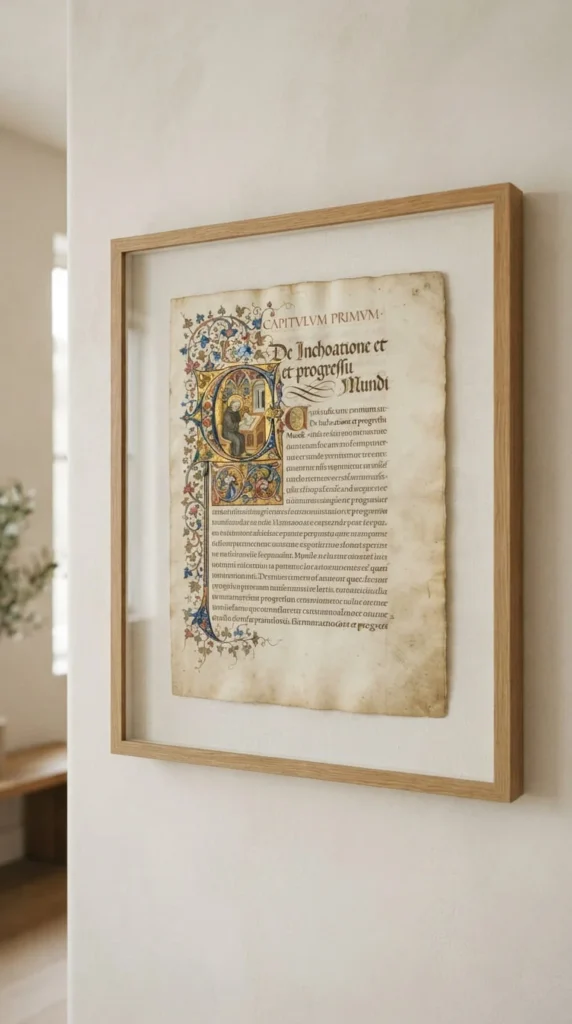
Older books often have genuinely beautiful design details buried inside — ornate chapter headings, decorative capital letters, printer’s marks — that most readers skim right past without noticing.
Flip through a damaged book specifically looking for these details rather than skimming for content. Once you’ve found a page worth keeping, carefully remove it along the spine’s fold line with a sharp blade, then trim it to fit a standard frame size if the design allows.
A simple black or neutral frame usually works best here, since the goal is to let the typography itself be the visual interest rather than competing with a busy frame. Grouping two or three of these together — maybe a decorative capital, a printer’s mark, and an ornate heading — creates a small, cohesive gallery wall built entirely around old-book design elements.
This project works particularly well with older reference books, encyclopedias, or anthologies, which often have more elaborate typographic details than modern paperbacks. It’s a good option if you want something that reads as literary and design-focused rather than the more common flower or wreath look.
13. Cover A Plain Storage Box In Book Pages
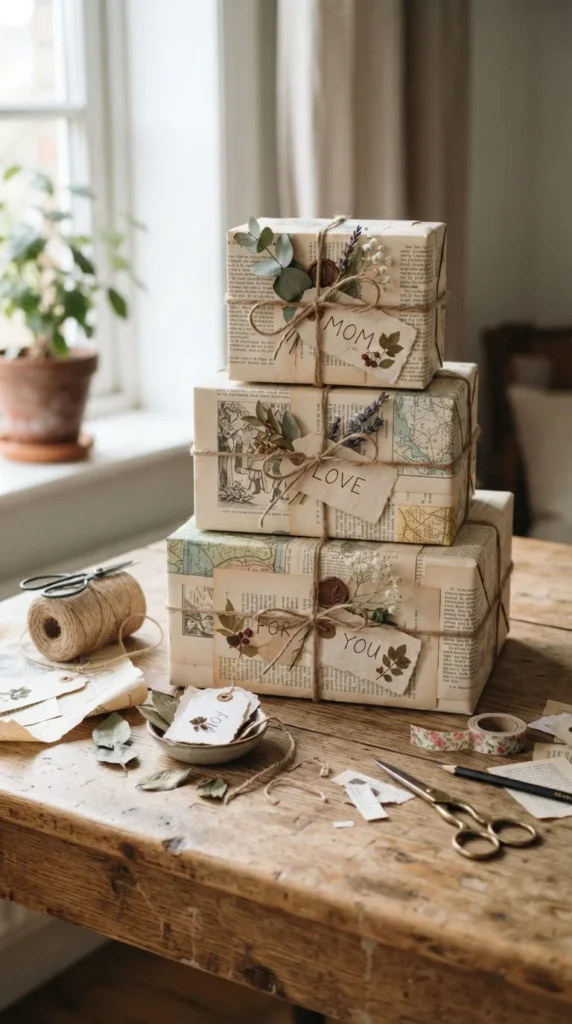
A plain cardboard or wooden box gets a completely different look once it’s wrapped in book pages, and the finished piece works for storage on a shelf just as easily as it works as a gift box.
Tear or cut book pages into pieces that suit the size of your box, and apply them with a thin layer of Mod Podge or diluted craft glue, working in overlapping sections so the seams aren’t obvious. Smooth out air bubbles as you go with your fingers or the back of a spoon.
Once the whole surface is covered and dry, add a final protective coat over the top to seal the paper and give it a bit of durability against everyday handling. A ribbon or twine tie, plus a small tag cut from a single page, finishes the look without much extra effort.
This project scales easily — a small jewelry box takes an afternoon, while a larger storage bin might take a full weekend spread across a couple of sessions. It’s also a good way to use up pages you’ve already pulled from other projects, since the coverage doesn’t need to come from a single intact book.
14. Make Quick Bookmarks From Book-Page Scraps
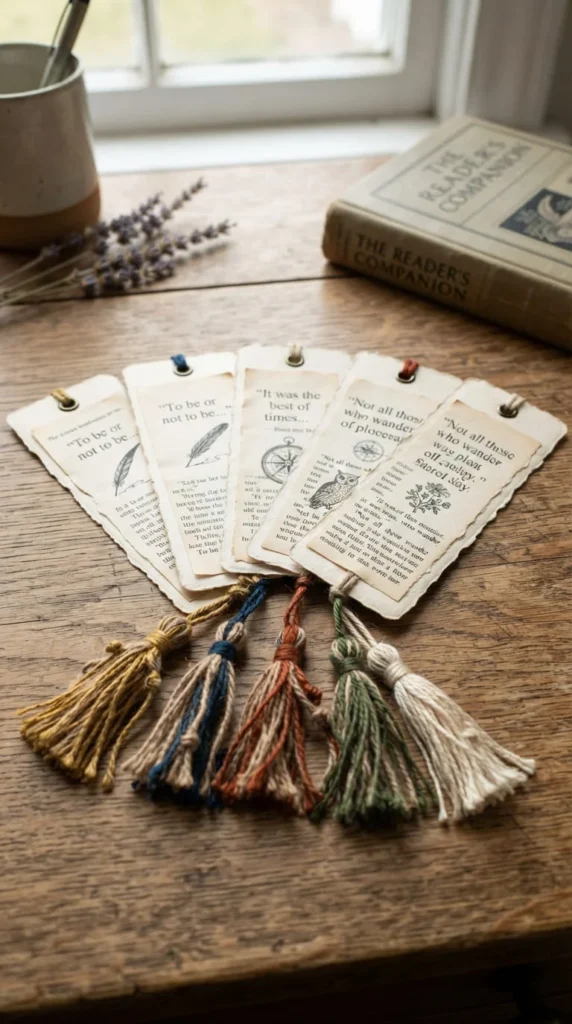
If you’re short on time or just want to dip a toe into old book art ideas without committing to a bigger project, bookmarks are the fastest option on this list — most take under fifteen minutes.
Cut a rectangle of sturdy cardstock as your base, then glue a smaller cutout of a book page onto the front as a decorative panel. Punch a hole at the top and thread through a length of embroidery floss or thin ribbon, finishing with a small tassel or bead at the end.
For variety, try layering two different page cutouts at slightly offset angles, or adding a pressed flower or small charm to the tassel. Laminating the finished bookmark, or sealing it with a thin coat of Mod Podge, keeps it from wearing out with regular handling.
Because each bookmark uses such a small scrap of paper, this is a good project for using up torn or unusable page fragments left over from bigger projects. A batch of six or eight makes a genuinely useful small gift for anyone who reads regularly, and it costs next to nothing beyond ribbon and cardstock you likely already have.
15. Build A Wall Clock From A Book Cover
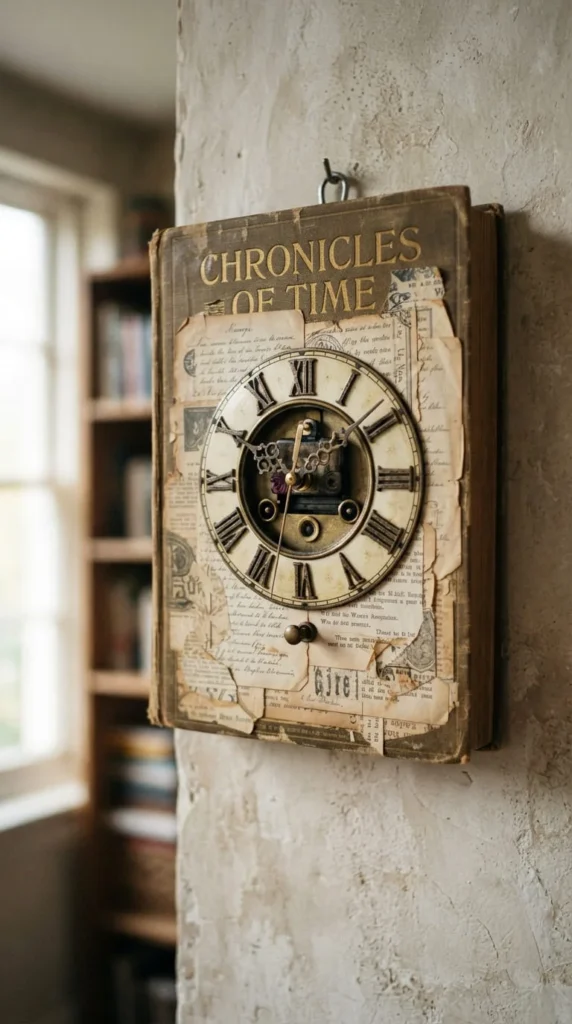
Turning a sturdy book cover into a working clock face gives you a functional piece that still reads clearly as upcycled book art rather than a generic craft-store clock kit.
Start with a thick hardcover, ideally one with a smooth, sturdy surface, and decide whether you want the plain cover showing or a collage of pages glued on top for texture. Drill a small center hole sized to fit a standard clock movement kit, which usually comes with the hands and mechanism included and just needs mounting from the back.
Mark hour positions lightly in pencil before attaching any numbers or markers, since spacing errors are much more noticeable on a clock than on most other projects here. Simple dot markers or small numbers cut from a different book page both work, depending on how minimal or detailed you want the final look.
Once the movement is mounted and the hands are attached, a small stand or a wall hook on the back finishes the piece. This project takes a bit more planning than most on this list, but the payoff is a genuinely functional item rather than a purely decorative one.
16. Fold An Animal Silhouette For A Nature Shelf
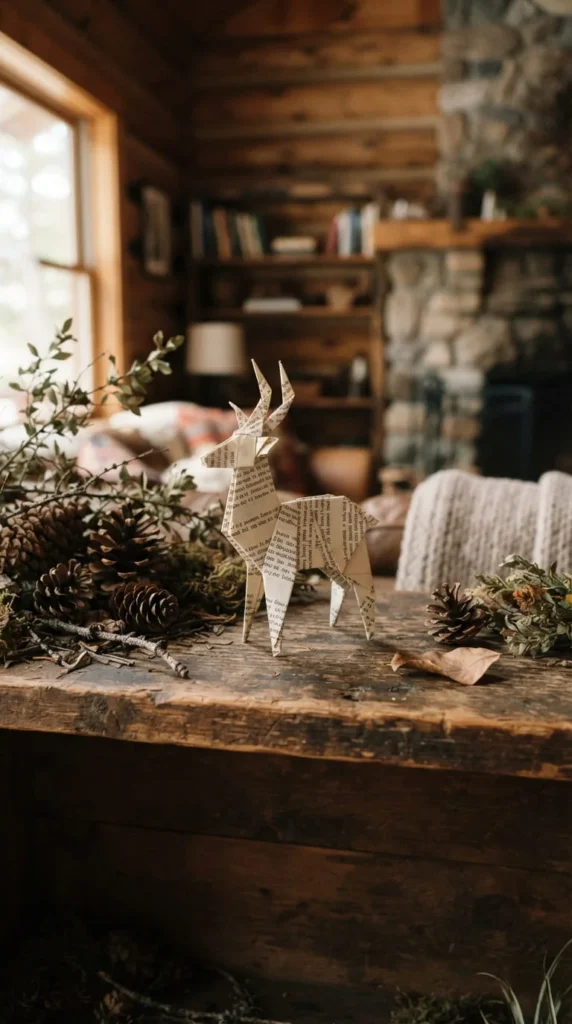
Once you’ve got the basic folding technique down from a heart or simple shape, animal silhouettes are a natural next step — a fox, an owl, or a simple bird outline all work well with the same fold-and-mark method.
Find or sketch a simple animal outline with clean curves rather than fine detail, since folded book art reads best as a bold silhouette rather than a detailed illustration. Mark your fold points across the pages the same way you would for a heart or star, adjusting the curve gradually as you move through the book to build the animal’s shape.
Animal shapes with a few defined high points — ears, a tail, a beak — tend to look more recognizable once folded than smoother, rounder shapes, so pick a reference image with a clear outline before you start marking pages.
Displayed on a shelf with a few natural elements like pinecones, dried branches, or moss, a folded animal silhouette fits a woodland or cabin-style décor theme nicely. It also makes a distinctive gift for someone whose personality or interests connect to a specific animal.
17. Combine Book Pages With Fabric For A Textile Hanging
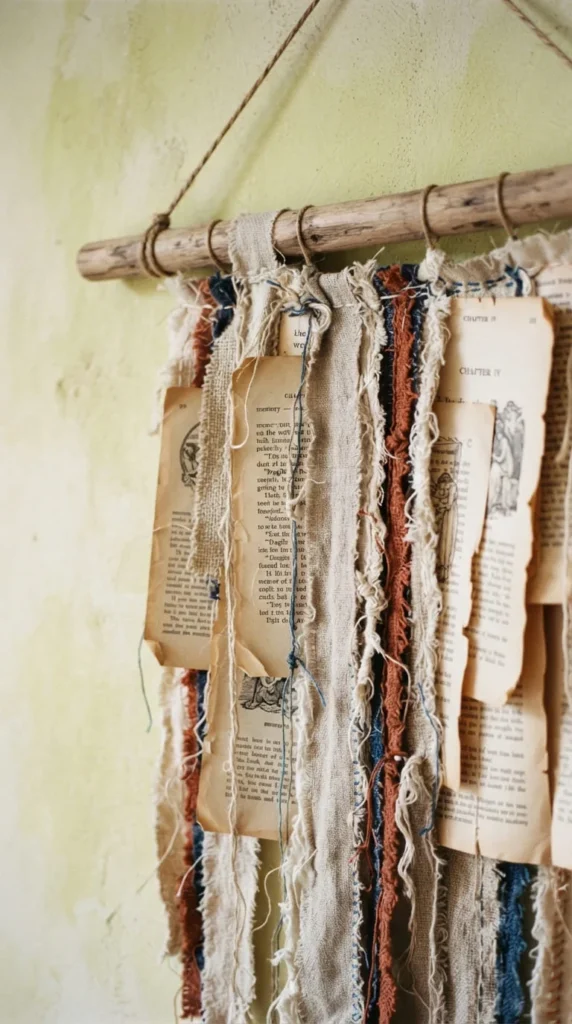
Mixing paper with fabric adds a softness and texture that pure paper projects don’t have, and it’s a good option if you’ve already got scrap fabric or lace sitting in a craft bin.
Cut book pages into strips or shapes and alternate them with pieces of linen, lace, or cotton fabric, stitching or gluing each piece onto a base of canvas or muslin. A simple straight stitch along the edges holds the paper in place better than glue alone, since paper tends to lift at the corners over time without some kind of mechanical fastening.
Mounting the finished piece on a wooden dowel with a length of twine for hanging keeps the whole thing lightweight and easy to display without a frame. Leaving a slightly uneven, raw edge at the bottom rather than trimming everything perfectly square gives the piece a more organic, handmade look.
This project works well as a slow, ongoing one rather than something finished in a single sitting — adding a new strip of paper or fabric every so often as you find pieces that work together. The mixed textures also mean it photographs well from a few different angles, which is worth keeping in mind if it’s going somewhere visible like an entryway.
18. Fold Place-Card Holders For A Dinner Party
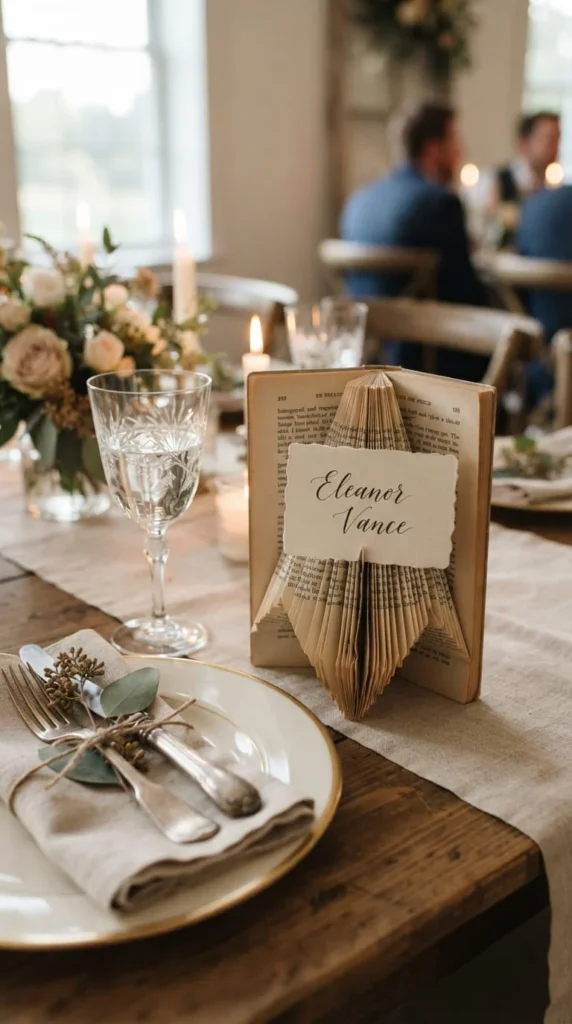
A small folded stand made from a single book page is a nice detail for a dinner party or a book-club gathering, especially for guests who’d appreciate the literary touch over a generic printed place card.
Cut a strip from a book page and fold it into a simple triangular or zigzag stand that can hold a small card upright on its own — a few practice folds usually gets the proportions right, since the base needs to be wide enough to balance without tipping. Gluing the final fold in place keeps the stand sturdy through a full meal and cleanup.
Write or print guest names on small cards that slot into the fold, or cut the name directly from cardstock in a coordinating color. Varying the page each stand is cut from — so no two look exactly alike — gives the table a bit of handmade variety instead of a uniform, mass-produced feel.
Because each one uses just a small strip of paper, a full set of eight or ten place-card holders barely dents a single book, making this a good project for using up a partial book you’ve already pulled other pages from.
19. Rebind A Vintage Cover Into A New Sketchbook
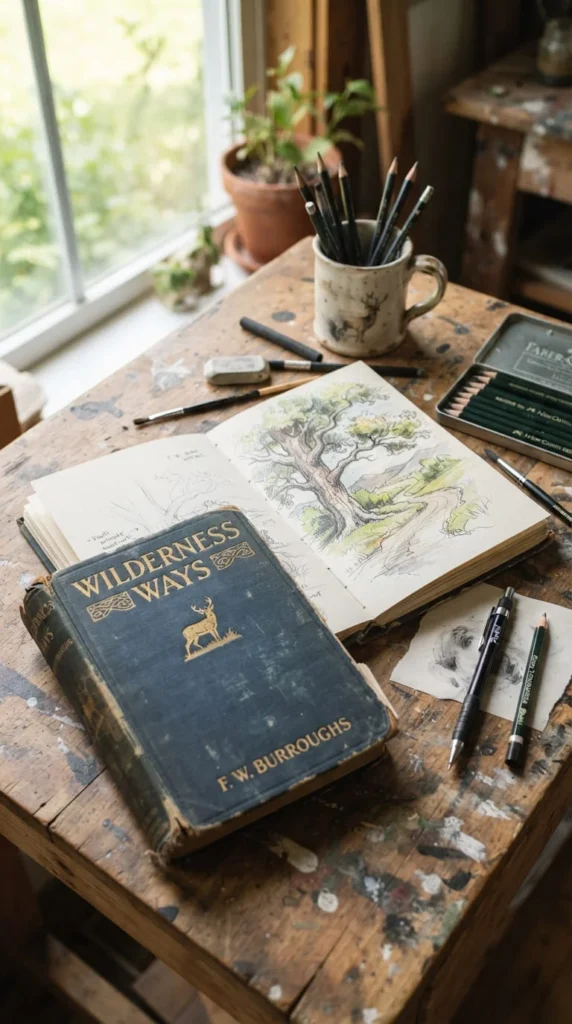
If a book’s original pages are too damaged to keep but the cover is still sturdy and has character, rebinding it around fresh blank pages gives you a sketchbook or journal with a one-of-a-kind exterior.
Remove the original pages and clean up the spine area, then measure and cut a stack of blank paper to fit the cover’s dimensions. A simple pamphlet stitch through the spine, or a few strong staples reinforced with binding tape, holds a modest stack of pages securely enough for regular use.
Lining up your new pages evenly before binding matters more than it seems — even a small offset becomes obvious once the book is closed and the edges don’t match the original cover’s trim.
The finished sketchbook carries the visual weight of the original book — its color, texture, maybe even a faded title — while giving you a completely blank interior to fill however you like. This is a particularly good option for a book with sentimental value but pages too damaged to read, since it keeps the part you actually cared about while giving it new purpose.
20. Layer A Botanical Collage On Canvas
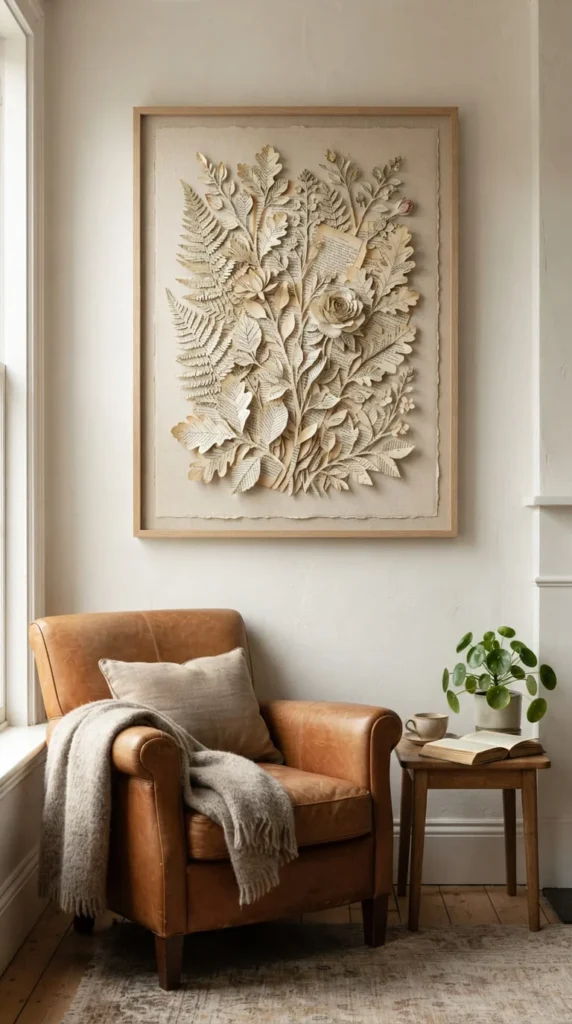
Cutting simple leaf and petal shapes from book pages and layering them into a botanical scene turns flat paper into something with real depth, without needing any drawing skill beyond a basic freehand outline.
Sketch a few simple leaf and stem shapes directly onto book pages, then cut them out and arrange them on a canvas or wood panel before gluing anything down permanently. Layering smaller shapes slightly overlapping larger ones creates a sense of depth, similar to how real leaves cluster on a branch.
Varying the shade of the pages — some newer and whiter, some yellowed and aged — adds natural-looking variation to the piece without needing any paint or dye. A light coat of glue under each piece, applied with a small brush rather than squeezed directly from the bottle, keeps the edges from curling up once dry.
Hung above a reading chair or a bookshelf, this piece ties the botanical theme back to its paper origins in a way that feels intentional rather than incidental. It’s also a flexible project size-wise — a small canvas takes an hour or two, while covering a larger panel with a fuller scene is more of a weekend project.
21. Build A Book-Page Pumpkin For Fall Décor
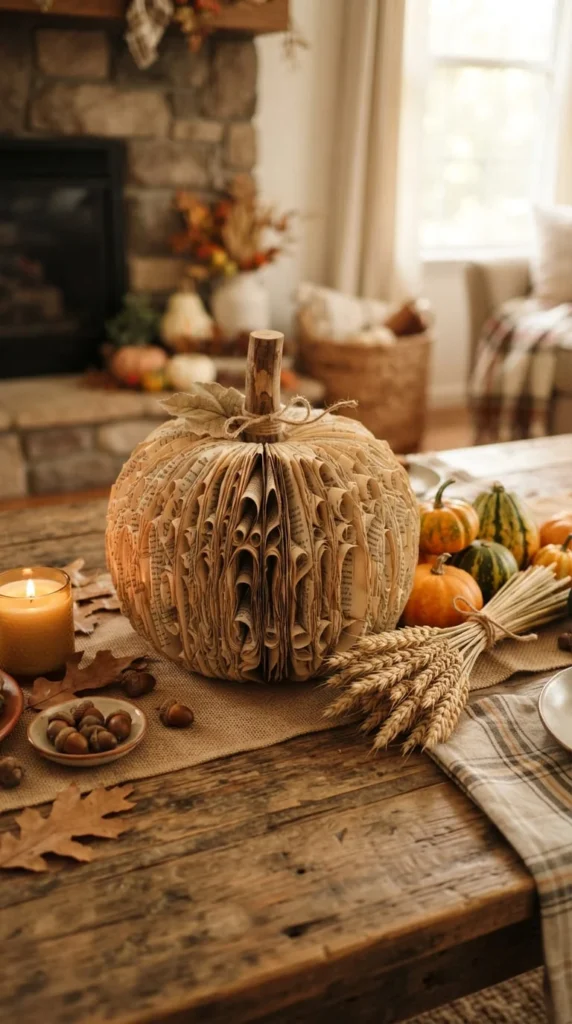
This seasonal project turns rolled book pages into a pumpkin shape, and it’s become a popular fall centerpiece because it fits a rustic, neutral color palette without needing any orange paint at all.
Cut a stack of same-sized strips from book pages, then roll each one into a loose cone or curved petal shape. Working around a round foam base or a recycled plastic pumpkin form, glue the strips in overlapping rows from the bottom up, curving each strip slightly to follow the round shape as you go.
A real or faux stem — a short length of dried branch works well — finishes the top and sells the pumpkin silhouette at a glance. Grouping two or three in different sizes together, rather than displaying just one, gives the arrangement more visual weight on a mantel or table runner.
Because this project is entirely decorative, a light coat of matte sealant spray helps the paper hold its shape through the season without needing to worry about moisture the way a functional piece would. Once fall wraps up, these store flat if you press the strips down gently, ready to bring back out again next year.
Conclusion
Old books deserve a second look before they end up forgotten in a box or tossed out entirely, and the ideas above show just how far a stack of damaged paperbacks and a bit of glue can actually go. Start small if you’re new to this — a bookmark or a single paper rose will teach you the basic handling skills that carry over into bigger projects like folded sculptures or hollow-book safes. Keep the books worth reading out of the craft pile, and save your scissors for the copies that are already too worn to pass along. Pick one project from this list, pull out a damaged book you’ve been meaning to deal with, and give it an afternoon — you might end up with a piece you like better than anything you could buy.