
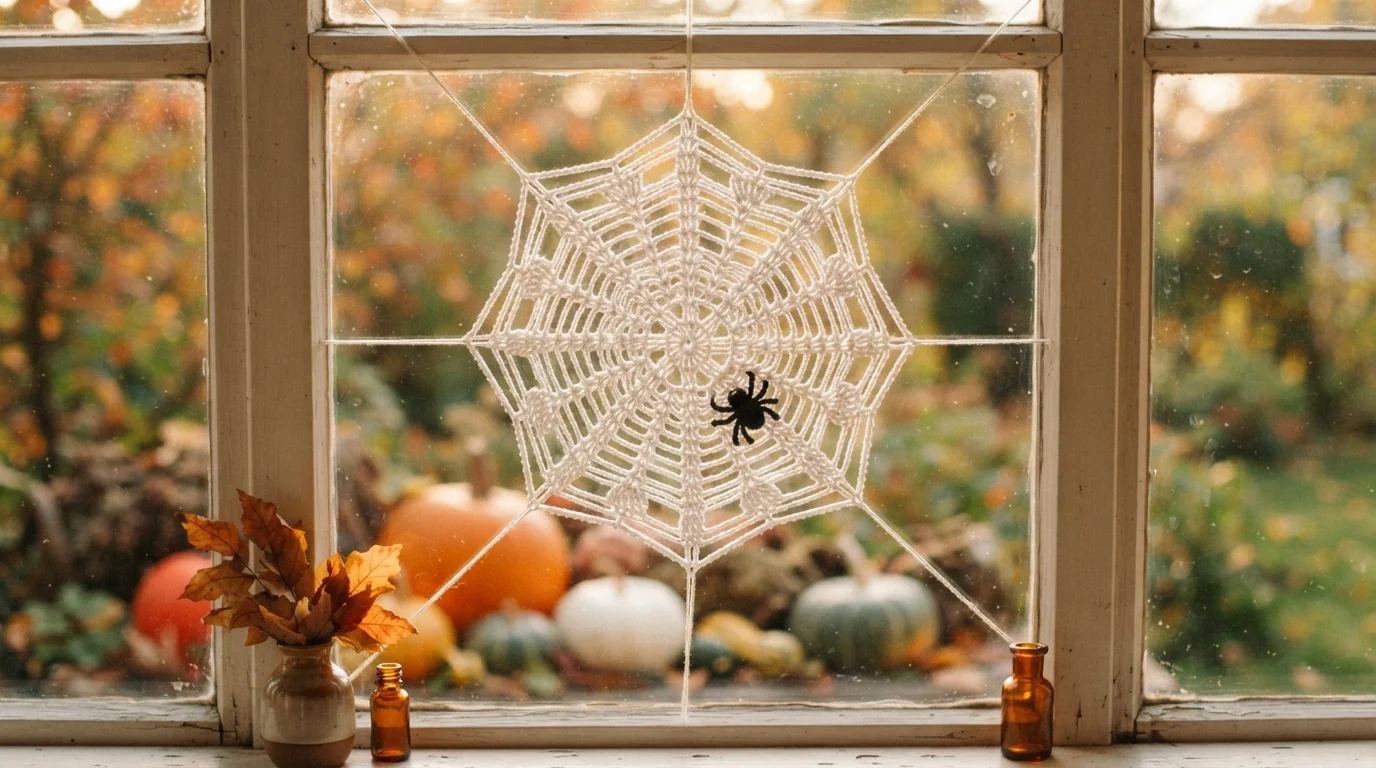
A crochet spider web might be the easiest Halloween decoration you’ll ever make. No carving, no glue gun burns, no trip to the craft store for foam and wire — just a hook, a bit of yarn, and about thirty minutes of your evening.
This guide breaks down exactly how to build one from a simple magic ring center, block it so it holds its shape, and finish it with a spider if you want the extra spooky touch. Whether you’re decorating a window, a wreath, or a party table, this project scales up or down to fit whatever space you’re working with.
What You’ll Need
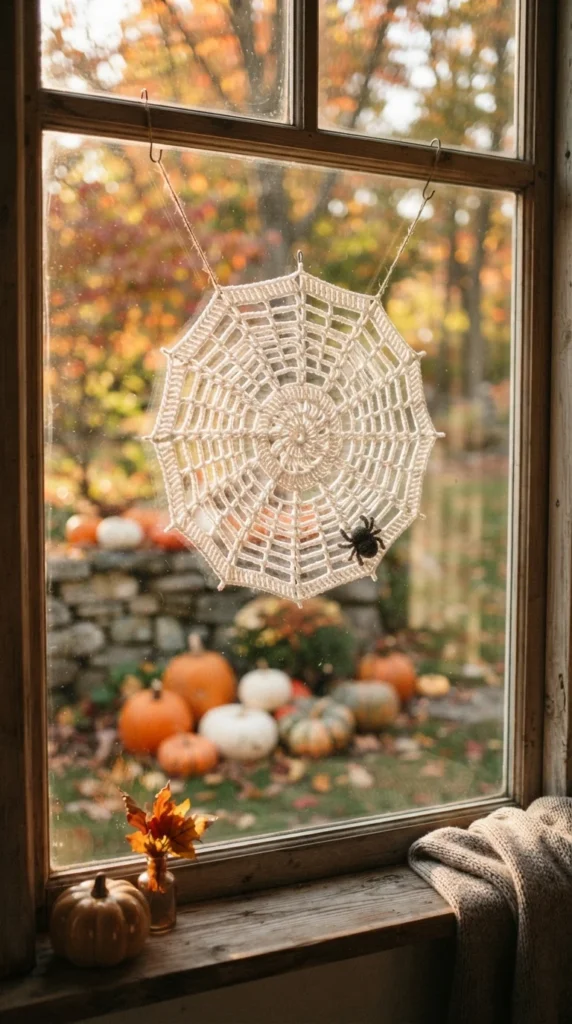
This project uses very little yarn, so it’s a great way to use up leftovers from your stash. Here’s what to gather:
- Cotton yarn in white, black, orange, or purple — cotton holds its shape better than acrylic once blocked
- A crochet hook sized to your yarn, typically 2.5mm to 4mm for DK or cotton yarn
- A tapestry needle for weaving in ends
- Straight pins and a blocking mat (or a piece of foam board covered in plastic wrap works too)
If you want a stiffer, more rigid web for hanging outdoors or on a wall, you’ll also need fabric stiffener or a homemade cornstarch spray, which we’ll cover further down.
Step 1: Start With a Magic Ring
Every round spider web begins the same way: a magic ring, sometimes called a magic circle. This adjustable loop lets you crochet your first stitches into it and then pull it tight, closing up the center completely so there’s no small hole left behind.
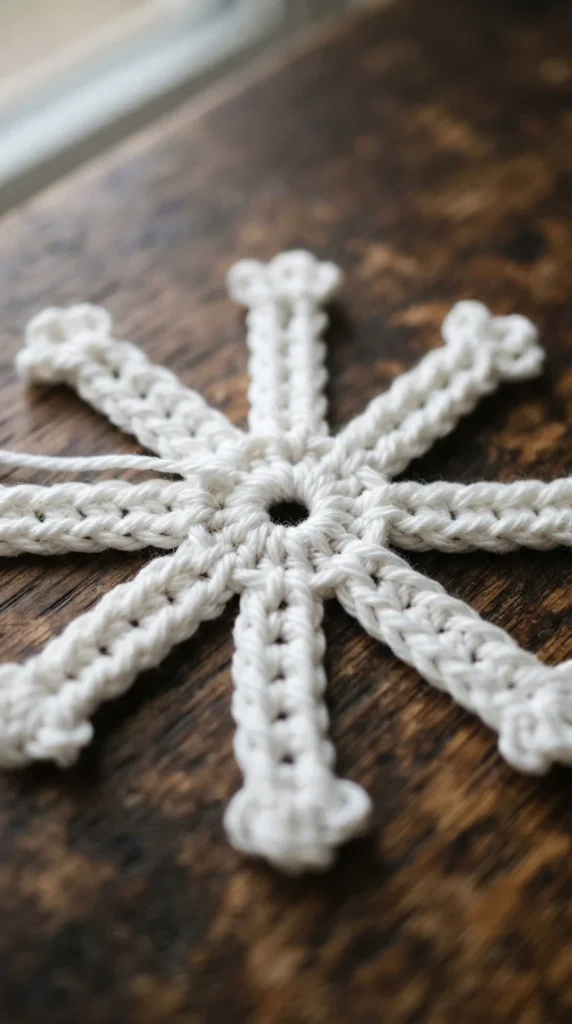
Work eight double crochet stitches into your magic ring, then pull the tail to close the loop snugly. Join the round with a slip stitch. This first round becomes the eight spokes your entire web will build out from, so take a moment to make sure they’re evenly spaced before moving on.
Step 2: Build Out the Spokes
Once your first round is joined, you’ll work double crochet stitches directly into each spoke stitch from the round below, stacking your spokes taller as you go. This is what gives the web its radiating, wheel-like structure.
Work two or three rounds this way, always crocheting into the same spoke stitches rather than the spaces between them. Each round should sit directly on top of the last, extending your spokes further out from the center.
If your stitches start drifting off-line, pause and count your eight spoke groups before continuing. Catching a mistake here is much easier than unraveling several rounds later.
Step 3: Add the Expanding Chain Rounds
This is where the web pattern really starts to take shape. Instead of solid stitches, you’ll switch to chain spaces that get slightly longer with each round, connected back to the spokes with a single crochet or slip stitch.
A typical sequence looks like this:
- Round 4: Chain 3, slip stitch into the next spoke, repeat around
- Round 5: Chain 5, slip stitch into the next spoke, repeat around
- Round 6: Chain 7, slip stitch into the next spoke, repeat around
Each round’s longer chain creates the spiral, web-like gaps that make the whole piece instantly recognizable. Keep your tension loose but even here — tight chains will pull your web into a tighter, less dramatic shape than a relaxed one.
Repeat this pattern for as many rounds as you like. More rounds simply mean a bigger web, so this is an easy project to scale up for a large wall piece or scale down for a coaster-sized version.
Step 4: Fasten Off and Weave In Ends
Once your web reaches the size you want, fasten off with a slip stitch and leave a tail long enough to thread onto your tapestry needle. Weave your ends in along the spoke lines rather than across open chain spaces, since that keeps the tail hidden and secure without adding visible bulk.
Step 5: Block Your Web for a Crisp Shape
Blocking is the step that turns a slightly floppy piece of crochet into a web with sharp, defined points. Skipping it is the most common reason a finished web looks a little sad once it’s hanging up.
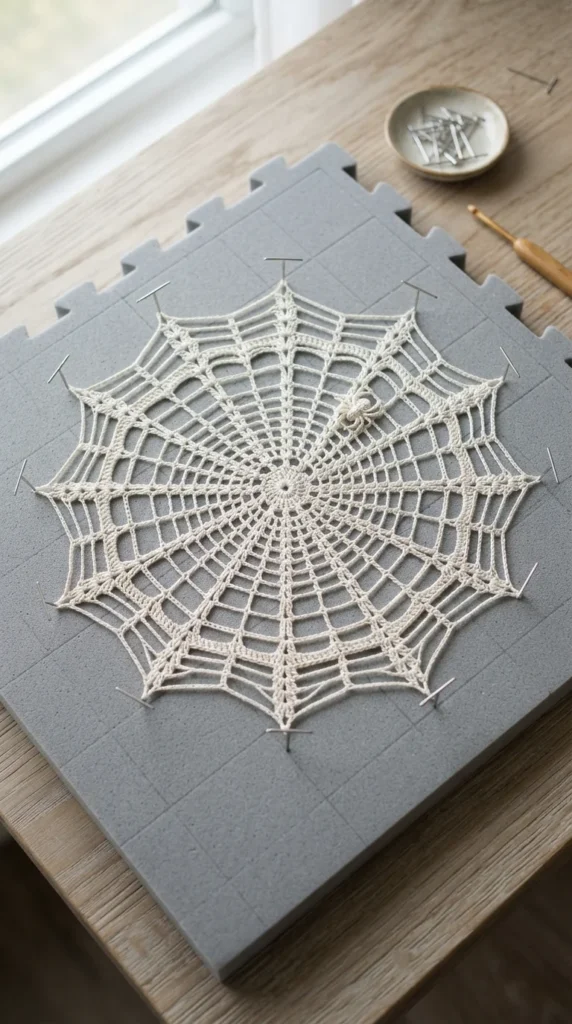
Wet your web thoroughly, then lay it on your blocking mat. Pin the center first, then each of the eight spoke tips, pulling gently so the shape sits flat and even. Finish by pinning the outer edge points if your pattern has them. Let it dry completely before removing the pins — this usually takes several hours depending on humidity.
Step 6: Stiffen It for Outdoor or Wall Display
If your web is heading outside, onto a wreath, or anywhere it needs to hold its shape without pinning, a fabric stiffener spray gives it lasting structure. A simple homemade alternative is a mix of cornstarch and water, brushed lightly over the surface before it dries flat.
Either option keeps your web looking crisp for the whole season instead of drooping after a day or two.
Step 7: Add a Spider for the Finishing Touch
A small crocheted spider, even a simple round body with a few chain legs, gives the web an instant finished look. Attach it near one edge or dangling from a single strand rather than dead center, since an off-center spider reads as more natural and less like a printed decoration.
Bring the Spookiness to Life
A crochet spider web is proof that Halloween decorations don’t need to be complicated to look great. With one magic ring, a handful of expanding chain rounds, and a proper blocking session, you’ll have a web ready for your window, wreath, or party table in less time than it takes to watch a movie.
Save this guide for later and try these ideas when you’re ready to add a little handmade spookiness to your Halloween decor!