
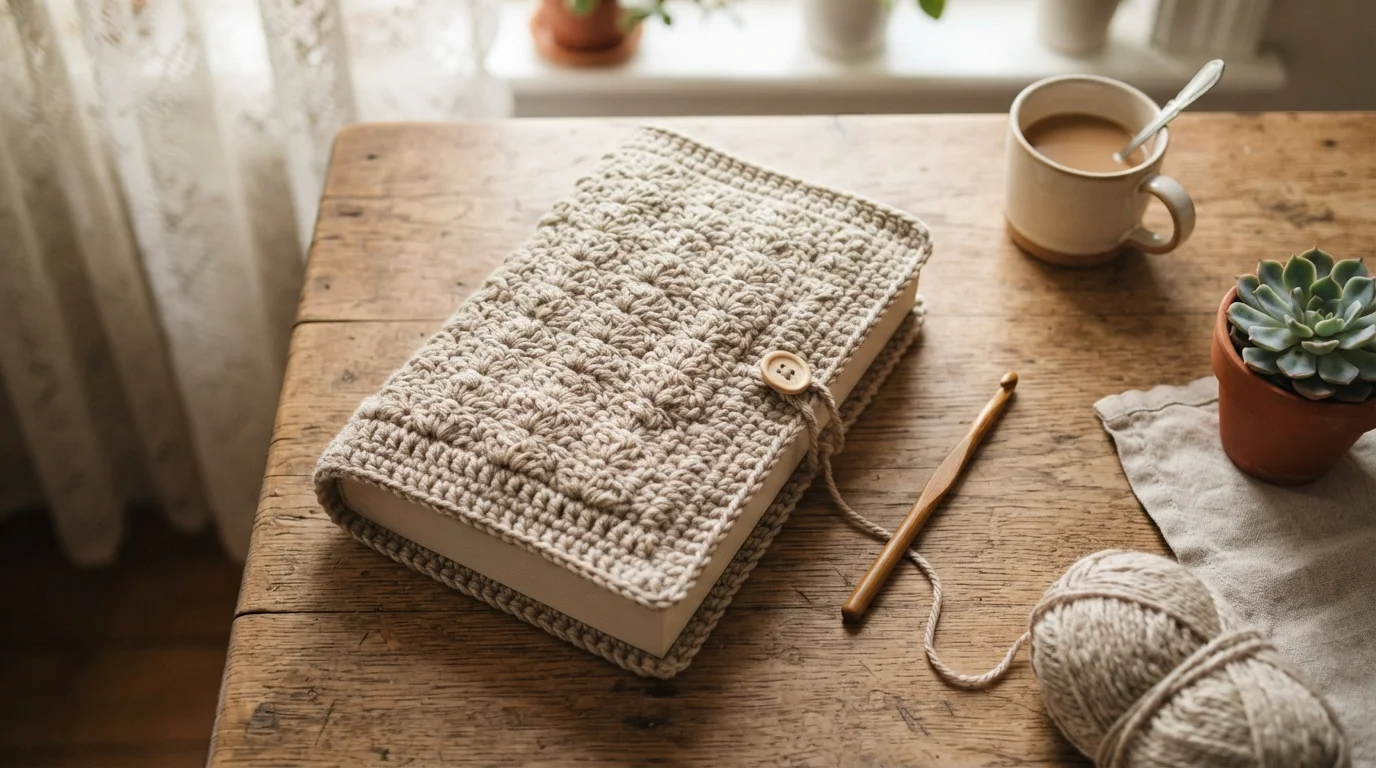
There’s something satisfying about pulling a paperback out of your bag and finding it still looks brand new. A crochet book cover does exactly that — it protects your book’s edges and spine while giving you a fun, quick project you can actually finish in a weekend.
If you’ve never made one before, the process is a lot simpler than it looks. This guide walks through every step, from measuring your book to adding a closure that actually stays shut.
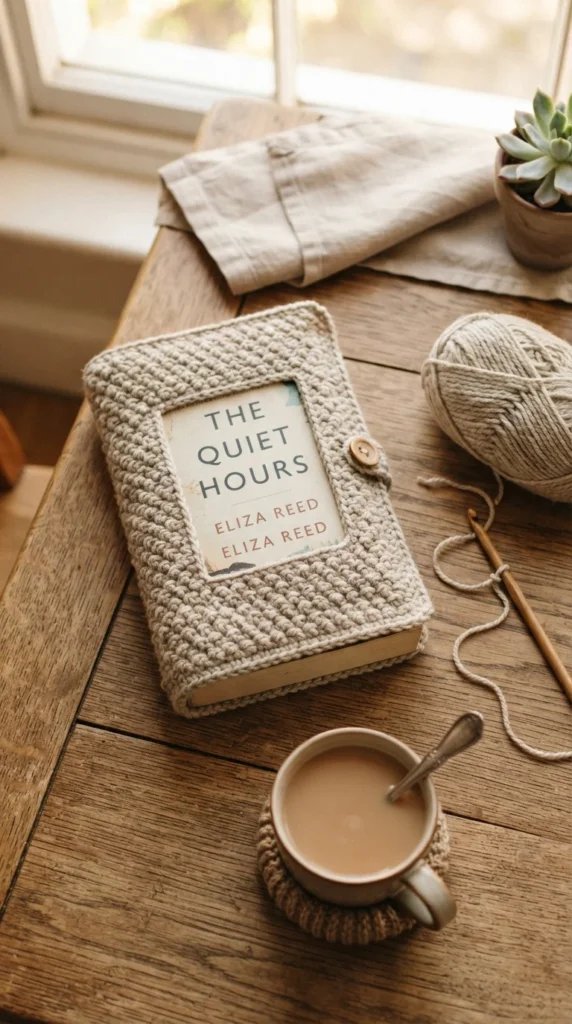
What You’ll Need Before You Start
You don’t need a long supply list for this project. A few basics get the job done:
- Yarn: Cotton or a cotton-DK blend works best. It holds its shape and gives your cover neat, defined edges.
- Hook: A 5mm hook for worsted weight yarn, or a 4mm hook if you want firmer, tighter stitches.
- A tapestry needle for weaving in ends.
- A button for the closure, plus your book to check the fit as you go.
Having your actual book on hand while you work makes a real difference. You’ll use it constantly to check sizing instead of guessing.
Step 1: Measure Your Book Correctly
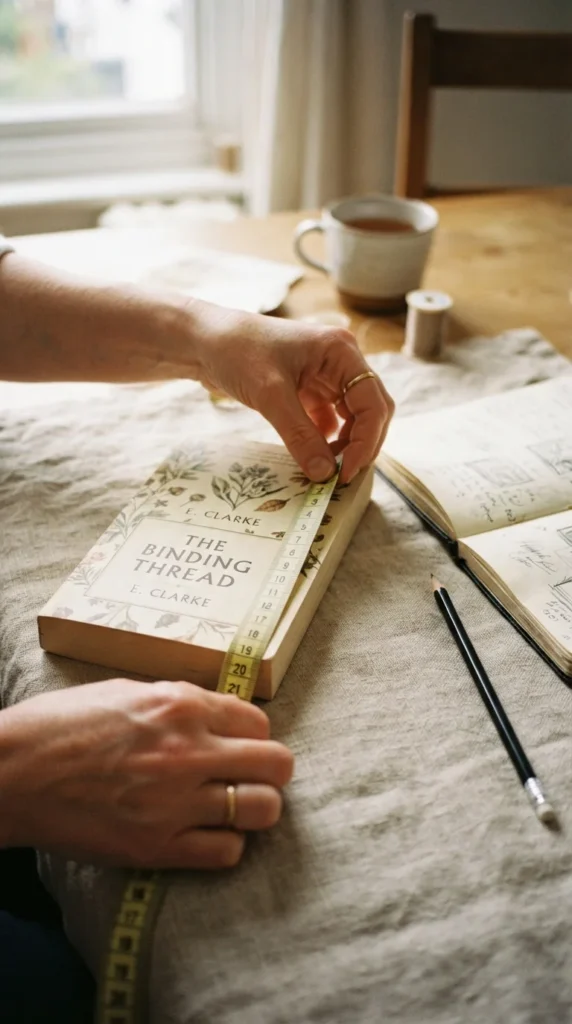
Every good book cover starts with accurate measurements. Lay your book flat and measure:
- The height, top to bottom
- The full wrap, meaning front cover, spine, and back cover measured together
- The thickness, front to back
Once you have those numbers, add about one inch of ease to your wrap measurement. This small buffer keeps your finished cover from feeling tight or hard to slide on. Skipping this step is the most common reason beginner covers end up too snug.
Step 2: Start Your Foundation Chain
Your foundation chain should match your book’s height, since you’ll be working rows across the width of the book instead of up and down. Chain until your foundation matches that height measurement, then add one or two extra stitches for turning.
From there, work single crochet or half-double crochet rows across, turning at the end of each row. These two stitches are the most recommended for book covers because they create a dense, protective fabric without adding too much bulk. A looser stitch like double crochet tends to leave gaps that don’t hold their shape as well.
Keep working rows until your rectangle is long enough to wrap around the entire book — front, spine, and back — using your full-wrap measurement as your guide.
Step 3: Keep Your Edges Straight
As you work each row, increase two stitches in the corners every so often. This keeps your rectangle lying flat instead of curving in at the edges, which is a common issue with plain rectangular panels.
Check your progress against the book every few rows by wrapping it loosely around the cover. This test-fit habit catches sizing problems early, long before you’ve finished the whole panel and have to unravel rows to fix it.
Step 4: Add the Side Pockets
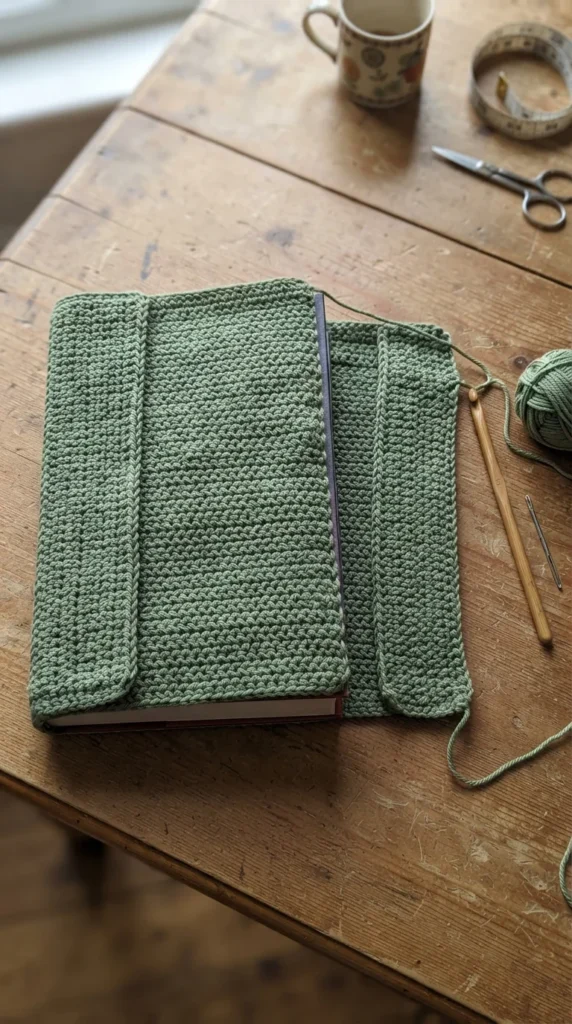
Once your main panel is the right length, it’s time to create the pockets that actually hold the book in place. Crochet two smaller rectangular strips, sized to the height of your book and wide enough to slide the front and back covers into.
Attach these strips to the short ends of your main panel using a whip stitch or slip stitch, keeping the seam close to the edge so it doesn’t add unnecessary bulk. Switching to a slightly smaller hook for these strips — say, dropping from 5mm to 4mm — gives the pockets a firmer edge that holds the book more securely.
Step 5: Finish With a Border
A border round does two things: it stops your edges from curling, and it gives the whole cover a more finished look. A simple single crochet border works fine, but a scalloped edge adds a bit more polish if you have a few extra minutes.
Work your border all the way around the outside of the assembled cover, including around the pocket openings, so every edge looks intentional rather than raw.
Step 6: Add a Closure
A button and chain loop is the easiest closure for beginners. Chain a loop slightly smaller than your button so it has to stretch a little to fasten — this keeps the cover from popping open on its own. Attach the loop to the center back of the cover and sew your button to the opposite flap.
Test the fit with your book inside before you weave in your final ends, just in case the loop needs adjusting.
Save This for Your Next Craft Night
Crocheting a book cover is one of those projects that looks impressive but only needs a handful of basic skills: measuring, single crochet, a simple seam, and one closure. Once you’ve made your first one, resizing the pattern for a different book is just a matter of adjusting your chain and row count.
Save this guide for later and try these ideas when you’re ready to give your favorite book a cover of its own!