
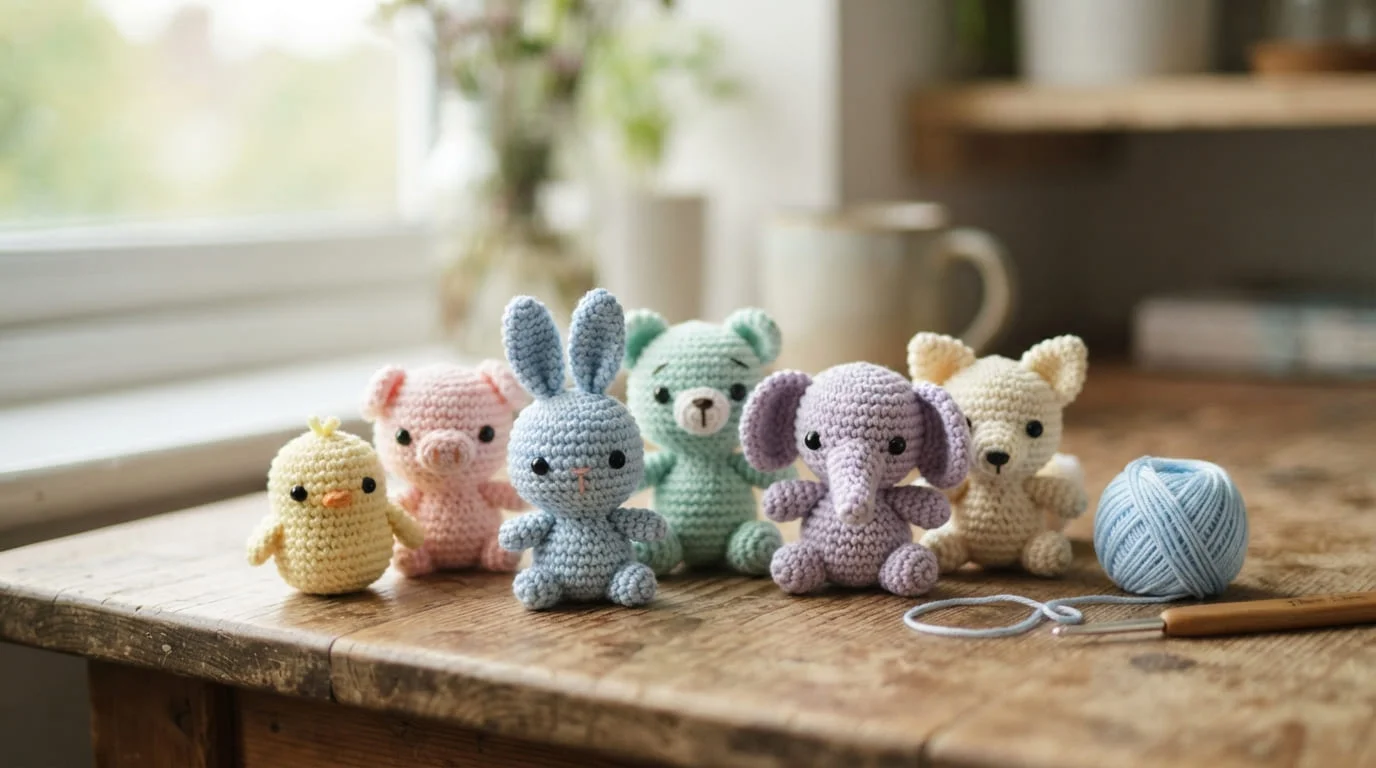
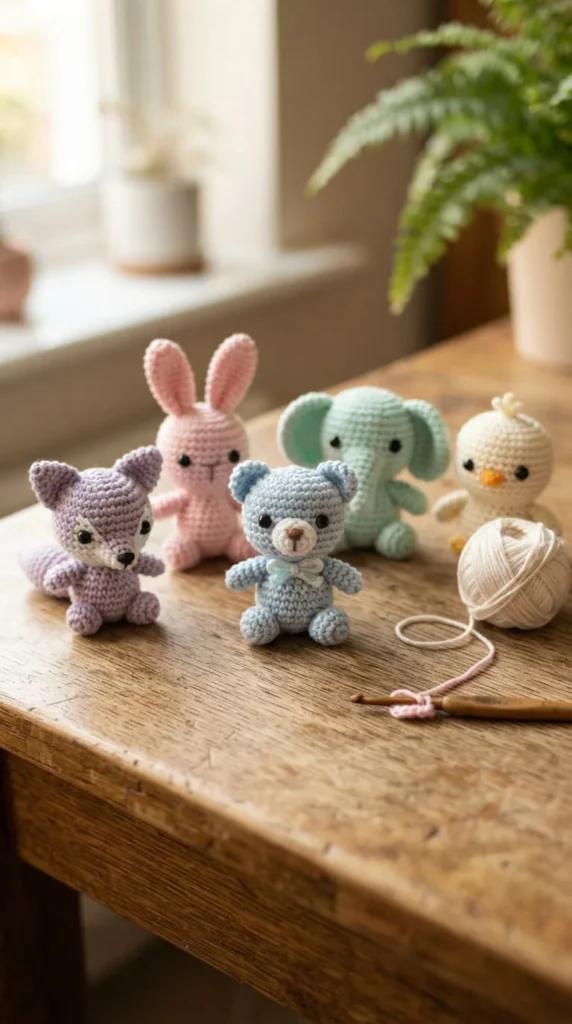
If you love crochet but rarely finish a project, small crochet amigurumi might be the fix you didn’t know you needed. These pint-sized toys use a fraction of the yarn, work up in an evening instead of a week, and still deliver that satisfying “I made this” feeling. Whether you want a keychain to hand out at a craft fair, a stash-busting way to use up leftover scraps, or a first amigurumi project that won’t overwhelm you, small-scale crochet hits a sweet spot between quick and genuinely cute. Below are 23 ideas that cover animals, food, plants, and seasonal gifts, along with notes on sewing effort, yarn choice, and finishing touches so you can pick a project that actually matches your skill level and the time you have.
1. No-Sew Mini Frog Keychain
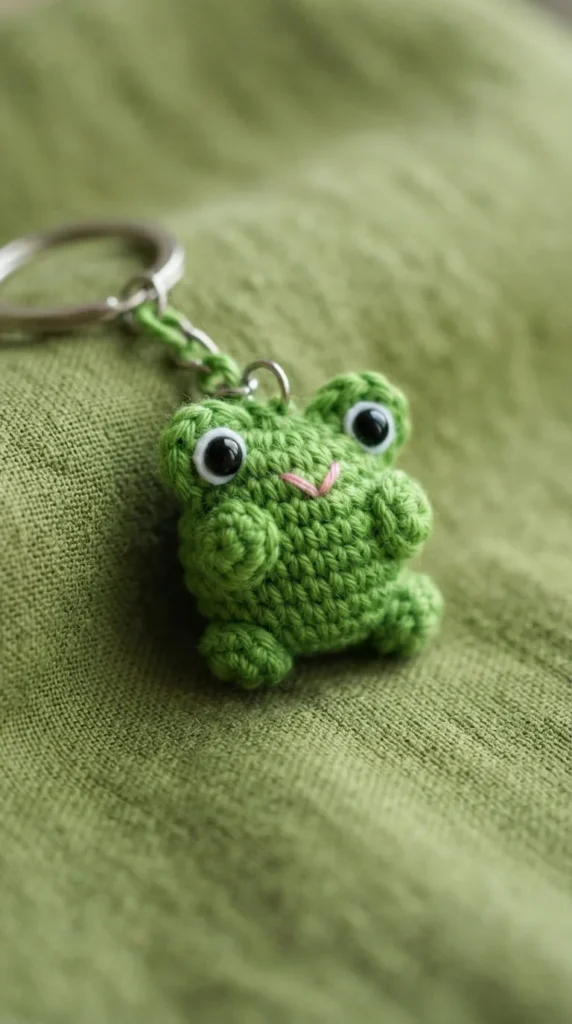
A frog is one of the friendliest shapes to start with because the body, head, and legs can often be worked as one continuous piece. That means less time sewing parts together and more time actually crocheting. Use a lightweight cotton yarn in a bright green and a small hook so the stitches stay tight enough to hold the stuffing in.
Keep the eyes simple with two rounds of white and black safety eyes, or embroider them with black thread if the frog is going to a small child. Attach a keyring to the top of the head using a jump ring threaded through a few stitches, not just one loop, so it holds up to daily use on a backpack or bag.
This project works well as a first amigurumi attempt because the shaping is forgiving. If your rounds come out a little uneven, the plump body shape hides most mistakes. It also takes surprisingly little yarn, so it’s a good way to test a new color before committing it to a bigger project.
2. One-Piece Amigurumi Chick
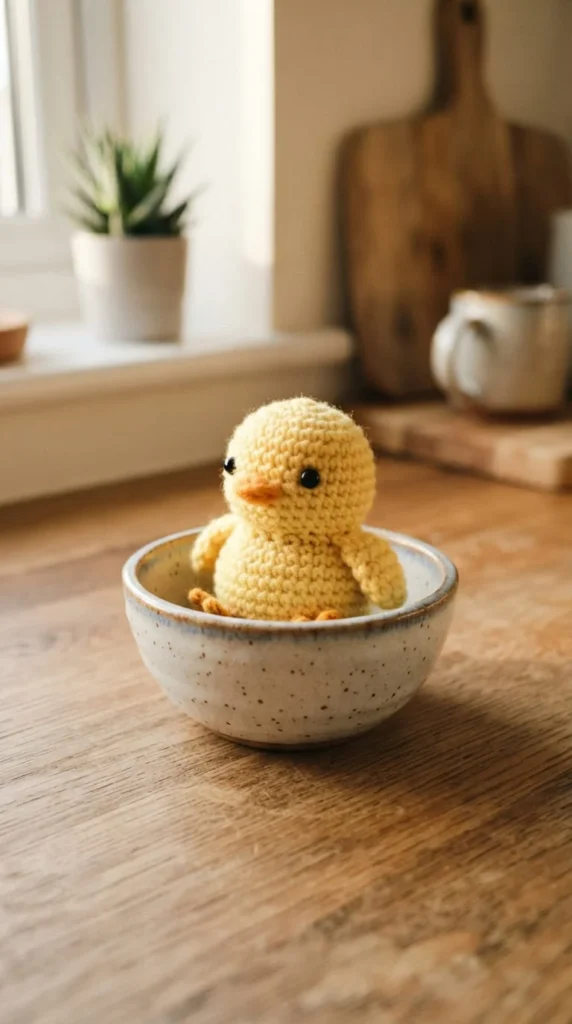
The chick is about as close to a beginner’s first stitch pattern as amigurumi gets. It is essentially a single rounded body with a tiny beak and two small wings, so there is almost nothing to assemble afterward. Work the body in one continuous spiral, switch to orange for a few rounds to shape the beak, then close it off.
Because the shape is so simple, this is a good pattern to practice tension control on. If your stitches are loose, stuffing will peek through; if they’re too tight, your hands will tire quickly. Aim for a medium grip on the yarn and stitches that sit close together without straining your fingers.
Wings can be embroidered flat with a few chain stitches instead of crocheted separately, which cuts the project down to under an hour for most crocheters. A single chick makes a nice Easter gift, but a small flock in different yarn scraps looks great lined up on a shelf or clipped to a diaper bag as a rattle-style toy once you add a bell inside the stuffing.
3. Tiny Mushroom Plant Pot Charm
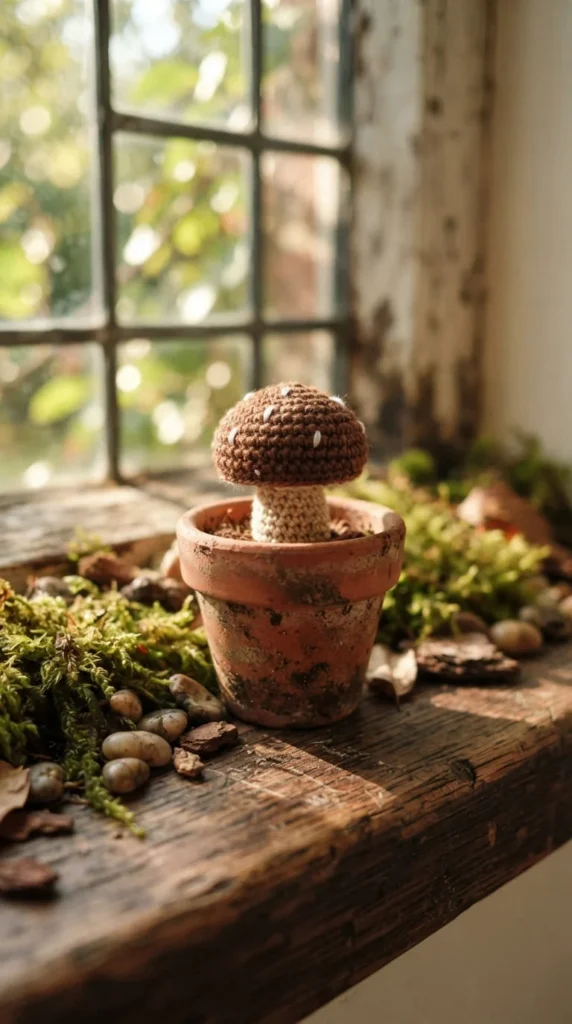
Mushrooms have become one of the most requested mini amigurumi shapes because they need no facial features, no limbs, and almost no shaping decisions. A simple domed cap in one color paired with a cream stem is enough to make something recognizable and charming.
Worsted-weight yarn with a 3.5 mm hook produces a mushroom that finishes around two inches tall, which is a good reference point if you want to compare finished sizes across different yarn weights. Swap to a finer sport-weight yarn and a smaller hook if you want something closer to true miniature scale for a dollhouse or terrarium.
Because there’s no sewing beyond closing the stem to the cap, this is one of the fastest projects on this list. Make a cluster of three or four in different cap colors — red with white dots, tan, or deep purple — and glue them into a tiny pot with floral foam for a no-maintenance desk plant that never needs water. It also makes a low-cost, high-impact addition to a craft fair table.
4. Pocket-Sized Bunny with Embroidered Face
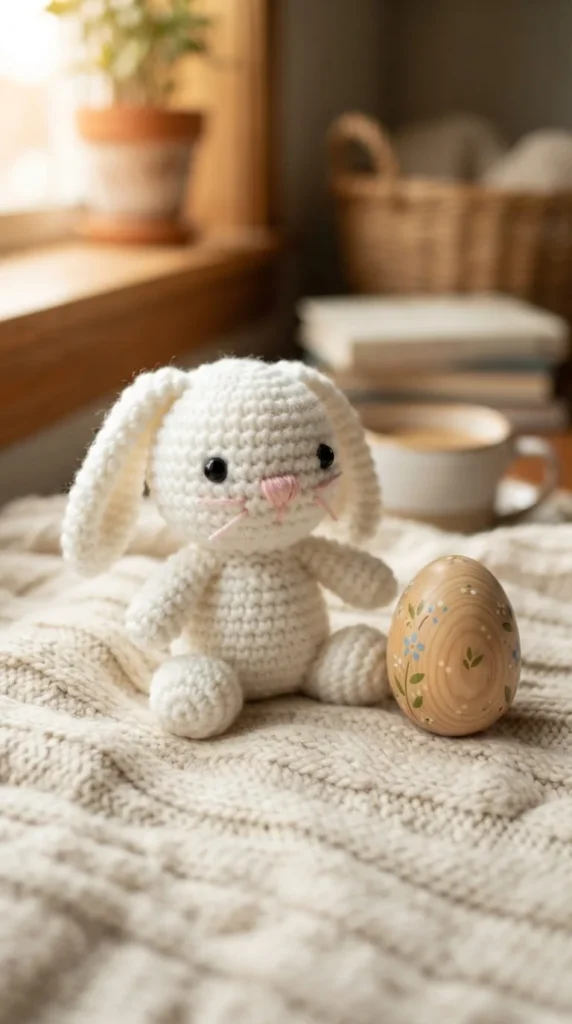
Bunnies are a classic amigurumi shape, but making one pocket-sized changes the approach slightly. Instead of separately crocheted ears that need sewing on, work the ears as an extension of the head using a flat, folded shape stitched only at the base. This cuts your assembly time nearly in half.
For the face, embroidered features are a safer and softer-looking option than plastic safety eyes, especially if this bunny is headed to a baby shower or a toddler’s basket. A few French knots for eyes and a small triangle stitch for the nose give it a gentle, handmade expression without any hardware.
Use a light pink or cream lightweight cotton yarn to keep the finished piece soft to the touch. If you want a slightly larger version for a nursery shelf rather than a keychain, simply move up to a sport-weight yarn and a 2.5 mm hook — the same pattern will scale up without any stitch-count changes, just a looser gauge and a bigger finished size.
5. Miniature Fox Bag Charm
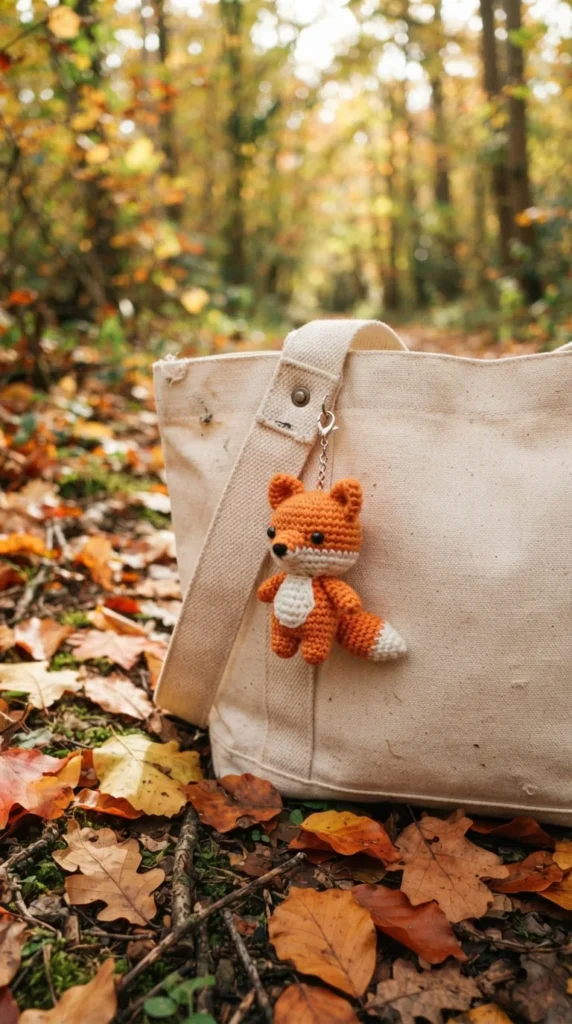
A fox is a good next step once you’ve made a frog or a chick, because it introduces color changes without adding much complexity. The body and head are usually worked in one piece, with a color switch partway through for the white chest and face patch.
Bag charms need to survive more handling than a shelf decoration, so reinforce the attachment point. Instead of looping a clip through a single stitch, thread it through two or three stitches at the top of the head, or add a small fabric loop sewn in during assembly. This single change is often the difference between a charm that lasts and one that falls off within a week.
Keep the ears pointed and slightly stiffened by using a firm stitch tension rather than adding wire, which keeps the project beginner-friendly and avoids extra materials. A finished fox charm at roughly two to three inches tall fits comfortably on a backpack zipper, tote bag strap, or set of keys, and it photographs well for an Etsy listing if you’re thinking about selling a few.
6. Stash-Busting Scrap Yarn Owl
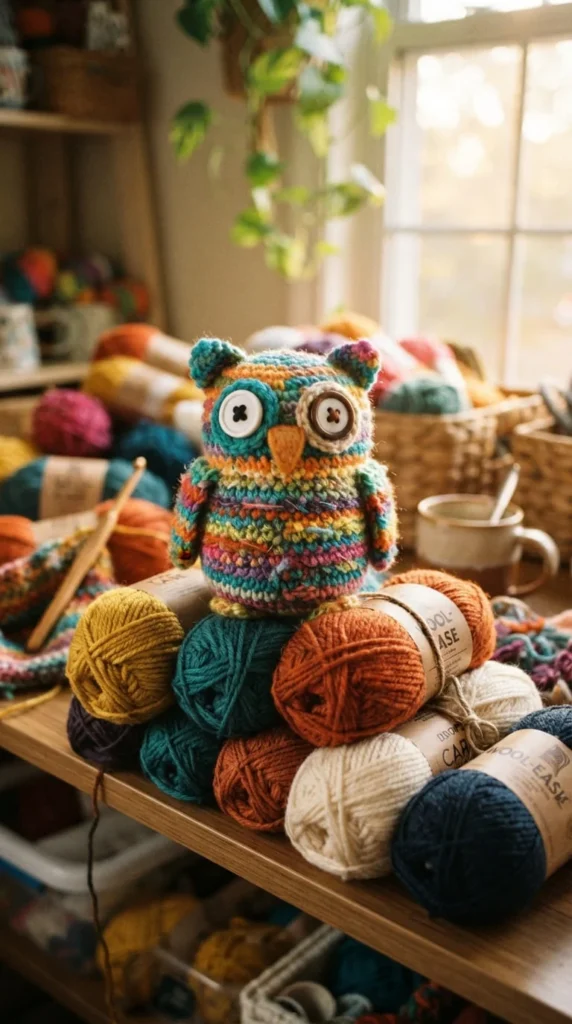
An owl is one of the best shapes for using up small amounts of leftover yarn because its design naturally invites color blocking. The body can be one color, the wing patches another, and the face a third, which means you can build an entire owl from three or four half-used skeins instead of buying new yarn.
Before you start, lay your yarn scraps out by color family and estimate how much of each you have. A general rule for a two-inch owl is that you’ll need roughly 10 to 15 grams total split across your colors, though this varies with tension and hook size.
This project also teaches a useful skill: working partial rounds to create the flat wing shapes that fold over the body. Once you’ve made one owl, you’ll find the same technique transfers to other animals with wing or ear panels. Because every owl made this way uses a different color combination, no two ever look quite the same — which is part of the appeal if you’re making a batch to sell or gift.
7. Mini Donut Charm Set
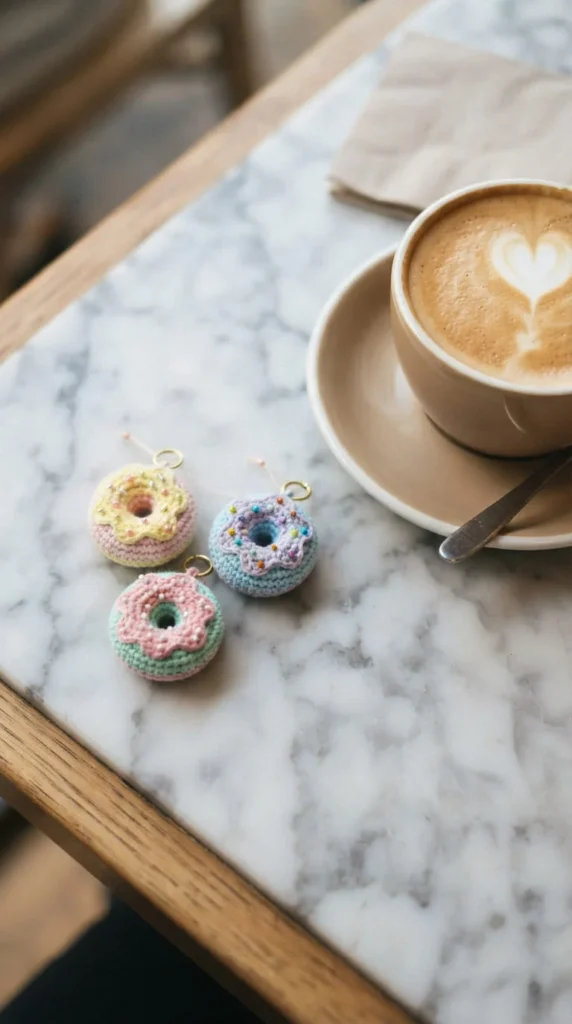
Food-shaped amigurumi tend to be faster than animals because there’s no head, limbs, or facial features to worry about — just a ring shape, a color change for the glaze, and a scattering of embroidered sprinkles. A donut is essentially a small torus worked in continuous rounds, which makes it one of the quickest projects in this list.
Vary the glaze color across a set — pink, chocolate brown, and pale blue work well together — and use short straight stitches in white or yellow thread for the sprinkles. This is a good project for practicing embroidery on top of finished crochet, a skill that carries over to adding detail on animal faces later.
Because donuts are flat and lightweight, they attach easily to a keyring or bag zipper without needing reinforced hardware. A set of three or four makes an inexpensive, low-effort gift for a coworker or teacher, and the whole batch typically takes less time to finish than a single mid-sized amigurumi animal.
8. Tiny Cactus in a Thimble Pot
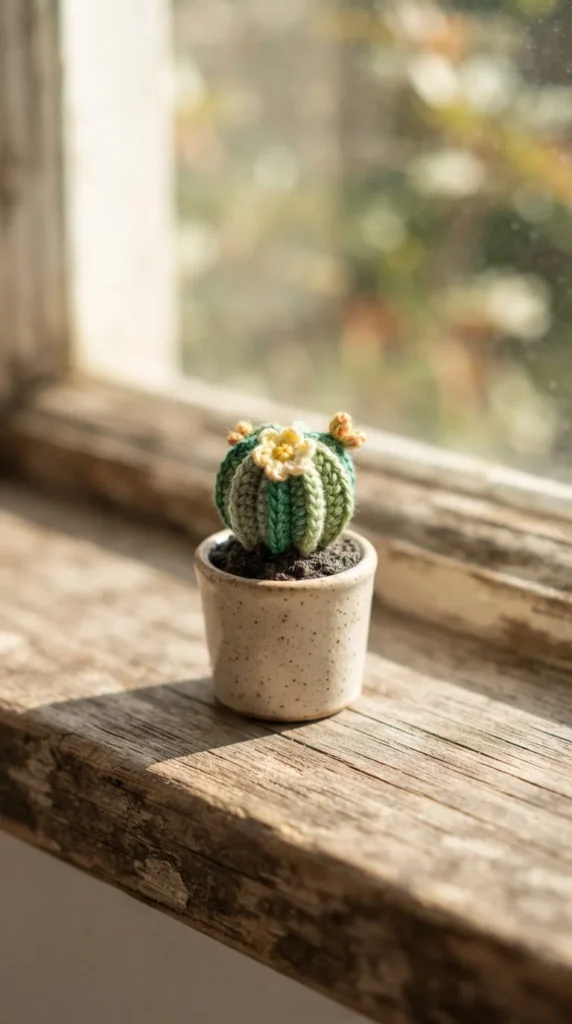
A crocheted cactus solves a real problem: it looks alive on a desk without ever needing water or sunlight. The shape is just a rounded or cylindrical body worked in green, with a few rows of bobble or picot stitches added for texture to mimic spines.
Because the finished piece is often smaller than a golf ball, an actual thimble or a small plastic bottle cap makes a perfectly sized pot. Fill it with a bit of dried floral foam or stiff felt so the cactus stands upright without glue holding the whole shape together.
This is a good pattern to practice bobble stitches on a small scale, since mistakes are less noticeable on a tiny piece than on a full-sized project. Once you’re comfortable with one cactus shape, try varying the silhouette — a tall thin cylinder, a round ball, or a paddle-shaped prickly pear — to build a small windowsill collection that never wilts. These also sell well in sets of three at craft markets.
9. Small Turtle Amigurumi with No Safety Eyes
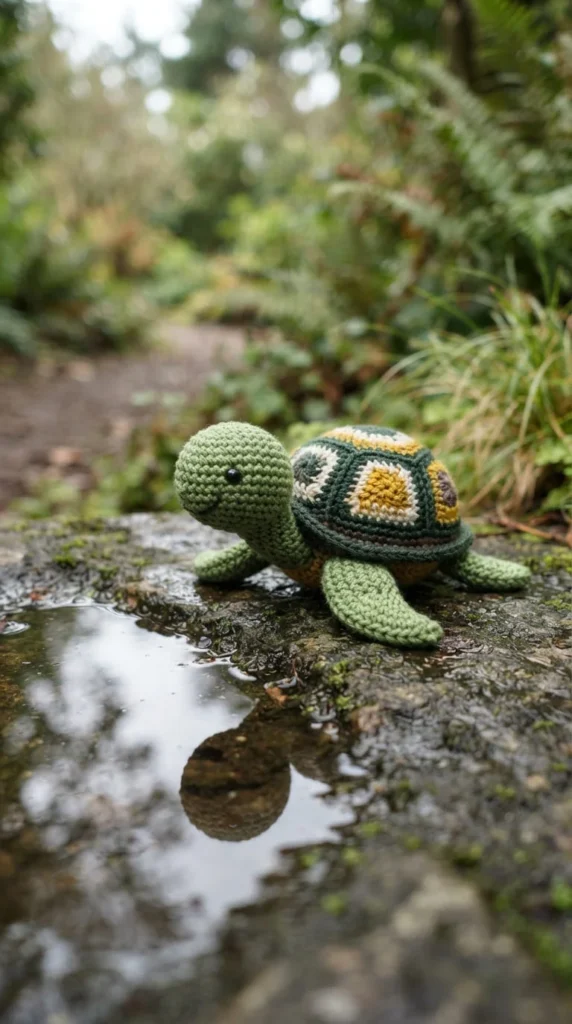
Turtles are a good project for anyone nervous about attaching safety eyes, because the shell pattern and small head size make embroidered eyes the more practical choice anyway. Two tiny black stitches placed close together give the turtle a simple, calm expression without any plastic hardware.
The shell is usually crocheted as a flat, slightly domed circle and then sewn onto the top of the body, which is one of the few assembly steps in this pattern. Take your time matching the shell’s stitch pattern to the body’s rounds so the seam sits flush rather than puckering.
Because there’s no risk of small parts coming loose, this shape is a solid choice for a baby’s first toy or a gift for a home with young children or pets. If you want to add texture to the shell, alternate two shades of green every other round to create a subtle striped effect without any extra stitches or techniques — just a simple color change repeated in a pattern.
10. Fingerling Whale Keyring
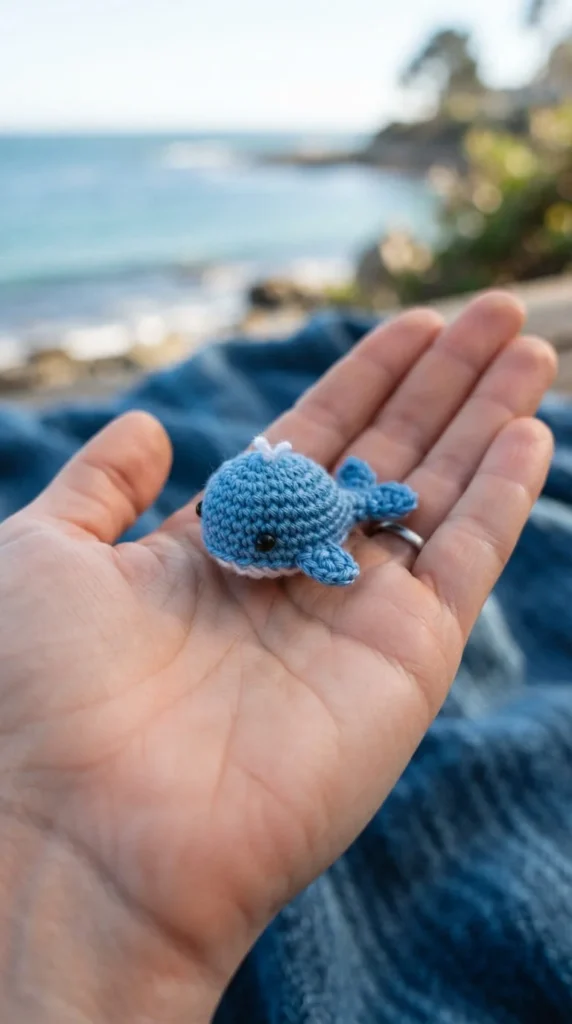
A whale might look like an ambitious shape, but at mini scale it’s really just an oval body with a small tail fin and two side fins, which keeps the piece count low. Using a fine yarn and a small hook in the 2.0 to 2.5 mm range keeps the whole whale small enough to sit comfortably in the palm of your hand.
The tail fin is the trickiest part, since it’s worked flat and then folded to create a V shape. Pin it in place before sewing to check the angle looks right — a fin sewn on crooked is the most common mistake with this design.
Because whales don’t have separate legs or ears to attach, this pattern has fewer sewing steps than most animal amigurumi on this list, making it a good candidate for a low-sew evening project. A pale gray or deep navy yarn gives it a realistic look, while a soft lavender or mint version leans more playful for a kid’s keychain or nursery mobile piece.
11. Mini Cupcake Trio
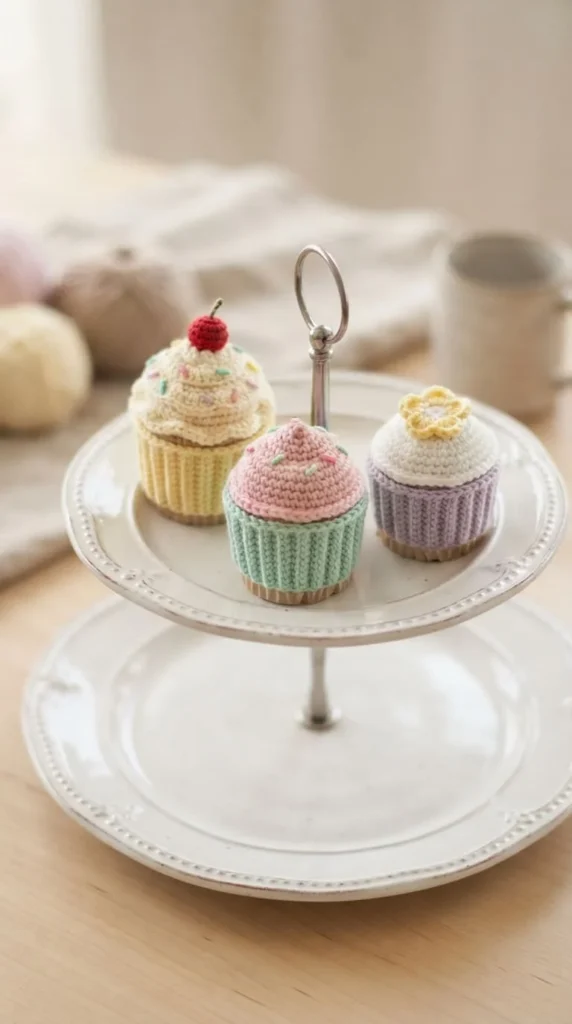
Cupcakes combine two textures in one small project: a smooth cylindrical base for the wrapper and a bobble or loop-stitch top for the frosting swirl. That contrast makes them visually interesting despite taking very little time to complete.
Work the wrapper in a solid color with a subtle ribbed texture by crocheting in the back loops only for a few rounds, which mimics the pleated look of a real paper liner. For the frosting, a spiral of single crochet worked in decreasing rounds creates a swirled peak without any special stitches.
Top each cupcake with a tiny embroidered “cherry” using a French knot in red or pink thread. Because this project has almost no sewing beyond closing the top, it’s a good one to batch — three cupcakes in different frosting colors take roughly the same total time as one mid-sized animal amigurumi. They work well threaded onto a garland for a party decoration or gifted individually as a quick handmade favor.
12. Sleepy Sheep Desk Buddy
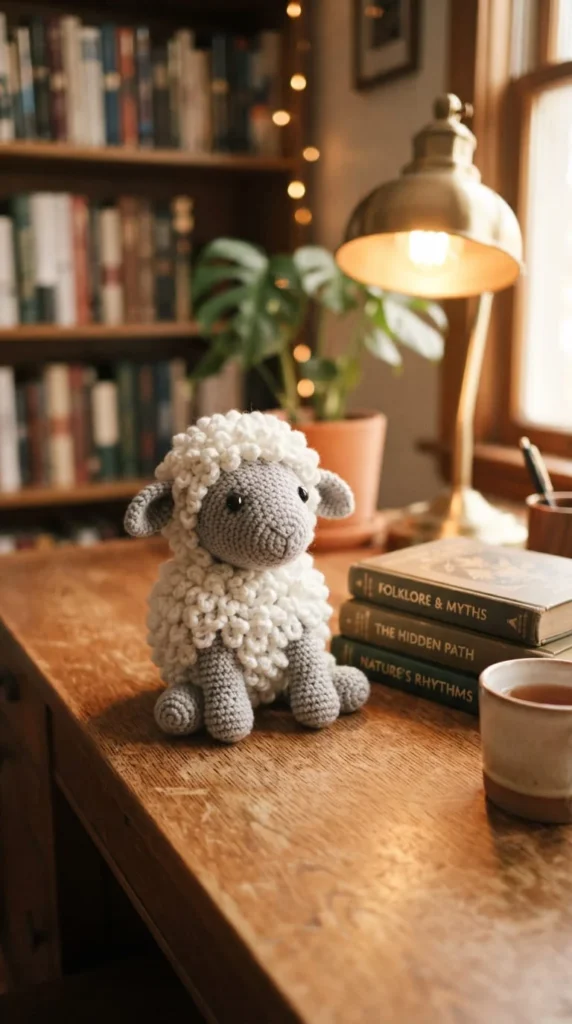
A sheep is a satisfying project because the fluffy texture does a lot of visual work without requiring advanced technique. Loop stitch or a simple bobble repeated across the body gives the appearance of wool, even though the underlying shape is just a basic oval body worked in single crochet.
Keep the face, legs, and ears in a contrasting dark gray or black to make them stand out against the fluffy white or cream body. Because loop stitch uses more yarn per round than standard single crochet, this project uses slightly more material than its size suggests, so budget a little extra yarn compared to a smooth-bodied animal of the same scale.
This is a nice project to leave sitting on a desk or nightstand rather than turning into a keychain, since the added texture makes it less practical for pockets or bags. If you want a smoother, faster version, skip the loop stitch entirely and work the body in plain single crochet — you’ll lose some of the fluffy charm but cut your working time by close to half.
13. Tiny Avocado Duo (With Pit)
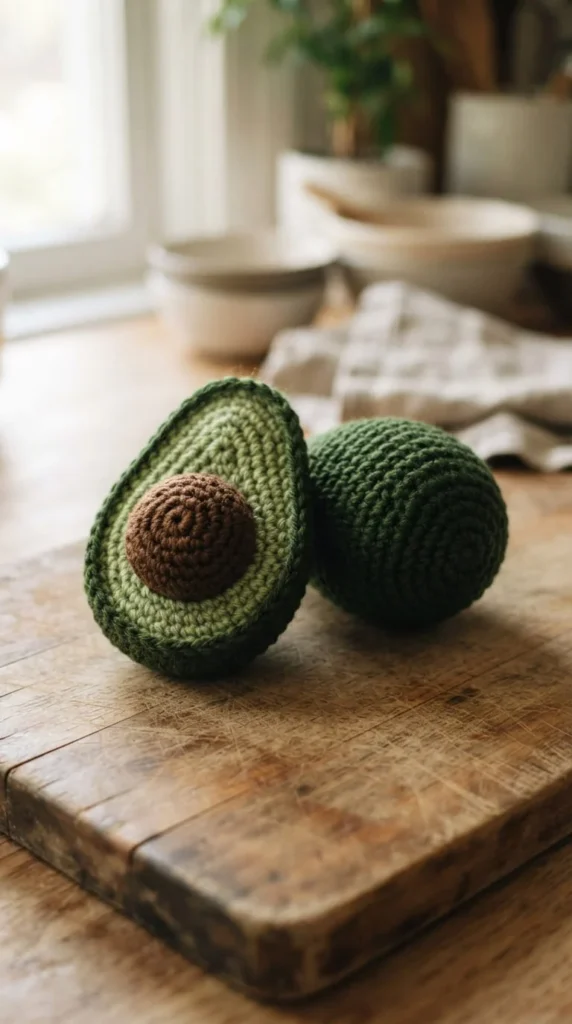
An avocado is a fun shape because it’s really two separate pieces — the green flesh half and the brown pit — that fit together like a small puzzle. Crochet the outer green shell first, working a color change to a darker green near the skin, then make a small round pit separately in brown.
The pit can be left loose so it clicks in and out of the avocado half, which adds a bit of playful interaction that flat food shapes don’t have. If it’s going to a small child, sew the pit in place permanently instead so it can’t be pulled out and swallowed.
This is a good project for practicing subtle color gradients within a single piece, since a realistic avocado shifts from pale green near the pit to a darker green toward the skin. A finished pair takes less yarn than almost any other item on this list, making it an efficient way to use up small amounts of two shades of green from your stash.[Image Prompt: A photograph of a tiny crocheted bee charm with black and yellow stripes attached to a small red heart-shaped tag, Valentine’s Day setting, soft pink background, close-up macro shot.]
14. Micro Bee Valentine Gift
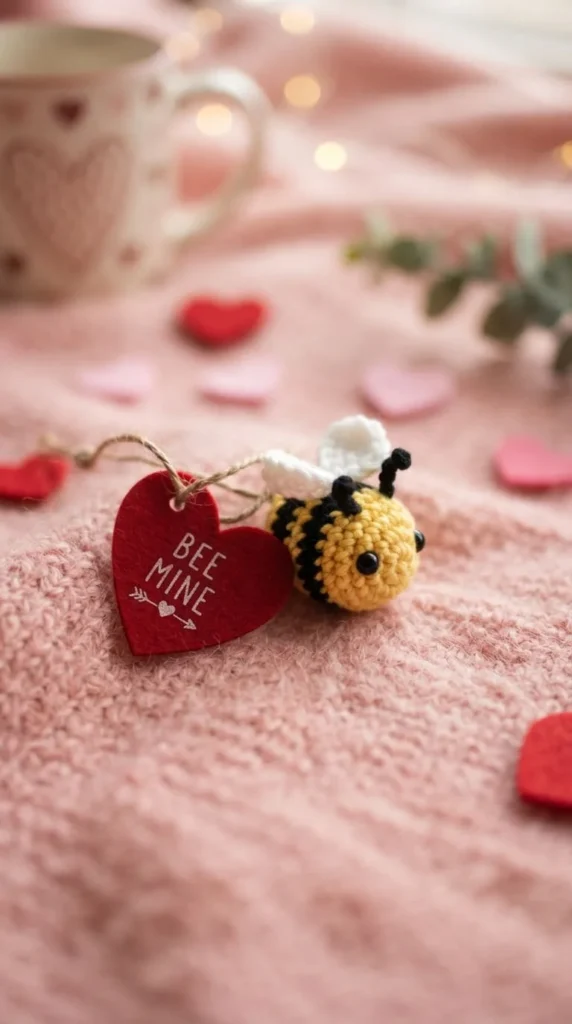
Bees are a favorite seasonal project because the striped body is simple to construct — just alternate black and yellow yarn every round or two — and the wings can be crocheted flat in white or clear thread for a light, delicate look. The whole project usually takes under an hour once you’re familiar with basic shaping.
For a Valentine’s Day version, pair the bee with a tiny crocheted or felt heart tag that reads “bee mine” if you’re comfortable adding a small written element, or simply attach it to a gift card as a handmade extra. The small scale makes it inexpensive to produce in bulk if you’re making a batch for a classroom or coworkers.
Wings are the one part that benefits from stiffening. A light coat of fabric stiffener or even clear nail polish on the finished wing pieces helps them hold their shape instead of flopping against the body. This small touch makes a noticeable difference in how polished the finished bee looks compared to leaving the wings unstiffened.
15. Pocket Bear with Sweater
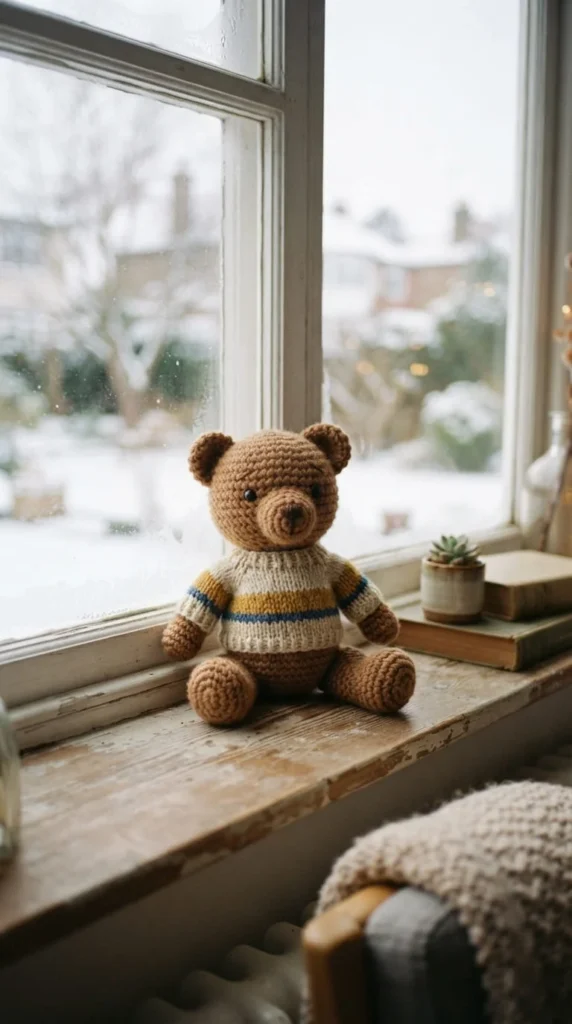
A bear is one of the more versatile mini amigurumi shapes because the same rounded body and head work for dozens of variations just by changing the yarn color and adding accessories. Once you’ve made the base bear, a tiny sweater — just a small tube with two arm holes — turns it into a seasonal or gift-specific version.
Keep the limbs short and slightly rounded rather than long and thin, since overly long limbs on a small-scale bear tend to look floppy once stuffed. Attach them with a locking join rather than a simple stitch so they can still move slightly, which gives the finished bear a bit more personality on a shelf.
This pattern is a good one to practice customization on. Add a tiny scarf for winter, a flower crown for spring, or a name tag for a personalized baby gift. Because the base shape stays the same across all these versions, you only need to learn the core bear pattern once to create an entire seasonal collection from it.
16. Mini Sushi Roll Set
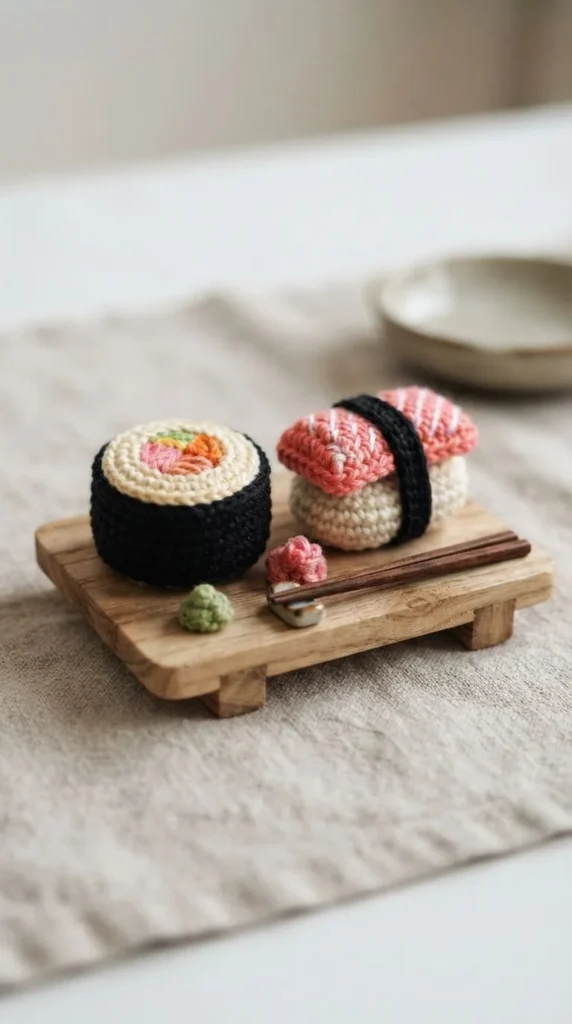
Sushi-shaped amigurumi are popular because they’re instantly recognizable even at a very small scale, and the pieces are simple geometric shapes rather than complicated animal anatomy. A maki roll is just a short cylinder in white with a black “seaweed” band wrapped around the middle, while a nigiri piece is a small rice-shaped oval topped with a flat “fish” piece.
Work the black seaweed wrap as a separate flat rectangle and wrap it around the finished white cylinder rather than trying to crochet it in place directly — this gives a cleaner, straighter edge than color-changing mid-round would produce. A few French knots in orange or pink on top mimic roe for extra detail.
Because these pieces are flat-bottomed and don’t need stuffing shaped into limbs or a head, they’re some of the fastest food-themed projects to complete. A set of three or four different pieces makes a fun novelty keychain gift for someone who loves sushi, and the flat shapes hold up well to being tossed in a bag without losing their form.
17. Tiny Planet Keyring Set
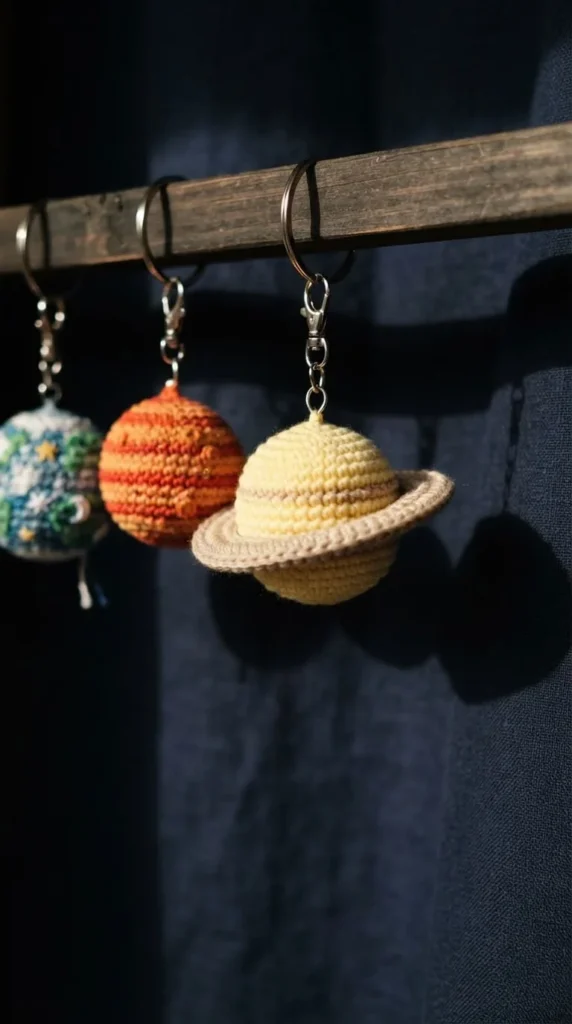
Planets are an under-covered idea in most mini amigurumi collections, but they’re genuinely simple to make. Each one is just a round ball in a solid or speckled yarn color, and a Saturn variation adds a flat crocheted ring slid onto the body before closing it up.
Use a self-striping or speckled yarn if you have some in your stash, since the random color shifts mimic the mottled look of planet surfaces without any extra embroidery work. A plain sphere in deep red, blue, or orange works just as well if you’re using solid scraps instead.
Because there are no limbs, faces, or complex shaping involved, this is one of the fastest projects to batch. A set of four or five different “planets” on individual keyrings makes a distinctive gift for a science teacher or space enthusiast — a niche that most amigurumi roundups skip in favor of animals and food. The ring on the Saturn version is the only slightly fiddly step, but it only takes a few rows of single crochet to make.
18. Mini Ice Cream Cone Charm
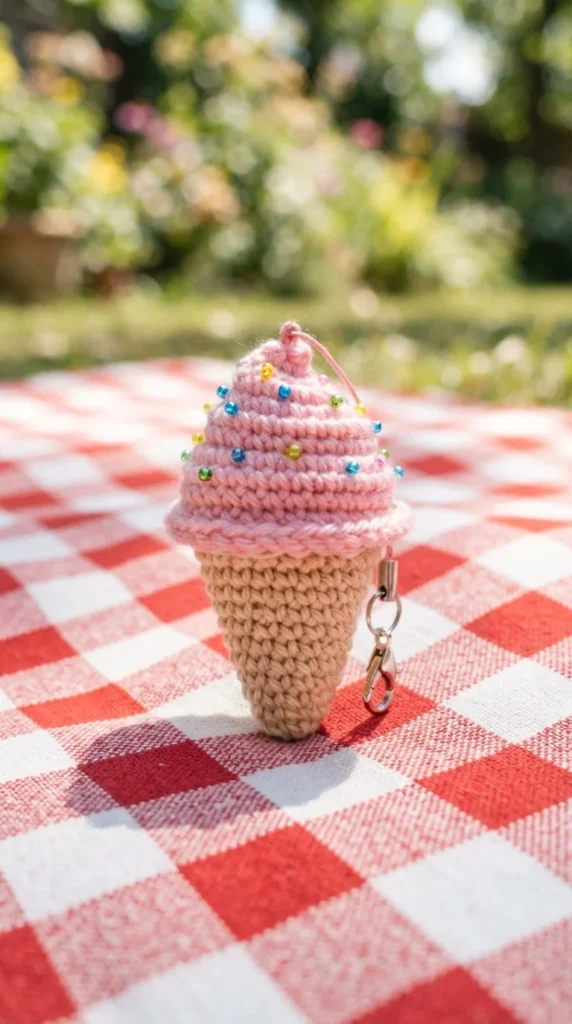
An ice cream cone combines two simple textures — a ribbed waffle-pattern cone and a smooth swirled scoop — into one small, satisfying project. The cone is worked in a tan or brown yarn using a simple front-post stitch pattern to mimic the waffle texture, while the scoop uses the same spiral decrease technique as the mini cupcake topping.
This is a great pattern for practicing how a single stitch technique, in this case the front-post stitch, can completely change the look of a plain cylinder. Once you’ve learned it here, you can apply the same texture to waffle-patterned baskets or other food shapes.
Add a scattering of embroidered sprinkles across the scoop in three or four bright thread colors for extra detail. Because the finished piece is lightweight and flat-bottomed on the cone end, it attaches easily to a bag zipper or keyring without pulling on the stitches. A batch made in different “flavor” colors — chocolate brown, mint green, strawberry pink — makes an appealing set for a summer craft fair table.
19. Baby Cow Amigurumi Keychain
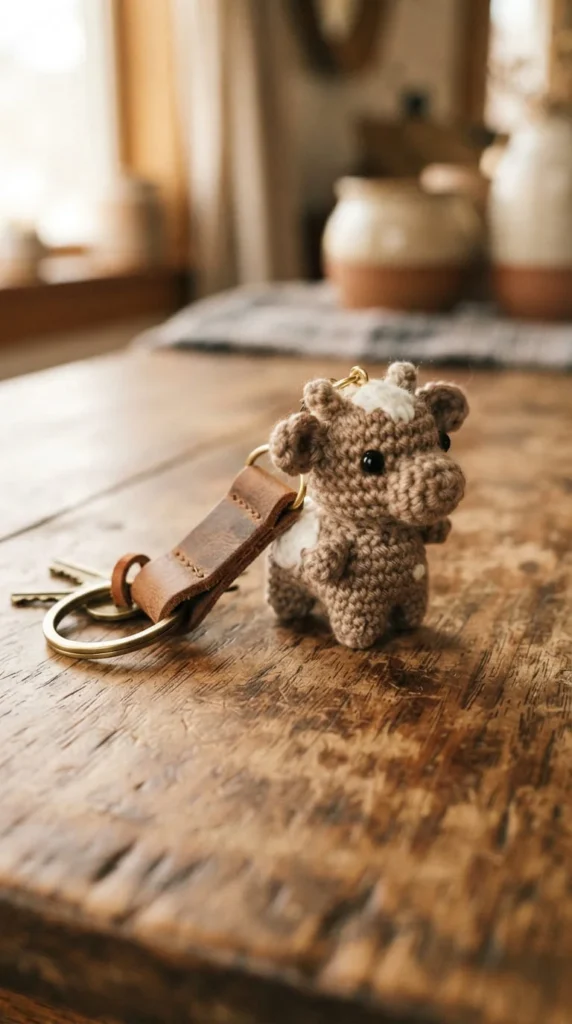
Cow-print amigurumi has become a popular request, and at mini scale the spotted pattern is easier to manage than it looks. Rather than crocheting each spot individually, work the body in white and use duplicate stitch — essentially embroidering over finished stitches — to add irregular brown or black patches after the base shape is complete.
This technique is worth learning beyond this one project because it lets you add any patterned detail to a solid-colored base without changing your crochet pattern or managing multiple yarn colors mid-round, which is especially useful on very small pieces where color changes get fiddly.
Keep the ears small and slightly floppy by using a soft yarn and leaving them unstiffened, which gives the cow a gentle, young appearance rather than a stiff, alert one. A small pink nose embroidered on with satin stitch finishes the look. This charm pairs well with a leather fob rather than a plain metal ring if you want a slightly more finished, farmstand-market appearance for selling in small batches.
20. Tiny Book Stack Charm
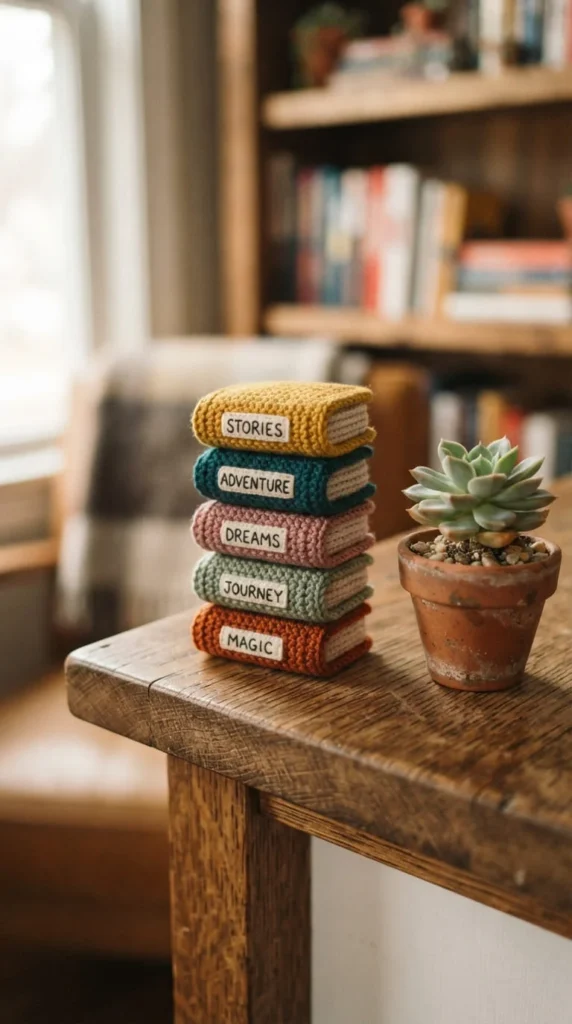
Not every mini amigurumi idea needs to be an animal or a snack. A small stack of crocheted “books,” each one a flat rectangular pouch in a different solid color with a contrasting spine stripe, makes a distinctive charm for readers and makes a nice addition to a desk décor collection alongside a mini cactus or mushroom.
Each book is worked flat in two matching rectangles stitched together around the edges, then lightly stuffed to give it a slight thickness without looking overstuffed. A single row of contrast-color slip stitches down one edge mimics the spine of a paperback.
Stack three or four together and stitch them into a fixed pile, or leave them loose so they can be rearranged. This project has almost no shaping decisions to make, which makes it a good choice if you want something meditative and repetitive rather than technically demanding. It also uses very little yarn per book, so it’s an efficient way to work through several small scraps of solid-colored cotton at once.
21. Mini Christmas Ornament Trio
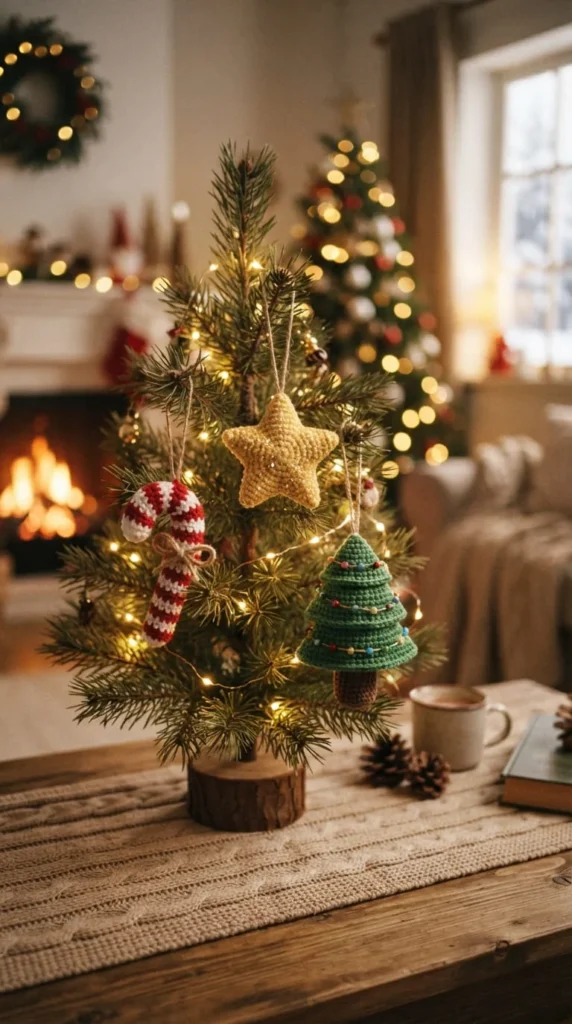
Holiday ornaments are one of the most requested seasonal categories, and a mini scale means you can make a full set for a small tree without weeks of work. A star is just a flat shape worked with straight increases at five points, a tree is a simple cone shape in green, and a candy cane is two thin crocheted tubes twisted together in red and white.
Because these ornaments are flat or lightweight, a simple loop of embroidery thread sewn into the top before you finish stuffing is enough to hang them — no extra hardware needed. This keeps the project low-cost and quick, which matters if you’re making a dozen or more for a full tree.
These also travel well as stocking stuffers or teacher gifts, since they’re small, light, and don’t require batteries or careful handling like a glass ornament would. If you want a matching set rather than three different shapes, pick one design and vary only the color scheme across each ornament for a more cohesive look on the tree.
22. Pocket-Sized Taco Charm
A taco is a fun, slightly more advanced food shape because it combines a curved shell with layered “fillings” stacked on top, giving it more visual texture than a flat food item like a donut. Crochet the shell as a semicircle folded and tacked at the bottom to hold its curve, then build up the filling in layers — brown for “meat,” green loop stitches for “lettuce,” and a scattering of yellow French knots for “cheese.”
Getting the shell to hold its curved shape is the trickiest part of this project. A light misting of water followed by pinning it into a taco fold while it dries helps the curve set permanently, so it doesn’t flatten back out once you remove the pins.
Because of the layered filling, this project takes slightly longer than most other food shapes on this list, closer to the time it takes to finish a small animal. The payoff is a charm that looks distinctly different from typical mini amigurumi and stands out at a craft fair table full of more common shapes like donuts and cupcakes.
23. One-Base Mini Chick, Bunny, and Fruit Variation
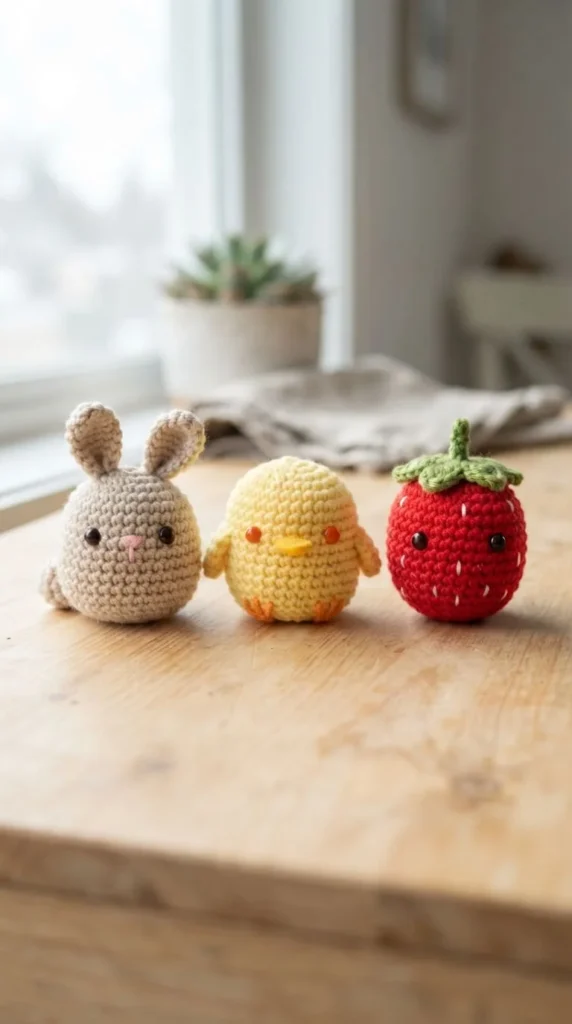
Once you’ve made a few of the projects on this list, you’ll notice most mini amigurumi share the same underlying shape: a rounded body worked in continuous single crochet with a handful of increase and decrease rounds. This last idea turns that observation into a project of its own by teaching you to build several different designs from a single base pattern.
Start with a plain rounded body and stop before adding any features. From there, add two floppy ears and a pink nose for a bunny, a small orange beak and wings for a chick, or a cluster of green leaves at the top and a scattering of yellow French knot “seeds” for a strawberry.
This approach is especially useful once you’ve learned the base shape well enough to skip counting stitches from a written pattern. It also means you can make a themed set — say, a spring collection of bunny, chick, and strawberry — without learning three separate patterns, just one shape with three different sets of finishing details.
Conclusion
Small crochet amigurumi rewards patience with speed. Once you’ve worked through a few of the shapes above, you’ll start recognizing how much they share: a rounded body, a handful of increase and decrease rounds, and a short list of finishing touches that turn a plain sphere into a frog, a donut, or a tiny planet. That repetition is exactly what makes this style of crochet approachable, because the skills from your first mini frog carry directly into your tenth mini fox.
Pick one or two ideas that match the yarn you already have on hand rather than buying new supplies for every project, and pay attention to sizing and attachment details if you’re making keychains or bag charms that need to survive daily use. From there, the best way to get faster and more confident is simply to keep making them — grab a hook, a small scrap of cotton yarn, and start with whichever shape on this list caught your eye first.