
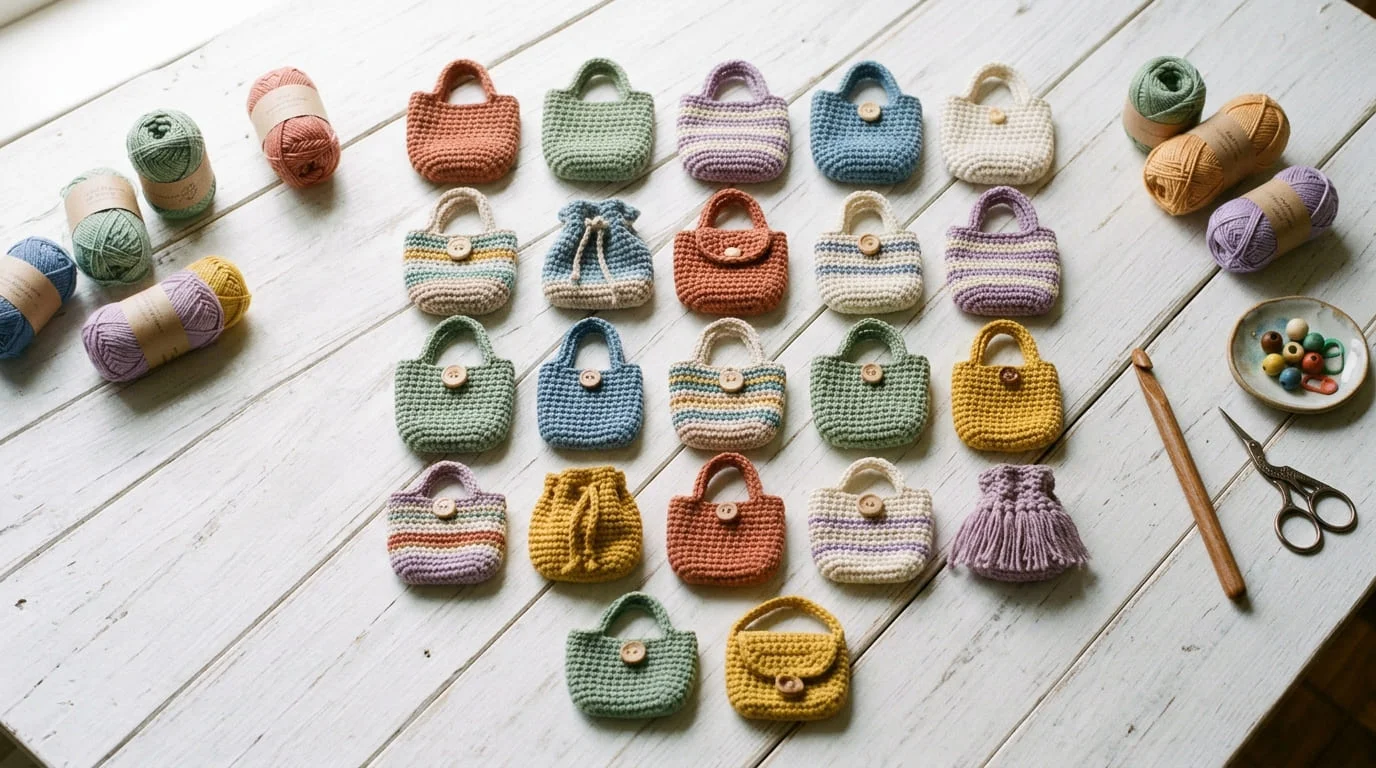
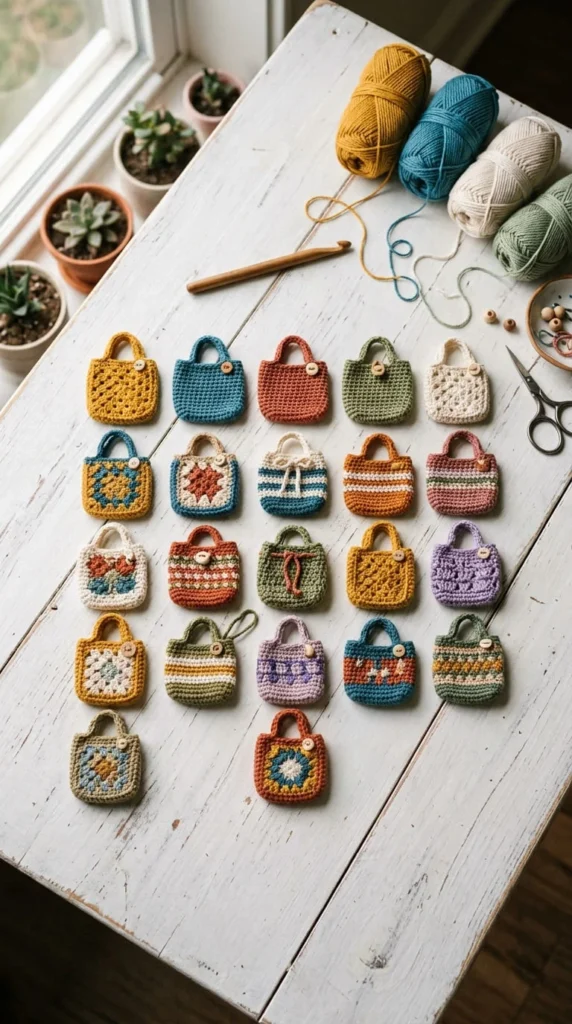
If your hook and yarn have been sitting in a drawer waiting for the right project, this is your sign to grab them. Crochet bags are the perfect weekend craft — small enough to finish quickly, practical enough to use every day, and simple enough for someone who’s never made anything bigger than a scarf. Below you’ll find 22 beginner-friendly bag ideas that cover totes, market bags, crossbody styles, granny squares, and more, each with tips to keep your project affordable and stress-free.
1. Classic Rectangle Tote
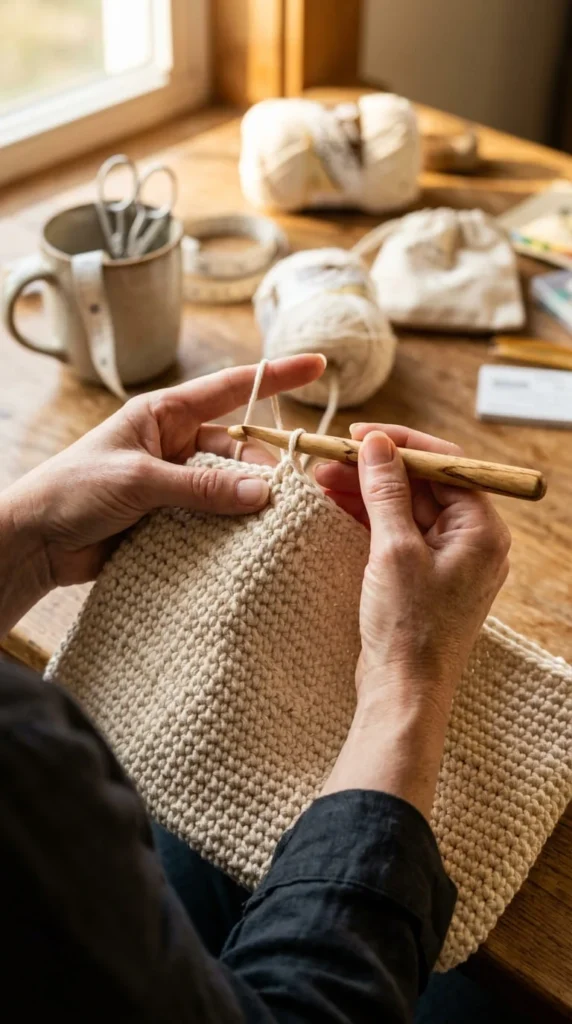
This is the bag every beginner should try first. You just crochet a rectangle, fold it in half, and seam the sides. No shaping, no counting rounds, no stress. Use single crochet for a dense, sturdy fabric that won’t sag once you toss your keys and wallet inside.
Grab a ball of worsted-weight cotton yarn — around 200 grams is plenty for a mid-size tote. A budget-friendly acrylic blend works too if you’re practicing before committing to nicer yarn.
Chain 30 stitches for a standard width, then work rows of single crochet until your rectangle reaches about 20 inches tall. Fold, seam the sides with a whip stitch, and add two simple chain handles.
This project takes a weekend, sometimes less. It’s forgiving if your tension isn’t perfect yet, and mistakes are easy to hide once it’s folded and seamed.
Tip: Practice your gauge swatch first on a small scrap. It saves yarn and frustration later.
2. Everyday Market Bag
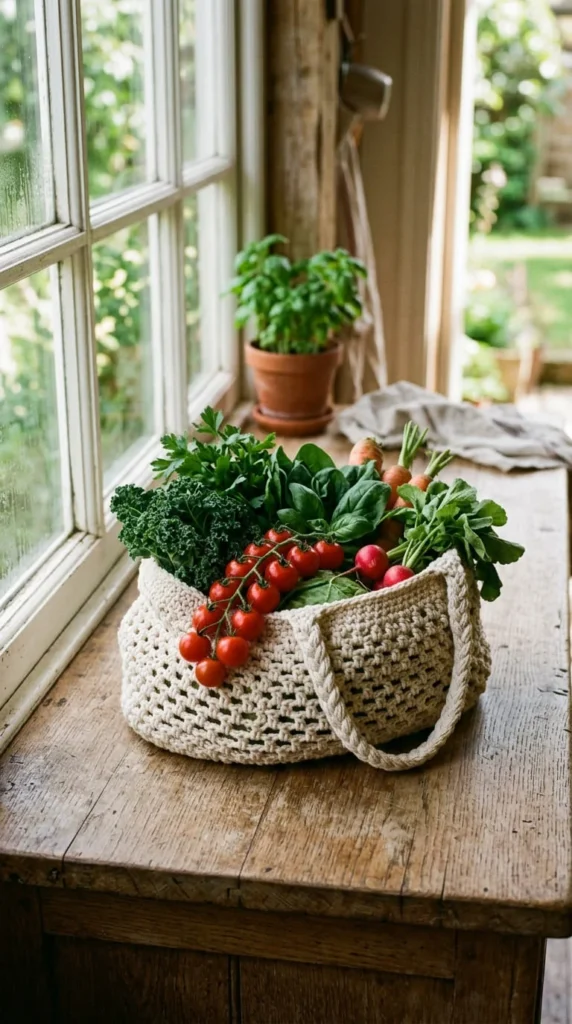
Skip the plastic bags and make your own reusable market tote. This style uses an open, mesh-like stitch pattern that stretches to hold groceries without tearing.
Cotton yarn is the best choice here because it holds up to weight and washes easily. A 6mm hook keeps the stitches loose enough for stretch but tight enough for strength.
Start with a simple V-stitch pattern worked in rounds. It’s repetitive, which makes it easy to memorize after just a few rows. Add a drawstring or a simple handle loop at the top.
This bag rolls up small enough to stash in your purse or car, so it’s always ready for a grocery run.
Budget tip: Recycled cotton yarn is cheaper than premium brands and works just as well for this project.
3. Mini Phone Pouch
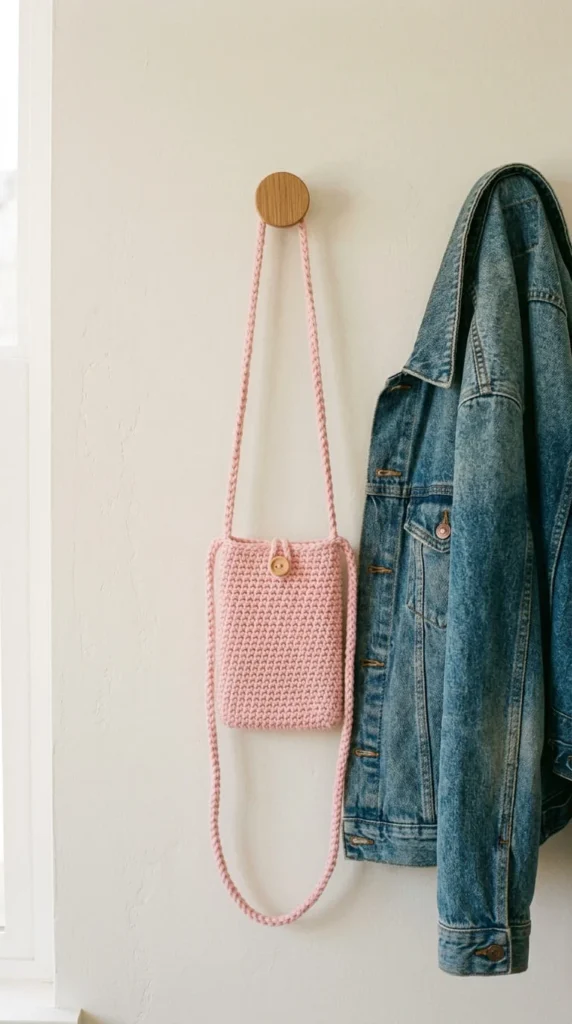
Small projects build confidence fast. A phone pouch takes an evening, not a weekend, and it’s the perfect way to practice single crochet and slip stitch.
Measure your phone, chain enough stitches to wrap around it with a little extra room, and work in rounds or rows depending on your comfort level. Add a long chain strap so you can wear it crossbody.
This is a great scrap-yarn project. You probably already have enough leftover yarn from a bigger project to finish this one without buying anything new.
Personalize it with a button closure, a small tassel, or a contrasting stripe near the top.
Tip: Line the inside with a scrap of soft fabric if you want extra scratch protection for your screen.
4. Granny Square Patchwork Tote
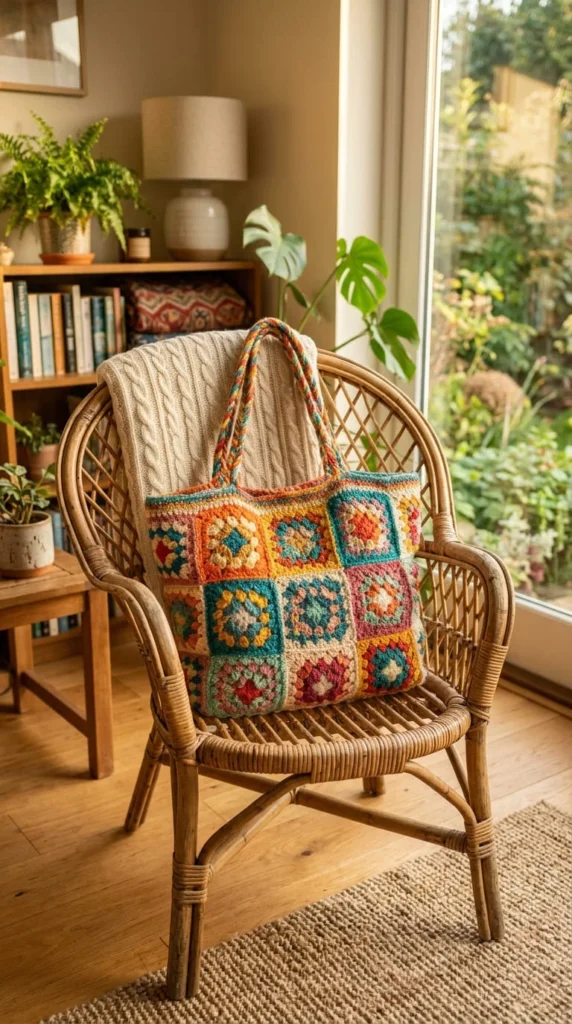
Granny squares are forgiving, portable, and a smart way to use up leftover yarn. Make six to eight squares, sew them together into two panels, and seam the sides into a bag shape.
Each square only takes about 15 minutes once you know the pattern, so this project comes together fast even for a beginner.
Mixing colors is part of the charm. Don’t worry about matching yarn weights perfectly — a patchwork look works in your favor here.
Add a plain single-crochet border around the top opening to keep the edges from curling, then attach two fabric or crocheted straps.
Budget tip: This is the best project for using up small yarn scraps you’d otherwise throw away.
5. Chunky One-Evening Bag
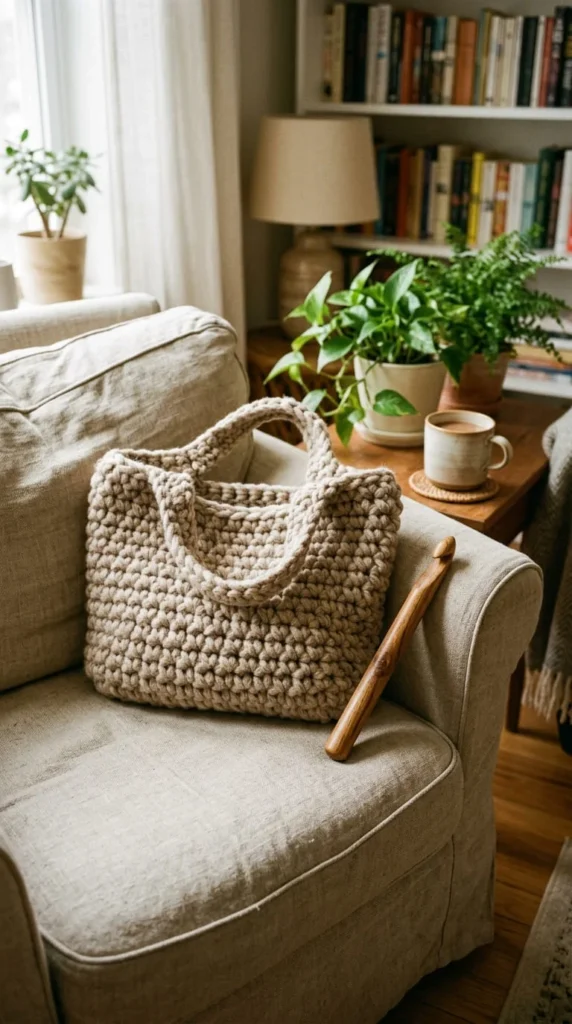
Want to see fast progress? Grab super bulky yarn and a large hook — 9mm or bigger — and you’ll have a finished bag in a single sitting.
Chunky yarn works up quickly because each stitch covers so much ground. It’s satisfying for beginners who get discouraged by slow progress on thinner yarn.
Work a simple rectangle or oval base, then build straight sides in single crochet. The thickness of the yarn does most of the visual work, so you don’t need fancy stitches.
This style looks best in solid, muted colors like oatmeal, rust, or charcoal.
Tip: Chunky yarn uses a lot of material fast, so check your yardage before starting to avoid running short mid-project.
6. Two-Tone Striped Tote
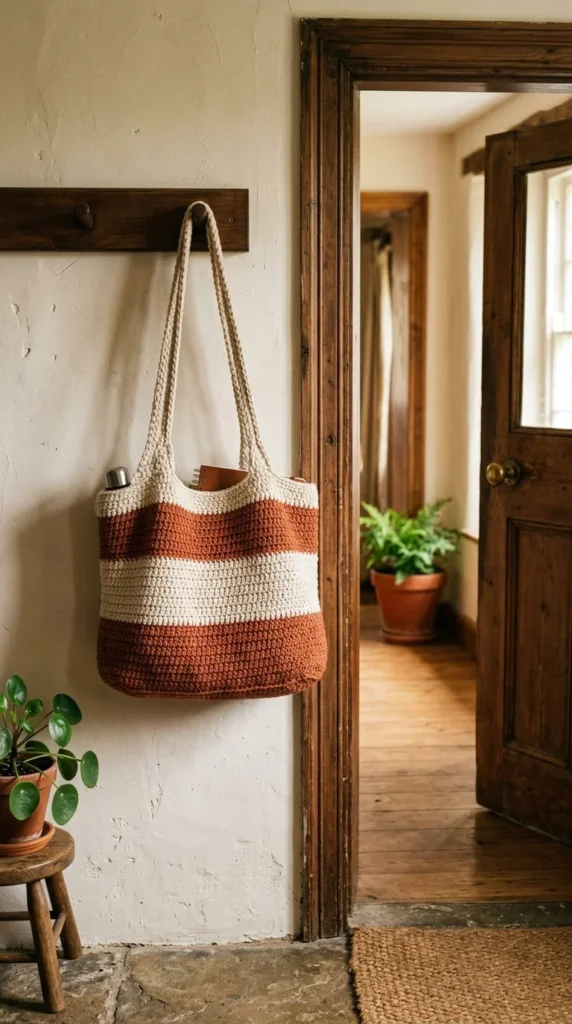
Stripes are an easy way to make a plain bag look intentional. Pick two colors that complement each other, then alternate every few rows.
This project uses the same basic rectangle construction as your first tote, so if you’ve already made one, this is just a fun color variation.
Weaving in extra ends from color changes takes patience, but it’s good practice for finishing techniques you’ll use again and again.
Try pairing a neutral like oatmeal with a bold accent color such as terracotta or sage green for a modern look.
Budget tip: Buy one skein of your main color and a smaller mini skein of your accent color to save money.
7. Drawstring Bucket Bag
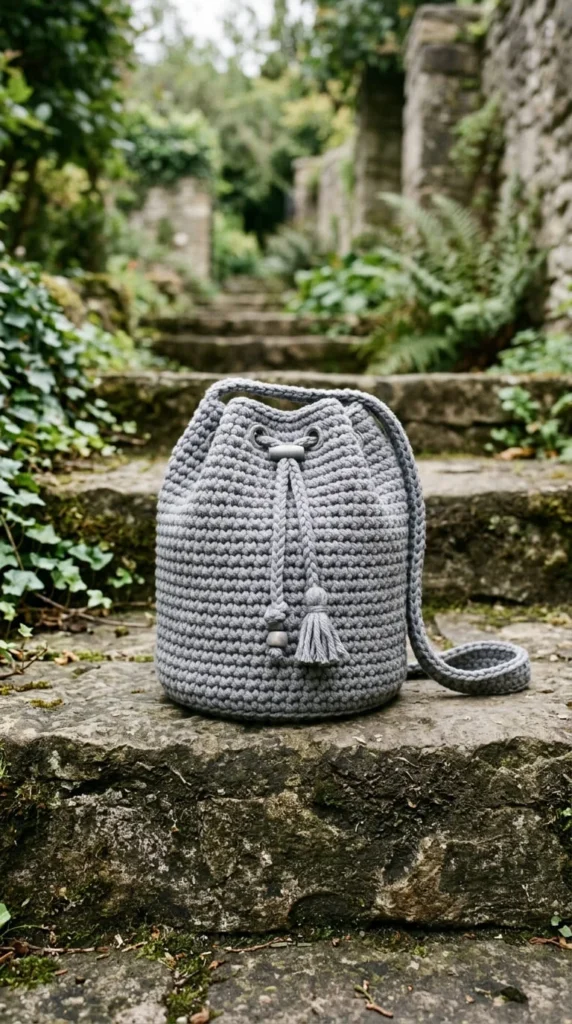
Bucket bags look complicated but they’re really just a round base with straight sides. Start with a flat circle, then switch to working straight up without increasing.
Once your sides reach the height you want, thread a cord or crocheted chain through the top row of stitches to create the drawstring closure.
This shape holds its form well, so it’s great for readers who want something sturdier than a floppy tote.
Use a firmer cotton or cord yarn rather than something soft and stretchy, since structure matters more here than in a flat tote.
Tip: A wooden bead threaded onto the drawstring makes closing the bag faster and adds a nice finishing detail.
8. Crossbody Everyday Bag
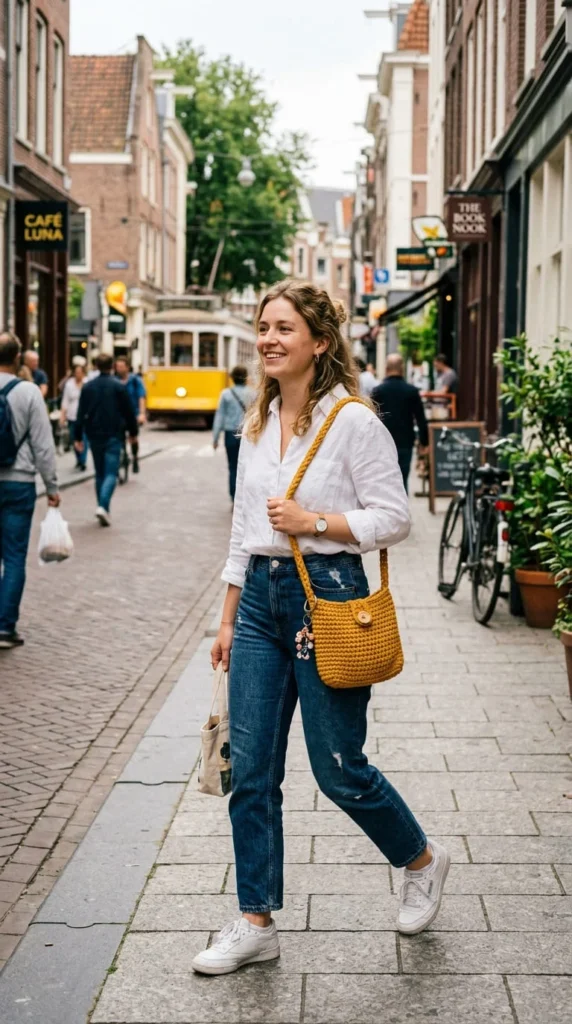
A crossbody bag is just a small tote with a longer strap — the construction difficulty barely changes, but the practicality goes way up.
Make a compact rectangle or oval base, then add a strap long enough to sit across your body comfortably. Around 45 inches works for most people, but measure yourself for the perfect fit.
This bag is ideal for hands-free days at the market, on walks, or running errands.
Reinforce the strap by crocheting it double or adding an extra row of single crochet along its length so it doesn’t stretch out over time.
Budget tip: Add a scrap-fabric lining instead of buying new fabric — an old pillowcase works surprisingly well.
9. Raffia Summer Basket
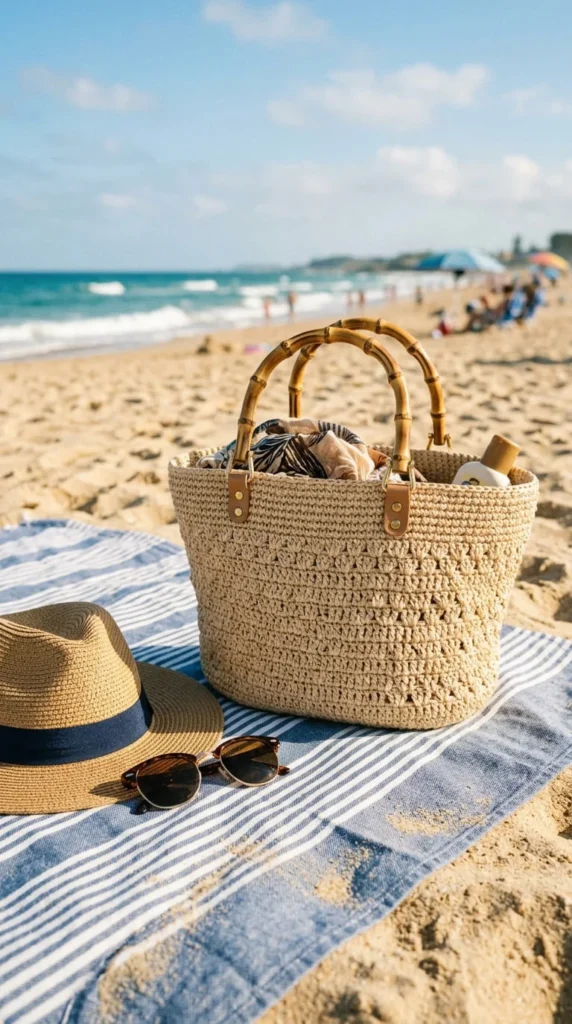
Raffia yarn creates a structured, natural look that’s perfect for warm-weather bags. It holds its shape without stiffening spray, which makes it beginner-friendly.
Work the base in rounds using single crochet, keeping your tension firm so the fabric doesn’t gap. Raffia can be slightly stiffer to work with than cotton, so take breaks if your hands get tired.
Attach bamboo or wooden handles instead of crocheting straps — it’s an easy way to make the bag look store-bought.
This style pairs beautifully with a simple solid color rather than stripes or patterns.
Tip: Raffia yarn is often sold in smaller skeins, so buy one extra just in case you run short near the top rows.
10. No-Sew Seamless Tote
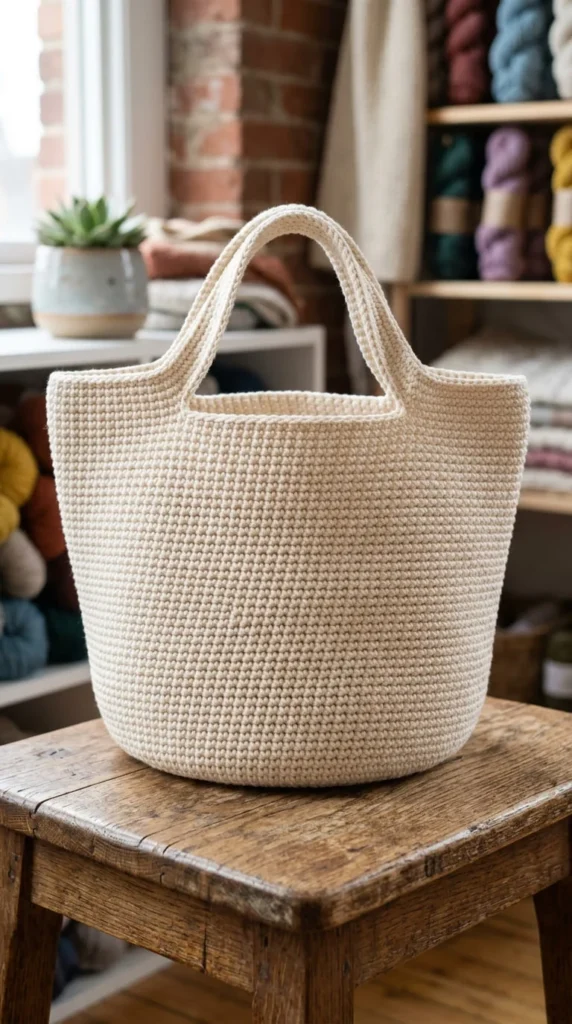
If sewing seams isn’t your thing, work your bag entirely in the round instead of as a flat rectangle. Start with an oval base, then build the sides upward without ever picking up a needle.
This method takes a little more focus to track your rounds, so use a stitch marker or paperclip to mark where each round begins.
The payoff is a clean, professional-looking bag with zero visible seams.
This construction style is slightly slower to learn than the flat rectangle method, but once it clicks, you’ll probably prefer it for future projects.
Tip: Count your stitches at the end of every round to catch mistakes early, before they multiply.
11. T-Shirt Yarn Weekend Bag
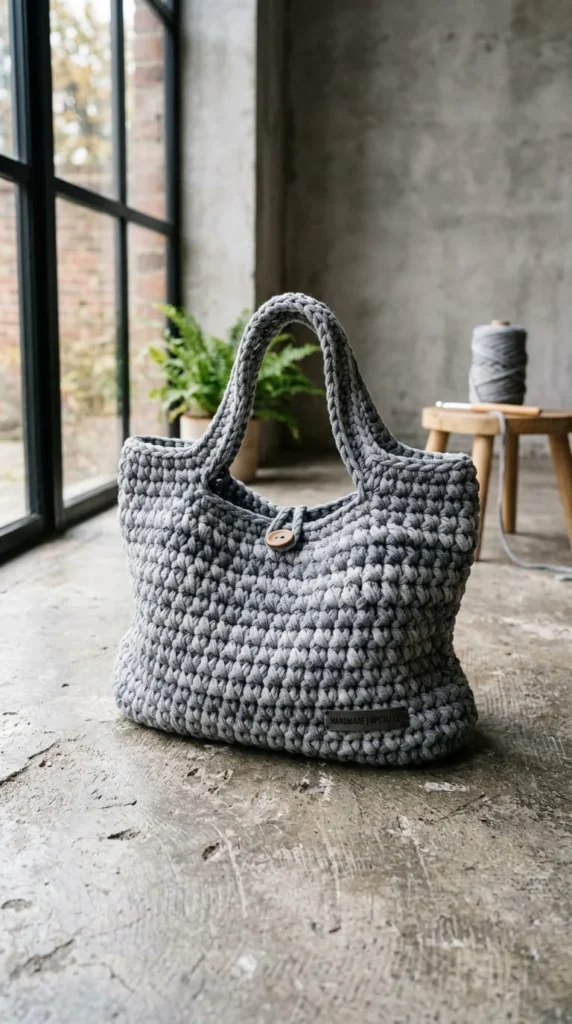
T-shirt yarn is thick, stretchy, and made from recycled fabric strips, which makes this one of the most budget-friendly bags on this list.
You can buy pre-cut t-shirt yarn or make your own from old shirts you already own. Either way, a large 10mm hook and just a handful of skeins finish a full-size bag fast.
Single crochet works best here since the yarn is already textured and bulky. Keep your pattern simple so the material stays the star of the project.
This bag is sturdy enough for beach trips, farmers markets, or hauling laundry.
Budget tip: Making your own t-shirt yarn from old clothes costs nothing but time.
12. Mesh Market Net Bag
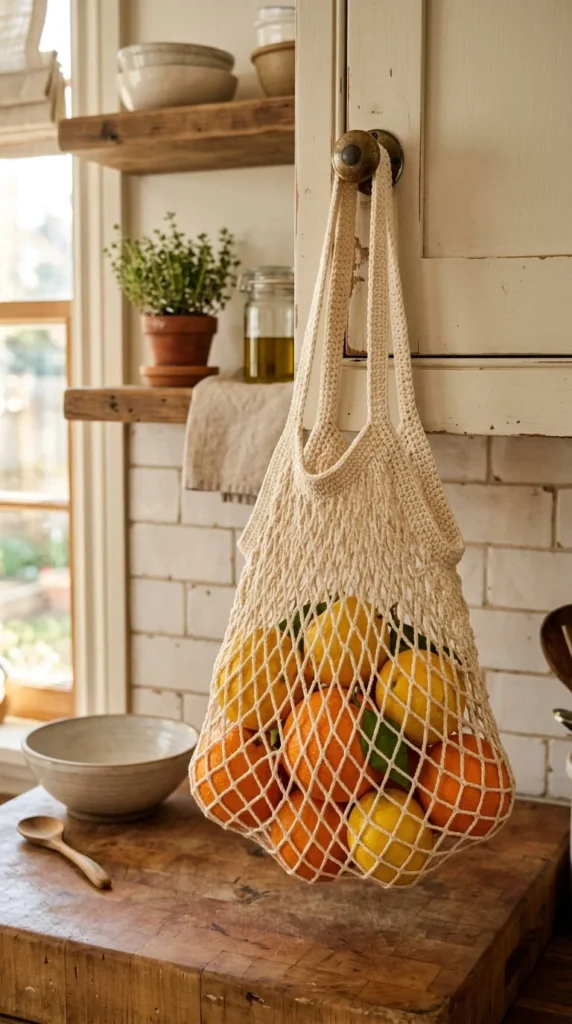
Net bags are trending for a reason — they’re lightweight, they roll up small, and they show off produce beautifully.
Work a simple chain-space pattern in rounds, leaving gaps between stitches rather than filling in solid fabric. This uses less yarn than a solid bag, which stretches your budget further.
Add a drawstring closure or a simple loop handle depending on how you plan to use it.
Line the bottom with a small fabric scrap if you’re worried about tiny items slipping through the holes.
This is one of the fastest projects on the list since open stitches work up quicker than dense ones.
Tip: Keep this bag folded in your car or purse so you always have it ready for a spontaneous market trip.
13. Flower Motif Mini Purse
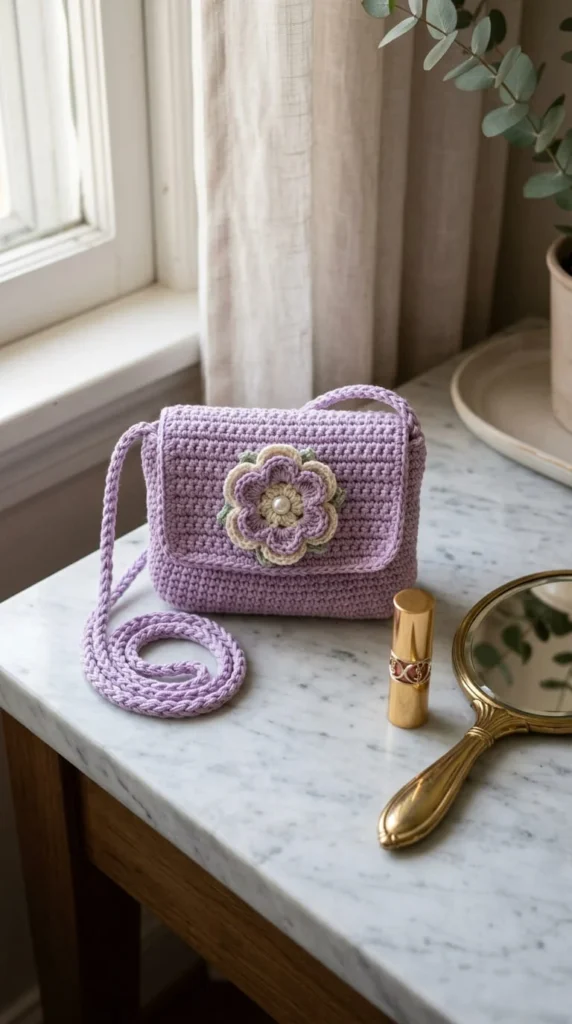
This project combines a simple bag base with a decorative flower motif for extra personality. The bag itself uses the same rectangle or round construction you’ve already practiced.
The flower is a separate small piece — just a handful of rounds — that you sew onto the front once both pieces are finished.
This is a great next step after your first bag because it introduces basic embellishment without adding real difficulty.
Try a contrasting color for the flower so it stands out against the base bag color.
Add a button or snap closure at the top for a polished, finished look.
Tip: Keep a small stash of scrap yarn specifically for motifs like this — you rarely need much.
14. Structured Zipper Purse
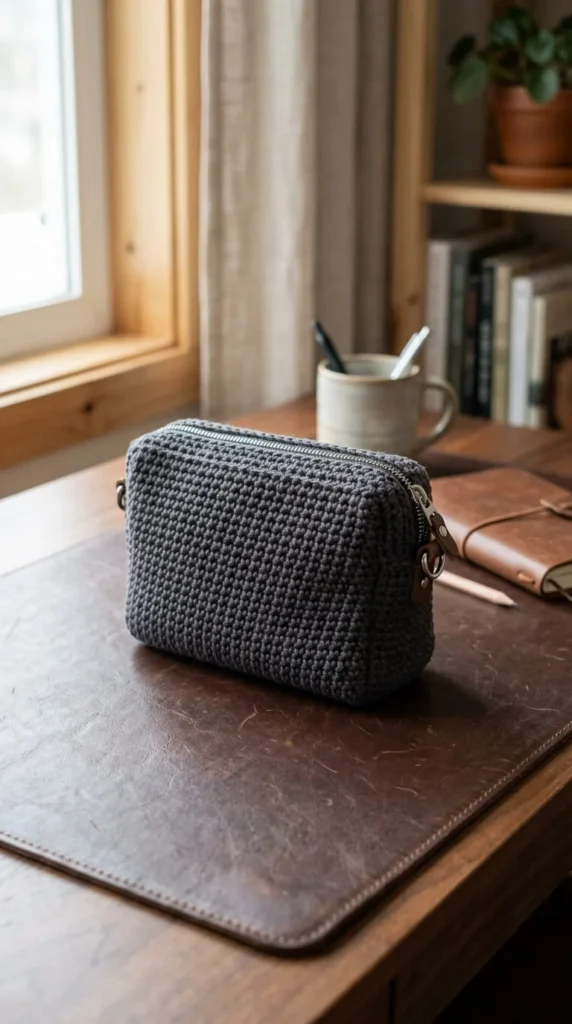
Adding a zipper takes your bag from casual to polished. It sounds intimidating, but the crochet part stays simple — you’re just sewing a purchased zipper into place at the end.
Work a small rectangular or oval bag using dense single crochet for structure. Firmer stitches hold their shape better around a zipper opening.
Pin the zipper in place before sewing so it sits evenly, then whip stitch it along both sides.
This bag is a great small-purse option for holding just your essentials — cards, keys, and lip balm.
Budget tip: Zippers are inexpensive at craft stores, and you can reuse one from an old bag you’re no longer using.
15. Adjustable Two-in-One Bag
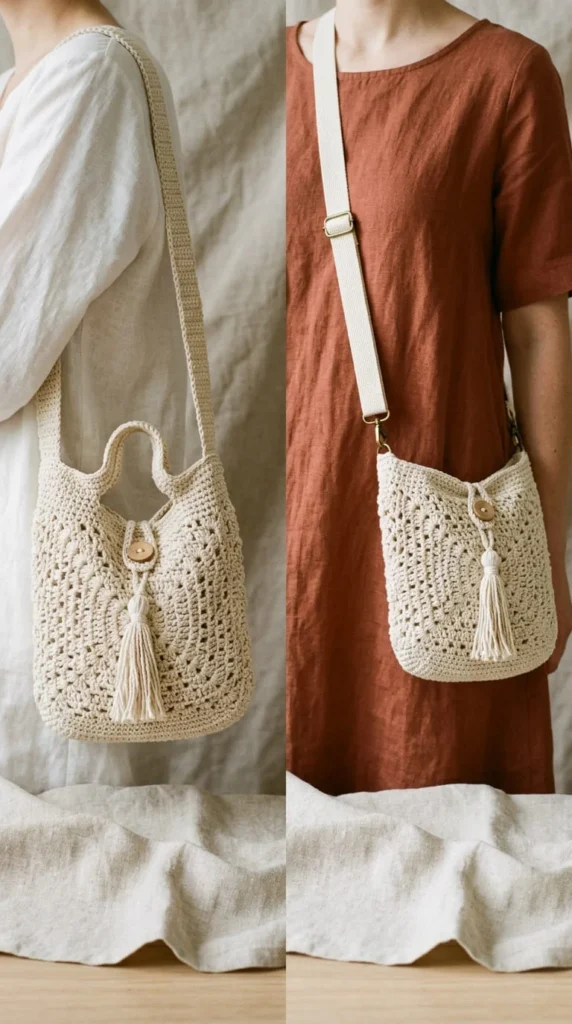
One bag, two looks. This design uses an adjustable strap with a simple button or toggle system so you can wear it as a shoulder bag one day and a crossbody the next.
Build your base bag using your preferred method, then crochet a long strap with evenly spaced buttonholes or loops along its length.
This is a small addition of difficulty compared to a fixed strap, but it makes the bag far more useful day to day.
Practical example: Shorten it for running errands, lengthen it for travel days when you want your hands free.
Tip: Test the strap length on your body before finishing it permanently — everyone’s ideal drop is different.
16. Stash-Buster Scrap Bag
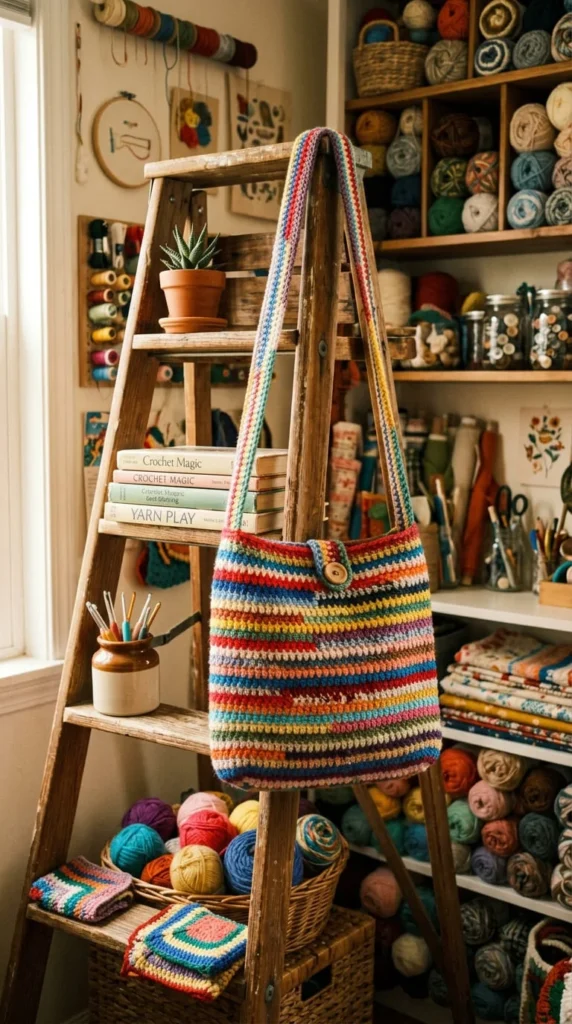
If you’ve got a basket of leftover yarn from other projects, this is where it finally gets used. There’s no color plan here — just work with whatever scraps you have until you run out or the bag reaches your desired size.
This project costs nothing extra if you already crochet regularly, since it’s built entirely from remnants.
Stick to a single stitch pattern throughout so the random colors don’t compete with random textures too.
The result is a one-of-a-kind bag that’s genuinely impossible to recreate — which is part of the appeal.
Tip: Weave in ends as you go rather than saving them all for the end. It’s less overwhelming in small batches.
17. Evening Clutch with Beads
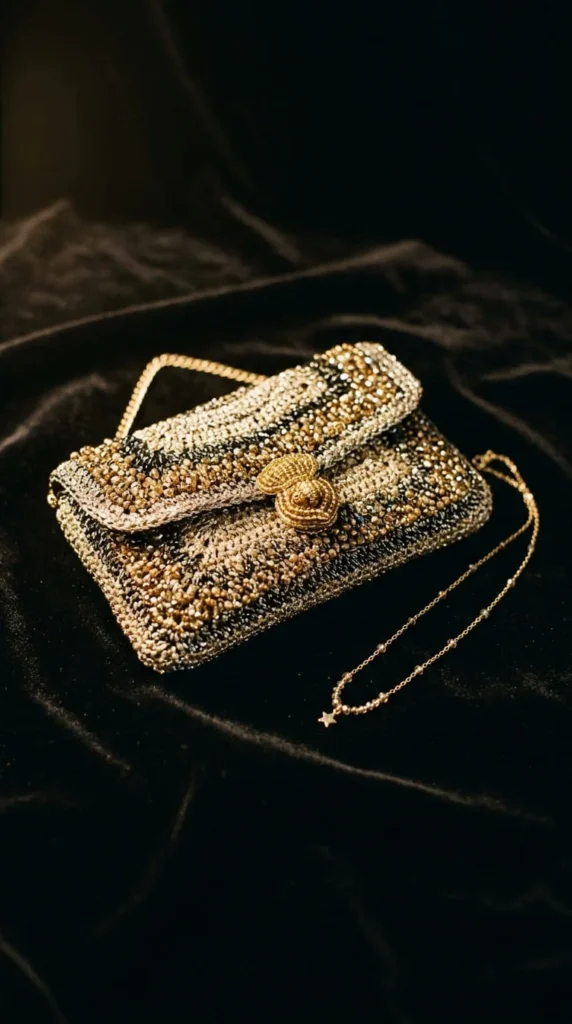
For a dressier project, switch to fine yarn or embroidery thread and a smaller hook. The finished fabric is delicate and elegant, perfect for a small evening bag.
String beads onto your yarn before you start crocheting, then slide them into place as you work each row for subtle sparkle.
This project takes more patience than the earlier bags on this list because the stitches are smaller and slower to work up. It’s a good challenge once you’ve built some basic confidence.
Add a simple magnetic snap closure and a short chain strap.
Budget tip: A single small spool of metallic thread goes a long way for a project this size.
18. Novelty Fruit-Shaped Mini Bag
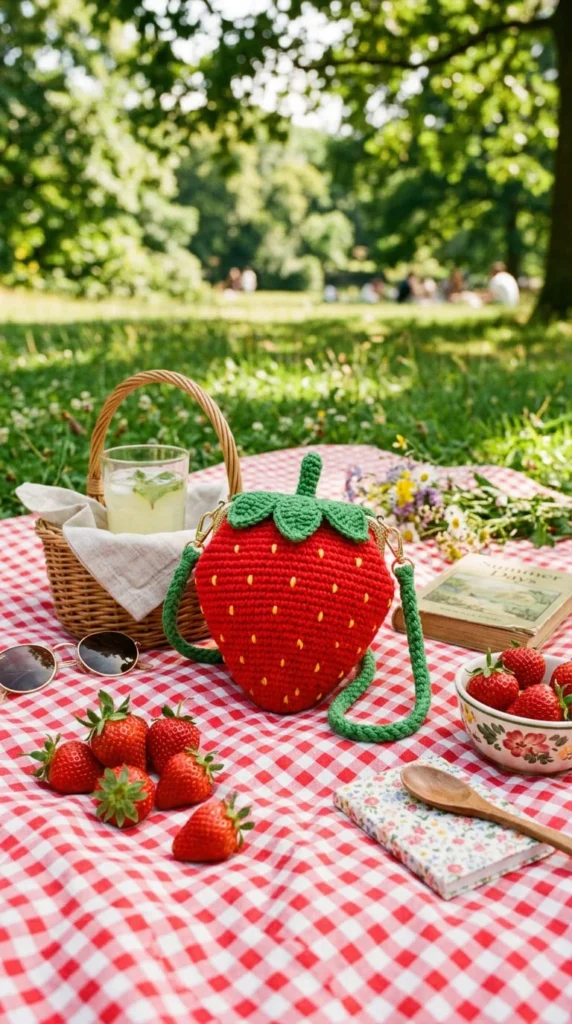
Novelty bags shaped like strawberries, mushrooms, or other fun shapes are a playful weekend project, especially if you’re making something for a kid or as a gift.
These typically start as a round or oval base, then use color changes and simple shaping to suggest the fruit or object shape.
Don’t worry about perfect realism — the charm is in the handmade look, not precision.
Add small details like a felt leaf or embroidered seeds for extra character once the base bag is finished.
Tip: These make great gifts for kids since they’re small, quick, and instantly recognizable.
19. Reinforced Book Tote
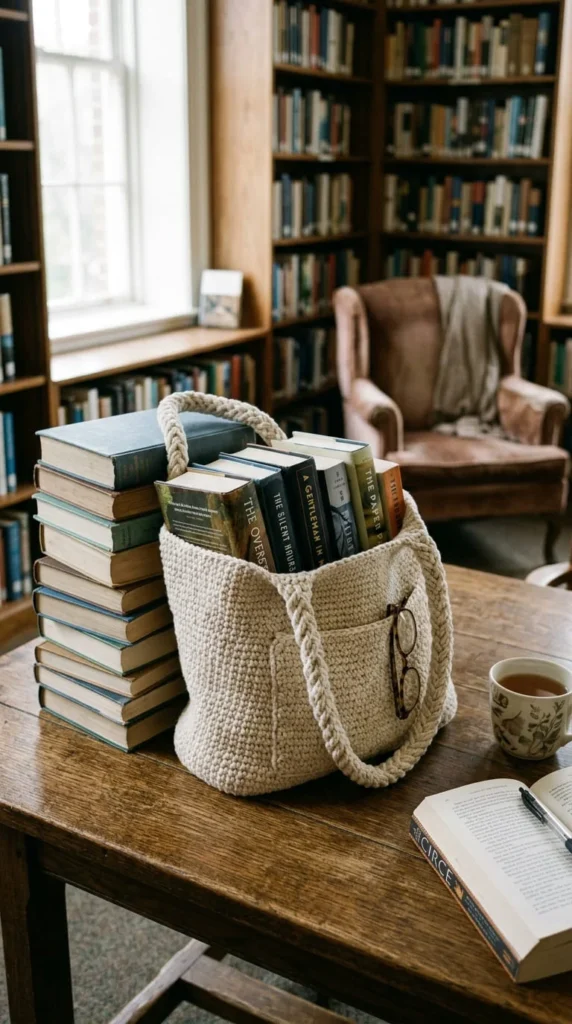
Carrying books or a laptop means your bag needs real strength. Use a dense single crochet stitch throughout, and consider holding two strands of yarn together for extra durability.
Reinforce your handles by stitching through the attachment points several times rather than just once or twice.
A fabric lining, even a simple hand-sewn one, adds structure and keeps the weight from stretching your stitches over time.
This bag takes a little longer than a basic tote because of the doubled yarn, but the payoff is a bag that actually holds up under real weight.
Budget tip: Use an old pillowcase or shirt for the lining instead of buying new fabric.
20. Textured Puff Stitch Bag
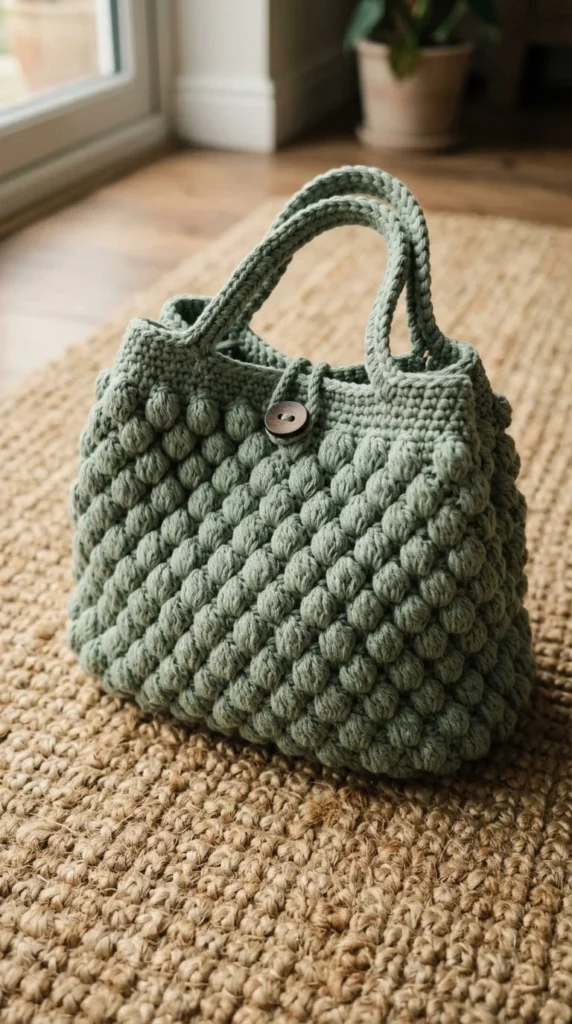
Once you’re comfortable with single crochet, the puff stitch is a natural next step. It creates a bumpy, textured fabric that looks far more advanced than it actually is.
Work a row of puff stitches, then a plain row, alternating as you build your bag. This texture combination is easier to keep track of than it looks.
A solid, muted color shows off the texture best — save your stripes and patterns for a different project.
This is a great confidence-building bag once your basic stitches feel automatic.
Tip: Puff stitches use more yarn than plain single crochet, so budget slightly extra yardage for this one.
21. Lined Everyday Shoulder Bag
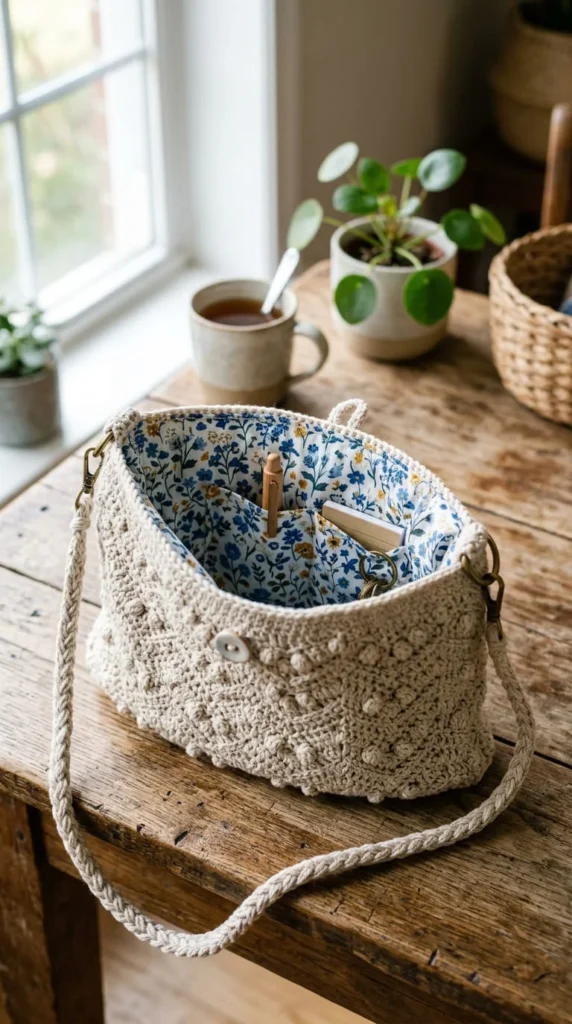
A lining solves two problems at once: it prevents contents from poking through the stitches, and it adds structure so your bag holds its shape.
Cut a piece of sturdy fabric slightly larger than your finished bag, fold the edges under, and hand-sew or machine-sew it just inside the top opening.
This step takes maybe 20 extra minutes but makes a real difference in how polished and functional the finished bag feels.
Add an inner pocket to the lining fabric before attaching it if you want a spot for your phone or keys.
Budget tip: Thrifted fabric or an old scarf works just as well as new yardage for a lining this size.
22. Beach Day Oversized Tote
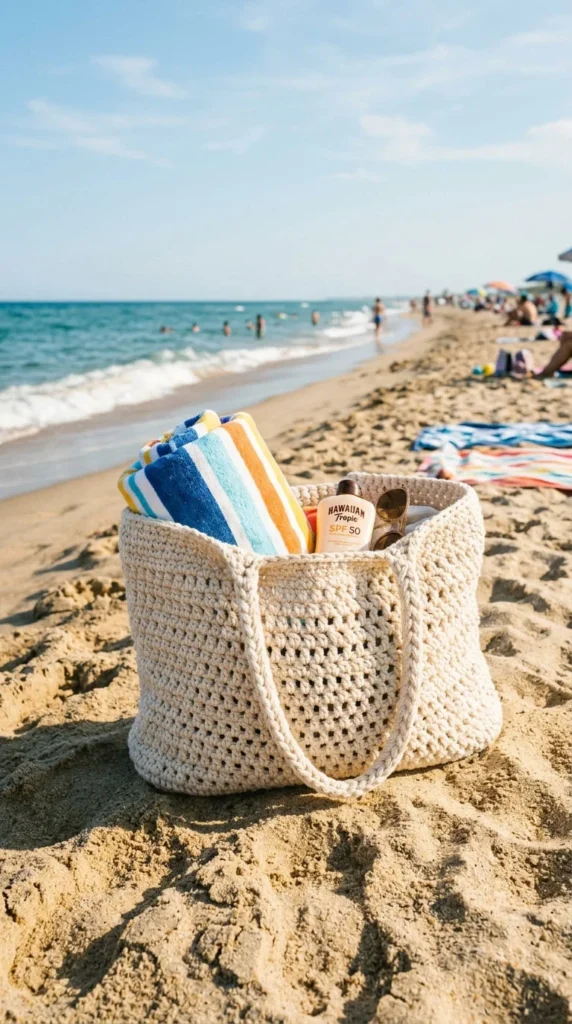
Sometimes you just need one big bag for everything — towel, sunscreen, a water bottle, and a paperback. This oversized tote uses the same rectangle construction as your first project, just scaled up.
Chain extra stitches at the start for added width, and add several more rows than usual for extra height. The bigger size means more yarn, so budget for two to three skeins depending on thickness.
Keep the stitch pattern simple since the size alone makes this bag stand out.
Wide, doubled straps keep it comfortable on your shoulder even when it’s fully loaded.
Tip: Chunkier yarn works up this larger size faster than thin yarn, saving you time over a long weekend project.
Conclusion
Crochet bags are one of the easiest ways to turn a few skeins of yarn into something you’ll actually carry every day. Whether you start with a basic rectangle tote or work your way up to a lined shoulder bag with a zipper, each project on this list builds a new skill without overwhelming a beginner. Pick one that fits your weekend, your budget, and your current comfort level, then grab your hook — your next favorite bag is closer than you think.