
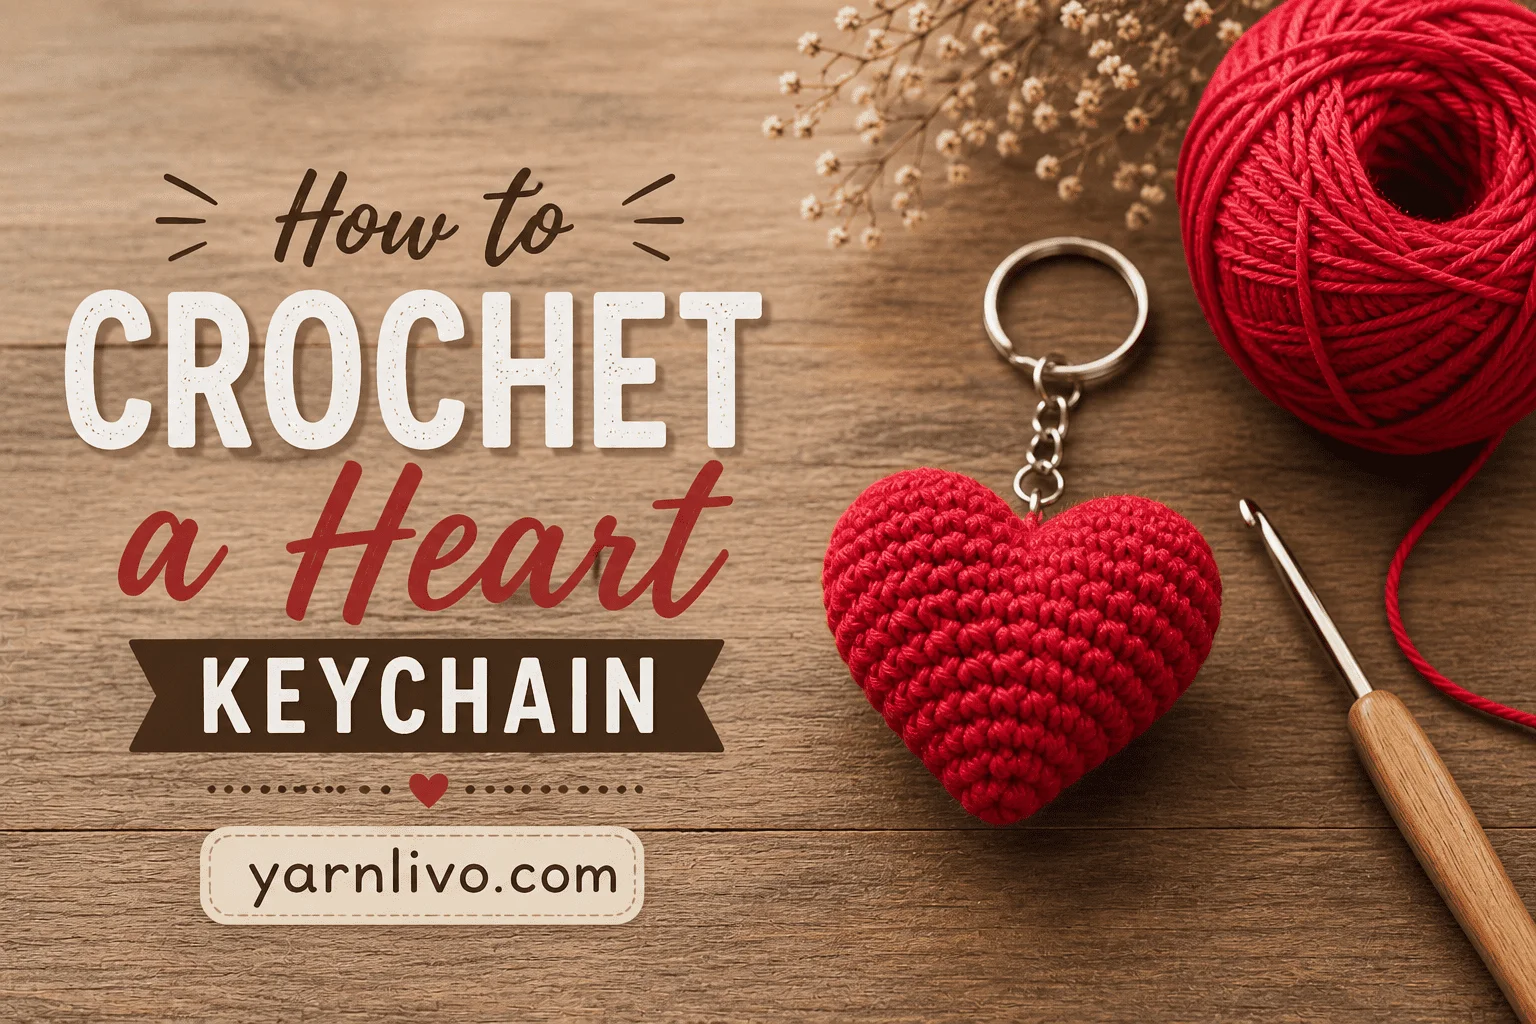
Few crochet projects pack as much charm into as little time as a heart keychain. It’s small, quick to finish, and instantly recognizable as something made with love — which is exactly why it’s become one of the most popular first “amigurumi” projects for new crocheters.
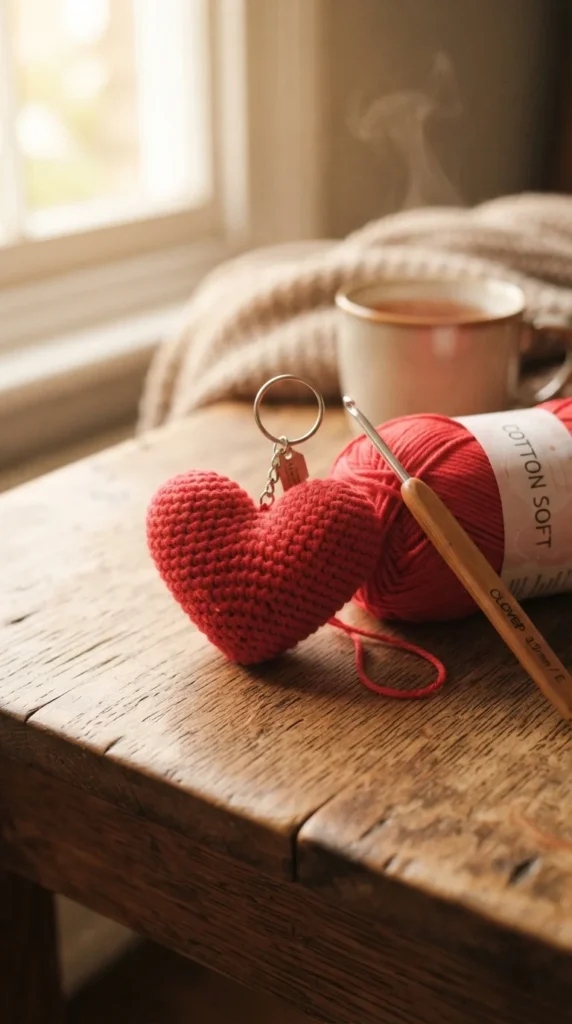
Whether you want a sweet last-minute gift, a cute bag charm, or just a fun way to practice your stitches, this guide walks you through everything you need to make your own heart keychain from start to finish.
What You’ll Need
Before you pick up your hook, gather these simple supplies:
- Cotton or milk cotton yarn (4-ply works well for crisp, tight stitches)
- A 2.0–2.5mm crochet hook
- Polyester fiberfill for stuffing
- A yarn needle for sewing
- A stitch marker
- A keychain ring, jump ring, or lobster clasp
Cotton yarn is worth choosing over fluffier options for this project. Since the heart is stuffed, tighter stitches keep the fiberfill from peeking through and help the finished shape hold up over time. Once you’re comfortable with the basics, you can experiment with velvet or plush yarn for an extra-soft version.
Two Ways to Build a Heart Shape
There are two common methods for crocheting a 3D heart keychain, and it helps to know both before you start.
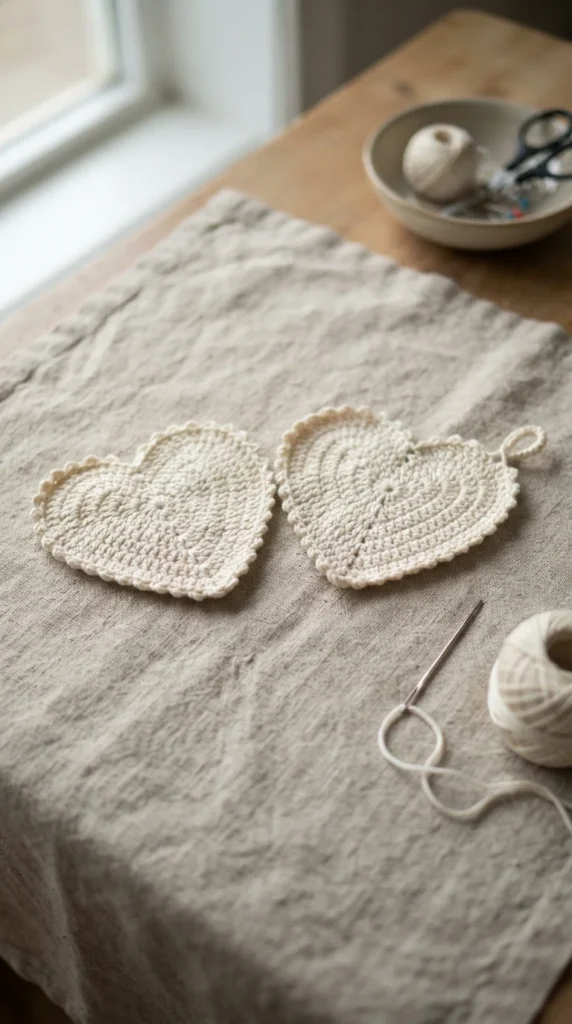
Method 1: Two seamed halves. You crochet two identical heart-shaped panels, then sew or slip-stitch them together around the edges, stuffing as you go. This method gives you more control over the final shape and is often easier for visual learners.
Method 2: Continuous rounds. You work the entire heart in one piece, shaping the lobes and point through a sequence of increases and decreases. This method takes a bit more practice but results in a seamless, professional-looking finish.
If you’re brand new to amigurumi, starting with the two-halves method is usually less overwhelming, since you can clearly see your progress on each flat piece before joining them.
Step-by-Step: Crocheting Your Heart
Here’s a simple walkthrough that applies to most beginner heart keychain patterns:
- Start with a magic ring (or a small chain ring if magic rings feel tricky) and work your first round of single crochets into it.
- Increase to shape the two lobes. The top of the heart is made of two rounded bumps, so you’ll increase stitches evenly to form them.
- Work even rounds to build up the body of the heart to your desired size.
- Decrease toward the bottom point. This is where the heart shape really comes together, so decrease gradually and evenly on both sides.
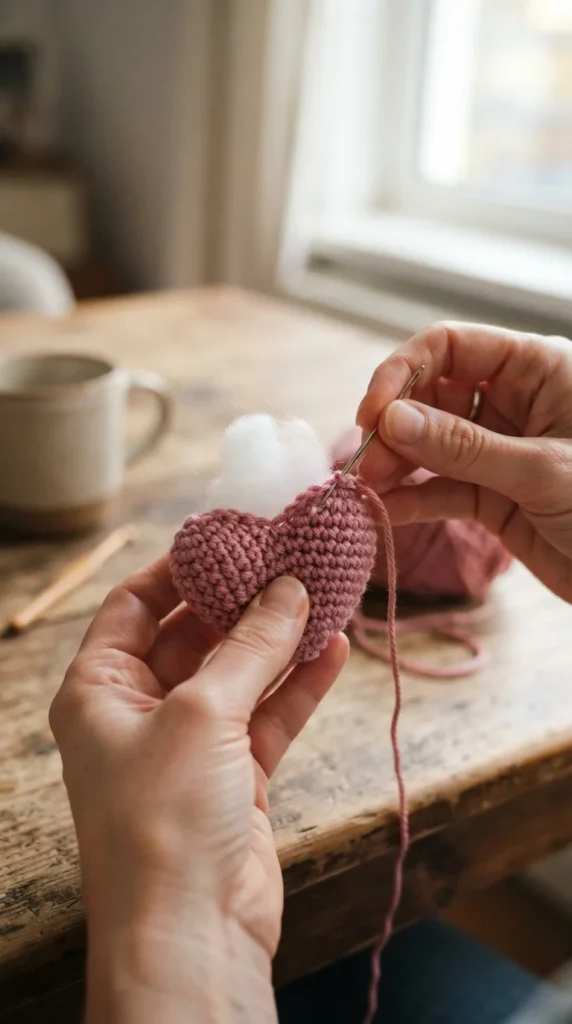
- Stuff as you go, adding small amounts of fiberfill rather than one big handful, to avoid lumps and keep the shape smooth.
- Close the point carefully. This is one of the trickiest parts, so take your time and use a few extra stitches if needed to fully seal the gap.
- Add a hanging loop. Chain about 8–10 stitches at the top valley of the heart, then slip stitch to form a small loop.
- Attach your keychain ring through the loop, and you’re done.
Common Mistakes and How to Avoid Them
Even experienced crocheters run into a few recurring issues with heart keychains. Here’s how to handle them:
- Gaps at the bottom point — Add one or two extra decrease stitches right at the tip, and weave your yarn tail through the gap before pulling it tight.
- Lopsided lobes — Count your stitches carefully after each increase round to make sure both sides match.
- Visible stuffing — Switch to a slightly smaller hook or tighten your tension a little.
- Losing track of rounds — Keep a stitch marker in the very first stitch of each round so you always know where you started.
Fun Ways to Customize Your Heart Keychain
Once you’ve mastered the basic shape, there’s a lot of room to make it your own:
- Add a contrasting border in a second color for a polished look
- Sew on a few small beads for subtle sparkle
- Try a puff stitch version for extra plush texture
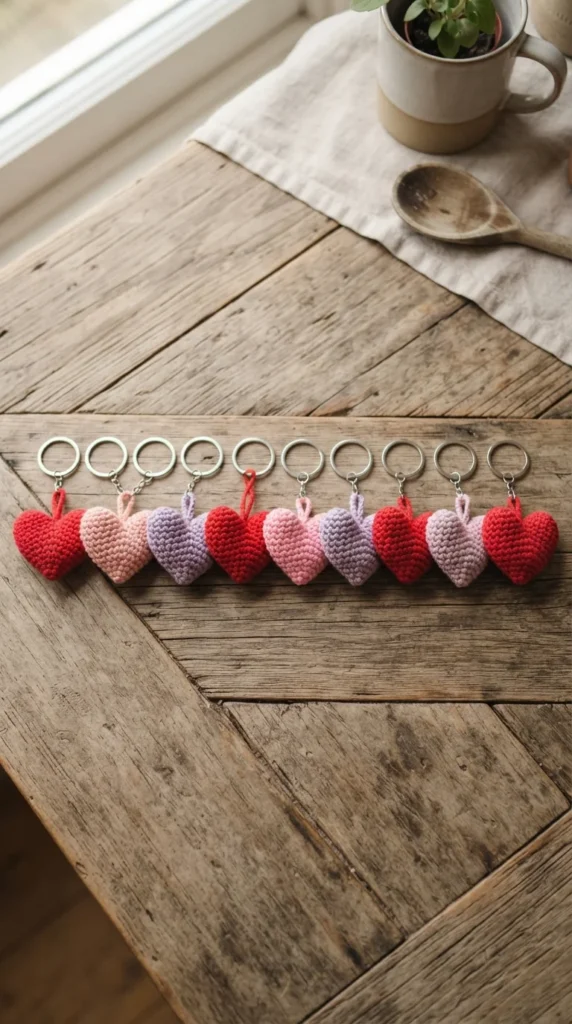
- Make matching mini hearts for couples or best friends
- Use bright, mixed colors for a playful, eclectic look
These small changes barely add any extra time but make each heart feel like a unique little creation.
Final Thoughts
A crochet heart keychain is one of those projects that feels far more impressive than the time it actually takes. In under an hour, you can go from a ball of yarn to a sweet, giftable accessory that’s entirely your own handiwork.
Whether you’re making one for yourself, a friend, or a whole batch for the holidays ahead, this simple project is a wonderful way to build confidence with shaping, stuffing, and finishing techniques.
Save this guide for later and try your first heart keychain when you’re ready — it might just become your new favorite quick make.