
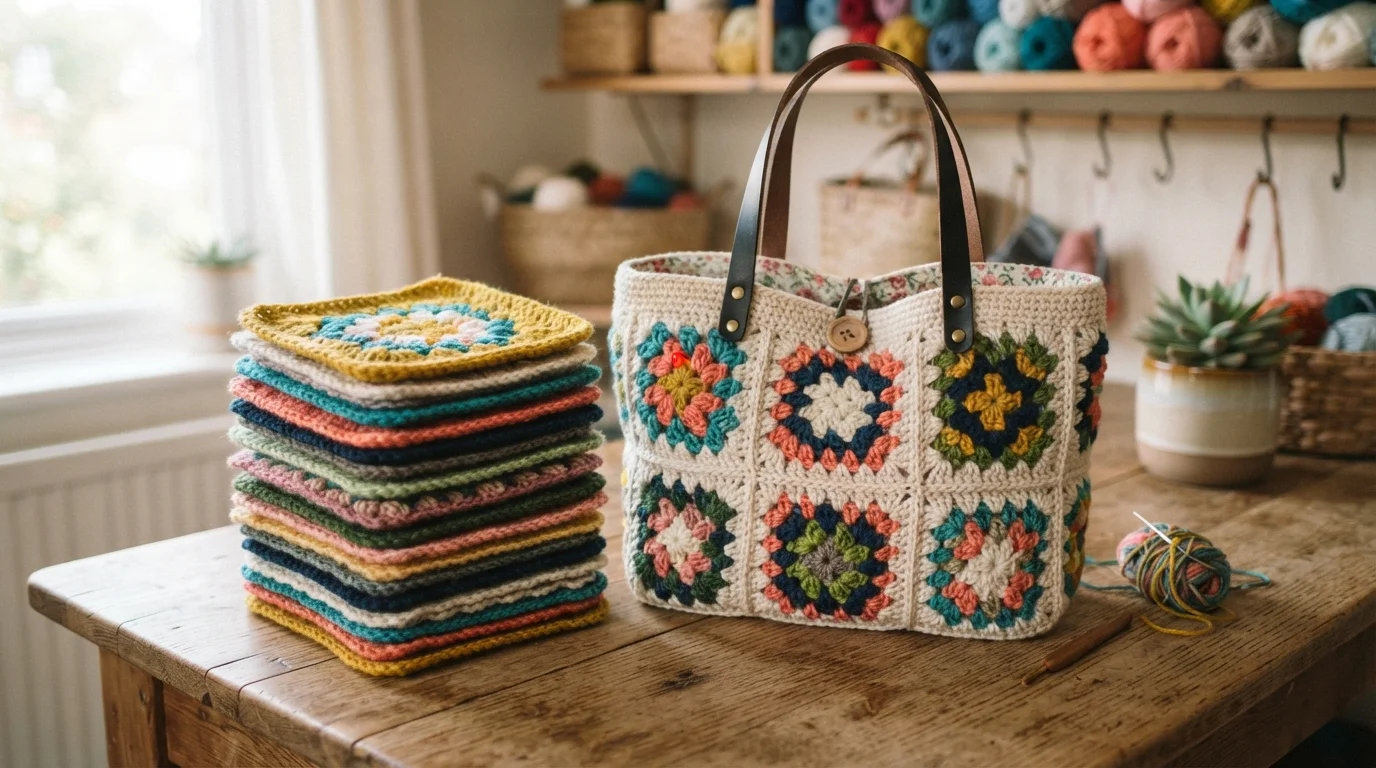
If you already know how to make a granny square, you’re closer to a finished bag than you might think. Learning how to crochet a granny square bag is really just an extension of a skill you may already have, and it’s one of the most satisfying ways to turn a handful of small squares into something you’ll actually carry around.
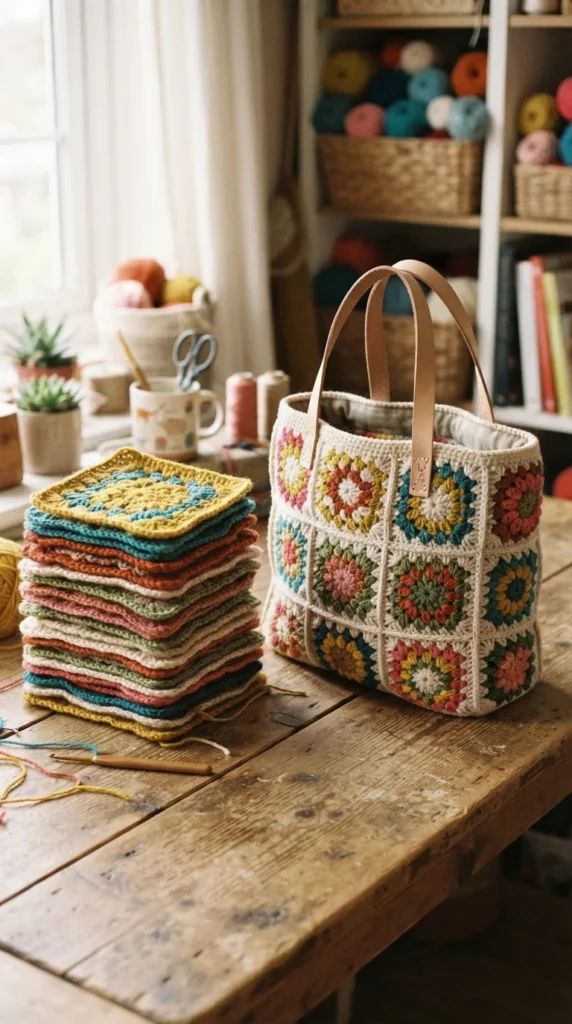
This guide walks through the whole process — from deciding how many squares you need, to joining them cleanly, to finishing the bag so it holds its shape and doesn’t sag the first time you fill it.
Decide How Many Squares You Need
The number of granny squares you make determines the whole size of your bag, so this is the first decision to make.
- 3 squares makes a small, quick mini bag — great for a first project or a phone-and-cards pouch
- 6 to 9 squares gives you a medium everyday bag
- 13 squares is the classic size for a full tote, big enough for groceries or a beach day
- 18+ squares works for an oversized market bag
If you’re new to this, start smaller. A 3-square bag lets you learn the whole process — joining, lining, adding a strap — without a big time investment.
Choose the Right Yarn
Granny squares for blankets can be made with almost any yarn, but a bag needs to hold its shape and survive daily use, so the yarn choice matters more here.
100% cotton yarn, ideally worsted weight (labeled #4), is the standard choice for a reason. Cotton doesn’t stretch out the way acrylic can, and it holds structure even when the bag is full. Mercerized cotton has a slight sheen and feels a little sturdier, which many crocheters prefer for bags specifically.
A tip worth remembering: go down one hook size from what the yarn label suggests. A tighter gauge gives you a denser fabric, which matters a lot once the bag has actual weight in it.
Crochet and Block Your Squares
Once you’ve decided on size and yarn, crochet your squares using your usual granny square method — most patterns use a magic ring center, then build outward in rounds of double crochet and chain spaces.
Before joining anything, take a moment to block your squares. Steam blocking (holding a steamer a few inches above the square, or lightly pressing with a steam iron) relaxes the stitches and makes every square the same size and shape. This step is easy to skip, but it makes a real difference — uneven squares create uneven seams, and that shows in the finished bag.
Join the Squares Together
This is the step that trips up a lot of beginners, mostly because there’s more than one way to do it, and each gives a different look.
- Slip stitch join – fast and simple, but creates a slightly raised ridge on one side
- Whip stitch join – sewn by hand with a yarn needle, gives a flatter, neater seam
- Flat slip stitch join – worked through both loops from the front, giving an almost invisible seam
- Reverse single crochet join – adds a decorative textured edge along every seam
For a bag specifically, a flat or reverse single crochet join tends to hold up best, since it reinforces the seam rather than just tacking two edges together. If this is your first bag, practice your chosen join on two spare squares before committing to the whole project.
Shape It Into a Bag
Once your squares are joined into one panel, fold it in half and seam up the two side edges, leaving the top open. This turns your flat panel into a simple bag shape.
For extra stability along the top edge, work a round of single crochet all the way around the opening. On a granny square edge, you’ll naturally increase at the peaks and decrease slightly at the valleys to keep the edge lying flat rather than rippling.
Add a Lining and a Strap
A lining isn’t strictly required, but it solves two common problems: items poking through the open granny square gaps, and the bag losing its shape over time.
- Cut a lining from quilting cotton or a lightweight canvas, matching the bag’s finished shape
- Whip stitch it in place just inside the top edge
- Add an interior pocket while the lining is still flat — it’s much easier than sewing one in afterward
For the strap, you can crochet a simple double-thickness strap for softness, or attach a ready-made webbing or leather strap with clips for something sturdier. A magnetic snap closure is an easy, beginner-friendly alternative to a zipper if you want the bag to close securely without any sewing machine work.
Final Thoughts
A granny square bag is one of those projects that looks far more complicated than it actually is. Once you understand square count, joining, and a simple lining, you can make this bag in almost any color combination or size you like.
Save this guide for later and try these ideas when you’re ready!