
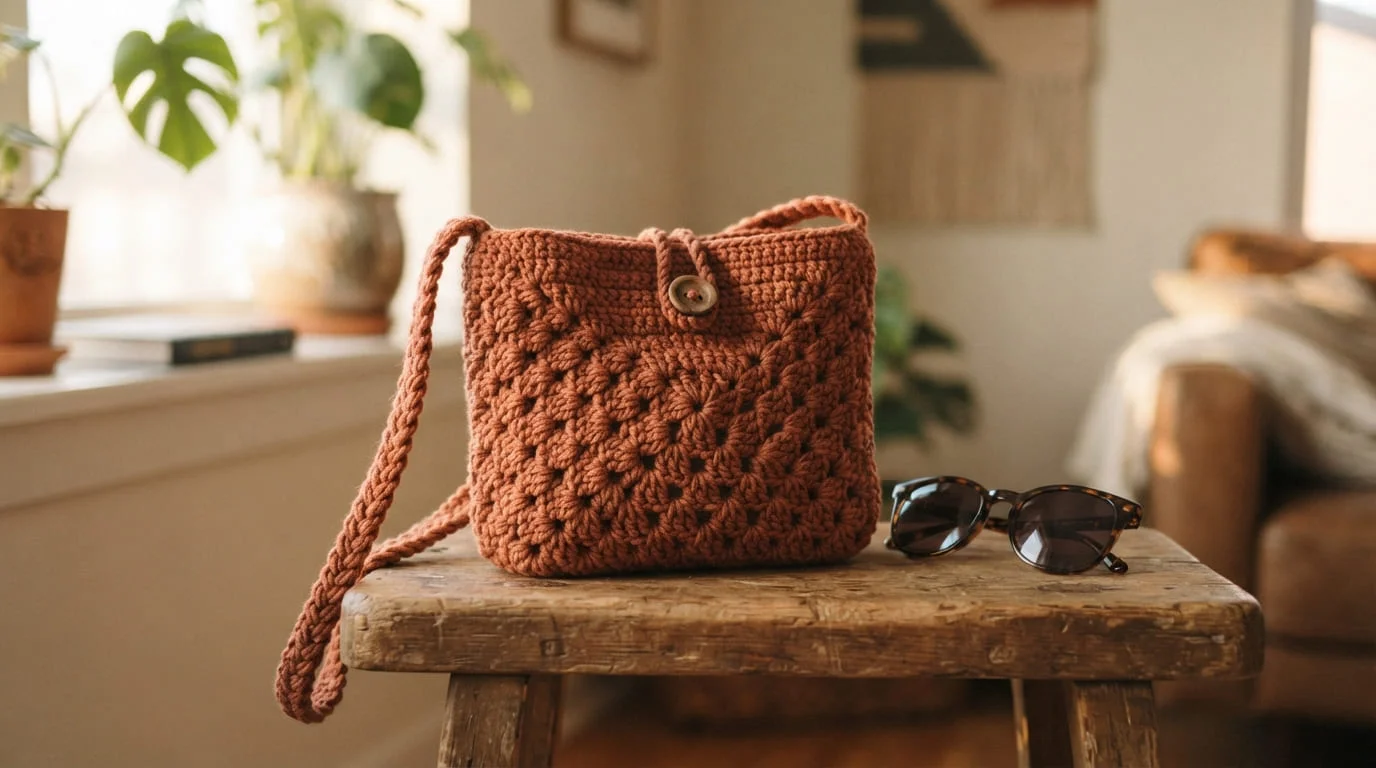
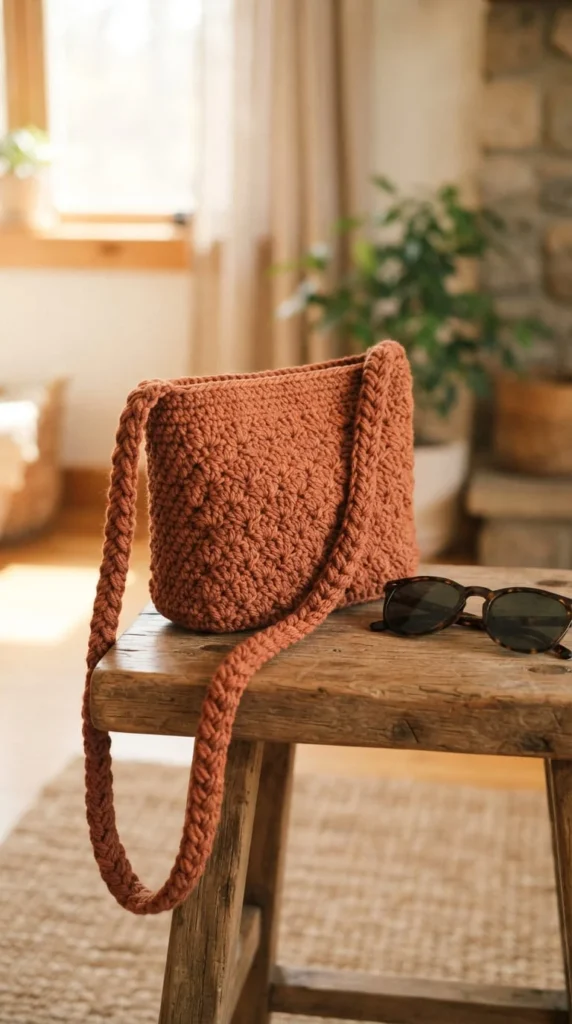
Crochet crossbody bags have moved well past the occasional craft-fair novelty — they’re genuinely useful accessories that hold up to daily errands, travel days, and everything in between, as long as you build them the right way. This list covers 23 distinct bag ideas, from sturdy cotton totes with real hardware to lightweight granny square styles for warmer months, along with the practical details that separate a bag that lasts for years from one that sags after a few wears. Whether you’re a beginner looking for your first project or you’ve made a few bags already and want fresh ideas, there’s something here for your next hook and skein.
1. A Round Cotton Bag With a Magnetic Snap Closure
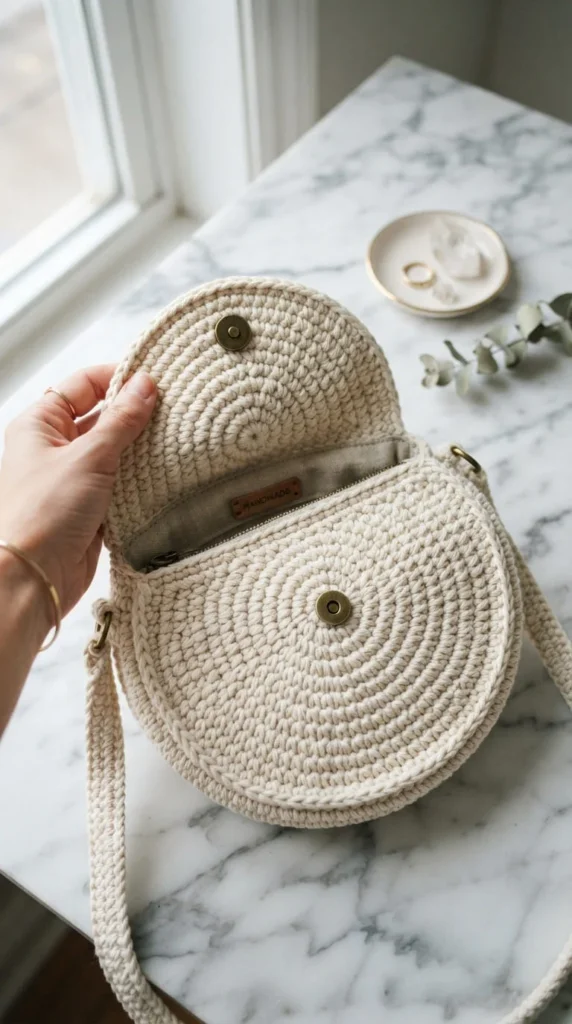
Circle-shaped bags have become one of the most requested styles, and they’re more approachable to crochet than they look. The body is built from a flat circle worked in the round, then a second matching circle forms the back panel, joined with a simple side seam.
The magnetic snap closure is what makes this bag worth featuring first. Unlike a zipper, it doesn’t require sewing a straight, even line into curved fabric — you simply attach two small washers on either side of the opening, and the bag snaps shut on its own.
A few things that keep this style from sagging:
- Use 100% cotton yarn, ideally mercerized, since it holds structure far better than acrylic
- Go down a hook size from what the yarn label suggests for a tighter, denser fabric
- Add a fusible interfacing lining if you want extra rigidity without doubling the crochet itself
This bag works well as a first “real” bag project because the shaping is simple, but the finished result looks intentional and polished. A short adjustable strap turns it into a going-out bag, while a longer one makes it comfortable for all-day wear.
2. A Flower Granny Square Bag for a Boho Look
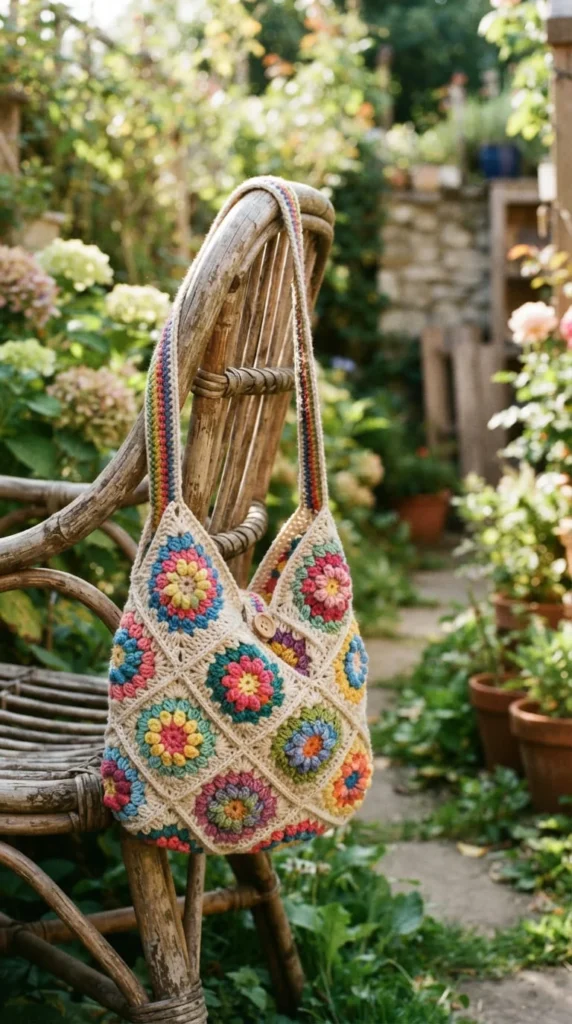
Granny squares aren’t just for blankets anymore. Joining a handful of small flower motifs into a rectangle or square panel gives you a bag front and back that’s genuinely different from a plain crocheted rectangle, without requiring any new skills beyond basic granny squares.
This is a strong stash-busting project, since each motif only needs small amounts of yarn. Mixing colors across the motifs, rather than keeping them uniform, gives the finished bag a collected, handmade look rather than a matched, mass-produced one.
Building it step by step:
- Crochet 6–9 flower motifs depending on your desired bag size
- Join them using a flat slip stitch seam so the front lies smooth
- Line the inside with cotton fabric to prevent items from poking through the open granny square gaps
Because granny square fabric has natural gaps between motifs, this bag works best as a lighter, warm-weather accessory rather than a bag meant to carry heavy or bulky items. A drawstring or simple button closure suits the relaxed, boho character of this design better than a structured zipper would.
3. A Fully Lined Bag With a Zipper for Everyday Security
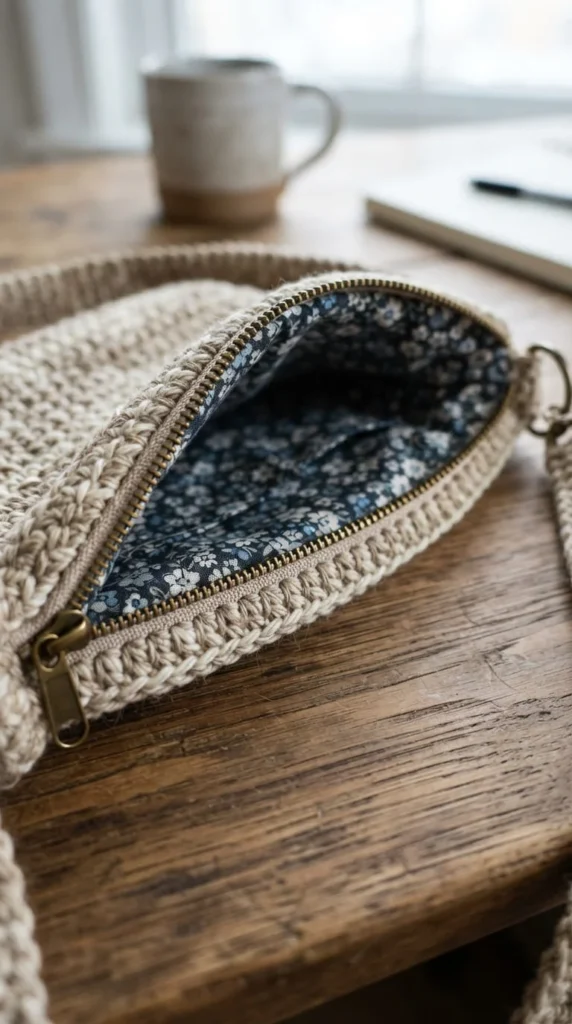
If you’re planning to carry a phone, wallet, and keys in your crochet bag regularly, a full zipper closure with fabric lining is worth the extra effort. It’s more involved than a snap or drawstring, but it solves the two biggest complaints people have about handmade bags — sagging and items falling out.
The lining does more than hide the inside of your stitches. It gives the fabric a backbone, which stops a soft crochet bag from stretching out of shape under the weight of everyday items.
Getting the zipper in cleanly:
- Cut your lining fabric slightly larger than the bag opening, then fold and press the edges before sewing
- Backstitch the zipper to the lining first, then whip stitch the lining into the crochet body
- Test the zipper glides smoothly before sewing it in permanently — it’s much harder to fix afterward
This is a good next-step project once you’re comfortable with basic crochet bags, since the sewing skills involved are separate from the crochet itself. A quilting cotton or lightweight canvas lining holds up best over repeated use.
4. A Messenger-Style Bag With a Wide Adjustable Strap
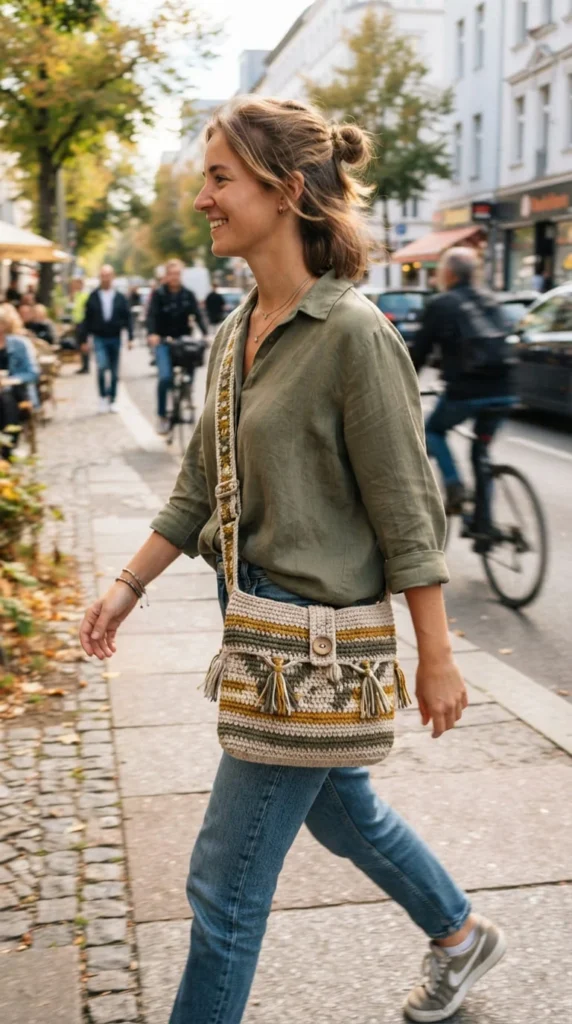
Not every crossbody bag needs a delicate thin strap. A wider, messenger-style strap distributes weight more evenly across the shoulder, which matters if you’re planning to carry the bag for long stretches — commuting, traveling, or running errands all day.
Crocheting a strap wide enough to feel supportive, without making it stiff or bulky, comes down to stitch choice. A double-thickness strap, crocheted flat and folded in half, then seamed closed, gives you padding without adding much crochet time.
Making the strap adjustable:
- Add a slide buckle (available at most craft stores) partway along the strap length
- Leave one end of the strap loose enough to thread through the buckle for length adjustments
- Reinforce both strap ends with an extra round of single crochet before attaching them to the bag
5. A Belt Bag That Doubles as a Crossbody
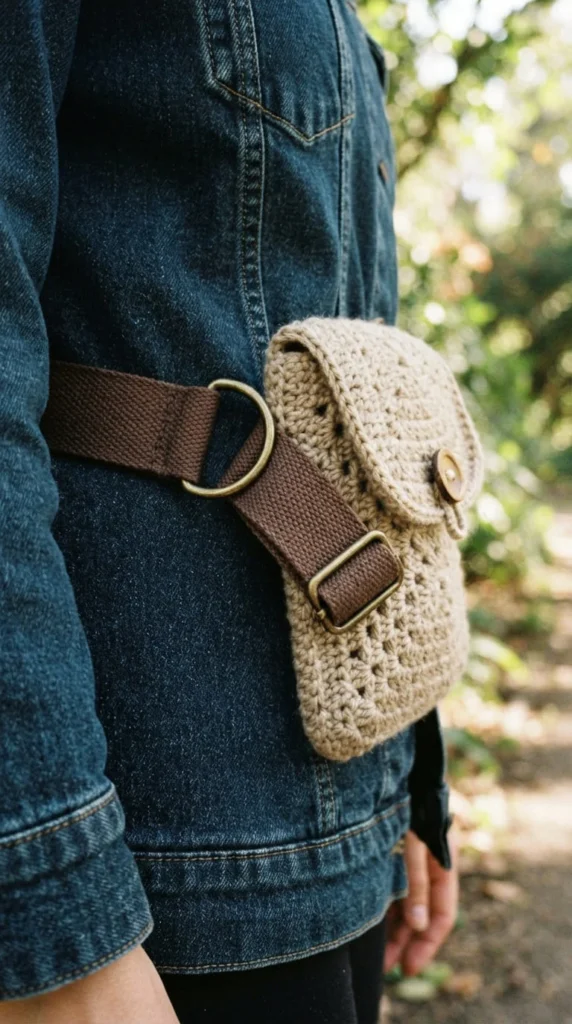
A belt bag, sometimes called a fanny pack or bum bag, isn’t strictly a crossbody, but the same crochet techniques apply, and many patterns let you wear the same bag both ways depending on strap length. This versatility makes it a smart pattern to learn once and use for two different bag styles.
The key hardware here is a set of D-rings, crocheted directly into small fabric or crochet tabs at each side seam. These give the strap somewhere secure to clip on, and they let you swap between a longer crossbody strap and a shorter belt-style strap.
Practical build notes:
- Crochet the D-ring tabs as small rectangles, then fold and stitch them around the metal ring before attaching to the bag
- Use a ready-made adjustable strap with clips rather than crocheting your own, which saves time and adds durability
- Keep the bag body compact — belt bags work best when they’re not overstuffed
Because this style sits close to the body, a slightly firmer fabric holds its shape better than a loose, drapey one. Worsted weight cotton at a tight gauge is a reliable choice here.
6. An Alpine Stitch Bag for Visual Texture
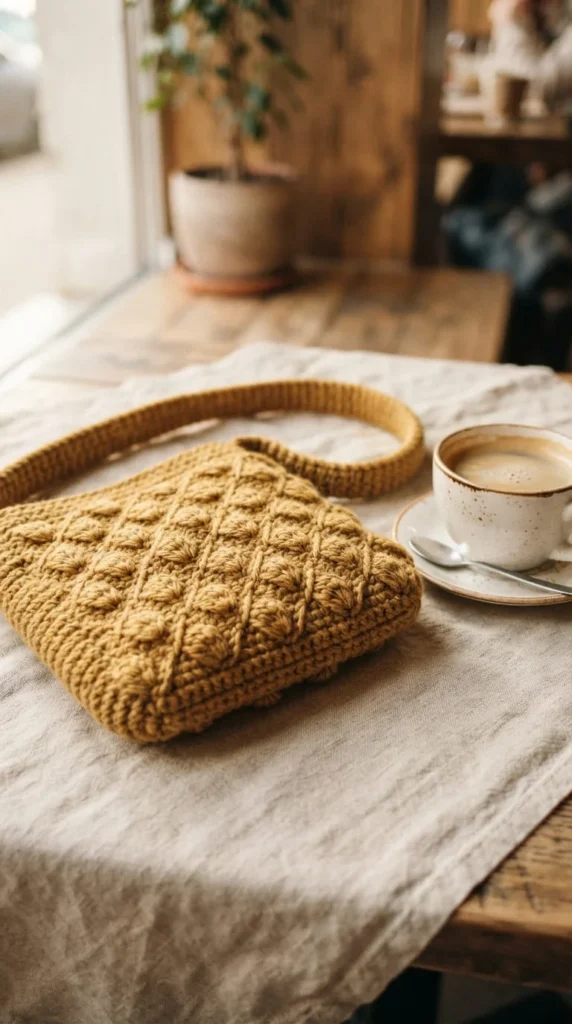
Plain single or double crochet works fine for a bag, but a textured stitch pattern like alpine stitch gives the fabric a raised, woven look that stands out without needing color changes or embellishments. It’s a good way to make a simple bag shape feel more considered.
Alpine stitch is built from a repeating combination of front post double crochet and regular stitches, which creates a diamond or basketweave texture as you work. It’s not difficult once you understand the repeat, but it does take a little more concentration than plain rows.
A few tips for working textured stitches into a bag:
- Practice the stitch pattern on a small swatch first to get comfortable with the repeat before starting the bag
- Textured stitches naturally use more yarn per row than plain stitches, so budget slightly more than a standard pattern calls for
- Choose a solid, single color for the bag so the texture itself is the visual focus, rather than competing with a busy color pattern
This style suits anyone who enjoys the process of crochet as much as the finished object, since textured stitch patterns are genuinely more engaging to work than long stretches of single crochet.
7. A Herringbone Stitch Pouch for a Slim Profile
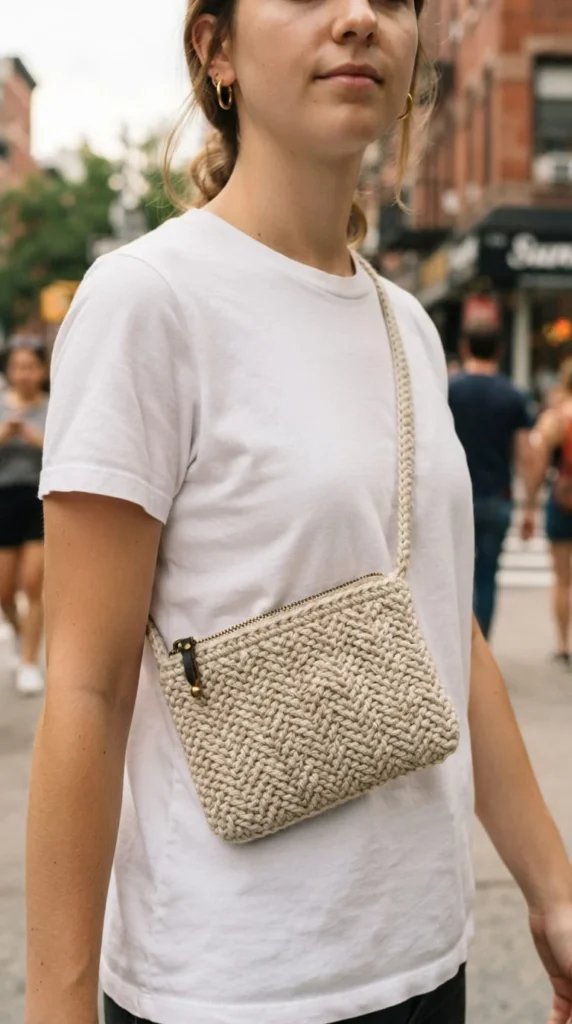
Herringbone crochet produces an unusually dense, almost woven fabric that drapes differently than standard stitches. For a slim crossbody pouch meant to carry just a phone, cards, and a lip balm, that density is an advantage — it holds its shape without needing a rigid lining.
This stitch pattern works up a little slower than basic single crochet since each stitch pulls through multiple loops, but the payoff is a fabric that genuinely feels more like woven cloth than typical crochet.
Why this style works well as a slim bag:
- The dense fabric means a thinner zipper pouch doesn’t need extra structure or lining to stay flat
- It’s a good project for using up a single skein, since the pouch itself is small
- The tight stitch definition looks polished even without decorative elements
A short crossbody strap, rather than a long shoulder strap, suits the compact size of this style best. It’s a practical option for anyone who wants to carry the essentials without a full-sized bag, especially for evenings out or quick errands where a large tote isn’t necessary.
8. A Foldover Flap Bag With a Contrast Lining
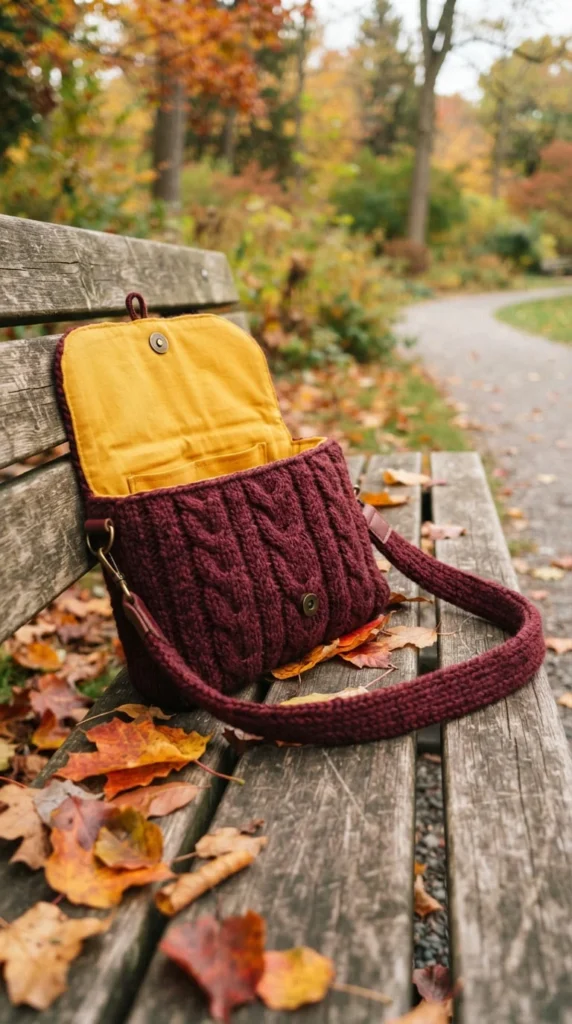
The foldover flap is one of the more classic crossbody bag shapes, and it’s a forgiving design for anyone still building confidence with seaming and finishing. The flap covers the opening completely, which means a slightly uneven top edge is far less noticeable than it would be on an open-top bag.
Choosing a lining color that contrasts with the outer yarn adds a small design detail that makes the bag feel more finished the moment it’s opened, even though it’s a simple technique.
Construction notes worth following:
- Crochet the flap as an extension of the back panel, rather than as a separate piece to sew on
- Whip stitch the lining in place along the inside edges, keeping stitches small and even for a clean finish
- Add a button and loop closure at the flap’s tip for a secure, no-fuss closure that doesn’t require hardware
This bag shape also hides wear well over time, since the flap protects the main opening from the fraying and stretching that happens most at a bag’s most-used edge. It’s a solid choice for a bag you intend to use for years.
9. A Mesh Water Bottle Holder for Hikes and Festivals
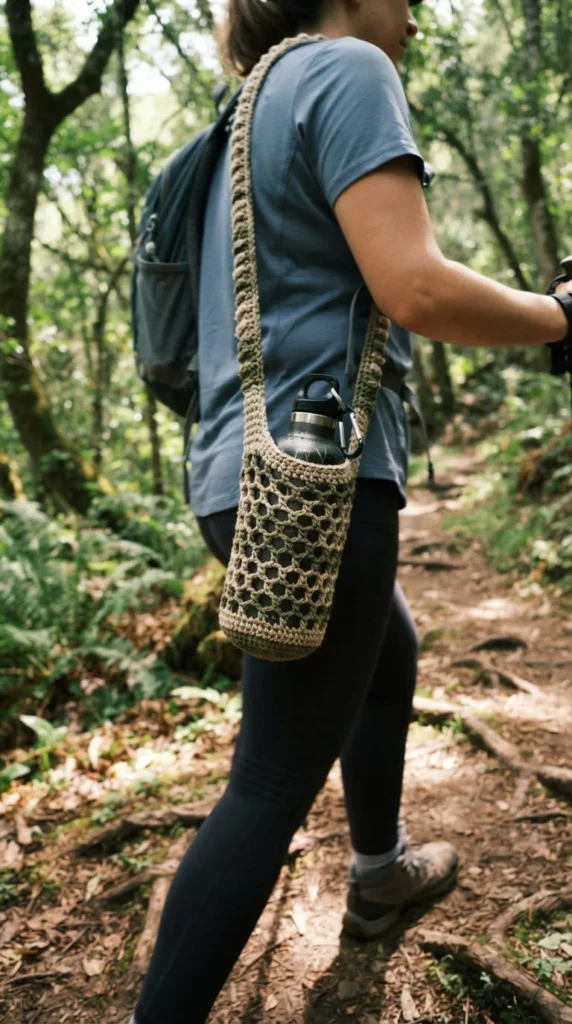
Not every crossbody bag needs to hold a wallet and keys. A mesh-style holder sized for a standard water bottle is a genuinely useful project for hiking, festivals, or any outing where you want your hands free but still want quick access to water.
The open, airy mesh comes from working a filet-style pattern — chains and double crochets spaced to leave gaps — rather than a solid fabric. This also keeps the bag lightweight, which matters when you’re wearing it for hours.
Building a functional bottle holder:
- Measure your bottle’s circumference and height before starting, adding a small amount of ease so it slides in and out easily
- Crochet a solid circular base even if the sides are mesh, so the bottle has a sturdy bottom to rest on
- Add a drawstring closure at the top so the bottle stays secure while moving
This project is a nice change of pace from typical bag patterns, since the open construction moves quickly compared to solid stitching. It also uses relatively little yarn, making it an efficient project if you’re working from a partial skein.
10. A One-Skein Bag for a Quick Weekend Project
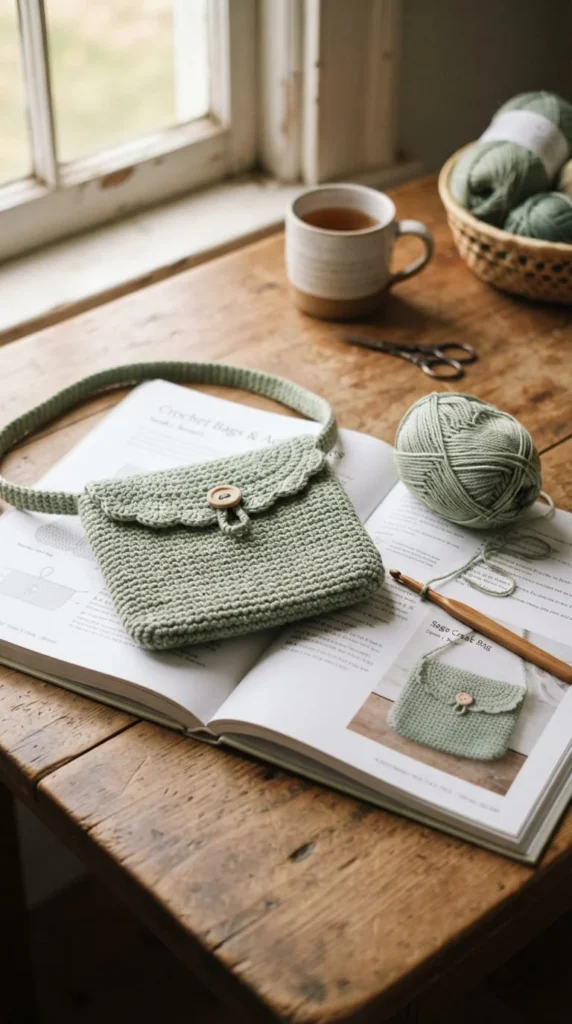
Not every bag needs to be a multi-week commitment. A compact crossbody bag sized to use just one skein of worsted weight yarn is realistic to finish in a weekend, which makes it a good confidence-building project if you’ve mostly made smaller items like scarves or amigurumi so far.
Keeping the design simple is what makes the one-skein goal achievable. A single rectangular or circular panel, folded and seamed rather than crocheted as two separate pieces, uses less yarn than a bag with a full gusseted body.
Ways to stretch a single skein further:
- Keep the bag on the smaller side — around 8 to 10 inches across is realistic for one skein of standard worsted weight
- Skip a full lining and instead reinforce just the bottom panel with a small piece of fabric or interfacing
- Use a simple chain strap instead of a separately crocheted one to save yarn for the body
Because the finished bag is small, it works best for light essentials rather than daily heavy use. It’s a good gift-sized project, too, since the quick turnaround means you can make several in different colors without a huge time investment.
11. A Seamless Bag Worked Entirely in the Round
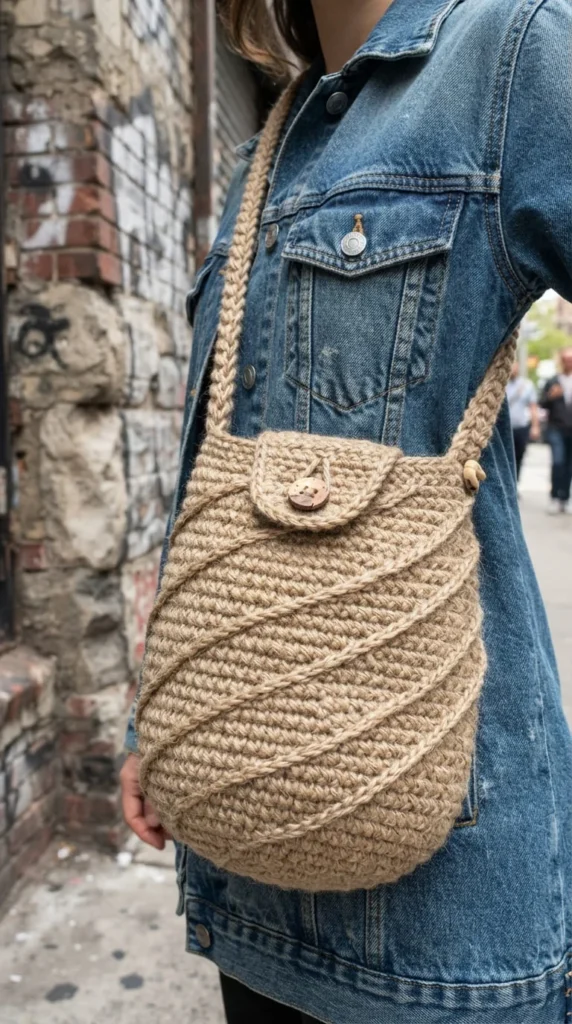
Seaming is one of the more tedious parts of bag-making for a lot of crocheters, and it’s also where sagging often starts if the seam isn’t tight enough. Working the entire bag body in continuous rounds, rather than as separate front and back panels, removes most of that seaming altogether.
This approach starts with a flat base, then builds the sides upward in a spiral or joined-round technique until you reach the top opening. The only remaining seams are for the strap and any closure hardware.
A few things to watch for with this construction method:
- Use a stitch marker to track the beginning of each round, since it’s easy to lose track in a continuous spiral
- Keep tension consistent as you work upward, since a change in tension partway through will show as a visible ridge
- Decide on your opening width before you start, since it’s harder to adjust after the sides are already built
The result is a bag with a noticeably smoother silhouette and fewer weak points where stress concentrates. This method suits a crocheter who’s comfortable working in the round already, since there’s no written seam line to fall back on if you lose your place.
12. A Bag Paired With a Ready-Made Leather Strap
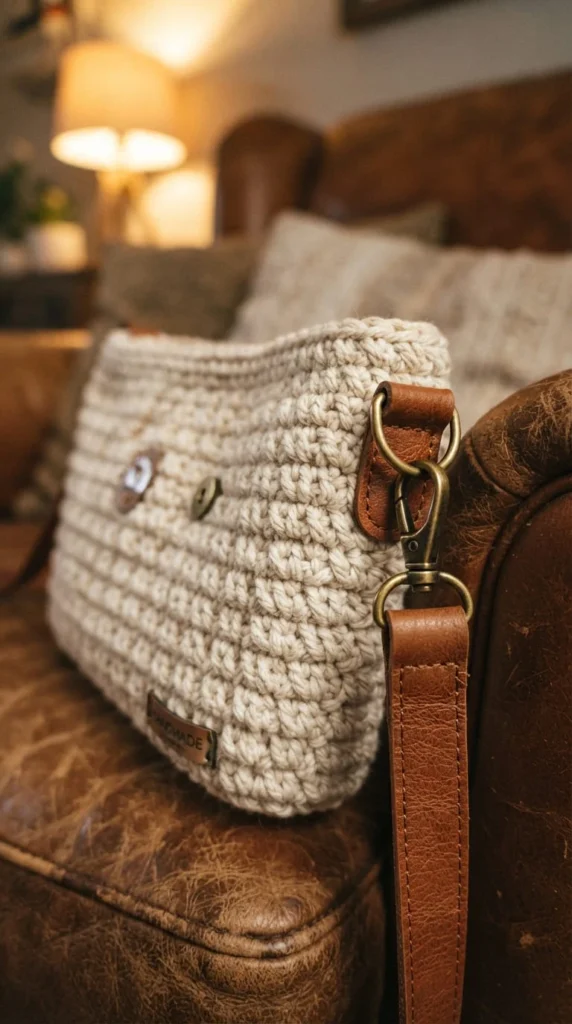
Crocheting your own strap is satisfying, but it’s not always the most durable option, especially for a bag you plan to use daily. Attaching a ready-made leather or faux-leather strap with metal clasps gives you a stronger, more polished-looking finish without much extra effort.
This approach also saves crochet time, since a strap can take almost as long as the bag body itself to make from scratch. Spending that time on the bag design instead, and buying a strap separately, is a practical trade-off worth considering.
How to attach a ready-made strap cleanly:
- Crochet small fabric or yarn tabs at each side seam to hold the clasp hardware
- Reinforce the tabs with an extra round of single crochet, since this is a high-stress point on the bag
- Choose a strap length you can adjust, either through the strap itself or by using clasps at multiple points
A leather strap also adds a visual contrast against the softer texture of crochet, which can make a simple bag design look more considered. This combination works particularly well for bags meant for daily use rather than occasional wear.
13. A Moroccan Lattice Bag for an Intricate Look
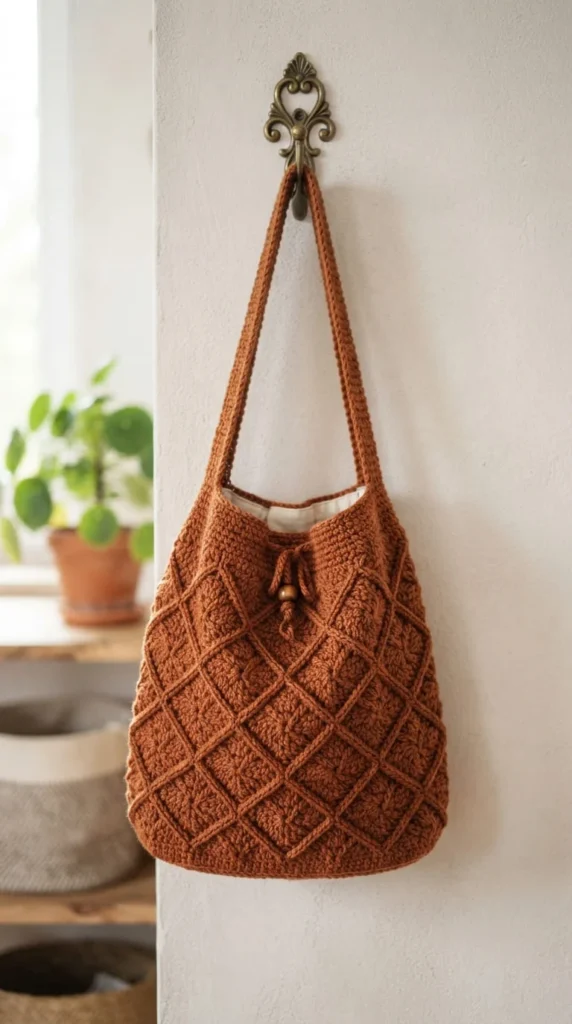
Moroccan lattice stitch creates an interlocking diamond pattern that looks far more complicated than it actually is to crochet. It’s built from a repeating sequence of chains and slip stitches worked at an angle, which forms the crossing lattice lines once you step back and see the full panel.
This stitch pattern takes a bit more focus than a basic bag pattern, but it doesn’t require any unusual techniques — just patience with the repeat and attention to keeping tension even across rows.
What makes this a rewarding project:
- The finished fabric has a naturally structured, almost woven look that needs very little additional embellishment
- It works well in a single solid color, letting the stitch pattern itself provide the visual interest
- The dense construction gives the bag good structure without needing a stiff lining
Because this stitch is a little slower to work than plain crochet, it suits someone looking for a more involved project rather than a quick weekend make. The result, though, tends to look noticeably more refined than a basic single crochet bag, which makes the extra time worthwhile for a special-occasion piece.
14. A Striped Bag That Uses Leftover Yarn Colors

Stripes are one of the easiest ways to use up small amounts of leftover yarn from other projects, and a crossbody bag is a great canvas for it since the shape is usually simple enough that color changes don’t compete with complicated stitch patterns.
Rather than following a strict repeating stripe pattern, varying the stripe widths — some narrow, some wide — gives the bag a more deliberate, designed look instead of appearing randomly striped.
A few practical tips for clean color changes:
- Change colors at the start of a round, rather than mid-row, to keep the transition less visible
- Carry unused yarn colors up the inside of the work if you’ll use them again within a few rows, rather than cutting and rejoining each time
- Weave in ends as you go rather than saving them all for the end, since a striped bag can accumulate a lot of loose tails
This is a genuinely practical way to turn a drawer full of small leftover skeins into something useful, and no two striped bags ever turn out quite the same, which is part of the appeal for anyone who likes their handmade items to feel one-of-a-kind.
15. A Clean-Finish Bag Using the Invisible Join Technique
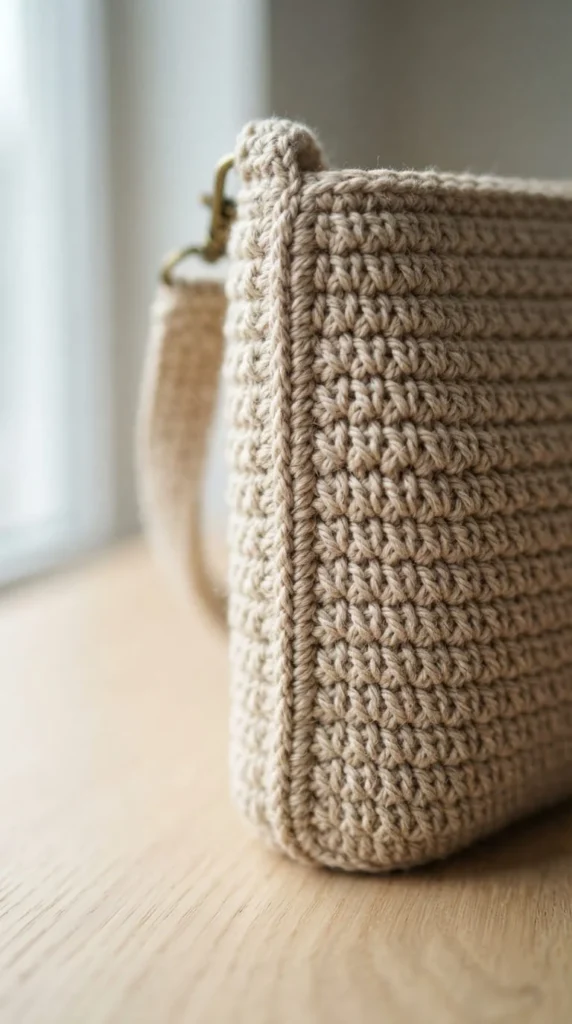
A lot of what separates a bag that looks handmade in a good way from one that looks unfinished comes down to small finishing details, and the invisible join is one of the most useful techniques to learn for this. It closes the last stitch of a round without the visible jog or bump that a standard slip stitch join leaves behind.
The technique itself involves cutting your yarn, pulling the tail through the last stitch, then threading it through a yarn needle and mimicking the shape of a stitch to close the round seamlessly.
Where this technique matters most on a bag:
- At the top edge of the opening, where an uneven join is most visible
- Around any circular base, where a jog would disrupt an otherwise smooth line
- On visible rounds where color changes happen, since a standard join draws extra attention to the color break
It takes a little practice to get comfortable with, but once it clicks, it becomes a technique you’ll want to use on every future project, not just bags. The improvement in overall polish is disproportionate to how simple the actual technique is.
16. A Slim Phone Bag for Hands-Free Outings
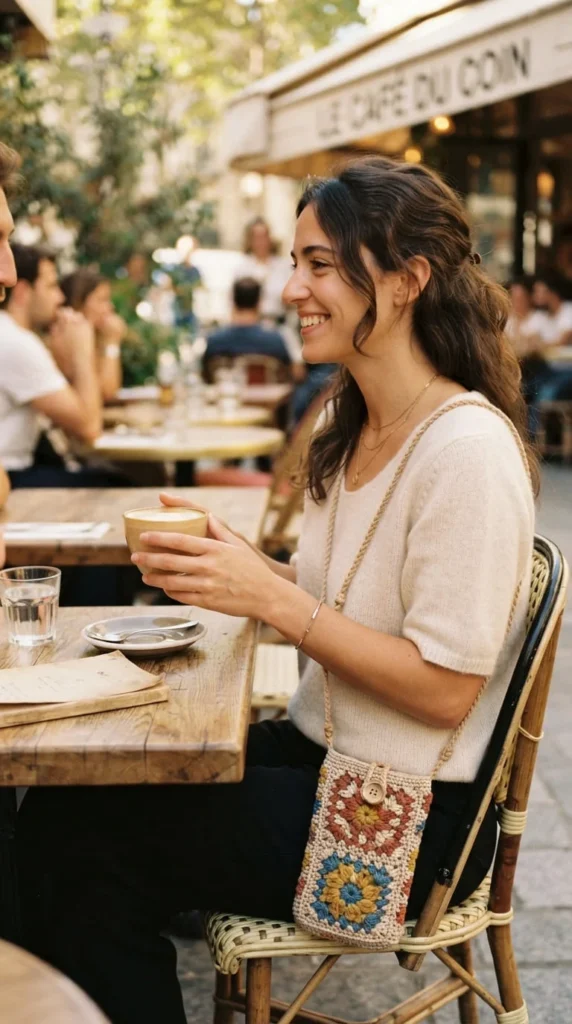
For outings where you genuinely only need your phone, a card, and maybe a lip balm, a full-sized bag is more than you need. A slim phone-sized crossbody bag solves that specific problem, and it’s small enough to be a genuinely fast project.
Because the bag is small, you can afford to spend a little more time on details that would be too time-consuming on a full-sized bag — a decorative edge, a contrast trim, or a small crocheted flower attached to the front.
Sizing and design notes:
- Measure your phone with its case on, adding about half an inch of ease on each side
- Use a thin cord or ribbon strap rather than a bulky crocheted one, since it suits the compact scale better
- Add a small interior pocket for a single card, which is easy to include since the bag is already small
This is one of the fastest bags on this list to finish, often in a single sitting, which makes it a good gift option or a way to test a new stitch pattern or color combination before committing to it on a larger project.
17. A Drawstring Bag for a No-Hardware Design
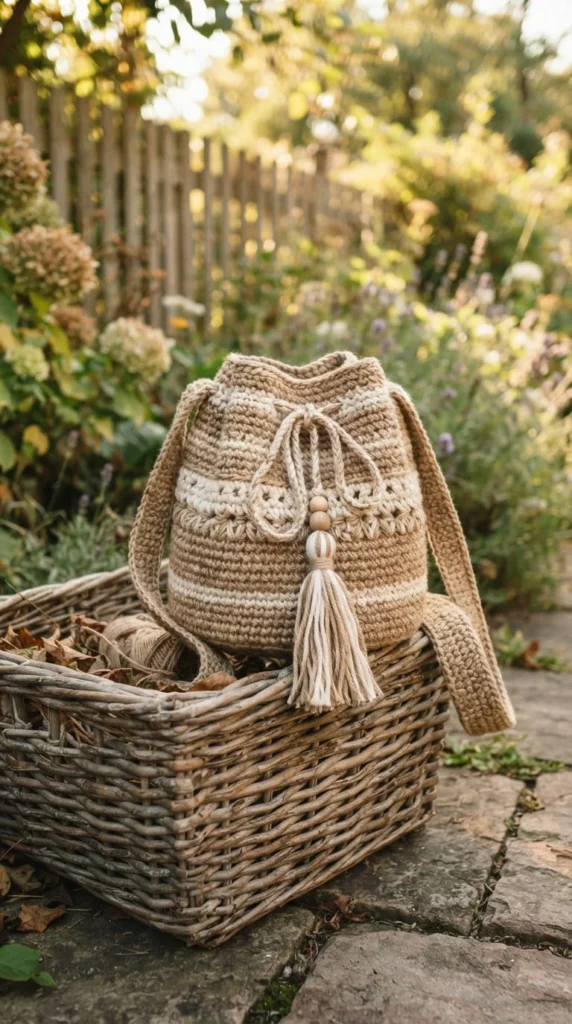
Not everyone wants to deal with zippers, magnetic snaps, or buttons, and a drawstring closure is a genuinely practical alternative that requires no hardware shopping at all. The entire closure is built from crochet chains threaded through the top edge of the bag.
This style suits a more relaxed, casual look, and it’s forgiving if your gauge shifts slightly partway through the project, since the drawstring naturally gathers the top edge regardless of small size variations.
Building a reliable drawstring closure:
- Work eyelet holes evenly spaced around the top round by alternating chain stitches with skipped stitches
- Crochet two cords, or use purchased cord, threaded through opposite sides so the bag cinches from both directions
- Finish each cord end with a tassel or wooden bead so the drawstring doesn’t slip back through the eyelets
Because there’s no hardware to source or install, this is one of the more approachable closures for a beginner’s first bag. It also tends to suit looser, more textured stitch patterns better than a structured zipper closure would.
18. A Bag Built With an Interior Organizer Pocket
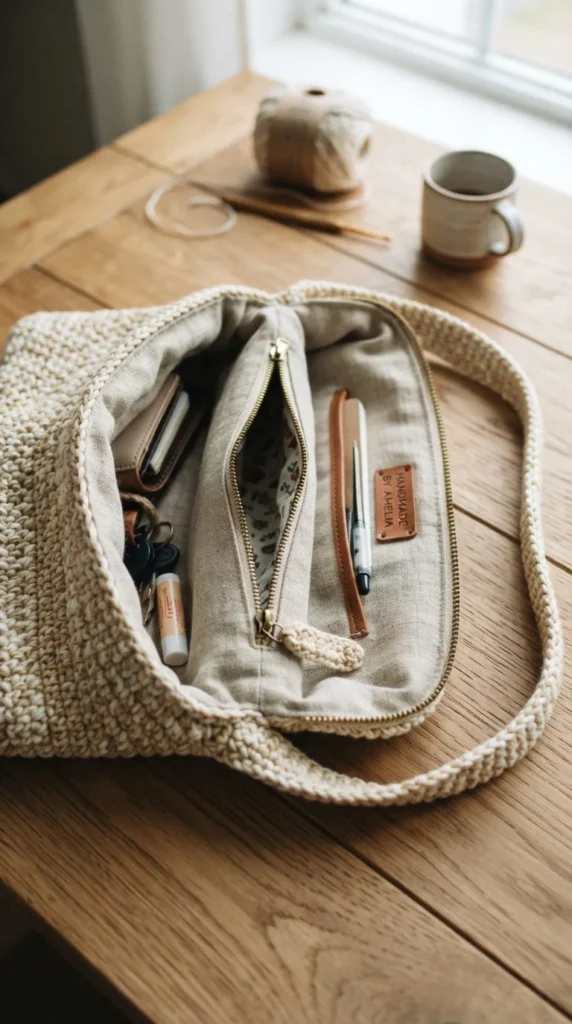
A common complaint about handmade bags is that the inside is just one open space, which makes it easy to lose small items at the bottom. Adding a small interior pocket, crocheted separately and sewn to the lining, solves this without much extra work.
This pocket can hold a phone, keys, or a small wallet separately from loose items like lip balm or hair ties, which makes the bag noticeably more functional day to day.
How to add an interior pocket effectively:
- Crochet a small rectangular pocket sized for your most-carried item, such as a phone
- Sew it to the lining fabric before installing the lining into the bag, since it’s much easier to attach flat than inside a finished bag
- Consider a small zipper on the pocket itself if you want to secure valuables like cash or cards separately
This is a detail that’s easy to overlook when planning a bag, but it makes a noticeable difference in daily usability. Once you’ve made one bag with an interior pocket, it’s hard to go back to a bag without one.
19. A Shell Stitch Trim for a Feminine Finishing Touch
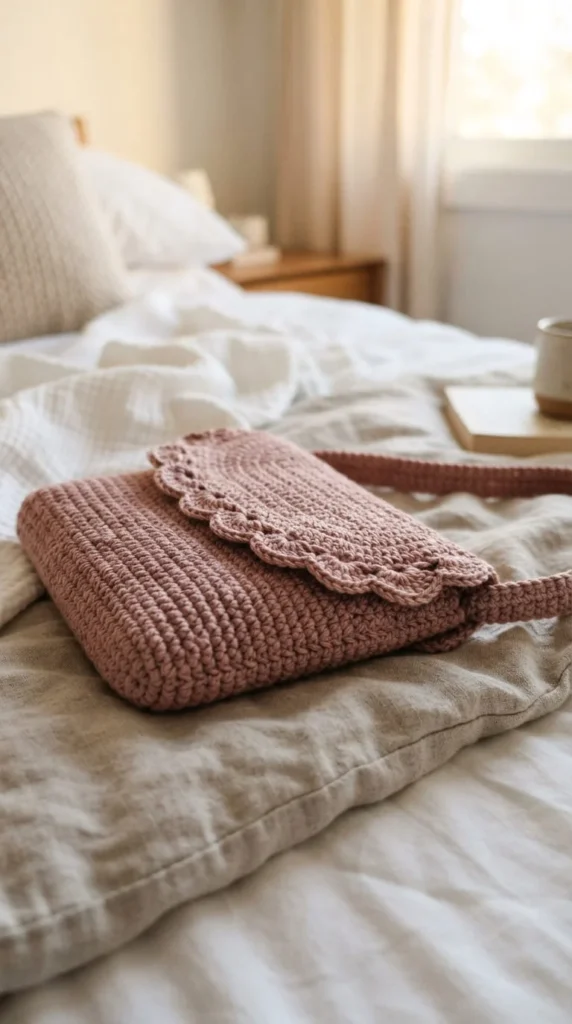
A plain top edge on a crossbody bag works fine, but adding a round of shell stitch trim turns an otherwise simple silhouette into something that reads as intentionally designed. The scalloped edge catches light and adds movement without requiring any color changes or extra hardware.
This trim is quick to add once the main bag body is finished — it’s typically just one or two extra rounds worked around the opening.
A few ways to make the trim stand out:
- Work the shell stitch in a slightly thinner yarn than the bag body for a delicate, lacy contrast
- Keep the shell repeat consistent so the scallops look even all the way around
- Use the same trim on the strap ends for a cohesive, matched look
Because this technique adds texture rather than bulk, it works well on bags that are otherwise plain, giving them a finished, boutique-style look without much additional effort. It’s a good technique to practice on a smaller project, like a coaster or pouch, before applying it to a full bag.
20. A Bag Trimmed With Wooden Bead Accents
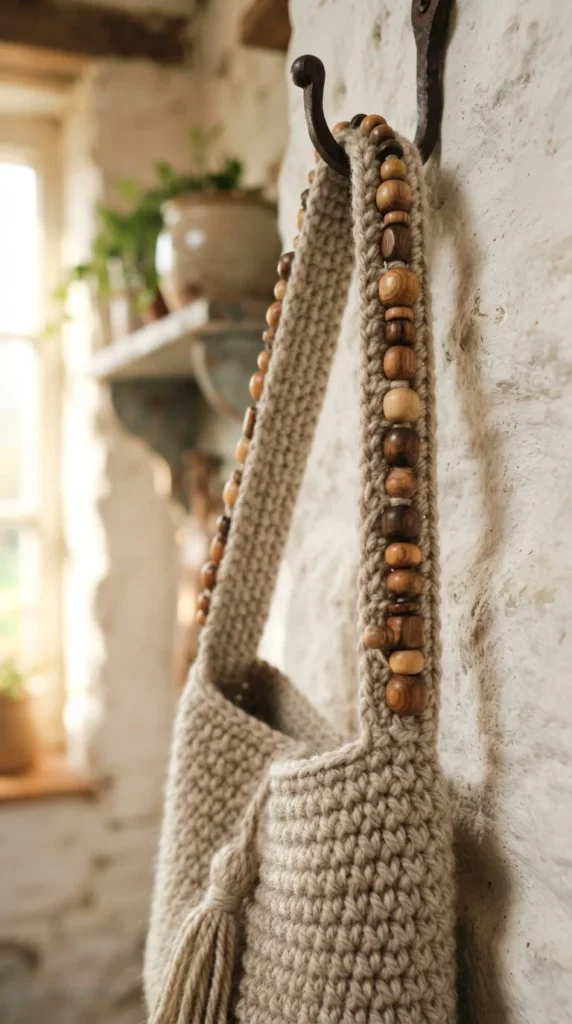
Small wooden beads threaded onto the strap or worked into the closure add a natural, earthy detail that pairs particularly well with cotton or linen-blend yarn. It’s a simple embellishment that doesn’t require any new crochet skills, just careful placement.
Beads can be threaded onto the yarn before you begin crocheting the strap, then slid into position and secured with a stitch as you work past each one. This means planning bead placement ahead of time, since you can’t easily add beads to yarn that’s already crocheted.
Practical tips for working with beads:
- Choose beads with a hole large enough to slide easily over your yarn without splitting the fibers
- Space beads unevenly along the strap for a more natural, handcrafted look rather than a rigid, repeating pattern
- Secure each bead with a slip stitch on either side so it doesn’t slide around during wear
This detail works particularly well on drawstring or foldover bags, where the beads can double as functional elements — a stopper on a drawstring cord, or a decorative pull on a flap closure. It’s a small addition that adds a lot of visual interest for very little extra time.
21. A Structured Bag With a Flat Rectangular Base
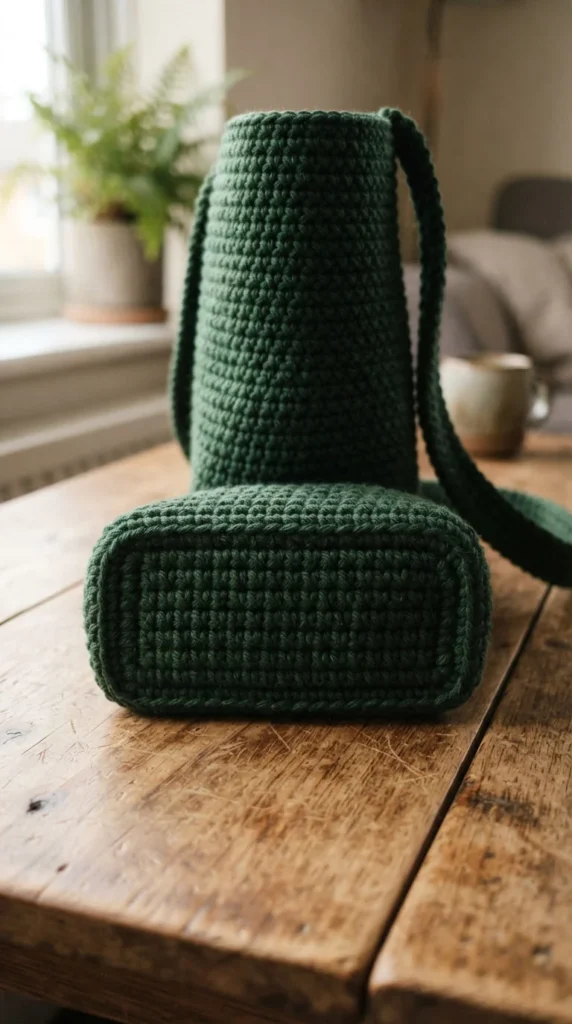
Bags that are crocheted as a continuous rounded shape often struggle to stand upright on their own, which can be frustrating if you like to set your bag down rather than always holding it. Building the bag with a distinct flat rectangular base, crocheted separately and then joined to the sides, solves this.
The base acts almost like a foundation, giving the bag a defined footprint rather than a soft, collapsing bottom. This construction method takes a bit more planning than a simple round bag, since you need to calculate how many stitches along the base perimeter will match up with the side panel.
Steps for a stable base:
- Crochet the base as a flat rectangle first, using a firm, tight gauge
- Work the sides directly from the base’s outer stitches, rather than crocheting them separately and seaming afterward
- Add a piece of plastic canvas or heavy cardboard, cut to size, between the base and its lining for extra rigidity
This construction style suits anyone who wants their crochet bag to function more like a structured tote than a soft, slouchy pouch. It’s particularly useful for a bag that will carry a water bottle or other rigid item that needs a stable base to rest against.
22. An Ombré Bag Using Variegated Yarn
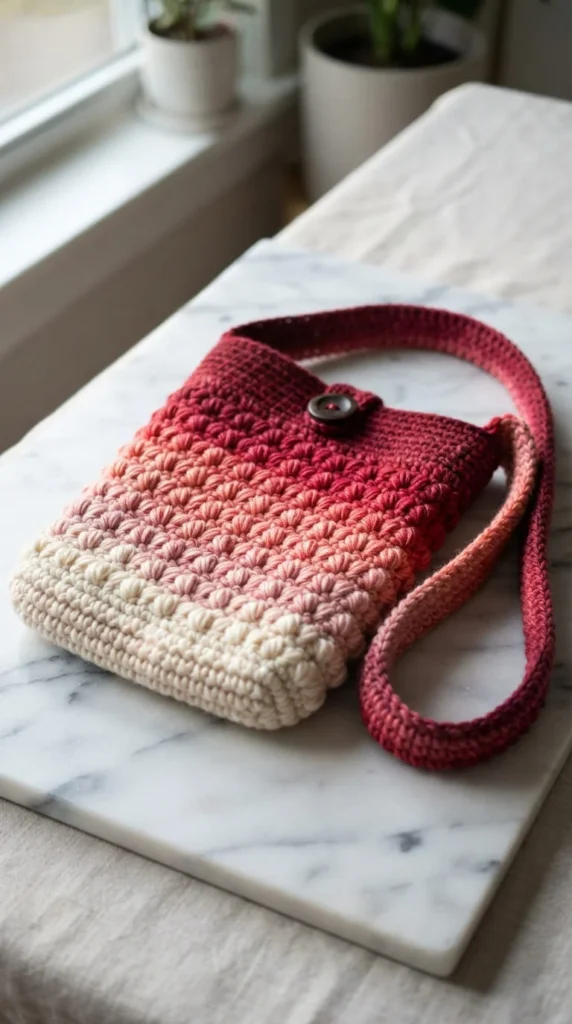
If you’d rather not manage multiple separate yarn balls for a striped or color-blocked design, variegated or self-striping yarn does the color work for you. As you crochet, the yarn itself gradually shifts through its color range, creating a smooth ombré effect without any planning on your part.
This is a good option for anyone who wants a visually interesting bag without the extra steps of managing multiple skeins, weaving in extra ends, or planning a stripe sequence.
What to keep in mind when choosing variegated yarn for a bag:
- Look at the color repeat length on the yarn label — a longer repeat gives smoother color transitions on a larger bag
- Solid stitch patterns like single or double crochet show off variegated color changes more clearly than heavily textured stitches
- Pair the bag with a solid-color strap or trim so the variegated pattern remains the clear focal point
Because the color transitions happen naturally as you crochet, this is a relatively low-effort way to make a bag that looks like it involved much more planning than it actually did. It’s a good pick for a crocheter who enjoys watching a project’s colors evolve as they work.
23. A Bag Personalized With a Detachable Flower Pin
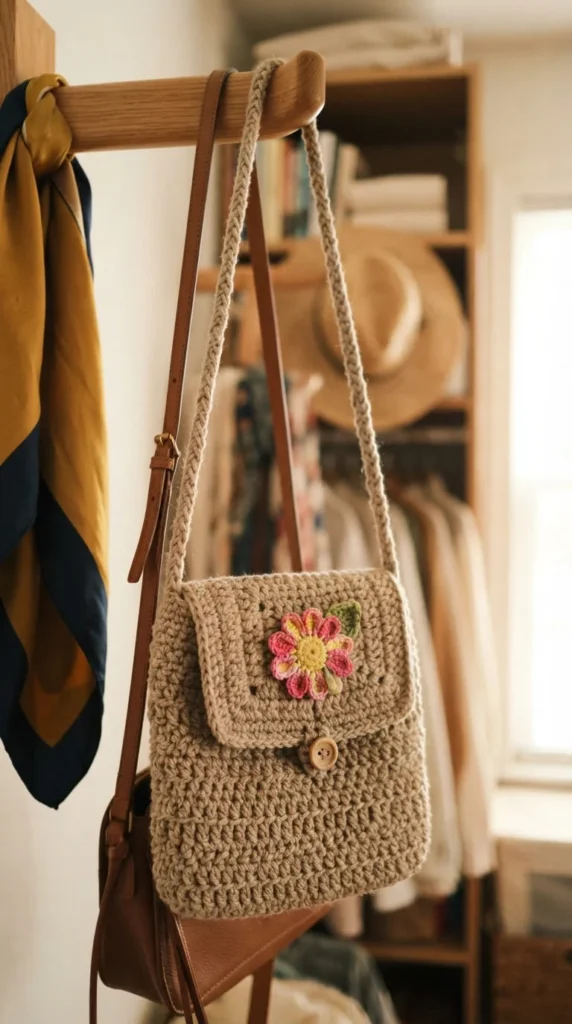
A small crocheted flower, attached with a pin back or a simple loop, lets you change up a bag’s look without making a new one entirely. It’s a low-commitment way to add a personal touch, and it means one plain bag can look different depending on your mood or outfit.
Flowers are also one of the fastest individual crochet motifs to make, so this is a good project for using up tiny amounts of leftover yarn in colors that don’t necessarily match the bag itself.
Ways to make this detail work well:
- Attach a pin back to the flower rather than sewing it on permanently, so it can be moved between bags
- Make two or three flowers in different colors to swap out seasonally
- Add a small button or bead center to the flower for extra detail without much added time
This idea also works well as a small gift on its own, paired with a plain bag someone already owns. It’s a simple way to make a crochet crossbody bag feel less like a single finished object and more like a base you can keep customizing over time.
Conclusion
Crochet crossbody bags cover a wide range of skill levels and everyday needs, from a fast one-skein pouch you can finish in a weekend to a fully lined, zippered bag built to last for years. The details make the biggest difference — the right yarn weight, a tight gauge, a lining that matches the fabric’s purpose, and hardware that actually holds up to daily wear. Pick one design from this list that fits your current skill level and the way you’ll actually use the bag, then build from there as you get more comfortable with seaming, closures, and finishing techniques. Grab your hook and a skein you’ve been saving, and start your first bag today.