
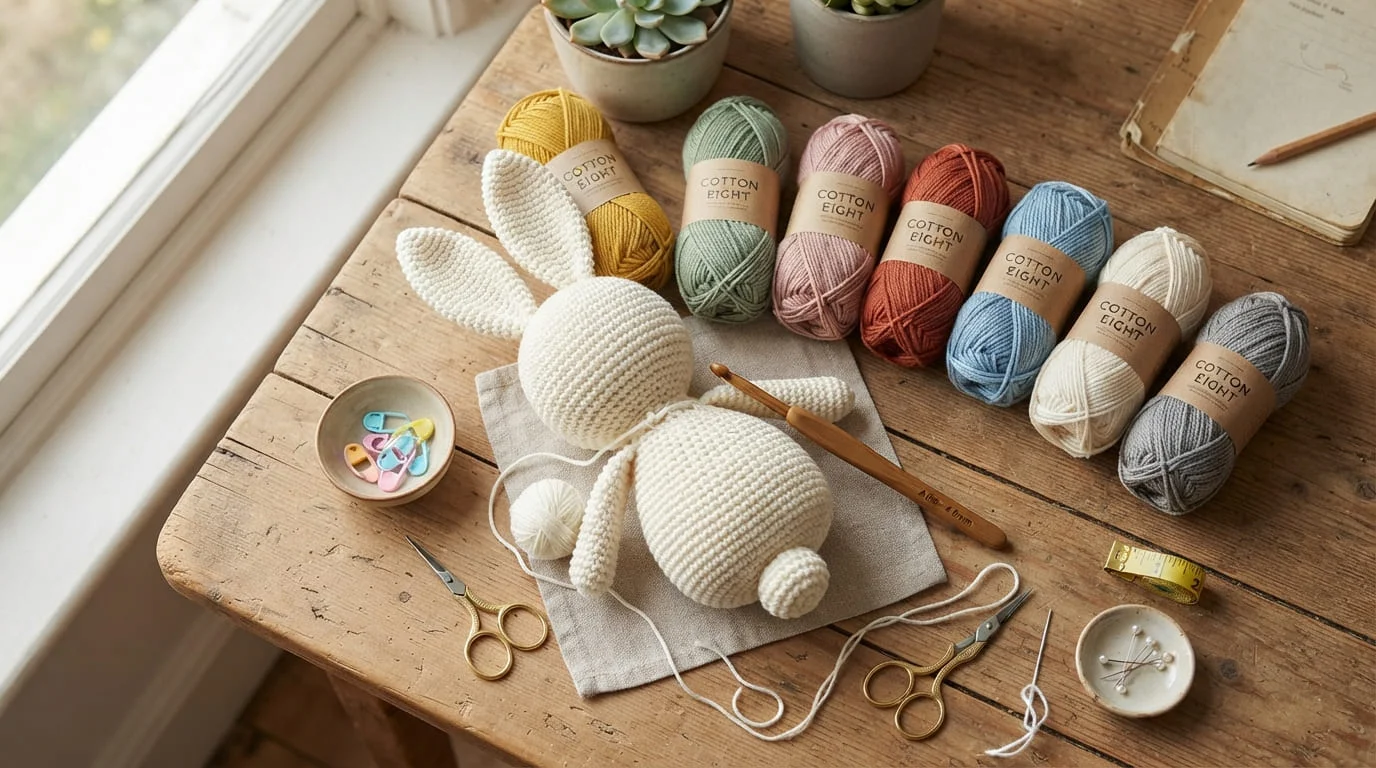
There’s something magical about turning a ball of yarn into a tiny, huggable creature. Amigurumi — the Japanese craft of crocheting stuffed toys — has exploded in popularity, and for good reason. It’s portable, relaxing, and you don’t need a mountain of supplies to get started. If you can crochet a single stitch, you can make your first amigurumi this weekend.
This guide walks you through everything a beginner needs: the right tools, the core stitches, and the step-by-step process from magic ring to finished plushie.
What You’ll Need Before You Start
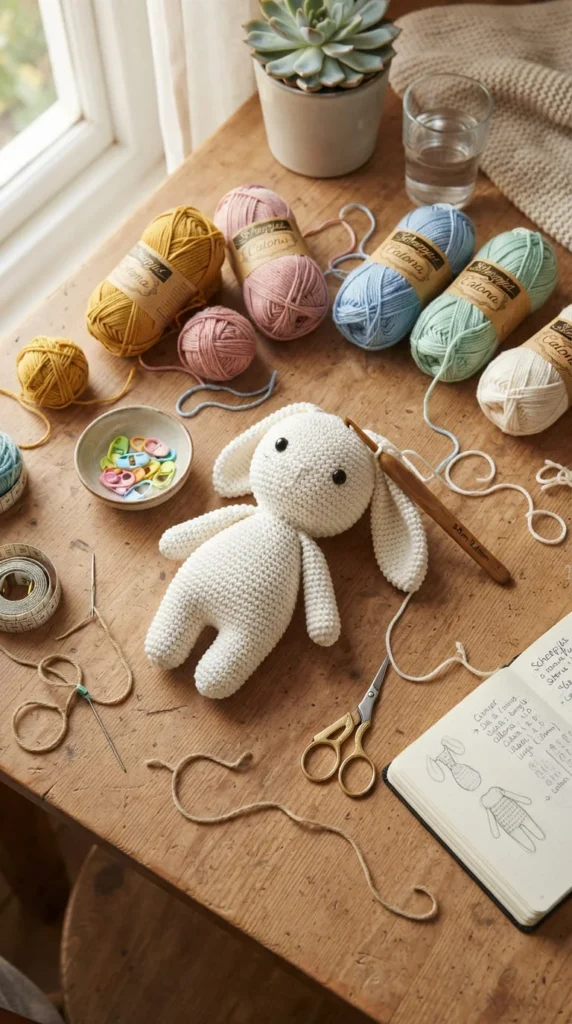
You don’t need a full craft store haul. A few basics will get you through your first project:
- Yarn — Smooth cotton or cotton-blend worsted/DK weight yarn is easiest for beginners. Light colors help you see your stitches clearly.
- Crochet hook — Go one or two sizes smaller than what the yarn label recommends. A tighter fabric keeps stuffing from peeking through.
- Stitch markers — These are essential, not optional. Amigurumi is worked in continuous spiral rounds, so it’s easy to lose track of where a round begins.
- Polyester fiberfill for stuffing.
- Safety eyes (or embroidery thread if you’re making a toy for a baby under three).
- A yarn needle for sewing pieces together and weaving in ends.
Avoid dark, fuzzy, or novelty yarns for your first project. They look fun, but they hide your stitches, making it much harder to see mistakes.
Learn the Two Techniques That Matter Most
Almost every amigurumi pattern relies on two foundational skills.
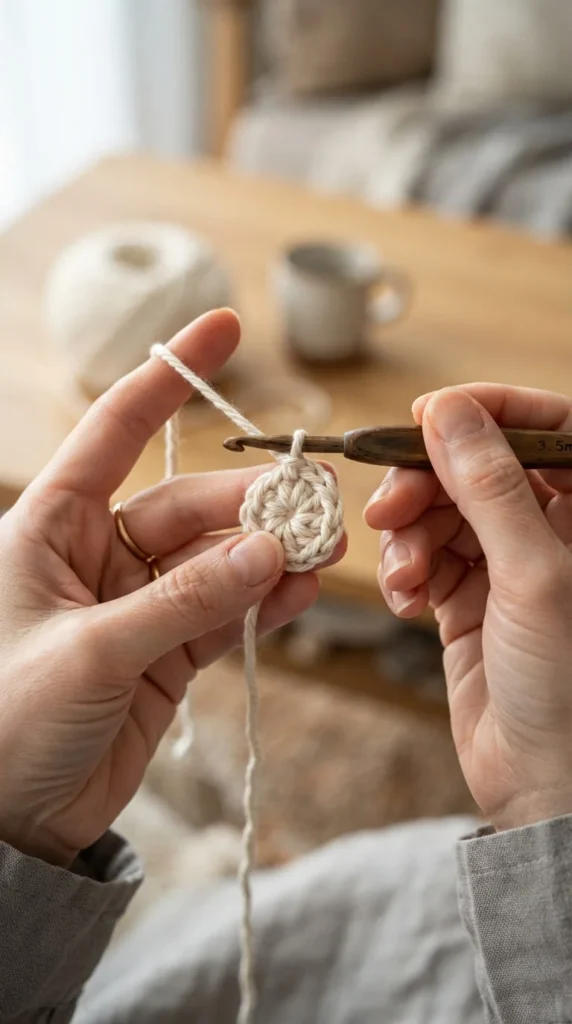
The magic ring. This is how you start most amigurumi pieces without leaving a hole in the center. You loop the yarn around your fingers, crochet your first round of stitches into that loop, then pull the tail tight to close it completely. It feels tricky the first time, but after two or three tries, it clicks.
Continuous spiral rounds. Unlike a regular crochet project where you join each round with a slip stitch, amigurumi is worked in a spiral. This avoids a visible seam and keeps your toy looking smooth and round. Just place a stitch marker in the first stitch of each round so you always know where you started.
The Only Stitches You Really Need
You can make an entire amigurumi with just three techniques:
- Single crochet (sc) — the main stitch used to build the body of almost every amigurumi shape.
- Increase (inc) — two single crochets worked into the same stitch, used to widen your piece.
- Decrease (dec) — combining two stitches into one, used to shape and narrow your piece. Once you’re comfortable, try the invisible decrease — it creates a cleaner, gap-free finish than a standard decrease and is worth learning early.
Most beginner patterns are written as a sequence of rounds, like “Round 1: 6 sc in magic ring. Round 2: inc around (12 sts).” It looks like code at first, but once you crochet a couple of rounds, the pattern language starts to make sense.
Step-by-Step: Crocheting Your First Amigurumi Ball
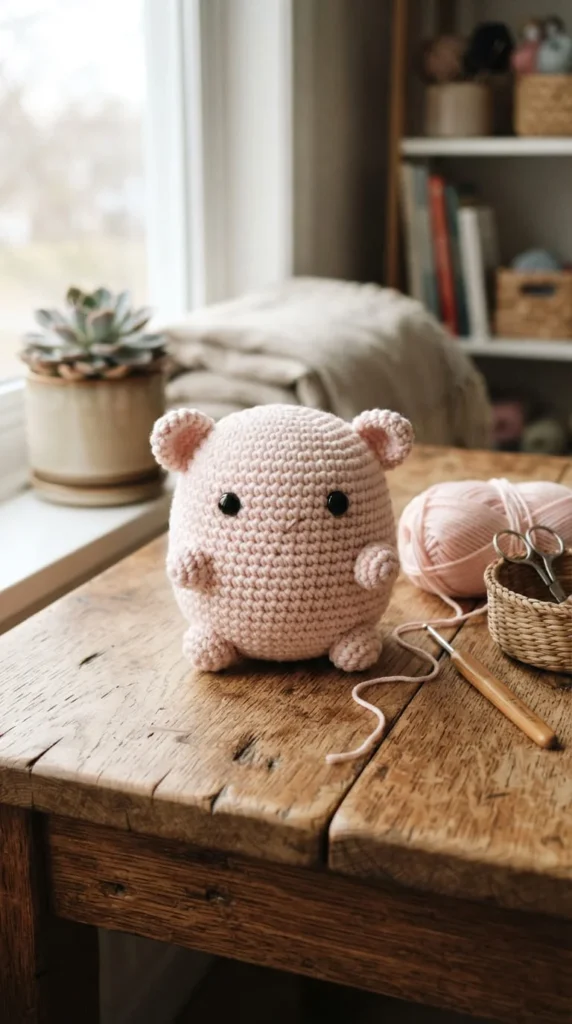
A simple ball or cylinder is the best starting project because it focuses purely on tension and counting, without extra shaping.
- Make a magic ring and work 6 single crochets into it. Pull the tail to close.
- Round 2: Increase in every stitch (12 stitches total).
- Round 3: Alternate one single crochet, then one increase, all the way around (18 stitches).
- Continue several rounds of plain single crochet once you’ve reached your desired width — this builds the body.
- When you’re ready to close the top, reverse the increases with decreases, spacing them out gradually.
- Insert safety eyes a few rounds before you finish stuffing, positioning them where they look proportional.
- Stuff firmly but gradually as you close the last few rounds — add small amounts at a time rather than cramming it all in at once.
- Finish by cinching the last stitches closed and weaving in your yarn tail.
Common Beginner Mistakes (and Easy Fixes)
- Gaps showing stuffing? Your hook is likely too big. Size down instead of adding more filling.
- Losing count mid-round? Move your stitch marker every single round, no exceptions.
- Wonky, uneven shape? This usually comes from inconsistent tension. Slow down and aim for even pressure on the yarn with every stitch.
- Made a mistake three rounds back? Don’t panic — “frogging” (ripping back your stitches) is a totally normal part of the process, even for experienced makers.
Where to Go From Here
Once you’ve nailed the basic ball shape, you’re ready for more expressive projects — mini keychain animals, no-sew designs that skip the assembly step, or seasonal characters for gifts. The core skills stay the same; only the stitch counts and shaping change.
Final Thoughts
Amigurumi rewards patience more than perfection. Your first plushie won’t be flawless, and that’s completely fine — every wobbly stitch teaches you something for the next one. Start with a simple ball, get comfortable with the magic ring and basic shaping, and you’ll be crocheting little characters of your own in no time.
Save this guide for later and pick up your hook when you’re ready to start!